How to Draw An Archery Glove | An Easy Guide
Archery gloves were invented in ancient times, possibly as far back as the Middle Ages. They were created to protect the fingers of archers from being injured by the pressure and friction caused by drawing a bowstring.
The glove is worn on the hand that draws the string back, usually the hand opposite to the dominant one holding the bow. Archery gloves are made of leather or other flexible materials that provide protection without restricting movement.
They help improve grip and accuracy while shooting arrows, making them an essential accessory for archers of all skill levels.
In today’s tutorial, we will provide you with an extensive step-by-step guide on how to draw an archery glove. This cool illustration can be completed by following only 5 steps!
| Steps | Complexity Level |
| The Wrist Belt | 2 |
| The Outline of Hand | 3 |
| Extra Details | 2 |
What You Will Need
- Drawing paper or sketchbook
- Pencils (2b, 3b or 5b)
- An eraser
- Color pencils or markers
- 15-20 minutes
How to Draw An Archery Glove
The sketching process involves drawing three fundamental things; the wrist belt, the outline of the fingers and some added detailing to make your drawing three-dimensional.
Before you begin this tutorial, make sure you have all of your drawing tools nearby and thoroughly assess the outline below to familiarize yourself with each step.
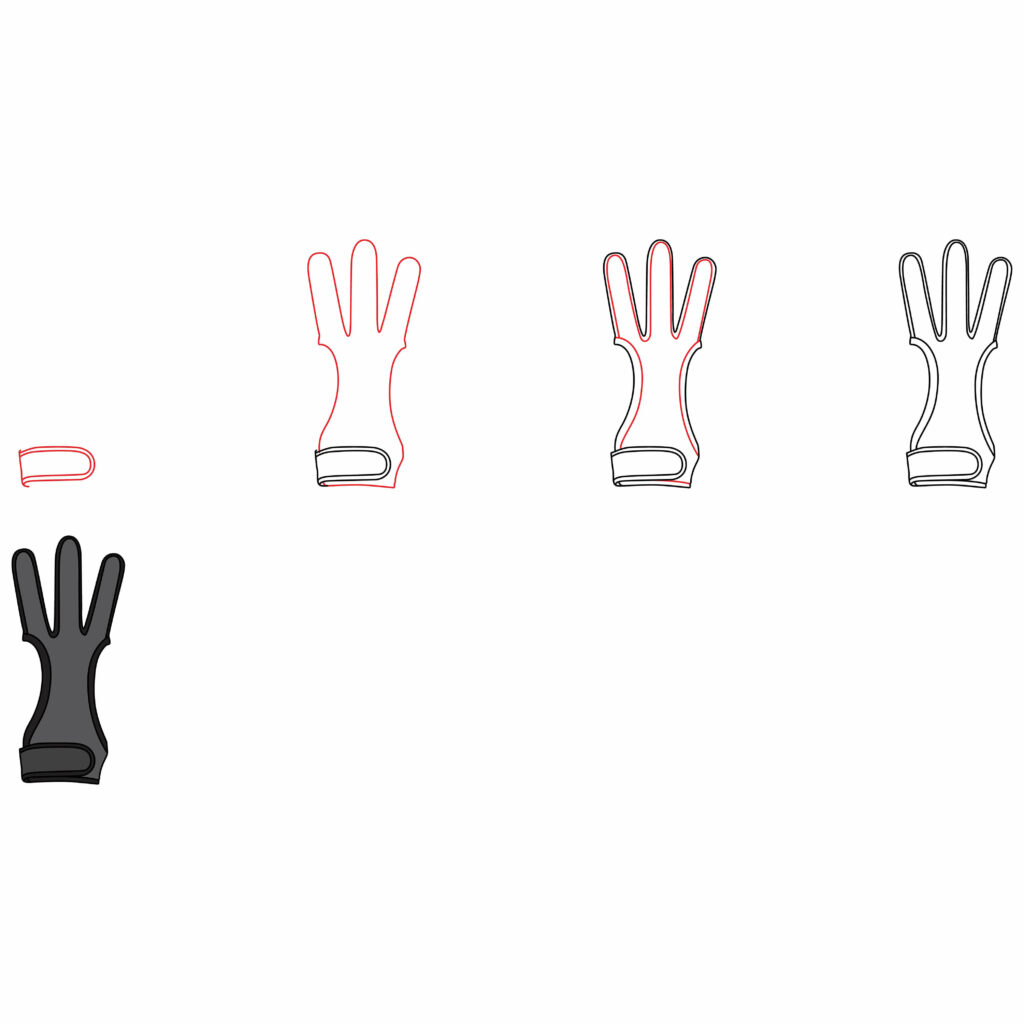
Step 1: Draw the Wrist Belt
The wrist belt of an archery glove is used to provide support and stability to the wrist during archery practice or competition. It helps keep the wrist in a proper position while drawing and releasing the bowstring.
First decide which way you would like to place your drawing paper. For a bigger archery glove design, opt for a portrait orientation. If you’d like to draw a smaller illustration, flip your paper onto a landscape orientation.
Next, draw the wrist belt somewhere around the middle of your page. Start by drawing a small wavy vertical line on the left, and then add a wavy oval shape extending to the right which starts from the top and connects to the bottom of the line.
Once finished, add another oval shape within the first one which follows the same curves.
- Decide which orientation best suits your drawing outcome
- Start by drawing a small wavy vertical line on the middle of your page
- Draw a wide oval that begins against the top of the vertical line and ends against the bottom
- Add a smaller oval shape within the first one drawn that matches the pattern

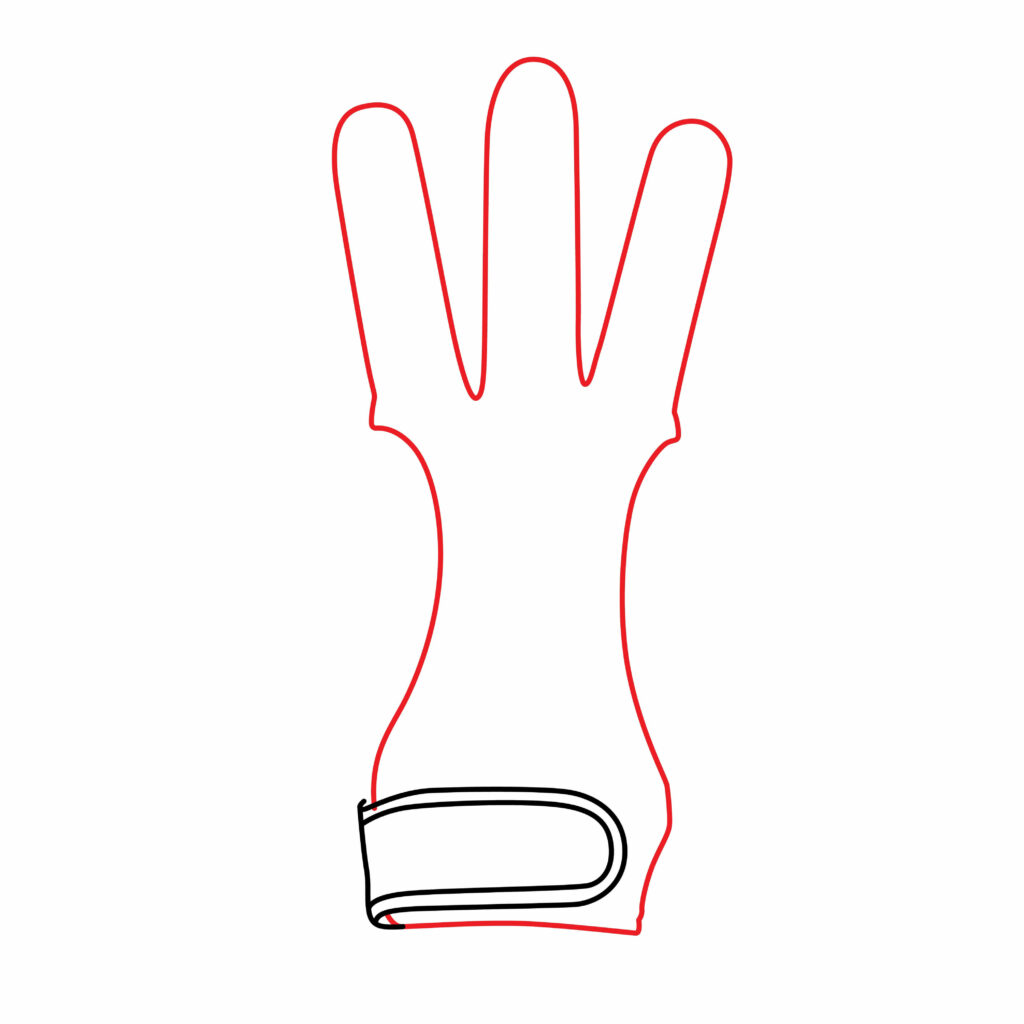
Step 2: Draw the Outline of the fingers
Archery gloves only have three fingers to provide better control and grip of the bowstring. By leaving the thumb and pinky finger free, archers can use it to feel the tension in the string and make adjustments more easily.
Start by adding a horizontal line below your wrist belt. Make sure that the line ends a small distance away from the right side of the belt, and then extend the line upward using a diagonal line.
Once the line is in alignment with the top of the wrist belt, curve it inward resembling a wide “C” shape. Draw three fingers above, starting from the ring finger, then the middle finger and finally the index finger. Ensure that each finger has a relatively similar width and that their length resembles realistic fingers.
Finish off the step by following the same process on the left side of the glove. I.e., draw a wide inverted “C” shape over the palm/fist of the hand, and connect the shape to the upper left corner of the wrist belt.
- Draw a horizontal line beneath the wrist belt
- Add two inverted curves along the sides of the glove
- Draw the shape of the index, middle and ring finger above
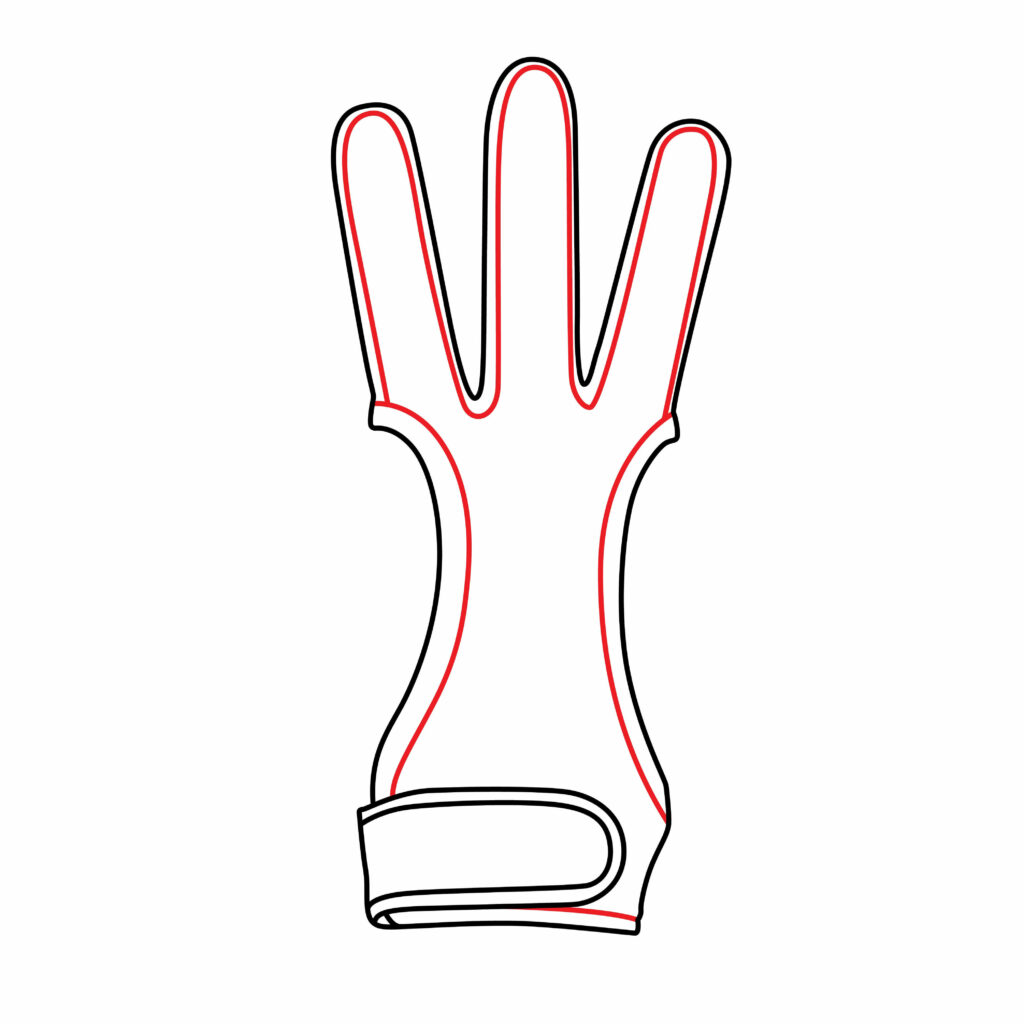
Step 3: Add Extra Details
This step involves drawing a few lines on the borders of the archery glove to add a touch of realism and give the drawing a three-dimensional look once it’s colored in.
Start by drawing a small horizontal line from the bottom right side of the wrist belt that connects to the side of the outline. Then, draw a line on each side of the palm’s curves that follow the same pattern.
Finally, draw some wavy lines on the inside of each finger that wraps around the length, the top and the finger webs.
- Add a series of lines on the inner borders of the archery glove
- Make sure the lines follow the same curve and pattern as the outline
- Use the image below as a guide on how to complete this step
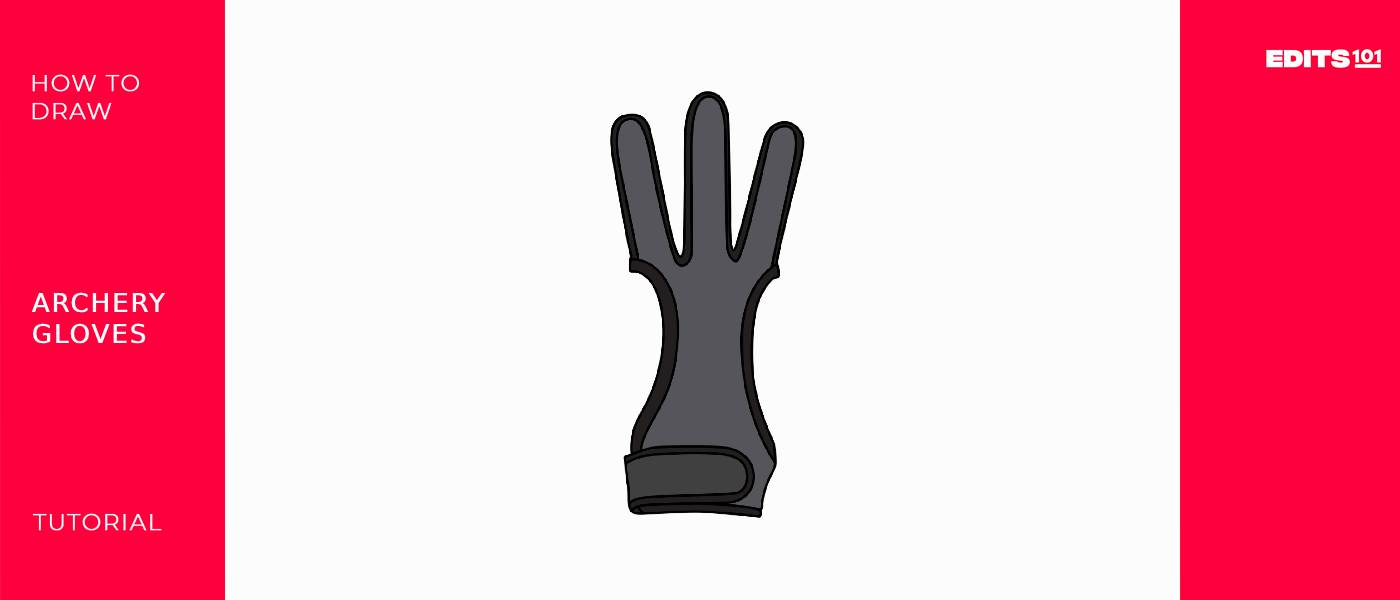
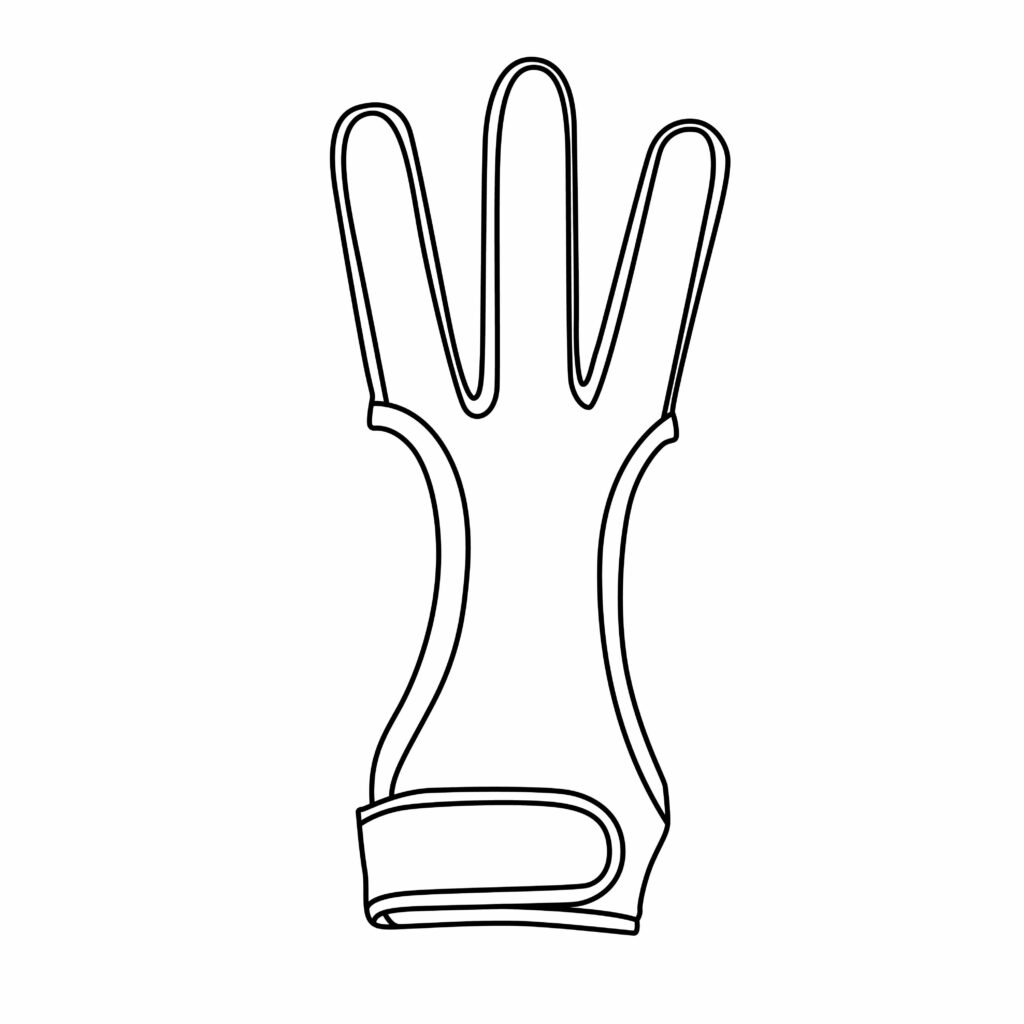
Congratulations! Your Archery Glove Drawing Is Complete
Now that your drawing is complete, take a well deserved break and inspect the results of the sketching process.
You’re welcome to use the image below to compare your drawing and make any necessary corrections using your eraser and some patience.
Once you’re ready, continue on with the tutorial to give your drawing an extra boost and make it more visually appealing.
Taking your Drawing to the Next Level
It’s not advised to leave your drawing as it is. While the black and white sketch looks great, it’s not enough to make your drawing appear three-dimensional. You should always be inspired to strive for more as you explore your drawing skills, so follow the steps below to enhance the overall quality of your drawing.
Step 4: adding a background
Think about where you would like your archery glove to be. For this step, you’re welcome to allow your imagination to roam free as you consider all the possible options.
Seeing as archery is both an indoor and outdoor sport, your glove may be in a forest surrounded by some animals or on an archery range where arrows fly from an archery bow to a target face.
Surrounding your new drawing with other archery inspired equipment, one of which being an arrow quiver, will make your sketch more well-rounded and realistic.
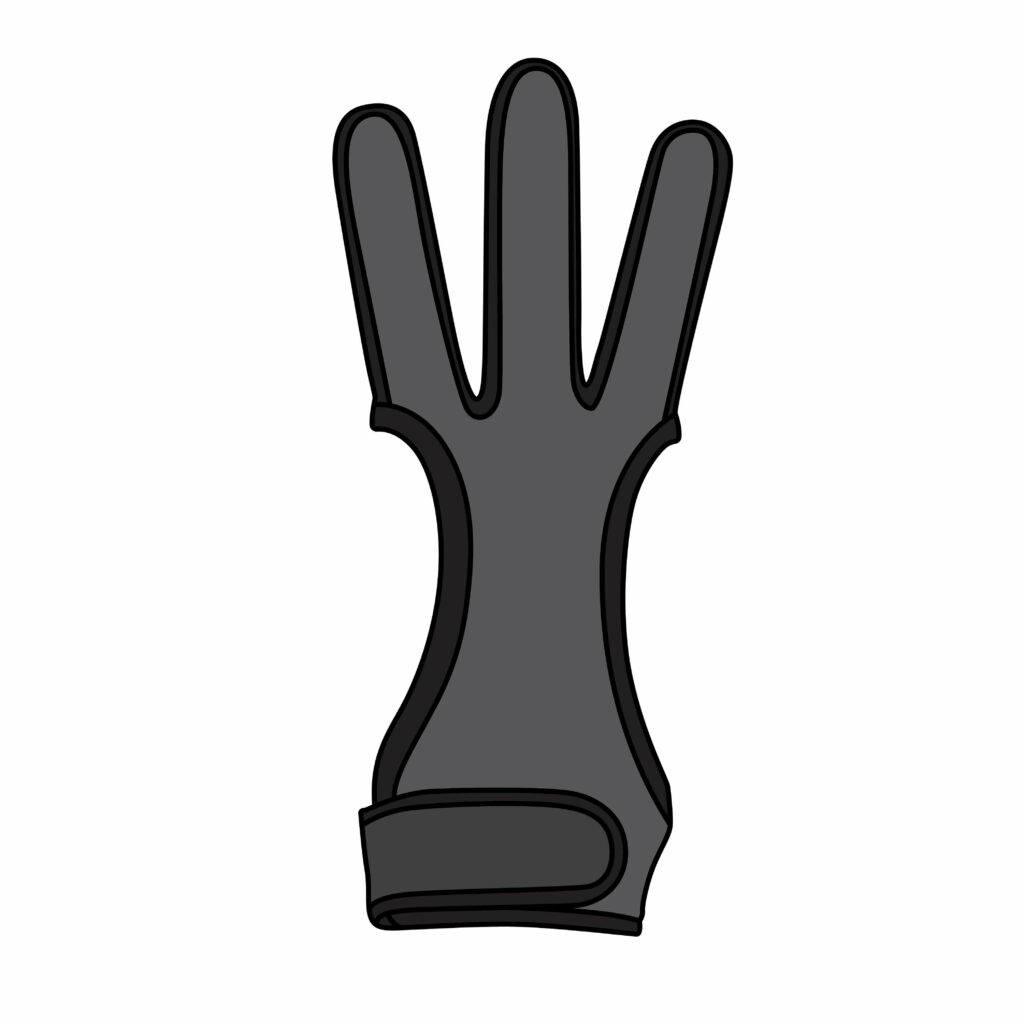
Step 5: Adding Color
Adding some color to a drawing will instantly make it more eye-catching. You can ultimately decide which colors you would like to add to your archery glove sketch.
Real-life archery gloves are usually black, so if you’re going for a realistic approach, be sure to add some dark tones to your sketch. You’re welcome to use similar colors as we have done with our archery glove drawing.
To make your sketch look three-dimensional, color the spaces around the borders created in step 3 with black. Then, color the remaining outline of the hand and wrist belt with a dark gray.
Bonus Tips
Study reference images of 3D archery gloves to understand the design details.
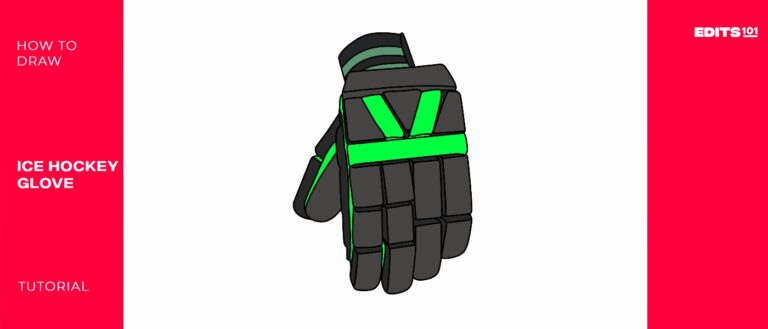
Practice drawing basic hand shapes and understanding finger proportions. We have a few glove tutorials to use while honing your skills, each based on various sports like cycling, fencing, boxing, cricket, and even ice hockey.
Use light shading techniques to add dimension and depth to your glove drawing.
Experiment with different pencil grades to achieve various textures in your drawing.
Utilize instructional videos specific to drawing 3D objects like gloves for guidance.
Remember practice makes perfect – continue sketching and refining your technique regularly.
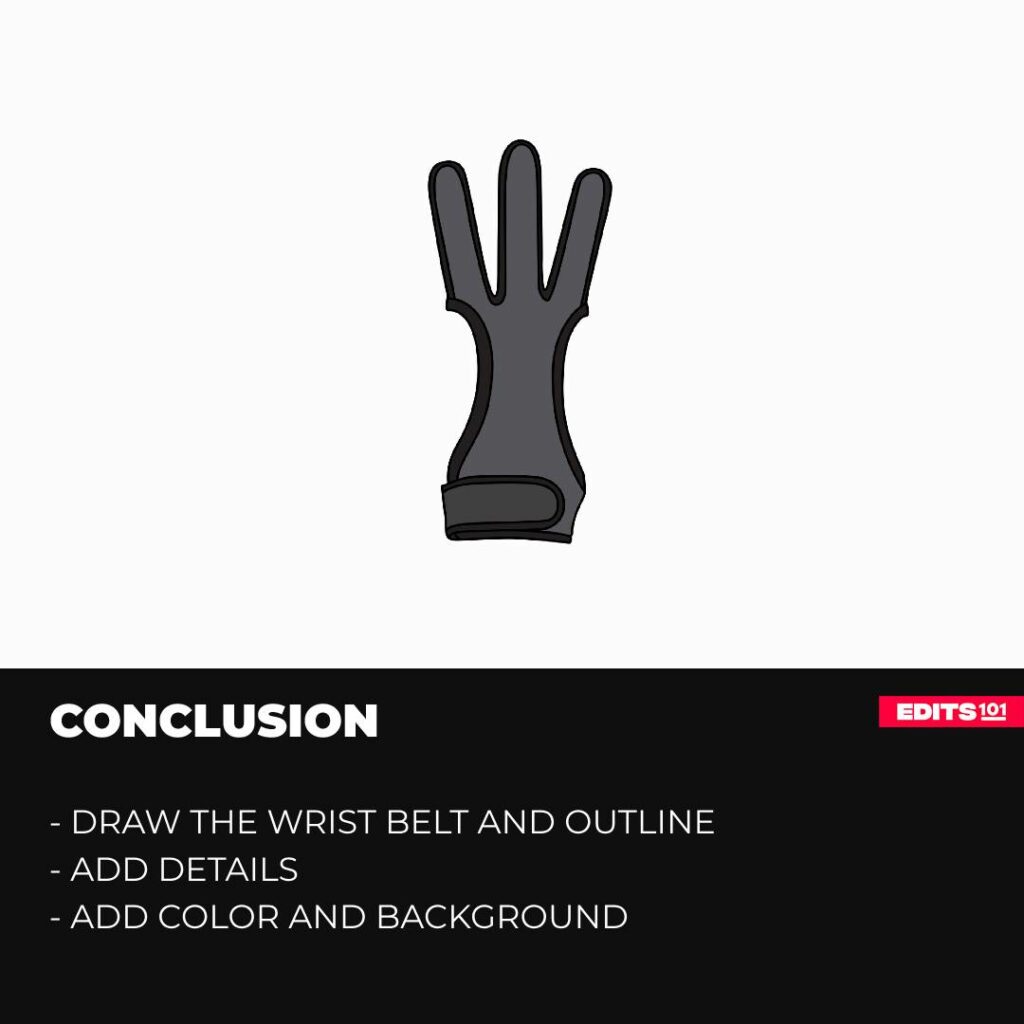
Conclusion
Well done for successfully completing your archery glove drawing. You have sketched a wrist belt, an outline of the hand, and added extra details to improve your drawing.
By learning about the functions and fun facts surrounding archery gloves, you can better appreciate their significance in the sport. Remember to keep practicing regularly to heighten your skills and perfect your drawings.
With dedication and practice, you can continue to refine your technique and develop a deeper appreciation for the art of archery. See you next time in another tutorial!
Thanks for reading & feel free to check out more of our articles!
Author Rating
Overall Rating
Summary
This tutorial will guide you through sketching a basic archery glove and then refining it to achieve a more realistic and detailed appearance.