How to Draw an Ice Hockey Glove | An Easy Guide for Both Adults and Kids
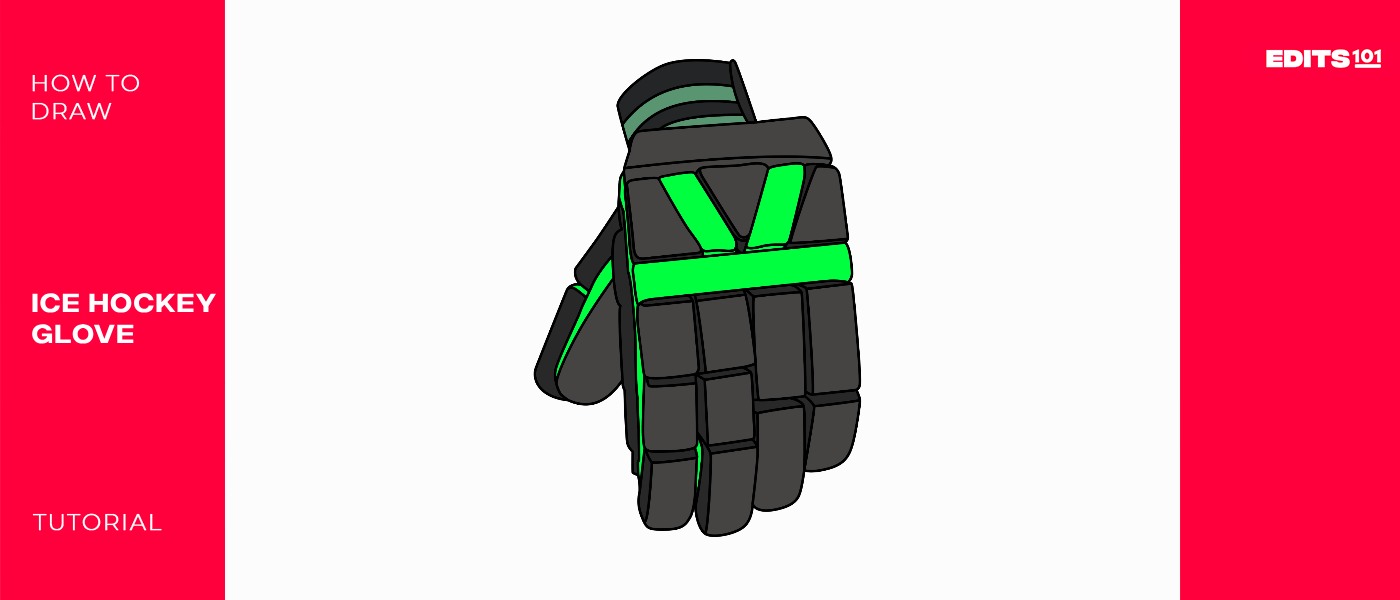
To protect their hands, ice hockey players wear gloves. These gloves are known as ice hockey gloves. They come in different designs and colors. In our guide, we will be looking at how to draw realistic ice hockey gloves from scratch. But first, let’s learn a few things about these gloves.
The most important point to note is there are two types of ice hockey gloves. The first time is the skater’s gloves. These are the same on both hands and are worn by players to protect them from flying hockey pucks and from opponent’s ice hockey sticks. The second type is the goaltender’s gloves which are different on each hand: blocker (this has a large pad across the back) and a trapper (worn on the other hand for catching. It is similar to a softball glove). In our lesson, we will be drawing a skater’s glove.
| Steps | Complexity Level |
| Drawing the Glove Outline | 3 |
| Drawing the Wrist Cuff | 2 |
| Drawing the Back Padding | 3 |
| Drawing the Finger Padding | 3 |
| Adding Thumb Details | 1 |
| Coloring | 1 |
What You Will Need
- A drawing piece of paper
- Pencils
- An eraser
- A ruler
- Coloring supplies
- 20 Minutes
How to Draw an Ice Hockey Glove Step by Step
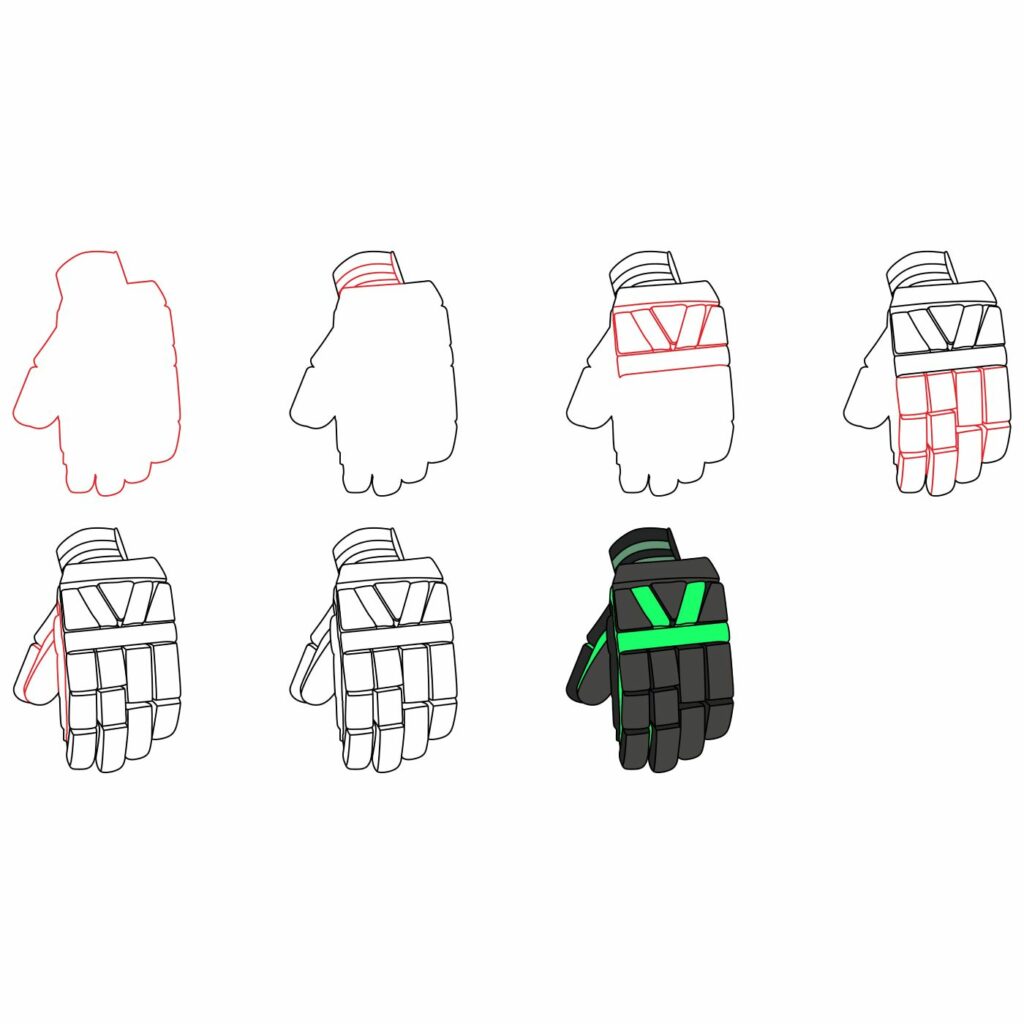
Drawing a realistic ice hockey glove requires that you tackle the drawing methodically. That is what we will be doing in our tutorial. Before you get started, take a moment to study the below image. It has the steps we will be taking.
Step 1: Draw the Outline
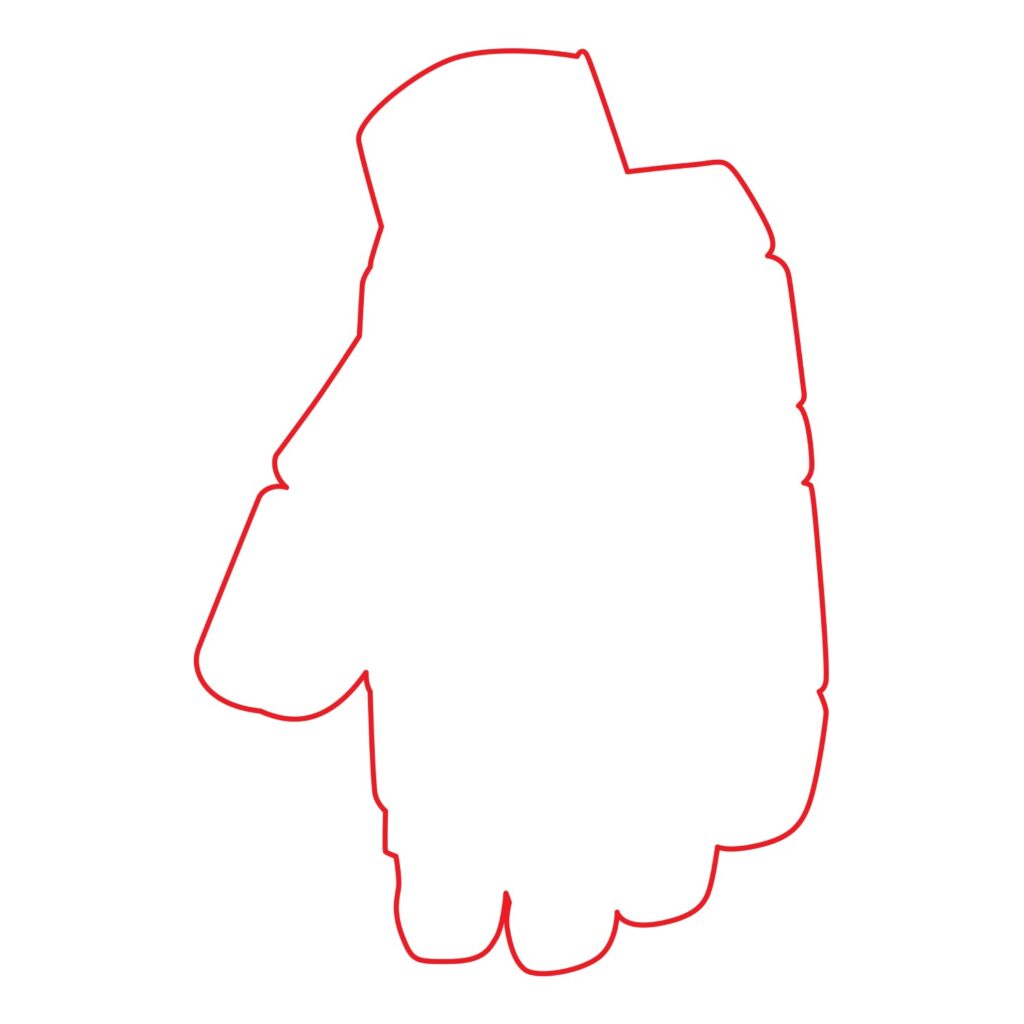
The first step when drawing any type of glove is to draw the outline. The outline is the basic structure of the glove. It outlines the boundaries of the drawing thus setting the foundation. For this part, you can use any glove for reference. If you don’t have one, try and recreate what we have below.
Hold your drawing paper vertically and start by drawing the wrist part of the glove. This should be at the very top of the paper. Next, use a diagonal line to add the outline for the thumb on the left part of your paper as shown in our illustration. Go back to the wrist part and use diagonal lines to add the palm and then extend it down to form the tip of the glove and then connect the line to the thumb.
Your drawing should cover almost the whole drawing area because this is the largest part of our ice hockey glove. Your lines don’t need to be perfect.
- Use a curved line to draw the wrist cuff at the top of your page
- Use curved lines to draw the thumb, palm, and fingertips
Step 2: Draw the Wrist Cuff
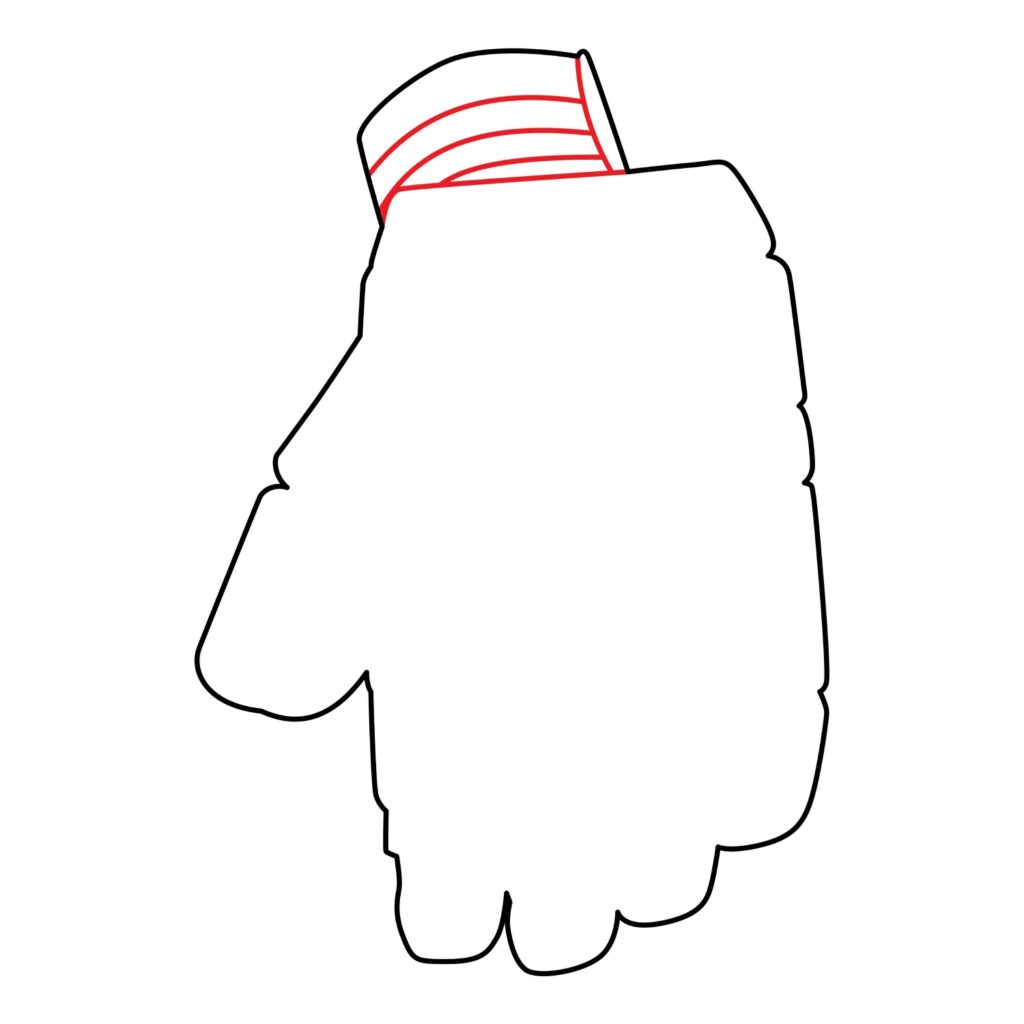
To turn the outline into a realistic ice hockey glove, we are going to add some details to it. The first thing we are going to do is add details to the top part of the outline to form the wrist cuff. The wrist cuff is the part of the glove that goes around the wrist.
Start by adding a horizontal line that separates the wrist cuff from the palm part of the glove. Next, add a series of slightly curved lines along the length of the wrist cuff. The lines will give your drawing a realistic touch and make it look more like a professional hockey glove.
- Add a horizontal line that separates the wrist cuff from the palm
- Use slightly curved lines on the wrist cuff to make it more realistic
Step 3: Draw the Back Padding
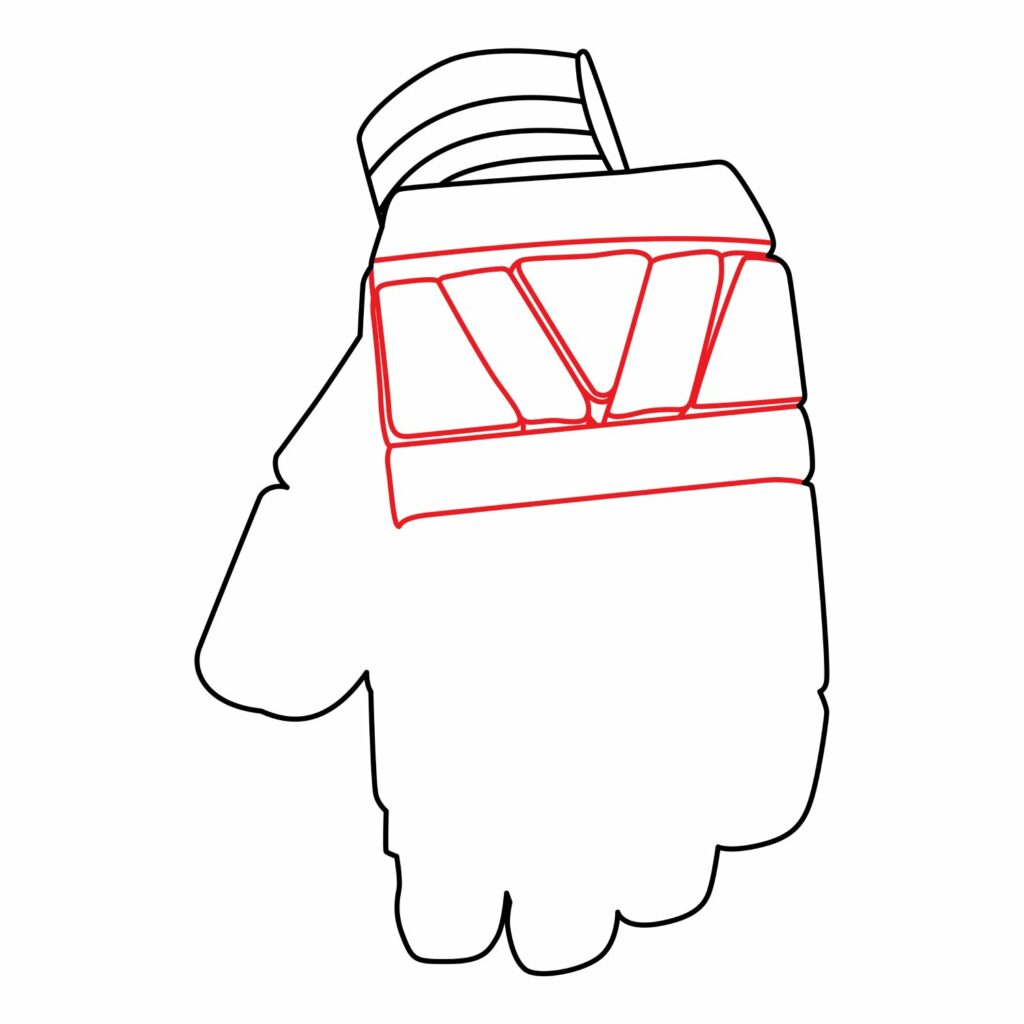
Next, we are now going to work on the palm section of the ice hockey glove. The first thing we will do is add some padding to the top part that is close to the wrist cuff. For this, we need a ruler in order to create straight lines.
Draw a horizontal rectangle that covers the top part of the palm. The lines of the rectangle should not go over the thumb. Next, add two parallel lines inside the rectangle: one close to the top and the other close to the bottom as shown in our illustration below. You should then add diagonal lines inside the rectangle to capture the essence of an ice hockey glove.
- Draw a horizontal rectangle on the top part of the palm
- Add two parallel lines inside the rectangle
- Use diagonal lines to add details
Step 4: Draw the Finger Padding
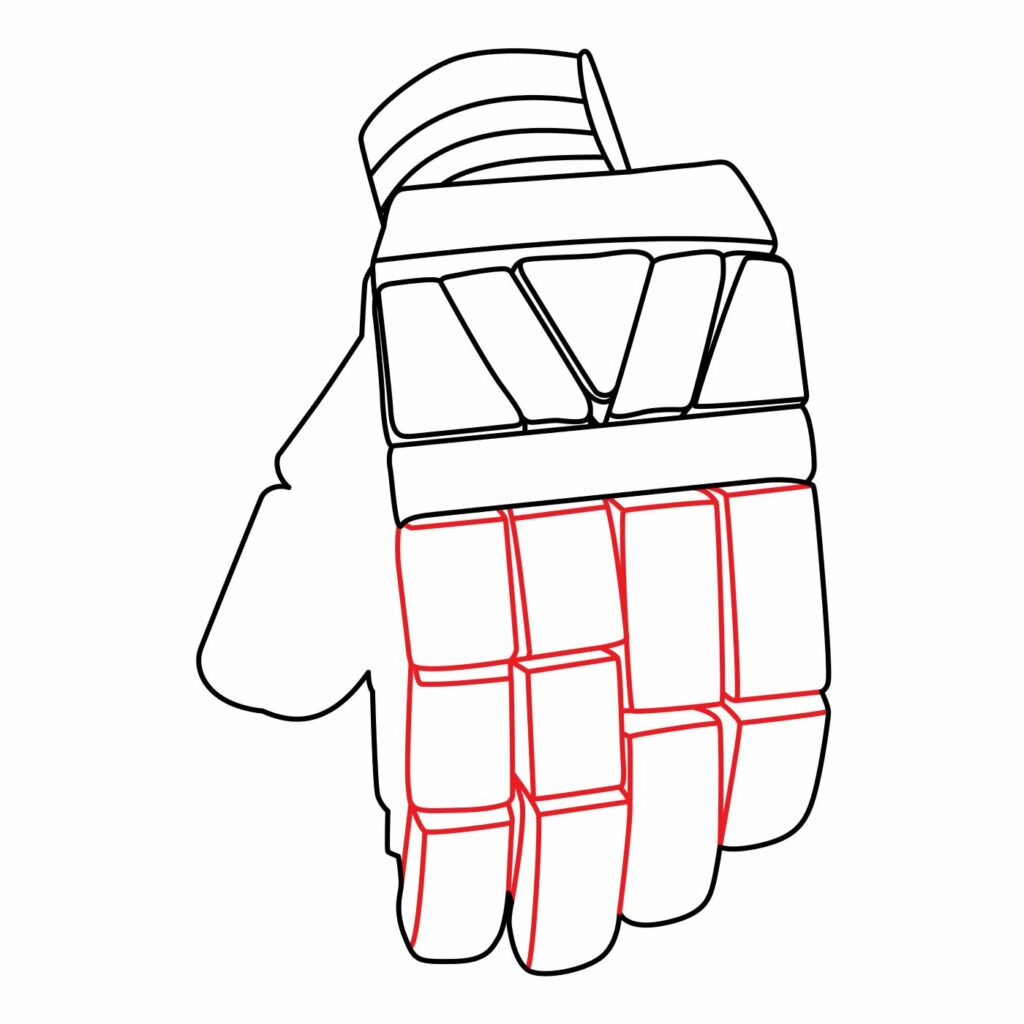
In this next part, we will still need our ruler to draw straight lines that extend from the bottom of the palm padding to the tip of the glove. Use vertical lines to create four fingers as shown in our image. You should then add depth to the fingers by drawing some horizontal lines along the length of the vertical shapes.
Your glove is starting to take shape! We have one more thing to do to complete the basic layout of the ice hockey glove.
- Use vertical lines to create four fingers below the palm padding
- Add horizontal lines to add depth to the finger padding
Step 5: Draw the Thumb Finger Details and Side Border
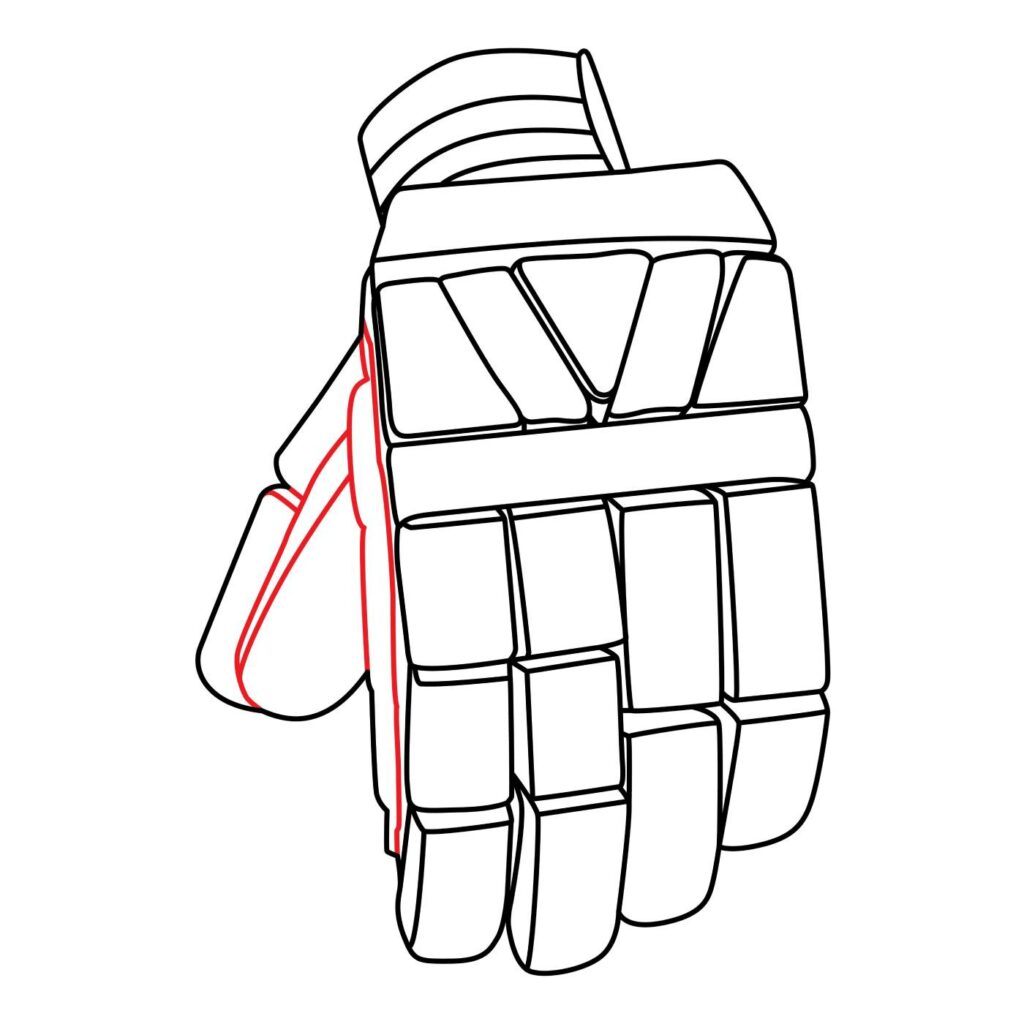
To define our ice hockey glove further, we are now going to add details to the thumb area. For this, we will be using two curved lines that cover the length of the thumb structure. The two lines should connect close to the tip of the thumb in order to give it a realistic look.
Next, we need to add a side border. This is meant to indicate that our glove is thick. For that, add vertical lines along the right side of the thumb’s base. Make sure the lines connect to the forefinger before getting to the tip of the glove.
- Use curved lines to add depth to the thumb
- Draw a vertical line along the length of the right side of the thumb’s base to add depth to the glove.
Step 6: Congratulations! Your Hand Glove’s Drawing Is Complete.
With just five simple steps, your ice hockey glove is now ready for action! Give yourself a pat on the back for work well done!
You should keep in mind that your drawing cannot be exactly like ours. If you were tackling this drawing with a friend, you would notice that their drawing doesn’t look exactly like yours. This is because each artist has their own signature.
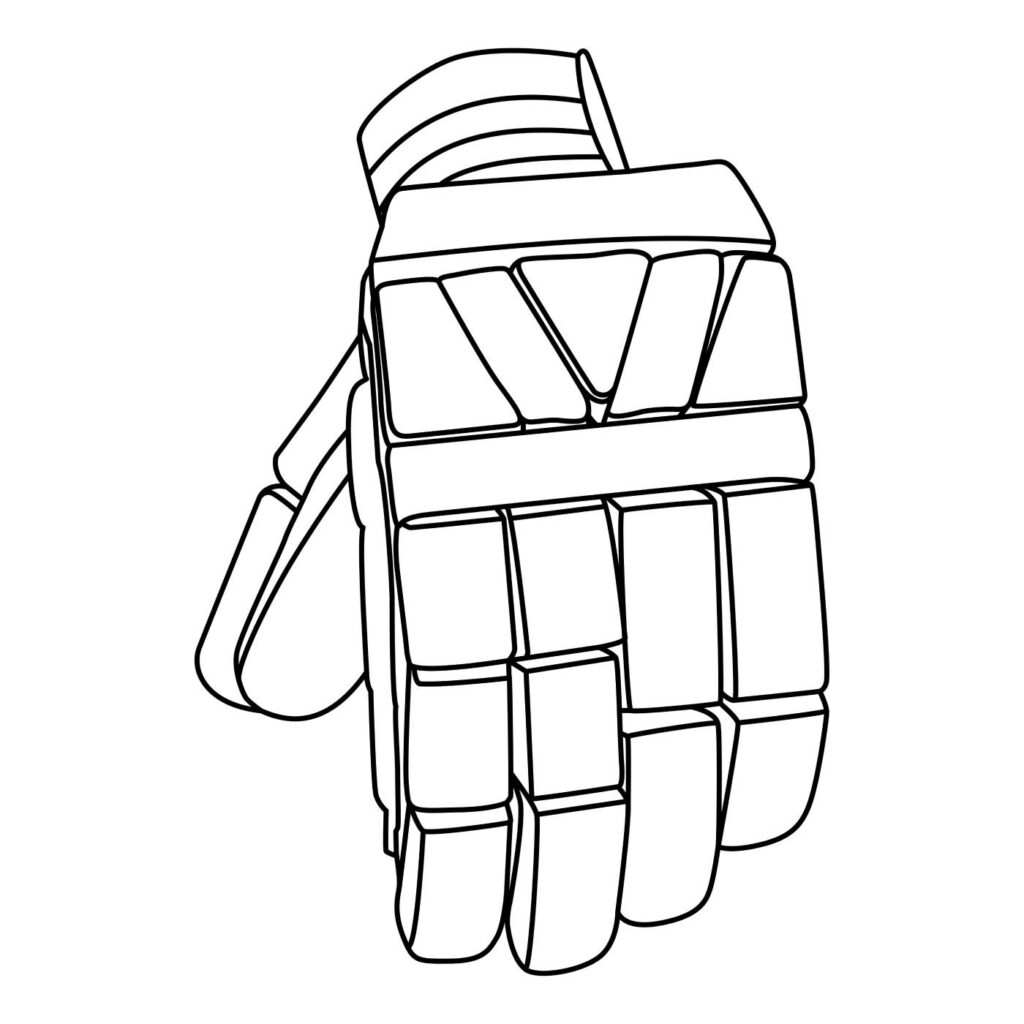
Taking the Drawing to the Next Level
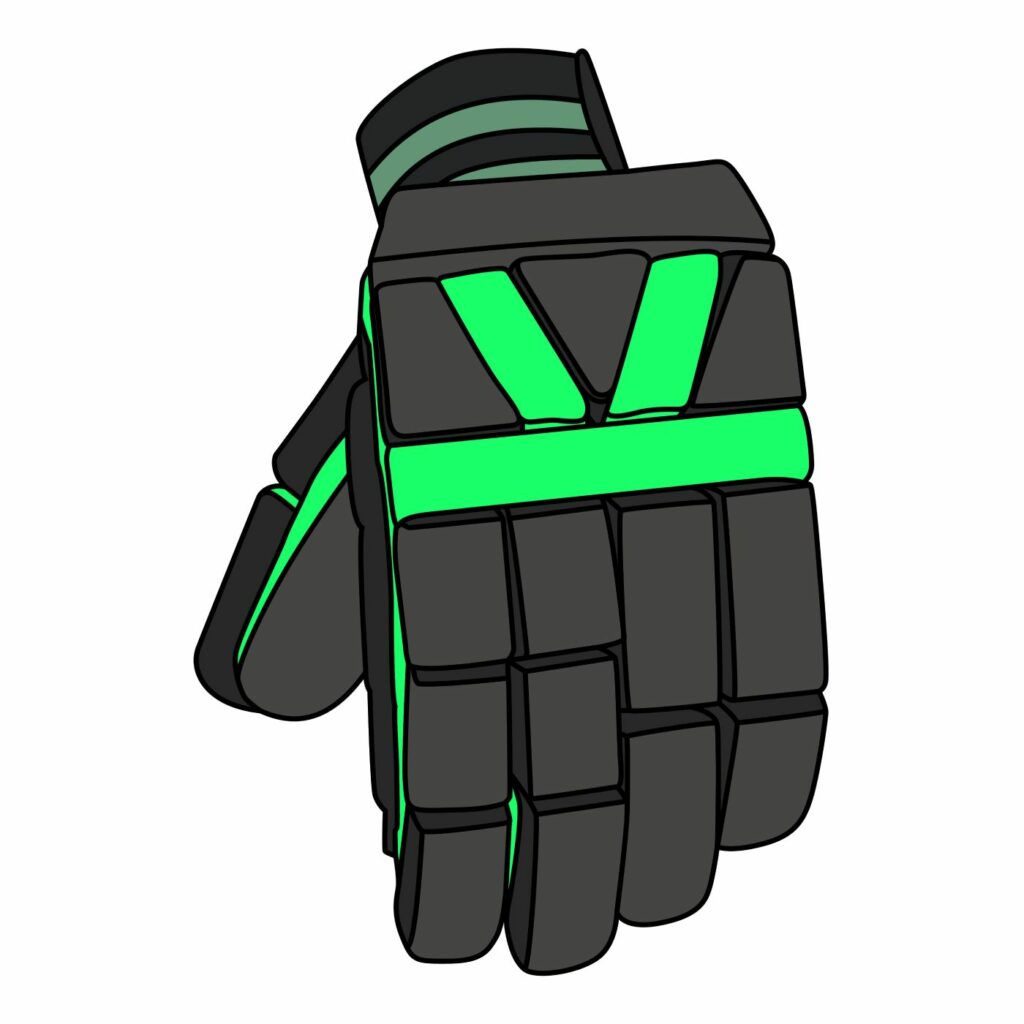
It is okay if you wish to leave your drawing as it is. However, if you want your drawing to stand out, you need to add a few more details. There are several things you can do to elevate your masterpiece. For starters, you can add a background of your choosing. This can be an ice hockey puck or stick in the background or a drawing of the goal area. The choice is yours. In our drawing, we simply colored the glove to make it pop.
Step 7: Color Your Drawing
Infusing your drawing with vibrant colors will truly bring it to life. Take out your coloring supplies and add the colors that you love. You don’t have to stick to the norm. This is your drawing and you can use any color that you choose.
A rule of thumb is to use different colors for the different parts of the ice hockey glove. Doing so will not only make the glove stand out but also avoid concealing the details we added. You should also make sure the colors don’t spill outside the borders of the areas you are coloring.
Conclusion
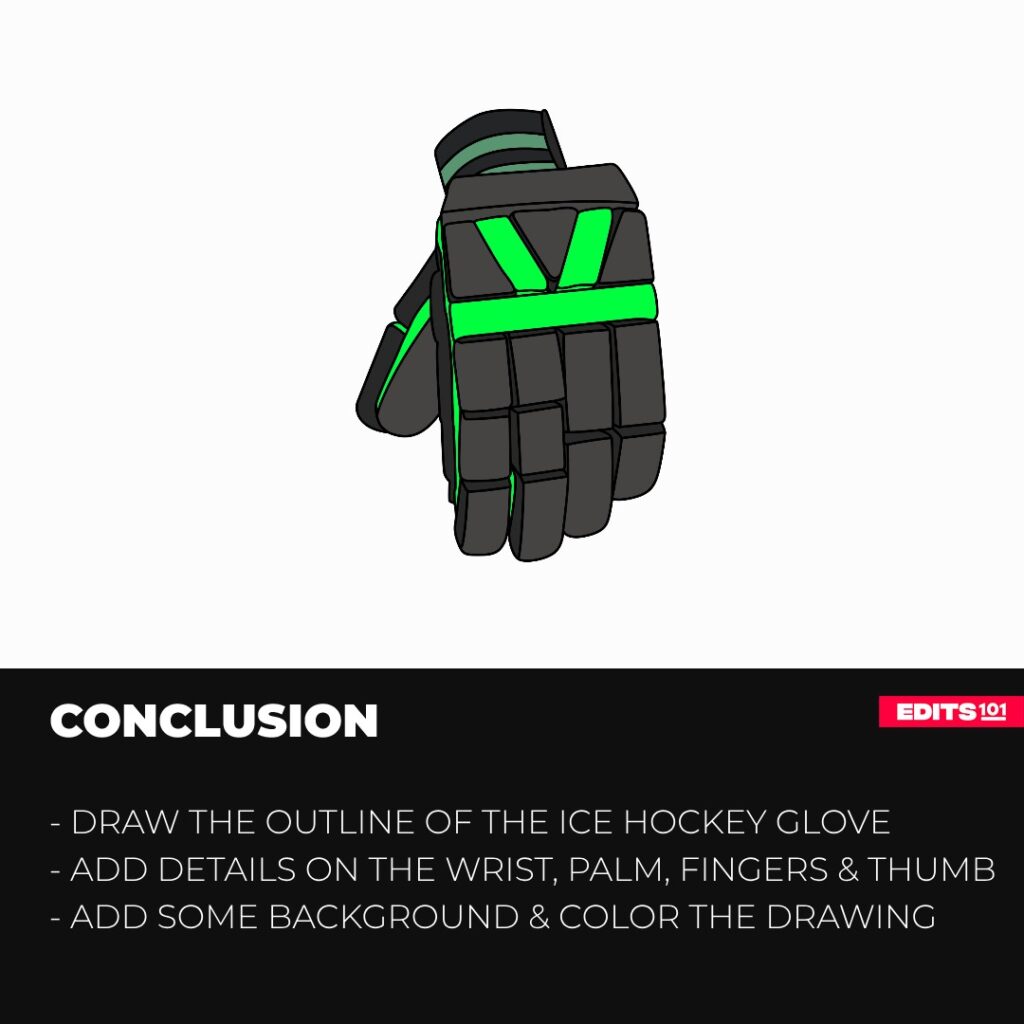
Congratulations on successfully creating an impressive ice hockey glove illustration! As you can see, the process is not complicated especially when you know where to start and how to go about everything.
In our easy guide, we started by drawing the outline of the ice hockey glove. We then turned the outline into a realistic glove by adding details to the wrist cuff, palm area, and then to the fingers and thumb. To make our drawing pop, we colored it.
You can use these steps to draw a realistic ice hockey glove on any sketching software. Keep in mind that it is only with practice that you will get better as an artist. Keep drawing and never forget to have fun doing it.
Thanks for reading & feel free to check out more of our articles!
Author Rating
Overall Rating
Summary
Learn how to draw a realistic ice hocke glove in 6 simple steps.

