How to Draw an Ice Hockey Stick | Step-by-Step Guide
Ice hockey is a very popular sport that captivates fans all over the world. When compared to field hockey, this fast-contact sport is distinguished by the fact that the players are on ice skates, and the game is played on an ice skating rink. In today’s lesson, we shall be learning how to draw a detailed ice hockey stick.
The ice hockey stick is a piece of equipment used to shoot, pass, and carry the puck across the ice when playing ice hockey. This stick is usually about 150 to 200 centimeters long. It has a long, slender shaft with a flat extension at the end known as the blade. Now that you understand the basics, let us get started on our lesson.
| Step | Complexity Level |
| Drawing the Ice Hockey Stick Outline | 3 |
| Drawing Some Details | 2 |
| Coloring | 2 |
What You Will Need
- A drawing piece of paper or your sketching app
- A regular graphite pencil
- An eraser for making corrections
- A ruler
- Coloring pencils or markers
- 10 Minutes
How to Draw an Ice Hockey Stick Step-by-Step
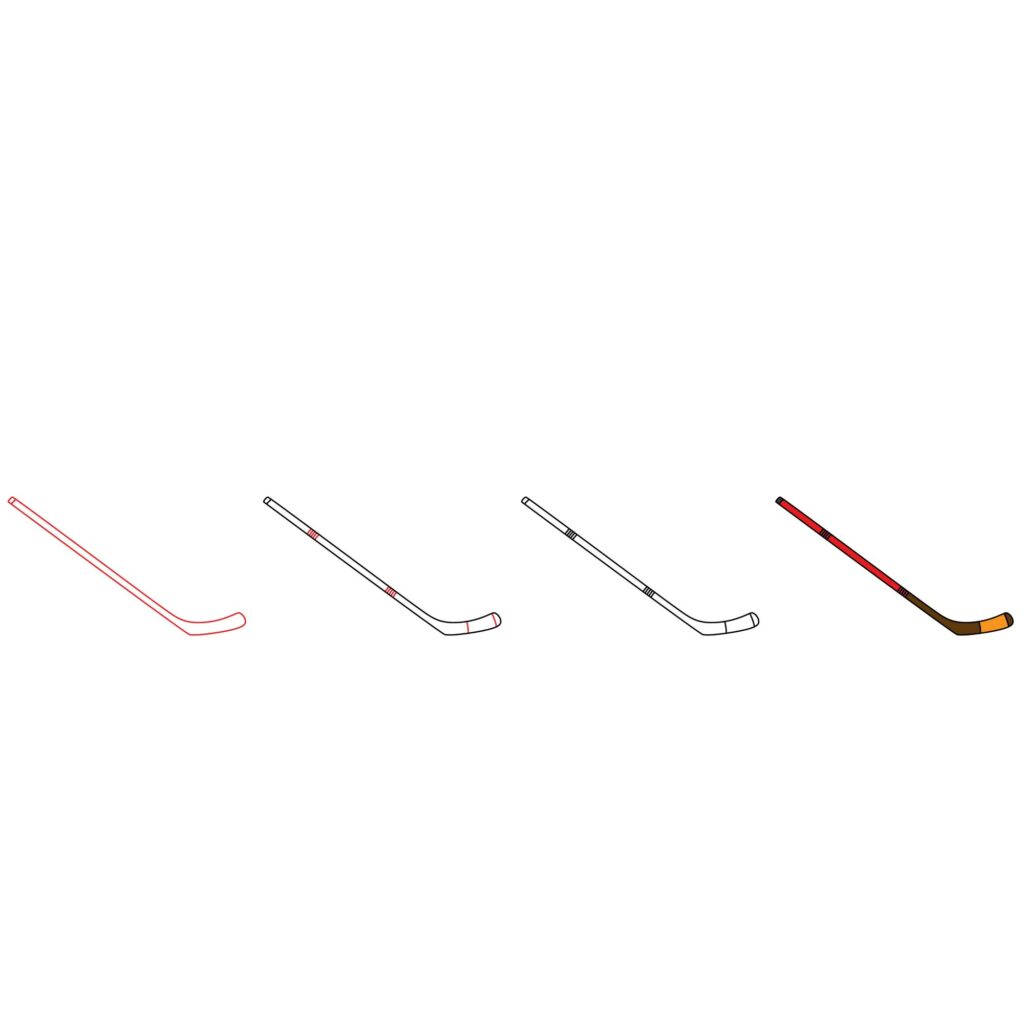
Drawing an ice hockey stick is pretty straightforward. However, to avoid making mistakes, we have shared an image with all the steps we will be taking in today’s lesson. Study the below image keenly so that you have an idea of what will be involved in the lesson.
Step 1: Draw the Ice Hockey Stick Outline
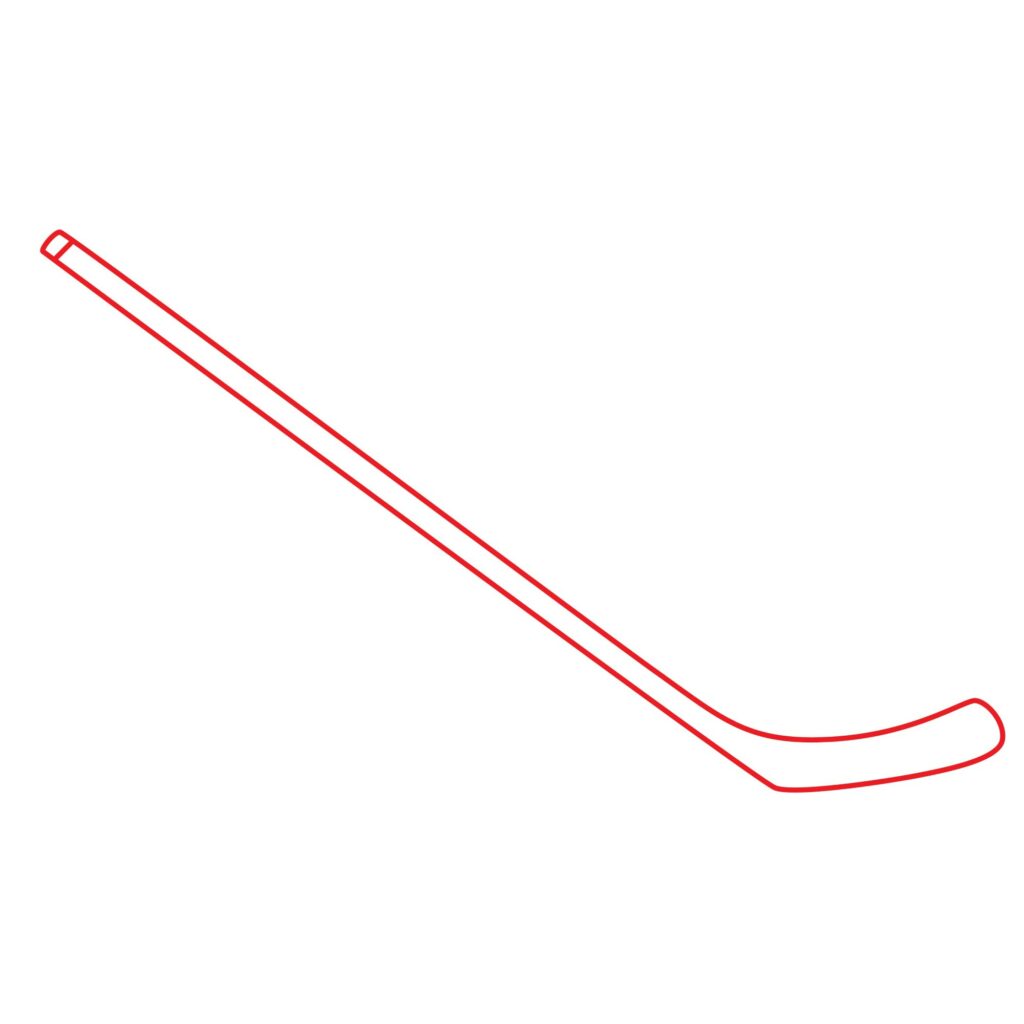
The first thing we are going to do is draw the basic outline of an ice hockey stick. Keep in mind that this will cover almost the entire area of your drawing space because it is a pretty long stick. To be able to achieve a realistic drawing, we recommend drawing the ice hockey stick diagonally.
The first thing we are going to do is use our ruler to draw a flattened, diagonal rectangle starting close to the top left corner of the drawing paper and extending downwards towards the bottom right corner. This will form the shaft.
Next, we are going to add the blade. This is the bottom part of the ice hockey stick that is used for shooting, passing, and carrying the puck. To be able to do all this, the blade is usually flattened and wider than the shaft.
To add the blade, start by drawing a horizontal rectangle at the bottom right end of the shaft. You should then make the top part of the rectangle a bit curved and make the corners rounded. The bottom part of the rectangle should also be curved slightly.
Erase the parts of the rectangle that sit outside the curved sides. You should also remove the line that separates the horizontal rectangle and the shaft. That way you will combine the shaft and blade to form one continuous shape.
At the very top of the shaft, add a line so that you have the butt end. Your drawing should now look like what we have below.
- Draw a flattened, diagonal rectangle to form the shaft
- Draw a horizontal rectangle below the shaft, make the corners rounded, and curve the top and bottom sides to form the blade
- Erase the line that separates the shaft and blade so that you have one continuous ice hockey stick
Step 2: Draw Some Details
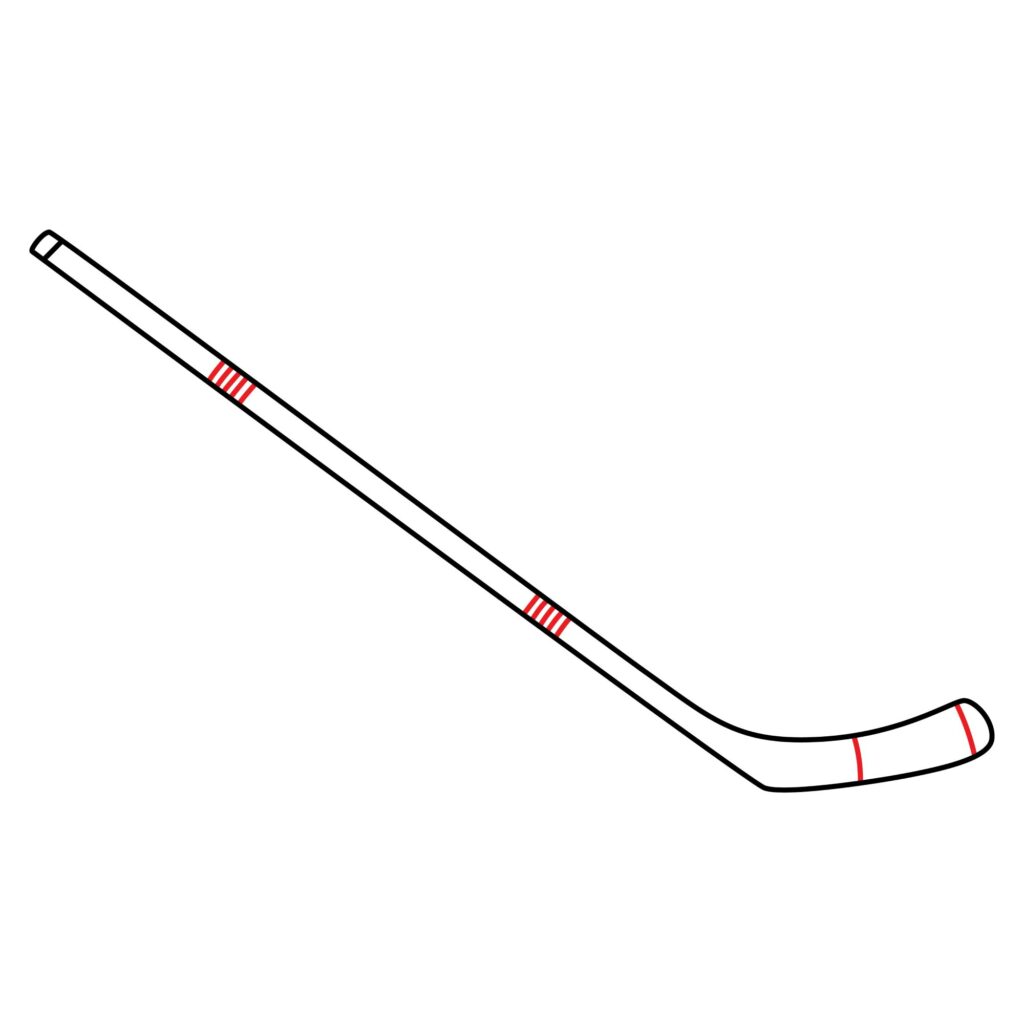
Now that the outline is ready, it is time to transform the basic drawing into a realistic ice hockey stick. We will start by adding some texture to the stick. For this, we will draw a couple of lines along the length of the shaft and blade.
Using your ruler, add a cluster of lines a short distance below the butt end. Leave some space and add a couple more lines close to the blade. These details are not just there to add depth and decoration to our drawing but also for realism. This is because a normal ice hockey stick has some texture which improves the player’s grip.
We are then going to add some details to the blade. The blade has two ends, the end below the shaft is known as the heel while the tip of the blade is known as the toe. To distinguish these two parts, we will add a slightly curved line a short distance from the heel and another one close to the toe.
You should keep in mind that these details can vary. Do not be afraid to get a little creative with your design.
- Add texture to the shaft using a cluster of lines
- Add two curved lines on the blade to distinguish the heel from the toe
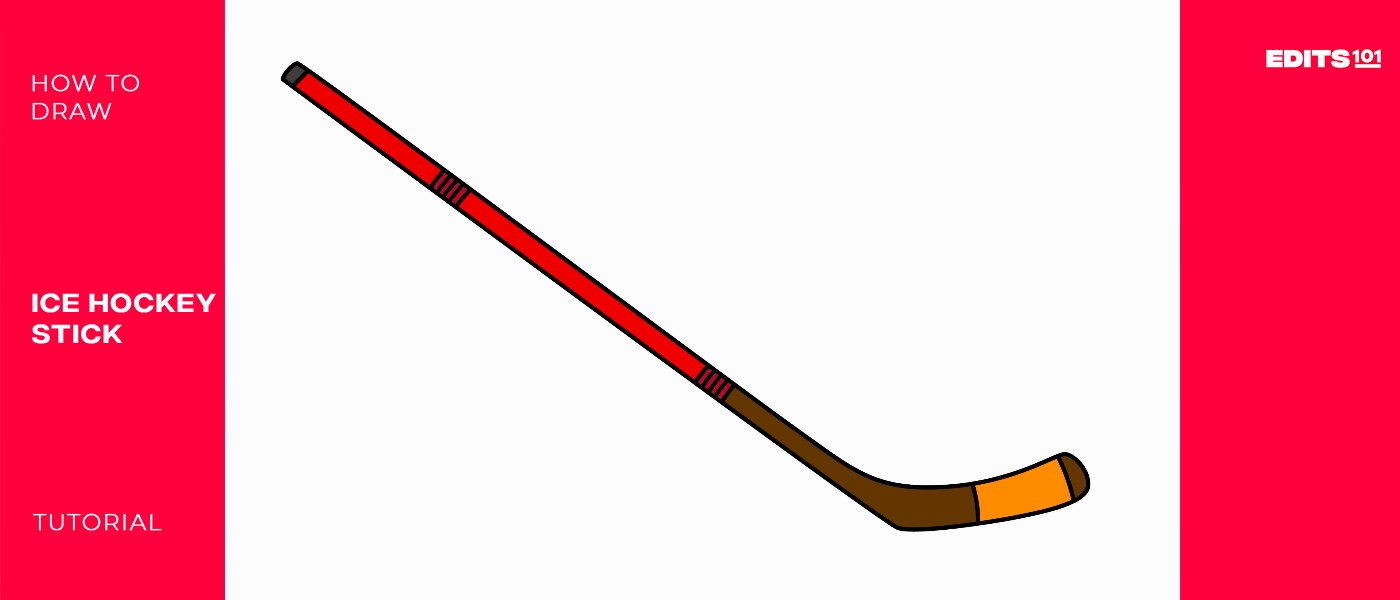
Step 3: Congratulations! Your Ice Hockey Stick is Done
At this point, the basic drawing of your ice hockey stick is complete! Take a moment to admire your work and appreciate how a few simple lines have transformed into a recognizable object.
If your drawing doesn’t look exactly like ours, you should not feel bad. You will achieve better results on your next attempt now that you know what is expected.

Take the Drawing to the Next Level
It is very okay to leave your ice hockey drawing as it is. However, since we want to turn you into an amazing artist, we will not do that. This is because the drawing is pretty boring as it is now. To demonstrate that the drawing was made by a great artist, we will add a couple more details.
Step 4: Color Your Drawing
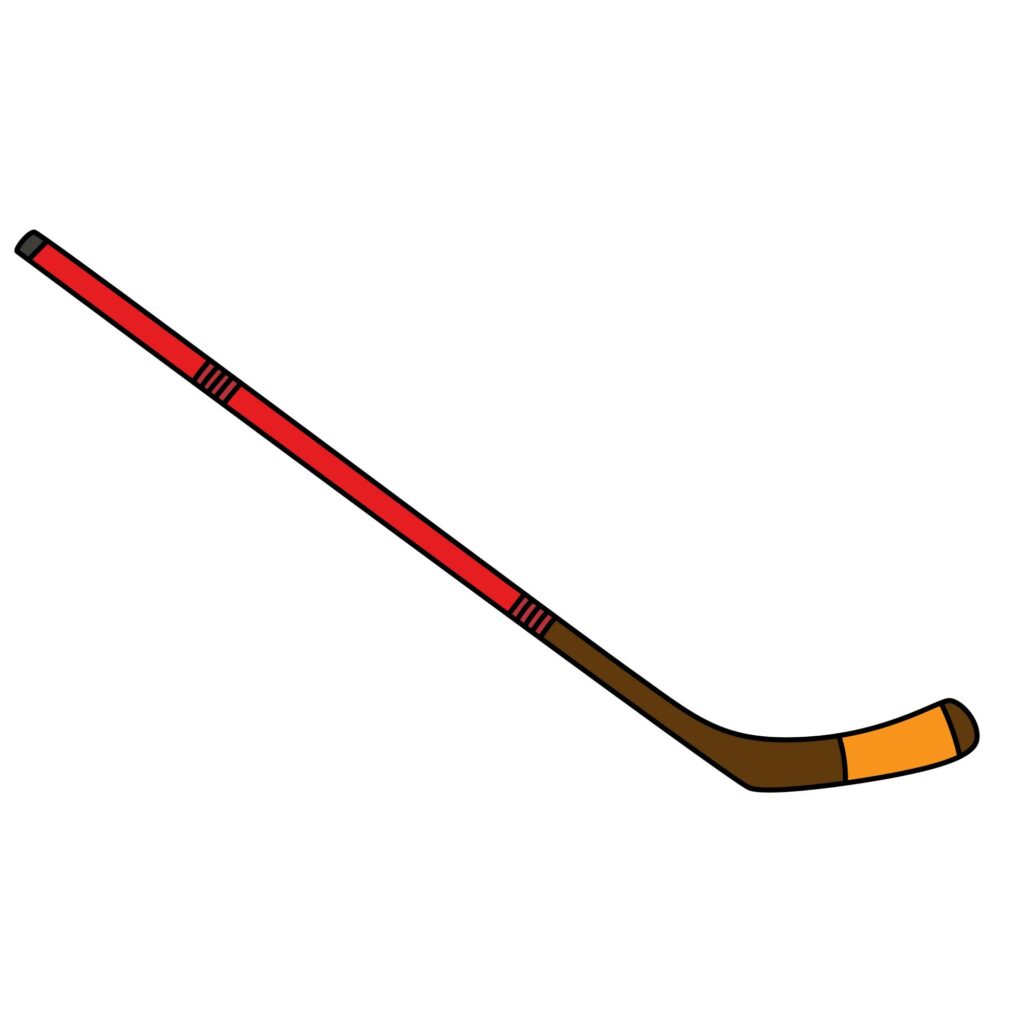
The best thing you can do to make your drawing pop is to color it. Color makes a drawing come alive. Grab your coloring supplies and start coloring. You should start by deciding on the colors you plan on using before you get started. This is because replacing colors, especially when using a marker, can be very hard.
For the best results, you should use different shades of color for the shaft, blade, grip, heel, and toe. That way the tiny details we added to our drawing will not be lost. You also need to make sure that the colors don’t spill outside the areas you are coloring.
- Decide on the colors you want to use
- Use different shades for the different parts of the hockey stick
Pro Tips
While coloring your ice hockey stick is the last thing you should do, there are a couple more things you can do to make your drawing stand out. You can make your ice hockey stick more engaging by:
- Adding a background. You can add some icy textures in the background to indicate that the stick is on a rink or hockey field.
- Write a name on the shaft. The name can be that of your favorite ice hockey player, a jersey number, or your own name.
- Sketch a player in action.
- Add the logo of a popular brand
This is your drawing. You can add any detail you want to make it stand out. Don’t forget to color your drawing last.
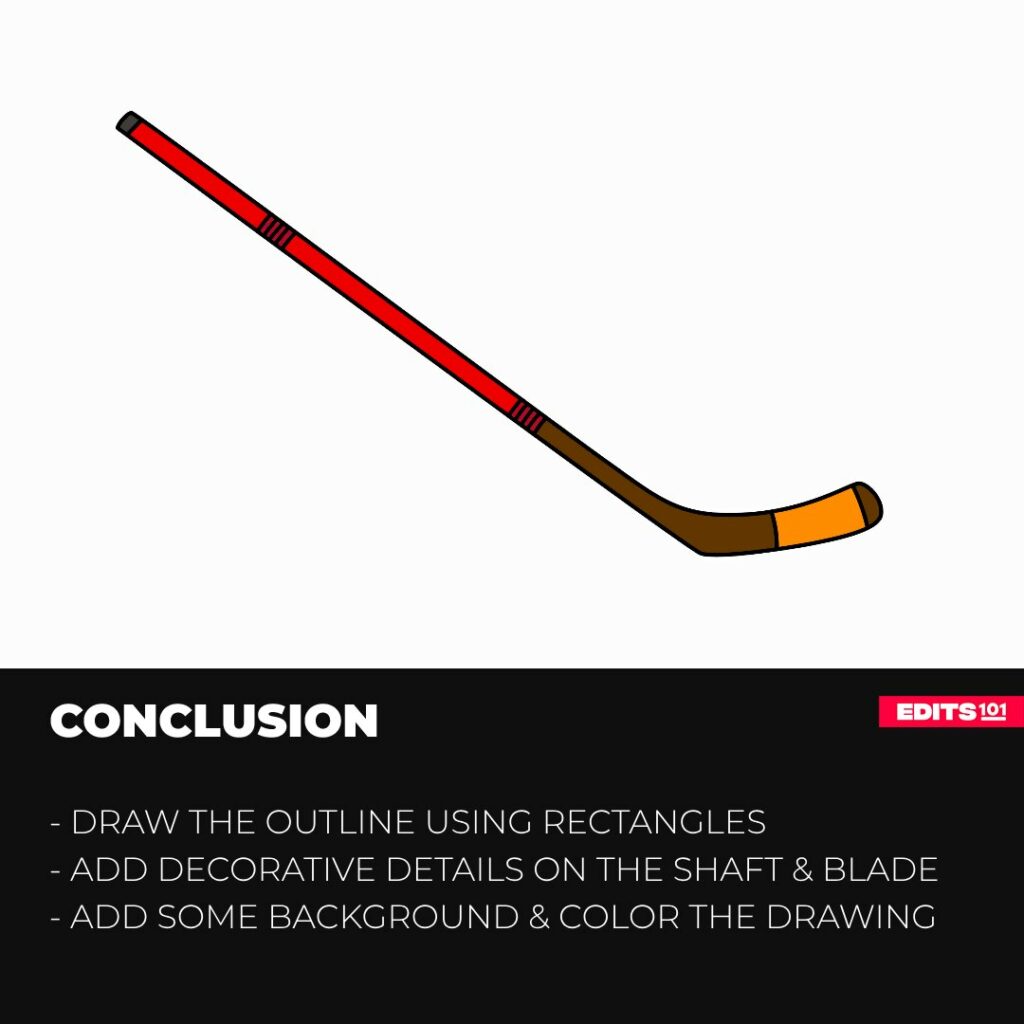
Conclusion
Drawing an ice hockey stick is not as complicated as some people consider it to be. The whole process can be a lot of fun when you know where to start and what to do.
In our step-by-step guide on how to draw an ice hockey stick, we started by drawing the shaft using a flattened rectangle. We then added the blade by first drawing a rectangle then rounding the corners and curving the sides. To add realism to the drawing, we added a line to distinguish the butt end and then some texture using straight and curved lines. We brought our drawing to life by coloring it.
By following the simple steps outlined in this guide, you can produce a striking representation of this iconic sports equipment. Whether you are using it for personal enjoyment or as part of a larger artwork, your ice hockey stick drawing will undoubtedly be a source of pride.
Thanks for reading & feel free to check out more of our articles!
Author Rating
Overall Rating
Summary
Learn how to draw an ice hockey stick is four simple steps. You will also learn how to advance your drawing so that it looks amazing.