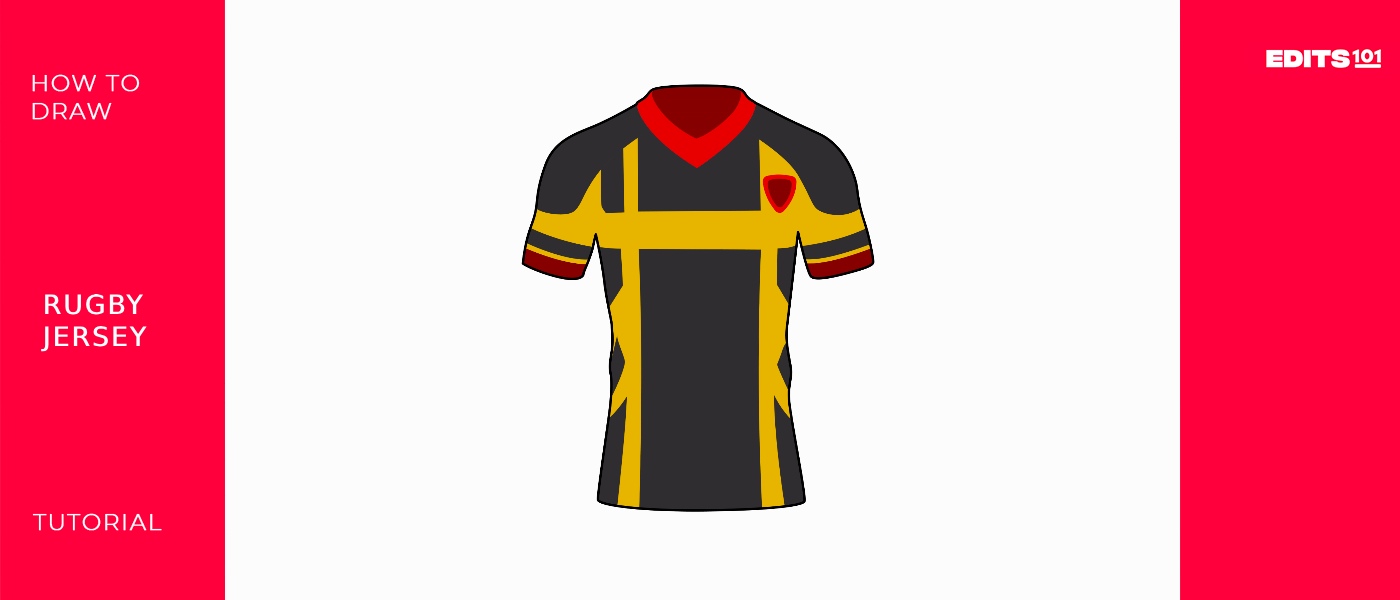
How To Draw A Rugby Jersey | An Easy Tutorial
Rugby jerseys are an iconic part of the sport, representing teams and countries from across the globe. The unique jersey designs are instantly recognizable to rugby fans worldwide. Rugby jerseys have a rich history, initially crafted from cotton and later evolving into more technologically advanced designs.
Traditional hooped patterns, notably popular in the UK, were adopted to distinguish rugby players from their soccer counterparts. The introduction of numbered jerseys in 1928 by the New Zealand team became a widespread practice. Beyond their functional role, rugby jerseys often carry symbolic significance, with teams selecting colors for psychological impact.
| Steps | Complexity level |
| Draw the collar | 2 |
| Draw the outline | 3 |
| Add details on the shoulders and sleeves | 4 |
| Draw details on the jersey body | 3 |
| Add a logo | 2 |
| Add background and color | 4 |
What you will need
- Paper
- Pencil
- Eraser
- Ruler
- Coloring supplies (optional)
How to Draw a Rugby Jersey
The essential supplies for drawing any rugby jersey include paper, a pencil, an eraser, and a ruler for straight lines. If you want to add color later, having coloring tools like markers, colored pencils, or crayons is useful. But to begin with, standard drawing equipment is all you need to illustrate a simple rugby top.
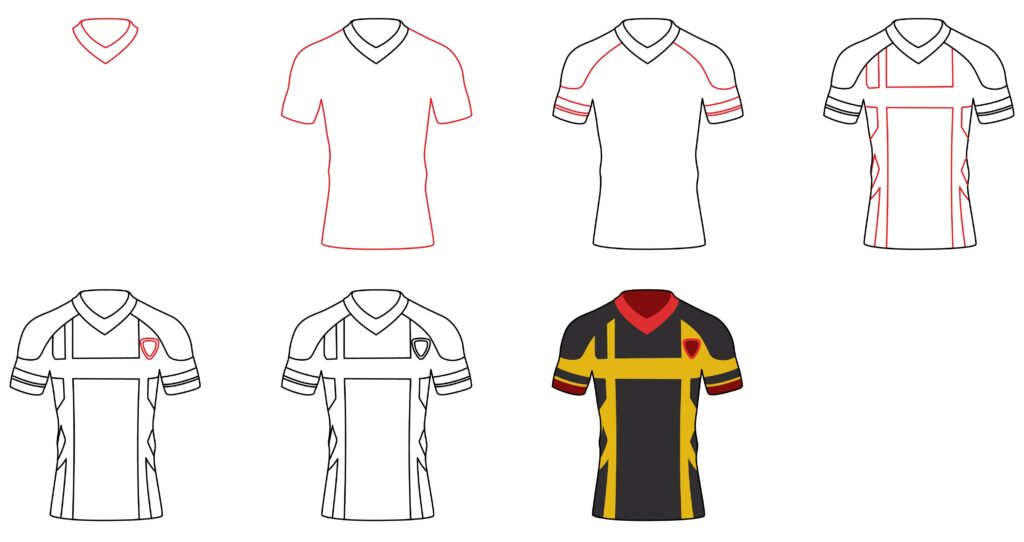
Step 1: Draw the collar
Rugby jerseys have a distinctive rounded collar. To start, draw a curved line across the top of your page to represent the collar seam. Add multiple curved lines on the front that get progressively smaller toward the center to create the rounded collar shape. Add another curved line below to separate the collar from the shirt. Use smooth, freehand curves.
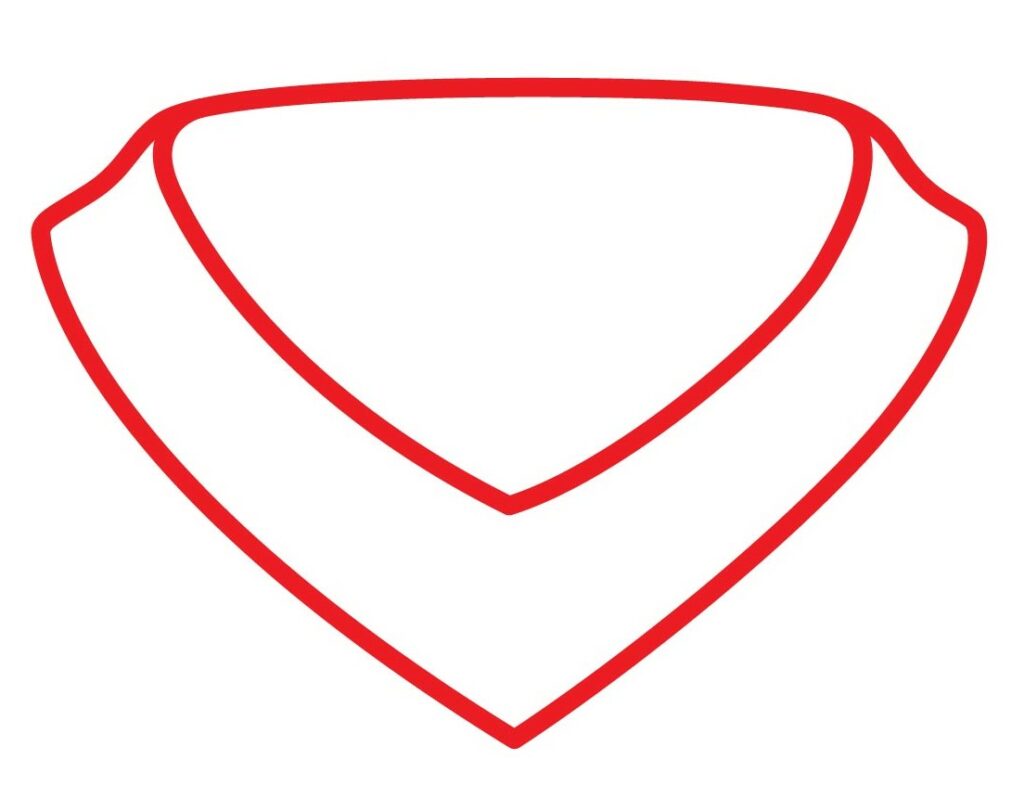
- Draw a curved line for the central collar seam
- Add multiple curves getting smaller for the rounded shape
- Draw another curve below to separate from the shirt
- Use smooth freehand curves
Step 2: Draw the outline
With the collar in place, lightly sketch the overall outline for the rugby jersey. Draw sloped shoulder seams coming down from each side of the collar. Add a center line from the collar to the bottom for the placket opening. Sketch smooth curves at the sides for the shirt hem. Angle the lines up toward the shoulders. Finally, draw sleeves attached at an angle. Keep lines light and proportions realistic.
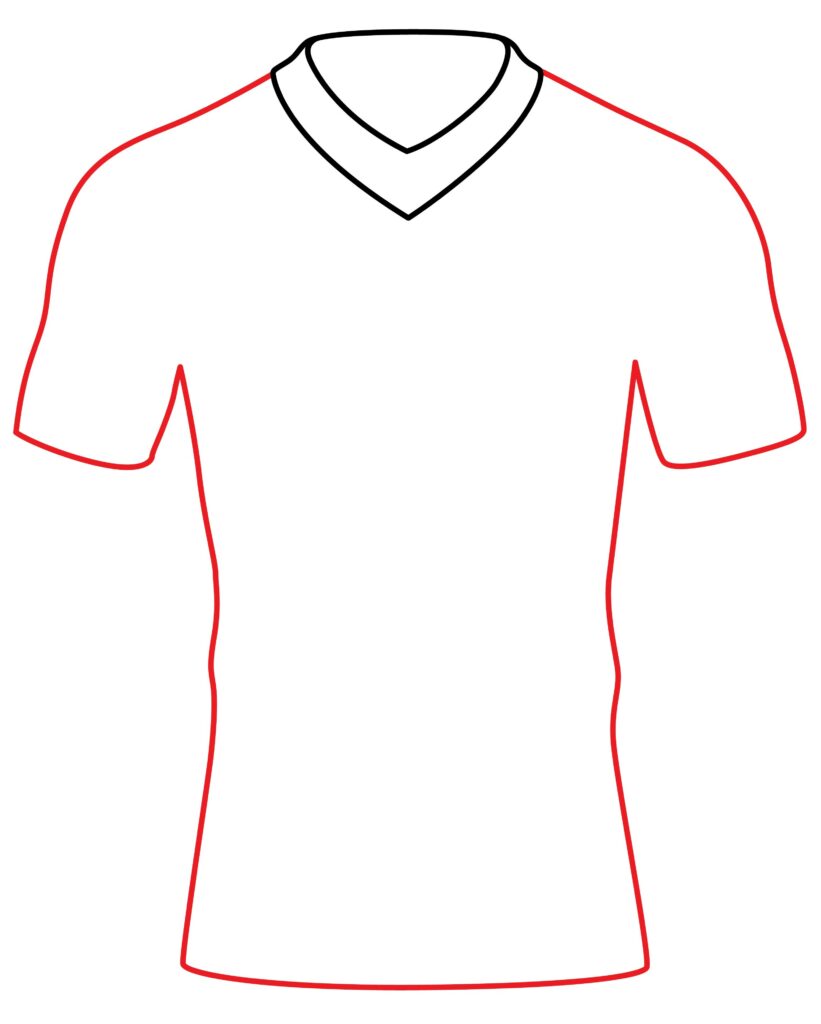
- Draw shoulder seams sloping down from the collar
- Add a center placket line from the collar
- Sketch curved hemlines angling up
- Attach sleeves at an angle
- Use light lines and realistic proportions
Step 3: Add details on the shoulders and sleeves
To add some rugby jersey detailing, draw a curved seam line on the top of each shoulder. Add a few curved lines on the sleeves for a banded effect. Sketch loosely, but keep the lines parallel. These details give depth and dimension to the shirt.
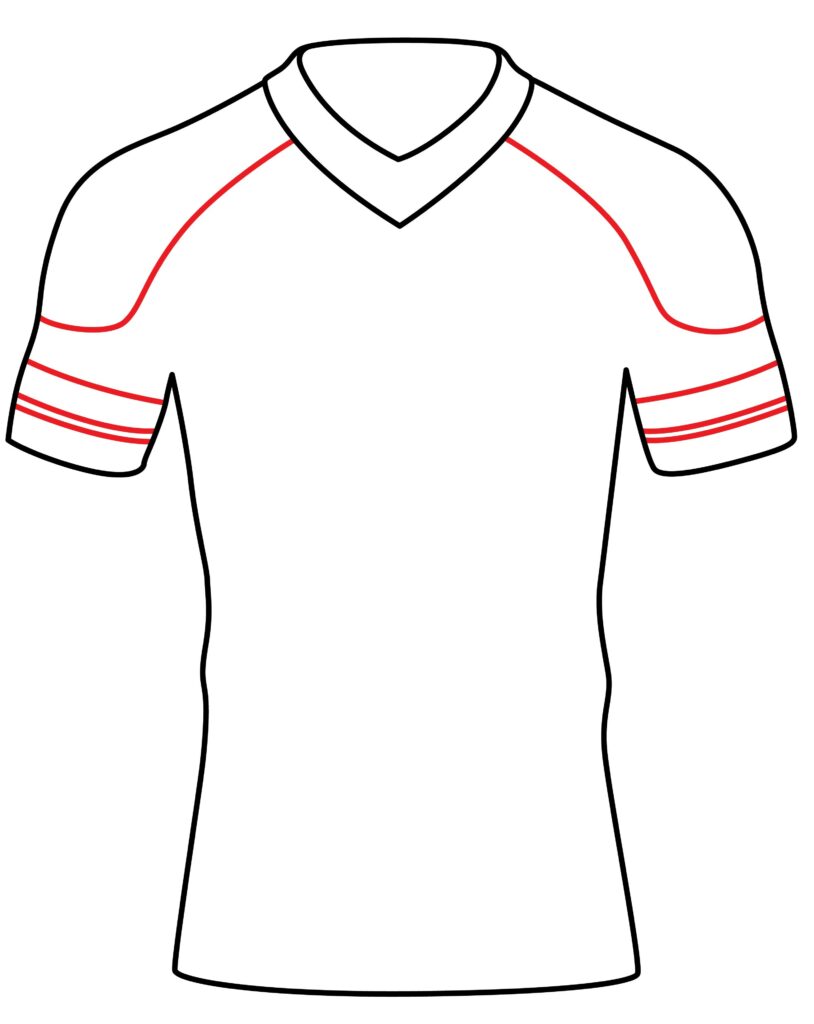
- Draw a curved seam line on each shoulder
- Add curved lines on the sleeves for bands
- Keep the curved lines parallel
- Use loose, rough sketches for detail
Step 4: Draw details on the jersey body
Rugby jerseys often have graphic elements and text on the front and back. To add interest, lightly sketch some straight lines or rectangles to indicate areas for text or logos. Also, draw some curved seam lines and shapes on the body for design elements. Keep the details basic and aligned to authentic jersey styling.
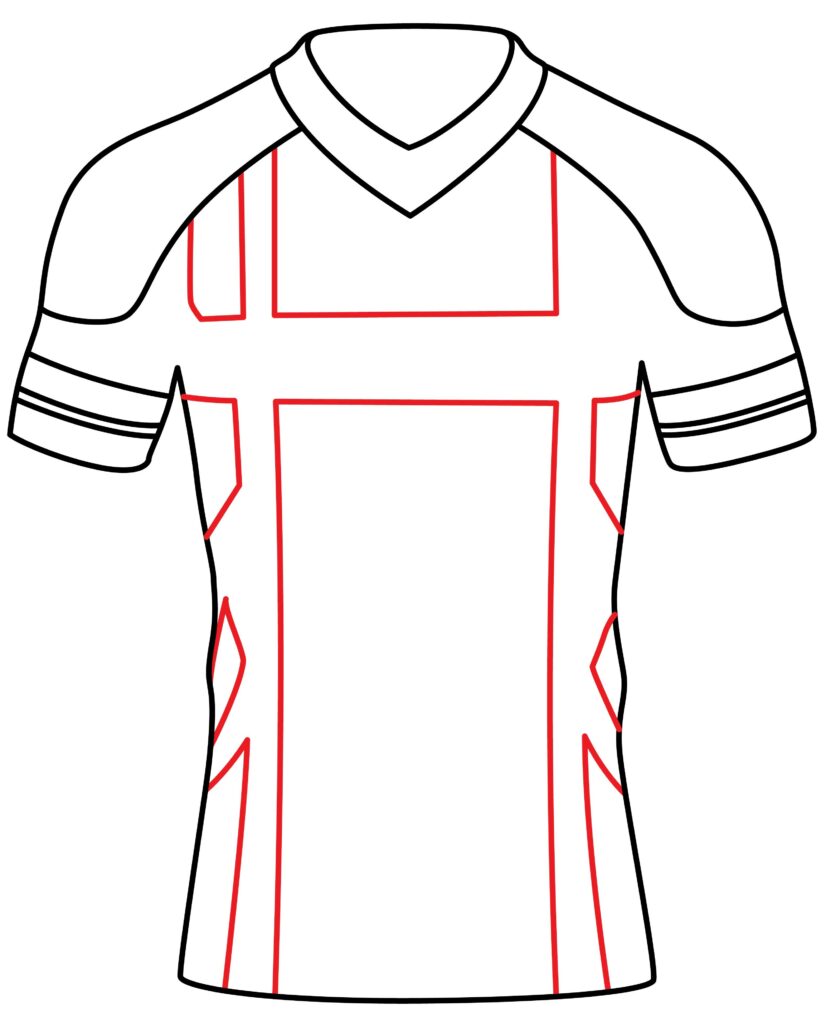
- Sketch straight lines or rectangles for text/logos
- Add curved seam lines and shapes
- Align details to actual rugby jersey designs
- Keep the detailed sketches basic
Step 5: Add a logo
Rugby jersey logos play a crucial role in representing the identity and branding of a team. These logos are prominently featured on the front of the jersey and often symbolize the team’s heritage, values, and sponsorship affiliations. The logos can vary widely in design, incorporating elements such as team mascots, emblems, initials, or stylized graphics that reflect the team’s unique identity.
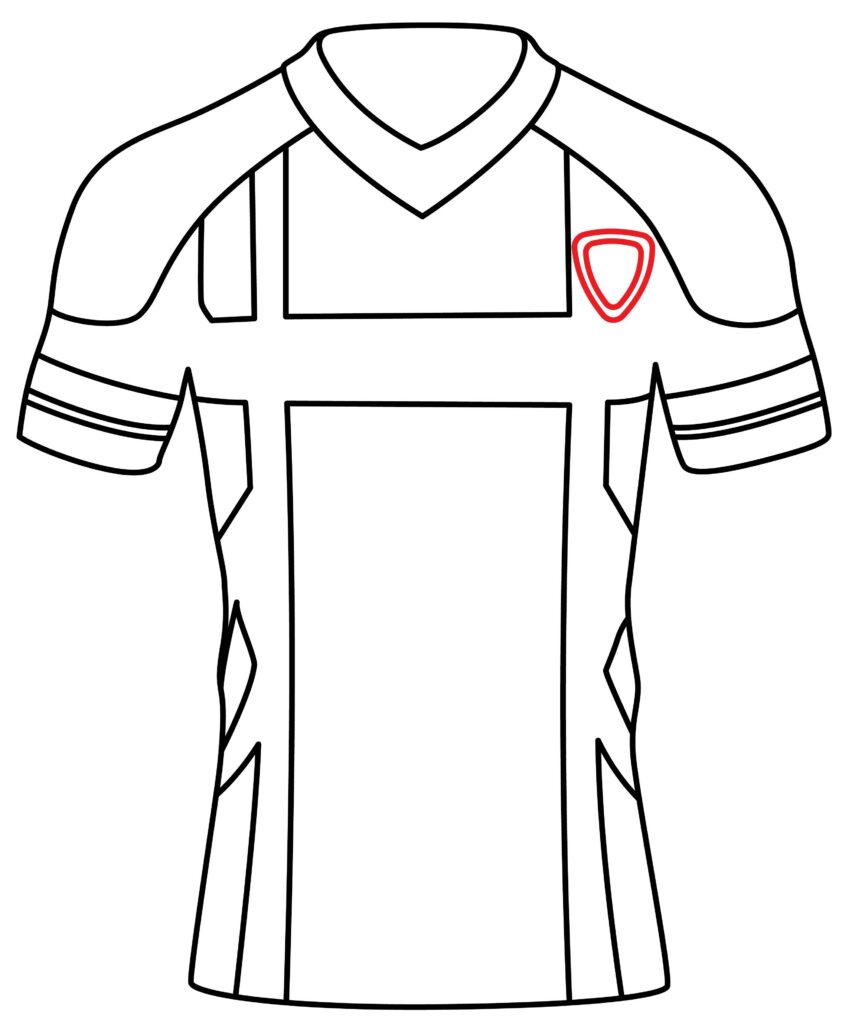
Most rugby jerseys feature the team logo prominently on the front. Choose a simple icon, lettering, or crest to represent your fictional team. In the center front area, sketch the logo outline lightly. Keep it basic, but ensure it stands out from the other details. Have fun and get creative with your logo concept!
- Sketch a simple logo on the center front
- Make the outline light
- Get creative with your logo design
- Make sure it is prominent and stands out
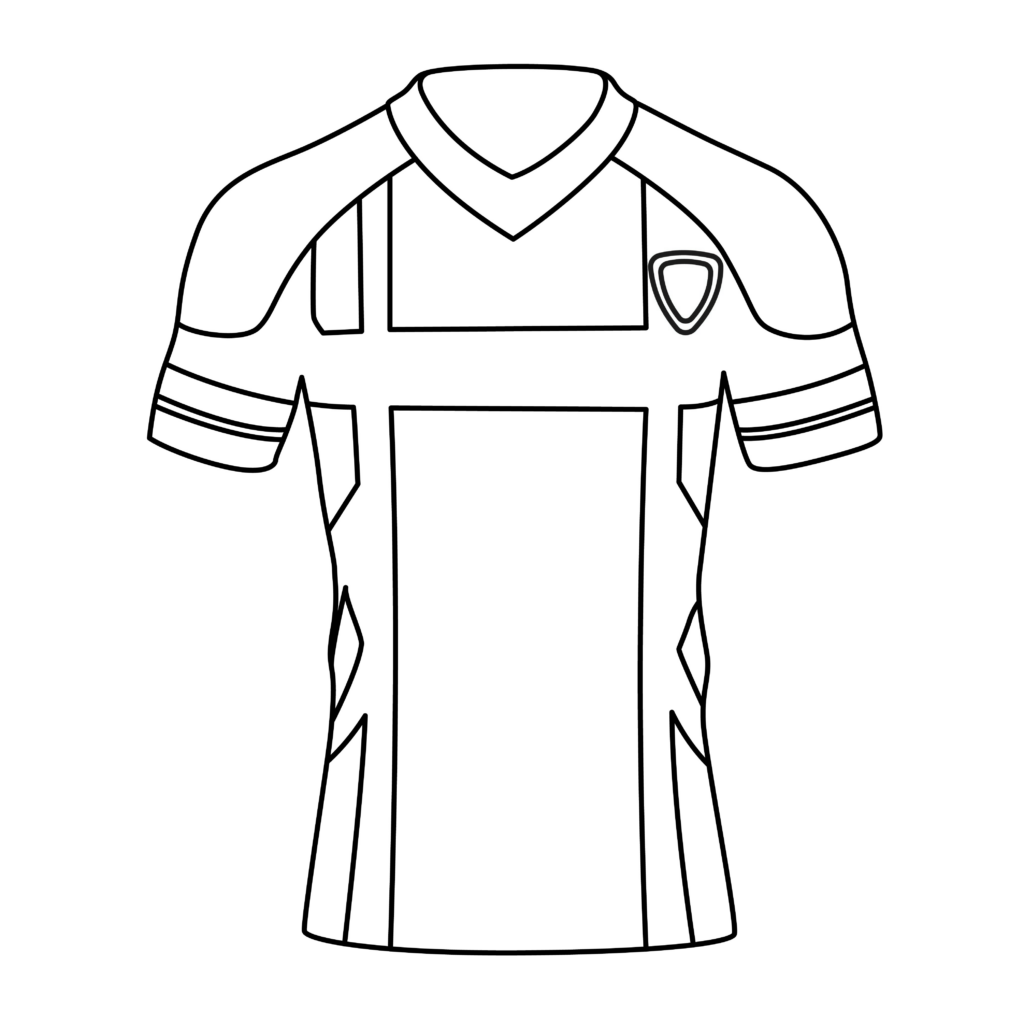
Step 6: The rugby jersey is ready
The rugby jersey is ready to be worn by a rugby player. You did an excellent job. You created your jersey, and we’re sure you followed every instruction. You can use a marker to outline the drawing to make it stand out. To improve the appearance, we will remove the pencil marks after tracing.
The actual fun is about to start. We are going to improve and add authenticity to our drawing. Can you produce a more refined picture with your creativity and imagination?
Taking your rugby jersey to the next level
Like any other skill, sketching requires practice. Set aside time each day to sketch, even if it’s only for a little while. Be mindful of your surroundings. This enhances comprehension of details, dimensions, and forms. You can start with the basics and work up to more complex topics. Experiment with different drawing tools like charcoal, colored pencils, watercolors, markers, and pencils. Every medium has unique characteristics that could help you identify your preferences.
You can also play with basic hatching, blending, shading, and cross-hatching techniques. Understanding these techniques will greatly enhance the complexity and realism of your drawings. When you’re drawing, use your imagination and try out new concepts.
Adding a Background
A background puts your rugby jersey design in context and adds interest to the overall scene. There are many creative options for sets to complement your shirt illustration. Consider drawing a grassy field or rugby pitch for a realistic rugby feel. Use short green vertical lines to represent grass. Add white outlines for pitch markings. You could also show a stadium with simple stands filled with cheering fans.
Another idea is clipping your jersey drawing to the body of a rugby player. Sketch a simple body shape and arms wearing your shirt design. Go a step further and draw the player running or kicking a ball. Or go abstract – fill the background with colorful shapes and patterns to highlight your jersey. You could even collage magazines or printed textured papers for a mixed media approach. Get creative with backgrounds that enhance your rugby jersey as the primary focus!
Adding Color
Color brings life and vibrancy to your illustrated rugby jersey. When coloring, focus on bold, contrasting shades that match real team designs. Use red, blue, green, yellow, or black as the main jersey color. Leave the collar white for contrast. Color any logos or decorations in coordinating or contrasting tones. Add black outlines around the main shape and details to help define the jersey. Use white and grey shades to show highlights and shadows for dimension.
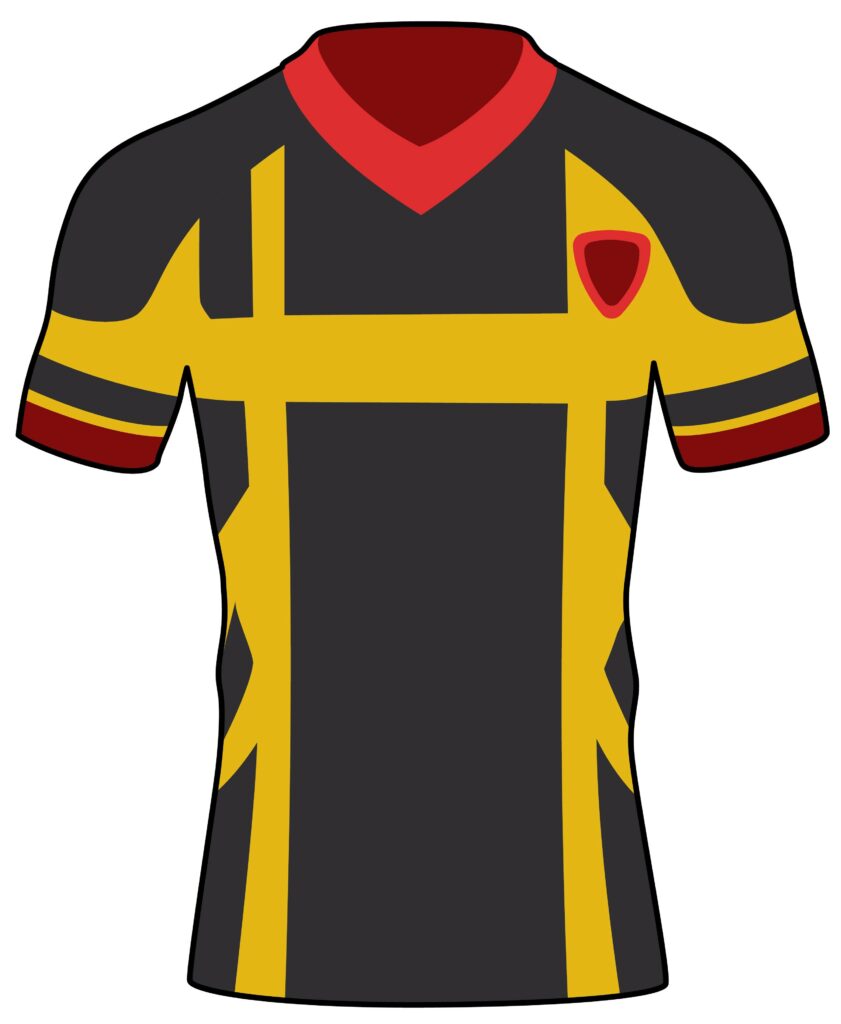
Alternate between two primary colors on the body and sleeves for a striped jersey. Follow the angle of the shirt with vertical stripes. Leave small gaps between colors to help separate sections. Avoid coloring outside the outlines. Use sharp, crisp strokes for clean edges. On a grassy background, use various greens. For dirt or mud, blend in browns and yellows. Make a blue sky with fluffy white clouds. Color fans different hues. Experiment with color combinations until you get a jersey design you love! The right colors can bring your illustration to the next level.
Bonus Tips
Use light sketch lines first to plan out the design. Mistakes can be easily erased. Look at photos of real rugby jerseys for design ideas and details. Consider size proportions as you draw. A jersey should be oversized and baggy. Use curved lines to add natural shape and movement to the illustration. Overlap shapes and lines to give the appearance of layers. Add folds and creases in the fabric for more realism. Play with different shapes and layouts for unique designs.
Reference team colors when picking hues for a more authentic look. Mix different media like markers and colored pencils for visual interest. Add texture by drawing small patterns or shapes on the jersey. Keep your lines clean and solid for a bold, graphic style. Have fun coming up with your own fictional team name and logo ideas!
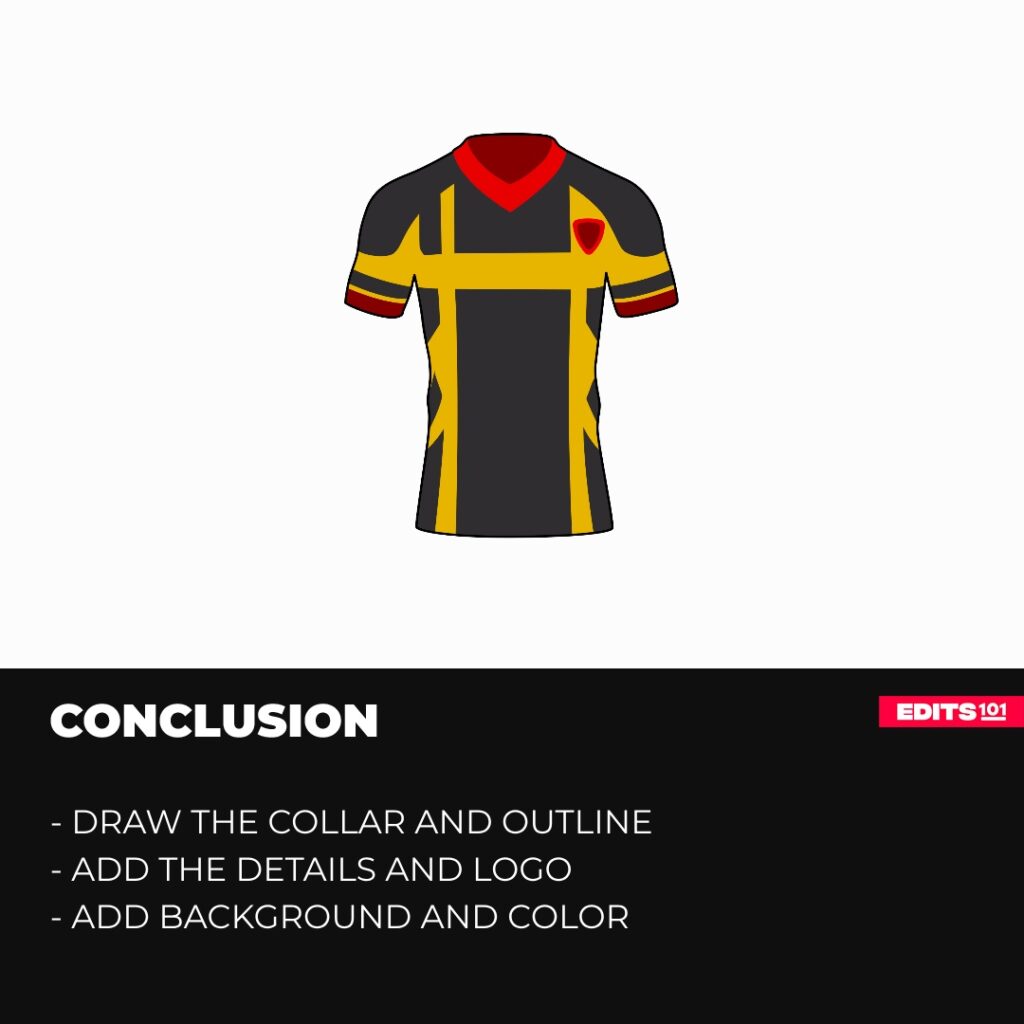
Conclusion
Drawing your rugby jersey is a fun way to blend sports and art. Following the simple steps in this guide, you can learn how to illustrate a basic rugby top. Start with the rounded collar and outline. Build up details on the shoulders, sleeves, and body for a complete shirt design. Add your creative touches like logos, colors, and backgrounds. The result will be a unique rugby jersey drawing to show off your fandom.
Illustrating rugby kits is a great way to express your passion for the sport. Let your inner artist run free with original designs and color combos. Practice your drawing skills while exploring the iconic imagery of rugby. Designing your jerseys also makes for thoughtful handmade gifts for the rugby enthusiasts in your life. So grab your drawing tools, use your imagination, and get ready to “kit out” your rugby artistry!
Thanks for reading & feel free to check out more of our articles!
Author Rating
Overall Rating
Summary
Learn how to draw a beautiful rugby jersey in easy to follow steps. You will also learn interesting facts about jerseys.