How To Draw A Rugby Mouthguard | An Easy Tutorial
A rugby mouthguard is vital protective equipment designed to safeguard players against potential oral injuries during matches. These customized mouthguards, typically made of durable materials like rubber or silicone, are molded to fit an individual player’s teeth and jaw structure. The primary function of a rugby mouthguard is to absorb and distribute impact forces, reducing the risk of injuries such as broken teeth, jaw fractures, and lip lacerations.
Mouthguards not only provide crucial protection for players, but they also contribute to the overall safety standards in the sport. Many rugby organizations and leagues mandate using mouthguards to ensure players’ well-being on the field. Proper maintenance, including regular cleaning and inspection for wear and tear, ensures the mouthguard remains effective throughout the season.
| Steps | Complexity level |
| Draw the outline | 3 |
| Draw the upper and lower baseline | 3 |
| Draw the inner baseline | 3 |
| Draw the teeth placement area | 4 |
What you will need
- Paper
- Pencil
- Eraser
- Coloring supplies (optional)
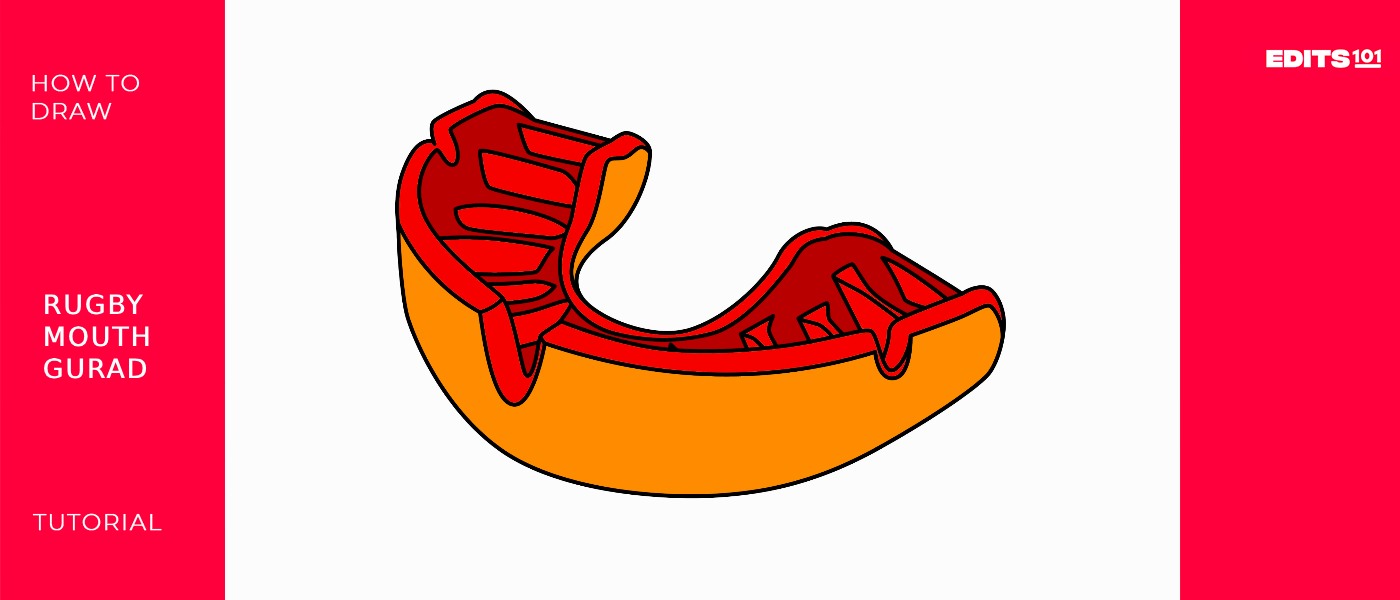
Draw a rugby mouthguard
The basic supplies needed to draw a rugby mouthguard are simply paper, a pencil, and an eraser. Standard drawing equipment allows you to sketch the fundamental form. If you wish to add color later, having coloring supplies like markers or crayons is useful. But to start, just grab your essential drawing tools. With the materials ready, we will crunch protectively into learning how to draw a rugby mouthguard!
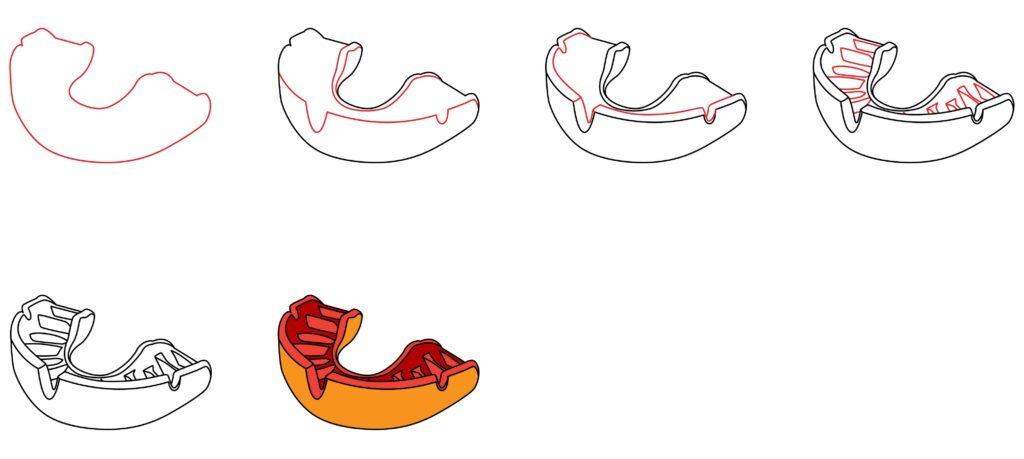
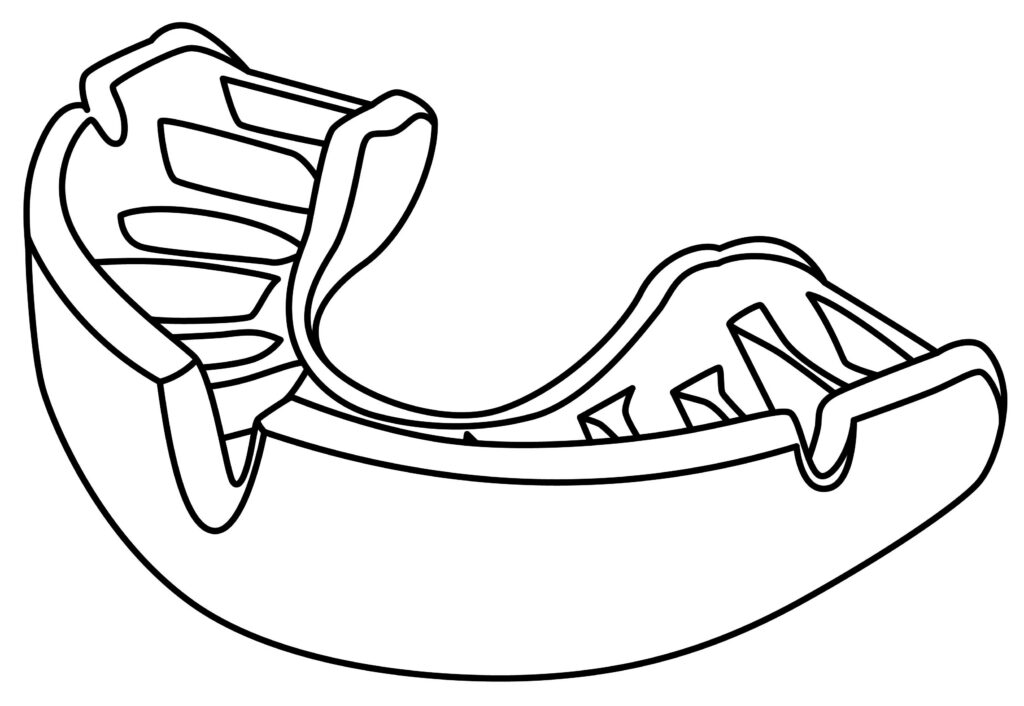
Step 1: Draw the outline
To start, lightly sketch the overall shape of the mouthguard near the middle of your paper. Draw a wide U shape for the front, with evenly curved lines sloping outward to rounded points. Add two shorter curved lines descending the center – one inside the U, one below. Complete the shape with a straight horizontal line across the bottom. Keep the initial outlines basic.
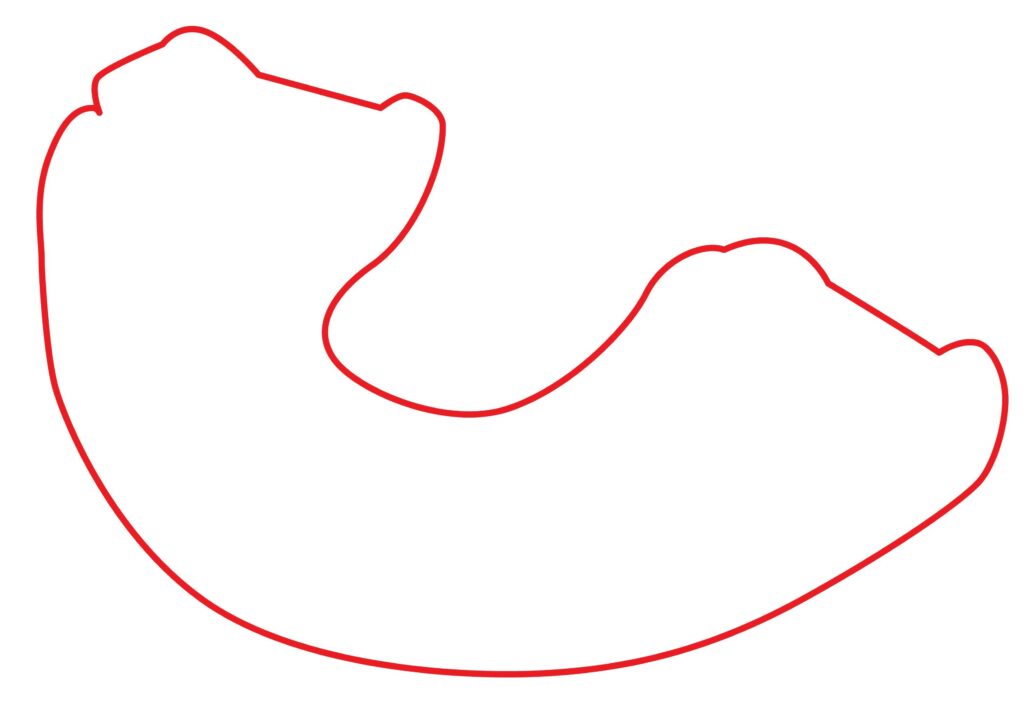
- Lightly draw a wide U shape for the front
- Add sloped, evenly curved lines to points
- Sketch two short center curves inside
- Complete with a straight horizontal line
- Use simple initial outlines
Step 2: Draw upper and lower baselines
Now, add lines defining the upper and lower areas that protect the teeth. Lightly sketch evenly spaced curved stripes ascending upward inside the front U shape to form the upper teeth barrier. Do the same descending from the bottom straight line to create the lower barrier. Make the curves smooth and parallel.
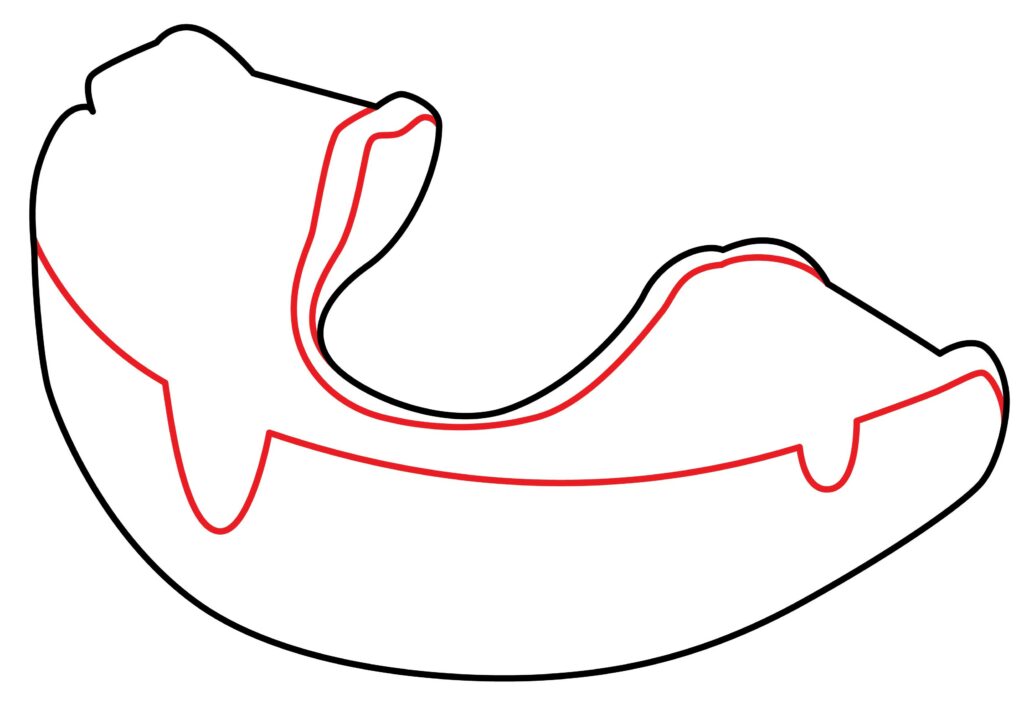
- Lightly sketch curved stripes ascending inside U
- Add spaced curves descending from the bottom line
- Form even, smooth, parallel curves
- Define upper and lower protective barriers
Step 3: Draw the inner baseline
A rugby mouthguard is typically constructed using durable and resilient materials to adequately protect a player’s teeth and oral cavity during a physically demanding sport. Commonly made from flexible and impact-resistant materials such as rubber, silicone, or ethylene vinyl acetate (EVA), these mouthguards are molded to fit the unique contours of an individual’s teeth and jaw. The design ensures a secure and comfortable fit over the upper teeth, covering the front incisors to the back molars.
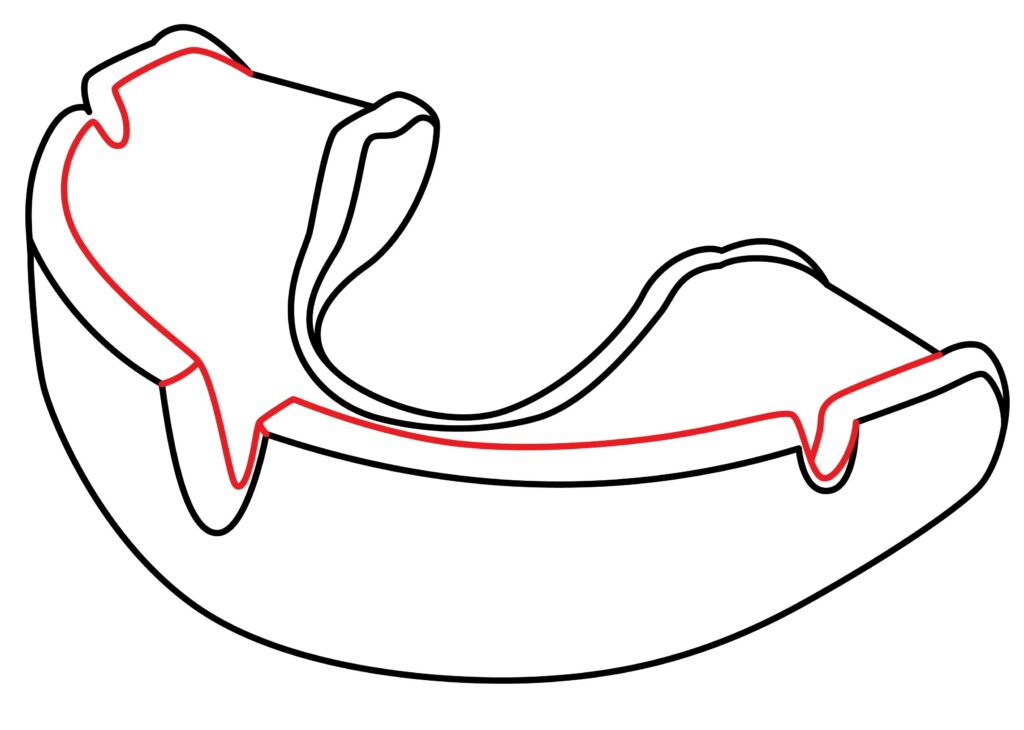
For extra security, rugby mouthguards often have an additional inner layer. Lightly sketch another set of ascending curved stripes between the first and center lines to depict this. Keep them evenly spaced and parallel, like the outer baseline. Add a curved seam where they attach to the outer barrier.
- Lightly sketch the second set of curved stripes ascending inside
- Keep curves even, smooth, and parallel
- Draw them between the outer baseline and the center
- Add a curved seam attaching to the outer barrier
Step 4: Draw the teeth placement area
The teeth placement area of a rugby mouthguard refers to the portion of the mouthguard specifically designed to accommodate and protect the player’s teeth. This area is molded to fit over the upper teeth, creating a customized and secure fit. The mouthguard covers the upper teeth, extending from the front incisors to the back molars. The mouthguard must cover the teeth to protect against potential impacts and collisions during rugby play.
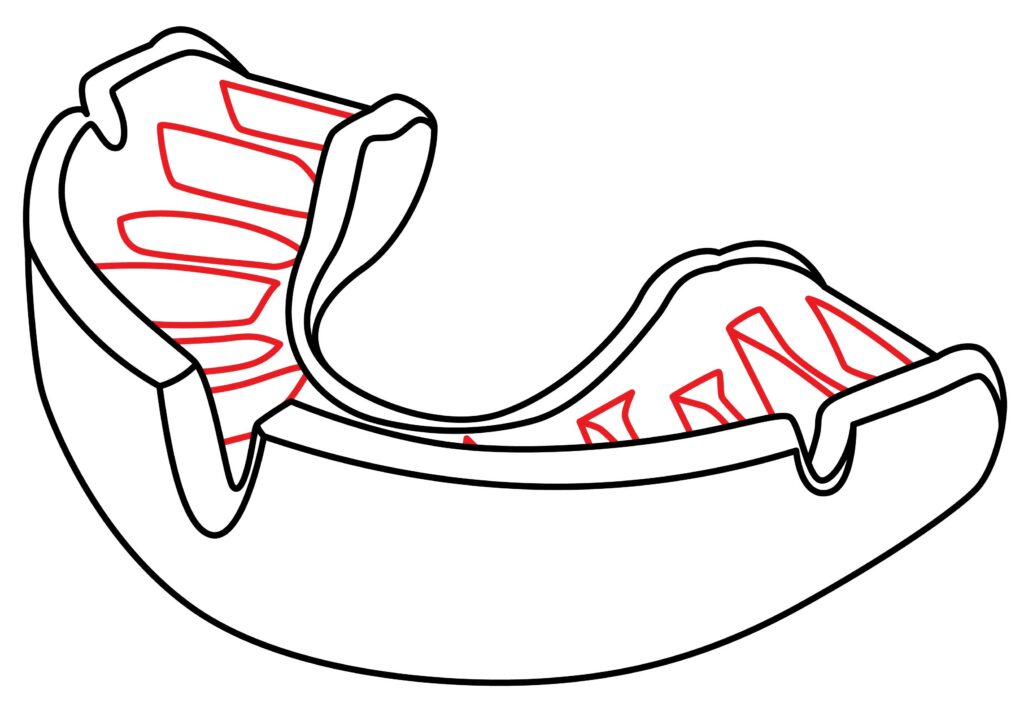
The main protective section covers the teeth. To show this, draw simple straight lines and curves representing placeholders for the teeth in between the upper and lower baselines. Keep them evenly sized and spaced. You can draw straight or curved lines to vary the shape as desired. Outline each in an oval.
- Draw simple lines/curves for teeth placeholders.
- Evenly size and space of the shapes
- Draw straight or curved lines for variability
- Outline each in an oval
Step 5: The rugby mouthguard is ready
The drawing of the rugby mouthguard is complete we’re sure you followed every instruction. You can use a marker to outline the drawing to make it stand out. To improve the appearance, we will remove the pencil marks after tracing.
The actual fun is about to start. We are going to improve and add authenticity to our drawing. Can you produce a more refined picture with your creativity and imagination?
Taking your rugby mouthguard to the next level
Elevating your drawing to the next level involves a combination of consistent practice, exploration, and a willingness to embrace new challenges. Regular exercise is fundamental for building and refining skills, and studying anatomy contributes to the realism of your drawings. Experimenting with various artistic styles and learning new techniques, such as shading methods and diverse materials, expands your creative toolkit.
Seeking constructive feedback from peers and experts offers valuable insights, and studying the works of master artists inspires. Exploring digital art platforms introduces additional possibilities, and attending workshops or classes provides structured learning and a sense of community. Creating personal projects aligned with your interests and passions keeps you motivated while setting artistic challenges pushes you beyond your comfort zone.
Adding a Background
A thoughtfully designed background can give helpful visual context to your illustrated mouthguard. Many rugby-related ideas complement the focal mouthguard artwork. Consider drawing the lower half of a rugby player’s face. Lightly sketch simplified facial features – eyes, nose, and mouth opening suited to fit the guard. Show clenched teeth imprinted on the mouthguard material.
For an equipment rack look, draw outlines of a shelf stacked with other guards, boots, headgear, or uniforms. Include pole labels and hooks. You could also depict the mouthguard packaging. Create your branded box logo and label it with warning text or size info. Add a carrying case visual. For a dentist’s office scene, sketch tools like tooth molds, dental charts, and X-rays are framed on the wall. Draw sink and exam light shapes. Get creative with relatable rugby backgrounds that lend helpful context!
Adding Color
Color brings vibrancy, dimension, and realism to your mouthguard artwork. When coloring, consider standard dental appliance hues. Shade the main guard shape in solid white, clear, or light pink acrylic tone. You can also use orange color as it is used in the image. Add small grey shadows for depth. Use red inside the tooth imprints to depict gum color. Make metal dental tools silver and blue.
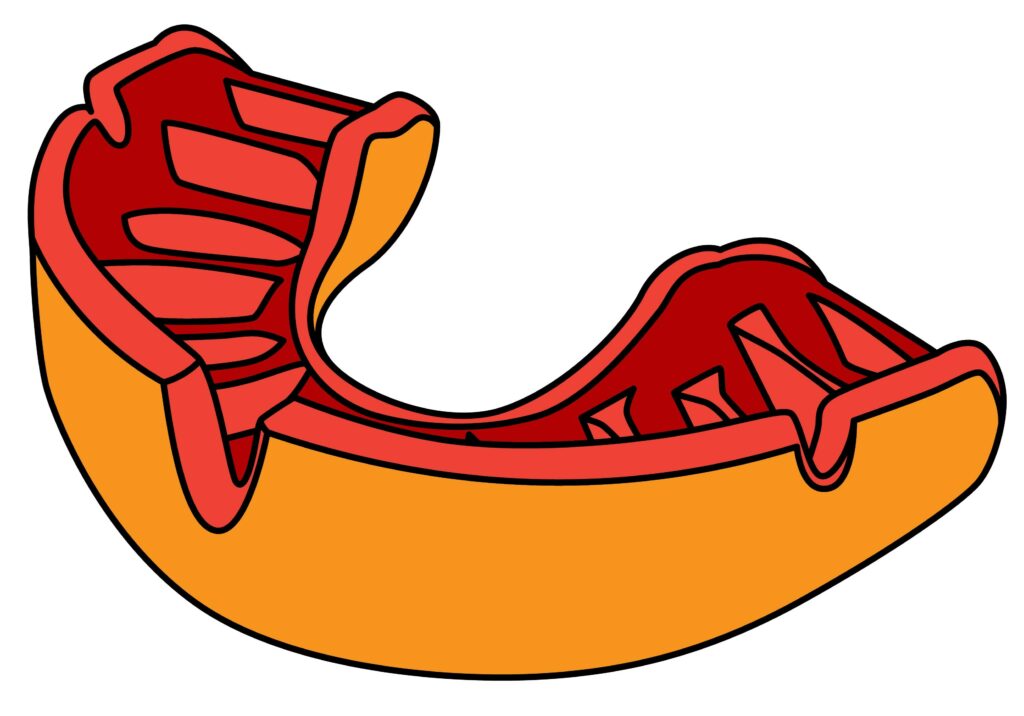
Show practical packaging with white boxes and red crossing stripes. Add warning labels in black text. For a uniform and player, use classic team colors on the jersey. Shade skin with natural tones. Paint gear logos accurately. Carefully outline the guard in a black pen before coloring for clean edges. Sharpen corners with a white gel pen. Mix paint pens, markers, colored pencils, and crayons for striking effects. Remember to color inside the sketched lines for best results. Vibrant colors make your mouthguard pop!
Bonus Tips
Here are some bonus tips for your drawing to enhance your creativity and imagination. Lightly sketch shapes first in pencil to allow for changes. Look at photos of real mouthguards for sizing and proportions. Practice drawing evenly spaced lines and smooth curves. Add small details like branding logos or product codes. Play with different guard shapes and angles for unique designs. Depict cracks or cloth texture for a worn-in game guard. Draw streams of saliva dripping down for a funny effect. Add metaphorical lightning bolts or stars for “electric” style. Include inspirational text or words as graphic design elements. Mix painting and drawing tools like markers over pencils. Print real dental molds to collage for mixed media texture. Reference team colors and patterns when picking hues. Have fun designing bold, creative mouthguard styles!
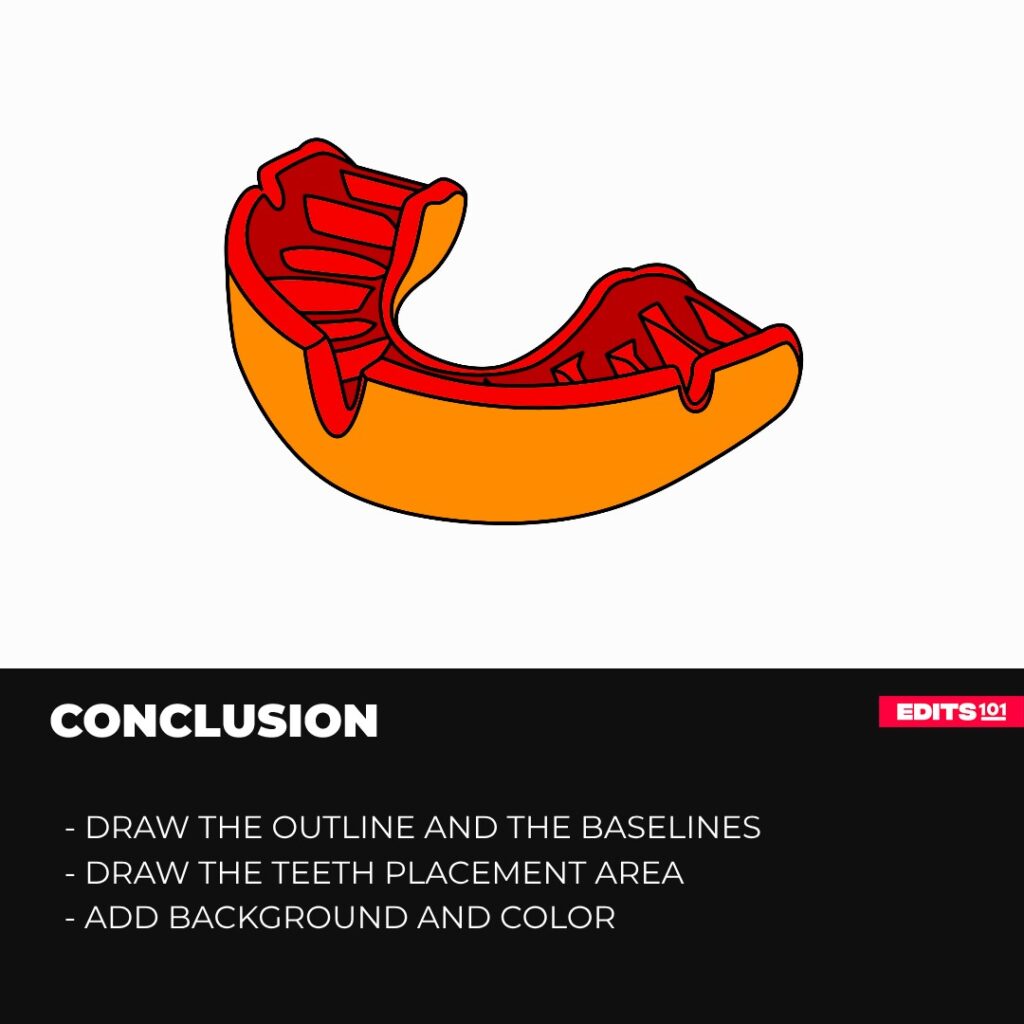
Conclusion
Drawing your rugby mouthguard fuses sports safety and artistic creativity. Following the simple steps in this guide, you can learn how to sketch a basic mouthguard shape. Start with the outline form, build protective baselines, add tooth placeholders, and complement them with a background. The result will be a unique mouthguard drawing merging your interests in rugby gear and visual art.
Mouthguards make for an unorthodox yet meaningful subject to illustrate. Depicting their preventative purpose promotes good dental hygiene habits with artistic flare. The process also allows you to imagine innovative new mouthguard designs. So grab your drawing tools, get up close with reference photos, and sink your artistic talents into skillfully depicted mouthguard masterpieces! In no time, you’ll be playing the role of rugby dentist-artist.
Thanks for reading & feel free to check out more of our articles!
Author Rating
Overall Rating
Summary
Learn the basics of drawing a rugby mouthguard. In the process, you will also learn about drawing rugby.