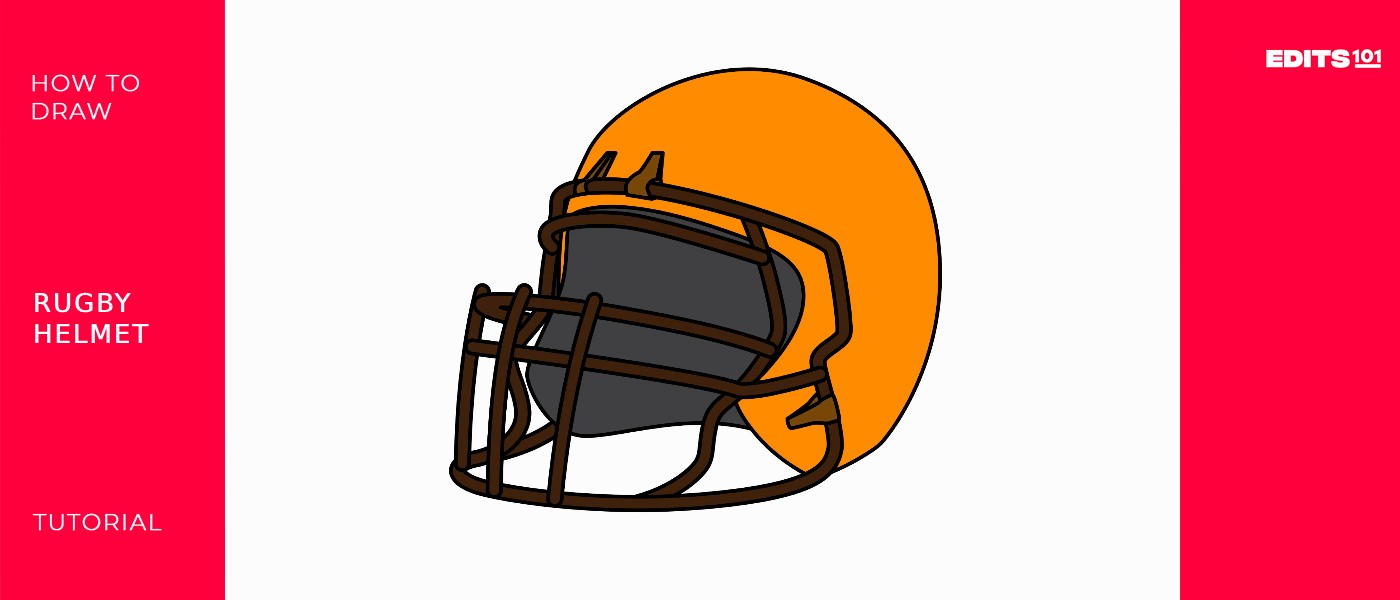
How To Draw A Rugby Helmet | Fun And Easy Techniques
Rugby is a contact team sport that originated in England in the 19th century. It is played between two teams, each consisting of 15 players (in the standard version known as rugby union) or 13 players (in the variant known as rugby league). The game aims to score points by carrying, passing, kicking, or grounding the ball in the opponent’s in-goal area.
Rugby is an exciting sport that requires a lot of protective gear, especially a sturdy helmet. Learning to draw a rugby helmet is a great way to capture the sport’s excitement and lets you appreciate the unique design and shapes that make up this essential piece of equipment. In this beginner drawing tutorial, I’ll break down step-by-step how to sketch a basic rugby helmet. With just some simple lines and shapes, you’ll have a fantastic rugby helmet illustration you can be proud of.
| Steps | Complexity level |
| Draw the outer shell | 3 |
| Draw the guard | 3 |
| Draw the guard holding hooks | 2 |
| Add background and color | 3 |
What you will need
- Paper
- Pencil
- Eraser
- Colors
How to draw a rugby helmet
To start this easy drawing guide, you need some basic supplies – paper, a pencil, and an eraser. Having a set of drawing pencils in different grades can help shade later on, too. Simple printer paper, construction paper, or drawing sketchpads all work perfectly. With your tools gathered, you’re ready to learn how to draw this fun rugby staple.
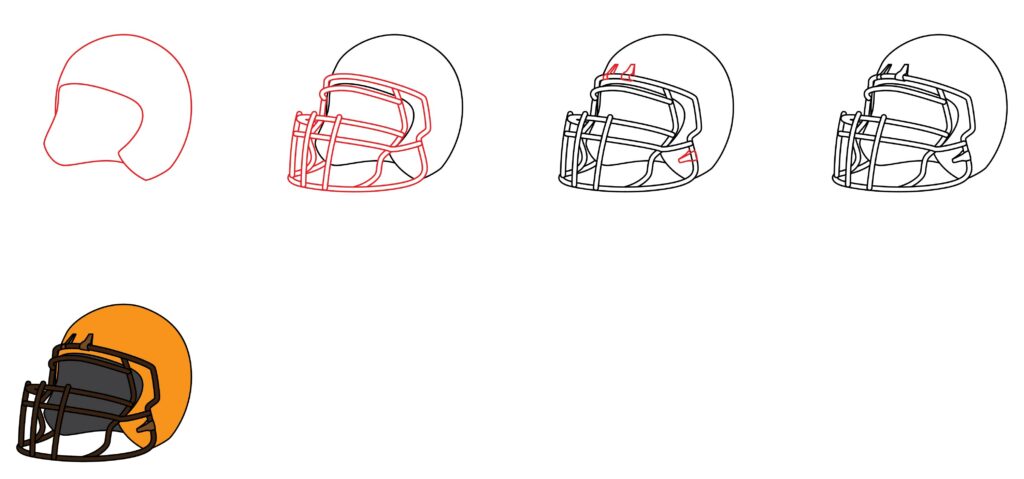
Step 1: Draw the outer shell
Rugby helmets, known as scrum caps or headgear, are lightweight and impact-resistant materials designed to protect against cuts, abrasions, and superficial head injuries. The specific materials vary among manufacturers and models, but standard components include foam padding, polyesters, and mesh panels.
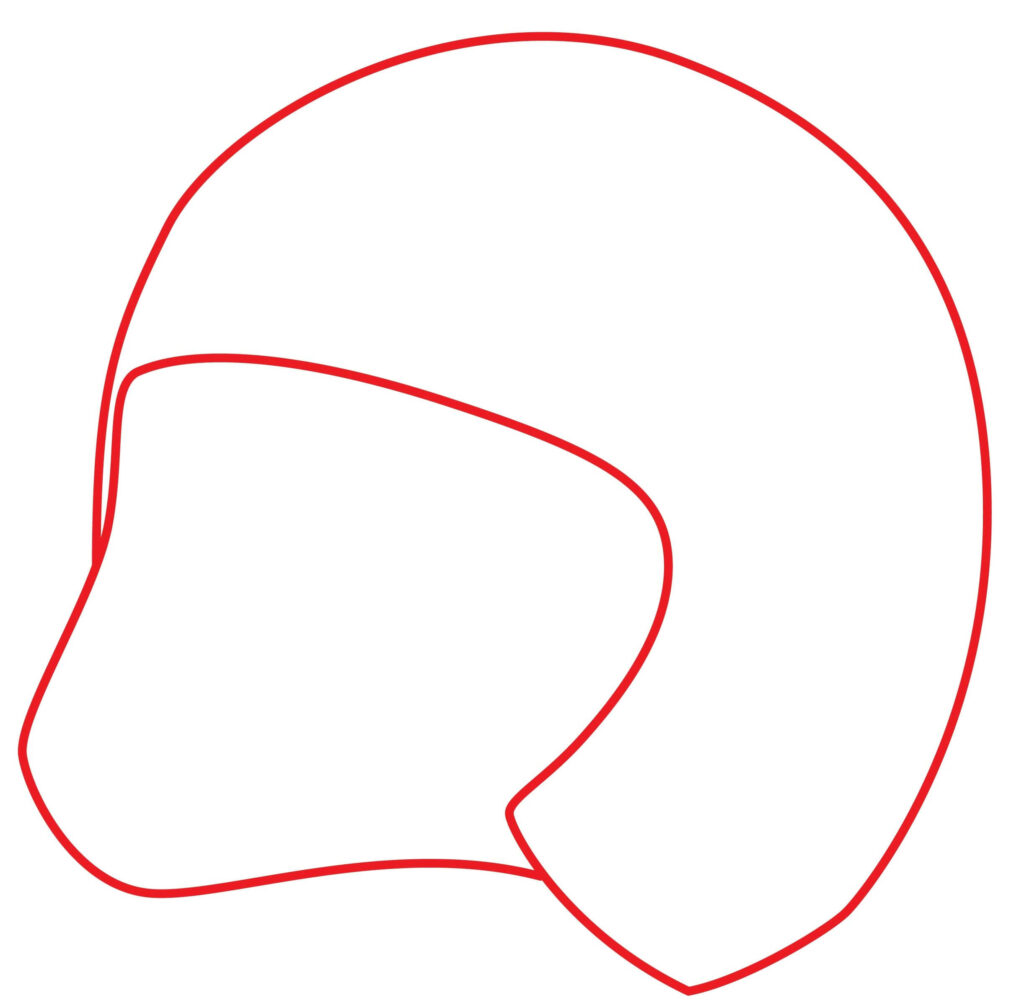
First, lightly sketch a large oval shape near the top of your paper. This will be the rounded upper dome of the rugby helmet. Below that, draw a wide rectangle that connects to the oval. This forms the flat back of the helmet. On each side, draw a curved line sloping down from the oval to the rectangle. These will be the sides of the helmet. Lightly sketch the shapes so they are easy to adjust. Leave room at the bottom to add the facemask area later.
- Draw an oval shape for the upper dome.
- Add the rectangle below for the flat back of the helmet
- Include sloped side lines connecting oval to rectangle
Step 2: Draw the guard
The guard on a rugby helmet is like the guard on any other. To add the guard area at the front of the rugby helmet, draw a small horizontal oval shape at the bottom of the shell you already drew. On each side of the oval, sketch angled lines sloping up towards the bottom of the dome shape. Then, connect the ends of these lines with a curved U-shape that reaches up near the middle of the dome. This creates a rugby helmet’s essential guard covering the upper face and forehead. Leave space in the middle for the facemask we’ll add it later.
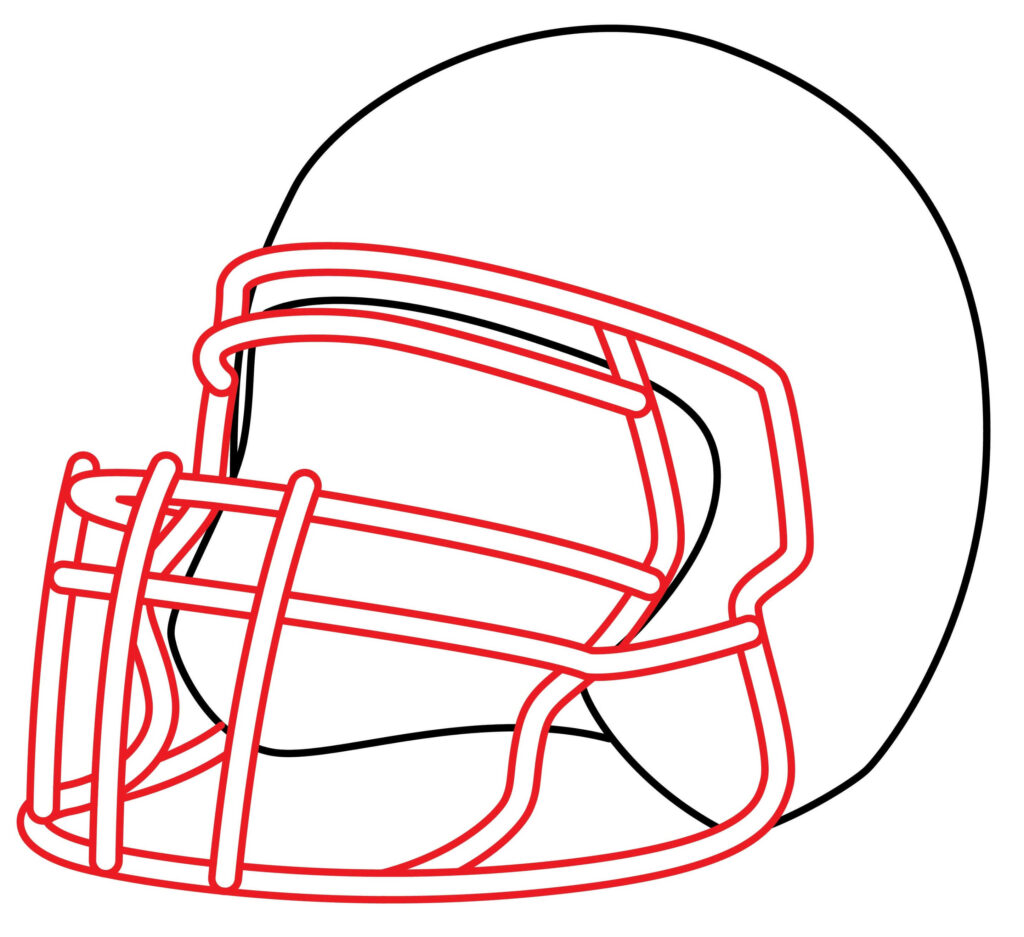
- Draw a small oval at the bottom for the guard base
- Add angled side lines sloping up towards the dome
- Connect with a U-shape near the middle of the dome
Step 3: Draw the guard holding hooks
Scrum caps may provide some protection against certain types of injuries. Still, they are not helmets in the traditional sense and do not offer the same level of protection as helmets in sports like American football. The decision to wear scrum caps is often a personal choice among rugby players, and their use is not mandatory. Players should adhere to the rules and regulations regarding the use of protective equipment set by the governing bodies of the rugby union they are participating in.
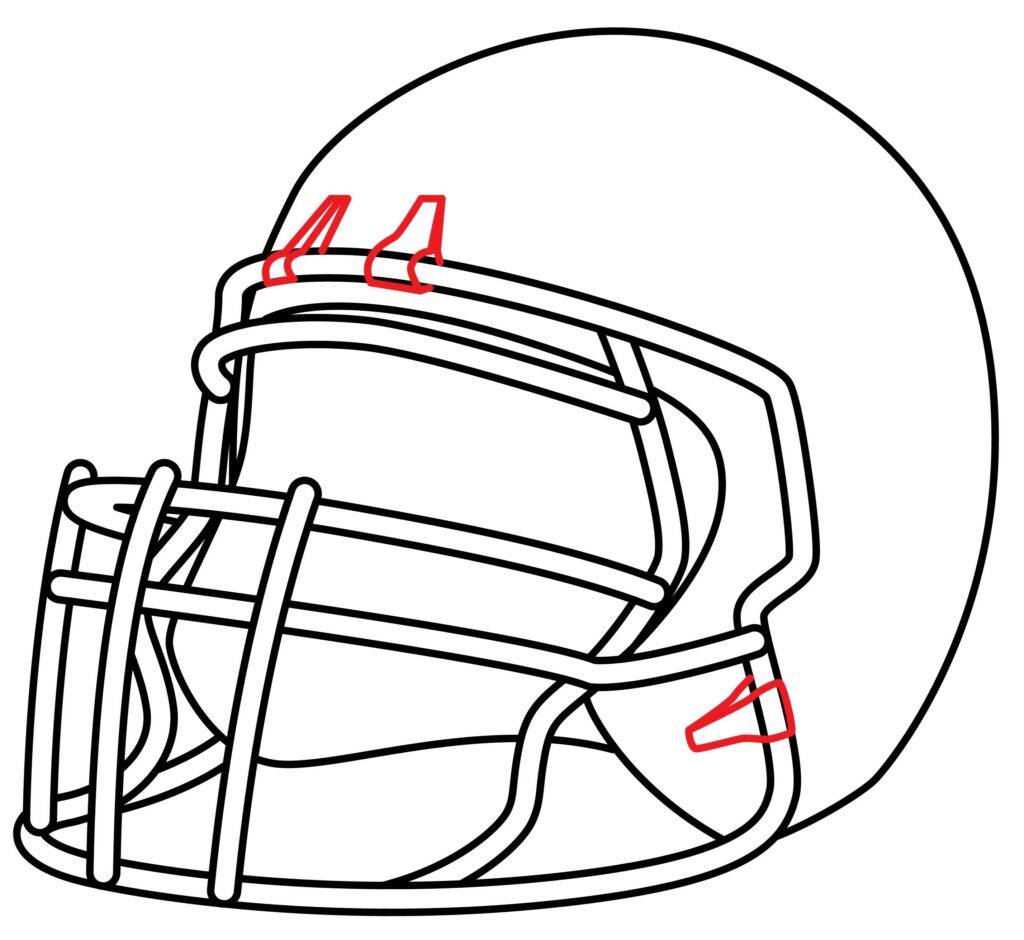
To connect the guard to the helmet shell, we’ll add some holding hooks along the rim of the dome shape. Lightly sketch short curved lines extending down from the bottom rim of the dome oval, spaced evenly apart. Then, draw straight diagonal lines connecting these curves’ ends to the guard shape’s upper edges. Add as many as needed to create the bracket-like hooks that hold the guard in place on an actual rugby helmet. Ensure the hooks are evenly spaced and all angled in the same direction.
- Draw short curved lines down from the dome rim for hooks
- Connect with diagonal lines to upper guard edges
- Space hooks evenly to hold the guard in place
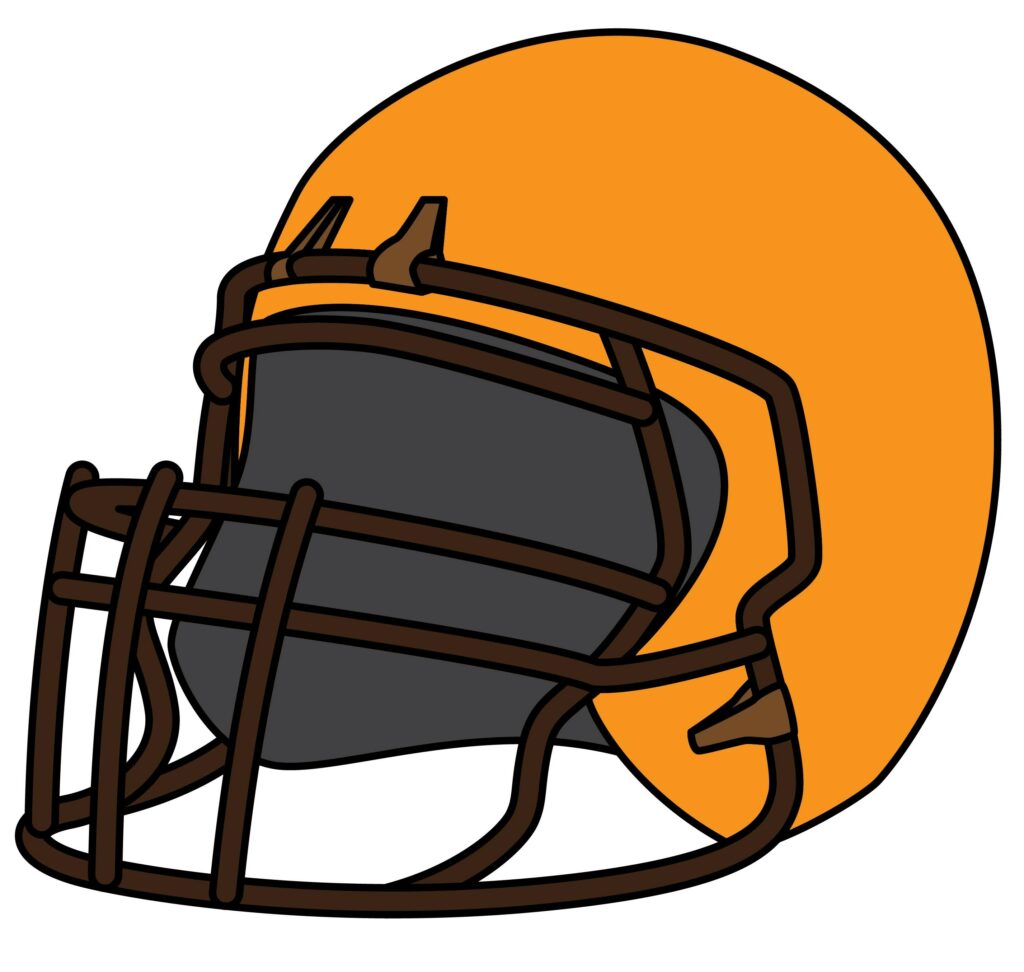
Step 4: The rugby helmet is ready
The rugby helmet is ready to be worn by a rugby player. You did an excellent job. You created your rugby helmet, and we’re sure you followed every instruction. You can use a marker to outline the drawing to make it stand out. To improve the appearance, we will remove the pencil marks after tracing.
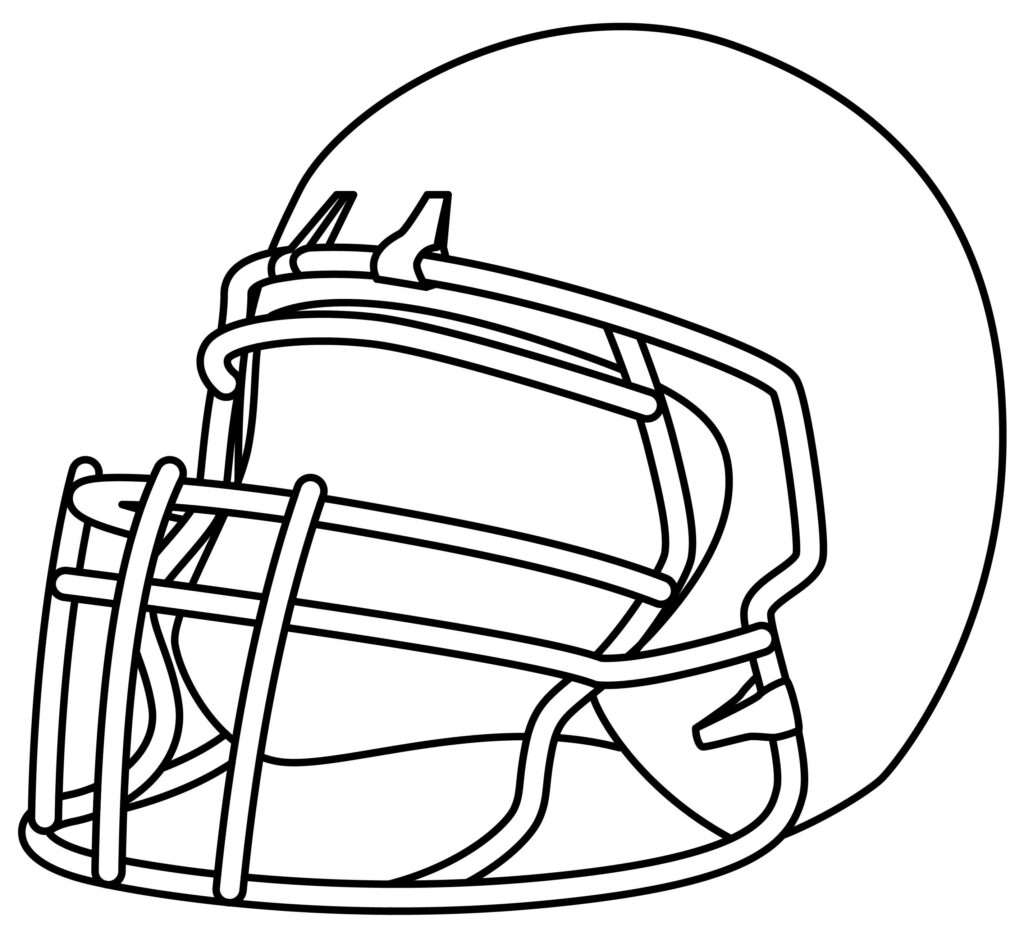
The actual fun is about to start. We are going to improve and add authenticity to our drawing. Can you produce a more refined picture with your creativity and imagination?
Taking your rugby helmet to the next level
Elevating your drawing to the next level involves a combination of consistent practice, exploration, and a willingness to embrace new challenges. Regular practice is fundamental for building and refining skills, and studying anatomy contributes to the realism of your drawings. Experimenting with various artistic styles and learning new techniques, such as shading methods and diverse materials, expands your creative toolkit.
You can also play with basic hatching, blending, shading, and cross-hatching techniques. Understanding these techniques will greatly enhance the complexity and realism of your drawings. When you’re drawing, use your imagination and try out new concepts.
Adding a background
Avoid cluttering the background too much so the helmet stands out. Simple shapes and lines work best. Lightly sketch things associated with rugby, like a field, goalposts, and benches, to show the setting. Make background elements like grass partially overlap the bottom of the helmet to show depth. Lightly shade the background to make the helmet stand out more as the focal point. Keep the area around the helmet neat so it stands out. Ensure added objects are appropriately sized relative to the helmet. Draw the background at an angle matching the helmet perspective. The background should be simpler and more muted than the main helmet subject.
Adding color
Stick to simpler solid colors rather than complex shading for a clean look. Note how colors change from light to dark across the helmet’s surface and add appropriate shading. Use rich, saturated color on the main helmet to stand out against the background. Make sure the lighting is consistent, with shadows on one side. Choose colors that look pleasing together for the helmet and background. Look at photos of actual rugby helmets for logical color placement. Outline the major contours of the helmet cleanly after coloring to define the shape. Use lighter, duller colors in the background to make the helmet stand out more. Stay inside the lines and take your time coloring evenly for the best results.
Bonus tips
Add sheen effects with colored pencils or markers to make the helmet look shiny. Lightly sketch scuff marks and scratches to show a worn, well-used helmet. Draw the helmet from different perspectives, including side, 3/4, or back views. Include small details like vent holes, clasps, or chin straps to make it more realistic.
Use a blending stump or tissues to blend colored pencil shading smoothly. Outline key details – Outline elements like facemask wires, guard edges, logos, etc., after coloring. Draw a background player. Lightly sketch a rugby player wearing the helmet to show scale and context. Practice shading shapes. Shading basic shapes like spheres and cylinders will help shape the helmet curves. Look at rugby helmet references. Study images of actual rugby helmets for reference. Don’t worry about perfection; just enjoy the drawing process.
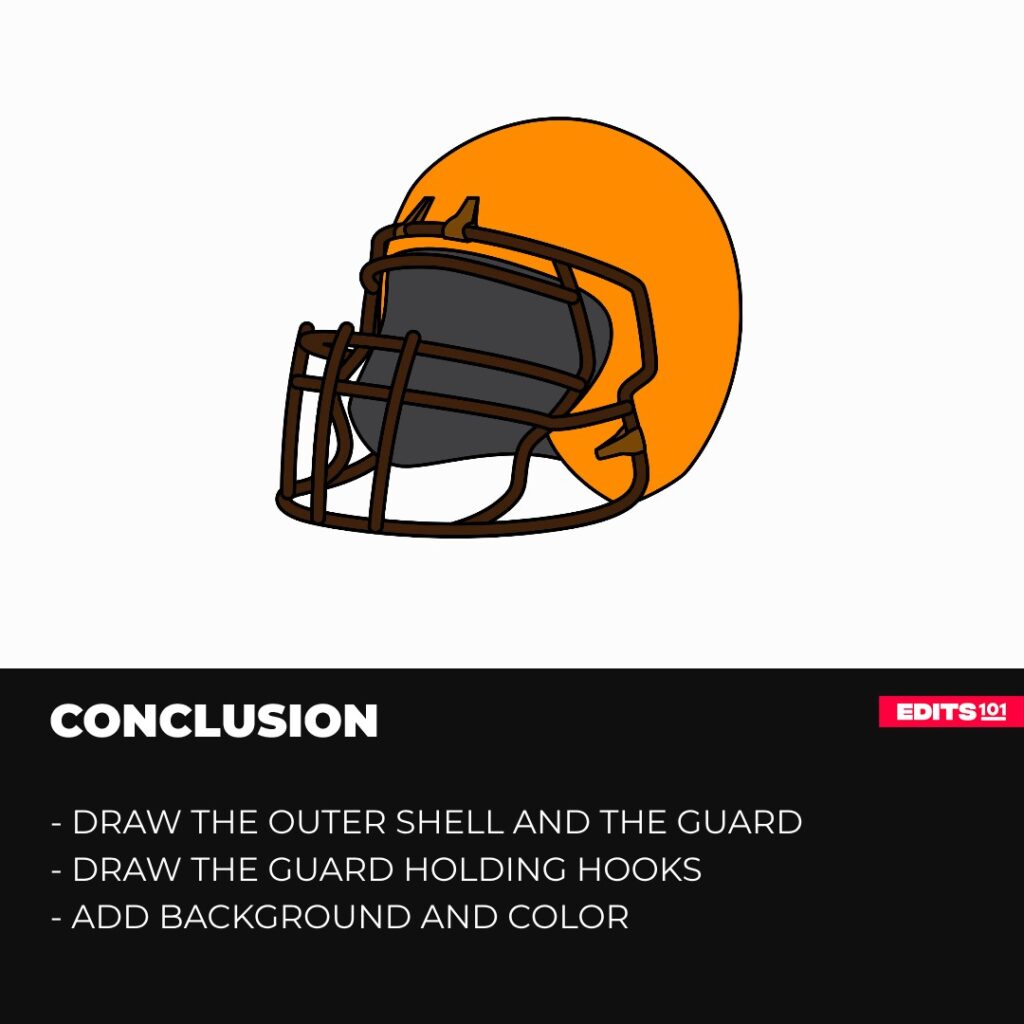
Conclusion
Drawing a rugby helmet may seem challenging initially, but as you can see, it’s easy to break it down into simple steps. You can create an excellent rendition of this iconic sporting gear by starting with basic shapes for the outer shell and guard and then adding key details piece by piece. Not only is following this process engaging and rewarding, but it’s also great rugby-themed drawing practice. Mixing simple geometric shapes with freehand lines helps build your fundamental illustration skills.
The finished product will be something you can proudly display and enjoy. Keep going even if your first attempts come out ideally. Drawing takes patience and practice. Focus on having fun with the process and improving a little each time. Before you know it, you’ll be able to sketch cool rugby helmets with ease. So grab your pencils, find a reference photo, and try this easy tutorial! With a bit of guidance and creativity, you’ll be drawing amazing rugby artworks in no time.
Thanks for reading & feel free to check out more of our articles!
Author Rating
Overall Rating
Summary
Follow our easy steps to learn how to draw a rugby helmet. You will also learn interesting facts about the game rugby.