How To Draw A Skateboard With A Helmet | An Easy Guide
We are back with another exciting drawing. Are you ready to skate your way to becoming a great artist? Today, we will draw a skateboard with a helmet.
The first skateboards were created in 1940. Since then, skateboarding has become one of the world’s most well-liked street sports. The “deck” of a skateboard is a board with four wheels attached underneath. A piece of wood with a rollerskater attached was the first skateboard. Skateboarding comes in many varieties, including vert and street skating. A half-pipe is a U-shaped ramp where skaters perform vert. Streetboarders skate over curbs, handrails, and steps on the street.
What you will need
- A pencil
- An eraser
- A sheet of paper
- Coloring Materials
- 30 minutes
How To Draw a skateboard with a helmet
Are you guys ready to hit the ramp with your unique skateboard? All you have to do is to follow each step carefully. By doing that, you will have a skateboard and will be ready to skate. We will also draw a helmet for safety purposes.
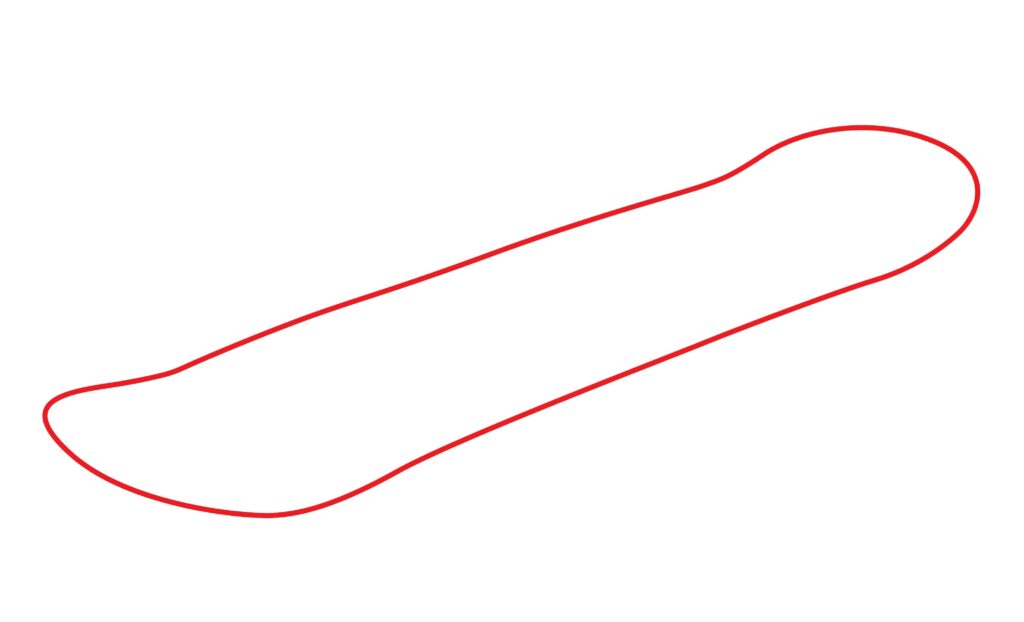
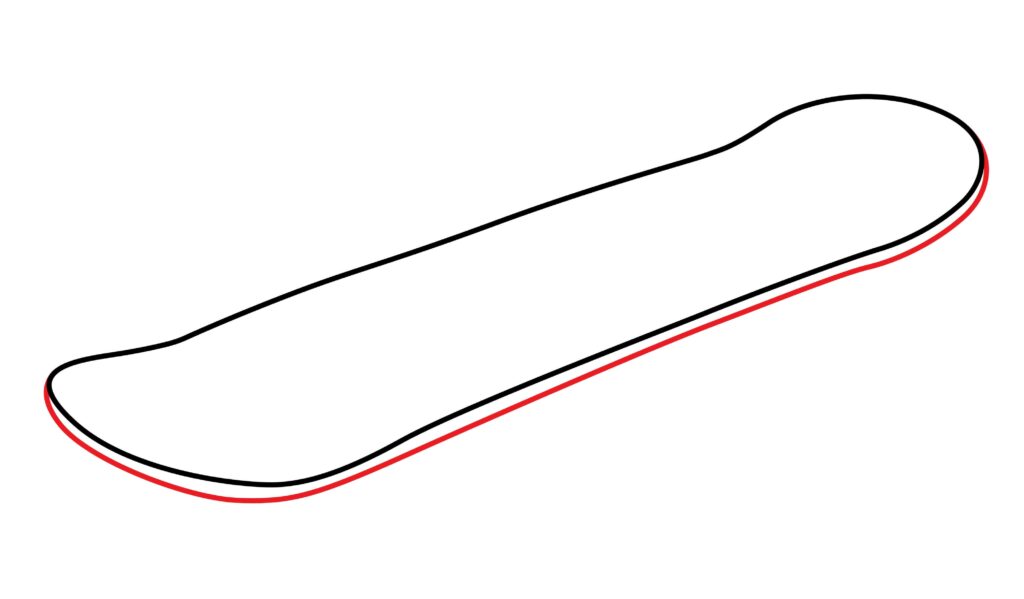
Step 1: Draw the body
As always, in our first step, we will draw the body of the skateboard that will act as a base for our drawing. Canadian Maple is reputed to be one of the most widely used timbers for skateboards. The boards are made of maple wood, which is exceptionally durable and sturdy but also sufficiently flexible to absorb the impact of hard landings, on-ramps, and other obstacles. For the body, you will have to draw a diagonal rectangle in the center of the page. To make a rectangle, draw parallel lines bent towards the right at an angle of 30 degrees. Then, connect these parallel lines. You make the ends curved, as shown in the image below. You can bend the left corner in an upward direction for an artistic look.
Step 2: Draw the base
Our 2nd step is simple. All you have to do is outline the lower part of the body drawn in the first step. And our base is ready. The board, often known as the deck, the wheels, and the trucks, are the three essential components of a skateboard. In this step step, we have drawn the board or the deck. It means that our basic structure is ready.
Step 3: Draw the front and back wheel
It is the step in which we will draw the wheels that help the skaters to skate smoothly. The wheels in a skateboard are attached to a part known as the truck. Skateboard trucks are T-shaped turn components with wheels that are located under the deck. They ensure that the deck receives your movements and responds in the manner you desire. You and your skateboard will be able to perform better with the correct pair of trucks. For the wheels, draw a circle and some lines with it to make the front wheel of the skateboard. The lines are for the truck where the wheels of a skateboard are attached. Draw a circle and a small circle to make the back wheel of the skateboard. The small circle will be concentric to the other circle.
To make good-looking circles, you can use a small circular object like a lid or cap of a bottle. You can also draw free hand, place a dot where you want to draw the circle, and then put four dots around that dot. Connect these dots, and there you have it, a perfect circle.

You are doing a fantastic job, and our drawing is almost complete.
Step 4: Draw the helmet
A helmet is essential while skating. Skate helmets guard against a range of head injuries, from minor bumps and bruises to cuts, concussions, broken skulls, and internal bleeding. Everyone who skateboards will eventually crash and run into harmful objects on the ground. It’s a component of the game.
To make the helmet of our skateboard, draw a semi-circle on the top of the board of the skateboard. Then, connect the bottom part of the semi-circle with wavy lines. Also, draw some small, narrow ovals in the helmet for design and detailing.
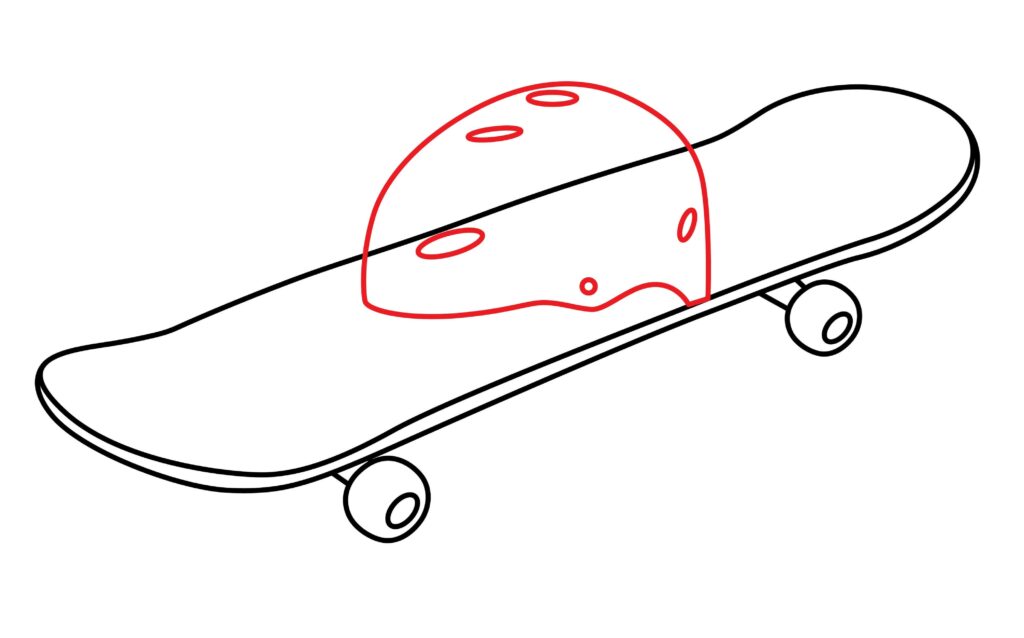
Well, you are done with the drawing! Just erase the lines overlapping the helmet and the board for neatness.
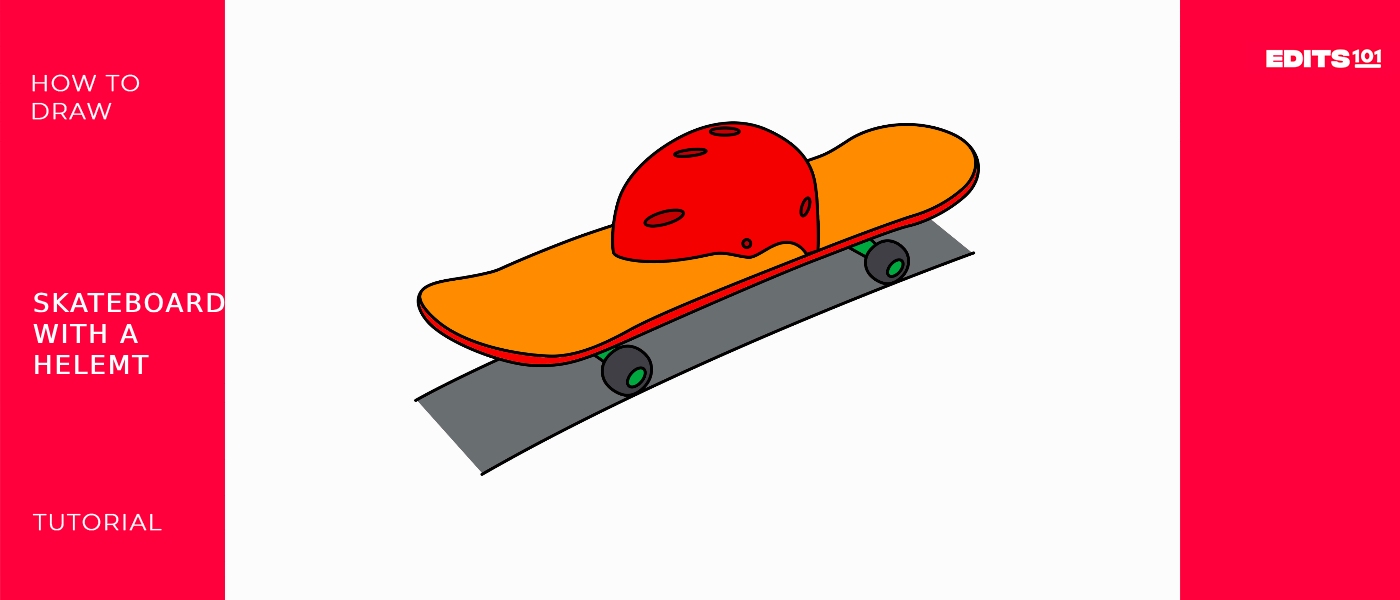
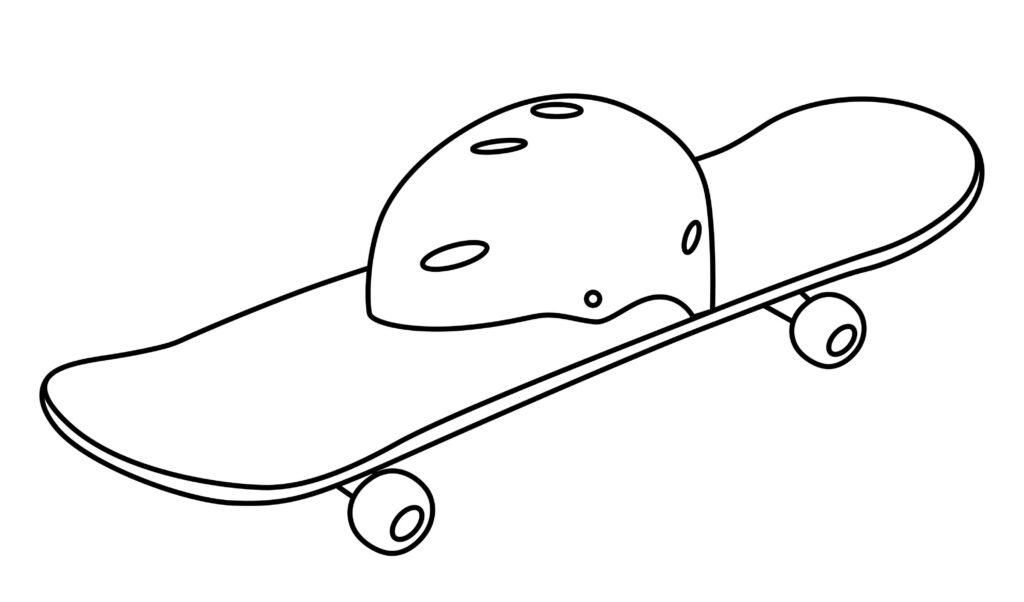
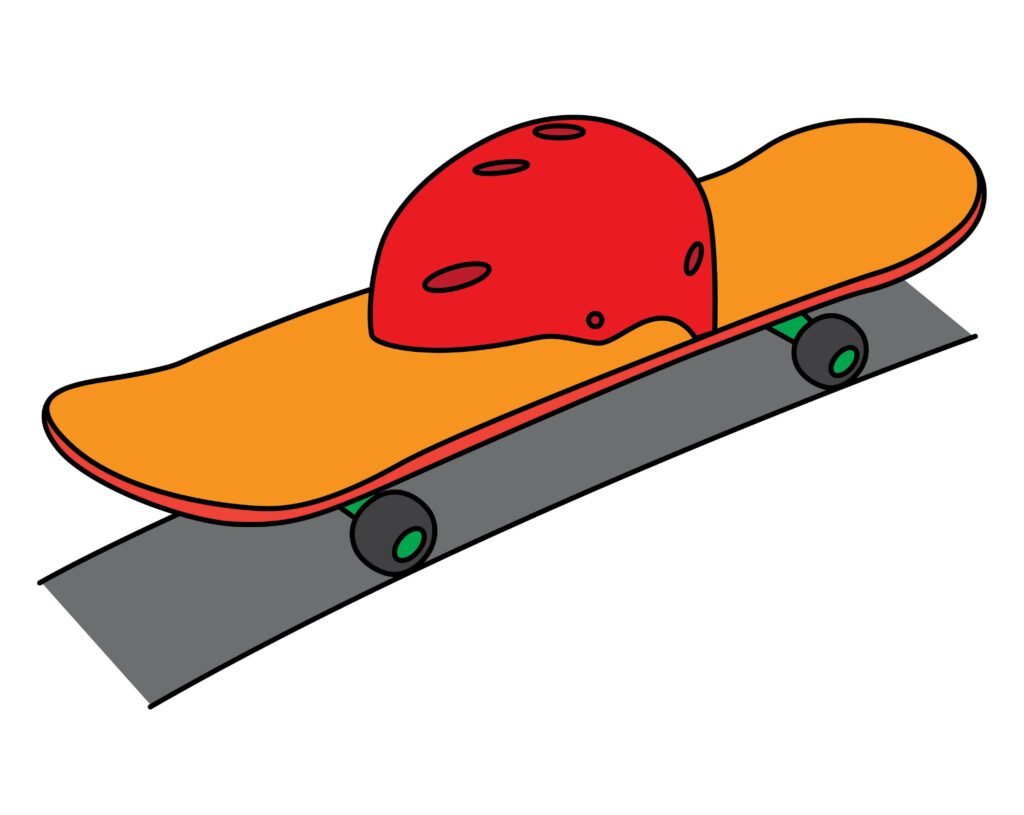
Step 5: Your skateboard with a helmet is ready
Congratulations! Your drawing is complete. Your skateboard is ready for some incredible feats with a protective helmet. The skateboard is a bit different than a hoverboard.
As mentioned in the steps, we are so excited and hopeful that you created a spectacular image. You can make mistakes when drawing, so give it another look after completion. If it doesn’t look right, erase it and make it better; then, use an outliner to make it look 100 times better.
Wait to put your things away. The real magic is about to begin. We will make your drawing from looking like a drawing to a masterpiece picture.
Taking your Skateboard With A Helmet drawing to the next level
There are billions of people, each with their preferences, and they all produce other things because our brain is as wide as the area you are about to explore. Our brain has limitless potential. The image can always be personalized by adding your ideas to it.
Your self-confidence will increase as a result, and your willingness to produce more original work will increase because your brain will be brimming with ideas.
Grab some paper, and let your imagination go wild.
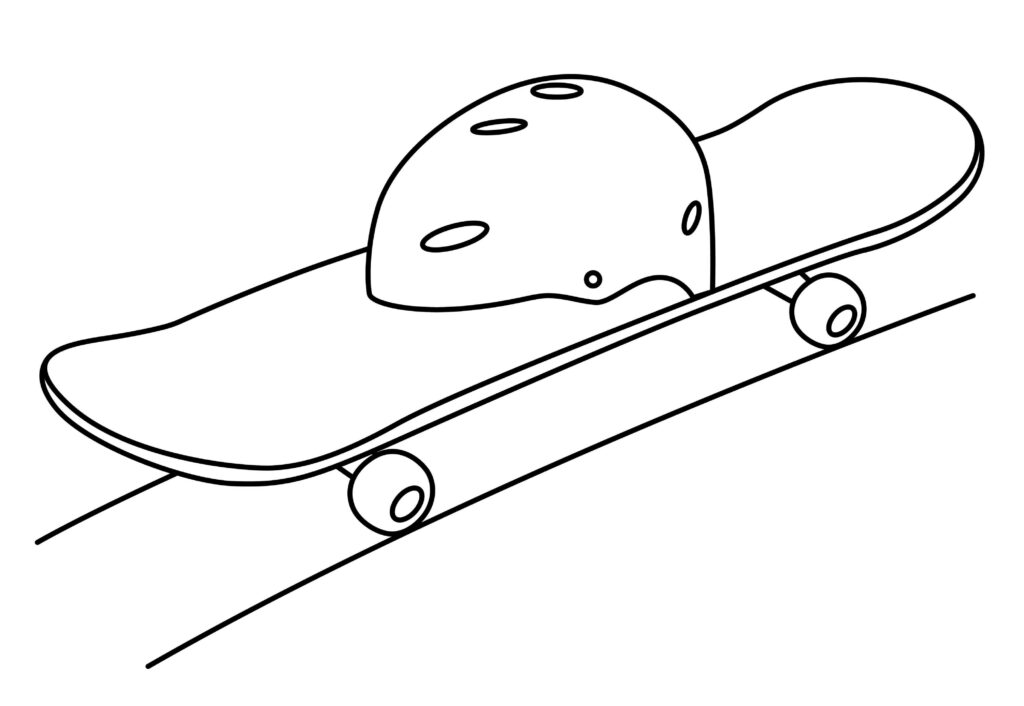
Adding background to your drawing
Adding a background gives depth to your image. Everyone has a story to tell. It can be communicated verbally or even visually. You might begin your story by mentioning the background of your drawing. With a background, a drawing appears entirely different. It provides context and gives the specifics more depth. It makes it look more realistic and creates a long-lasting impression on the viewer. It also lets the viewer create a scene in his brain of the image. In a work of art, the background is the area that supports and accentuates the primary subject matter. It encompasses the piece’s elements and can be empty negative space or real things and people.
You can add some bushes or plants behind the skate. For some other protective things that are used while skating, like knee pads, etc., you can draw a U-shaped ramp for the skateboard or simply a track, as the choices are limitless.
Adding color to your drawing
You should now let your creative side out. Make fantastic use of your artistic talents when coloring your drawing. Your drawing will have a more alive feel if you add color to it. The drawing feels lifeless and dull without color. To give it a vibrant, fresh look, we must color it.
Also, do you guys know that it’s beneficial to color as a way to decompress? It eases mental stress and promotes physical relaxation. In addition to reducing physical pains, heart rate, breathing, and depressive and anxious feelings, this can help sleep and weariness. It can be colored with crayons, poster paint, marker, or pencil colors. Everything is up to personal preference. The secret to a good drawing is neat, precise coloring, so make sure to do it well.
Coloring the ship with realistic hues is another consideration. You should use bright colors for your drawing as it is very cool sports gear. Red should be used to color the skateboard. The track we drew as context can be colored grey or black.
P.S. Bonus Tips
Our drawing is completed, and we’re sure you enjoyed it as much as we did. As mentioned earlier, there’s no limit to one’s creativity. The drawing can be upgraded in any way. We added background and colors, but there’s more you can do.
You can make some designs or stickers on the skateboard, like some fire or your favorite cartoon character, and many more things that show your personality. You can also draw some cool wristbands lying beside your skateboard. These are very few ideas, but as we know, we can do anything, so don’t limit yourself to ideas.
Conclusion
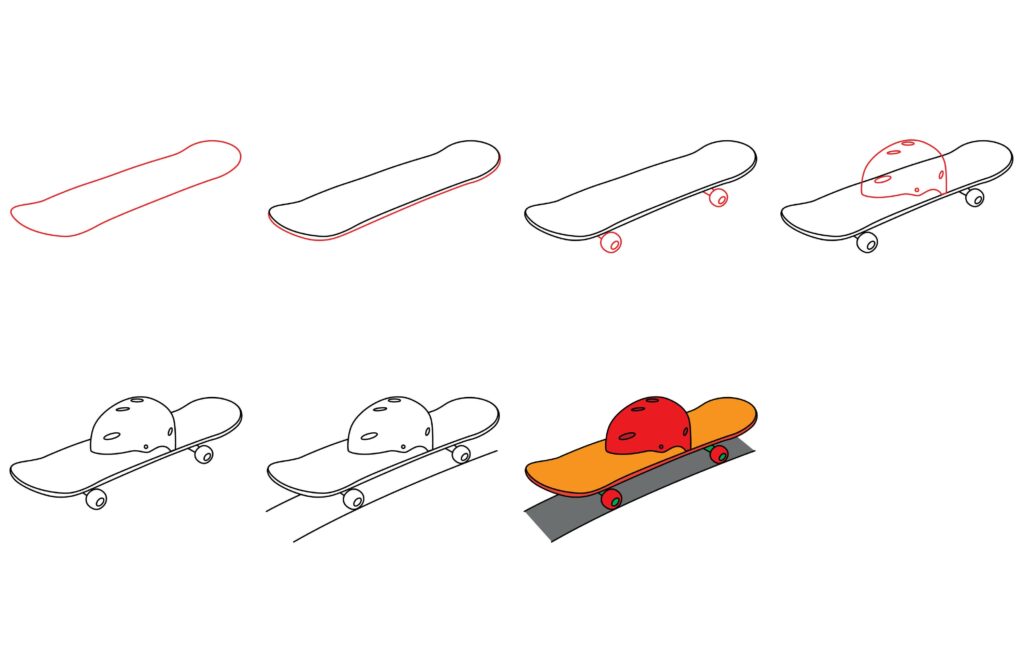
Our skateboard is all ready now. It was a fun and easy process. We’re sure you followed each step without skipping and made a fantastic drawing. We started by making the body, then the base, wheels, and helmet.
Always keep in mind that sketching is a creative and thoughtful way to express yourself and that the more you draw, the better you’ll get, and the more ideas will start to come to you. Remembering them will be quite helpful in ensuring that the drawing is distinctively yours. Because you should never give up, you can always try again if you aren’t satisfied with the results.

Thanks for reading & feel free to check out more of our articles!
Author Rating
Overall Rating
Summary
This guide explains how to draw a skatebard with a helmet. You will also learn a few interesting facts about this vehicle.