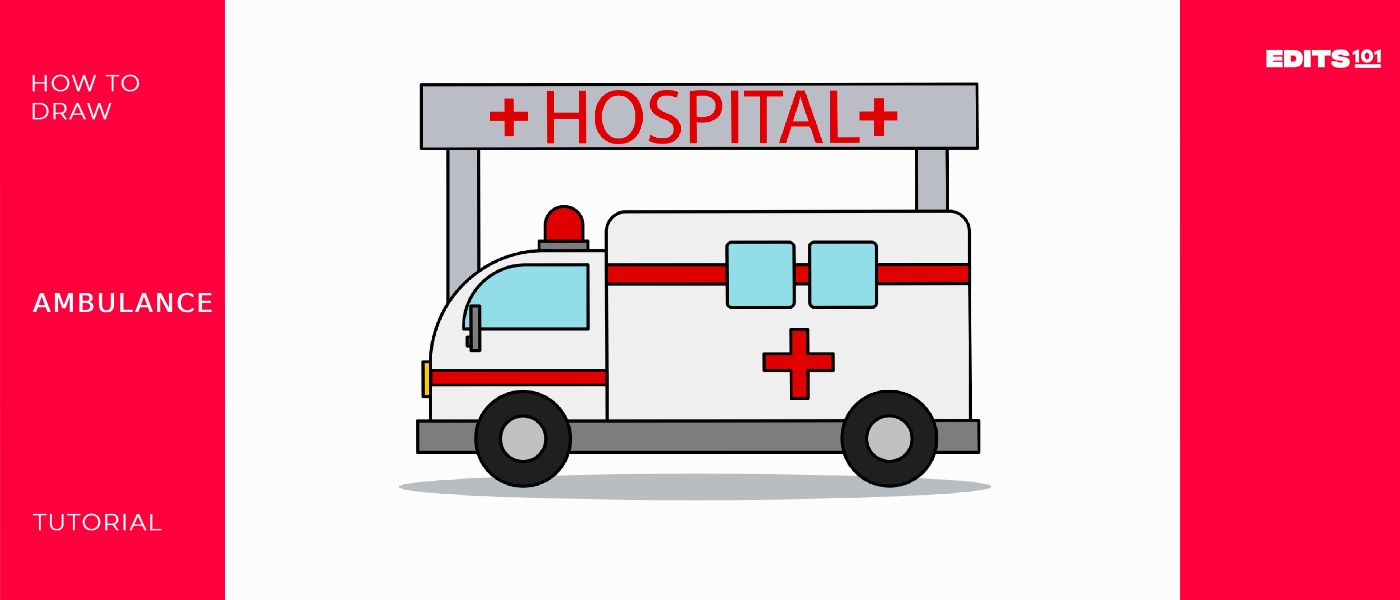
How to Draw an Ambulance | A Step-By-Step Guide
An ambulance is a medically equipped vehicle that is used to transport the sick or injured people to a hospital. The people who operate ambulances are skilled medical professionals.
Kids love to play with the toy ambulances. They move it as if it’s roaming on the road. Most of the time, they also try to craft their art on paper. But it gets difficult for them as they don’t follow any plan. This guide will showcase how to draw an ambulance, most simply.
What you will need
- A pencil
- An eraser
- A sheet of paper
- Coloring kit
- Ruler
- 30 minutes
How to Draw an Ambulance
It seems a challenging task to draw an ambulance. It becomes difficult to decide where to start. You don’t have to worry about it. We’re here to solve this problem.
We’ll start by making the head of the ambulance. Later, we’ll add the other parts. It is going to be an exciting 30 minutes. Grab your pencil and paper, and let’s begin!

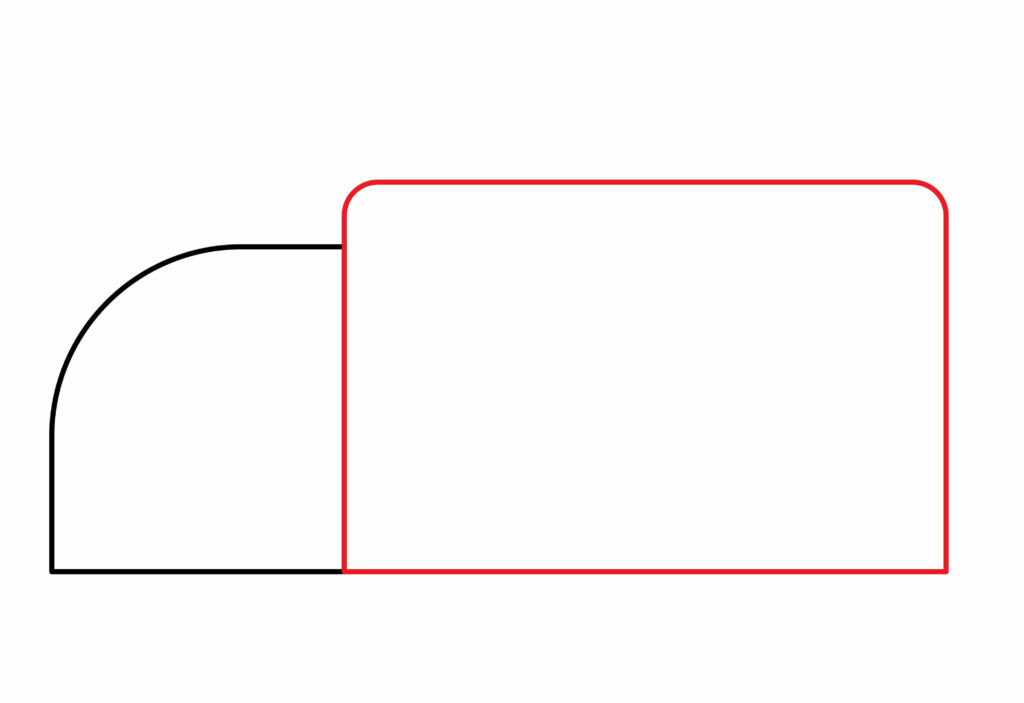
Step 1: Draw the Ambulance head
The head is the front part of the ambulance. The head represents the area where the driver sits.
We will draw it by making a rectangle on the left side of the page. Make sure the top left sides of the rectangles are curved. We will make the base and the right side of the rectangle straight. The height of the rectangle must be greater than its width. If it’s not, we’ll erase it and draw it again.

Step 2: Draw the ambulance body
The main body of the ambulance is where all the medical procedure is done. It carries a stretcher, an oxygen tank, and all the required equipment. It is bigger than the head of the ambulance.
We’ll make another rectangle with the head of the ambulance. This rectangle is bigger than the one we drew first. Make its height bigger than the head of the ambulance. The upper corners should be slightly curved. The main body of the ambulance is ready.
Step 3: Draw the Ambulance Siren
Ambulance operates in an emergency. Its path shouldn’t be blocked in such circumstances. That’s why it uses a siren. Let’s draw this siren.
On top of the head of the ambulance (step 1), we’ll draw a rectangle. As the siren is small compared to the head of the ambulance, we’ll draw a bite-sized rectangle, as shown in the image.
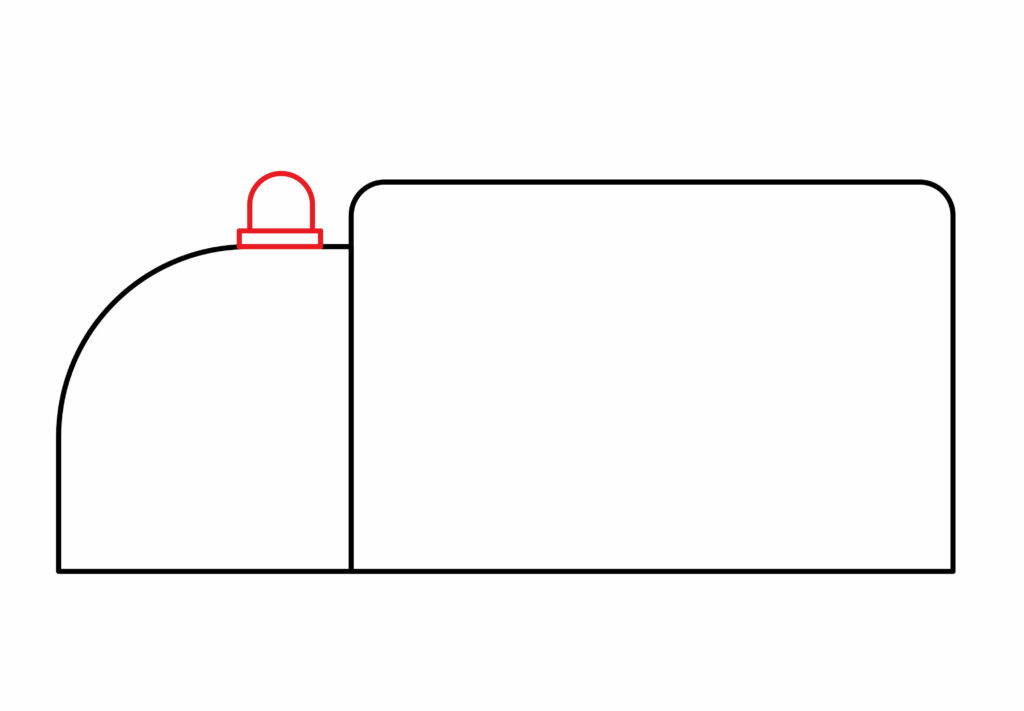
After that, we’ll draw a semicircle upside down right on top of this rectangle. Make sure the diameter of the semicircle shouldn’t be greater than the width of the rectangle. The siren is ready.
Step 4: Draw the Ambulance Wheels
Since it is a vehicle, it must have wheels. We will draw two wheels. To draw the first one, draw a circle under the ambulance head. Draw another circle inside the first circle.
We can make these circles using the freehand technique, or we can use any round lid as well.
We’ll draw another circle under the ambulance body in the same pattern. This circle should be at the bottom right side of the ambulance body.
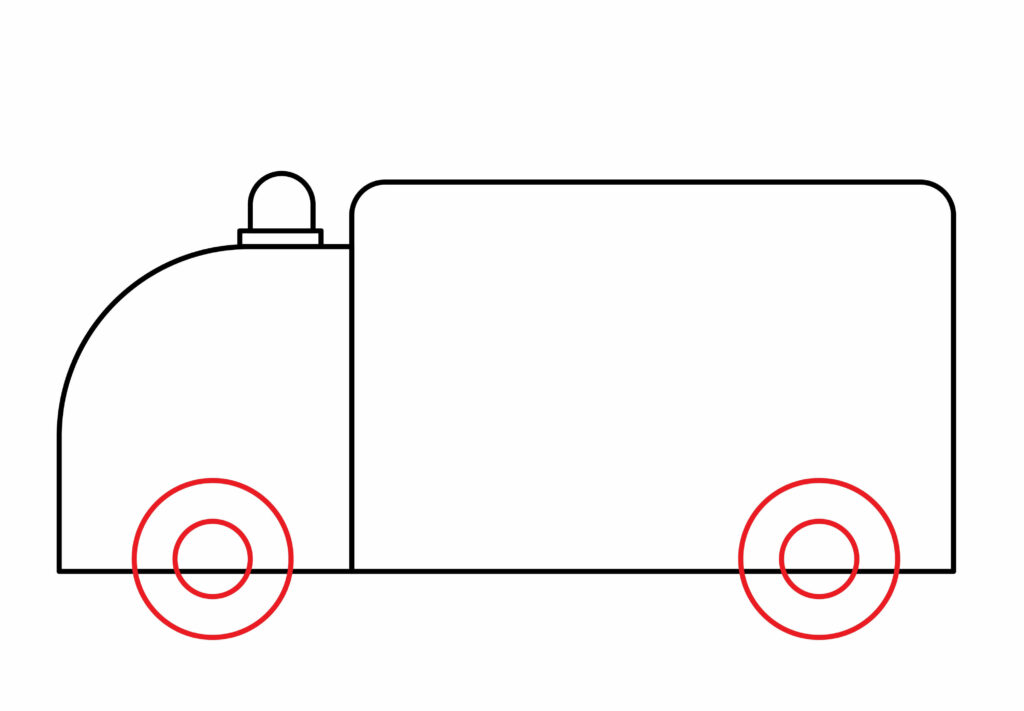
After making these circles, we will erase all the lines that overlap the wheels.
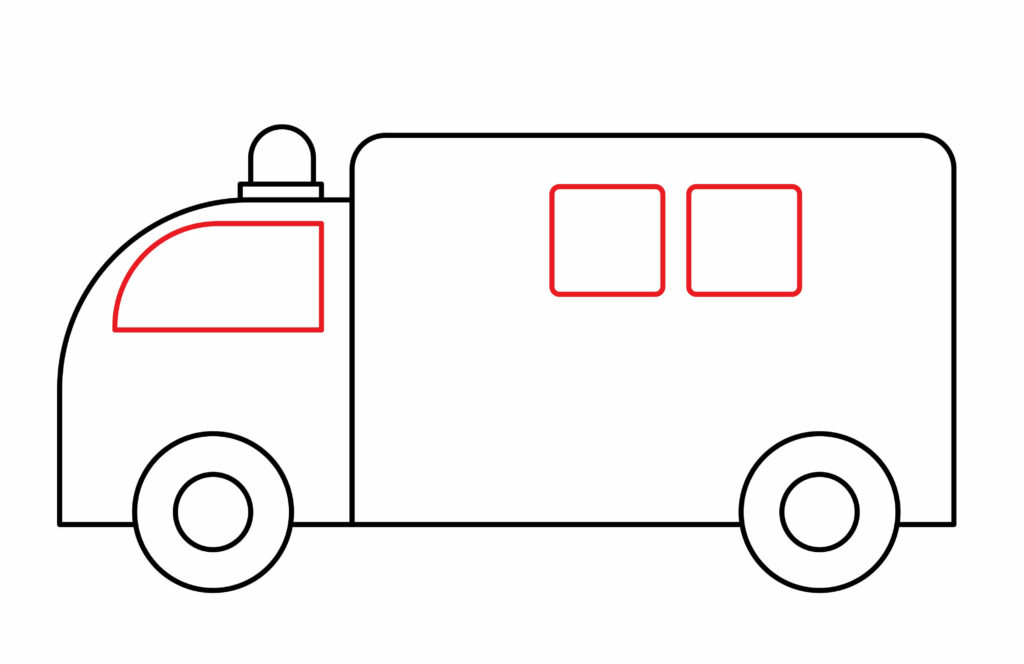
Step 5: Draw the Ambulance Windows
There are windows both in the head and in the body of the ambulance. To draw the window in the head of the ambulance, we’ll draw a similar-shaped rectangle inside the head. Since it’s similar to the head, we’ll make its top right corner curved.
To make the windows in the body of the ambulance, we’ll draw two similar-sized squares. To maintain the symmetry, we will ensure the length and width of both squares are equal.
Step 6: Draw the down part of the ambulance
The down part of the ambulance protects the head and the body of the ambulance from any collision.
To make this, we will draw an elongated rectangle under the head and the body of the ambulance. The down part of the ambulance should be slightly outward from the front and back as well.
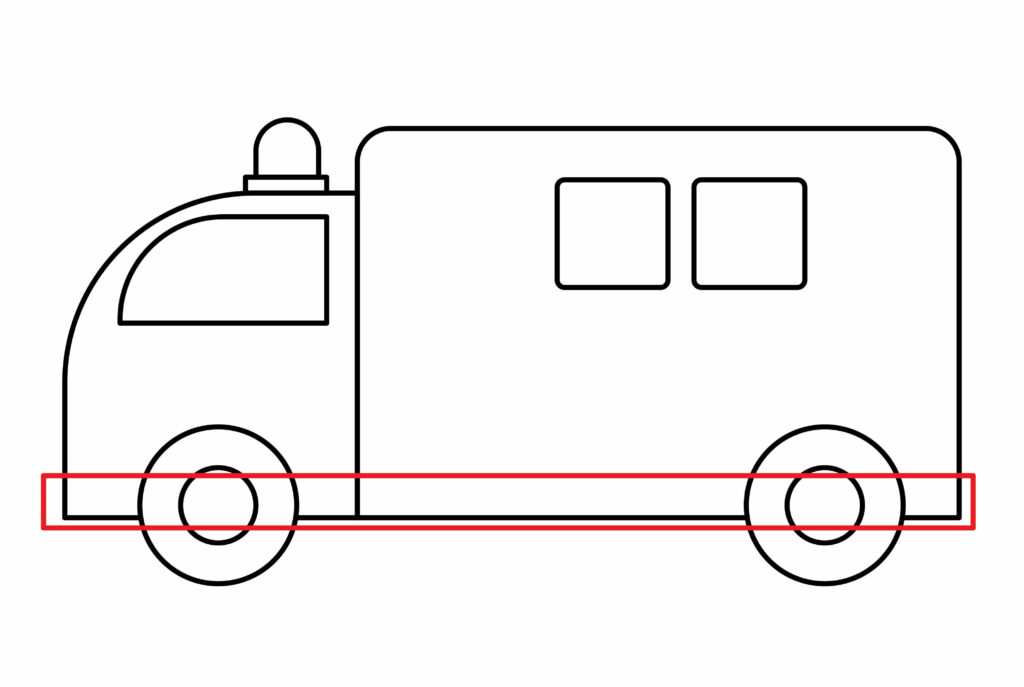
After making this, we will notice if there is any line overlapping the wheels. Erase the overlapping lines if you find any.
Step 7: Draw the mirror and light
Mirrors and lights are used for safety while driving. We’ll first make the side mirror. We’ll start by making a tiny rectangle near the window in the head of the ambulance. Continuing this rectangle, we’ll draw another rectangle in the upright position. The first rectangle would support the mirror, while the second rectangle represents the mirror.
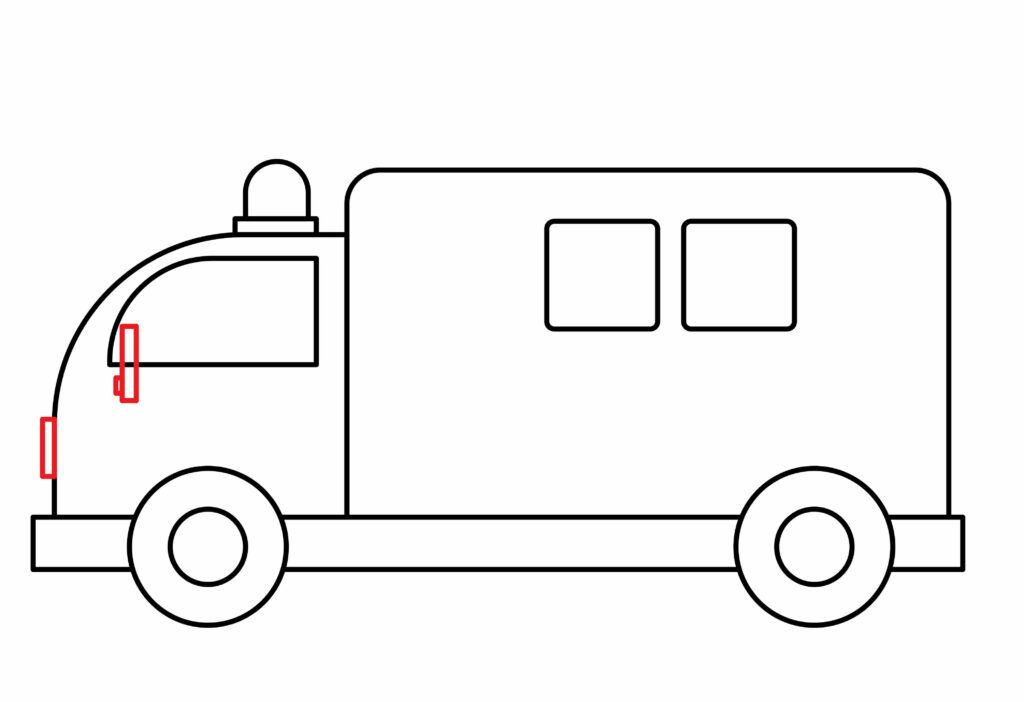
To make the lights, we’ll draw a rectangle on the front side of the head of the ambulance. Ensure you don’t make lights too big, as it would seem unrealistic. Ambulances have small and sharp lights, so we’ll keep it like that.
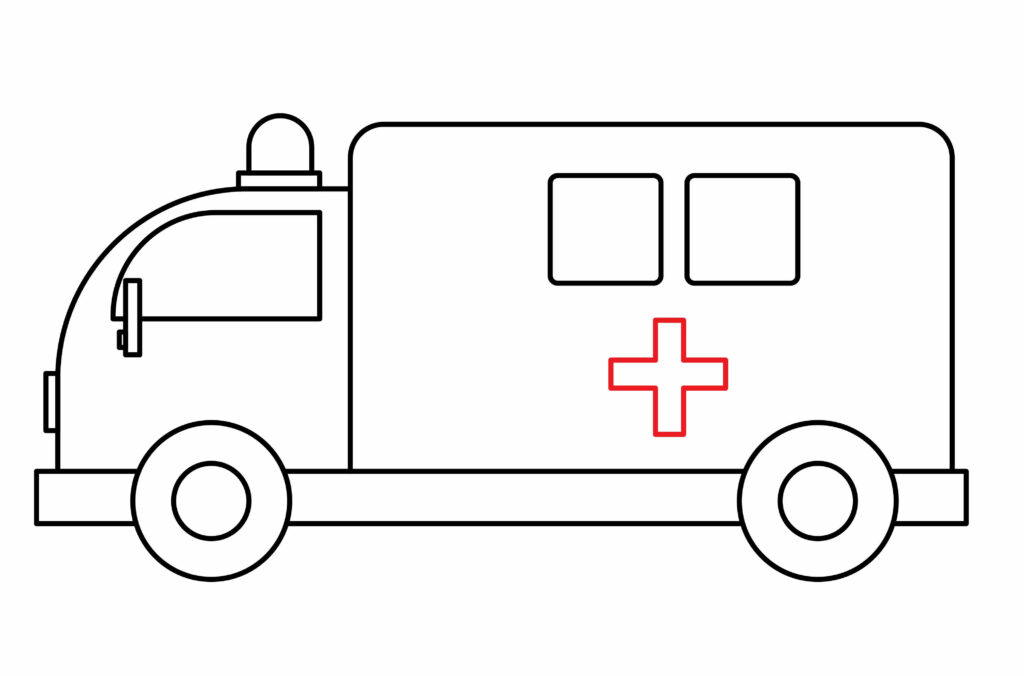
Step 8: Draw the ambulance logo
Any professional institute, business, or service has a logo. Ambulance also has a logo. Its logo is like a “plus sign.” This sign is also known as the “star of life.”
We’ll draw this logo under the windows in the body of the ambulance. We’ll make this logo slightly bigger to increase its visibility. We want this logo to be symmetry, so we will use a ruler to make it. All the lines in the logo should be equal. If any line gets bigger or smaller than the required length (let’s say 3cm is our required length), erase it and draw again.
Step 9: Ambulance is ready
Congratulations, you have done it. Within a few minutes, we made an amazing ambulance. It is a fun process. We believe you followed our guide, and your ambulance is ready. The key to making a perfect ambulance is to follow each step without skipping. If you skip, you will get confused, ultimately affecting your drawing.
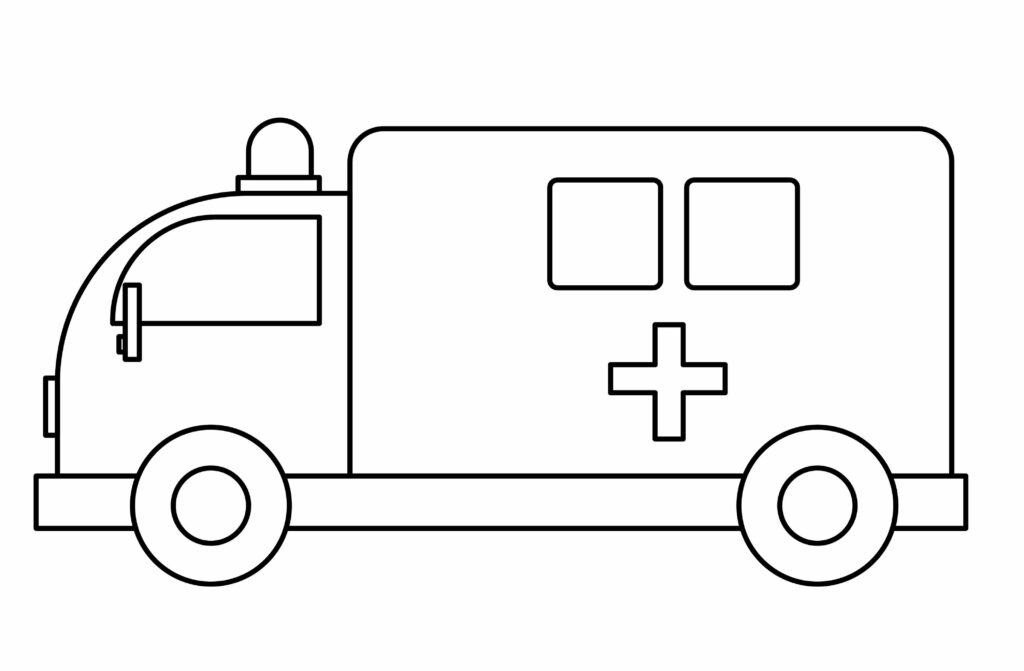
Remember, no one gets perfect on the first attempt. If your drawing seems to be unsatisfactory, try again until you feel happy and satisfied about your drawing.
Taking your ambulance drawing to the next level
We have made the basic drawing, but to be honest, it’s not as attractive as we want it to be. It seems unlikely. To make it look appealing, we have to add colors to it. It’ll give our drawing a life. Also, we can add a background too. It’ll make our drawing realistic and catchy.
The good news is that upgrading doesn’t require exceptional painting or drawing skills. You can easily do it just by following our two basic steps. Let’s upgrade our drawing!
Adding background to your drawing
Most of the time, ambulances are seen within the premises of the hospital. They leave the hospital only in the emergency. So, we will make our background have a hospital in it as it will seem realistic. There’s no hard and fast rule to consider hospitals as a background. You can add any kind of background according to your creativity. In our case, we have chosen a hospital as our background, and let’s draw it.
To begin with, we’ll add the shadow of the ambulance on the road. Draw an oval shape under the wheels of the ambulance. Make sure no line overlaps the wheels.
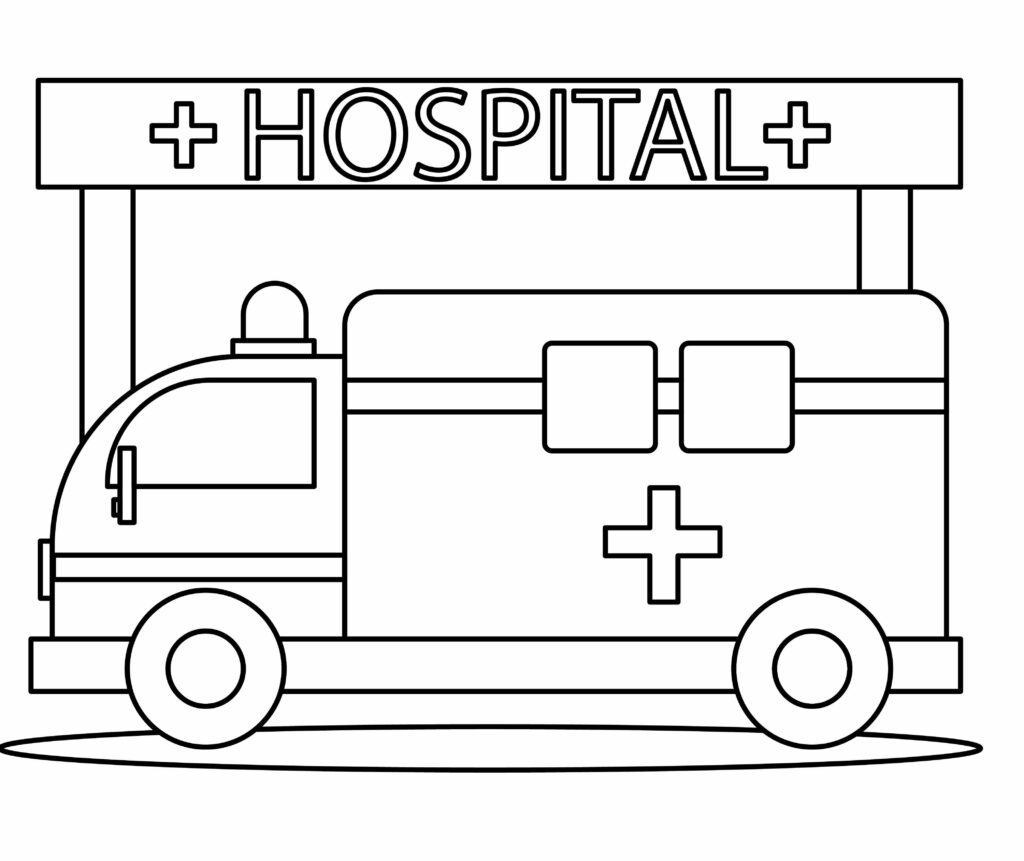
After that, make two bars behind the ambulance and add a banner to it that displays “hospital and its logo.”
Adding colors to your drawing
There’s no life without the colors. Colors are essential for a charismatic look. For that reason, we’ll add colors to our drawing. It’ll give it an amazing look.
This section demands your coloring skills. We want it to look the best. We’re certain that you can color it efficiently.
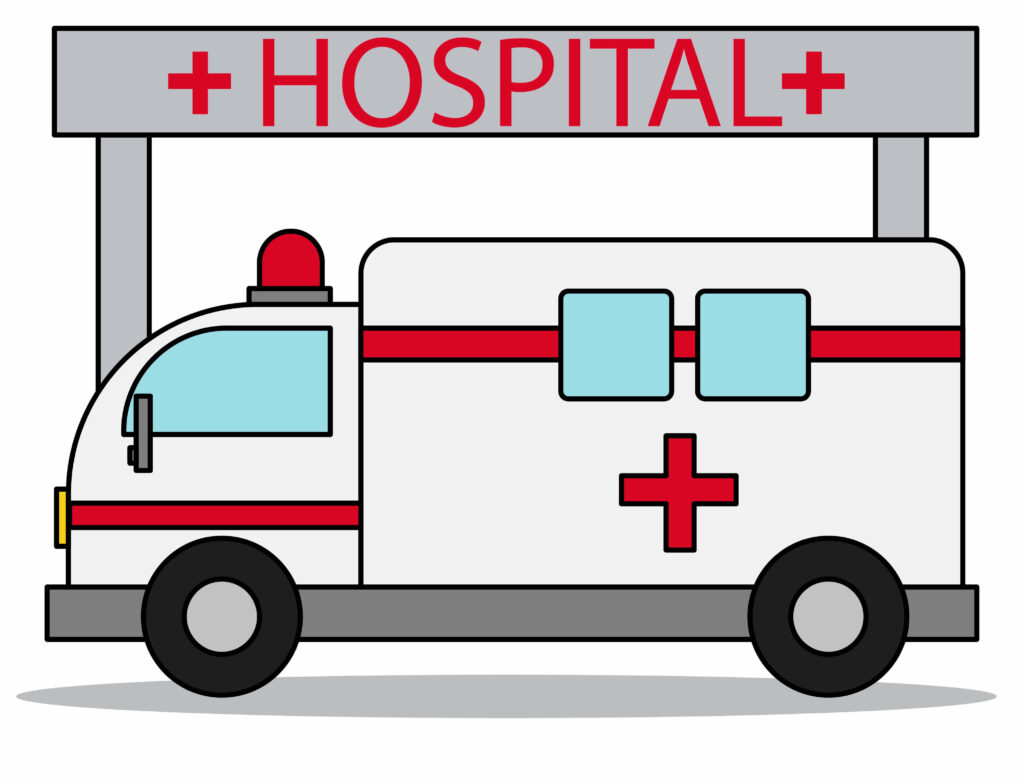
We’ll start by coloring the wheels, as wheels are always black or gray, we’ll color it grayish black. We will color the logo red. Windows will have a light blue color. In the other parts, you can color it as you want.
Now, our drawing gives us the amazing realistic look we had planned. Our time has been well spent.
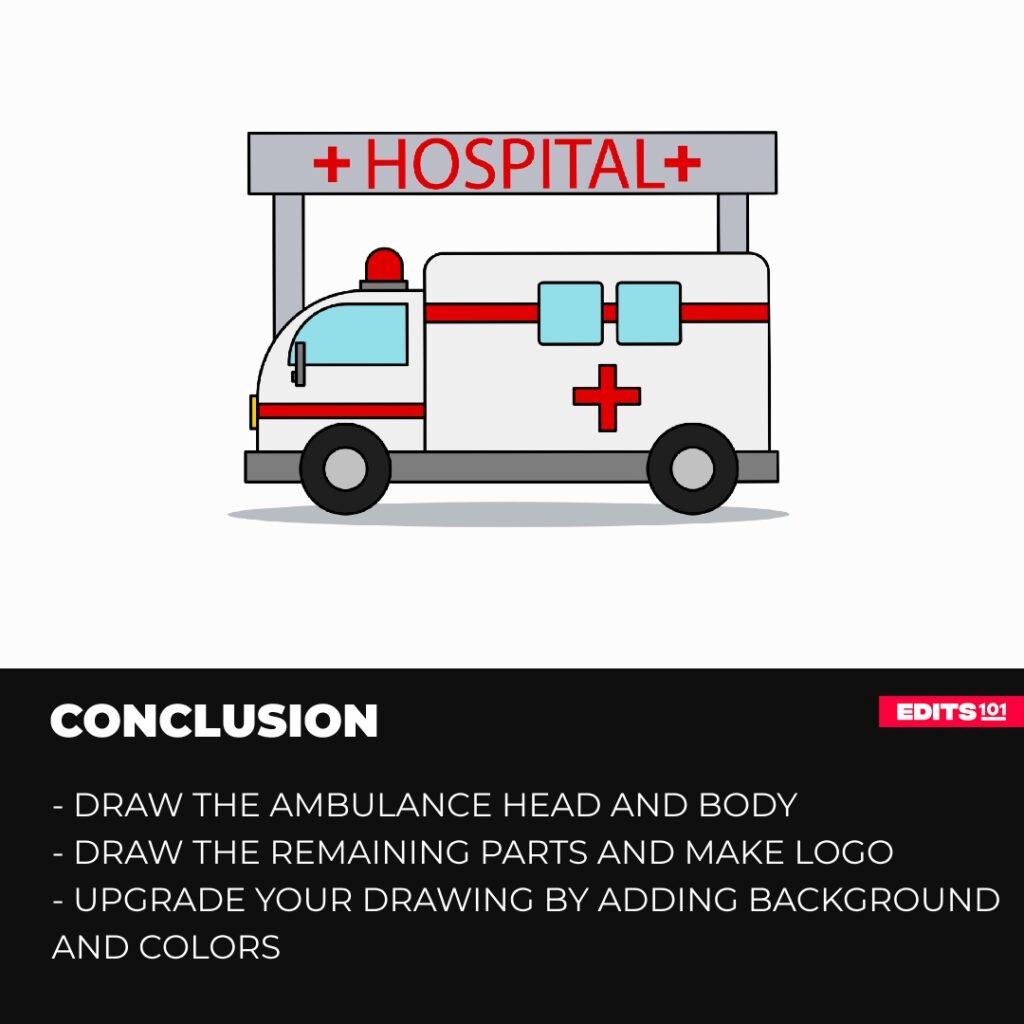
Conclusion
Congratulations on making this piece of art. We have tried our best to explain each step very simply. We’re certain this guide has helped you make and upgrade your drawing.
We began drawing the head of the ambulance; later, we added the body of the ambulance. After that, we drew windows, logos, and other parts. After just a few basic steps, our ambulance was ready.
Let us tell you, drawing is a fun way to express your imagination. The drawing doesn’t have to be perfect on the very first try. If you aren’t satisfied with your drawing, it’s completely okay. Just go for it again. Ultimately, you will achieve your goal. Consider drawing an effective way to calm yourself.
Thanks for reading & feel free to check out more of our articles!
Author Rating
Overall Rating
Summary
This guide is all about how to draw a efficient ambulance. You will also learn a few interesting facts about this vehicle.