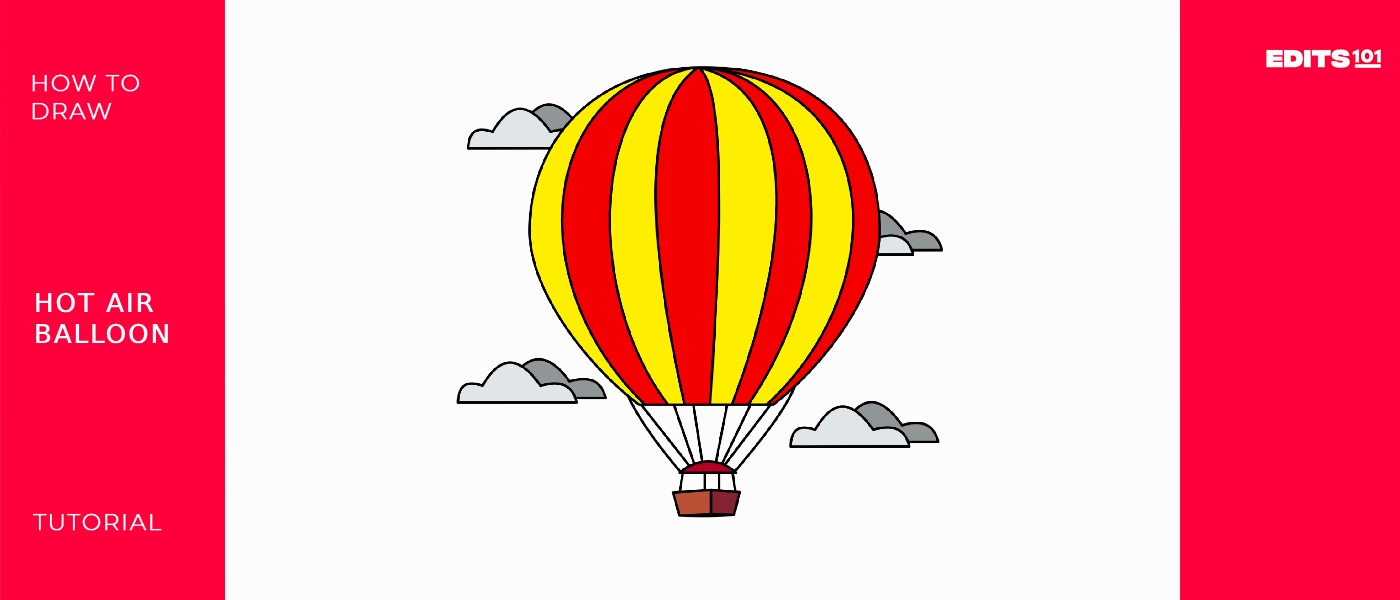
How To Draw A Hot Air Balloon | A Fun And Easy Guide
Today, we will go in the air while drawing a hot air balloon. It is going to be an exciting journey.
Thirty-two passengers and two pilots can travel in a giant passenger-carrying balloon. Ed Yost developed the modern hot air balloon in the United States in the 1950s, thanks to his insight into combining nylon and propane as a fuel source. A typical hot air balloon can safely ascend or fall at a speed of 1000 feet per minute or 5 meters per second. Animals were used in the early tests of hot air balloons. Seventy thousand feet is the highest hot-air balloon flight to date. Since it’s difficult to breathe up there, oxygen comes from a distance of about 5,000 meters (16,400 feet). Typically, a hot air balloon’s inside temperature is below 120 degrees Celsius (248 degrees Fahrenheit).
What you will need
- A pencil
- An eraser
- A sheet of paper
- Coloring kit
- Ruler
- 30 minutes
How To Draw a hot air balloon
Are you guys ready for a fantastic drawing experience while learning some facts about hot air balloons? All you have to do is to follow each step carefully. By doing that, you will have a perfect drawing.
The following steps will show you how to do it.
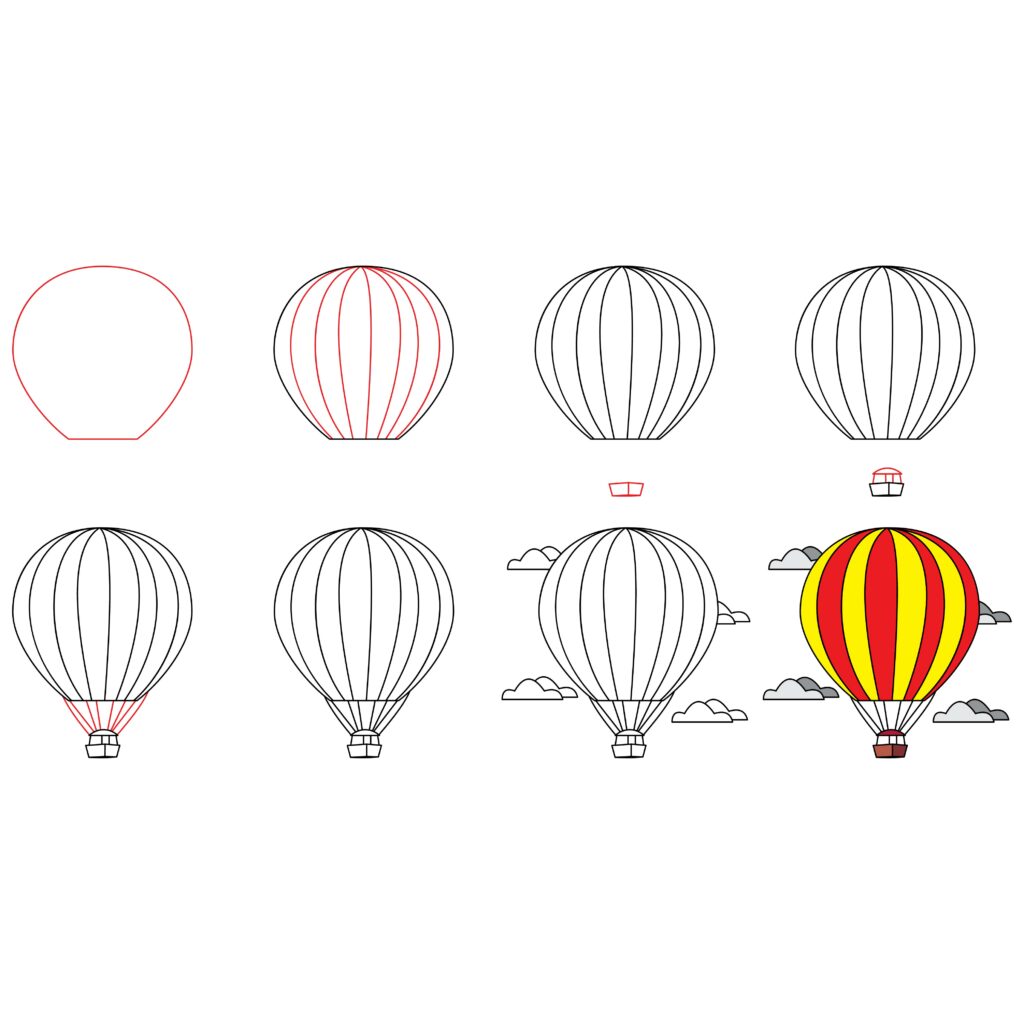
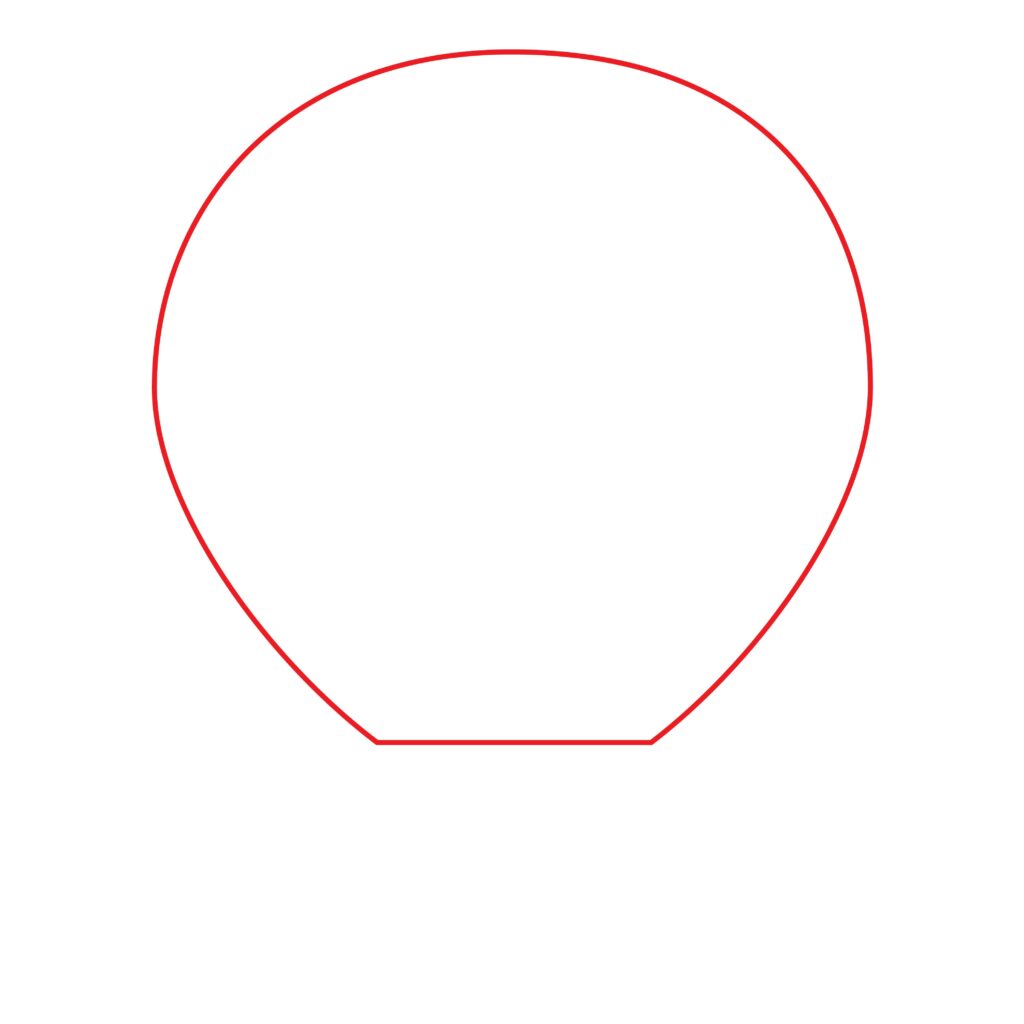
Step1: Draw the balloon
In our first step, we will draw the central part of a hot air balloon, and that is the balloon. The balloon is also known as an envelope. The portion of the hot air balloon that is filled with hot air and what causes it to rise is called the envelope. It is made of nylon, a lightweight material with a high strength that ensures exceptional endurance and durability throughout the flights. There are a lot of different envelope designs that can be used for various purposes.
Now, to make the balloon, draw an elongated oval. Then, erase the lower part of the oval and connect it with straight lines as the lower part of the balloon is kept open for the hot air to get trapped in the envelope.
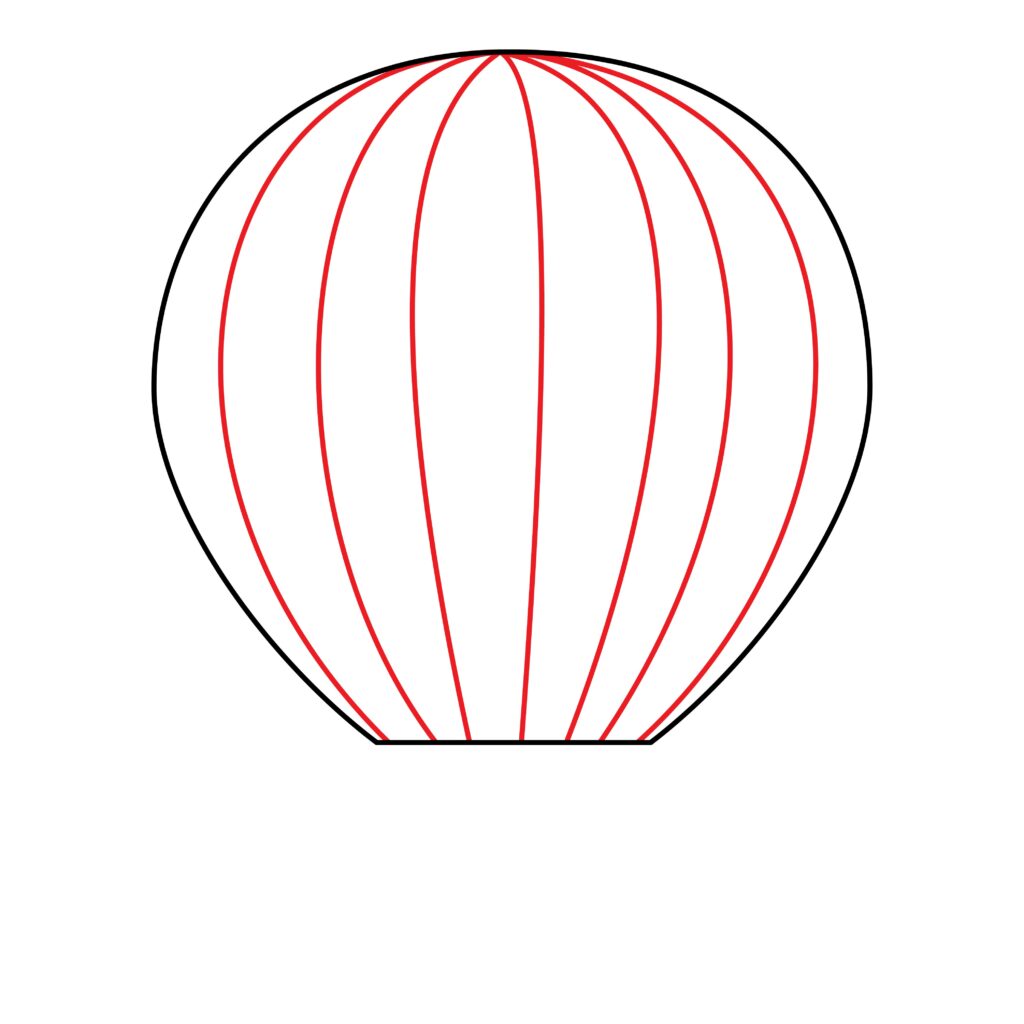
Step 2: Draw the details on the balloon
In our second step, we will add some detailing to the balloon. Draw some vertical lines with the balloon body to make the body realistic. These vertical lines will be drawn along the curved body of the balloon, giving a 3D effect.
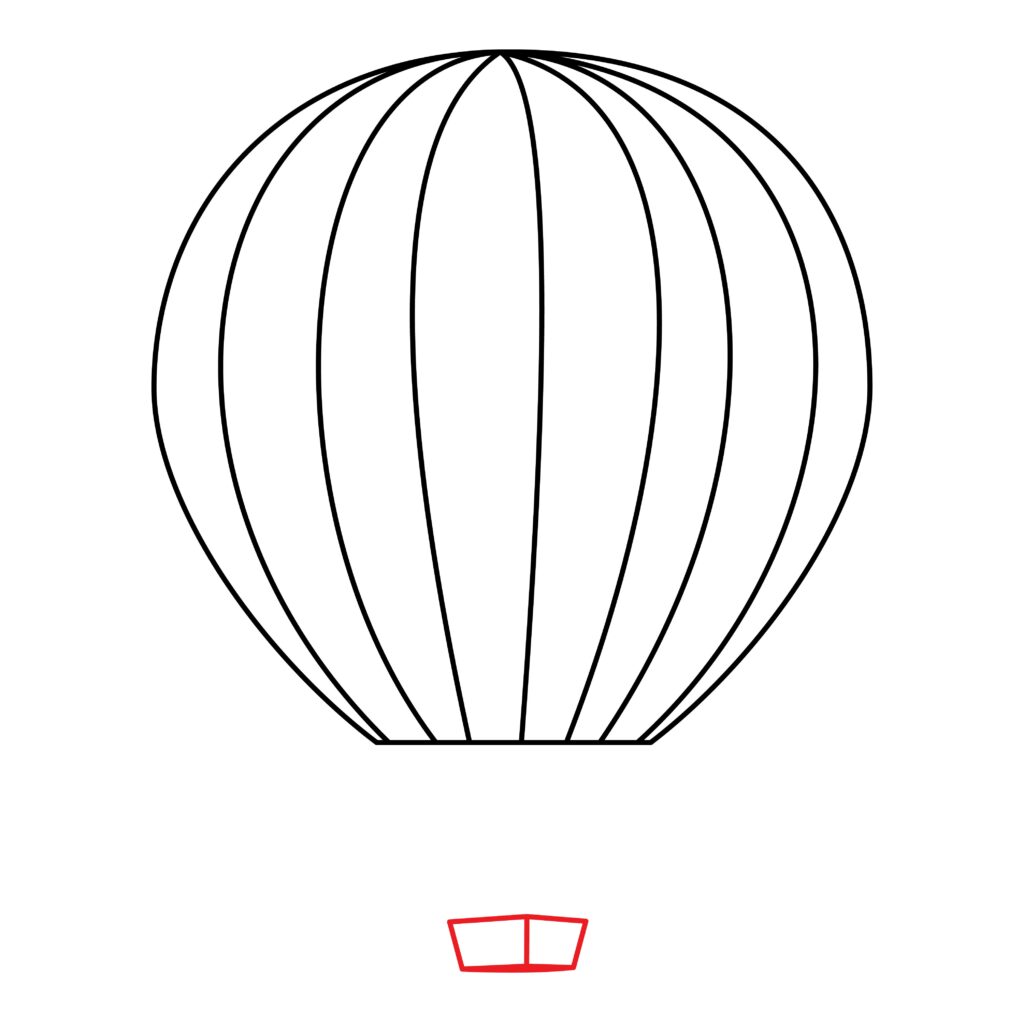
Step 3: Draw the wicker basket
The burner system, basket, and envelope make up the hot air balloon. In this step, we will draw the wicker basket. It is a basket that has been fashioned from a stiff material, such as plastic, twisted paper fiber, willow branches, canes, or reeds, and is known as a wicker basket. A wicker basket is typically used as the gondola in hot air balloons because the wicker helps soften the landing by flexing and absorbing some of the energy from the impact. After all, it is solid yet flexible. Typically, the flooring is plywood with leather binding around the borders.
To make the basket, draw an elongated horizontal rectangle. For a rectangle, you will have to make two parallel horizontal lines. Then, connect these horizontal lines with angled lines, as shown in the image. Double the baseline of our basket and draw a line in the center of the rectangle. This will give a realistic look to our basket. Remember, there will be space between the basket and the balloon.
You are doing a fantastic job; a few more steps and our drawing will be complete.
Step 4: Draw the roof of the basket
This is an effortless step. All you have to do is draw a small, narrow semi-circle over the top of the basket. Then, connect it with four vertical lines to the basket. The roof is a significant part of a hot air balloon because the burner system is present here. The hot air balloon’s engine is called the Burner. It causes the balloon to lift by forcing hot air into the envelope.
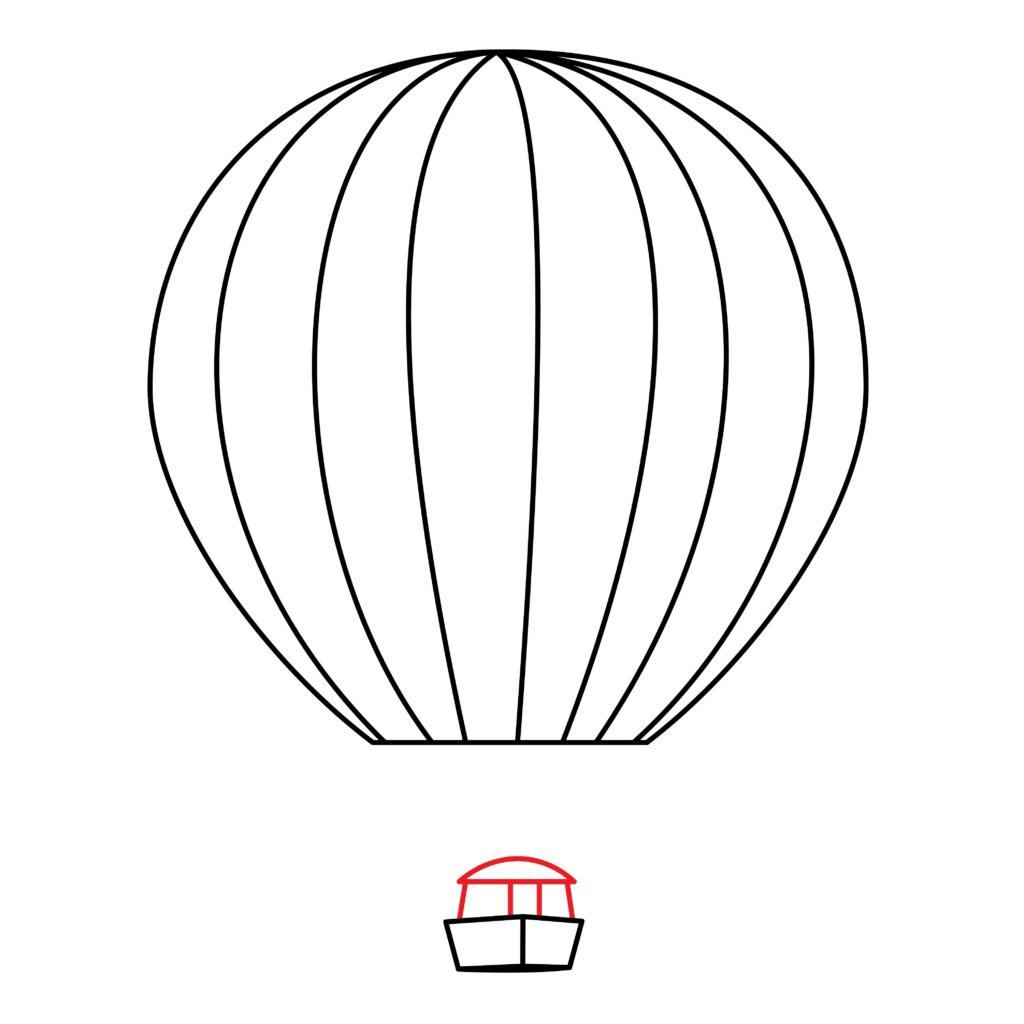
Depending on the size of the flying balloon, various burner systems, including single, double, and quad, are available.
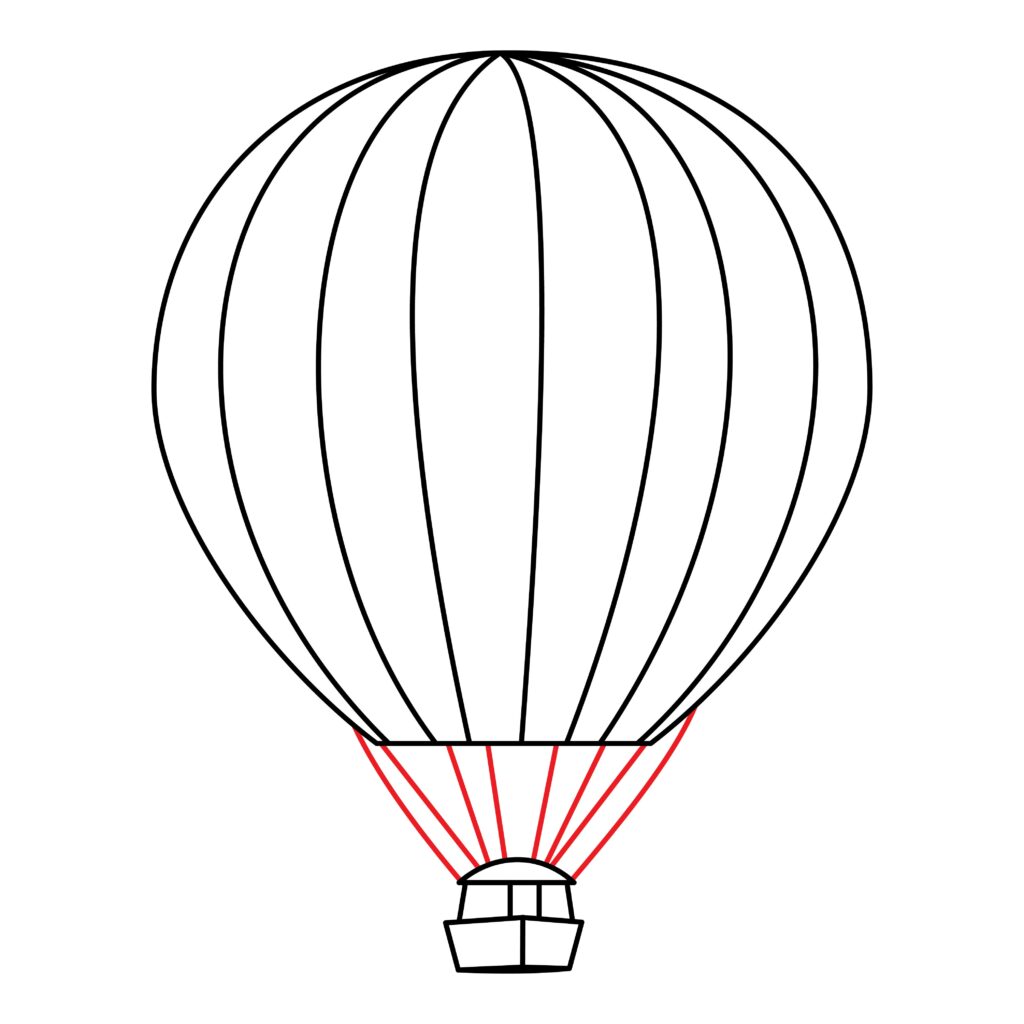
Step 5: Draw the rope
As space was between our envelope and a basket of hot air balloons, we joined them with rope. As shown in the image, draw several oblique lines connecting the balloon and the basket to make the rope.
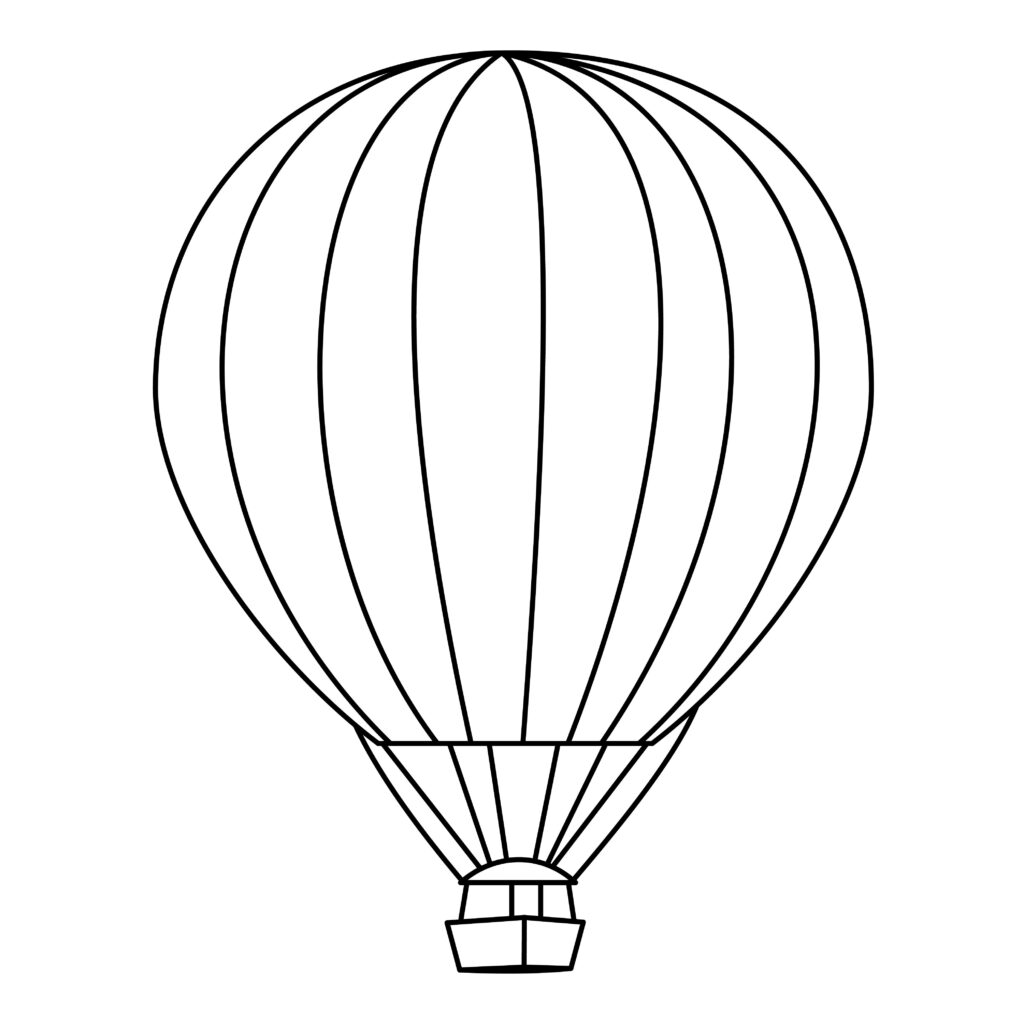
Step 6: Your Hot Air Balloon is ready
Congratulations! Your hot air balloon is ready to rise in the air. As mentioned in the steps, we are so excited and hopeful that you created a spectacular image. You can make mistakes when drawing, so give it another look after completion. If it doesn’t look right, erase it and make it better; then, use an outliner to make it look better.
Wait to put your things away. The real magic is about to begin. We will make your drawing from looking like a drawing to a masterpiece picture.
Taking your Hot Air Balloon drawing to the next level
Since our brain is as diverse as the place we are about to explore, there are billions of people, each with their preferences and other products. Our brain is capable of anything. You may always add your thoughts to the image to make it more unique.
Your willingness to create more original work will also improve due to your increased self-confidence and idea-filled head.
Take out some paper, and let your creativity run free.
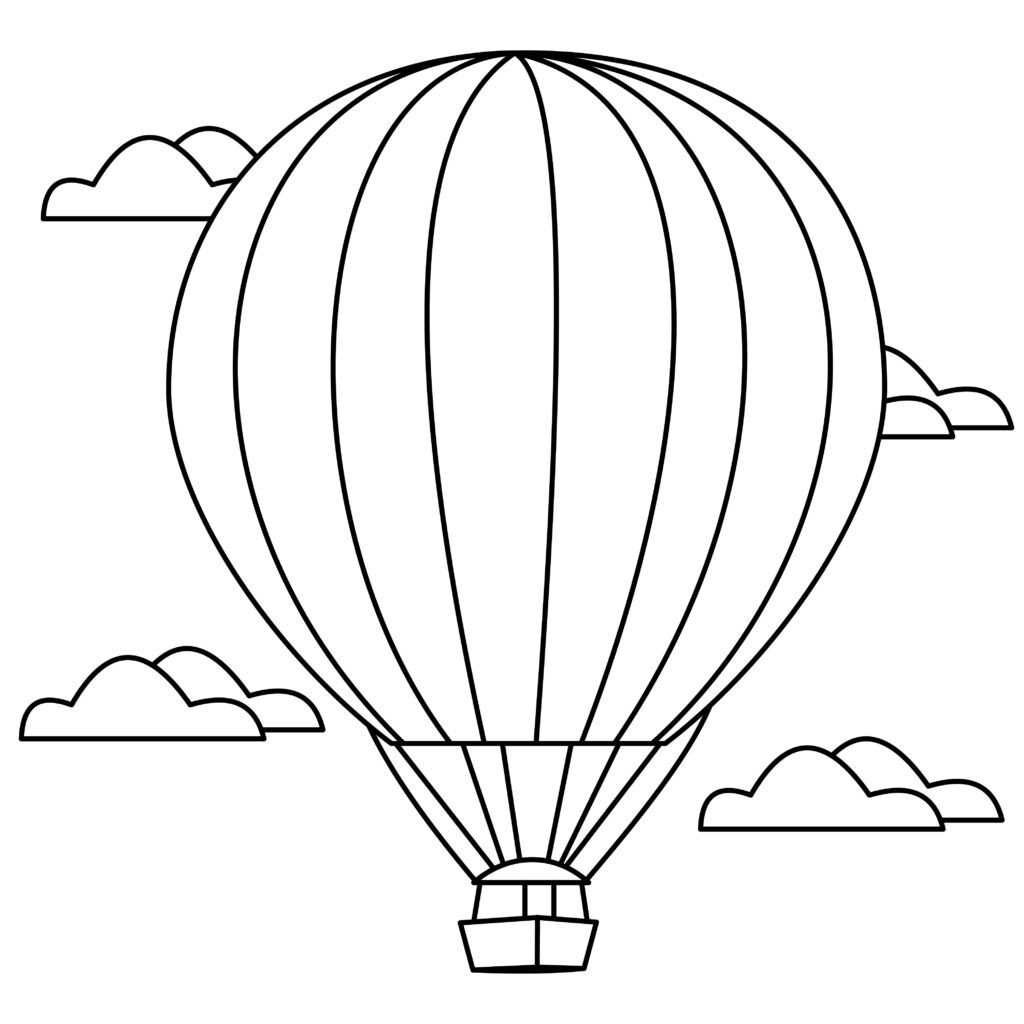
Adding background to your drawing
Adding a background gives depth to your image. Everyone has a story to tell. It can be communicated verbally or even visually. You might begin your account by mentioning the background of your drawing. With a background, a picture appears entirely different. It provides context and gives the specifics more depth. It makes it look more realistic and creates a long-lasting impression on the viewer. It also lets the viewer create a scene in his brain of the image. In a work of art, the background is the area that supports and accentuates the primary subject matter. It encompasses the piece’s elements and can be empty negative space or real things and people.
Now, where our hot air balloon could be, it might be up in the air or just sitting on the ground. You can draw clouds and blue sky if it is in the air. You can also draw some birds flying around our balloon. You can also draw the green grass to show it is on the ground, as the choices are limitless.
Adding color to your drawing
You should now let your creative side out. Make fantastic use of your artistic talents when coloring your drawing. Your drawing will have a more alive feel if you add color to it. The drawing feels lifeless and dull without color. To give it a vibrant, fresh look, we must color it.
Also, do you guys know that it’s beneficial to color as a way to decompress? It eases mental stress and promotes physical relaxation. In addition to reducing physical pains, heart rate, breathing, and depressive and anxious feelings, it can help with sleep and weariness. It can be colored with crayons, poster paint, marker, or pencil colors. Everything is up to personal preference. The secret to a good drawing is neat, precise coloring, so make sure to do it well.
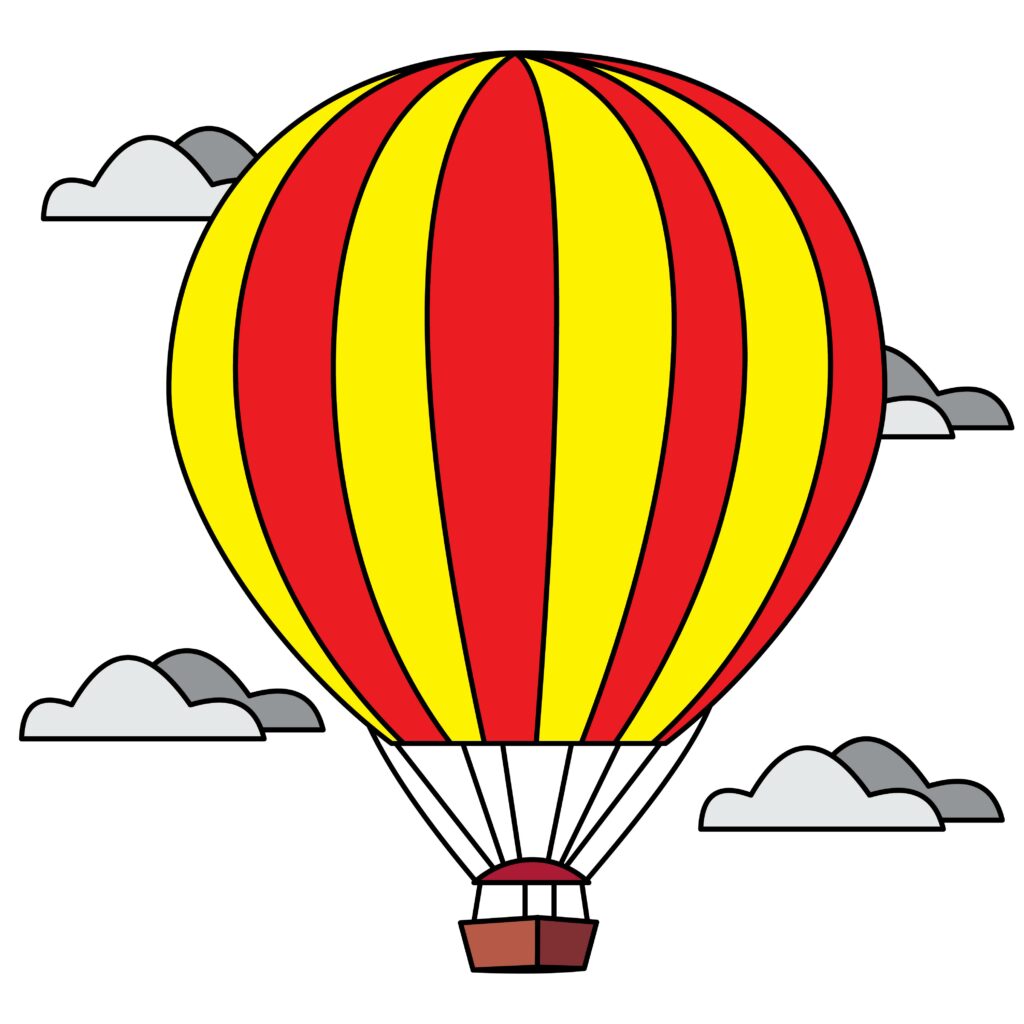
You should use bright colors for your drawing of the balloon. You can color it in multiple colors. The basket can be colored brown. For the clouds, you can use grey or white color.
P.S. Bonus Tips
Our drawing is completed, and we’re sure you enjoyed it as much as we did. As mentioned earlier, there’s no limit to one’s creativity. The drawing can be upgraded in any way. We added background and colors, but there’s more you can do.
You can make some designs or stickers on the skateboard, like some fire or your favorite cartoon character, and many more things that show your personality. You can also draw some cool wristbands lying beside your skateboard. These are very few ideas, but as we know, we can do anything, so don’t limit yourself to ideas.
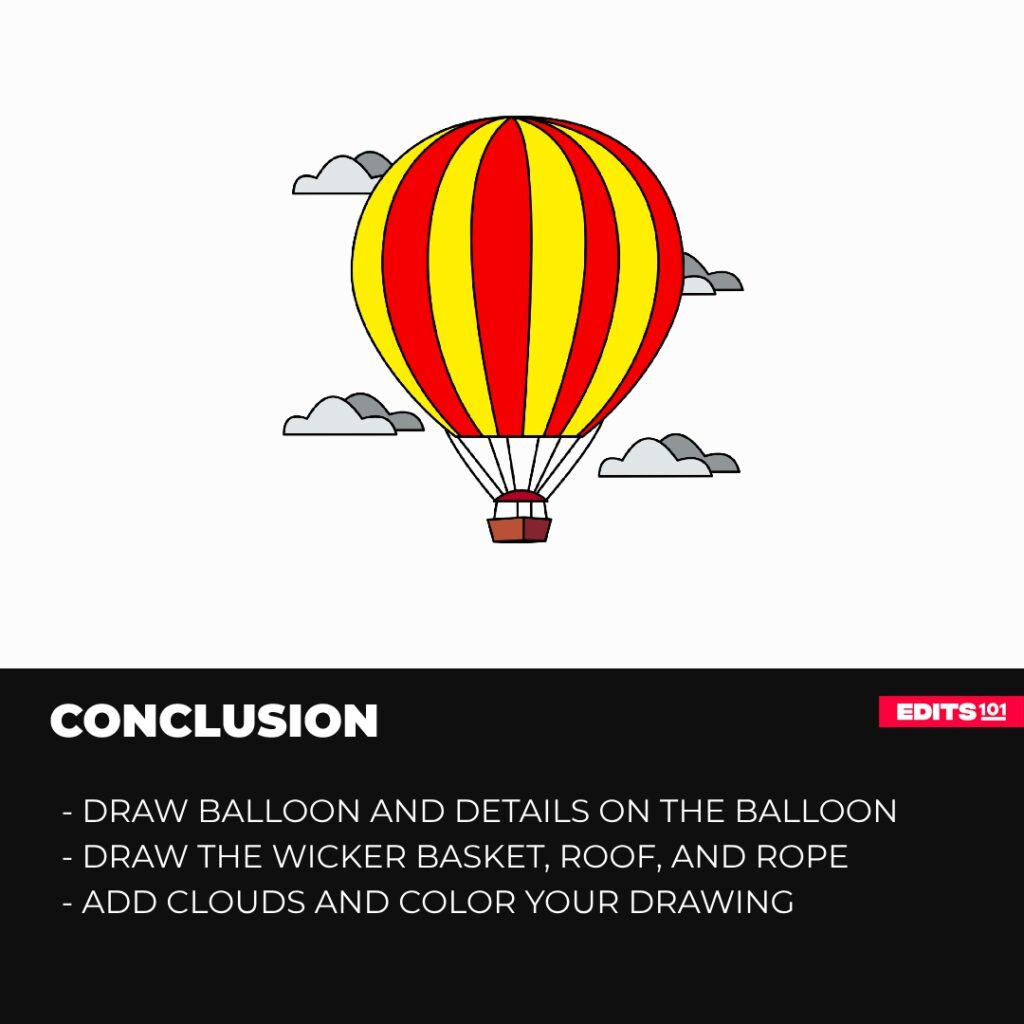
Conclusion
Our drawing is all ready now. It was a fun and easy process. We’re sure you followed each step without skipping and made a fantastic drawing. We started by making the balloon, the basket, the roof, and the ropes.
Always keep in mind that sketching is a creative and thoughtful way to express yourself and that the more you draw, the better you’ll get, and the more ideas will start to come to you. Remembering them will be quite helpful in ensuring that the drawing is distinctively yours. Because you should never give up, you can always try again if you aren’t satisfied with the results.
Thanks for reading & feel free to check out more of our articles!
Author Rating
Overall Rating
Summary
This guide explains how to draw a hot air balloon. You will also learn a few interesting facts about this vehicle.