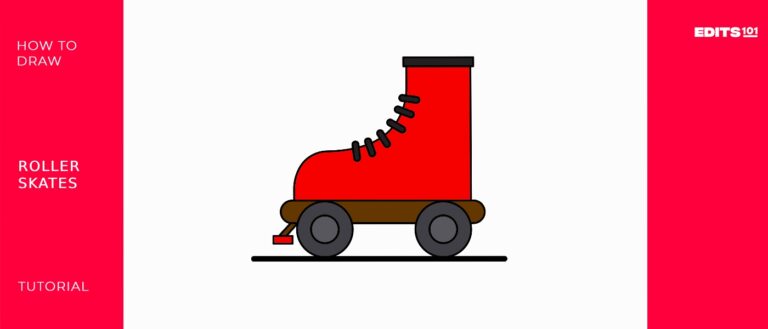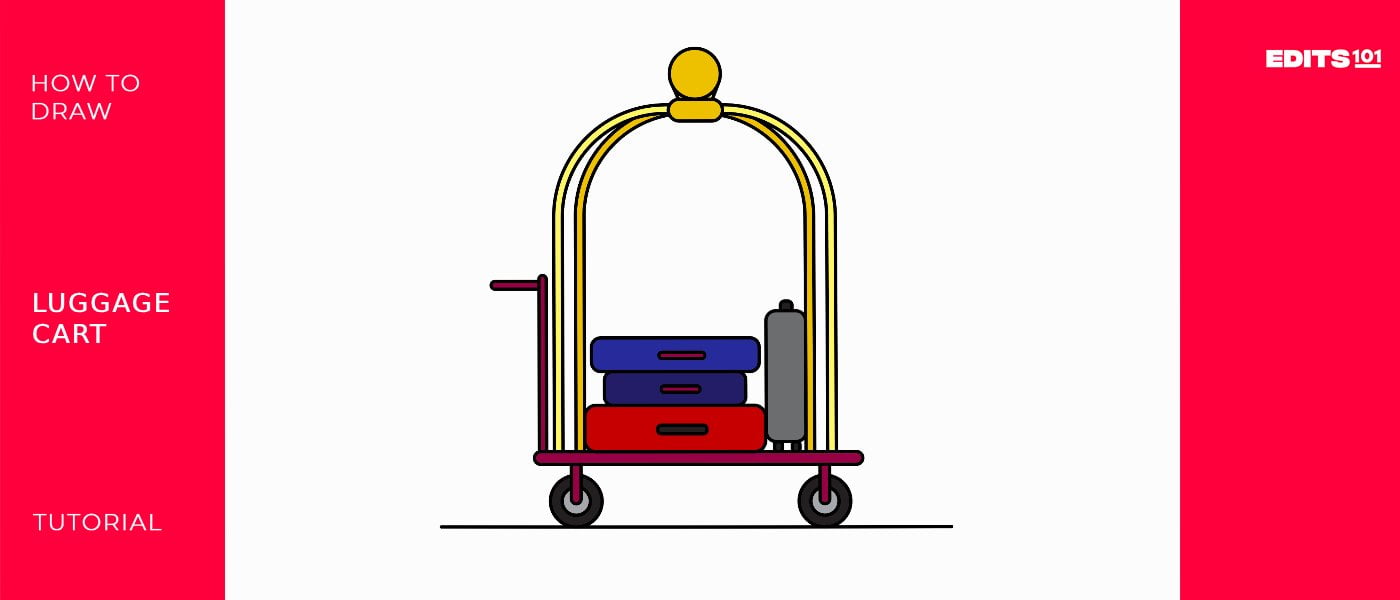
How to Draw a Luggage Cart Step By Step
In our lesson for today, we will be learning how to draw a luggage cart. Do you know what this is? Well, a luggage cart, also referred to as a baggage cart is popular in large bus stations, airports, train stations, and hotels. Just as the name implies, these are small vehicles that are used to carry luggage. They don’t have an engine which means they are pushed. They are similar to the shopping carts you find in shopping malls only that these are bigger.
As you learn how to draw a baggage cart, you will become familiar with the parts that make up this vehicle as well as learn a few interesting facts. All you have to do is follow our steps keenly. Let’s get started.
What You Will Need
- A pencil
- A drawing piece of paper
- An eraser
- A ruler
- Coloring supplies
- 30 minutes
How to Draw a Luggage Cart
While they have been around for centuries, the concept of luggage carts dates back to the 1930s. Since then, the carts have evolved to become the lightweight and feature-packed carts we have today. In our lesson, we will be drawing a very simple modern baggage cart.
To turn you into a great artist, we must start you off with a simple drawing. That way you will be able to grasp the concept of drawing a realistic luggage cart and be able to advance the drawing on your own. Here are the steps we will be using in today’s lesson. Take a look at them so that you are better prepared for the steps we will be taking.
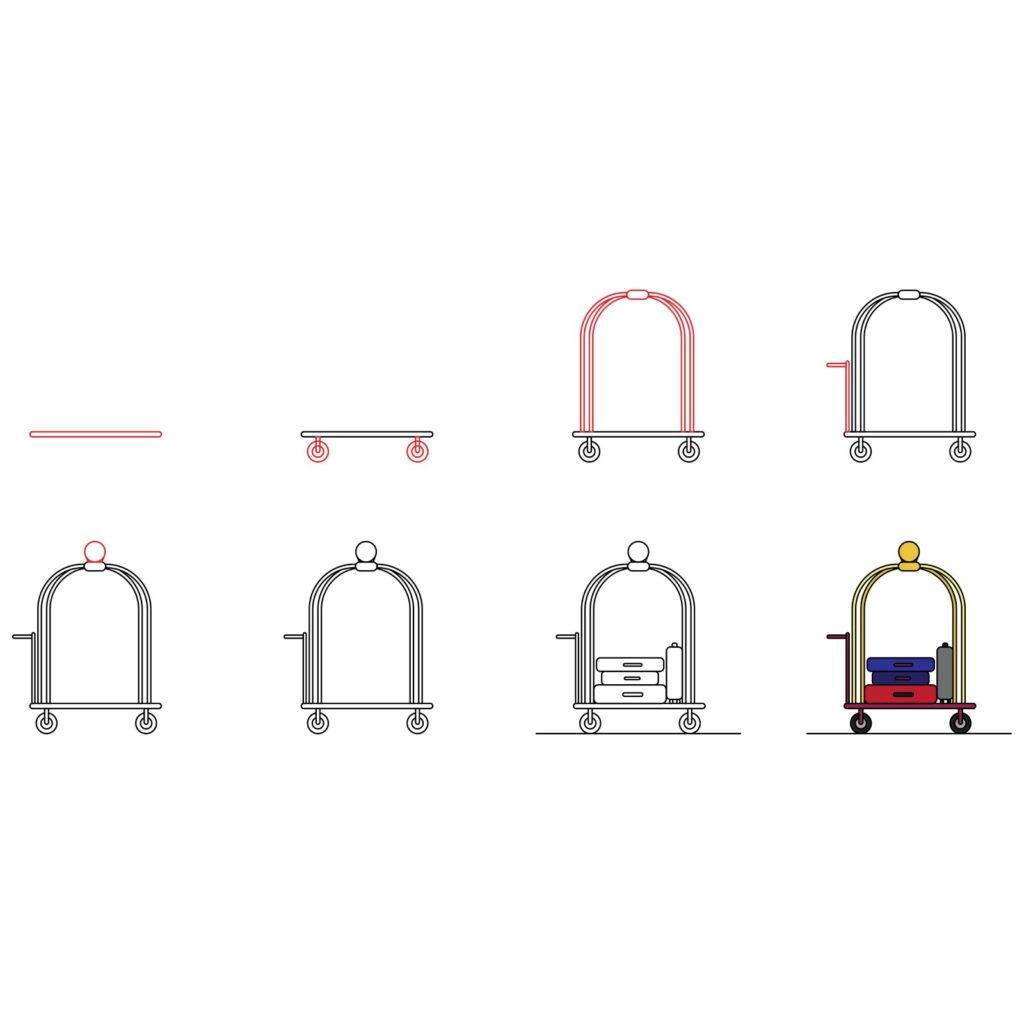
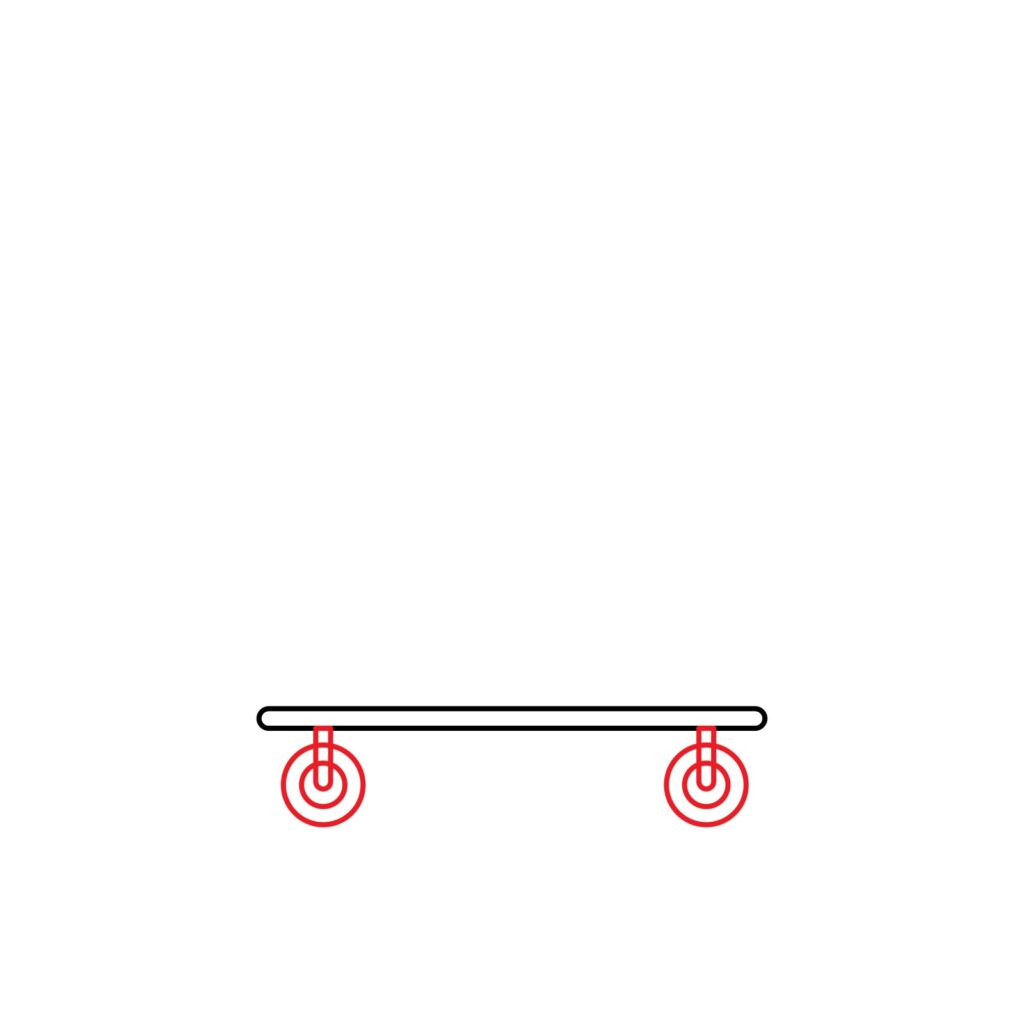
Step 1: Draw the Base
A luggage cart needs a base on which luggage will kept. In early designs, this platform was made of wood. Today, to be more durable and lightweight, the platform is made of aluminum or a strong plastic. This makes it easy to maneuver.
Adding the base is very easy. You need to use your ruler to draw a flattened horizontal rectangle close to the bottom of your drawing paper. The structure should be in the lower part of your drawing paper. Make sure you leave enough room all around it to add the other components.

Step 2: Draw the Wheels
We are going to add the wheels next. You should note that the wheels of a luggage cart are not as fixed as those of other vehicles. Just like with the wheels on shopping carts, the wheels on a luggage cart are designed to rotate easily. Moreover, while the cart has at least four wheels, the perspective of our drawing only makes it possible for us to only see two wheels. It would not be realistic to add all four wheels to our drawing.
To draw the wheels, we are going to add two wheels, one below either side of the luggage platform we added earlier. We will start with the left wheel. For this, we will start by drawing a circle that sits beneath the left part of the base. Draw another circle inside to complete the wheel. We will then do the same for the right wheel.
To attach the wheels to the base, we will use a vertical rectangle that starts from the bottom part of the base and extends downwards to the center of the inner circle on each wheel. Make the bottom corners of the rectangle rounded. Use your eraser to remove the lines that cut through the vertical rectangle.
Step 3: Draw the Side Stand
Unlike shopping carts, luggage carts are designed not just to carry heavy loads but also to support the most cumbersome luggage. For this to be possible, the luggage cart needs a structure that keeps the luggage from falling over. This is what we will be adding next.
The side stand is the structure that holds luggage in place. It is made up of tube-like metal bars. To add it, we are first going to start by adding the top-most structure. This is where all the bars attach to so that they are strong enough to hold the luggage.
To draw the top structure, simply add a horizontal rectangle with rounded corners a short distance above the base. The rectangle should be in the middle of the luggage cart so use your ruler to find the perfect center point and to make it as parallel to the base as possible.
We can now add the side stands. For that, we will start by drawing a vertical rectangle that starts from the base and moves up to connect with the top structure we added. Draw another rectangle inside the first one, leaving an even space between the two rectangles. Next, we are going to make the top right and left corners curved. That will form the first tube-like structure of our side stand.
Repeat the process to draw two other tube-like structures inside the first one. Make sure the top of the second structure cuts through the top-most structure we added for the top. Finally, erase the parts of the rectangle that are unused.

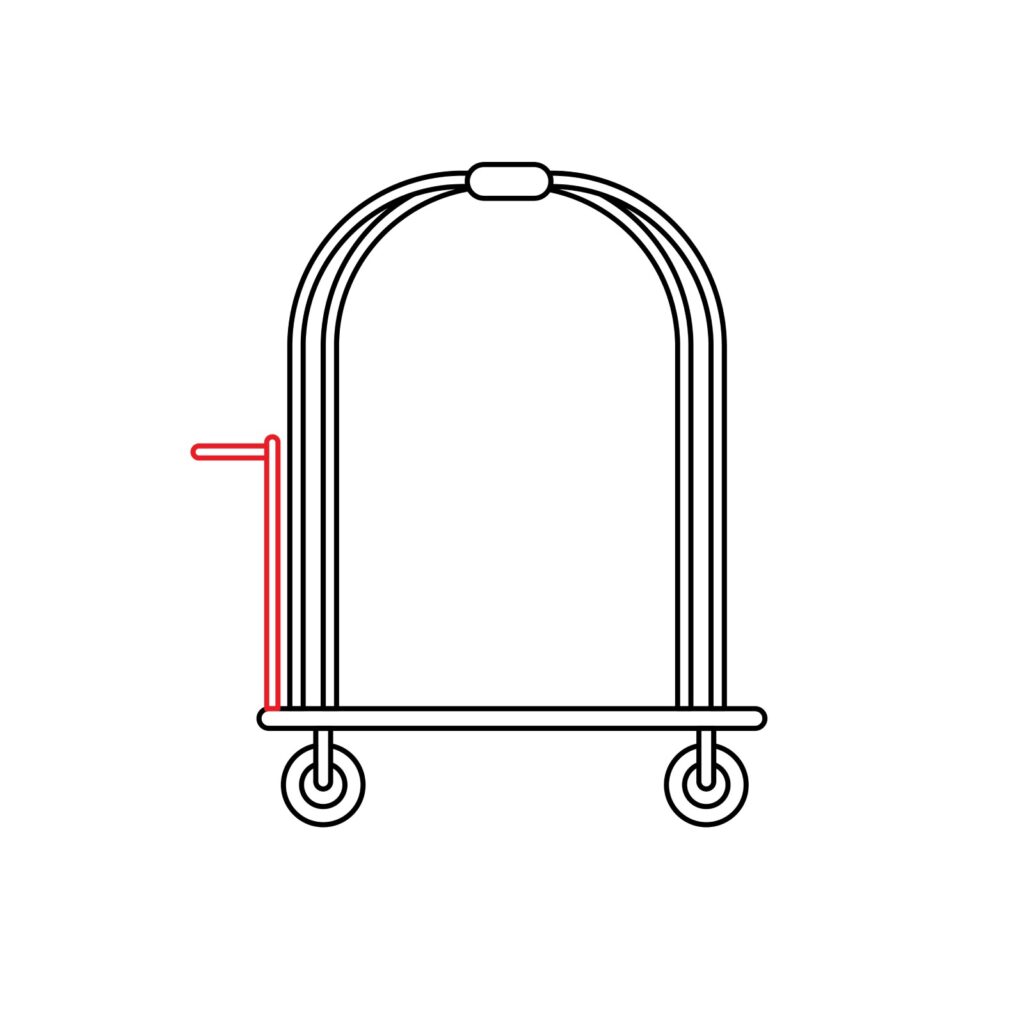
Step 4: Draw the Push Stand
As we mentioned earlier, baggage carts are usually pushed. This means we need to add handles on one side of the structure. In our drawing, we will be adding the handles on the left part of the cart.
To add the push stand, start by drawing a vertical, tube-like structure that starts from the left side of the base and rises to cover half the height of the side stand. Next, we will add the handles by adding another horizontal tube-like structure that starts from the top of the push-stand and extends slightly to the left.
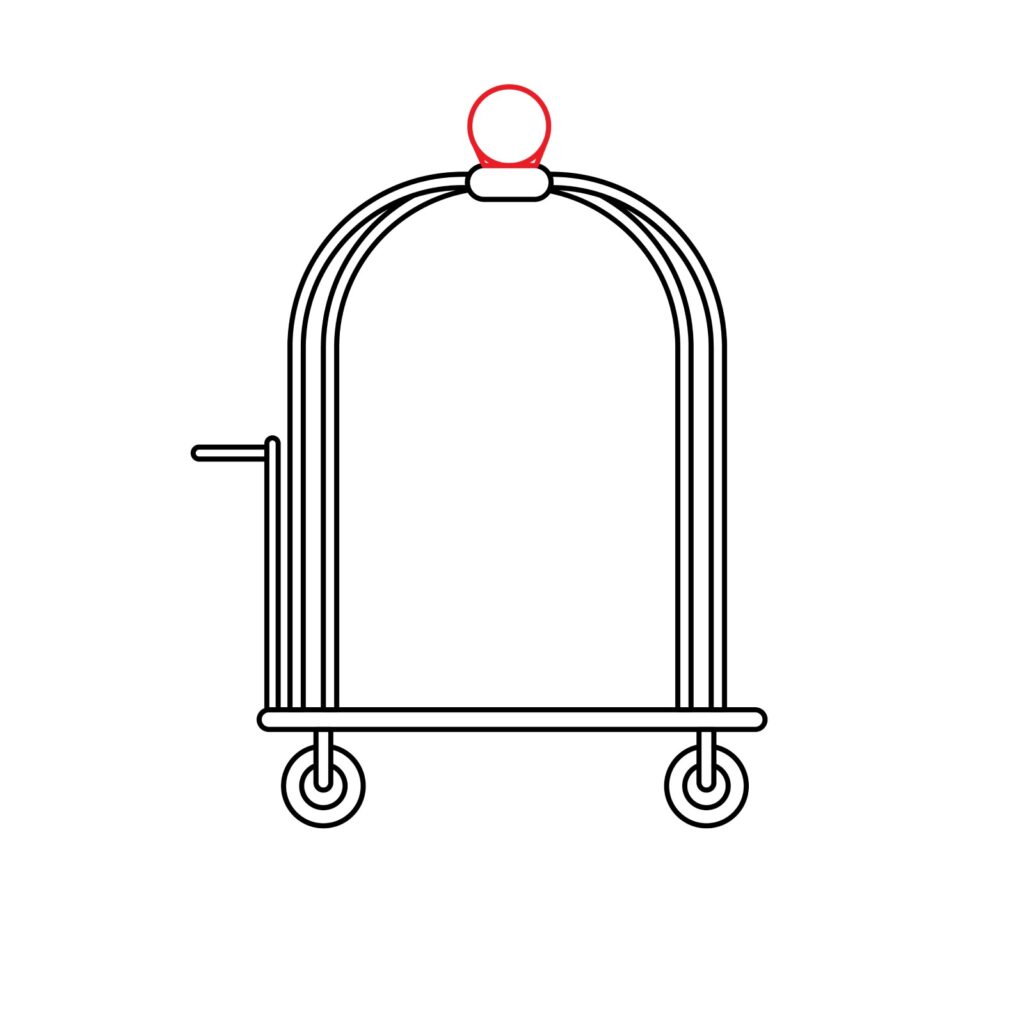
Step 5: Draw the Hoop at the Top
Our luggage cart is almost ready. The final detail we are going to add is the hoop on top. Most hotel carts have this structure. It offers space for strapping your luggage or hanging an extra bag on it. It is a very simple structure to add.
We are going to draw a circle on top of the rectangle we added at the top of the baggage cart. Try and make the circle as smooth as possible.
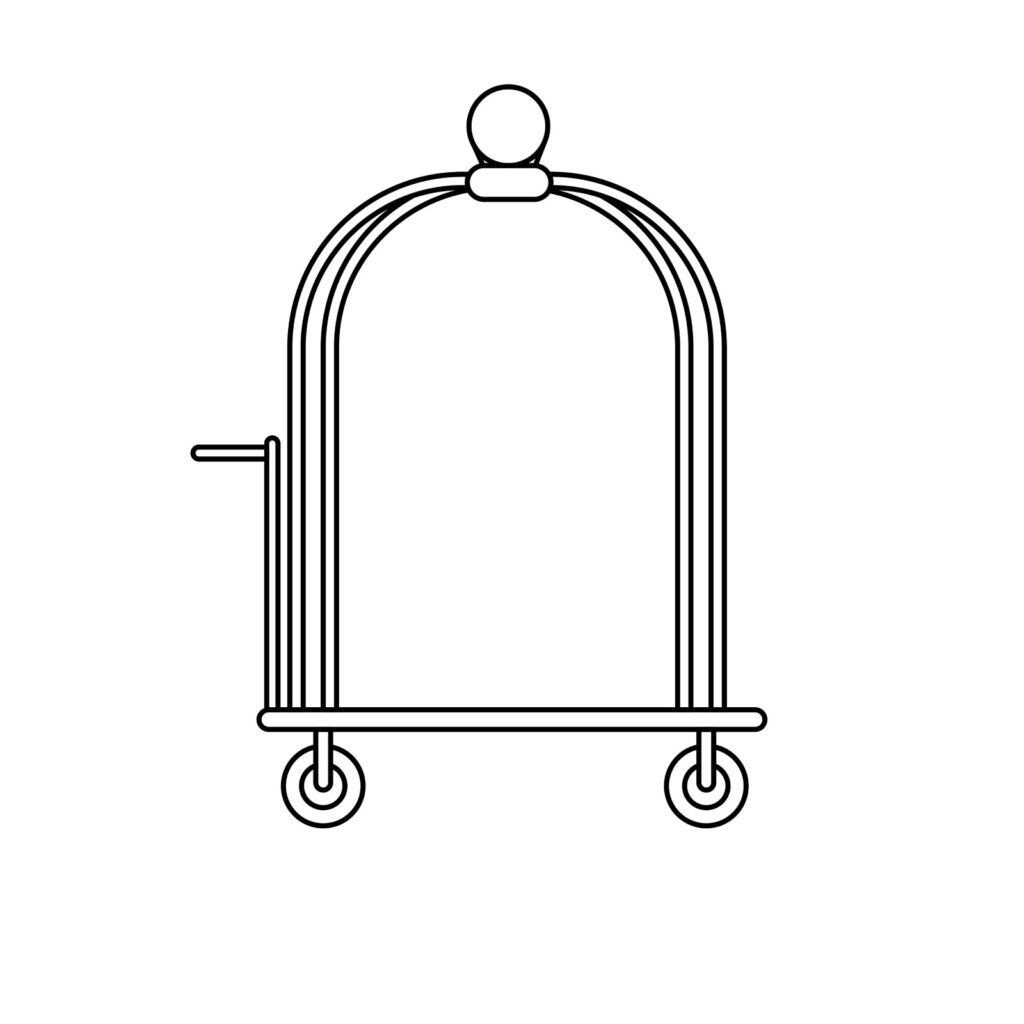
Step 6: Refine Your Drawing
Did you follow all our steps? If you did, your luggage cart should now be ready. What you need to do now is refine. You can erase the lines that cut through others and if you have a marker, use it to trace over the lines so that your drawing is more permanent.
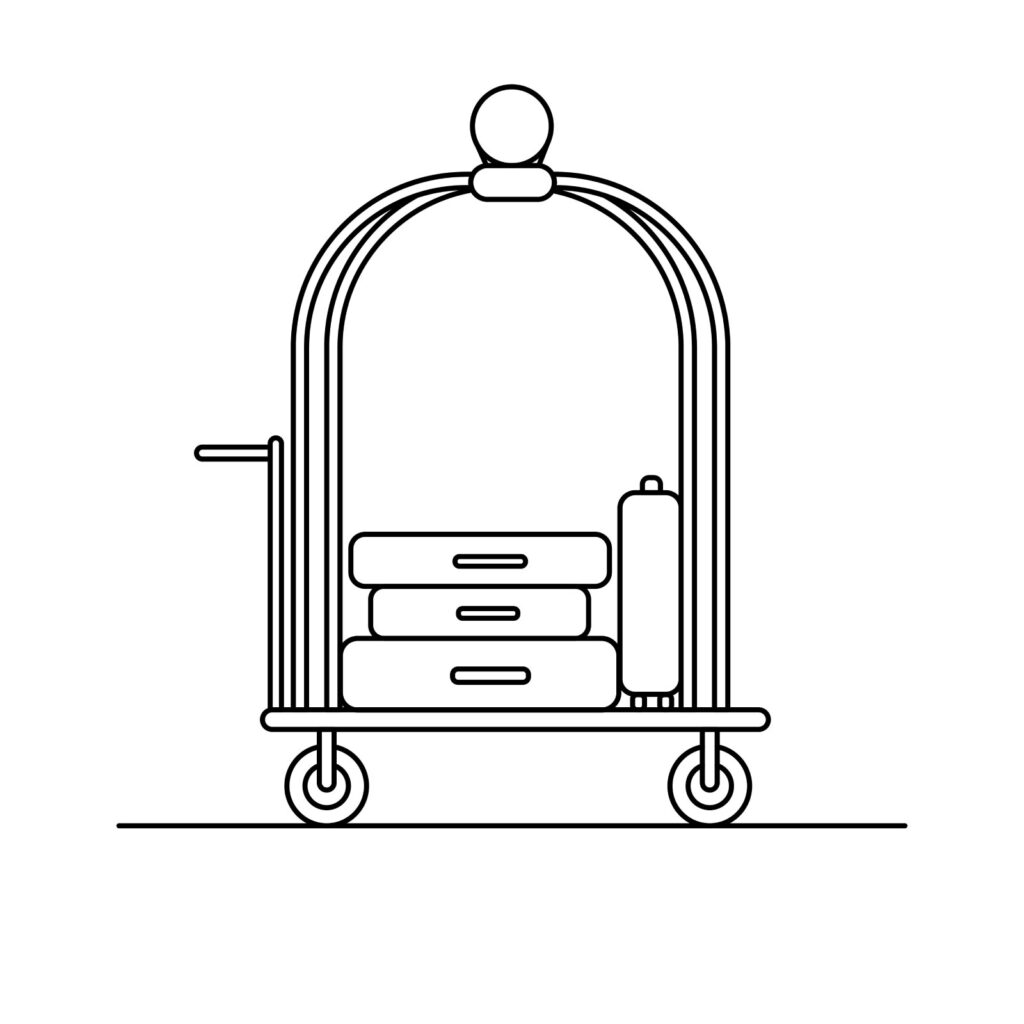
Take the Drawing to the Next Level
While it is okay to leave the luggage cart as it is, we will not do that with ours. We want you to become a good artist. That is why we are going to add a couple more details to advance our drawing.
Add More Details
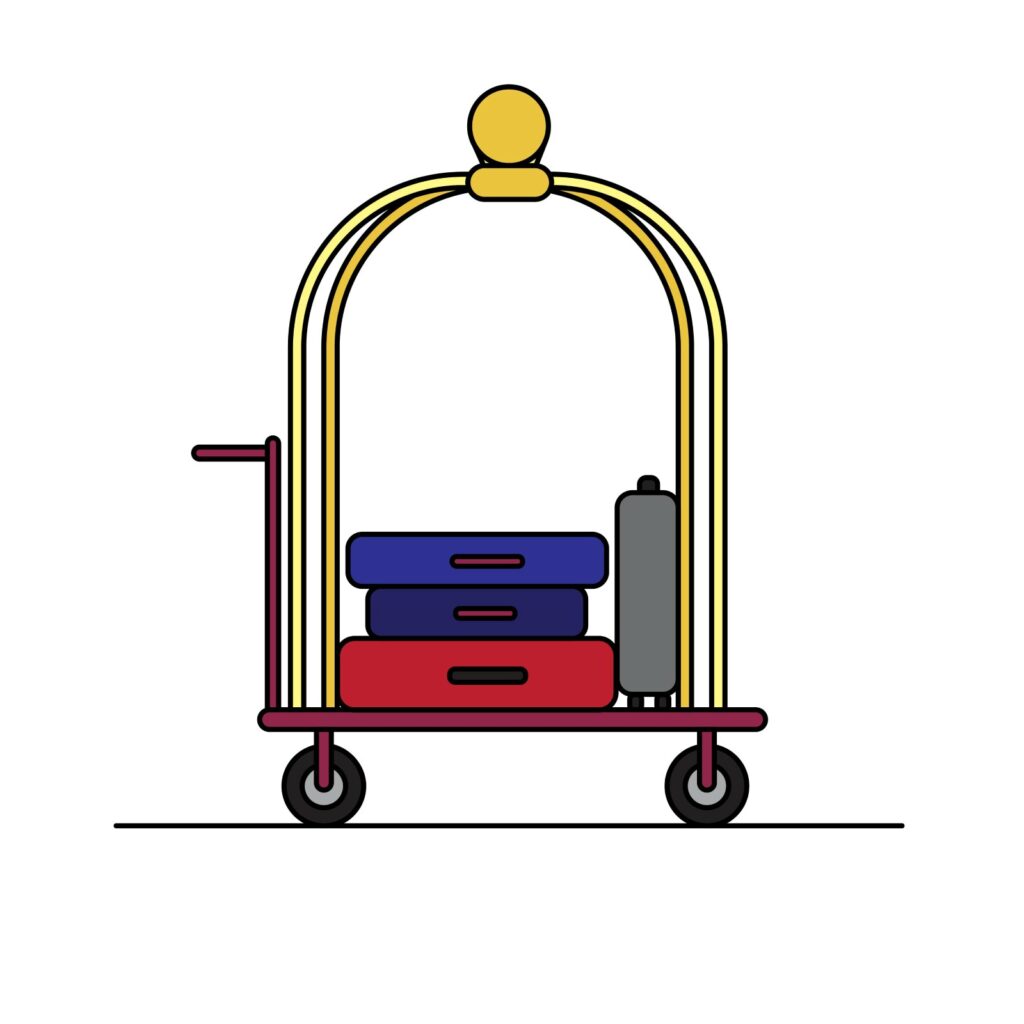
One of the things you should consider doing is adding some suitcases to your baggage cart. That is what we did to our drawing. We used rectangles to add some luggage to the cart. You can add a handbag over the suitcases as well as a bag hanging from the top of the cart. Let your imagination run wild.
We also added a line below the cart to represent the floor. If you have time, you can add more details to the drawing including some windows in the background.
Color the Drawing
When you are satisfied with the details, go ahead and take out your coloring supplies. It is time to bring the drawing to life by adding some color. There are no rules regarding the colors you can use. For distinction, you should use different colors for the suitcases on the cart. You should also consider using different colors for the base and side stands. The wheels can be black with a grey center part.
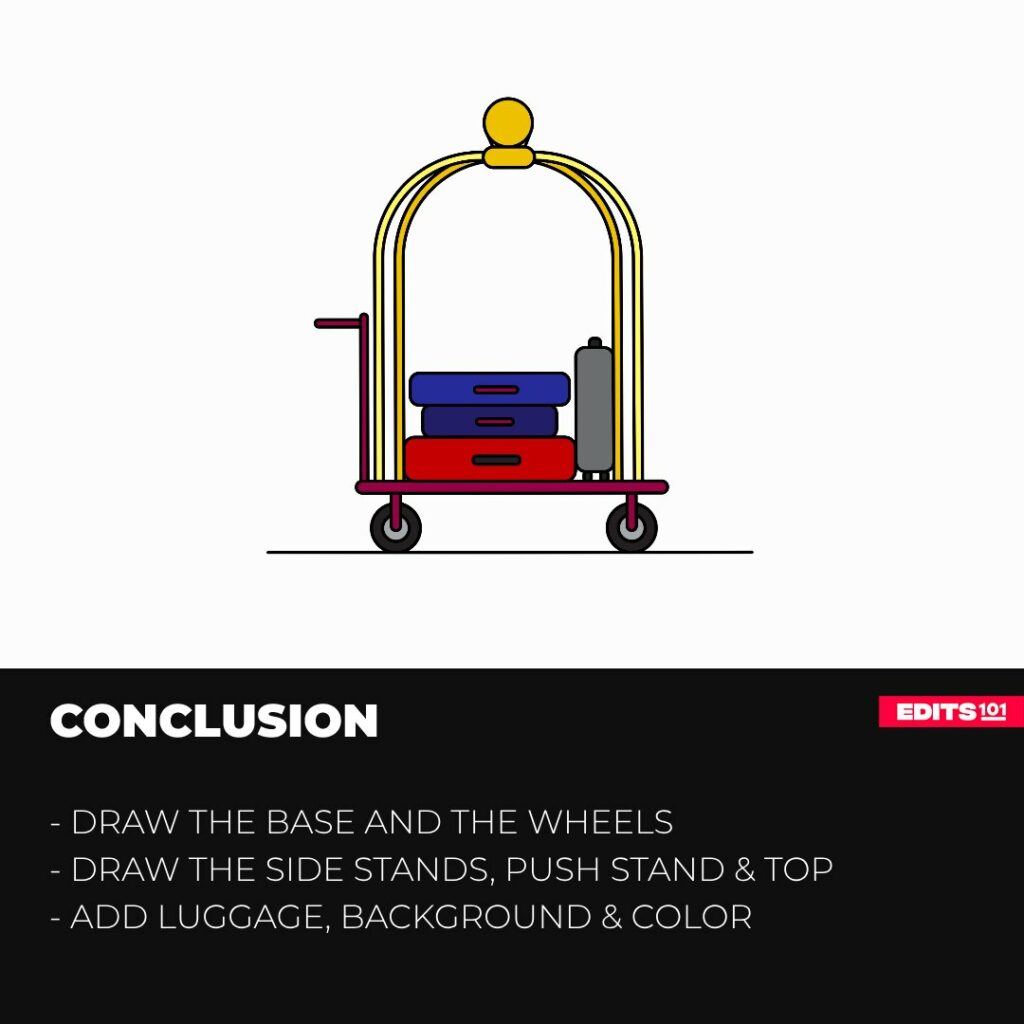
Conclusion
Drawing a luggage cart requires that you tackle one section at a time. In our drawing, we started by drawing the base, which is the platform on which the luggage sits. We then added the wheels, side stand, push stand, and top part. To advance our drawing, we added some baggage on the cart and a line for the floor. The final step involved coloring our drawing.
You can use these steps to draw virtually any luggage cart you want including a supermarket shopping cart. If you prefer to draw the cart on your favorite sketching app, you can do so. You can also use our steps to draw a baggage cart from a real photograph.
The key to becoming a great artist is to keep practicing. You will not get everything right the first time. The good thing is that your drawing will get better with each attempt. Don’t forget to have fun!
Thanks for reading & feel free to check out more of our articles!