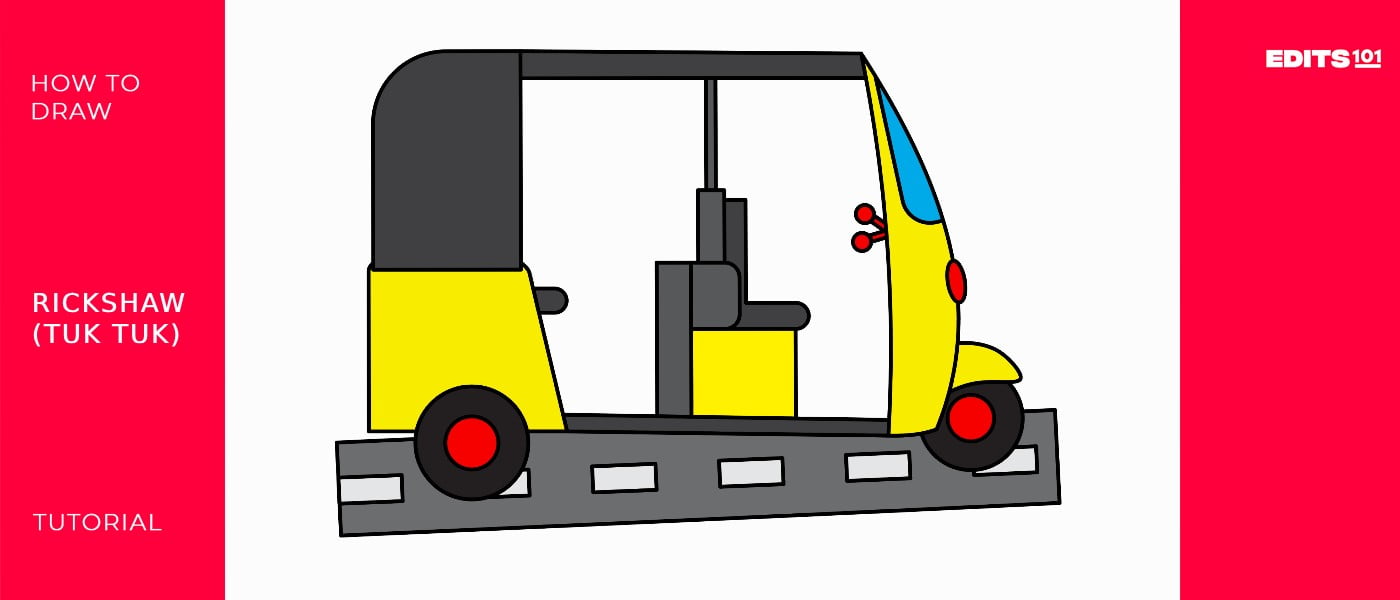
How to Draw an Auto Rickshaw (Tuk-Tuk)
Have you ever been on a Tuk Tuk? This is an auto rickshaw popular in tropical areas in mainly developing countries. Our lesson for today will involve learning how to draw a Tuk Tuk in simple steps.
Riding in the three-wheeled vehicle is enjoyable. Just imagine yourself sitting behind the driver on a cozy seat in a vehicle without doors. It’s small, so it can easily navigate through traffic. Today’s lesson will teach you many things.
What You Will Need
- A pencil
- An eraser
- A drawing piece of paper
- A ruler
- Coloring supplies
- 30 minutes
How to Draw An Auto Rickshaw
Motorized Tuk Tuks originated from the design of a rickshaw. Popular in Bangkok, rickshaws are two-wheeled carts with a chair-like body and a collapsible hood. They are pulled either by a man on foot or a bicycle. Tuk Tuks, on the other hand, are quite popular in India.
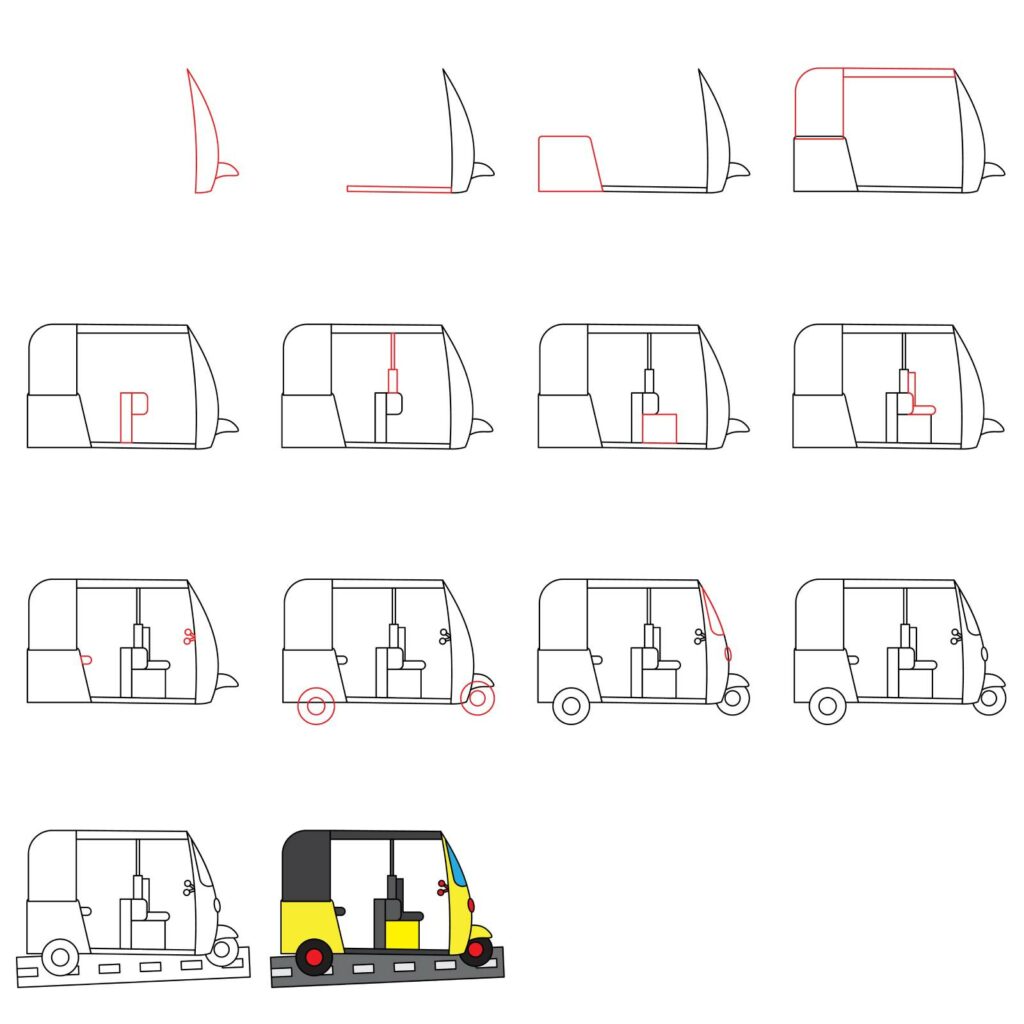
To help you draw a perfect Tuk Tuk, we will focus on a very simple design. Below are the steps we will follow. Study them so that you know what we will be doing.
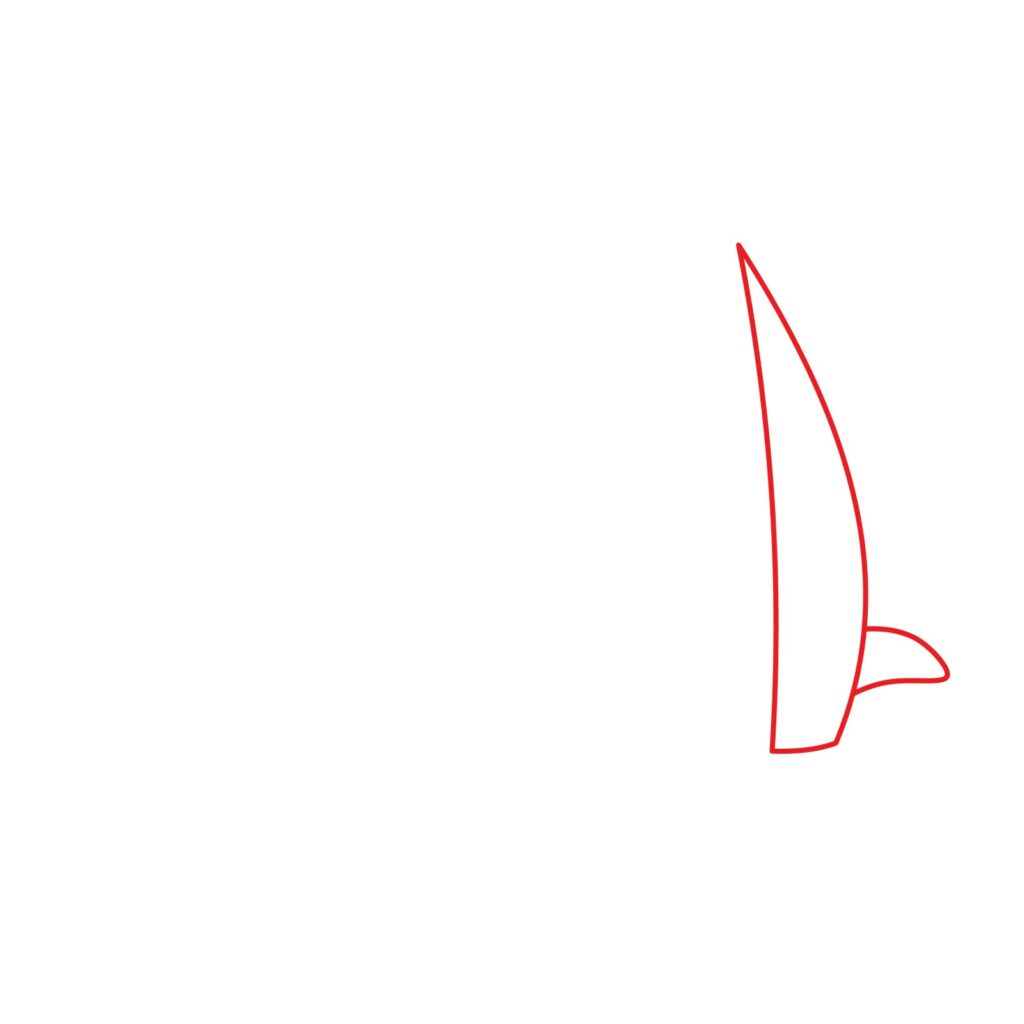
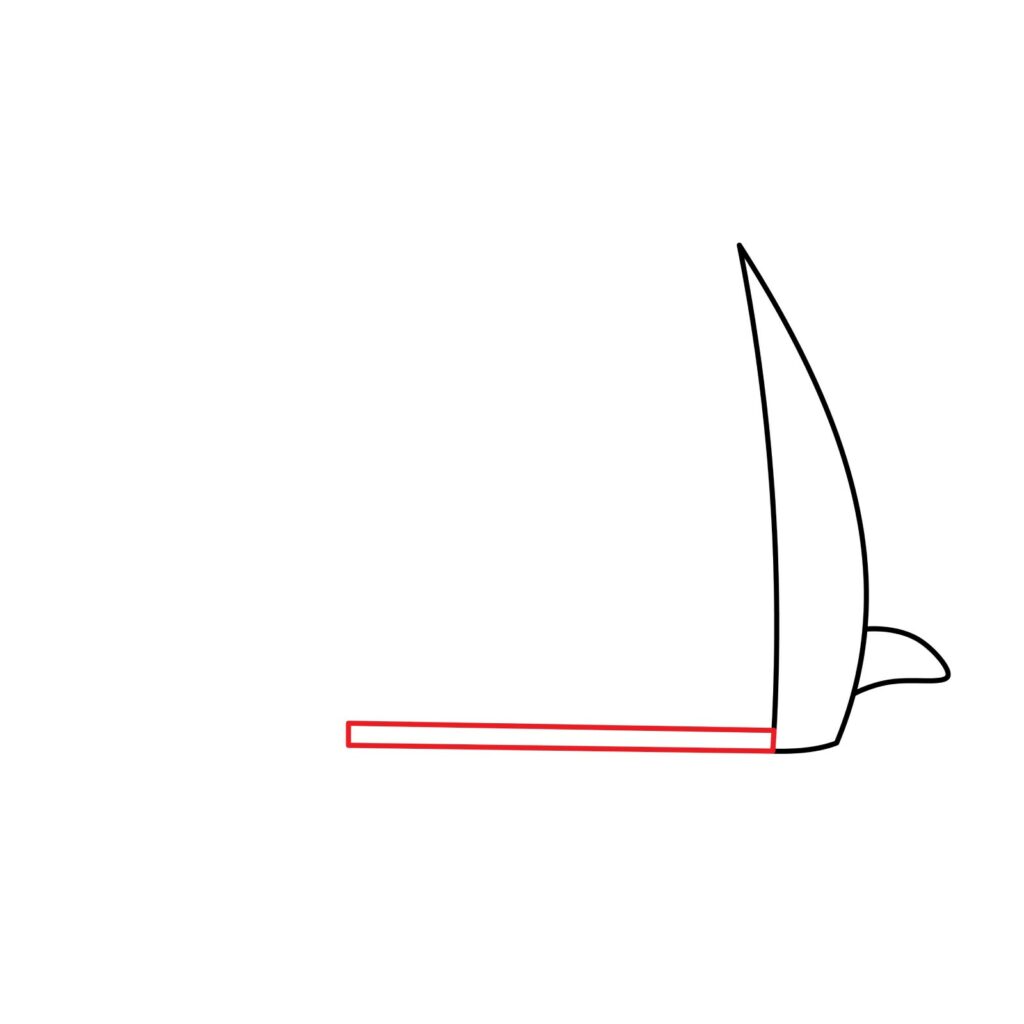
Step 1: Draw the Front Part
The first thing we are going to draw is the front part of the Tuk Tuk. Keeping in mind that the engine of a Tuk Tuk is located in the back, the front does not have a lot of things. The front is a large windshield of some sort.
From the right part of your drawing paper, we are going to draw a crescent shape. To do so, start by drawing a curved line that starts close to the top of the drawing paper, extends to the right then back slightly to the right. Next, add a slightly curved line behind the first curved line. The second line should start at the top of the first line and extend to the bottom so that it is at the same level as the first line. Next, connect the bottom of the two lines with another curved line.
We are also going to add the front fender. This is a cover that goes over the front wheel to keep debris lifted by the wheel from getting on the windshield. For that, we will add a fin-like structure that attaches to the bottom right part of the windshield.
Step 2: Draw the Base
With the front part ready, we are now going to add the base of our Tuk Tuk. This is what serves as the chassis (the structure on which everything is mounted). Adding the base is very easy. Simply draw a flattened, horizontal rectangle that starts from the bottom left part of the windshield and extends slightly to the left.
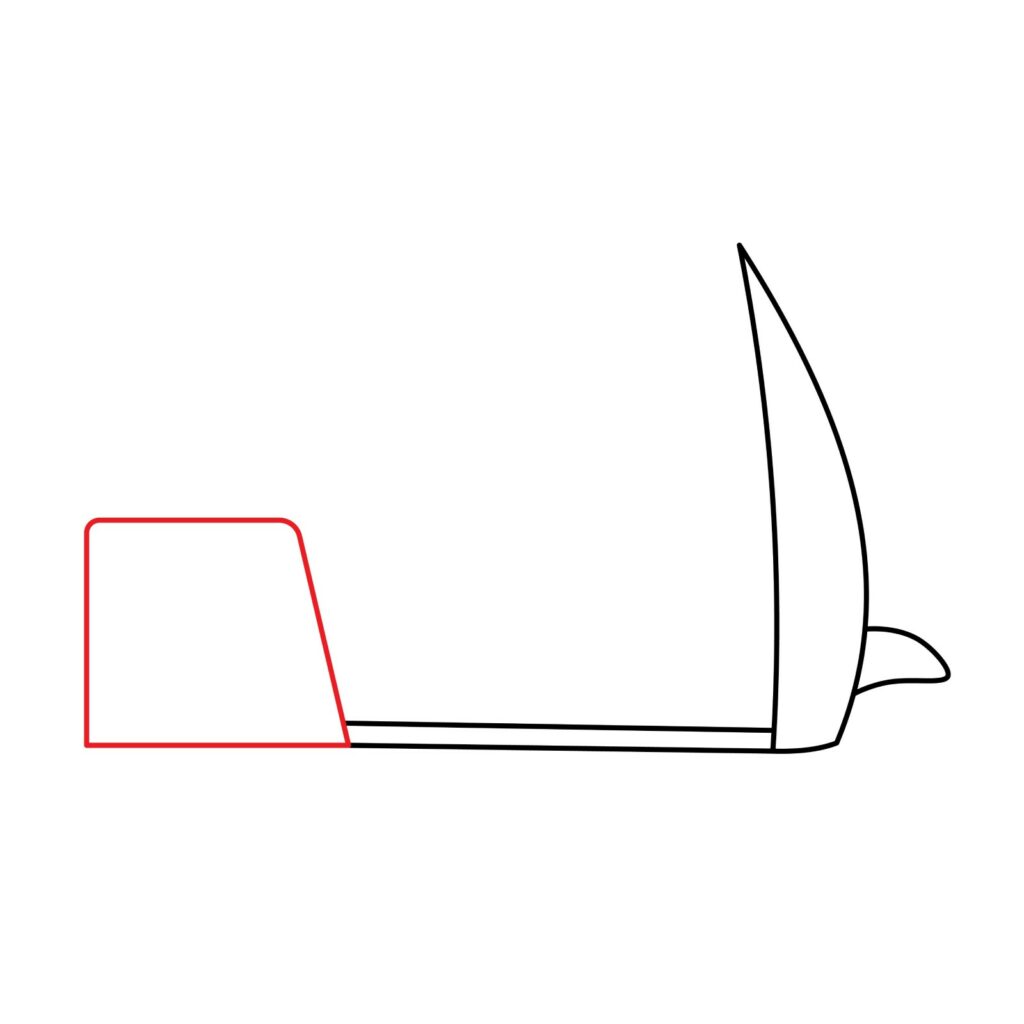
Step 3: Draw the Engine Compartment
As aforementioned, the engine of an auto rickshaw sits in the back. For that reason, we are going to draw the engine compartment next.
To draw the engine compartment, we will start by using our ruler to draw a rectangle that attaches to the base of the vehicle. The rectangle should extend leftwards so that it is close to the left margin. Its height should be half that of the windshield.
To turn the rectangle into the engine compartment, start by adding a diagonal line that starts from the bottom right corner and rises to connect with the top of the rectangle, a short distance from the top right corner. Erase the section of the rectangle that sits to the right of the diagonal line.
Make the top right and left corners rounded. Your drawing should now look like this.
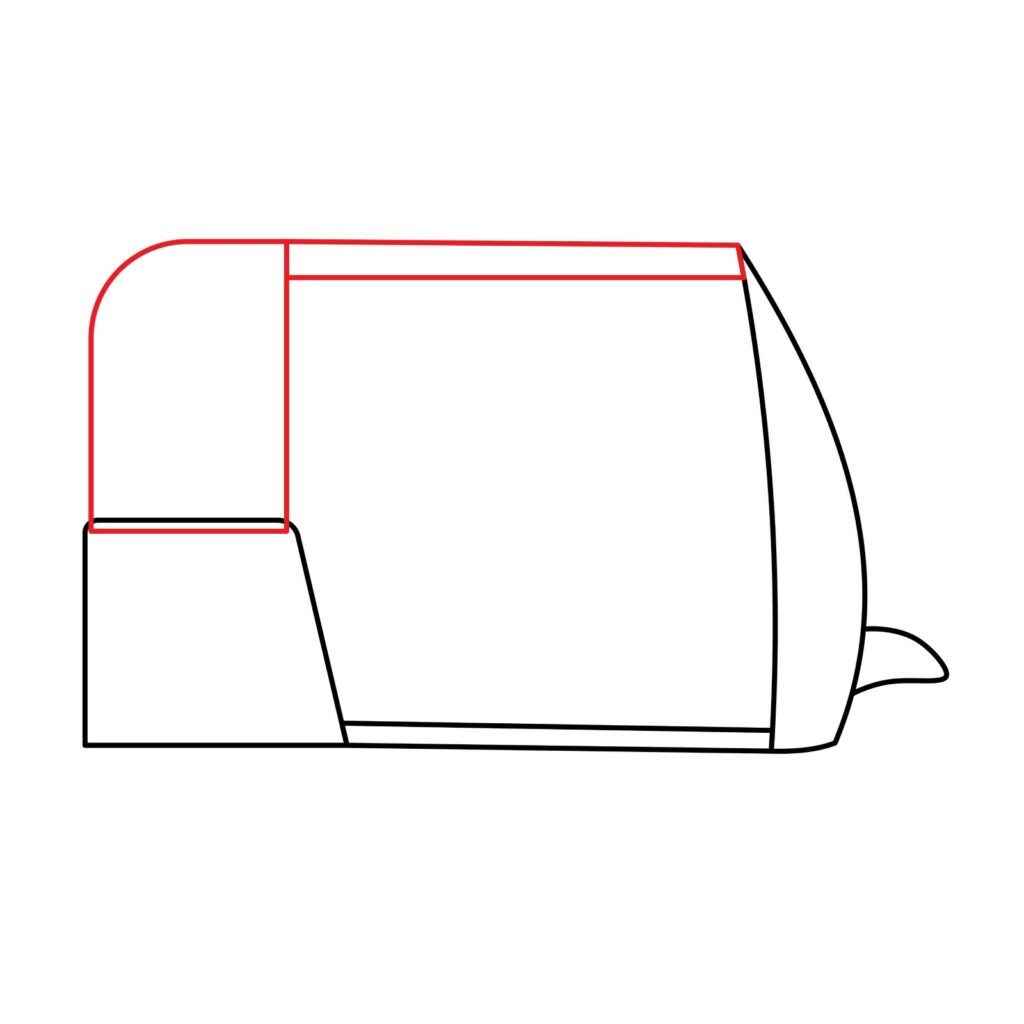
Step 4: Draw the Back Cover and the Roof
To add the back cover of the Tuk Tuk, we are going to start by adding a vertical rectangle on top of the engine compartment. The rectangle should be the same height as the windshield. Make the top left corner of the new structure rounded.
For the roof, we will simply add a flattened, horizontal rectangle that starts from the top right corner of the back cover and connects to the windshield.
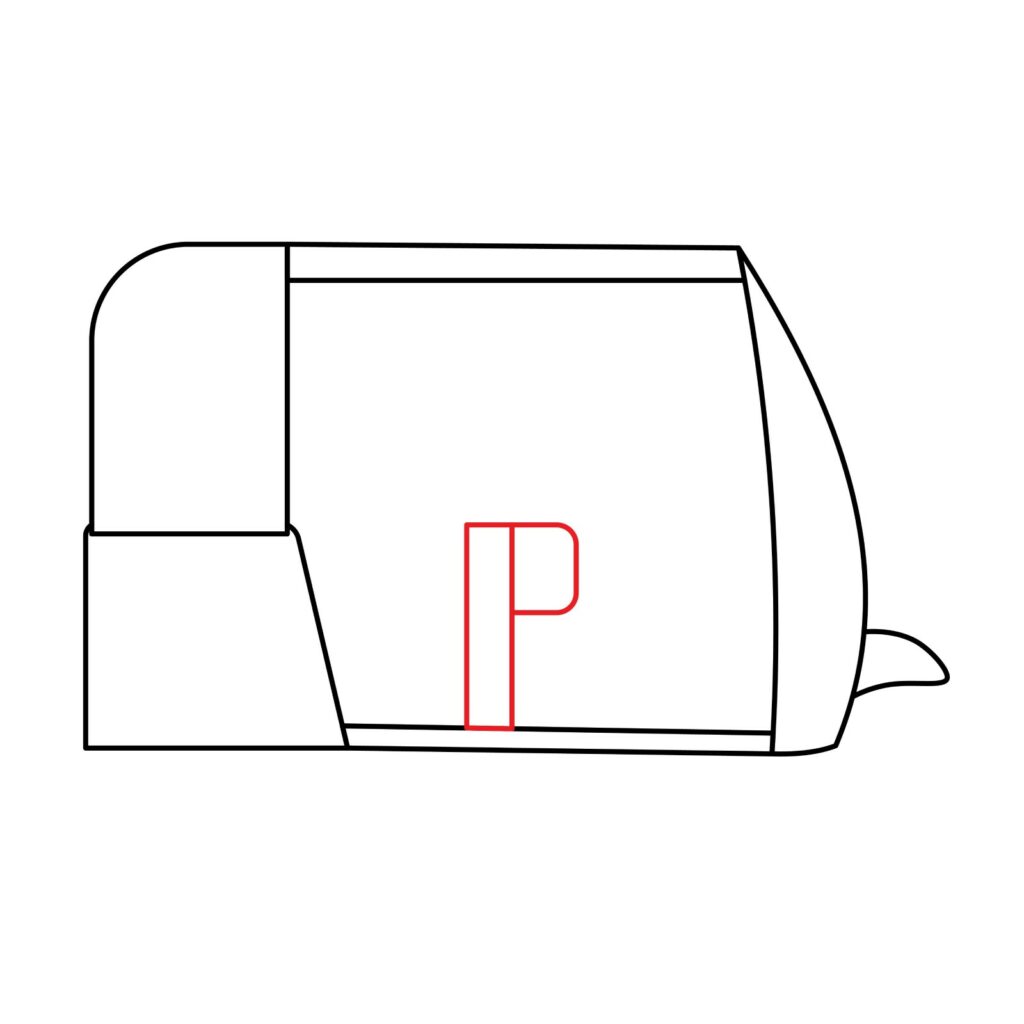
Step 5: Draw the Middle Part
The driver’s cabin in a Tuk Tuk is usually separated by a metal structure. This is what we will be adding next. Draw a vertical rectangle that starts from the base and rises to about the same height as the engine compartment. Next, add a square on the top right part of the vertical rectangle. The corners on the right part of the square should be rounded so that they look like what we have below.
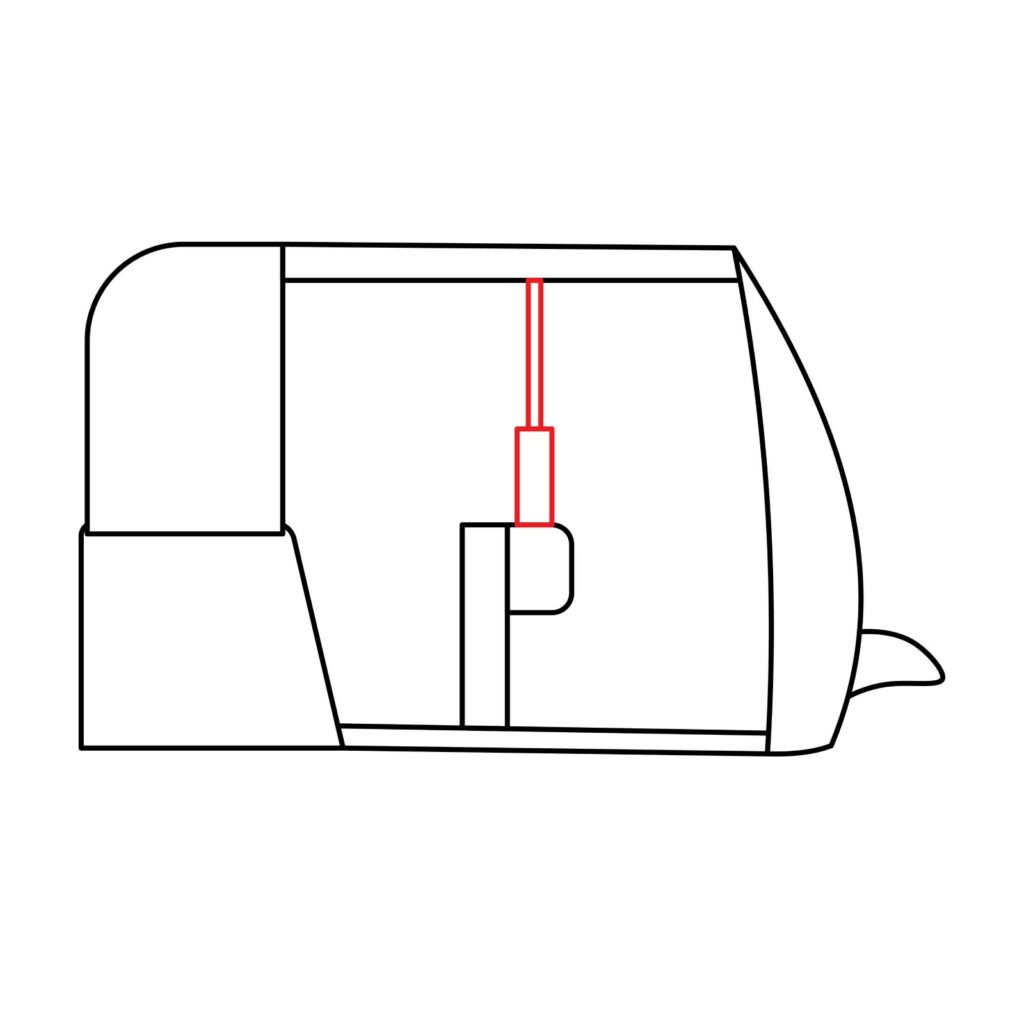
Step 6: Draw the Dividing Stand
While there is a solid structure that separates the passenger side and the driver’s side of the Tuk Tuk, passengers can still see and talk to the driver. The dividing stand is often made of a grill. It also offers a place for the passengers to hold on to while the auto rickshaw is moving.
To add the dividing stand, start by adding a vertical rectangle on top of the square we added on the middle part. Next, use two vertical, parallel lines to connect the vertical rectangle to the roof.
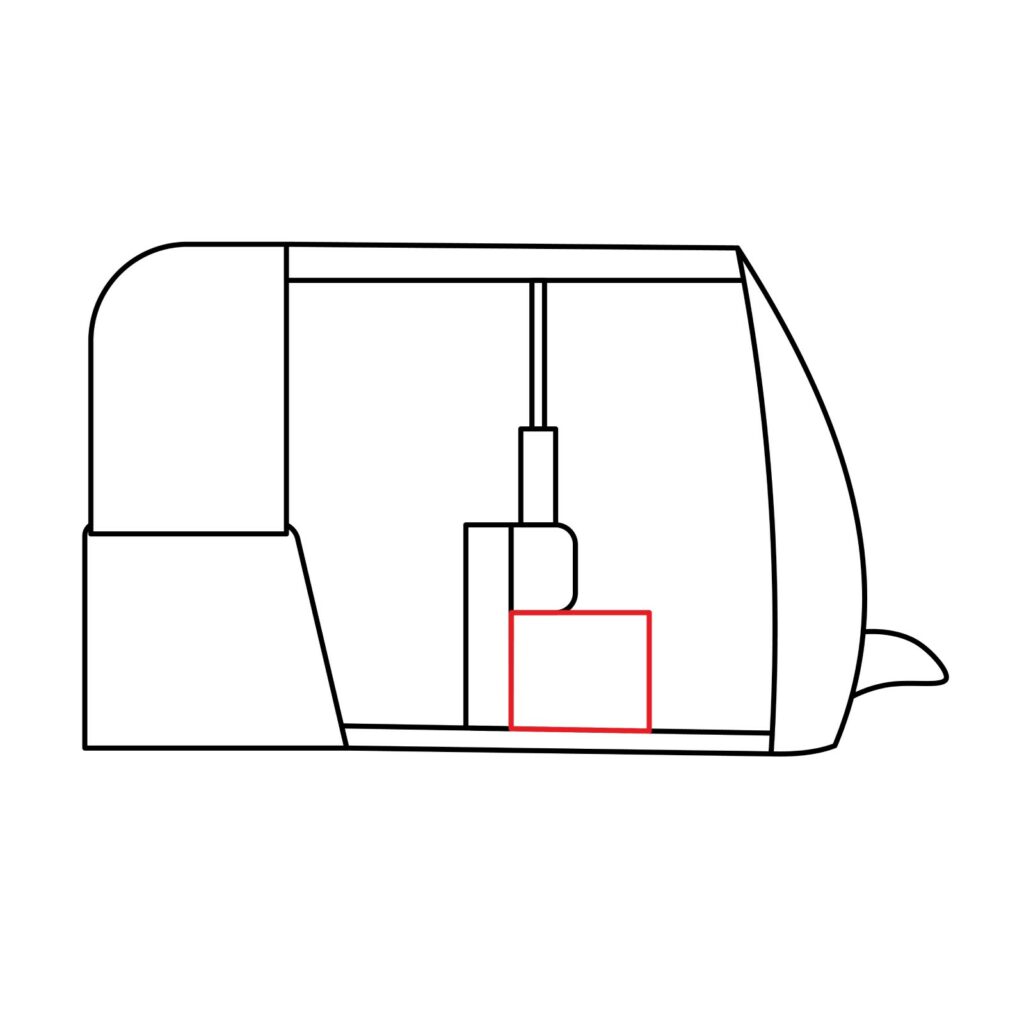
Step 7: Draw the Base of the Driver’s Seat
The driver’s seat has to be firmly attached to the base of the Tuk Tuk. For that reason, it needs a strong base so that it doesn’t shake and distract the driver. To add the base, we are simply going to draw a square shape below on the right side of the middle part. Your drawing should look like this.
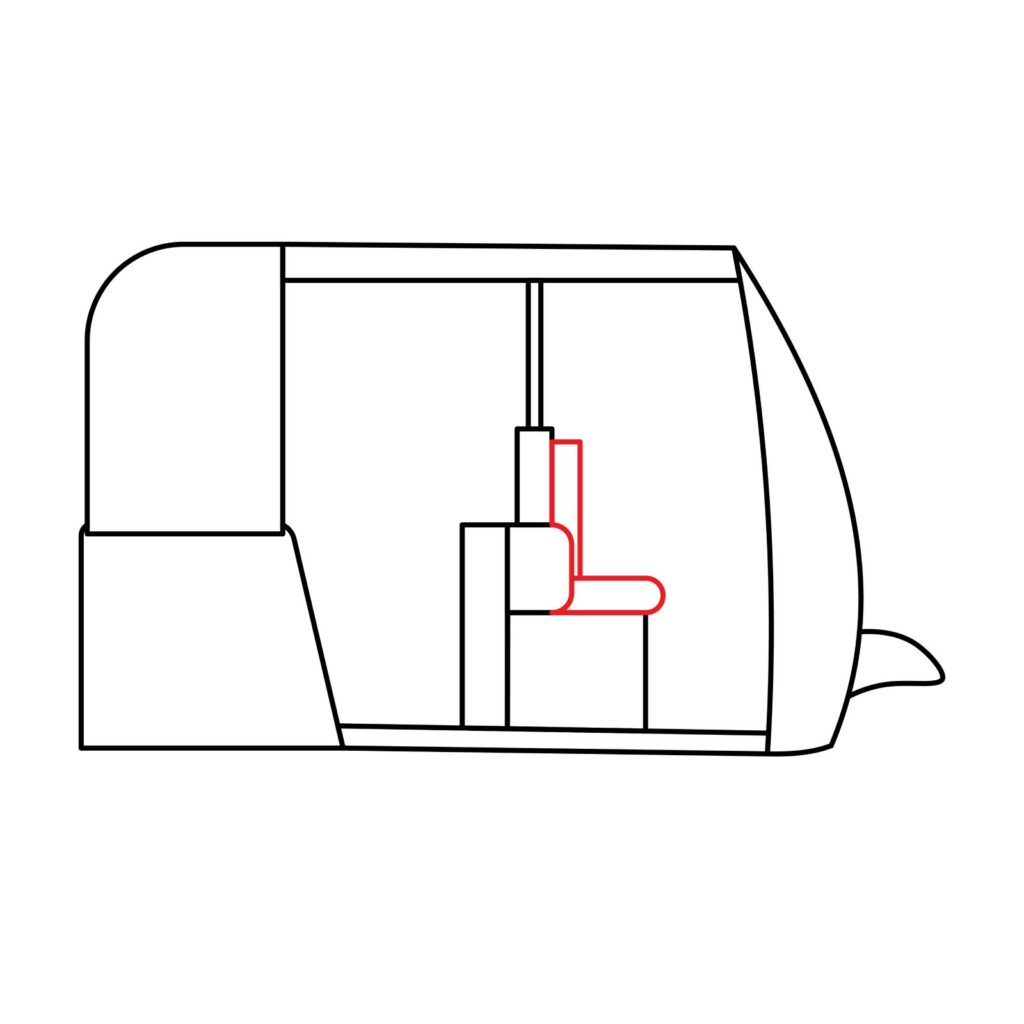
Step 8: Draw the Driver’s Seat
The driver’s seat should be located above the base we added for the seat. To draw it, use your ruler to draw an L-shaped structure on the right part of the dividing stand. For more comfort, make the corners on the right part of the seat rounded.
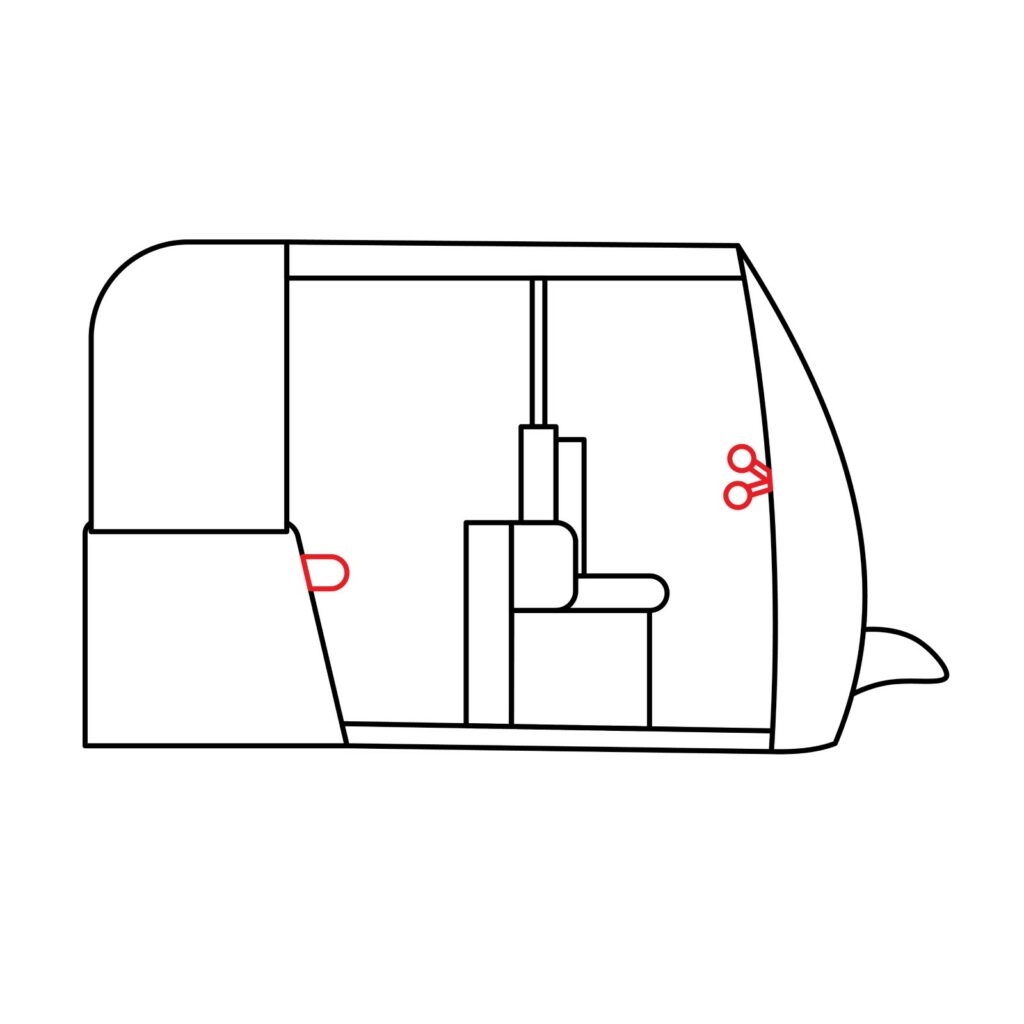
Step 9: Draw the Back Seat and the Handlebars
Adding the back seat will be very easy because most of it will be hidden out of sight by the back cover. It is also good to note that the back seat is usually located above the engine. To add it, we will simply draw a small rectangle with rounded corners. The rectangle should be located close to the top right corner of the engine compartment to indicate that the seat is above the engine.
The next thing we will do is add the handlebars. If you have never seen an auto rickshaw, you should know that it doesn’t have a steering but rather handlebars like those on a motorcycle. This is so because it only has one front wheel. To add the handlebars, add two small circles behind the windshield. You should then connect the two circles to the windshield using lines as shown in our illustration below.
Step 10: Draw the Wheels
We are almost done with the Tuk Tuk drawing. The next thing we are going to add is the wheels. A Tuk Tuk usually has two rear wheels and one front wheel. However, due to the perspective of our drawing, we will not be able to draw two rear wheels because one is hidden away.
We will start by adding a circle below the front fender. The circle should fit below the fender and cut slightly into the bottom right part of the windshield. We will then add another circle inside the first one to represent the rim. That will form the front wheel.
The rear wheel should be the same size as the first one. We will add it right below the engine compartment. The wheel should be in the middle of the compartment and cut slightly through it as shown in our illustration.
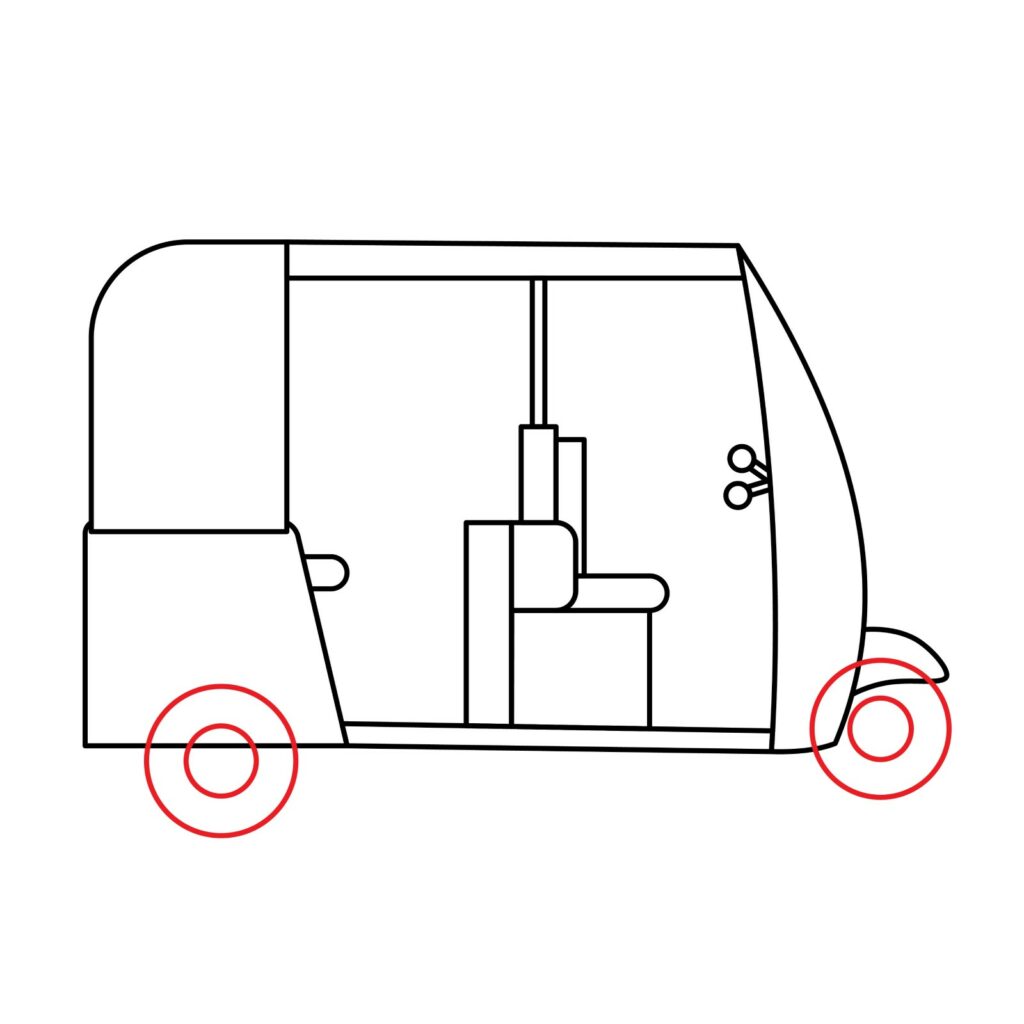
Next, we will use our eraser to remove the parts of the circle that cut through the front fender and the windshield. We will also remove the part of the engine compartment that cuts through the rear wheel.
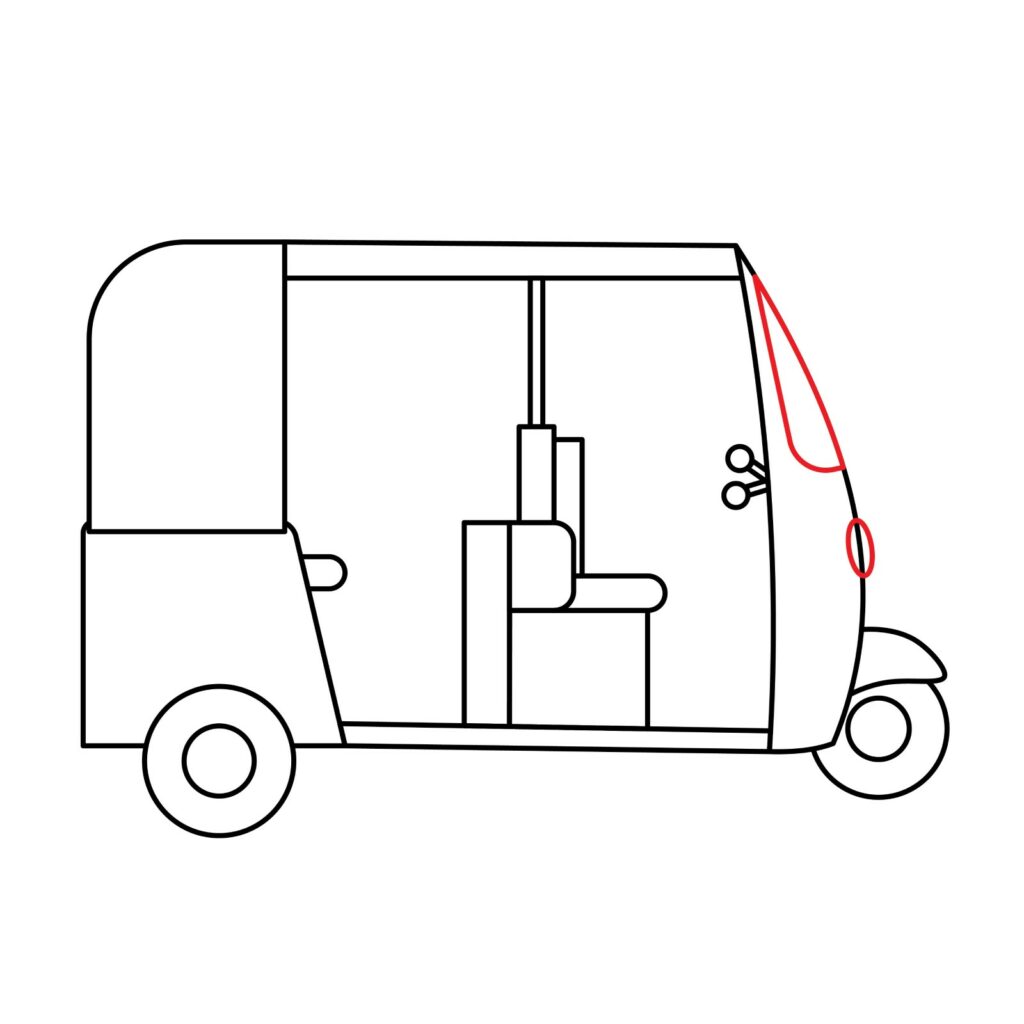
Step 11: Draw the Windshield and Headlight
We only have two things left to do: add a windshield and the headlight. We will start with the windshield. For that, we are going to draw a line starting from the top of the windshield structure, slanting diagonally toward the bottom, and stopping above the handlebars. We will then connect it to the front of the Tuk Tuk while making the corner rounded.
For the headlight, we are simply going to add a vertical oval shape in the space between the windshield and the front fender. Erase the line that cuts through the oval shape.
Take the Drawing to the Next Level
Our Tuk Tuk is now ready. Congratulations!
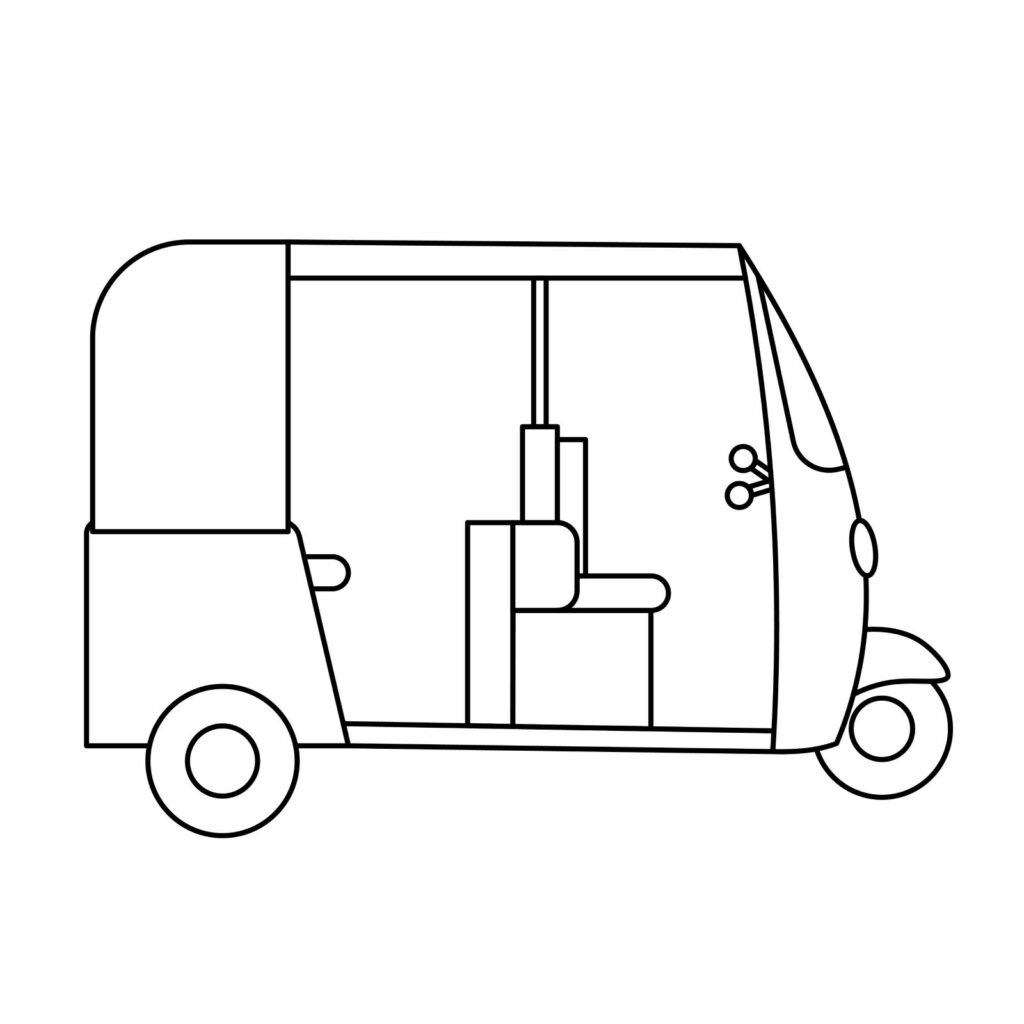
However, we cannot leave our drawing as it is. To make it more impressive, we are going to add a couple of things. This will demonstrate that we pay attention to details.
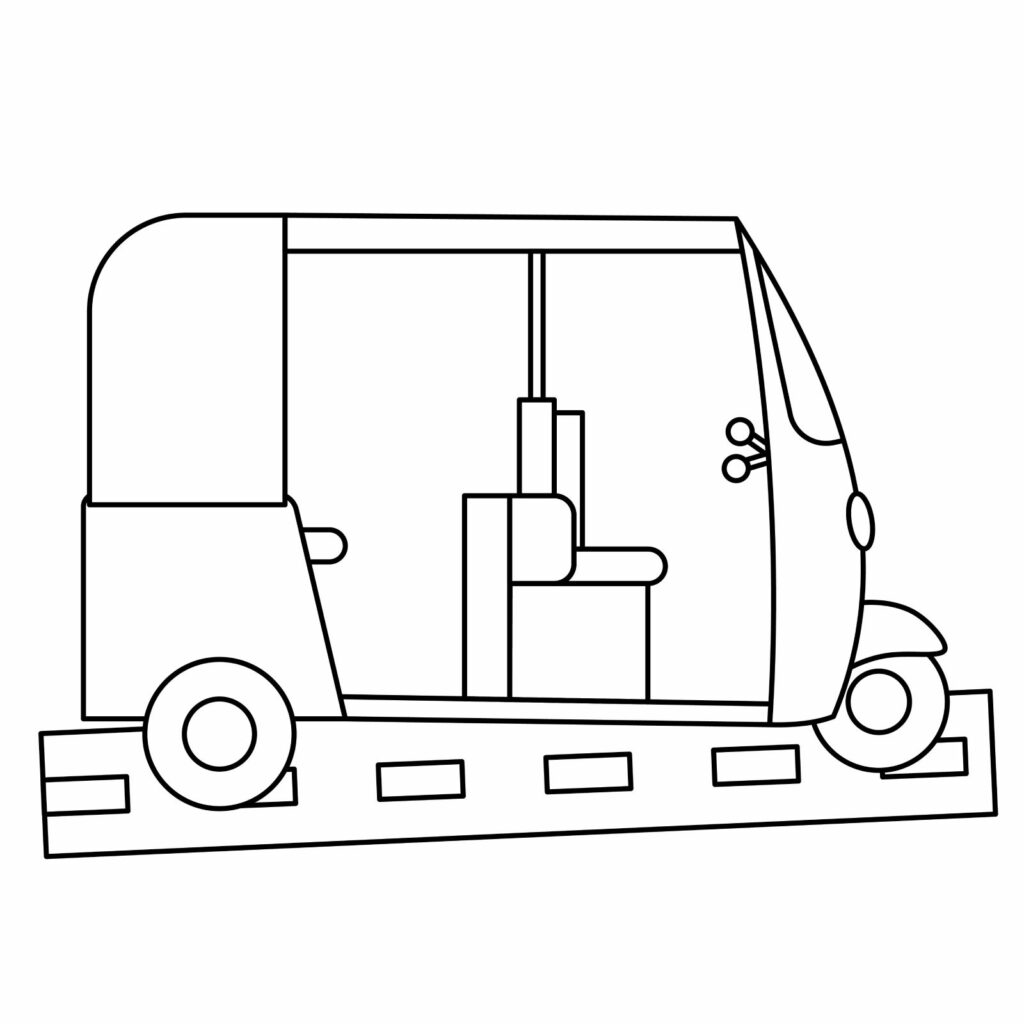
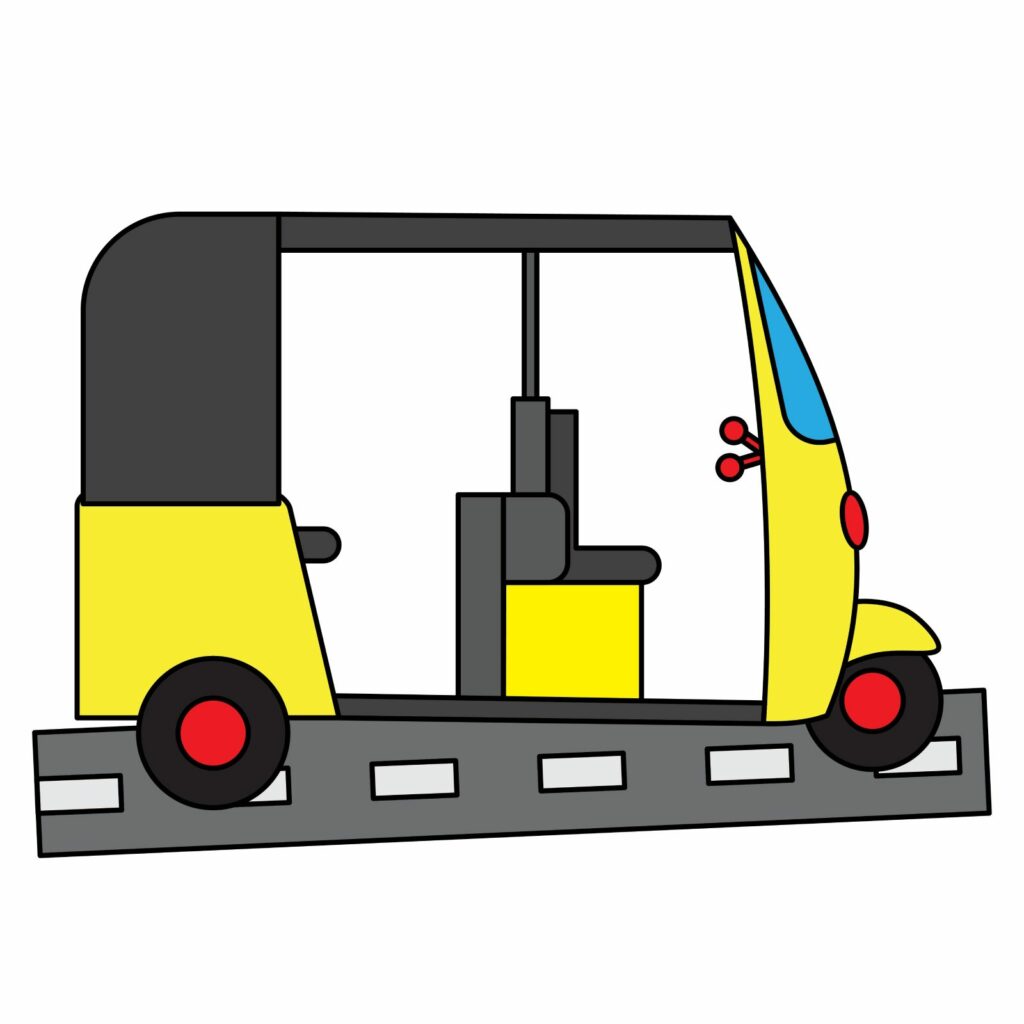
Add a Background
The first thing you should consider adding is a road. In our case, we used rectangles to add a road. You can add telephone lines in the background, some clouds, a name on the side of the Tuk Tuk, and anything else you can think about.
Color Your Drawing
Once you are confident you have added all the details you wanted, take out your coloring supplies and add color to your drawing. There are no rules regarding the colors you can use. You must, however, make sure the colors don’t spill outside the areas you wish to color.
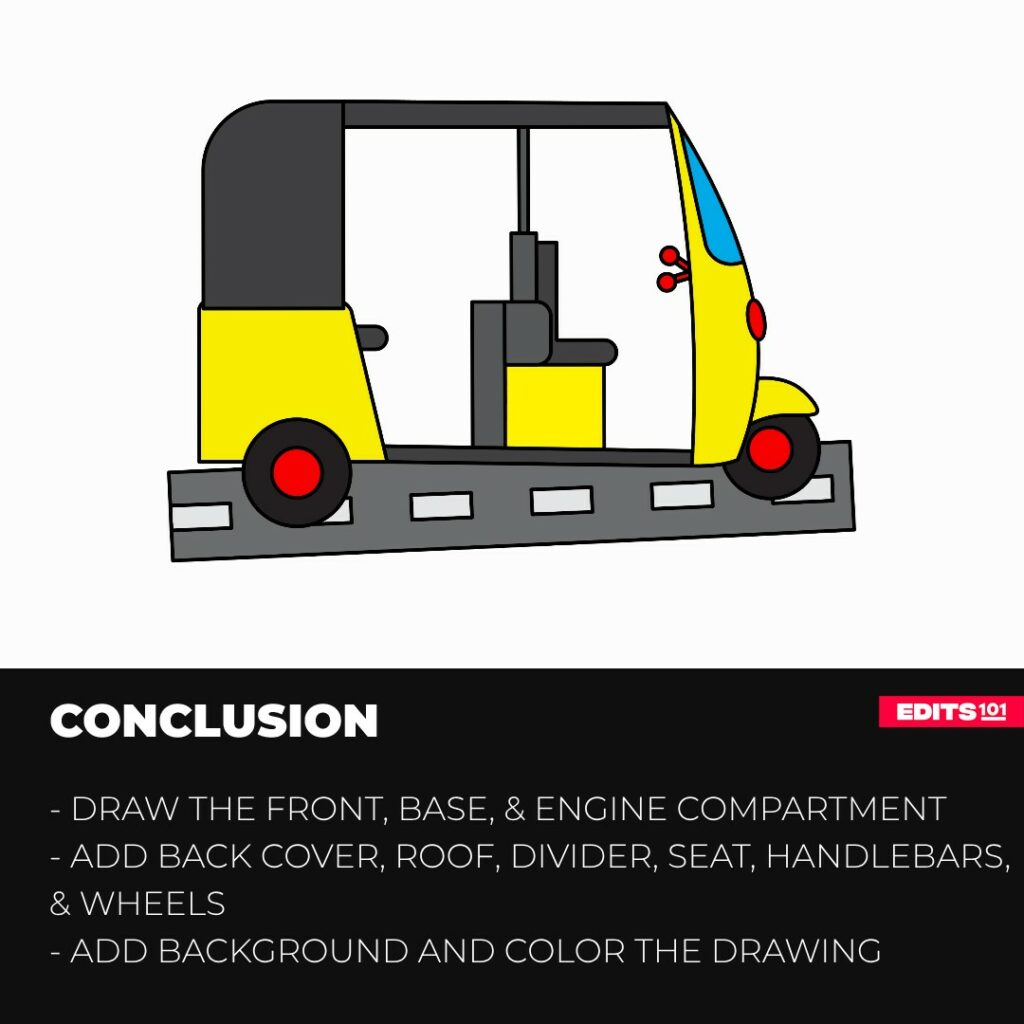
Conclusion
Drawing an auto rickshaw (Tuk Tuk) is quite easy. In our lesson, we started by using a crescent shape to add the windshield and front fender. We then added the base, engine compartment, back cover, roof, divider, seats, handlebars, wheels, and then the windshield and lights. We advanced our drawing by adding a windshield and coloring the drawing.
Keep in mind that your drawing doesn’t have to be perfect the first time. It takes practice to become a great artist. Give it another try and you will see how good you will get with every attempt.
Thanks for reading & feel free to check out more of our articles!