How to Draw a Cricket Ball | A Fun and Easy Guide
Cricket is a bat-and-ball game that is played on a cricket field. The game is played between two teams of 11 players on a field. In the lesson for today, we will be learning how to draw a cricket ball in simple steps.
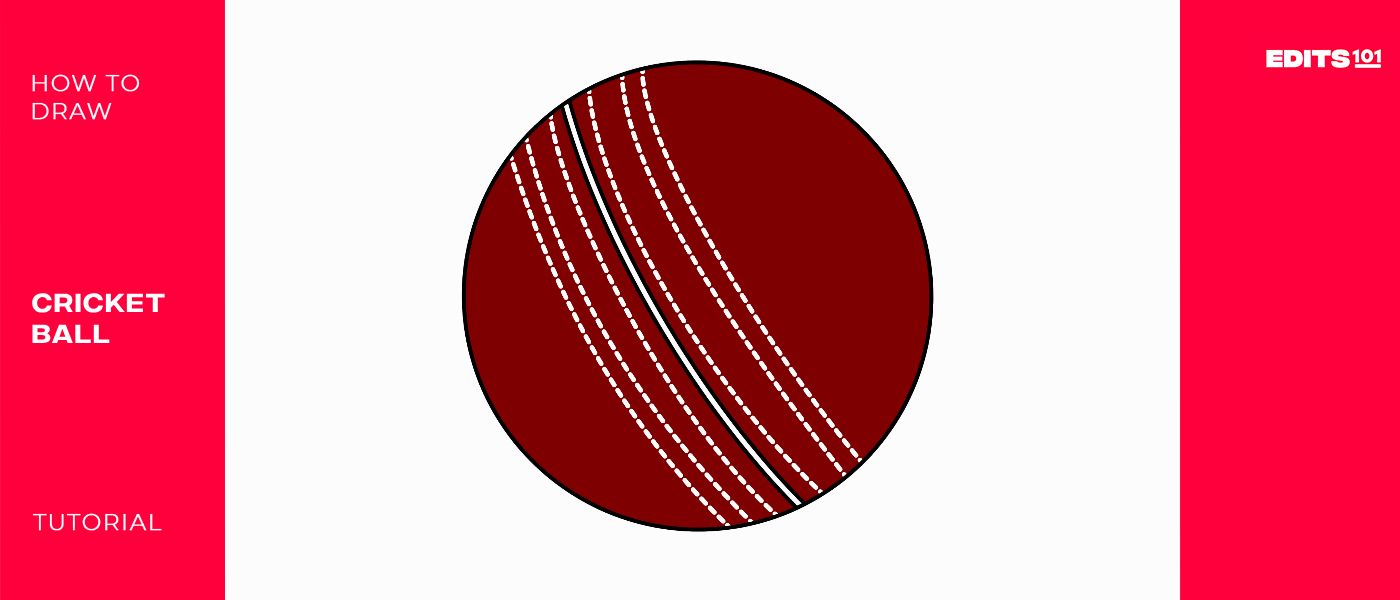
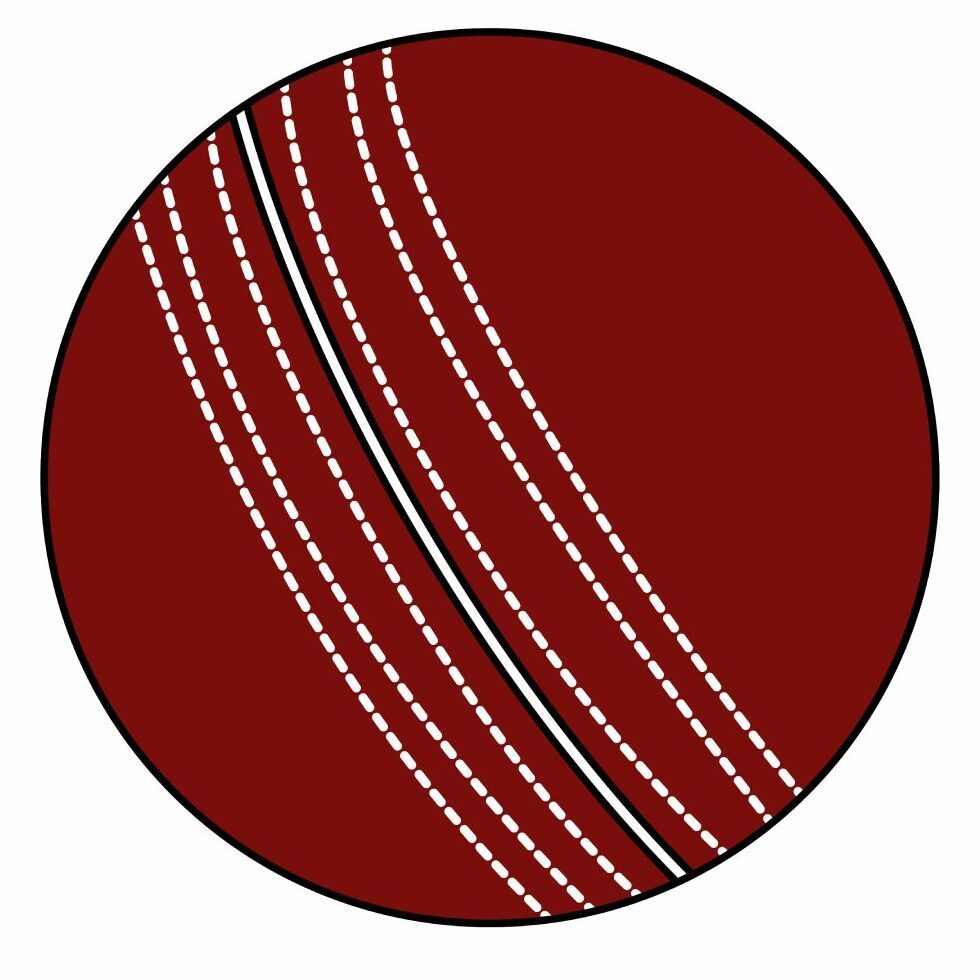
A cricket ball is smaller than a soccer ball. It is a hard, solid ball that has a cork core that is wound with strings and then covered in leather. The ball is usually red.
| Steps | Complexity Level |
| Drawing the Outline | 1 |
| Drawing the Middle Line | 1 |
| Drawing the Sew Lines | 2 |
| Coloring | 1 |
What You Will Need
- A drawing piece of paper
- Pencils
- An eraser
- Color pencils or markers
- 10 Minutes
How to Draw a Cricket Ball Step by Step
Drawing a cricket ball is one of the easiest things you will get to do. This is because the drawing only requires you to work with a circle and add a few curved lines to make the ball more realistic.
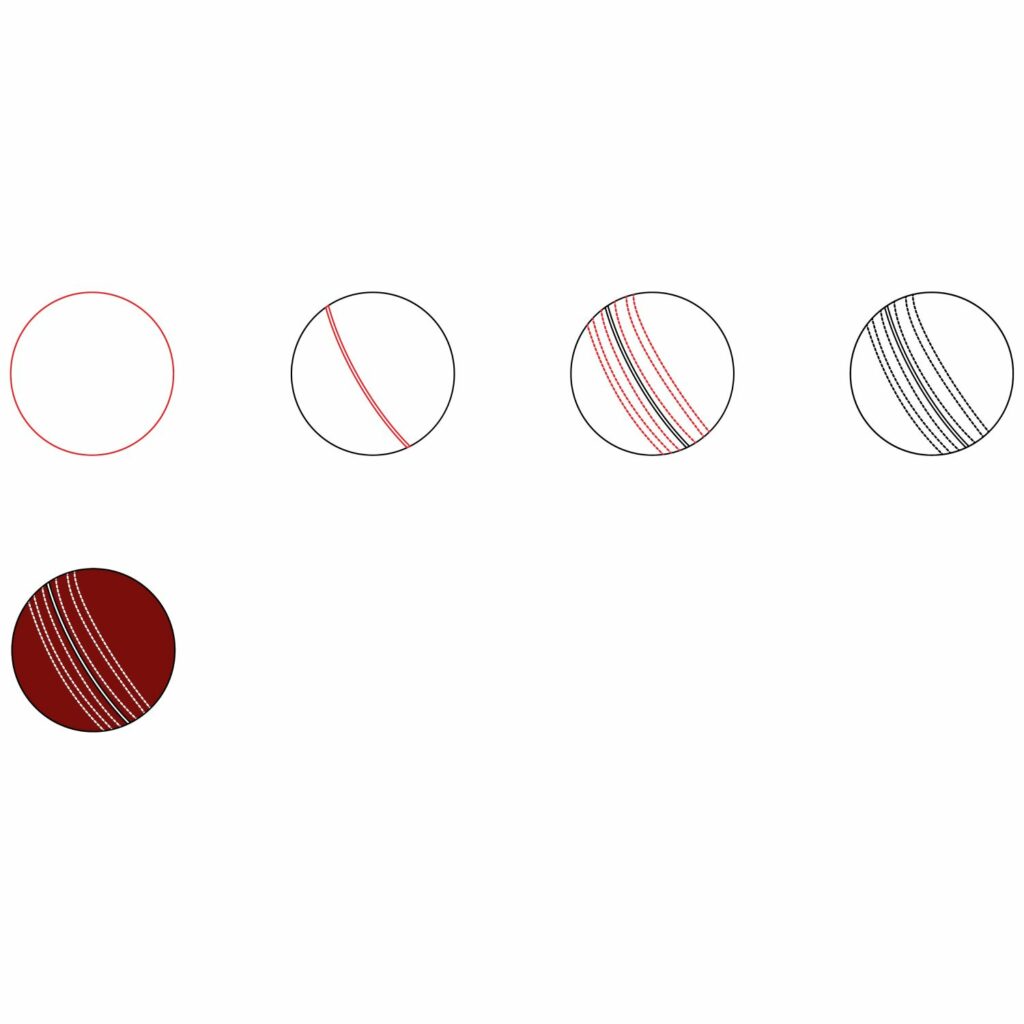
To give you an overview of what the lesson will involve, we have included the below image which has all the steps we will take. Take a moment to study the image so that you are better prepared for each step.
Step 1: Draw the Outline
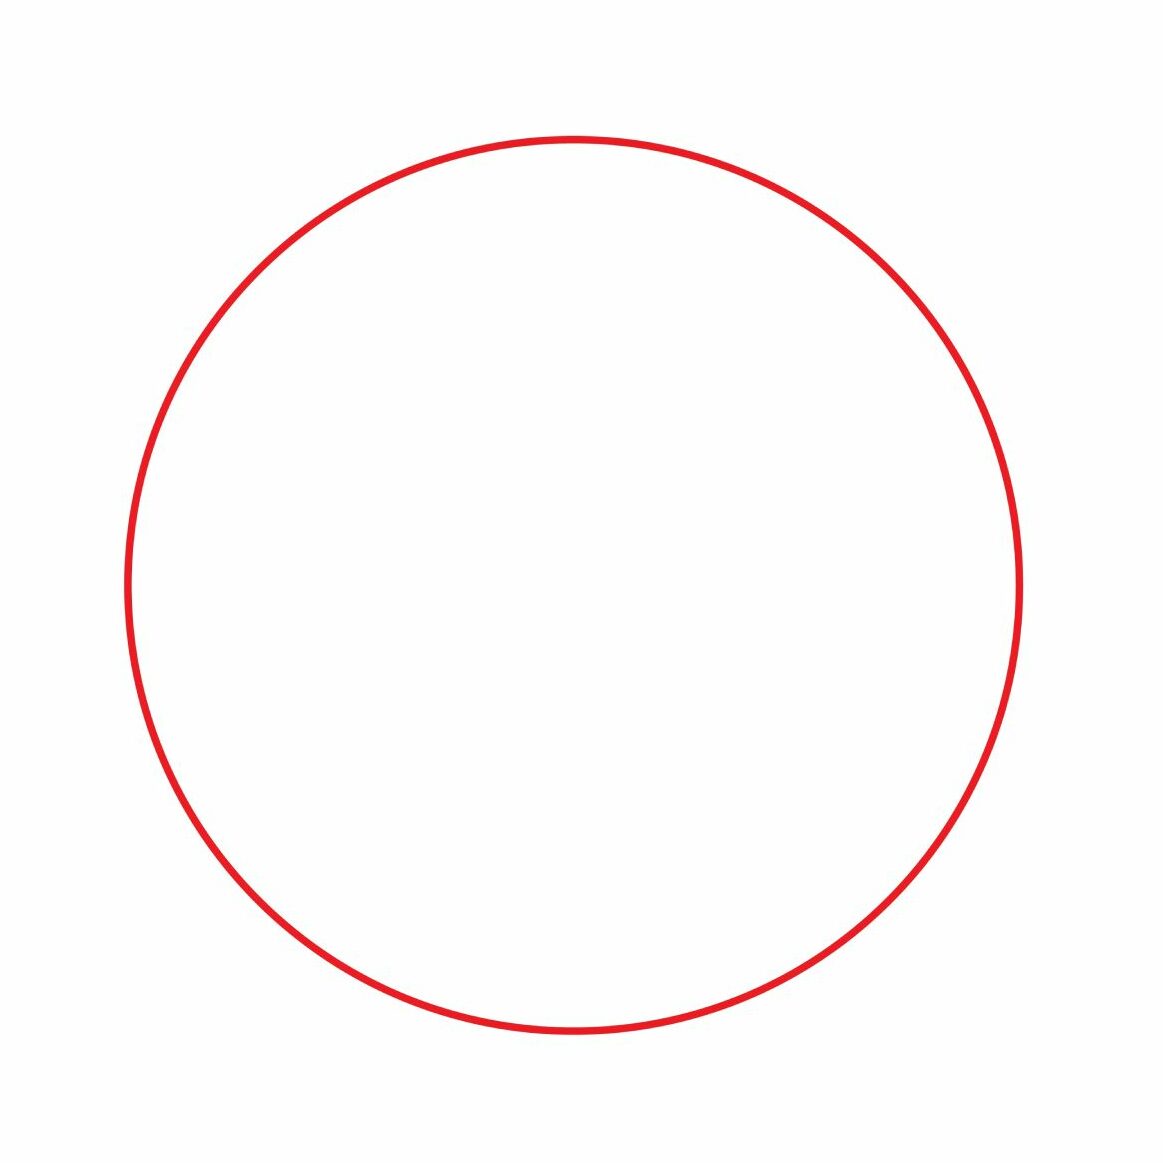
The first thing we are going to do is outline the cricket ball. Just like a softball, a cricket ball is a perfect circle. As a result of this, we will be drawing a perfect circle in the middle of our drawing paper.
Using the middle of your drawing paper as the center, draw a circle. The circle doesn’t necessarily need to cover the entire area of your drawing paper. This is more so if you plan on adding other details around your ball later. It should, however, not be too small. It needs to take up a big part of your drawing paper.
If you have access to a compass, use it to draw a perfect circle. If you don’t, try and make your circle as smooth as possible. The circle will form the foundation of our drawing.
- Draw a circle in the middle of your paper to form the outline of the ball
Step 2: Draw the Middle Line
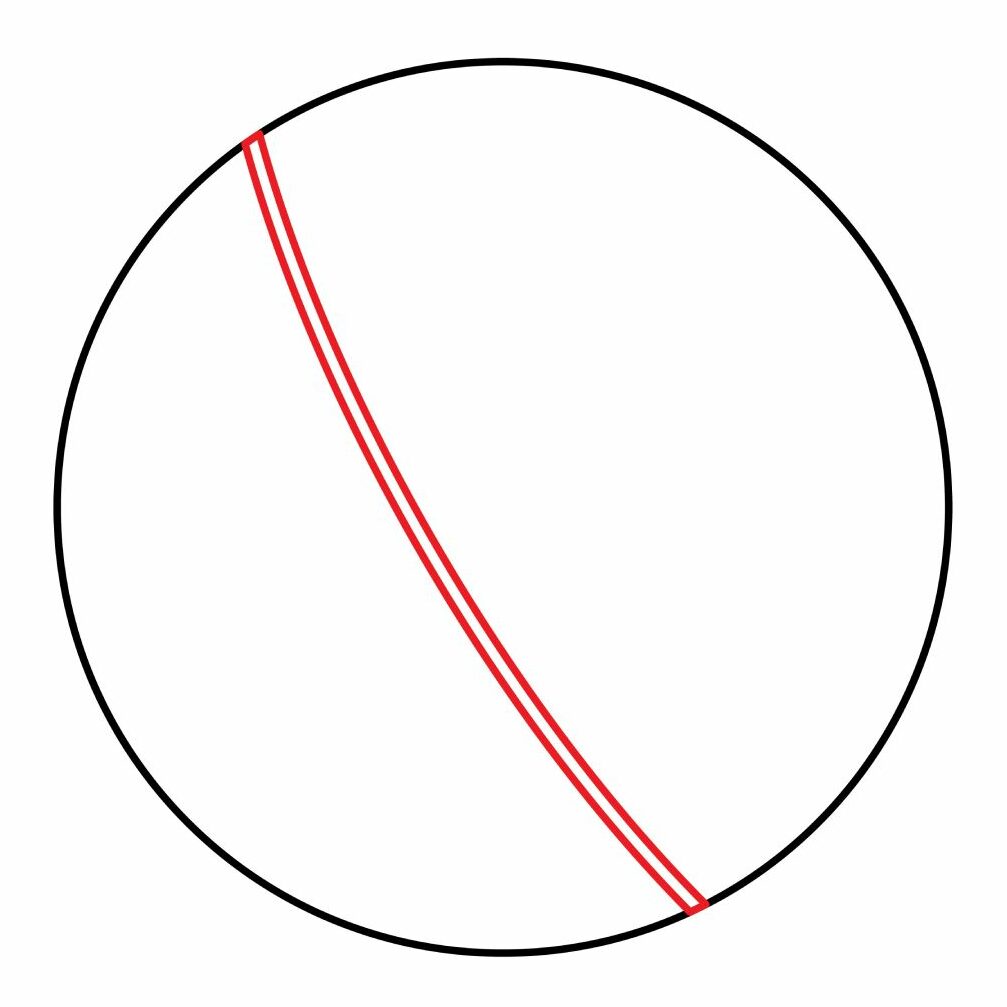
The next thing we are going to do is add the middle line. As we mentioned earlier, a cricket ball is covered in high-quality leather. The leather is what gives the ball durability by enhancing its structural integrity. The leather covering has to be joined together and thus the reason we have the middle line. The middle line is the area where the leather covering is joined.
To add the middle line, draw two slightly curved lines to cut through the middle of the circle. The reason for making the lines slightly curved is to create the illusion that the drawing is a sphere and not a circle.
- Draw a slightly curved line that cuts through the middle of the circle
- Add a second curved line for depth
Step 3: Draw the Sew Lines
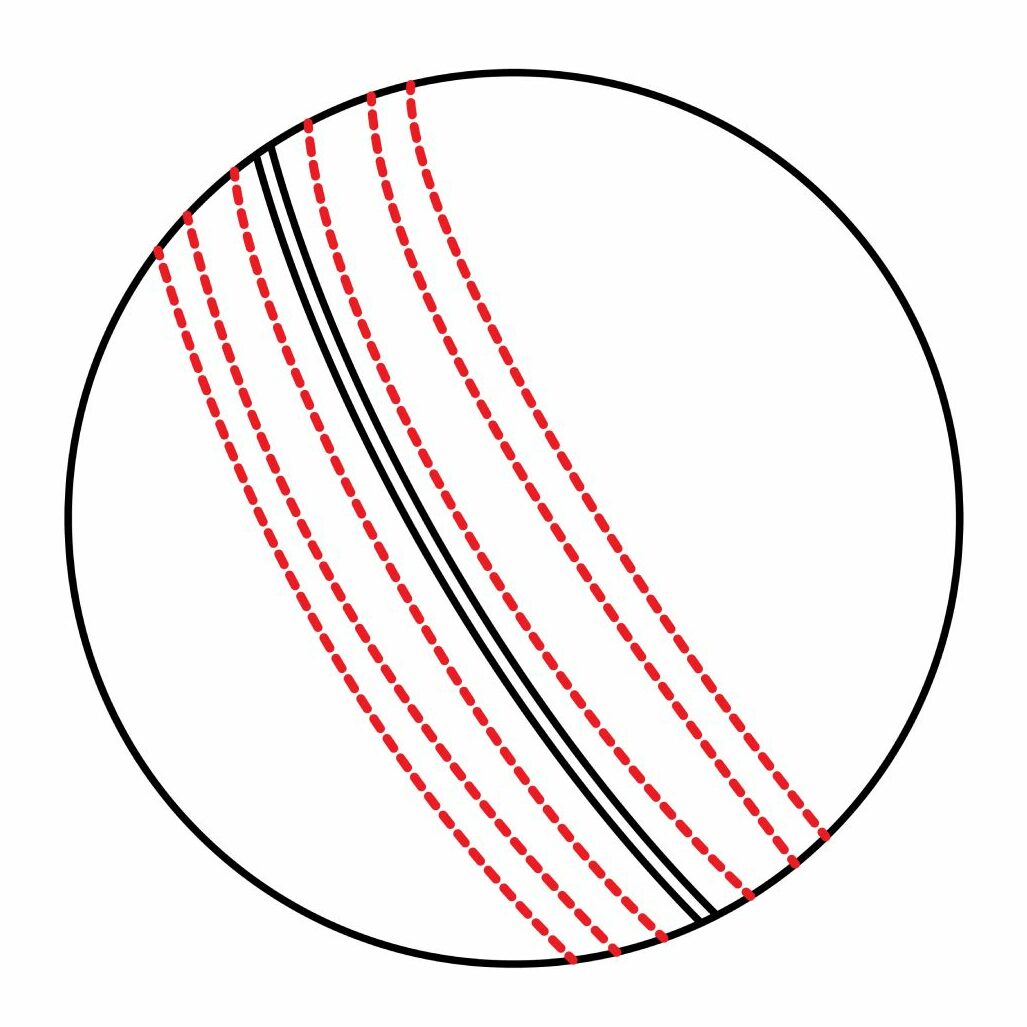
We are then going to add the sew lines. Since a cricket ball is usually hit at high speed using a bat, its structure needs to be sturdy enough for it not to tear apart upon impact. For that reason, a cricket ball usually has multiple sew lines.
To add the sew lines, we are going to use dotted lines. Start by adding a couple of lines to the right side of the middle line. The lines need to be parallel to the middle line.
You can start by using faint pencil lines to draw the curved lines then add dashed lines over the faint line. Do the same for the left side of the middle line. Your drawing should look something like what we have below.
Do not add too many sew lines as that may prevent your cricket ball from looking realistic. Three sew lines on either side of the middle line are enough. You should squeeze them close to the middle line so that you have enough blank space on the ball.
- Add dashed lines on either side of the middle line to create the sew lines
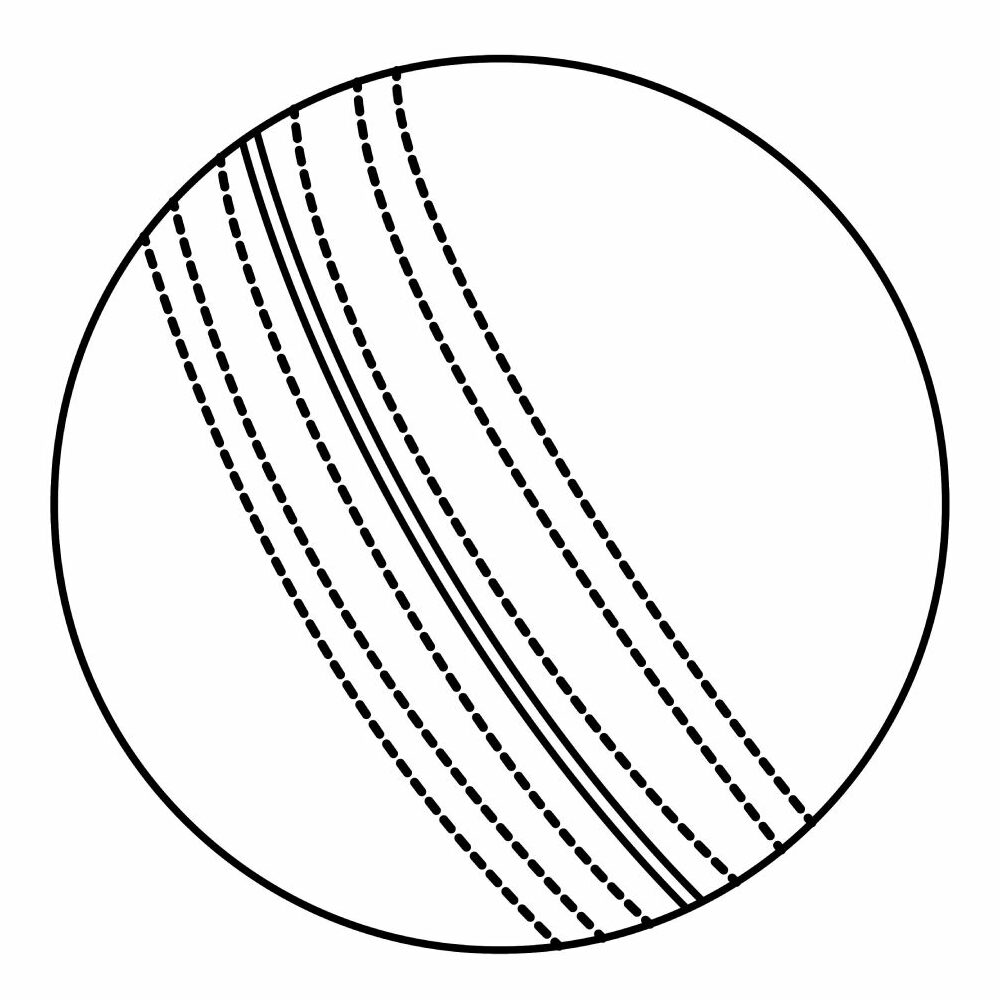
Congratulations! Your Cricket Ball is Ready
With just three steps, the cricket ball is ready. That was pretty easy, wasn’t it? Take a moment to admire your handiwork. You did well.
If your drawing doesn’t look exactly like ours, you should not allow frustrations to get to you. This is because there will be room for improvement on your next attempt. The best thing about learning how to draw is that you get better with each attempt.
Take the Drawing to the Next Level
You might get away with it if you left your cricket ball drawing as it appears above. The truth, however, is that the drawing is pretty boring. To make it more interesting, you need to add more details to it.
Add a Background
One of the things you can consider doing to make your drawing look more impressive is to add some background. A simple background like a cricket field or a cricket bat in the background will make your cricket ball stand out. Use your imagination to add as much detail to your drawing as you can. You can even add your name or a logo on the ball.
As you add more details, make sure nothing conceals your cricket ball. The ball is the main focus of the drawing.
Color the Drawing
The final and most important detail you need to add to your cricket ball is color. Using your coloring supplies, you can go the traditional way and color your cricket ball red or you can play around with colors to create something unique. This is your drawing. You can use any color combination that you want. Don’t forget to color the background too.
Some pro tips to keep in mind when coloring your drawing are:
- Decide on the colors you want to use before you start coloring. This will keep you from ruining your drawing when you try to add a different color over the one you already have.
- Keep the colors within the areas you are coloring.
- Use a different color for the various details to keep them from being concealed. In our case, we used white color for the middle line and stitching so that they are visible.
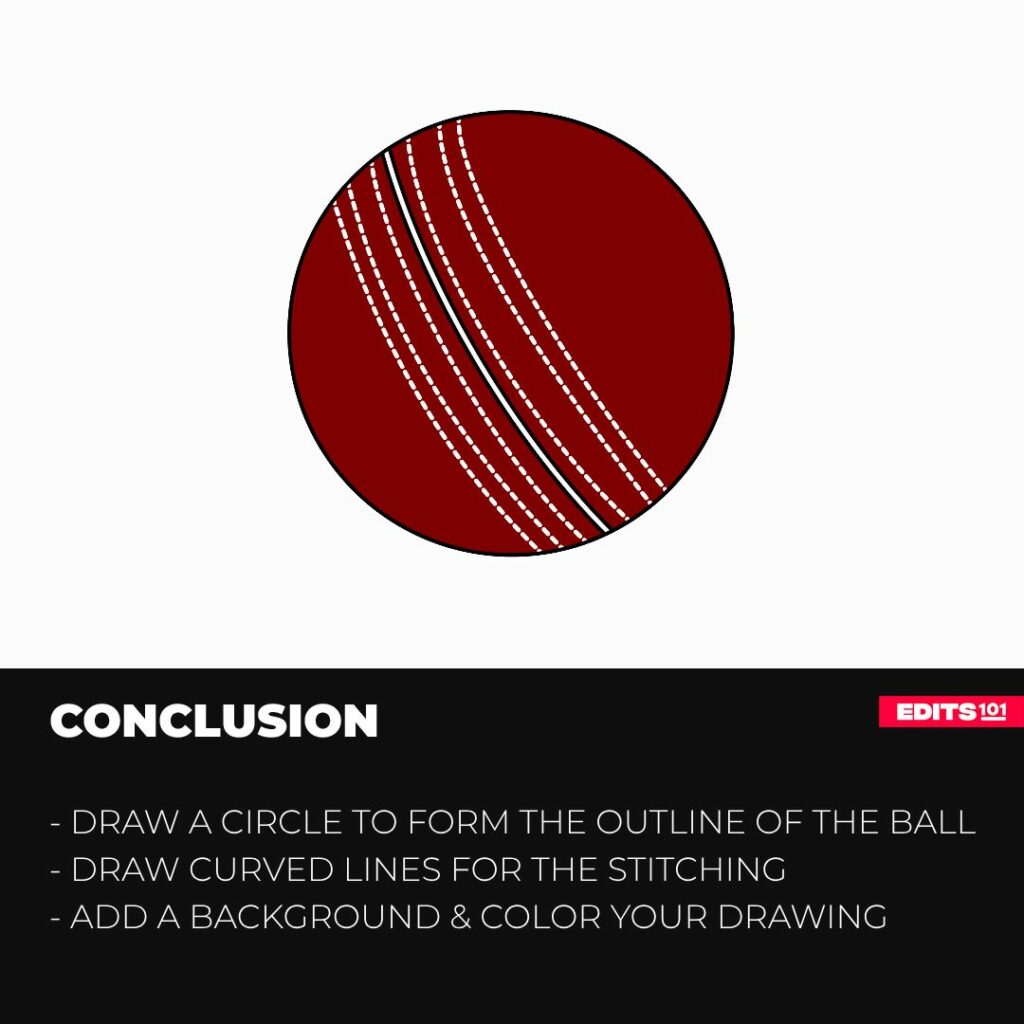
Conclusion
Drawing a cricket ball only requires that you use a circle and a few curved lines. In our drawing, we started by drawing the outline of the cricket ball using a large circle. We then added a slightly curved line in the middle of the ball to represent the point where the leather covering joins. We then added a couple of dotted curved lines to represent stitching. We did not add a background to our cricket ball. Instead, we colored it.
You can use these steps to draw a cricket ball from a real photograph or to draw a real-life cricket ball. These steps will also help you draw a realistic cricket ball on your favorite sketching app.
We hope you had fun and your drawing shaped up well. Keep practicing and see you on our next tutorial.
Thanks for reading & feel free to check out more of our articles!
Author Rating
Overall Rating
Summary
Learn how to draw a realistic cricket ball in three simple steps.