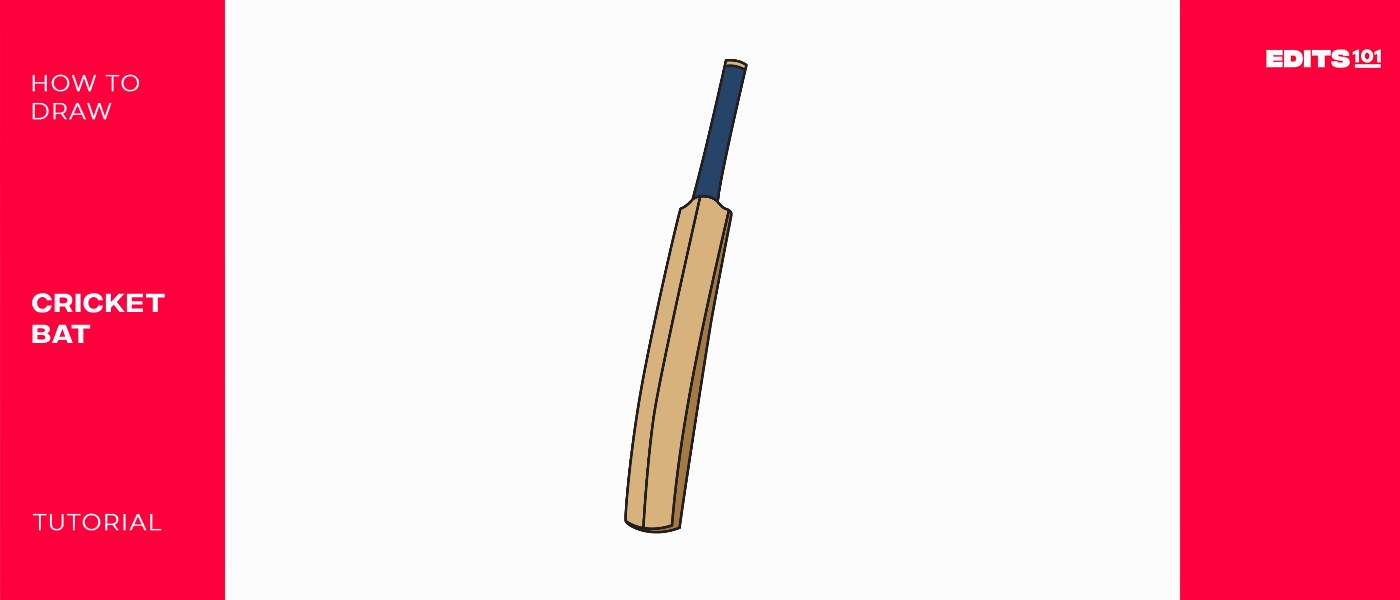
How to Draw a Cricket Bat | Step by Step Guide
A cricket bat is a special piece of equipment used by a batter in the sport of cricket to hit the cricket ball. The bat is made up of a handle attached to a flat-fronted wooden blade. In this tutorial, we will be learning how to draw a realistic cricket bat in three simple steps.
More often than not, people mistake cricket for softball. While a bit similar, the two sports have major differences. For starters, the softball bat is rounded whereas a cricket bat is flat. Another major difference is the fact that cricket players hold the bat down whereas softball players hold the bat up. Now that you have some facts about the two games, let us get back to today’s lesson.
| Step | Complexity Level |
| Drawing the Grip | 1 |
| Drawing the Body of the Bat | 2 |
| Adding Details | 2 |
| Coloring | 1 |
What You Will Need
- A drawing piece of paper or a sketching app
- A pencil
- An eraser for correcting mistakes
- A ruler
- Coloring supplies
- 10 Minutes
How to Draw a Cricket Bat Step-by-Step
As you will find out by the end of this tutorial, drawing a cricket bat is very easy. You simply need to play with lines and you will see your cricket bat take shape. To help you understand what we will be doing throughout today’s lesson, we have included an image with all the steps we will be taking. Study the below image so that you can anticipate each step in this tutorial.
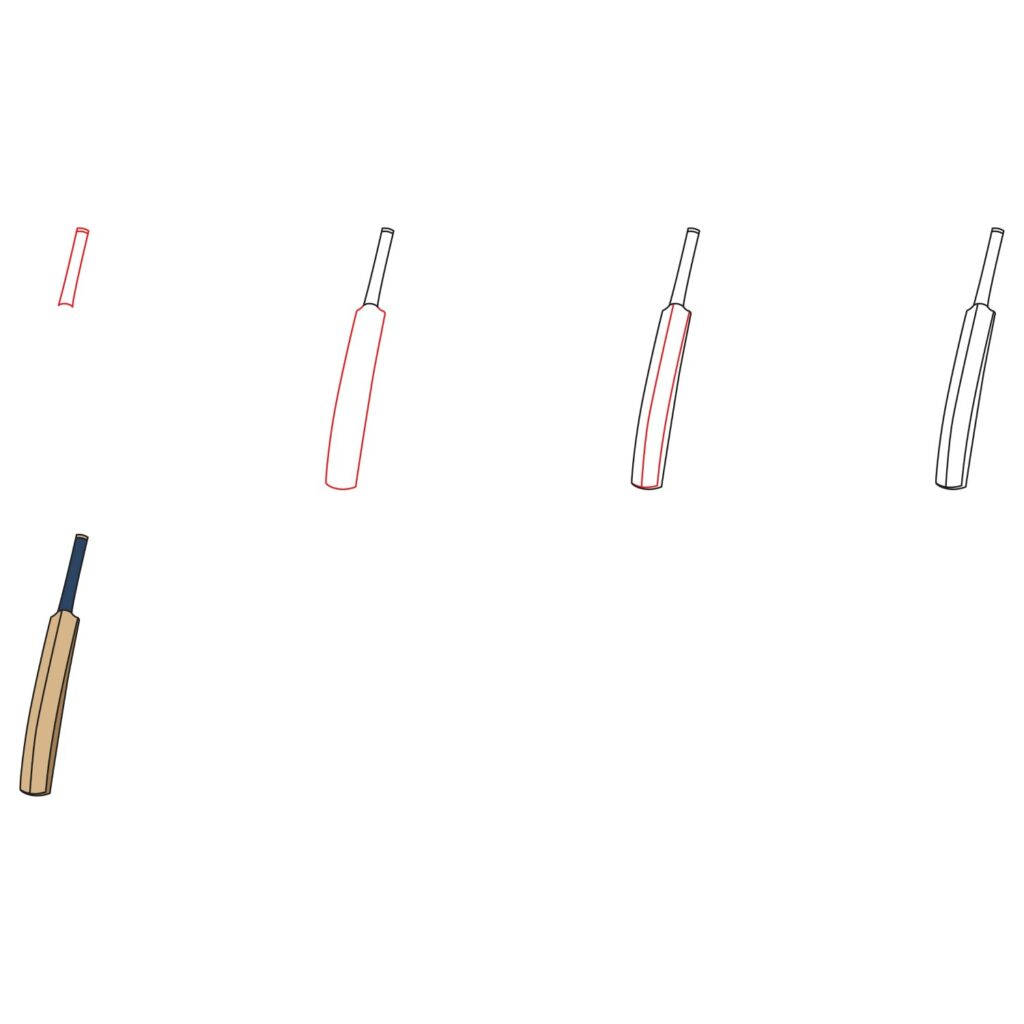
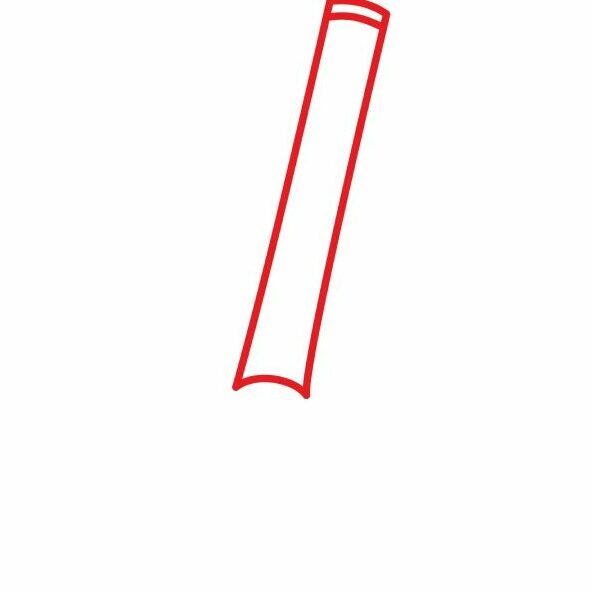
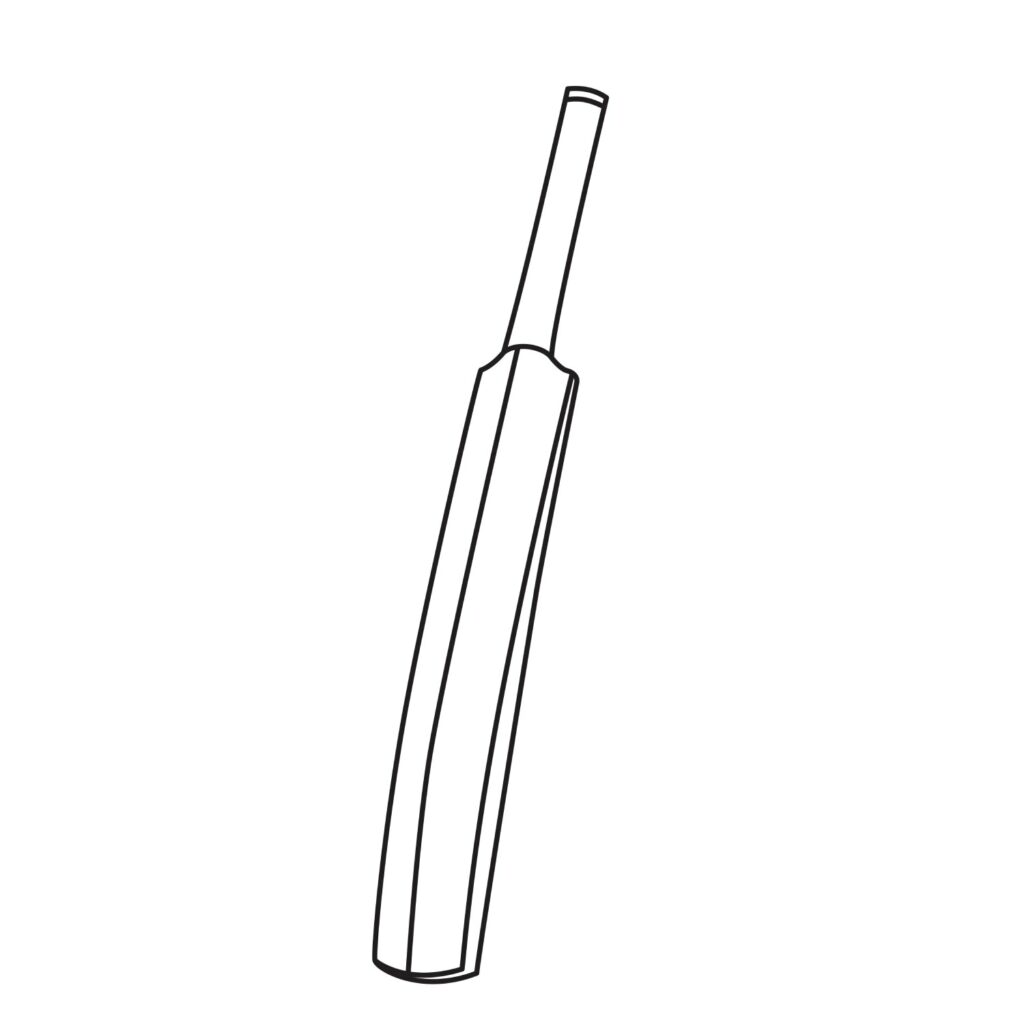
Step 1: Draw the Grip
The first thing we are going to draw is the grip (also known simply as the handle). This is the topmost part of a cricket bat. It is usually cylindrical and a bit long because the batsman (player) clutches it with both hands. To ensure the player has a strong grip, the handle is covered with a rubber grip.
It is good to note that the handle is made using a different type of wood from the one used on the main bat. The most common wood used is white willow.
To draw the grip, start by holding your paper in a portrait orientation. You should then use your ruler to add two diagonal lines. The lines should not be too long since we need the space below the handle for the blade. Connect the two diagonal lines at the top and bottom using curved lines. Add another curved line slightly below the top to add depth to the handle.
Don’t worry about perfection at this stage. You can always adjust your lines to get the desired shape later on.
- Draw two diagonal lines to form the sides of the handle
- Add curved lines at the top and bottom to connect the two diagonal lines
- Add another curved line slightly below the top to add depth to the handle
Step 2: Draw the Body of the Bat
We are now going to add the blade of the bat. This is the main part of the cricket bat. It is the part of the bat that hits the cricket ball.
When adding the cricket bat blade, the first thing we are going to add is the bat shoulder. This is the part that connects the handle to the blade. A good cricket bat should have a bat shoulder that is slightly curved to improve holding. For this, simply draw two slightly curved lines starting from the bottom of the handle and extending outward so that the blade will be wider than the handle.
For the blade, use your ruler to draw two diagonal lines that extend from the sides of the shoulder to the bottom of the drawing paper. You should then connect the two diagonal lines at the bottom using a curved line that bends downwards.
For realism, you should make sure the diagonal lines you add for the blade are parallel to the ones you added for the handle. You can also try curving the lines slightly so that you have something that looks like what we have in our illustration below.
- Draw two slightly curved lines starting from the bottom of the handle and extending outward to form the shoulder
- Use your ruler to add two diagonal lines that extend to the bottom of the paper to form the sides of the blade.
- Connect the two lines at the bottom using a curved line to complete the blade.

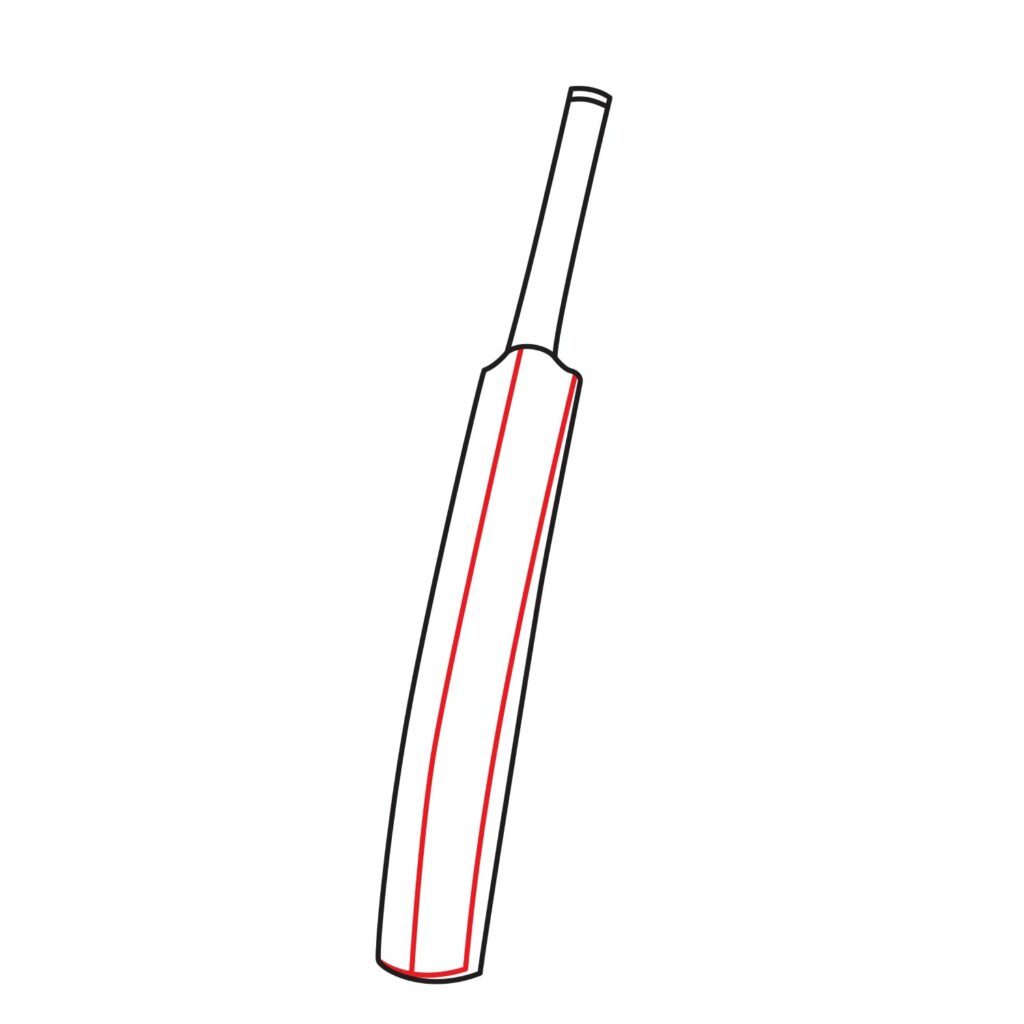
Step 3: Add Details on the Cricket Bat
If you have seen a cricket bat up close, then you know that the blade has some details. This is what we will be adding in this next step.
The blade of a cricket bat usually has four parts: the edge, the face, the swell, and the spine. We will not focus too much on drawing these parts. We will, however, add decorations to indicate that our bat has all these parts.
Start by adding a diagonal line that starts from the base of the handle and runs to the bottom of the blade. Add another diagonal line starting from the right shoulder and running towards the bottom of the blade. Connect this line with the first one using a slightly curved line as shown in our illustration.
As you can see, these tiny details have given our cricket bat a realistic 3D look. The little touches have made our artwork come alive.
- Add diagonal and curved lines on the face of the blade to create a 3D look.
Congratulations! Your Cricket Bat is Done
As stated earlier, it only took three simple steps to complete the basic layout of a cricket bat. Your drawing should look something like what we have below. Keep in mind that every artist has their signature so your drawing doesn’t have to look exactly like ours.
If your drawing is way off, there is no need to be frustrated. There is room for improvement and you will notice better results when you try drawing the cricket bat a second time. This is because you now understand what is required.
Take the Drawing to the Next Level
You should resist the urge to leave your drawing in its basic form. Adding more details to a drawing is what makes it pop. There are many ways of advancing your drawing of a cricket bat.
Add a Background
If you are feeling adventurous and want to take your cricket bat illustration to the next level, consider adding a background. You can add a cricket ball, a field, a stadium, or even a scenic backdrop that sets the stage for your artwork. Feel free to explore and experiment with various elements to make your drawing truly unique. There is also no harm in adding a name along the length of the blade.
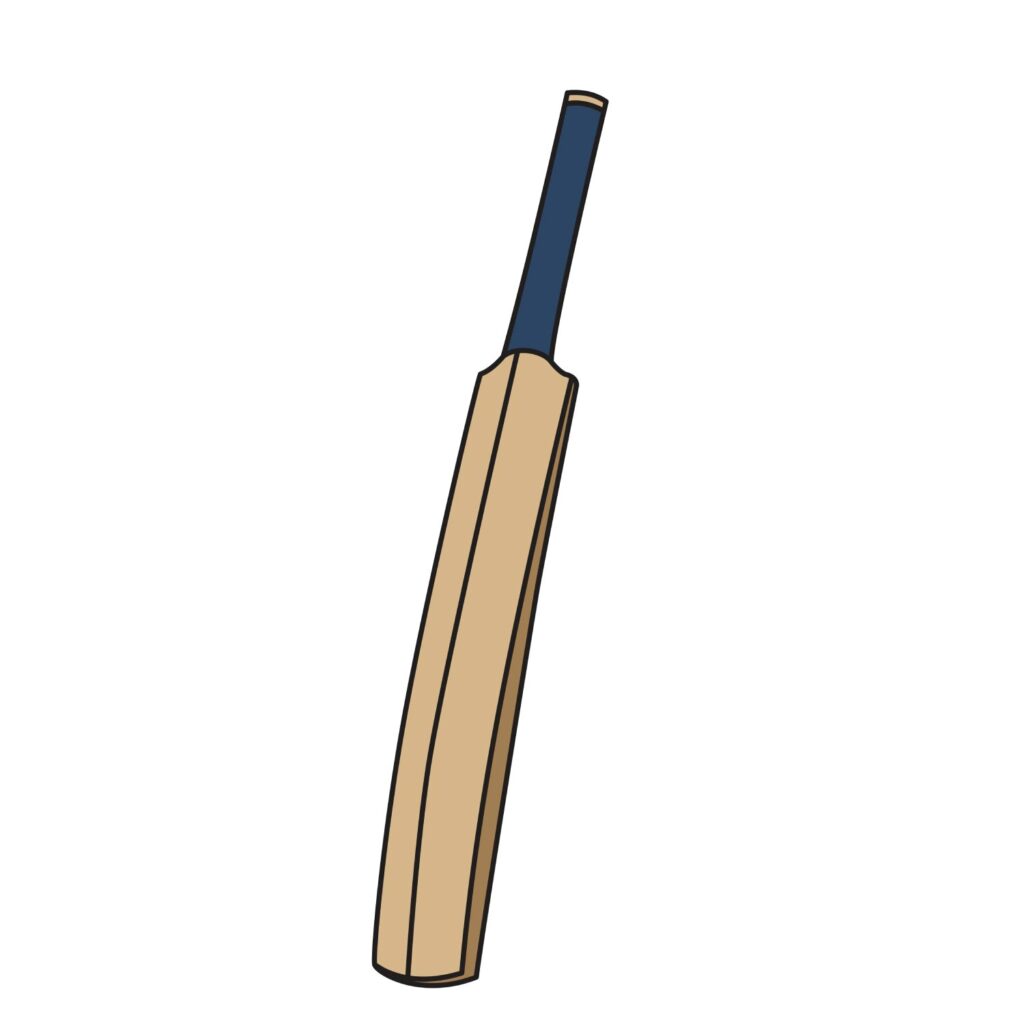
Color Your Drawing
One thing you must never ignore is color. Color is what makes a drawing come to life. Remember that this is your drawing. You can use just any color that you want. Remember to use different shades to add depth to your drawing like what we did on the sides of the cricket bat. You should also use different colors for the various sections of the cricket bat so that no details are concealed.
Conclusion
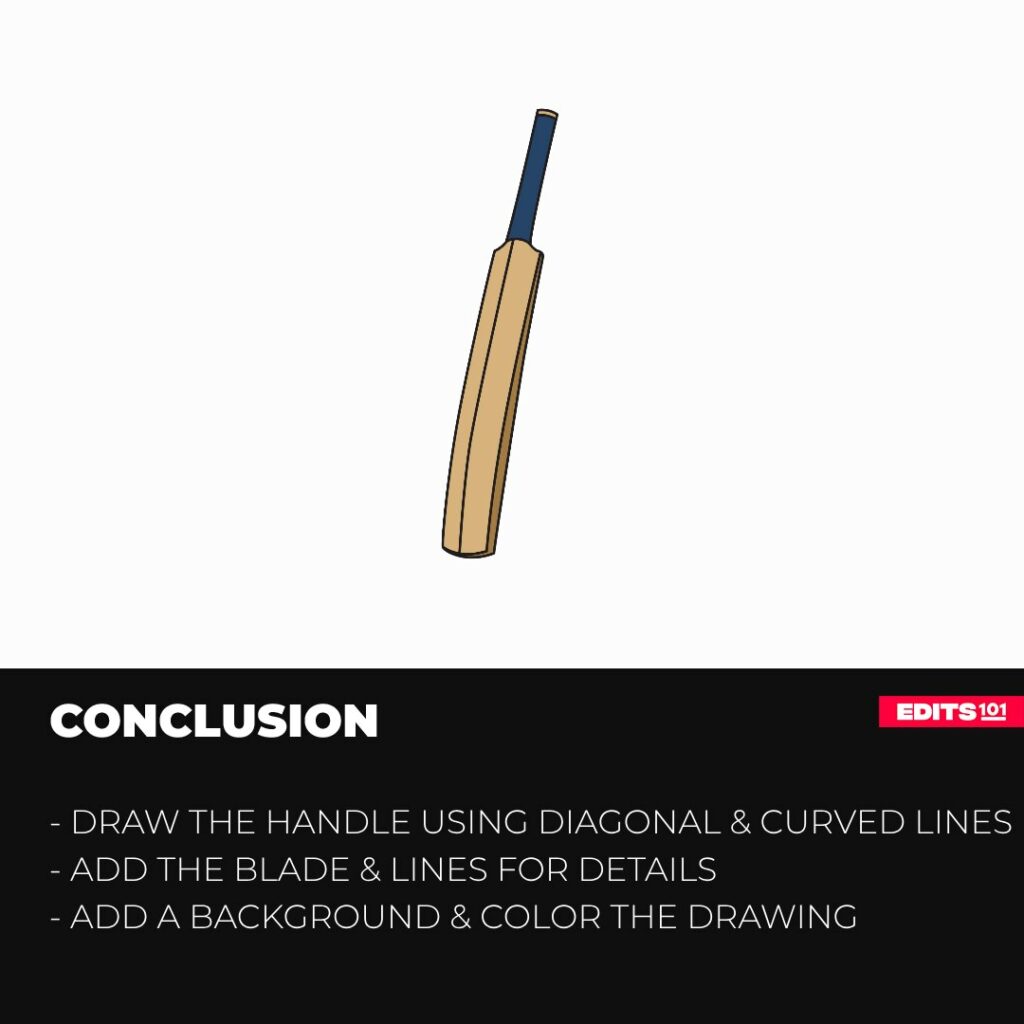
As we mentioned earlier in this tutorial, drawing a cricket bat is pretty easy. In our tutorial, we started by drawing the handle of the bat. We did so using two diagonal lines and three slightly curved lines. We then added the shoulder and the blade. For a realistic look, we added some details to the blade and then colored it.
You can use these steps to draw a cricket bat from a photograph or on any sketching app. To improve your skills, the key is to keep practicing. When tackling this same drawing a second time, you will notice a significant improvement in your results.
Stay enthusiastic and keep those creative juices flowing. Who knows, your next masterpiece might just be the legendary cricketing moment captured on paper. Happy drawing!
Thanks for reading & feel free to check out more of our articles!
Author Rating
Overall Rating
Summary
Learn how to draw a realistic cricket bat in three simple steps.