How to Draw a Jet | Step-By-Step Tutorial
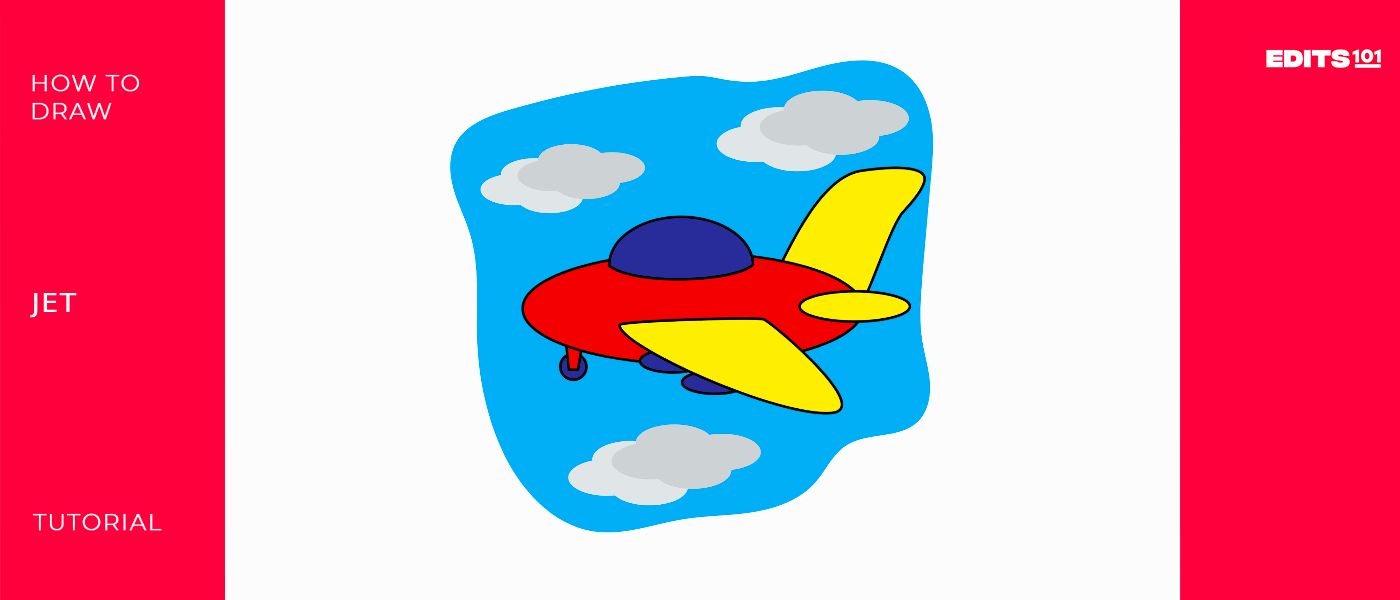
If you’re a fan of fast-flying machines and drawing aircrafts, this might be the perfect tutorial for you, because in today’s lesson, we will be teaching you how to draw your very own jet in 9 easy steps.
A jet is a type of aircraft that is powered by jet engines, which propel the plane forward by expelling high-speed exhaust gases.
Jets are commonly used for commercial and military aviation due to their speed and efficiency in long-distance travel.
What You Will Need
- A4 sheet of paper
- Pencils (2b, 3b or 5b)
- An eraser
- A ruler (optional)
- Coloring supplies
- 15-20 minutes
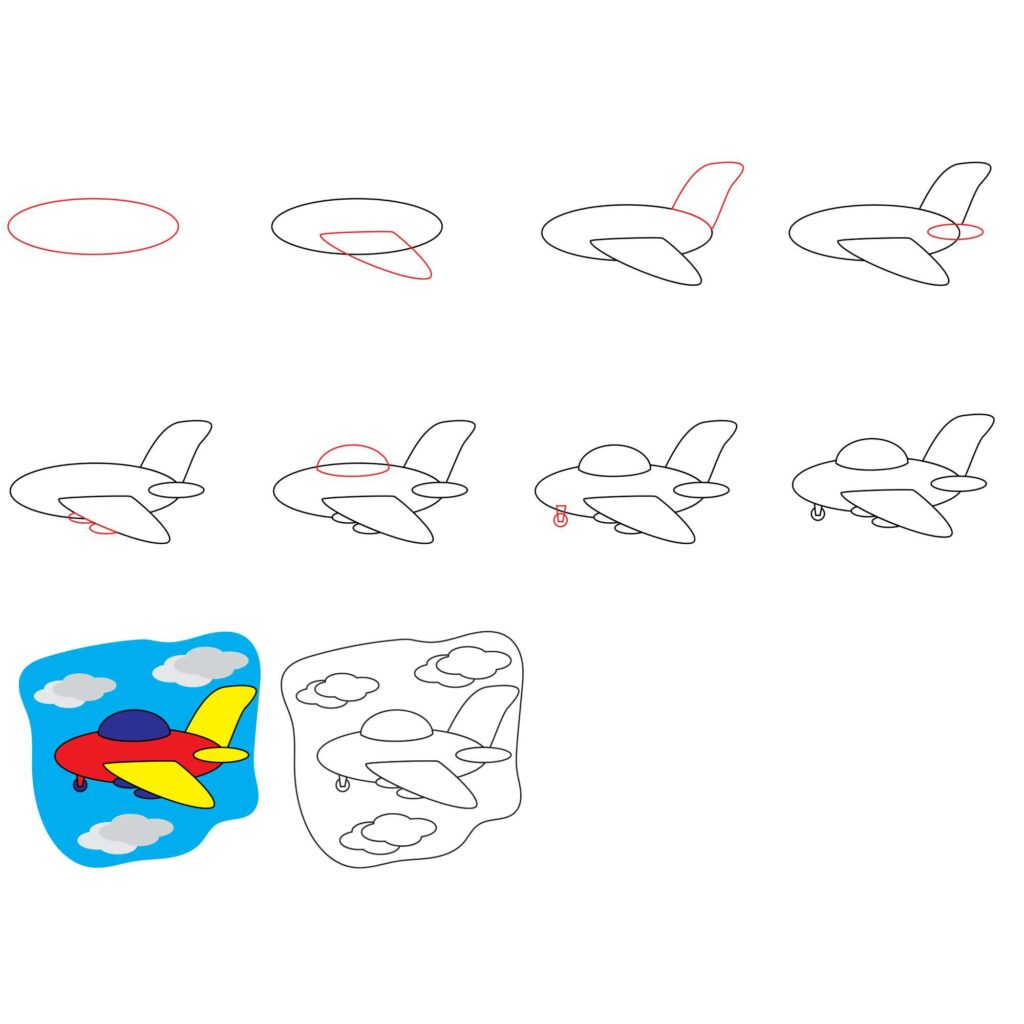
How to Draw a Jet in 9 Steps
Make sure you have all of your drawing tools handy and that you study the outline below to envision each step of the drawing process before you begin.
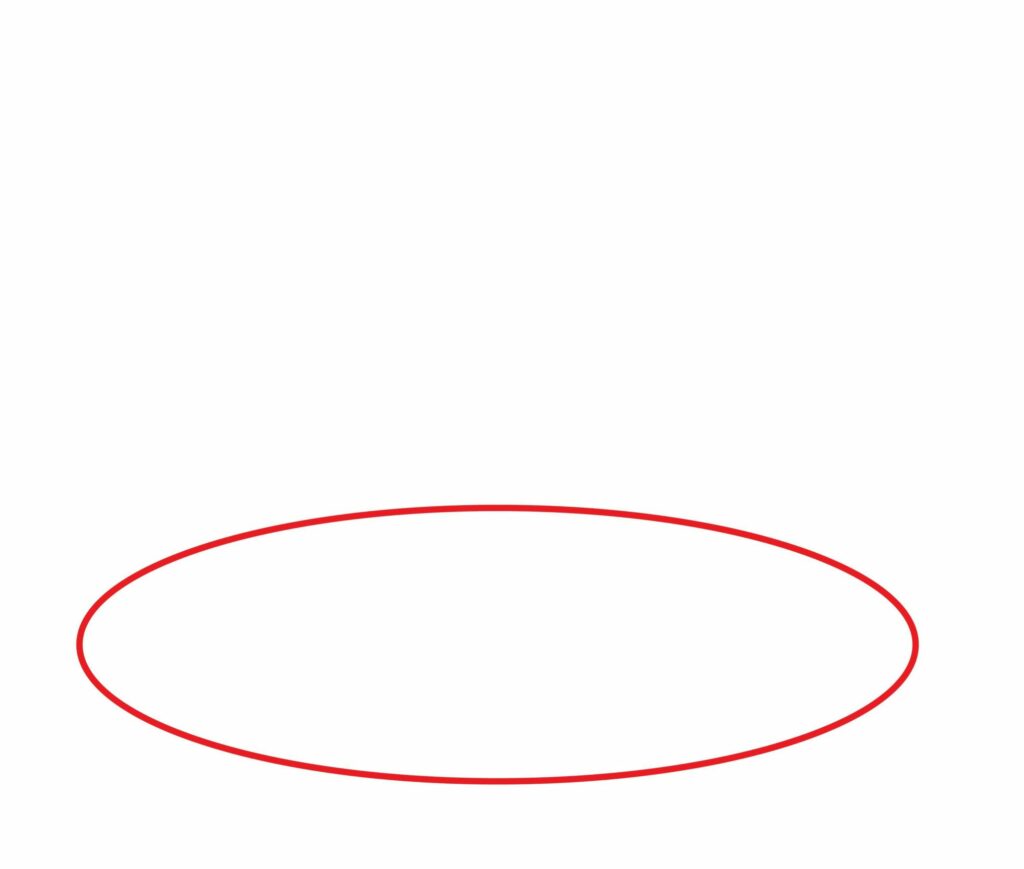
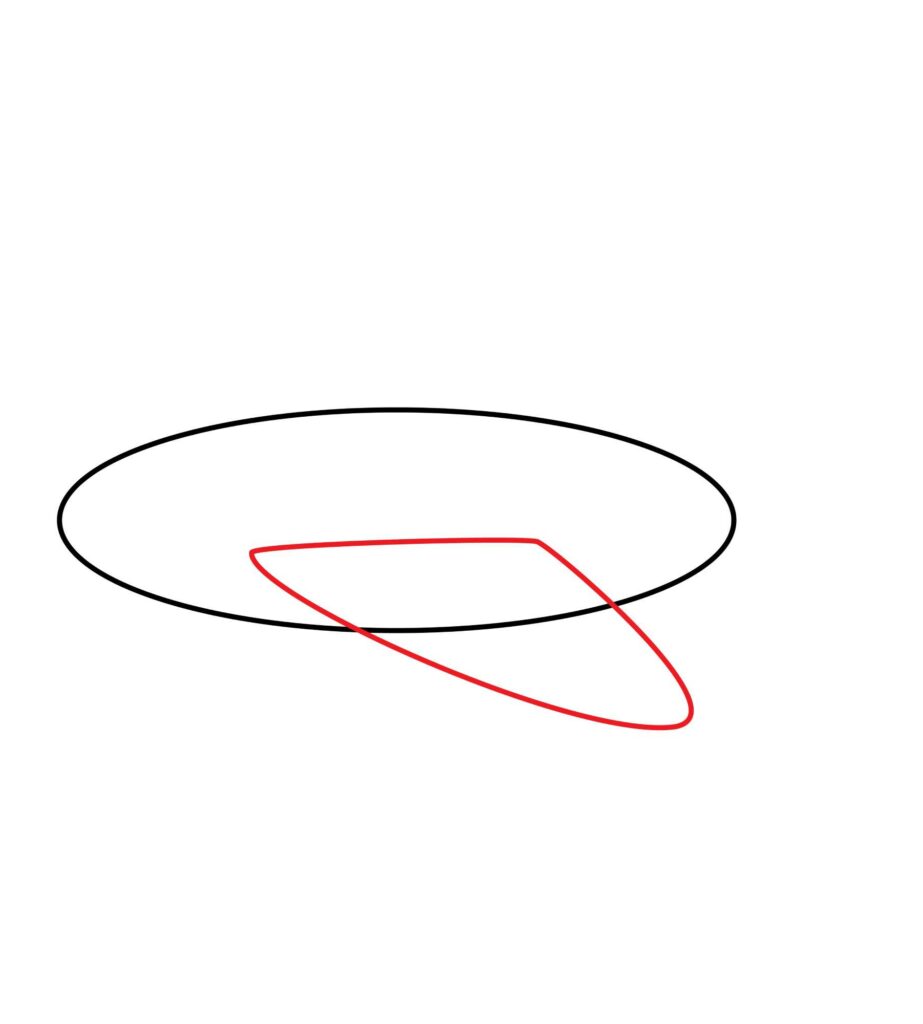
Step 1: Draw the Body
The body of a jet is commonly known as a fuselage. This is what holds all the pieces together. With this knowledge in mind, it’s best to start off your drawing with this part. Draw an oval shape on the center of your drawing sheet that resembles the one shown below.
- The body of a jet is also known as a fuselage
- The fuselage is the starting point of your drawing
- Draw a large oval in the center of your drawing paper
Step 2: Draw the Wings
To add the wing, draw a horizontal line on the side of the jet’s body. Next, draw a half-oval shape that starts from one end of the line and ends at the other.
The oval shape you draw should lean towards the right, as shown in the below image. That way, it will be more aerodynamic.
- Draw a horizontal line on the center of the fuselage for the wing mount
- Draw a half-oval shape extending from the line for the wing
- Ensure the oval is slanted to the right for a realistic wing shape
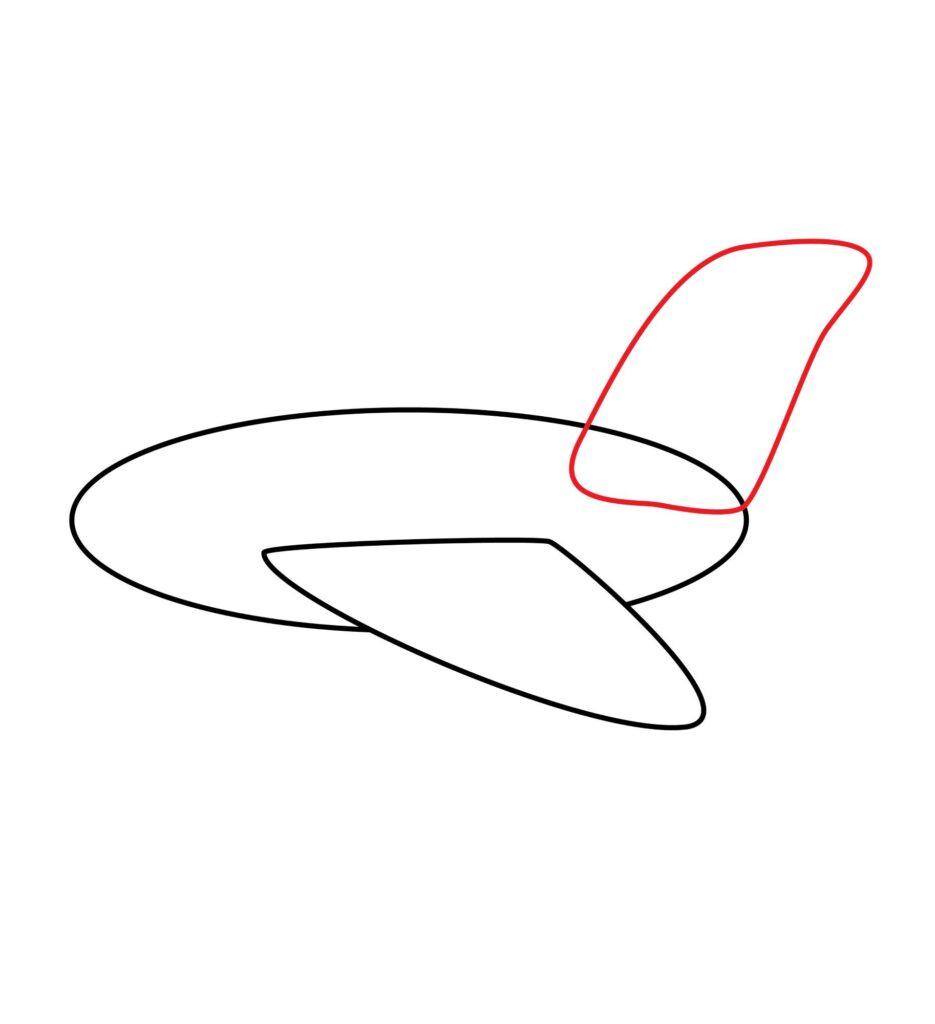
Step 3: Draw the Tail
In order to add the tail, draw a large diagonal rectangle on the back of the jet’s body. Erase the upper part of the rectangle, and draw a rounded edge instead that points to the right side of the page. This will improve the realism of your design.
- Draw a large diagonal rectangle on the back of the jet’s body
- Erase the upper part of the rectangle
- Draw a rounded top that points to the right instead
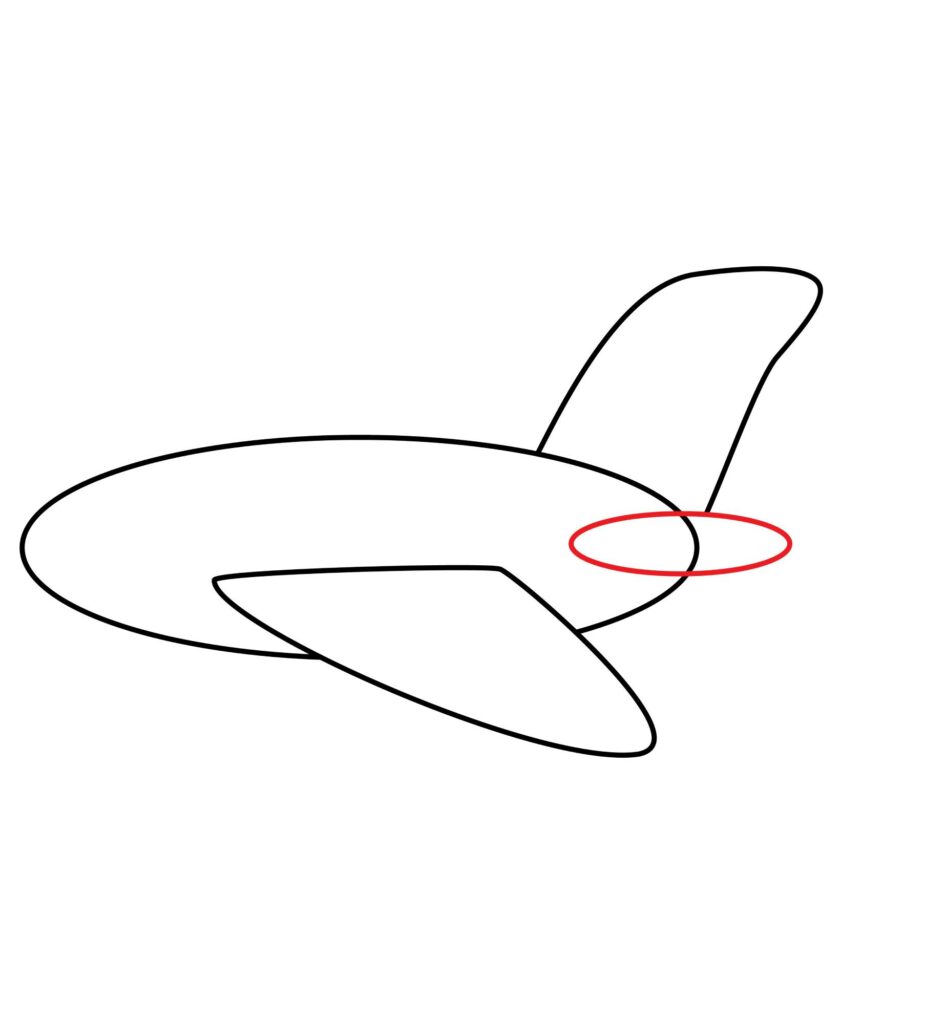
Step 4: Draw the Mini Wing
A jet needs horizontal stabilizers, which are mini wings located below the tail that helps the pilot move the aircraft up and down. To add the horizontal stabilizer, draw a small oval shape right below the tail.
Remove any line that cuts through the horizontal stabilizer. In our case, the fuselage passes through the stabilizer, so we must erase that line from the drawing.
- Draw a small horizontal oval directly beneath the tail
- Ensure the shape’s size matches the one in the illustration below
- Erase the line of the body that is visible within the oval
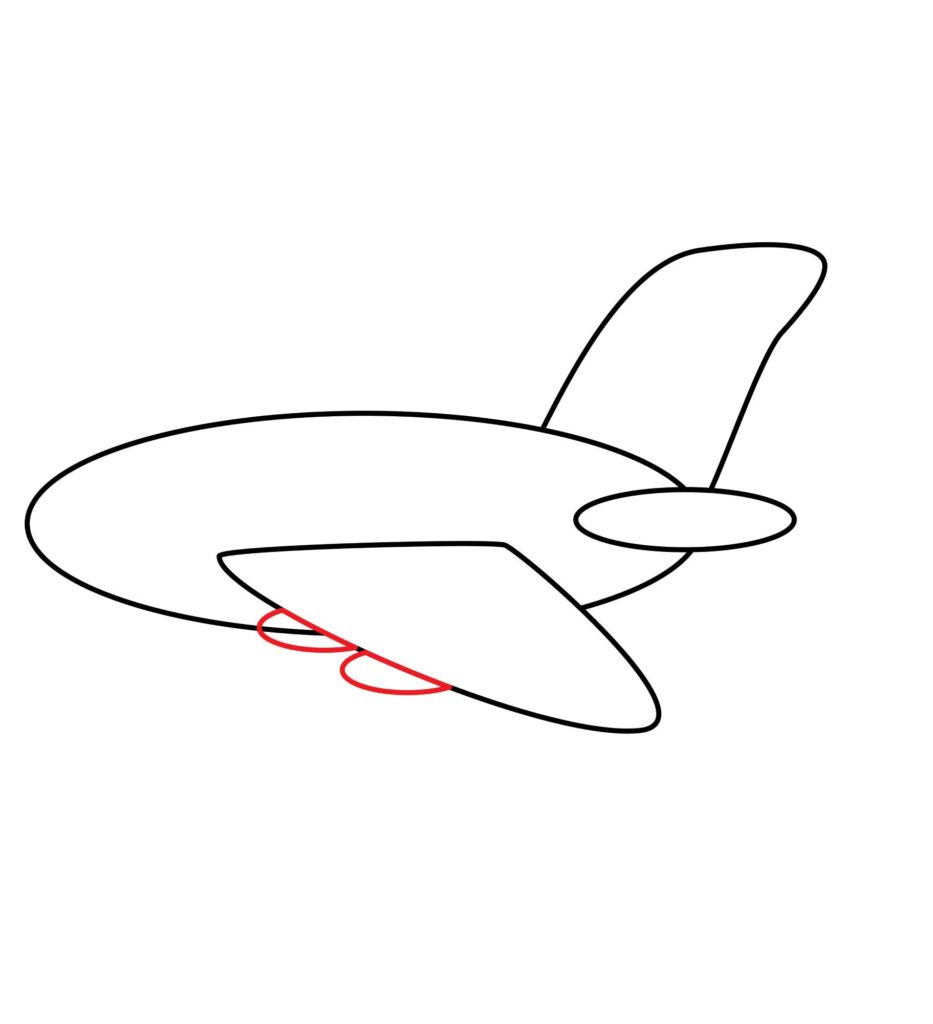
Step 5: Draw the Jet Engine
To complete this step, draw two small half-oval shapes attached to the left side of the wing. Make sure the shapes are next to each other, and that one of them is drawn over the underside of the jet’s body.
Erase the line of the body that is visible within the upper oval shape to create a neatly formulated design. Additionally, ensure both shapes are relatively the same size.
- Draw two small half oval shapes extending from the left side of the wing
- Ensure the shapes are the same size and that they are next to each other
- Erase the line of the jet’s body that is visible within the upper oval
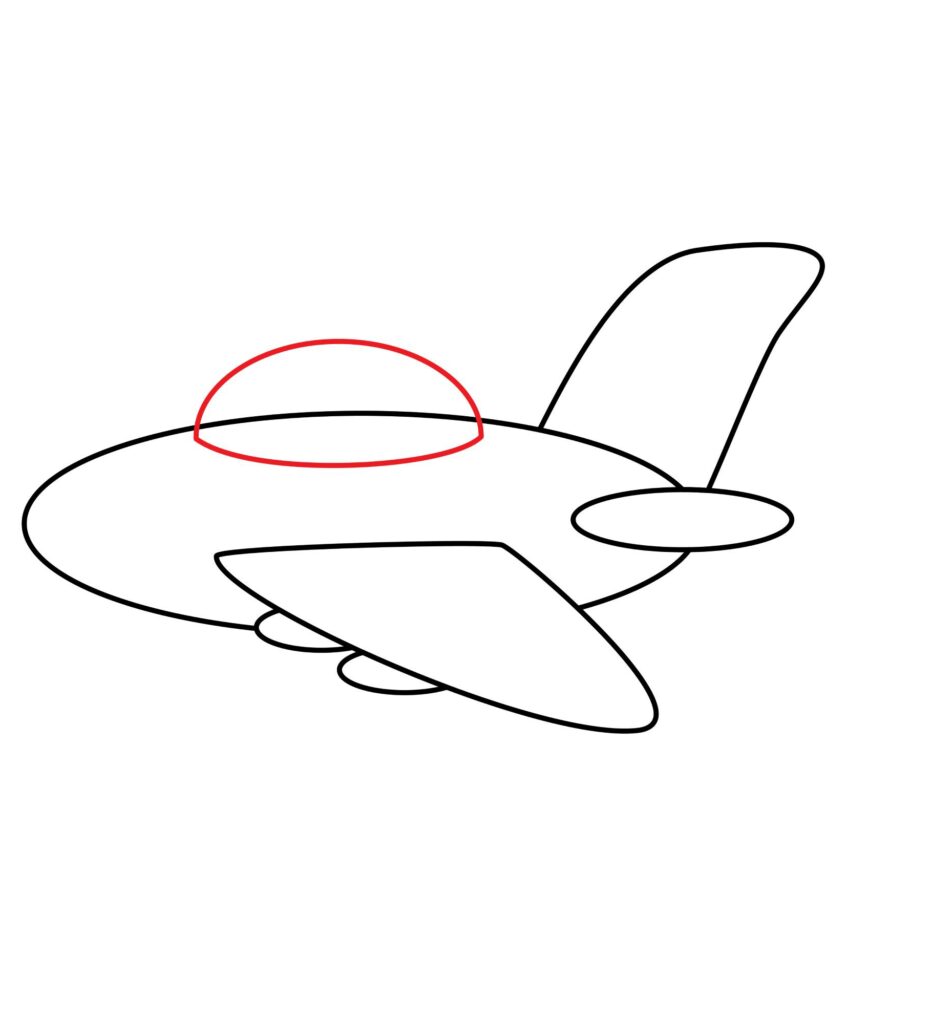
Step 6: Draw the Cockpit
To add a cockpit to your jet, draw a half-oval shape on top of the center of the jet’s body. Connect the bottom half of the oval shape with a curved line to create a shape like the one shown below.
For the best results, you will need to use your eraser to remove the part of the fuselage that runs through your cockpit. The cockpit should also not be too big but rather proportional to the size of the jet.
- Draw a half-oval shape on top of the center of the jet’s body
- Connect the sides of the oval with a curved horizontal line
- Erase any lines that are visible inside the oval shape
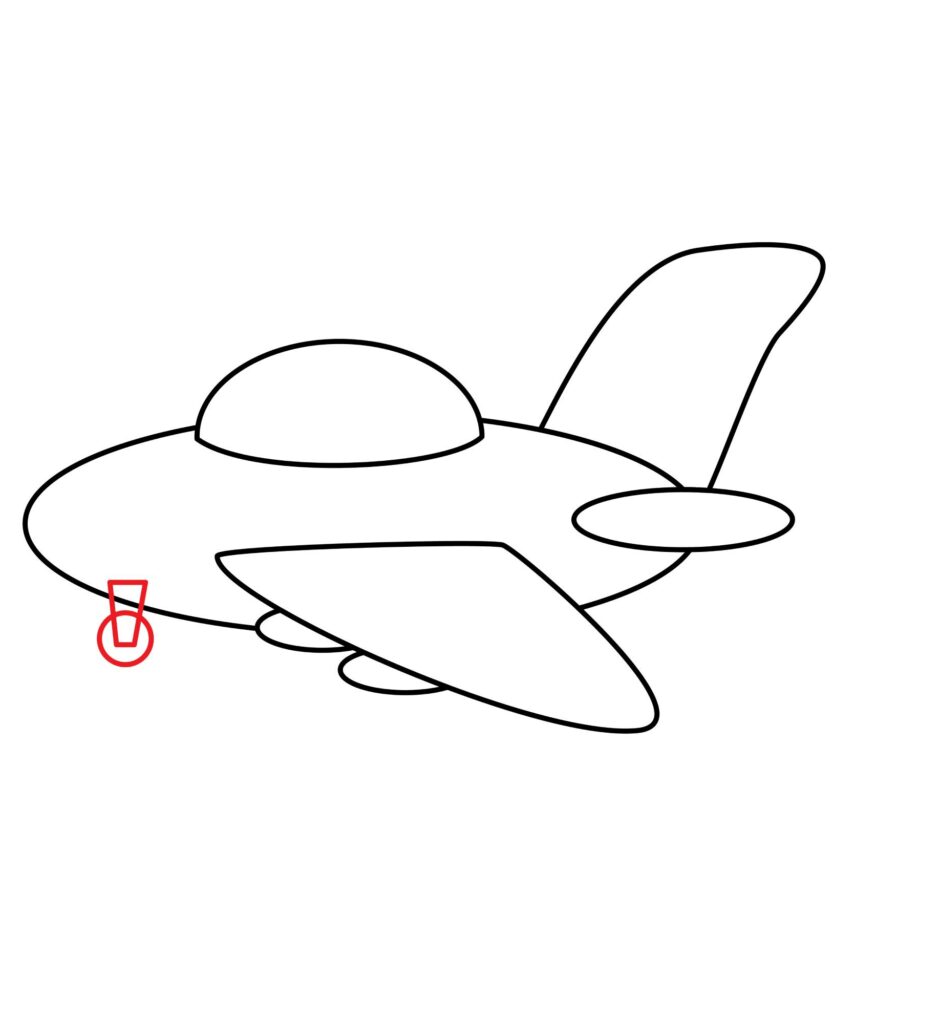
Step 7: Draw the Landing Wheel
To add a wheel, draw a small circle close to the front part of the jet. Add a rectangle with a narrow bottom part to mount the wheel, as shown below.
Now use your eraser to remove the parts of the wheels that are visible through the mounting. You also need to remove the parts of the mounting that went inside the fuselage.
- Draw a small circle under the front part of the jet
- Add a rectangle with a narrow bottom to mount the wheel
- Use your eraser and remove parts of the circle that overlap with the rectangle
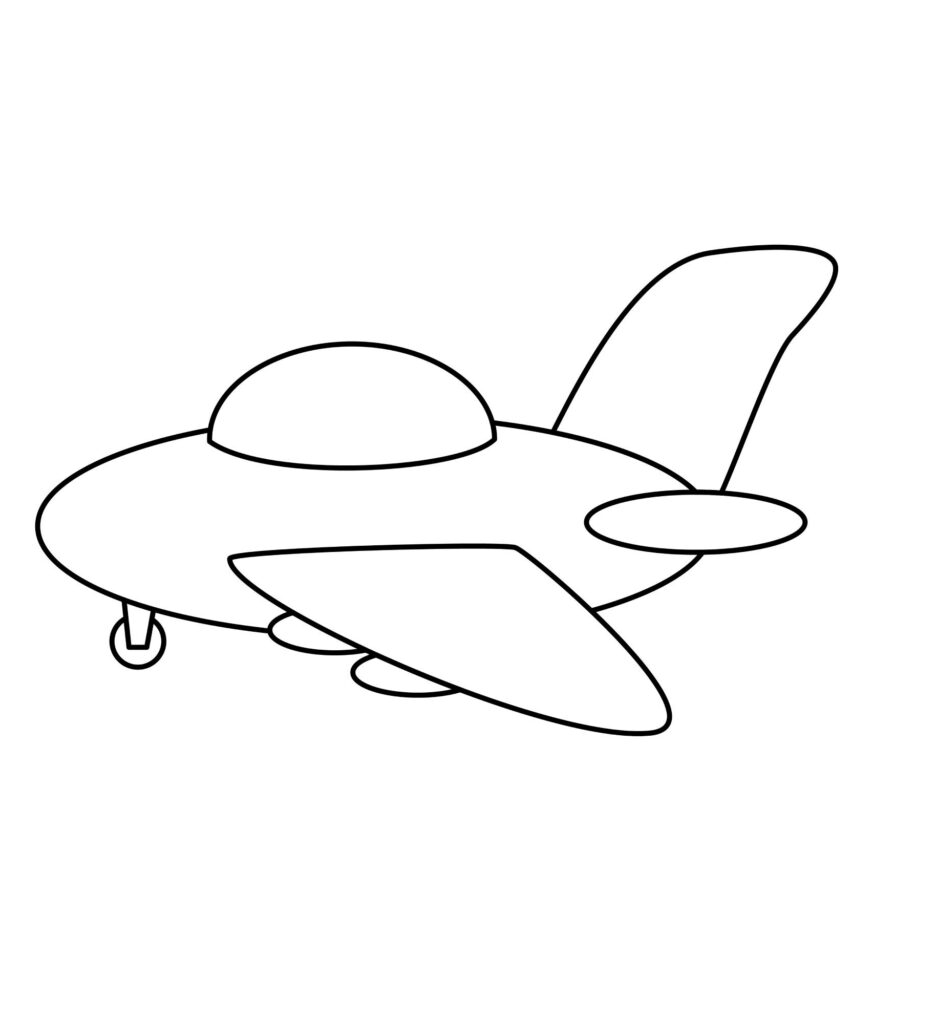
Congratulations! Your Jet Drawing is Complete
Now that you have completed all of the sketching steps, use this time to evaluate the outcome of your work as you give your drawing hand a well-deserved break.
Use your pencil and eraser to make any necessary adjustments, and then once you are ready, continue on with the rest of the tutorial.
Taking Your Drawing To The Next Level
While it is okay to leave your jet illustration as it is, adding more details to it will make the drawing way more impressive.
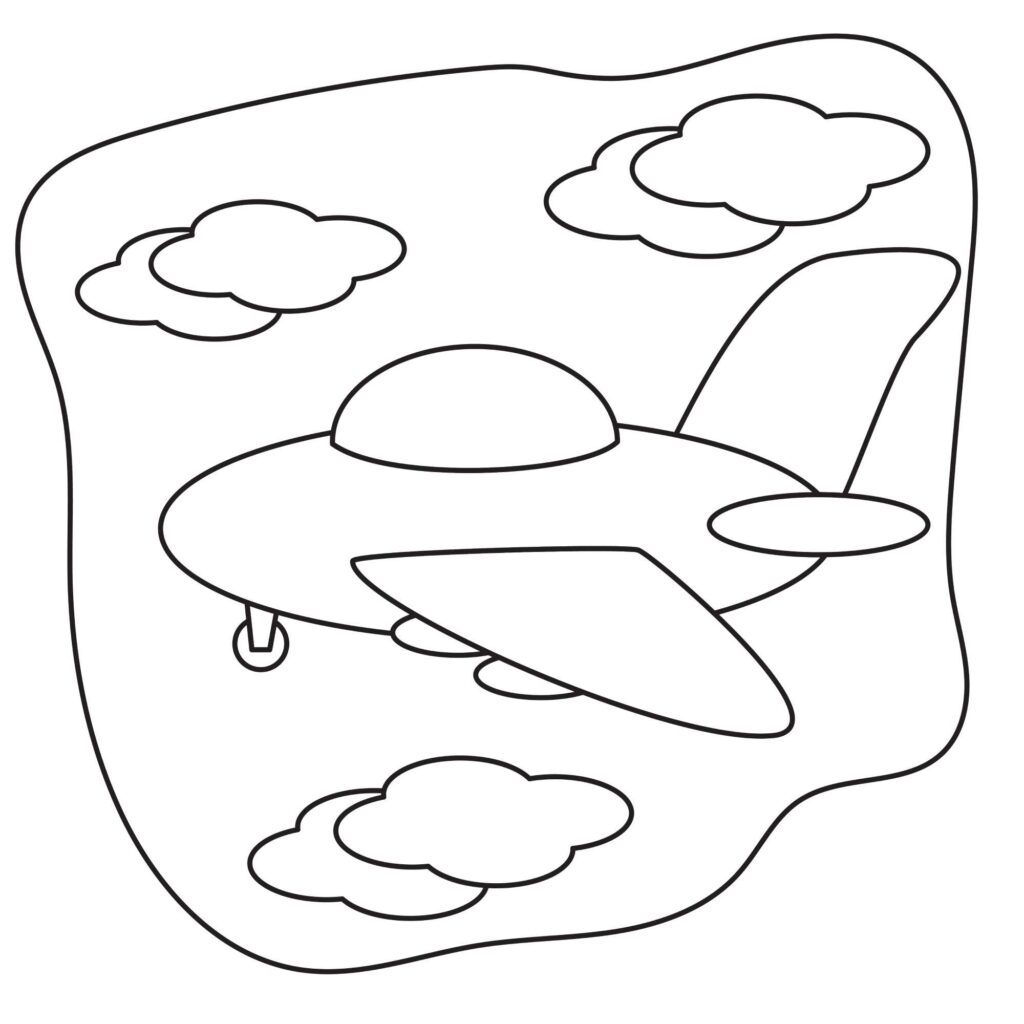
Step 8: adding a background
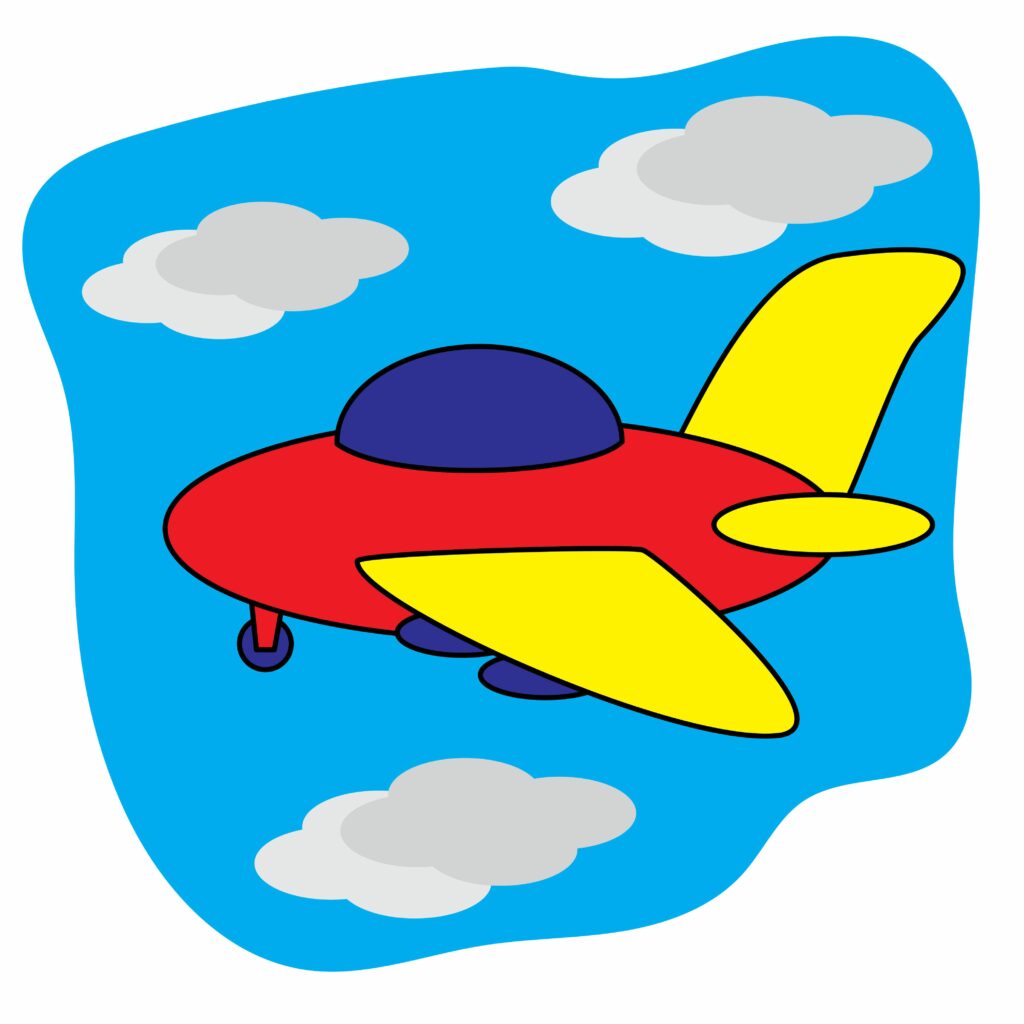
Add a few clouds around the jet to indicate that your image is airborne. Additionally, enclose your drawing in a frame to represent the sky.
Step 9: adding color
The final step is the fun part. Use your favorite colors to add color to your jet. Take care not to spill colors outside a desired border. Here are the colors we used on our jet. Feel free to use similar color combinations on your design.
Bonus Tips
Study the techniques used when drawing a jet and other aircrafts by watching YouTube videos or surveying visual learning platforms.
Make use of shading on certain parts of your sketch to create shadows.
Write your name and the date on your page to personalize your work and create a timestamp.
Conclusion
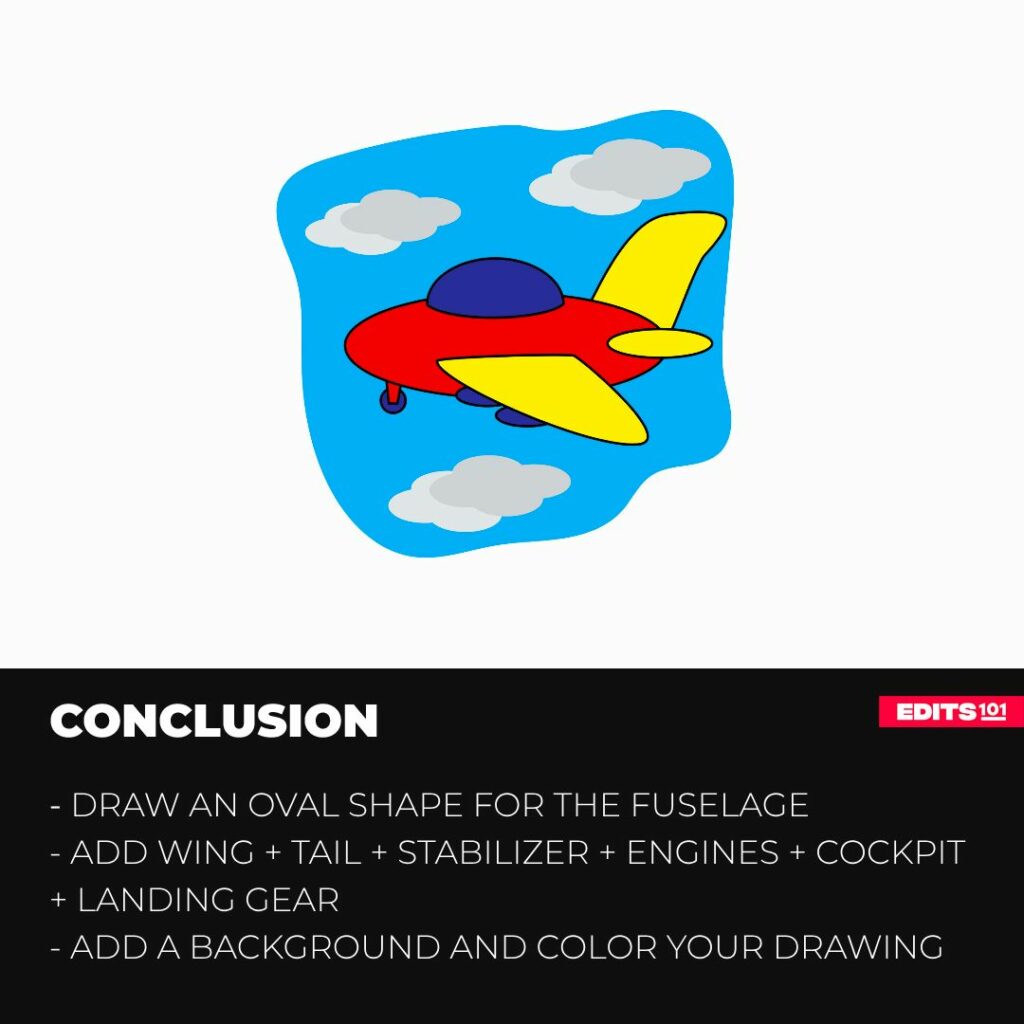
In today’s lesson, we started by drawing an oval shape to represent the fuselage, then added the wing, tail, horizontal stabilizers, jet engines, cockpit, and then landing gear, all in an effort to design a realistic depiction of a jet.
To take our image to the next level, we added clouds and then colored our drawing, as well.
Drawing a jet is not as hard as you thought, right? Be sure to implement what you have learned from this tutorial in other drawings as you explore your range and artistic abilities.
Thanks for reading & feel free to check out more of our articles!
Author Rating
Overall Rating
Summary
This tutorial will effectively teach budding artists how to draw a standard jet in 9 easy steps.