

In this step-by-step guide, we will explore how to add video overlays to your videos using DaVinci Resolve 18.
We will provide step-by-step instructions to add different video overlays like snow, dust, particles, and much more.
We will cover a range of topics, from importing your video overlays to adding them to your videos to enhancing the visual experience of your videos.
We will understand blending modes that will allow you to blend your video overlays better with your video clips. How you can zoom, scale, and rotate your video overlays to fit the needs of your clip and the project.
Let’s dive in and add video overlays to bring your videos to life!
Things to Keep In Mind While Adding Overlays In Davinci Resolve
You need to be aware of a few things while adding video overlays.
Analyze the Video
Analyze the video before adding video overlays. Decide on what kind of overlay your video needs. If it is shot in a snowy environment, then it may need a snow overlay. If it is shot close to the fire, then it needs a fire ember overlay.
So analyze the video and then add the most suitable overlay to your videos.
Choose the right Blending Mode
Choosing the right blending mode is important. If you choose the wrong blending mode, then there will be artifacts in your video.
- Screen for black background
- Multiply for white background
- Overly for the grey background
Choose the right Opacity
Decrease the opacity until the overly looks natural and believable.
Keep things simple
Don’t use too many overlays on a single clip.
Understand Blending Modes
Video overlays usually come with a black, white, or grey background. While adding them to our videos, we need to remove that background to make the elements in the video overlay transparent.
That’s where the blending or composite modes in Davinci Resolve come in. Some blending modes will make the blacks transparent, some will make the whites transparent, and some will make the grey pixels transparent.
Blending mode Groups
Blending or composite modes in Davinci Resolve are divided into a lot of groups, but only 4 are relevant while adding video overlays.
Normal Blending Mode Group
The normal composite mode will bring no change between video layers. You can only blend them together by reducing the opacity.
It will blend the video layers according to the amount of opacity you decrease.
Darken Blending Mode Group
The Dareken blending mode group in Davinci Resolve contains the following individual blending modes.
- Multiply
- Color Burn
- Linear Burn
- Darker Color
- Darken
The blending modes in darken group make the resulting blend darker. Simply put, this group will make the image darker by making the whites transparent. Anything white in the above layer will disappear.
- Usually, the Multiply blending mode is used to remove the white background.
Lighten Blending Mode Group
Lighten blending modes do the exact opposite of what the darken group does. In this group, you will find the composite modes:
- Screen
- Color Dodge
- Linear Dodge
- Lighter color
And these composite modes will make the resulting blend brighter. These blending modes will make the black color transparent.
- We will use only the screen blending mode from this group.
Contrast Blending Mode Group
This group contains the following blending modes:
- Overlay
- Soft light
- Hard light
- Vivid light
- Linear light
- Pin light
- Hard mix
These blending modes work slightly differently than the ones we discussed above.
First, they will check whether a pixel is brighter than 50 Gray or darker, and if a pixel is brighter than 50 Gray, it will perform a lighten operation; if a pixel is darker than 50 grey, it will perform a darken operation.
- We will be only using the overlay and soft light blending mode most of the time from this group.
Adding Video Overlays in Davinci Resolve
Now that we have understood the blending modes, let’s add some video overlays in Davinci Resolve.
Here’s a step-by-step process of adding the overlay In Davinci Resolve to your videos. Follow this process after you have imported your video clips into the timeline.
Import And Place the Overlay
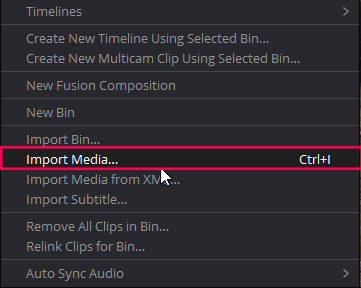
- A new window will pop up; find and Select your overlays and click “Open Button.”
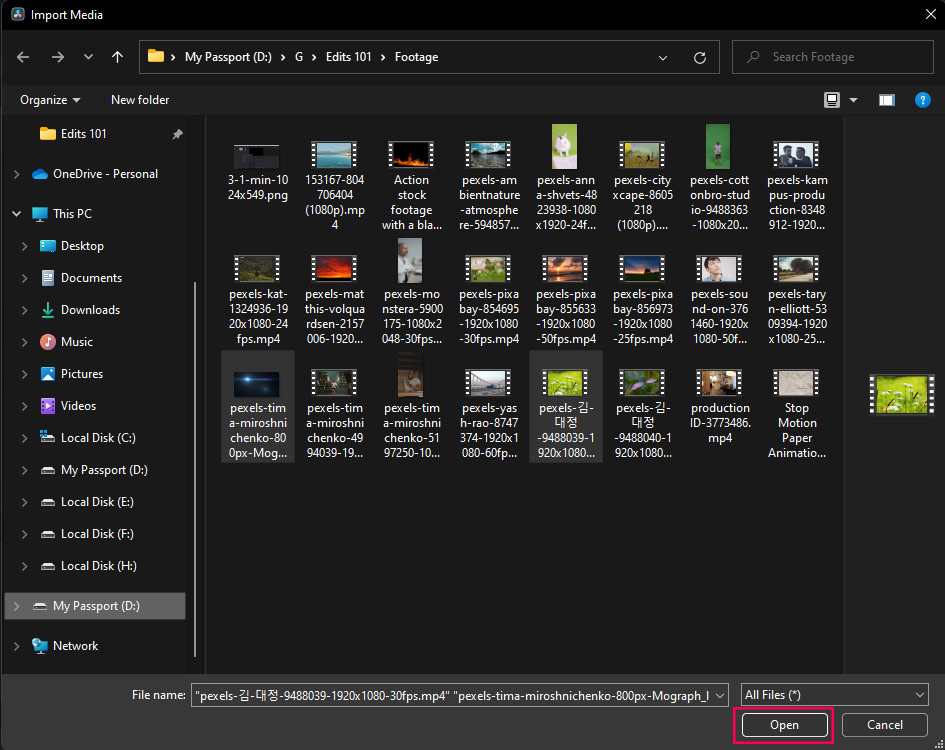
- And now, the overlays will be imported into the media pool.
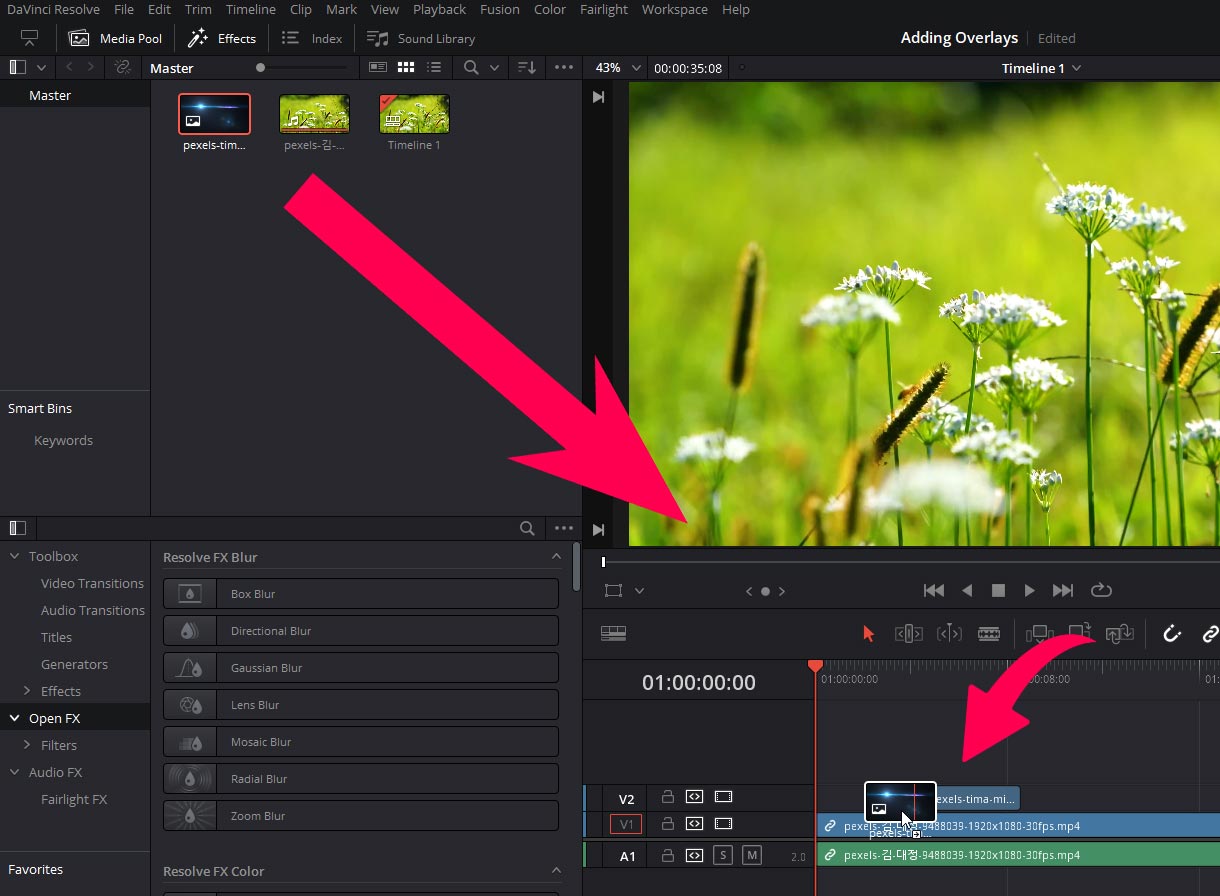
- Drag and drop the video overlay into the timeline and place it over the video clip.
Important Steps while adding overlay
The next steps are very important, so you need to be careful. You need to take into account the following.
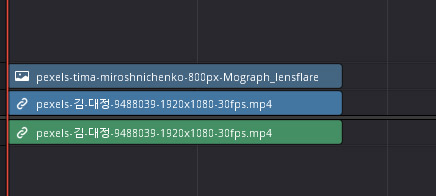
- The overlay should be placed above the video clip in the timeline.
- The length of the clip and overly should be the same (unless you want to apply it multiple clips).
Adjust Position, Scale, and rotation
You may need to adjust the other parameters of the video overly in Davinci Resolve, like position, scale, and rotation.
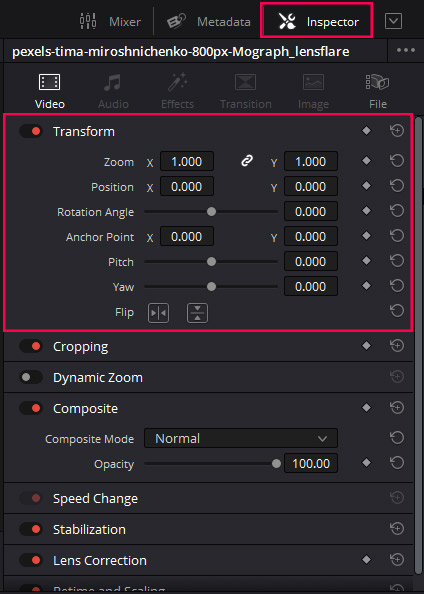
To adjust the transform properties of the video overlays:
- Select your video overlay and go to the inspector panel.
- The first section in the inspector tab is the transform tab.
- You will find all 3 settings in this tab.
Change Blend Mode
After you are happy with the placement now, we need to change the composite mode of the video overly in Davinci Resolve.
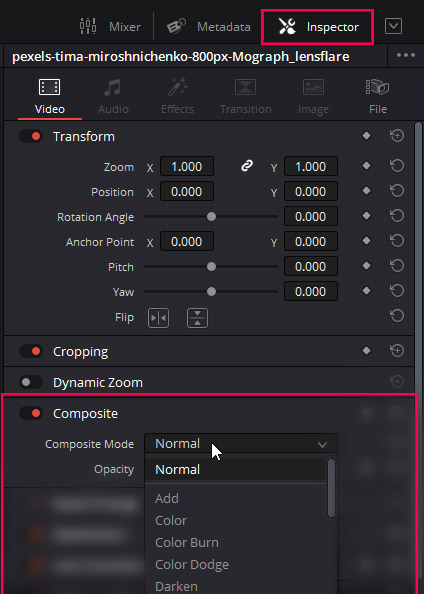
To change the blend mode:
- Go to the inspector tab and look for the composite section.
- There will be a drop-down next to the composite mode. Choose the blending mode from the dropdown.
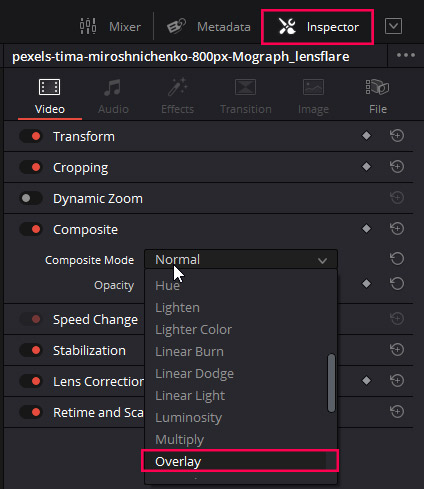
Use the following blend modes to remove the background of the video overlay.
- If you have an overly with Black background, then change the blend or composite mode to screen.
- If the Video overlay has a white background then you need to change the composite or blend mode to multiply.
- The composite mode of the overlay with a grey background will be changed to overlay.
Adjust The Opacity
Now that the overlay is placed over the clip, the blend mode is changed. We need to adjust the opacity of the overlay. Sometimes the video overlay at 100% opacity will look good, but sometimes, you need to reduce the opacity to get professional and realistic results.
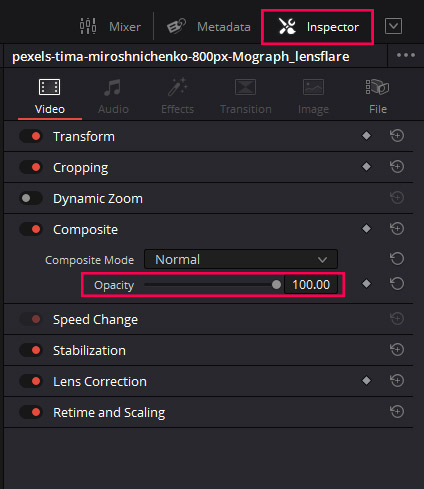
To reduce the opacity:
- Select the Overly.
- Go to the inspector tab and find the composite section.
- There will be an opacity slider; adjust the opacity using that slider.
Different Video Overlays in Davinci Resolve
You can add different kinds of Video overlays in Davinci Resolve; the most common ones are:
Add Snow Overly In DaVinci Resolve
Snow overlays come with a black background; you must change the blend mode to the screen.

Add Grain Overlays In Davinci Resolve
Most grain overlays will have a 50% grey background; you need to change the background to Overlay.
Add Animated Shape Overlays In Davinci Resolve
If the shapes are white, the background will be black, so you must change the blend or composite mode to screen.
Black shapes usually come with a White background, and you must change the composite mode to Multiply.

You can add a lot of overlays the same way.
- Add Rain Overly In DaVinci Resolve
- Add lens flare in Davinci Resolve
- Ad Light Leak Overlays in Davinci Resolve
- Add Fire Overlays in Davinci
That’s the process of adding video overlays in Davinci Resolve.
Before And After

Conclusion
Video overlays can make your video a lot better with very little effort. Analyze your video and decide what kind of overlays it needs.
Most of the video overlays are shot on a black or white background, so you have to change the blend mode to screen and multiply, respectively.
Drag and drop the overlays into the media pool and then drag and drop them into the timeline. Keep the duration of the clip and the overlay same. Then change the blend or composite mode to make the background transparent.
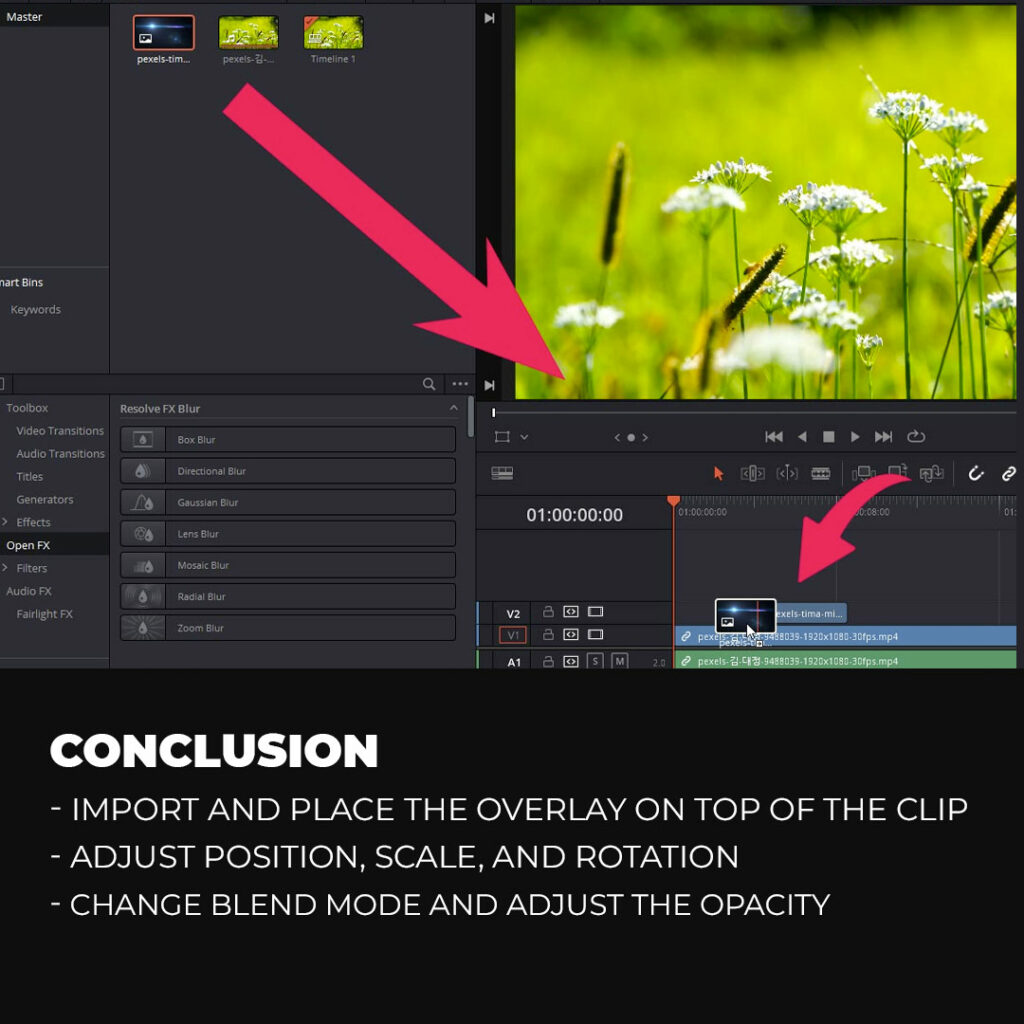
Change the blending mode to screen if you want to remove the black background and to Multiply if you want to make the white background transparent. Adjust the opacity according to the video clip or the effect you are trying to achieve.
If the background is other than black, white, and grey, then experiment with all the blend modes and find whichever works best for your video.
And using the same process, you can add as many overlays as you want.
Thanks for reading & feel free to check out more of our articles!


