How to Draw a Jet Pack | Fun Drawing Guide
Are you ready to fly in the air? We will explore a new world while drawing a jetpack.
Alexander Andreev, a Russian, was the first to come up with the idea of a jetpack—or, more accurately, a rocket pack—using the thrust from rocket engines in 1919. The idea was essentially just a rocket motor enclosed in a backpack. Hydrogen peroxide is used as a fuel in jet packs. The maximum speed of a jetpack is 70mph or 112km/h.
Now gear up! We are going to draw an amazing piece of art.
What you will need
- A pencil
- An eraser
- A sheet of paper
- Coloring kit
- Ruler
- 30 minutes
how to Draw a jet pack
We will use the simple directions that are provided in this article to sketch a jet pack. Our drawing will be ready in a few minutes.

Step 1: Draw the jet pack’s bag head
Drawing the bag head of the jet pack is a simple step. All you have to do is to draw a rectangle with curved sides. We can also call it a rounded corner rectangle. To draw a rectangle, draw two vertical parallel lines and draw 2 horizontal parallel lines. All these lines should be perpendicular to each other and connect. You can also use a ruler for straight lines. Now erase the sharp vertices and draw curved lines to connect the sides of the rectangle.
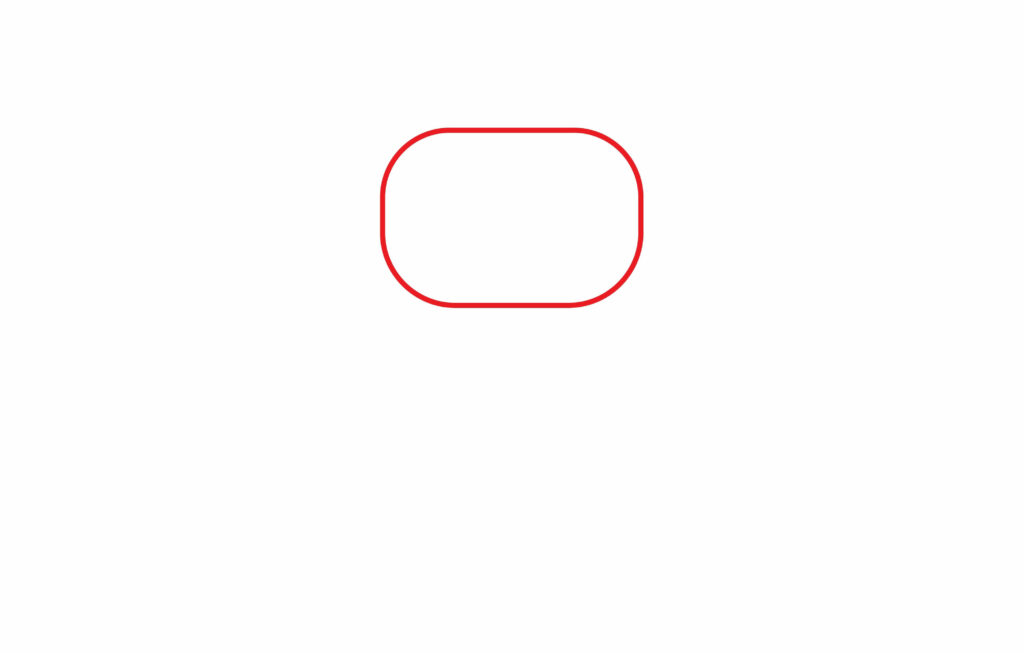
Remember, our rectangle will lie horizontally in the middle of the page.
The remaining steps are as easy as this first step.
Step 2: Draw the bag body of the jet pack
We will draw an oval shape with a little difference to draw the jet pack’s bag body. Draw a vertical oval overlapping with a rounded-sided rectangle. Now erase the upper curved part of the oval and join the sides with a straight horizontal line.
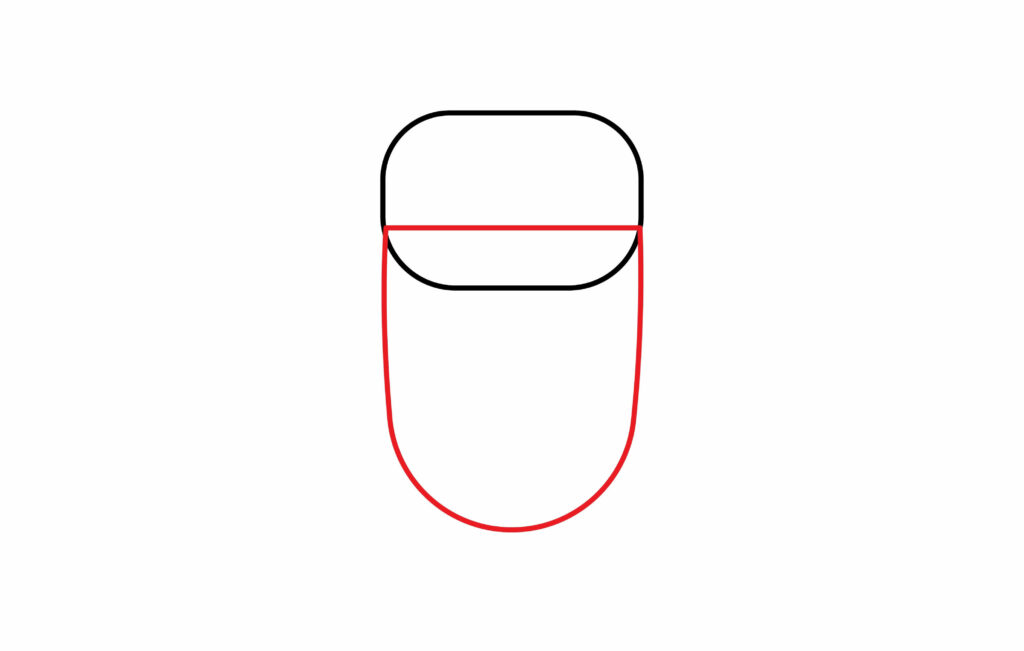
An oval has two vertical parallel lines joined with rounded lines.
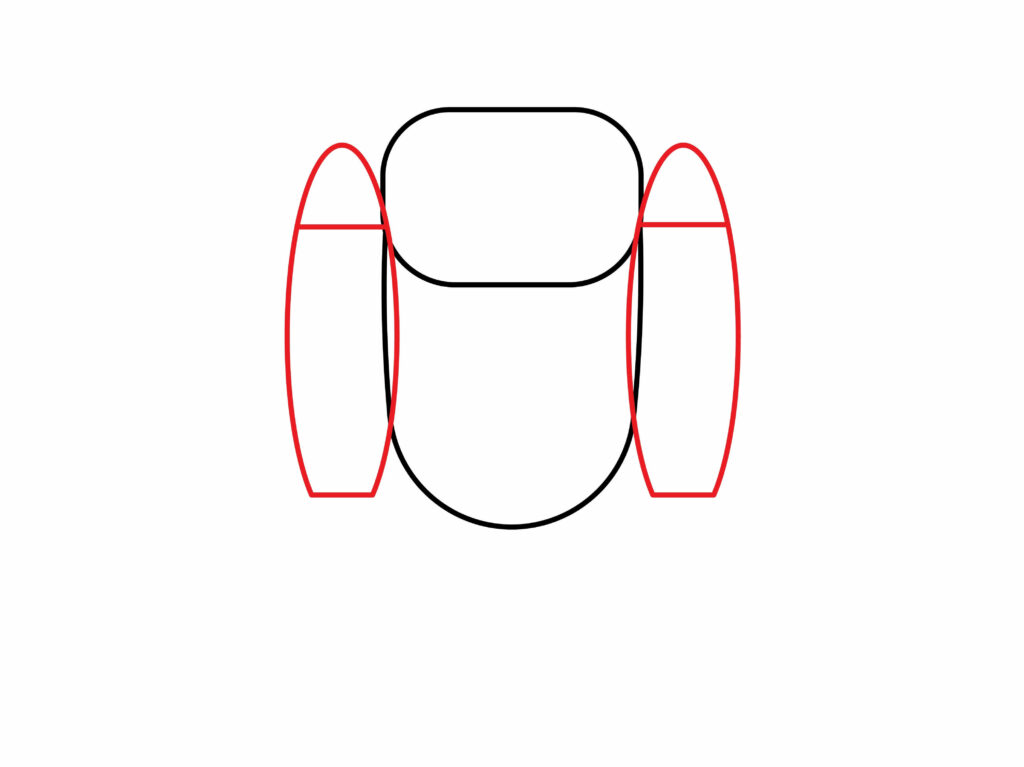
Step 3: Draw the speed rocket of the jet pack
Jet packs have speed rockets. These rockets burn gases like hydrogen peroxide, just like a real rocket, and gases produced during the process of combustion.
Make two medium-sized oval shapes on either side of the jet bag’s body to draw the speed rocket. These ovals should be drawn in the vertical direction. Instructions on how to draw an oval are given in the above step. Put a horizontal line in the upper part of the oval (cross-sectional area of the oval). Flatten the lower part of the oval to create a bullet-like shape. And your speed rocket is ready.
Step 4: Draw the holding belt with the bag of jet pack
A jet pack requires a holding belt with the bag to hold the person using the jet pack. It should be firm, sturdy, and able to bear the person’s weight.
Draw two vertical lines inside the bag body to make the holding belt. These lines will be extended from the base of the curved-sided rectangle but will not cross the boundary of the rectangle. Now erase the overlapping lines with the bag’s body. This step is to ensure neatness.

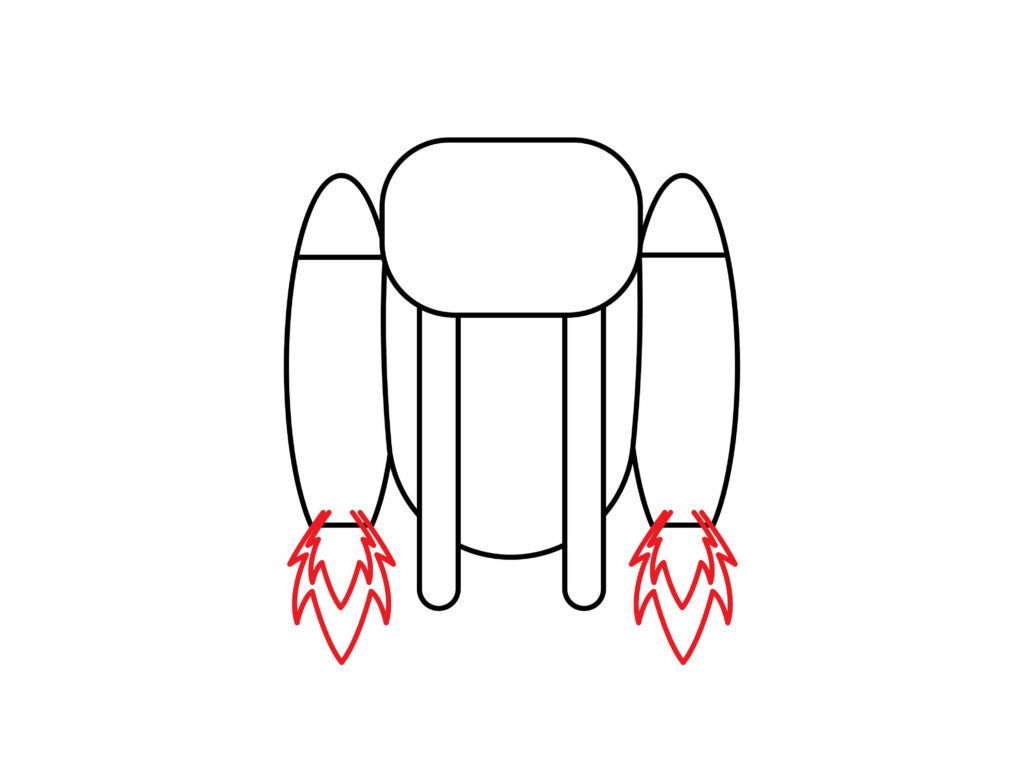
Step 5: Draw the rocket fire of the jet pack
Combining fuel with an oxidizing agent functions similarly to rocket engines. Large amounts of heat energy are released during the chemical reaction, which causes hot gas to jet downward to provide thrust. This causes the emission of fire from the jet engine.
To draw the rocket fire emitting from the jet engine, make curved lines facing downward direction. The lines should be waved so that it will look realistic.
You are doing great. We are almost done with our drawing.
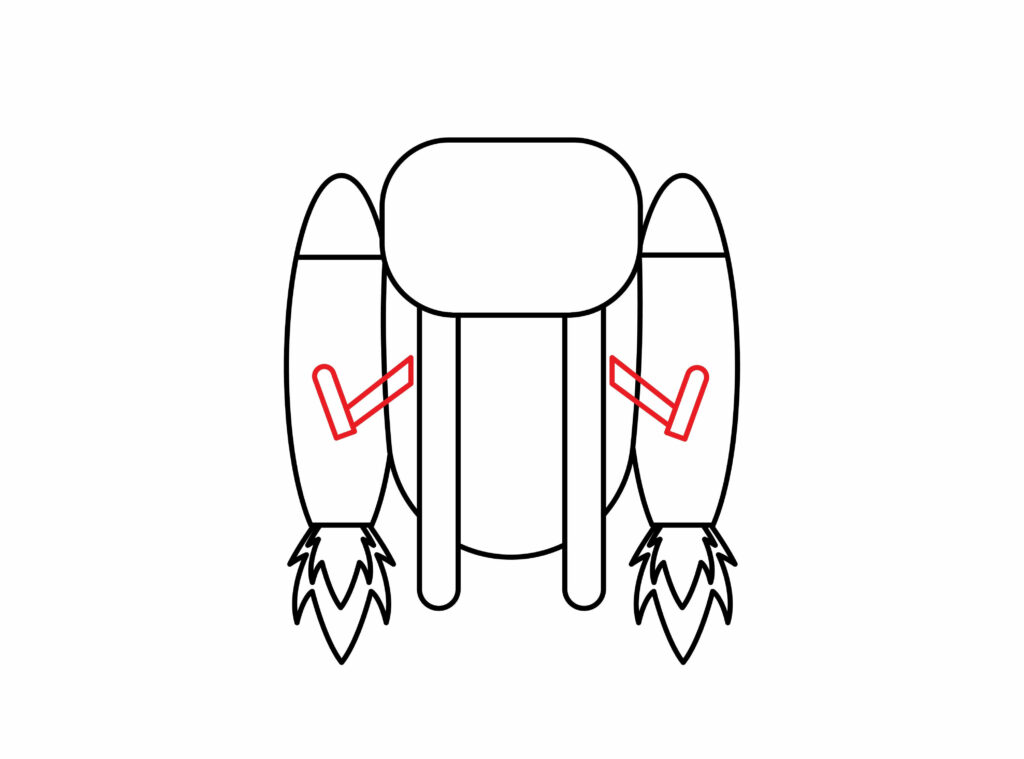
Step 6: Draw the handle and handlebar of the jet pack
The jet pack consists of a handle and handlebar for the person riding a jet pack to have a good grip on his jet pack. These handles and handlebars are made of good quality materials.
To draw the handle and handlebar, draw two angle lines on the left and right of the jet pack’s bag body.
Try to make the angle of 60 or 45 degrees for a perfect handle.
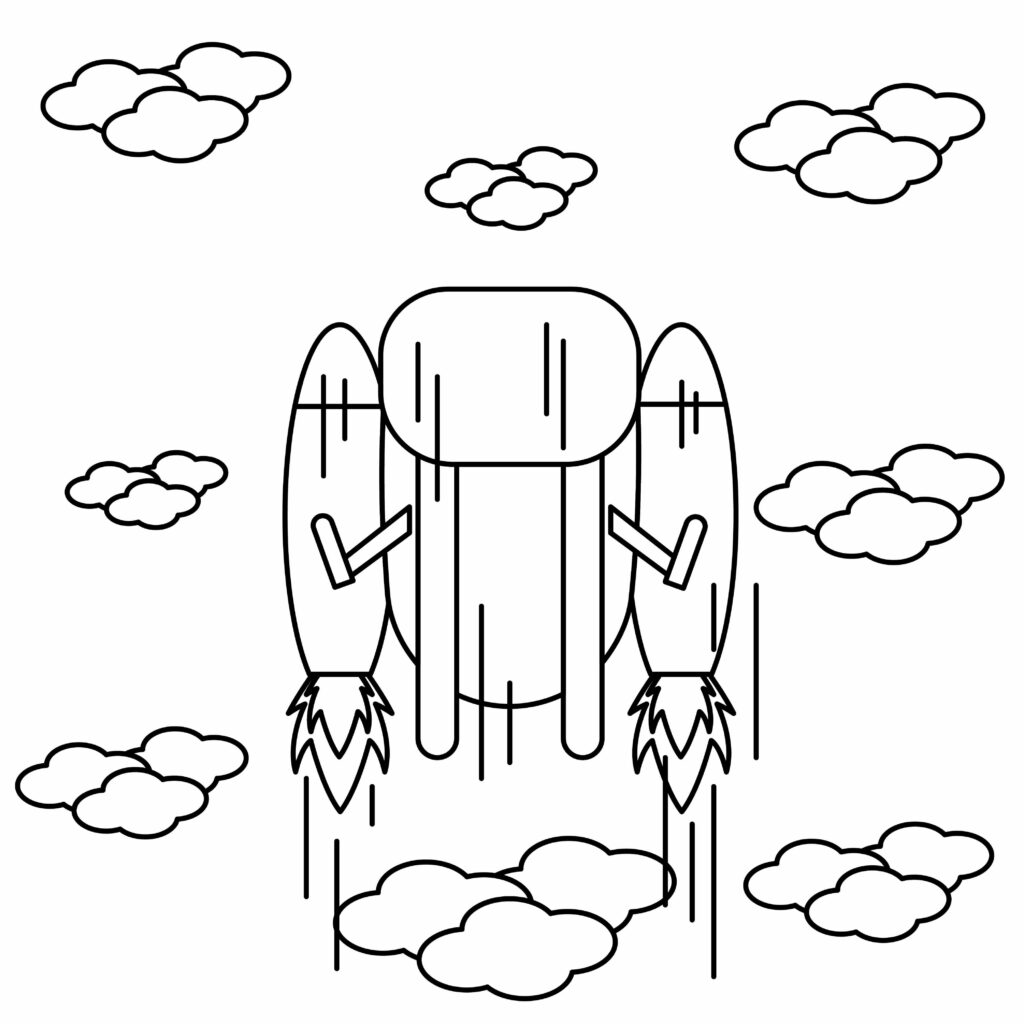
Step 7: Your jet pack is ready
Congrats! Your jet is ready to take a flight in the sky. Jet packs have been constructed employing several processes, but their applications are restricted by the Earth’s atmosphere, gravity, the low energy density of extreme fuels, and the inadequacy of the human body for flight. As a result, they are primarily utilized for stunts.
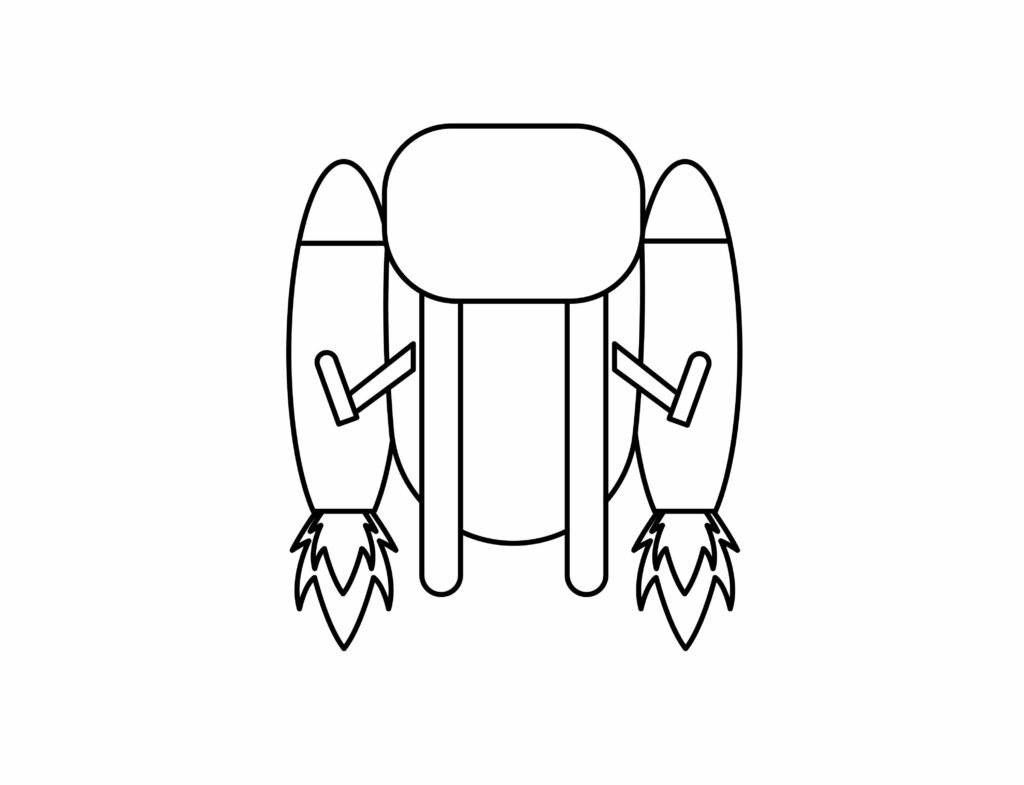
We are sure you have followed every step in the above guideline. You are now able to draw an amazing jet pack by yourself.
Taking your jet pack drawing to the next level
Investigation and learning are necessary to advance your drawing. Here are a few actions you might want to take: Study the Basics: Pay special attention to studying the anatomy, perspective, shading, and compositional elements of drawing. Strengthening your foundation will improve your overall abilities.
As we have made a solid foundation for our drawing. We will take our drawing and make it stand out by using our imagination.
Adding background to your drawing
The background establishes the setting, which also gives the components an atmosphere. Every small detail, including the cast shadow on a wall and the repetition of a pattern, is essential to the impact. In our opinion, a good backdrop does two things: it is attractive and visually connects to the subjects in the foreground.
So we are going to need a background for our jet pack. It might be taking flight in the air or might be just lying around. To determine that, we are going to need a background for our drawing. Think of a situation in which your jet pack is in. Then, just pick up your pencil and start drawing. You can draw a blue sky with white fluffy clouds. Or you can draw a wall on which the jet pack is being hung. These are some suggestions from our side, but you can add any background of your choice depending on the story that you have in your mind.
Adding colors to your drawing
Artists utilize color to depict and explain the subject in their works of art. Painters, in particular, use their understanding of color to convey mood, light, depth, and point of view in their works of art. And we are going to the same. So grab your paintbrush and start putting the strokes of color that you like. For the color, you also need to consider the object and what is it like in real life.
For example, if you have drawn an apple, you will always color it red or green as this is the color of the apple. This applies to every object existing in real life. For the jet pack’s rocket, you can color it grey or silver. For the sky, you can use different shades of blue. Clouds can either be white or grey.
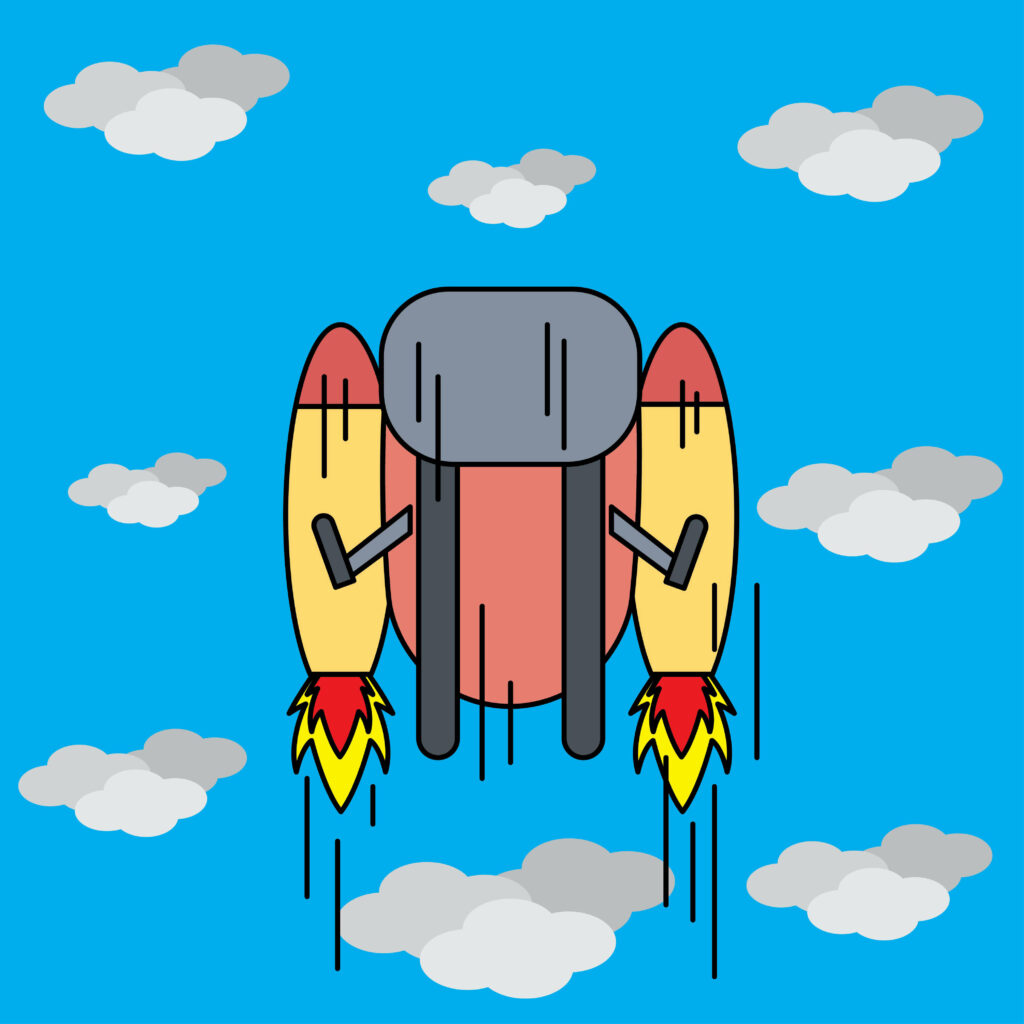
For the rocket fire, you can color it red or yellow or do both by mixing and shading with colors. The bag body of the jet pack can be of your own choice. Any color that you like the most can be used for the remaining parts of the jet pack.
P.S Bonus Tips
Using your imagination can also help you think more creatively and strengthen your problem-solving abilities in other areas. Learning to draw provides advantages that improve our lives in a variety of ways. We can show you how to draw from memory, life, and other sources. The possibilities are endless. You can alter your drawing in any way you can think of by utilizing your creativity. We’ll provide you with some suggestions so you may personalize your drawing.
Imagine having designs on the bag body of the jet pack, like some quotes or cool signs. How cool that would be! You can draw flowers and color them.
You can also draw twinkling stars and a shining moon in the background if you want a night sky.
You can also draw a person riding the jet pack, as most jet packs are used by the stunt man. You can also draw your favorite cartoon character riding the jet pack.
Boom! Our drawing looks stunning! These are just a few ideas. You must experiment with many ideas and see what goes best for your drawing.
Conclusion
You are all set! You are now operating at a completely different level in the world of drawings. You produced a creative work of art in a short time.
Drawing isn’t difficult if you follow the steps. For making the jet pack, we drew the bag head and then drew the bag body of the jet pack. Later, we made the speed rocket, rocket fires, handle, and handlebar.
As you sketch, go slowly and pay attention to each step. Remember that it takes practice to acquire perfection. To become a perfectionist, keep honing your craft.

Thanks for reading & feel free to check out more of our articles!
Author Rating
Overall Rating
Summary
This guide is all about how to make an amazing jet pack. It also explains fun facts about the jet pack.