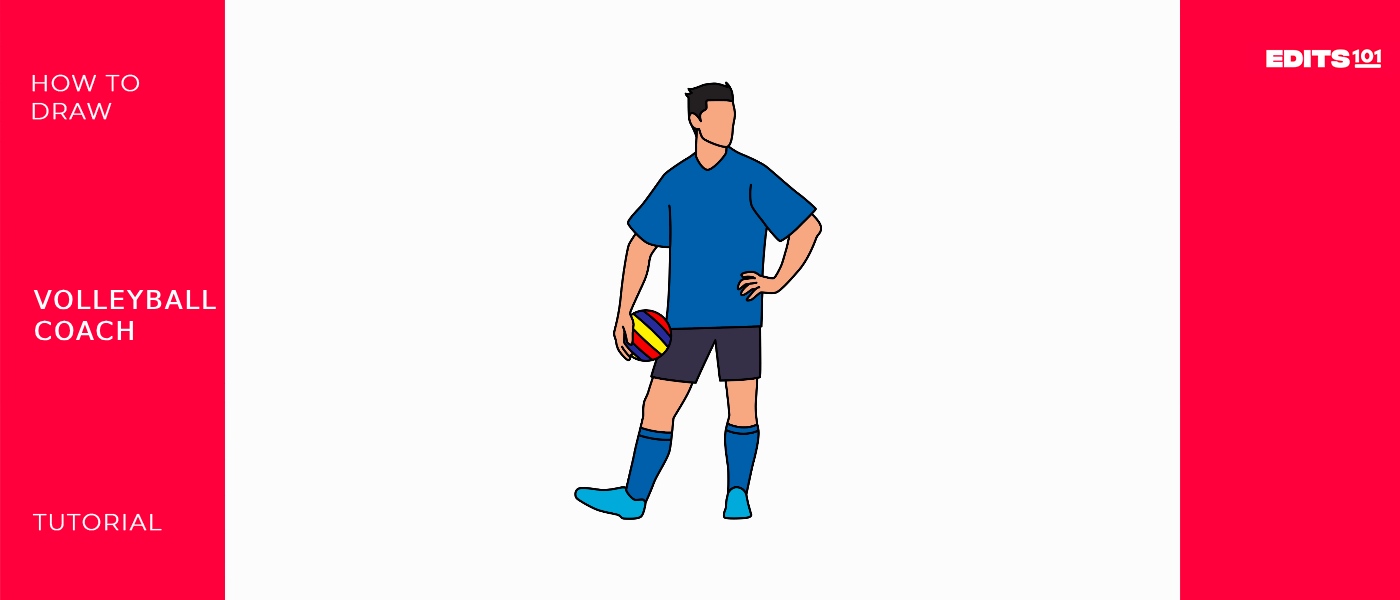
How To Draw A Volleyball Coach | A Comprehensive Guide
Volleyball is a super fun sport where players work together as a team to score points. And guess what? Every volleyball team has a coach!
The coach is like the team’s superhero, helping players become the best they can be. If you really like volleyball, trying to draw a volleyball coach can be a cool and exciting experience!
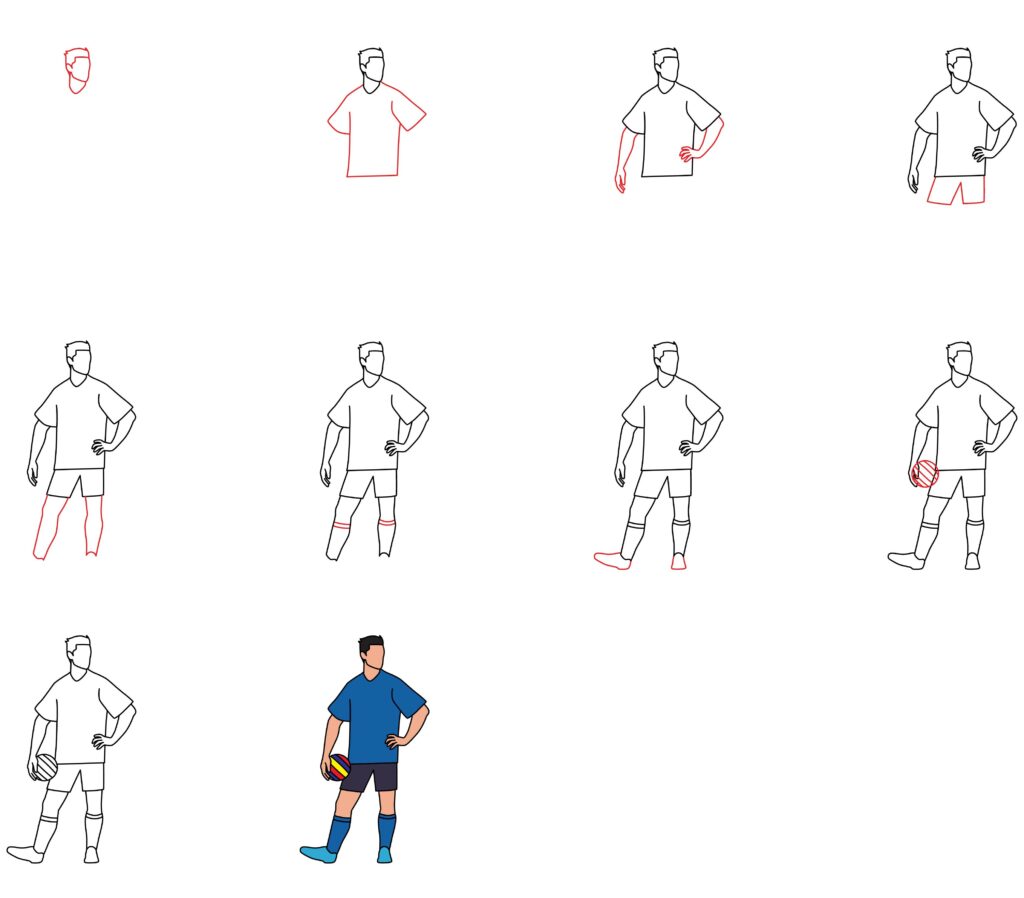
| Steps | Design Complexity level |
| Draw the Head Shape | 2 |
| Add Facial Features | 3 |
| Draw the Body Shape | 3 |
| Add the Arms | 4 |
| Draw the Legs | 4 |
| Add Clothing Details | 4 |
| Color the Drawing | 5 |
| Add Background Details | 4 |
What You Will Need
- Paper
- Pencil
- Eraser
- Colored pencils, markers, or crayons
How to draw a volleyball coach
Let’s go through the steps of sketching and coloring your awesome volleyball coach artwork. All you need are some basic supplies and a bit of practice, and soon enough, you’ll be creating a detailed and inspiring coach for volleyball!
Step 1: Draw the head
Let’s get started! Use light, smooth strokes to sketch an oval shape for the skull, just like we did while drawing the rugby coach. Leave some space at the bottom for the neck. Next, add guidelines for the face: a vertical line down the center for symmetry and horizontal lines for the eyes, nose, and mouth placement. Place the eyes halfway down, the nose at 3/4 down, and the mouth near the bottom.
Outline the ears on each side and draw an inverted teardrop for the nose. Create an angular line for the jaw, forming the chin area. Finally, sketch lines down from the jaw to the shoulders to finish the neck. Together, the head and neck should resemble an egg shape.
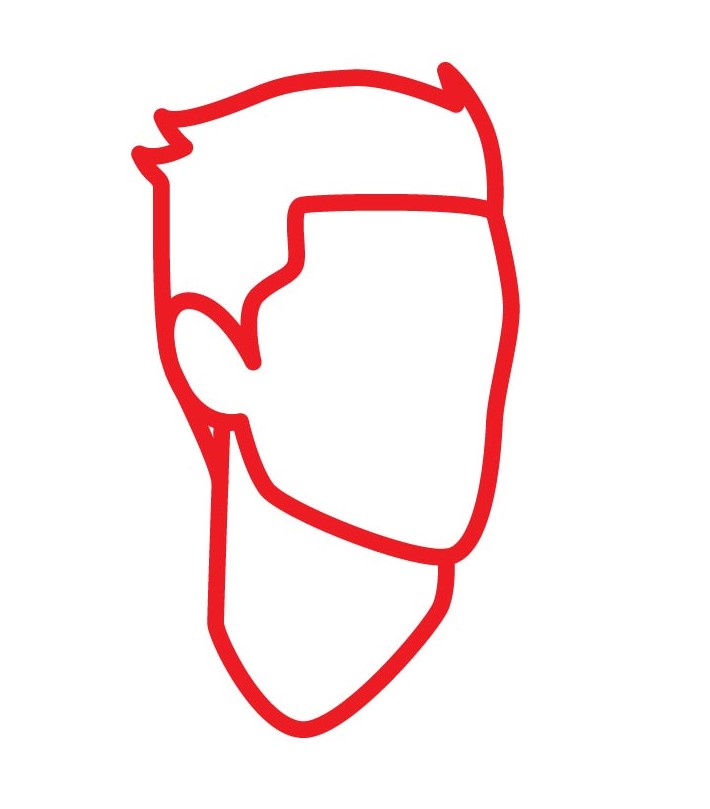
- Start by sketching the basic shape of the head using quick, light lines
- Draw an oval shape for the skull and add guidelines for the face
- Add shapes for the ears, jawline, and neck to establish the proportions
Step 2: Draw the Jersey
Let’s continue with the jersey. Use light strokes to sketch two curved lines, shaping the jersey and leaving space at the top for the head and neck, as we did in the football jersey drawing. Make the lines graceful to show the fabric’s flow. Once you have the basic shape, add more details.
At the top center, draw a V-neckline to complete the neck area. On each side of the neckline, sketch rounded sleeve shapes, indicating where the arms will be. Ensure the sleeves are proportionate to the rest of the jersey.
For realistic fabric folds, draw straight vertical lines down the center from the neckline to the hem. Add more curved lines on both sides to depict creases and wrinkles. Keep the sketch light by not pressing too hard on the pencil.
Now, draw a smooth, curved line right above the hem to finish the bottom of the jersey. Keep the line fluid and natural. Refine the outlines by erasing any sketchy strokes, creating clean lines for the final jersey shape, similar to the soccer jersey we drew earlier.
If you’d like, you can lightly sketch the jersey number. Take care to draw the number lines straight and proportional to maintain a neat appearance.
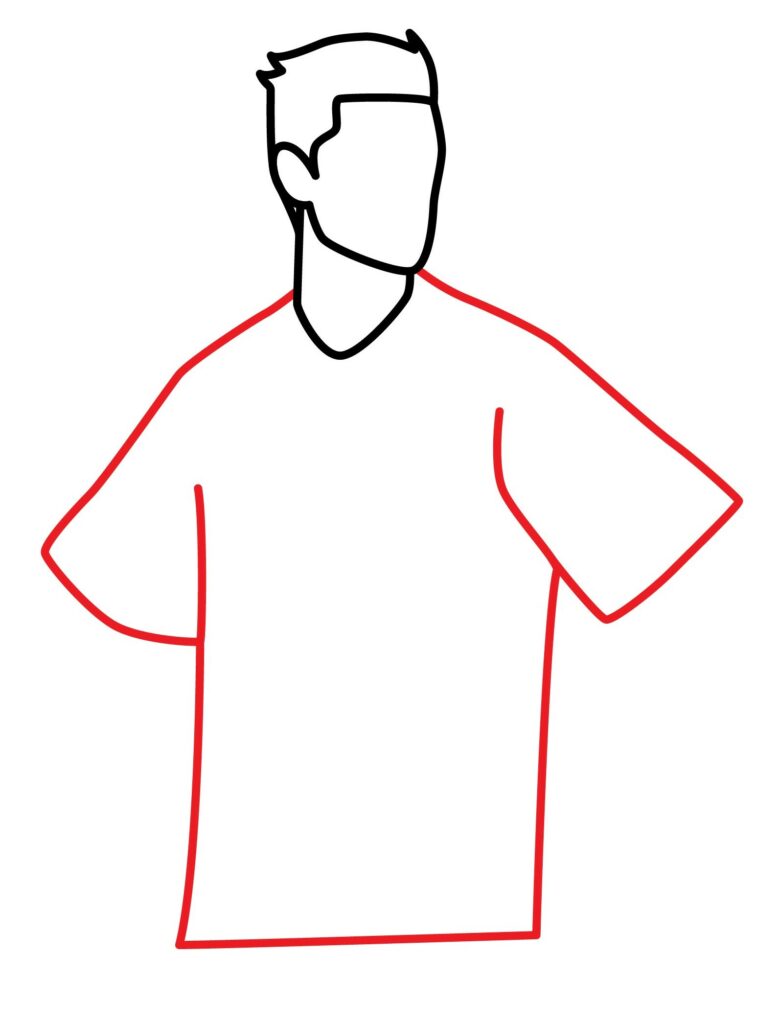
- Lightly sketch basic jersey shape, curving lines gracefully
- Add a V-neckline, rounded sleeves, and straight folds down the center
- Draw a smooth curved hemline across the bottom
- Refine outlines for a clean final jersey shape
Step 3: Draw the hands
Let’s draw the volleyball coach’s hands. Start by lightly sketching basic oval shapes for the palms. Make sure the palm sizes look proportional to the arms and body. On each oval, draw four slightly curved lines tapering into rounded points to create the fingers, with the lines gradually getting shorter toward the outside fingers. Add a smaller oval shape on the side of each palm for the thumb.
For realistic detail, use short, straight lines across each palm to show folds and creases in the skin. Sketch lightly for a natural look. Once the basic hand shapes are done, refine the outlines of each finger, erasing any sketchy strokes to achieve clean lines. Draw oval fingernails at the tip of each finger for extra detail.
Carefully erase the initial guidelines to clean up your sketch. The finished hands should look smooth, natural, and proportional to the body, just like an American football coach. Drawing hands can be tricky, but they add a lot of expression and motion to your volleyball coach.
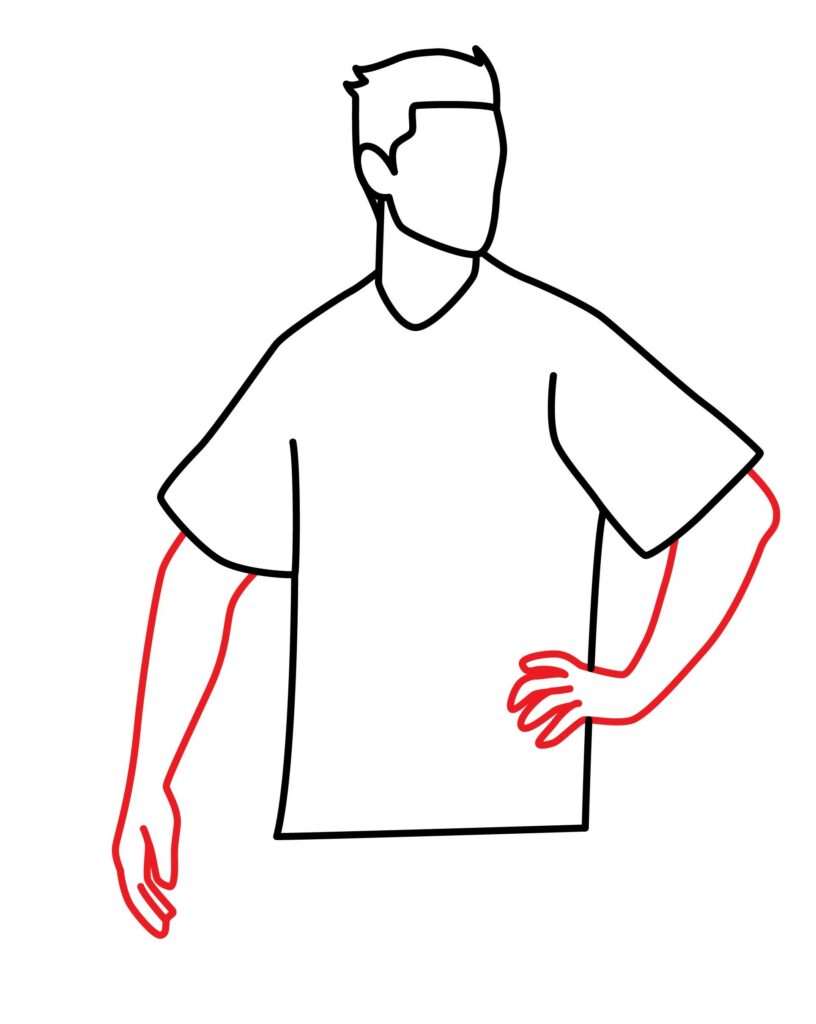
- Lightly sketch oval palm shapes, curved fingers tapering to points
- Add straight lines across palms for realistic creases
- Refine finger outlines and draw oval fingernails
- Erase guidelines, aim for natural-looking finished hands
Step 4: Draw the shorts
To draw the volleyball coach’s shorts, lightly sketch two parallel horizontal lines for the top and bottom edges – make sure to leave a gap between the legs. The lines should be proportional to the legs and torso.
Next, draw a vertical line between the two horizontals to divide and establish the shape of both legs. On each side, add more vertical lines that curve slightly outward to show realistic folds and creases in the fabric.
To shape the legs inside the shorts, sketch tapering lines from the bottom edges down to the knees. Draw these lines smoothly and lightly to create a natural look.
Now, let’s add some details to make the shorts look more realistic. Include elements like pockets, a waistband, seams, and any other features you’d find on typical shorts. If you want, you can also lightly indicate things like zippers, buttons, or logos for extra flair. These details will bring your volleyball coach’s outfit to life!
Great job so far! Now, carefully erase any guidelines from the initial sketch. After that, refine the outlines of the legs, aiming for clean and smooth lines. This step will give your finished shorts a polished and natural appearance. You can also see our drawing guie on hockey coach for more details on drawing shorts.

- Sketch top and bottom edges, vertical line for legs
- Add curved vertical lines on both sides for folds
- Draw tapering lines for legs inside shorts
- add realism with details like pockets, seams
- Erase guidelines and refine leg outlines for a clean look
Step 5: Draw the legs
For the legs, begin by lightly sketching two parallel vertical lines for the upper and lower legs, making sure they are proportional to the shorts and torso. The upper legs should be longer. In the middle of each leg shape, draw an oval for the kneecap. On the outer side, add a small circle for the ankle.
To show the form of the leg muscles, sketch some curved lines around the kneecap and ankle areas. Add a few straight lines on the shins for definition. Loosely indicate the calf muscles with smooth curves.
For the feet, draw simple boxy shapes at the bottom of the legs. Sketch a wedge shape for the toes—you can draw all five or just indicate a couple. Underneath each foot, use a U-shaped line for the foot arch.
Once the basics are mapped out, erase any guidelines from the initial sketch. Then, refine the leg outlines, smoothing them into tapered forms. The legs should look solid but rounded for a natural appearance.
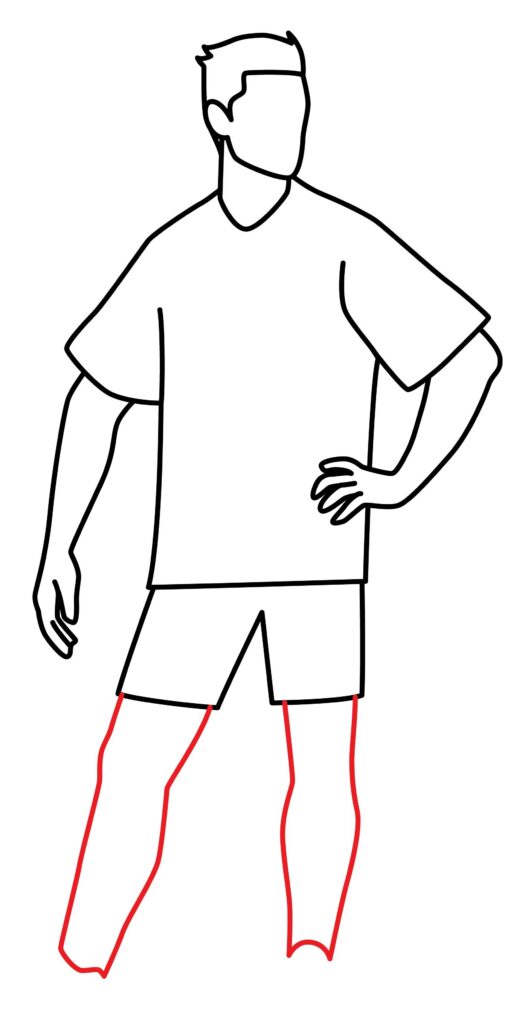
- Sketch parallel lines for upper/lower legs proportional to the body
- Draw ovals for kneecaps and circles for ankles in the center
- Add curved lines around knees/ankles showing muscles
- Draw boxy feet with wedges for toes and a U-shape underneath
- Erase guidelines, refine tapered leg outlines
Step 6: Draw the Socks
Let’s draw the socks. Lightly sketch a horizontal line across the ankle to mark the top of the sock. On the lower leg, draw two smooth curved lines from the ankle down to indicate the sock’s shape. Make sure the curves taper nicely to follow the form of the calf and ankle.
Add a small horizontal line at the bottom of the sock, just above the foot. If you like, you can draw simple stripes on the socks. Ensure that the curves and lines of the socks are proportional to the legs.
Once the basic shape is complete. Then, refine the sock outlines so they blend naturally into the shape of the legs and feet, similar to what we did in the soccer player drawing. The curves should be graceful and tight-fitting.

- Sketch a horizontal line at the ankle for the sock top
- Draw two curved lines from the ankle down the calf for sock shape
- Add a horizontal line at the sock bottom above the foot
- Erase guidelines, refine sock outlines blending into the leg
Step 7: Draw the Shoes
Start by sketching two parallel lines for the bottom edges of the shoes. Make them proportional to the feet. At the toe area, draw an angled line across each foot to form the basic shape of the shoes.
Add a few curved lines on each shoe to indicate the laces and tongue. Sketch lightly without pressing hard. Draw a straight line down the center of each shoe from top to bottom for more detail.
Then, refine the outlines, smoothing the curves into natural shoe shapes that fit nicely with the feet. Add shading if desired for extra dimension.

- Sketch parallel lines for shoe underside proportional to feet
- Draw angled lines across toes for shoe shape
- Add curved lines for laces/tongue and straight lines down the center
- Erase guidelines, refine outlines for natural shoe shapes
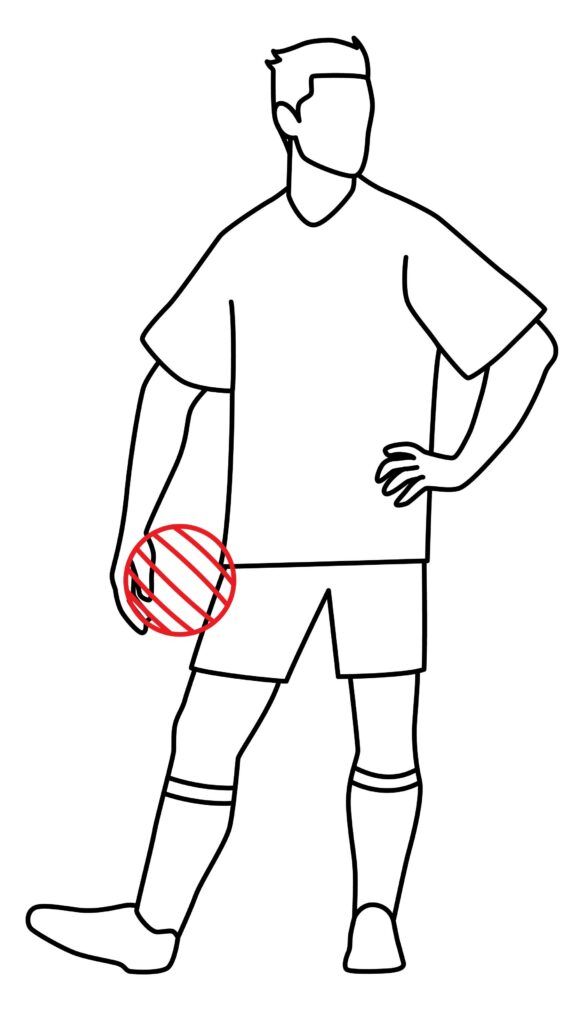
Step 8: Draw the Volleyball
Start by lightly sketching a circle in the coach’s right hand to represent the basic shape of the volleyball, like a softball. Make sure it looks proportional to the size of the hand.
To create the volleyball pattern, start with the circle and draw a curved line on either side that tapers to a point, forming the volleyball’s characteristic lines. Add another slightly curved line above and below these initial lines to complete the pattern. This will give your volleyball a realistic and recognizable look.
Now, refine the outlines of the volleyball by smoothing the curves to create a realistic 3D sphere. To enhance the look, add shading to the ball. Shade along the curved lines and around the sides to make the ball look more rounded and three-dimensional. This step will give your volleyball a lifelike appearance.
- Lightly sketch a circle in the right hand for a volleyball shape
- Draw tapered curved lines on either side for a volleyball pattern
- Add curved lines above and below to complete the pattern
- Erase guidelines, refine outlines for smooth 3D sphere
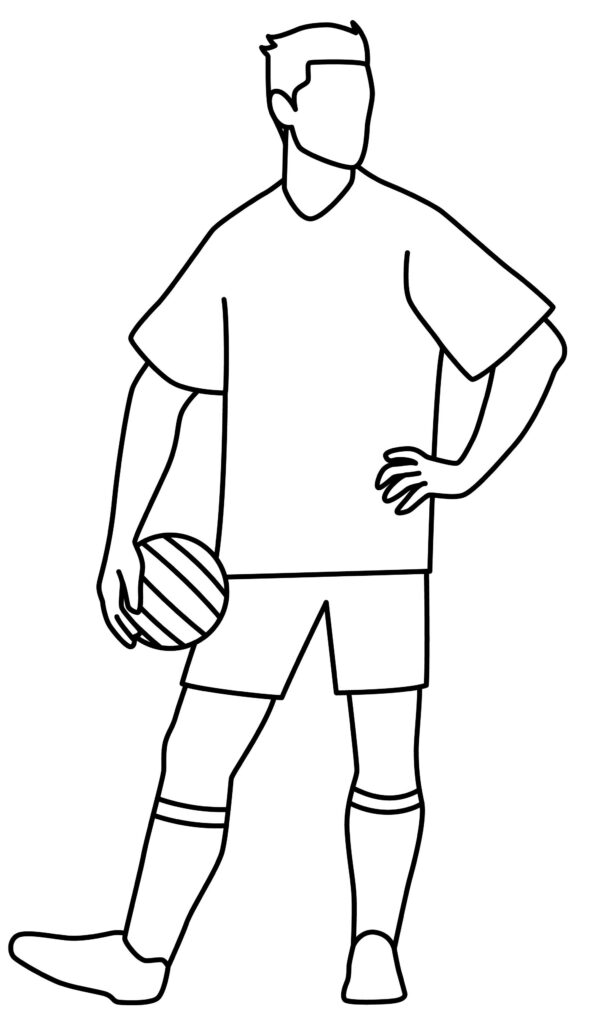
Step 9: Your volleyball coach is ready
You did awesome! The drawing volleyball coach can be a bit tricky and take time, but we’re super proud of how far you’ve come. Great job!
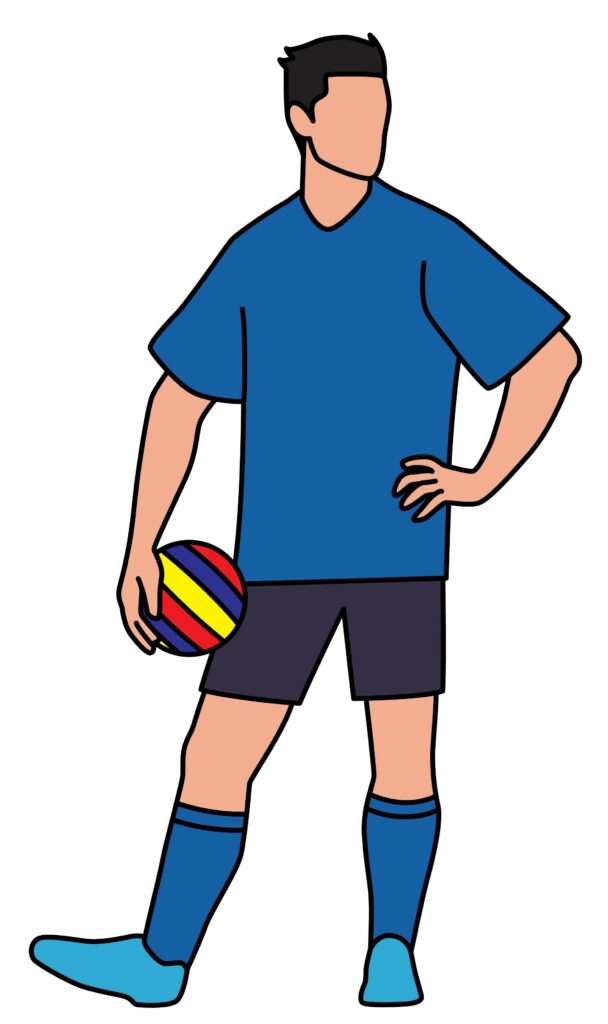
Taking your drawing to the next level
Now, to make it unique and creative, we will add color and a background.
Adding a background to the volleyball coach’s drawing
Consider the context – a volleyball court, volleyball net, gymnasium, or training facility makes fitting backdrops.
Make the background more realistic by adding details like line markings, sports equipment, and benches. This will bring your drawing to life!
Adding color to the volleyball coach’s drawing
For the skin of the coach, use natural tones like peach, tan, or brown on the face, arms, and legs. Give a lifelike touch with flushed cheeks, nose, and ears. Make the jersey and shorts stand out with bold, bright colors. Think about complementary or contrasting colors that really catch the eye.
Add some color variety to the shoes and socks, maybe using school colors or realistic sports shoe colors. For the volleyball, go for a natural leather color with white paneling to mimic a real ball’s colors. Keep the background colors more muted and neutral, so the coach really stands out, just like we did in the soccer referee drawing.
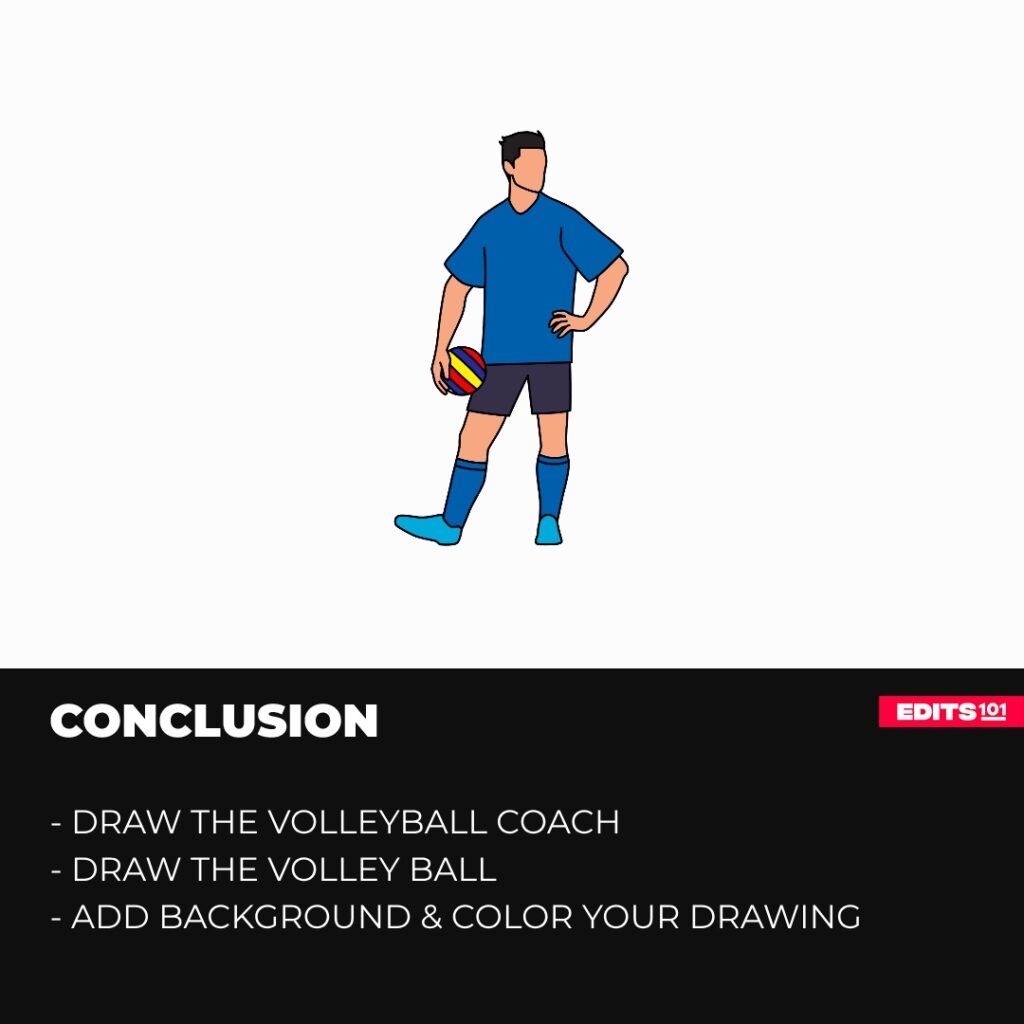
Conclusion
Drawing a volleyball coach might seem challenging, but breaking it down into easy steps makes it doable for any artist. Start by lightly sketching the body proportions, clothing folds, and important features. Pay attention to shaping the hands and feet, and use photos for reference if it helps.
Add details like a whistle, clipboard, or ball to show the coaching context. Pick colors and backgrounds that go well with the figure and grab the viewer’s attention. Use shading techniques to make the coach look 3D and real. With these steps, drawing a volleyball coach becomes much more approachable and fun!
Thanks for reading & feel free to check out more of our articles!
Author Rating
Overall Rating
Summary
This guide explains how to draw a volleyball coach in detail. You will also learn a few interesting facts about the volleyball coach.