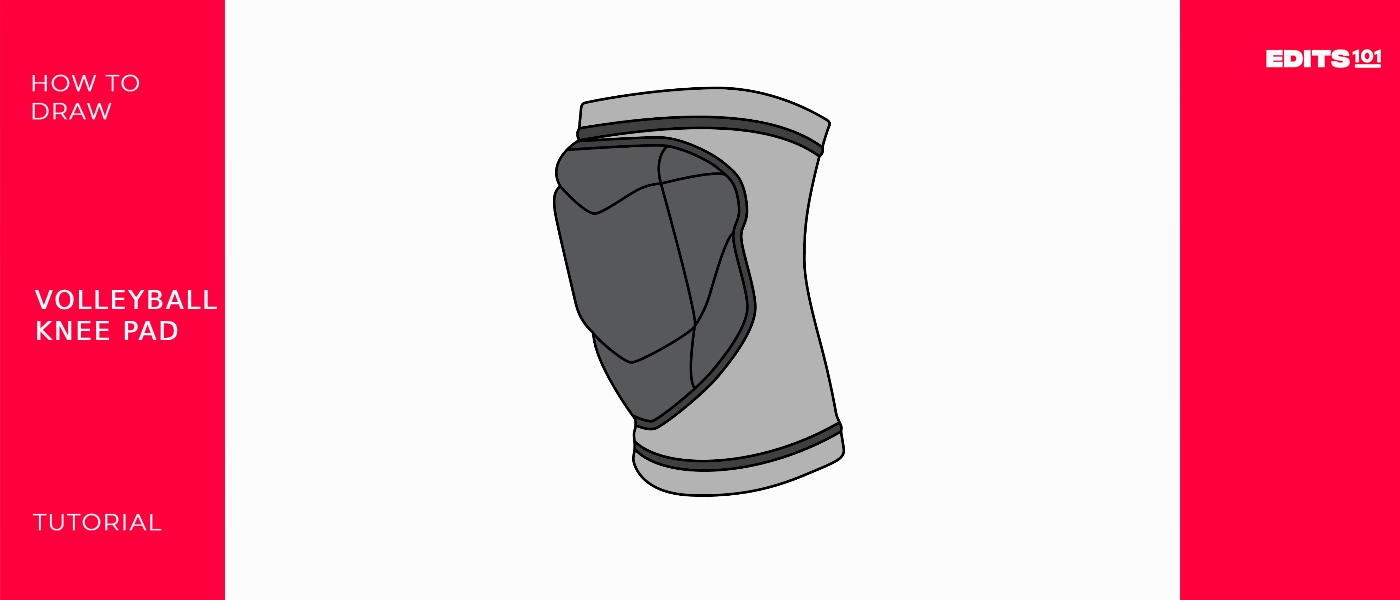
How To Draw A Volleyball Knee Pads | A Step-By-Step Guide
Volleyball players know that knee pads are an essential piece of protective gear out on the court. Drawing a pair of volleyball knee pads is a great way to capture the look and feel of this vital sports accessory.
Crafted from durable materials like neoprene or foam padding, these knee pads provide a comfortable and snug fit, allowing players to move freely without sacrificing safety. Designed to absorb impact and reduce the risk of injuries, they feature contoured shapes that conform to the natural curvature of the knee, ensuring a secure fit throughout the game.
| Steps | Design Complexity level |
| 1. Draw the Outline | 2 |
| 2. Add the Sewlines | 3 |
| 3. Draw the Pad Guards | 3 |
| 4. Add Details to Guards | 4 |
| 5. Color the Drawing | 5 |
| 6. Add a Background | 4 |
What You Will Need
- Paper
- Pencil
- Eraser
- Colored pencils, markers, or crayons for coloring (optional)
How to draw volleyball knee pads
In this fun art tutorial, I’ll guide you through sketching your pair of knee pads from start to finish. Whether you’re a volleyball player or enjoy drawing sports themes, creating your knee pad artwork is enjoyable for beginning artists of all ages. So grab your drawing supplies, and we will learn how to render realistic and creative volleyball knee pads!
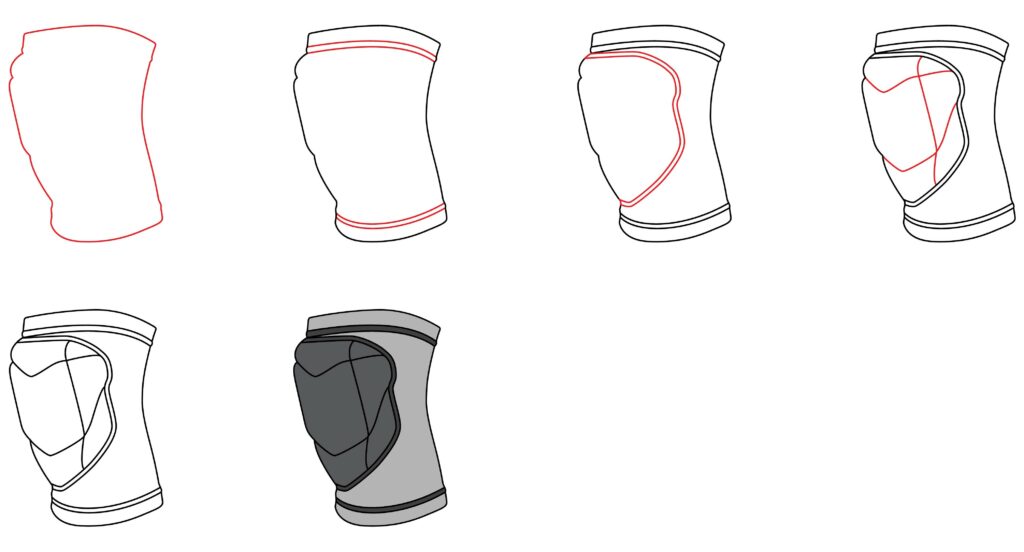
Step 1: Draw the Outline
To start, lightly sketch the outline of the knee pads in pencil near the middle of your paper. Use short, gentle lines to capture the curved shape of the pads. Draw two adjacent uneven ovals to represent each pad. Sketch several lines for each, varying the shape and size until you get the proportions right. Leave space between the ovals for the knee. Once you have the shapes, darken the outline.

- Lightly sketch two uneven ovals for each pad
- Use short, gentle strokes
- Vary the shape and size as you outline
- Leave space between ovals for the knee
- Darken the final outline
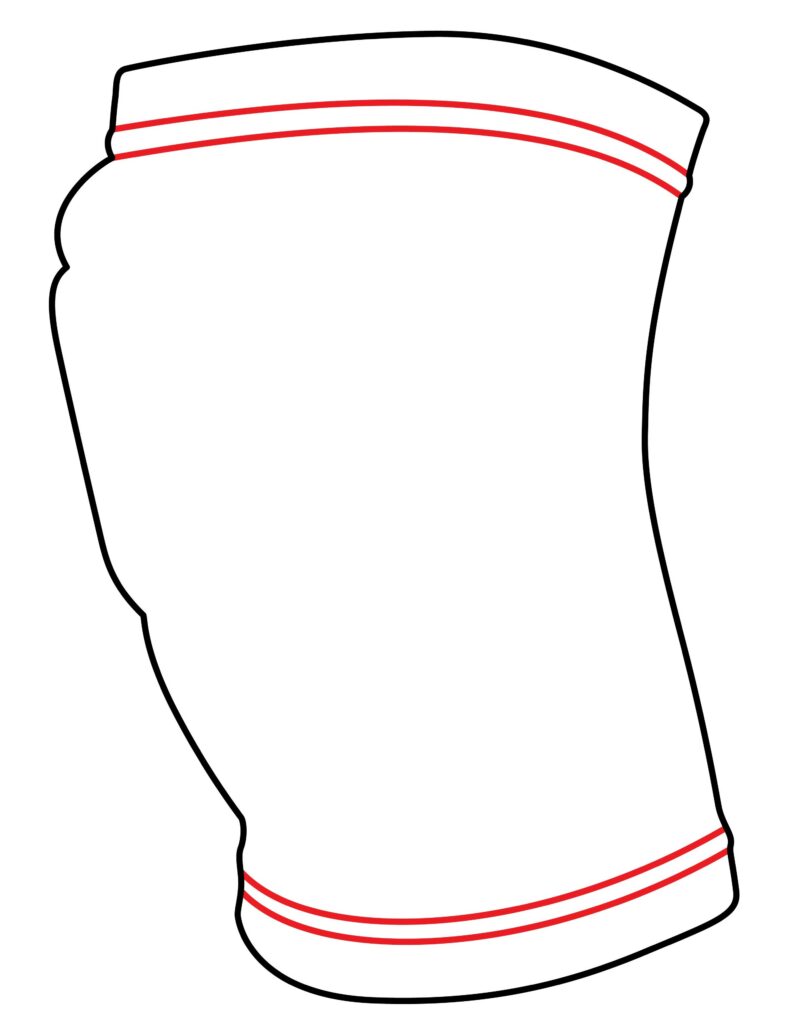
Step 2: Draw the Sewline
Add details to the knee pads by drawing “sew lines” along the edges. Lightly sketch a few curved horizontal lines along the top and bottom of each pad outline. Try to keep the lines roughly parallel to each other. The lines should curve with the shape of the pads, like stitching or piping. Add as many detail lines as you like to make the knee pads look more realistic.
- Lightly sketch curved horizontal lines for the “sew lines.”
- Add lines along the top and bottom of each pad
- Keep the lines parallel to mimic stitching
- Let the lines curve with the pad shapes
- Add as much detail as desired
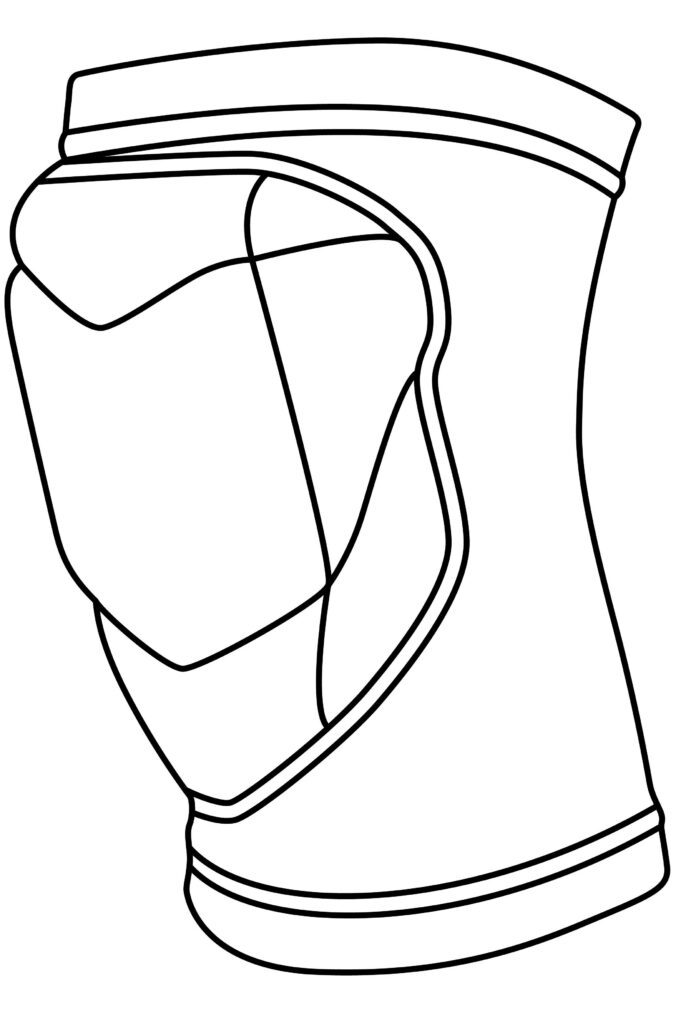
Step 3: Draw the Pad Guards
Now, add the protective pad guards above and below the knee pad. In volleyball knee pads, the pad guards are the protective elements that provide cushioning and support to the knee joint.
They are typically made of specialized materials like foam padding or gel inserts designed to absorb impact and distribute pressure, reducing the risk of injuries during play. These pad guards are strategically placed over the front of the knee, where players are most likely to come into contact with the floor during actions like diving or kneeling.
The pad guards are contoured to fit the natural shape of the knee, ensuring a snug and comfortable fit. They play a crucial role in safeguarding the vulnerable knee joints, allowing players to move confidently and aggressively on the court.

Lightly sketch these using short, straight lines overlapping the ovals’ top and bottom. Draw them at slight angles pointing toward the knee. Add multiple lines to give the guards thickness and detail. Erase and redraw until the proportions look right.
- Use short straight lines for the pad guards
- Sketch them above and below the pad ovals
- Draw the lines at angles pointing toward the knee
- Use multiple lines to add thickness
- Erase and refine the shapes as needed
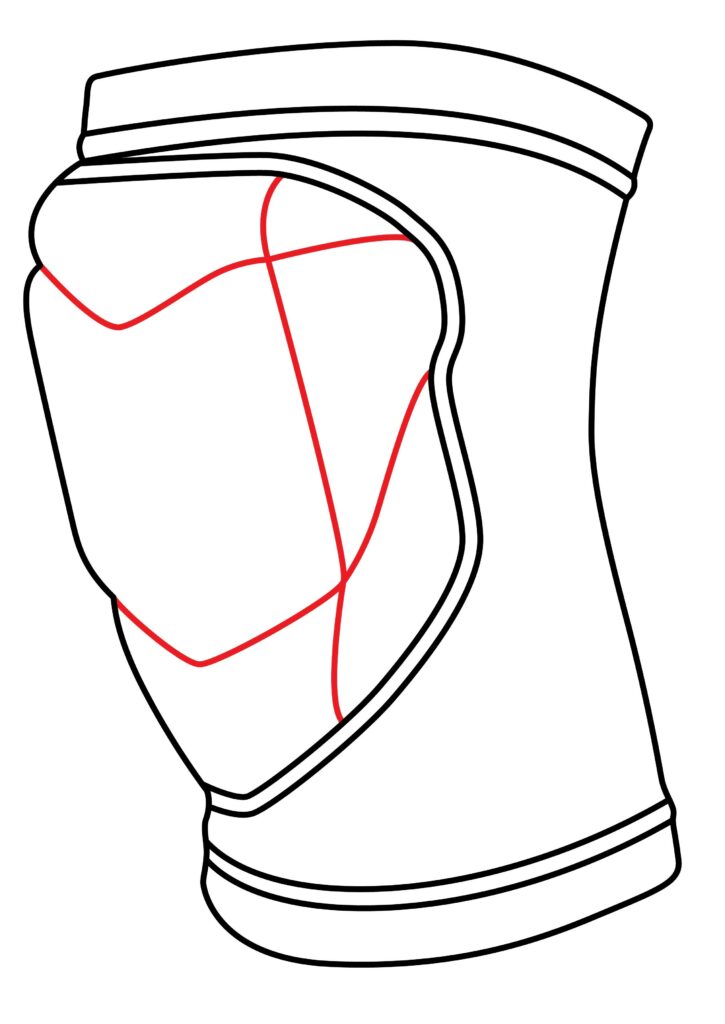
Step 4: Add Details on the Guards
Enhance the pad guards by adding some detail lines. Lightly sketch circles, dots, and curved lines on each guard. Try interlocking shapes, net-like patterns, or abstract textures. Having fun with the detail work will make your knee pads more artistic. Erase and redraw any details that need improvement.
- Lightly sketch circles, dots, and curved details
- Get creative with interlocking shapes and patterns
- Add net-like textures or abstract details
- Erase and refine the details as needed
Step 5: Your volleyball knee pads are ready.
The knee pads are ready for volleyball players to use. You created your own volleyball knee pads; we’re sure you followed every instruction. To make the drawing stand out, outline it with a marker. After tracing, we’ll remove the pencil marks to make it look better.
Now for the really fun part. We’re going to make our drawing better and more genuine. Are you ready to use your ideas and creativity to create a more sophisticated image?
Taking Your Volleyball Knee Pads Drawing to the Next Level
Great job on the basics of your knee pad drawing! Consider adding color, shading, backgrounds, or extra textures to elevate your artwork. Here are some suggestions for taking your volleyball knee pads to the next level
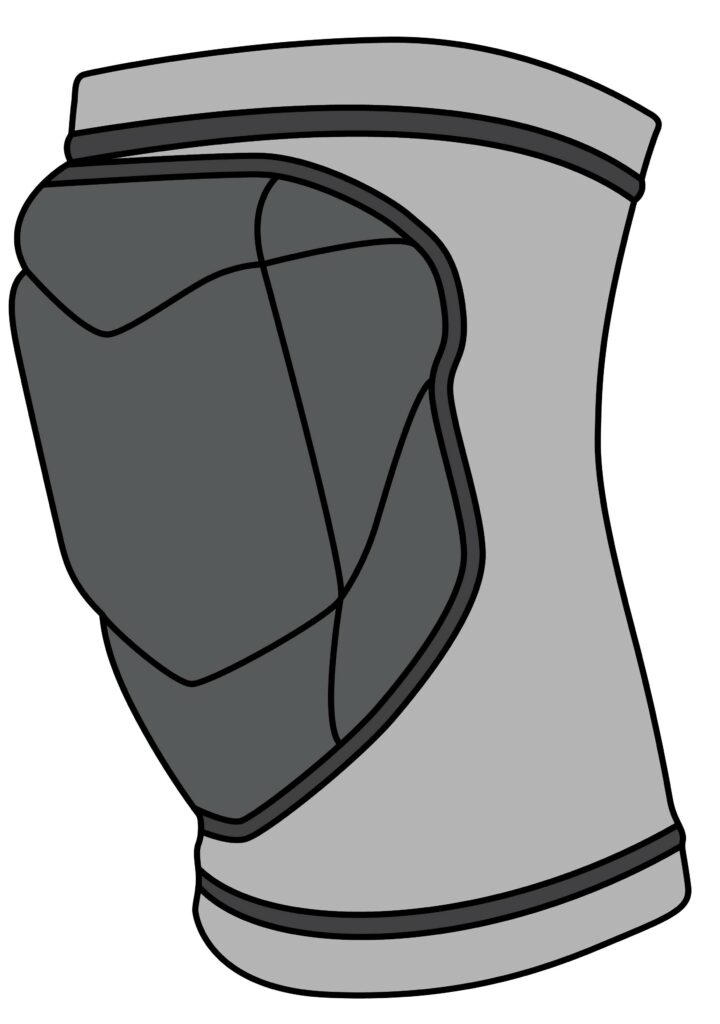
Coloring the Volleyball Knee Pads
Adding color can make your knee pad drawing pop! Choose coloring supplies like markers, colored pencils, or crayons in sporty shades. Lightly color in each pad, guard, and detail. Use black and grey for shading. Try shades of blue, purple, red, or green for the pads.
Add metallic silver or gold for the metal guards. Consider complementary or contrasting colors for visual interest. Stay within the lines and use smooth, even strokes. Get creative with different color combinations!
Adding a Background
The background can give your knee pad drawing context and interest. For a realistic look, draw a wooden or sports court floor. Lightly sketch the floorboards or court lines in pencil first.
Add color to the background using shades of brown, beige, grey, or red. For a more abstract background, use shapes, patterns, or textures. You could also draw sports equipment, balls, towels, or other accessories around the pads.
Keep the background simpler than the main subject. Choose a background that enhances your knee pad artwork.
P.S. Bonus Tips
Here are some bonus tips if you want to upgrade your drawing of a volleyball knee pad.
You can add scuffs, faded color, and frayed edges to show the pads have been well-used. Sketch gently with an eraser to create scuff marks. Include detailing like straps, buckles, velcro, logos, or textures to make the pads more realistic. Add a white colored pencil or gel pen for realistic highlights and sheen on the pad curves. This will make them pop.
You can use graduated tones and blending to show the dimensionality of the pads. Darken areas in shadow for more depth. Consider sketching legs or bodies wearing the pads to provide context and scale.
Lightly draw the figures first before adding detail. You can also add sports balls, shoes, towels, or other volleyball accessories around the pads to complement them. Get creative with the scene!
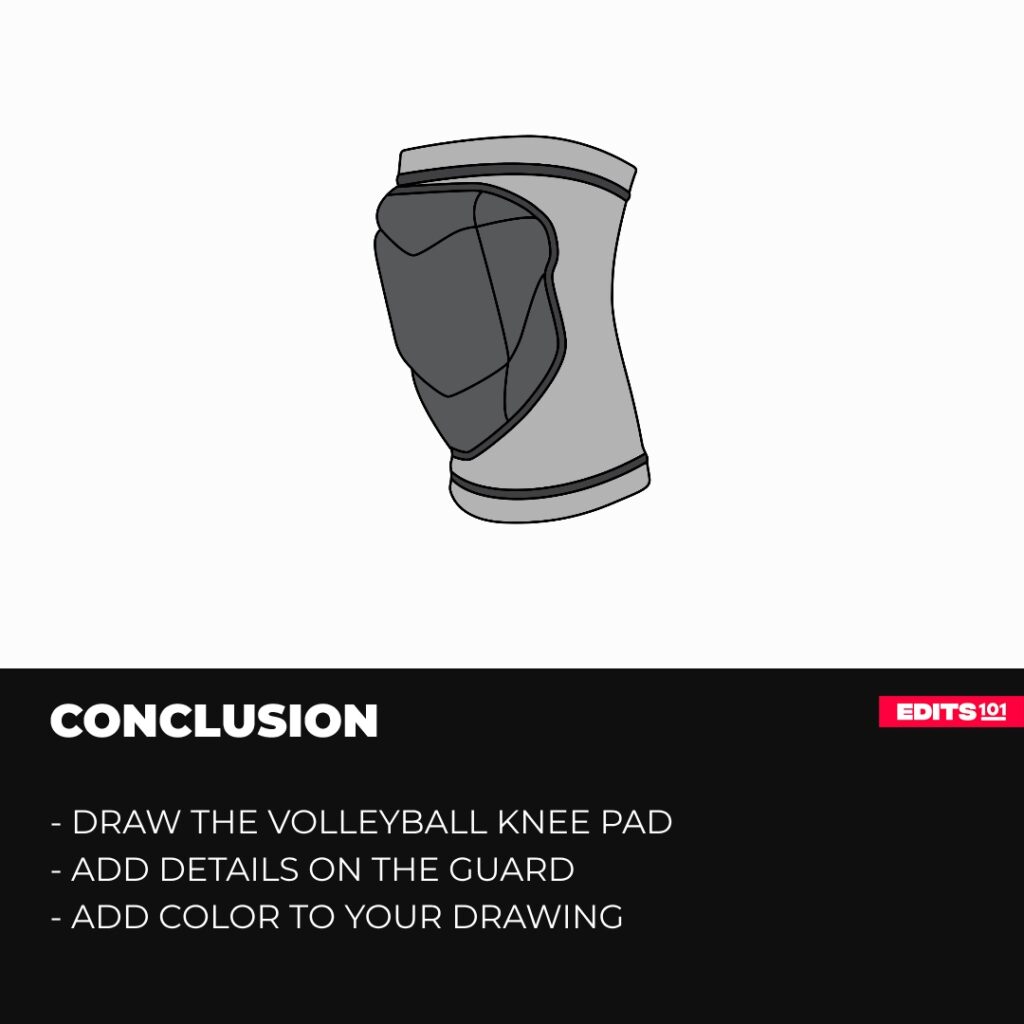
Conclusion
Drawing volleyball knee pads can be fun when combining sports and art. With some simple sketching techniques, you can render realistic and creative pads. Take your time perfecting the shape, sewlines, guards, and details. Bring your artwork to life by carefully coloring within the lines.
Add an appropriate background to give context. Drawing knee pads is an excellent practice for shading curves, textures, and sports equipment. It also allows you to show your passion for volleyball artistically.
Creating your own volleyball knee pads drawing is an engaging activity for beginners and experts alike. Enjoy the process and take pride in all the skills you gain.
Thanks for reading & feel free to check out more of our articles!
Author Rating
Overall Rating
Summary
This guide explains how to draw a volleyball knee pad. You will also learn a few interesting facts about this volleyball.