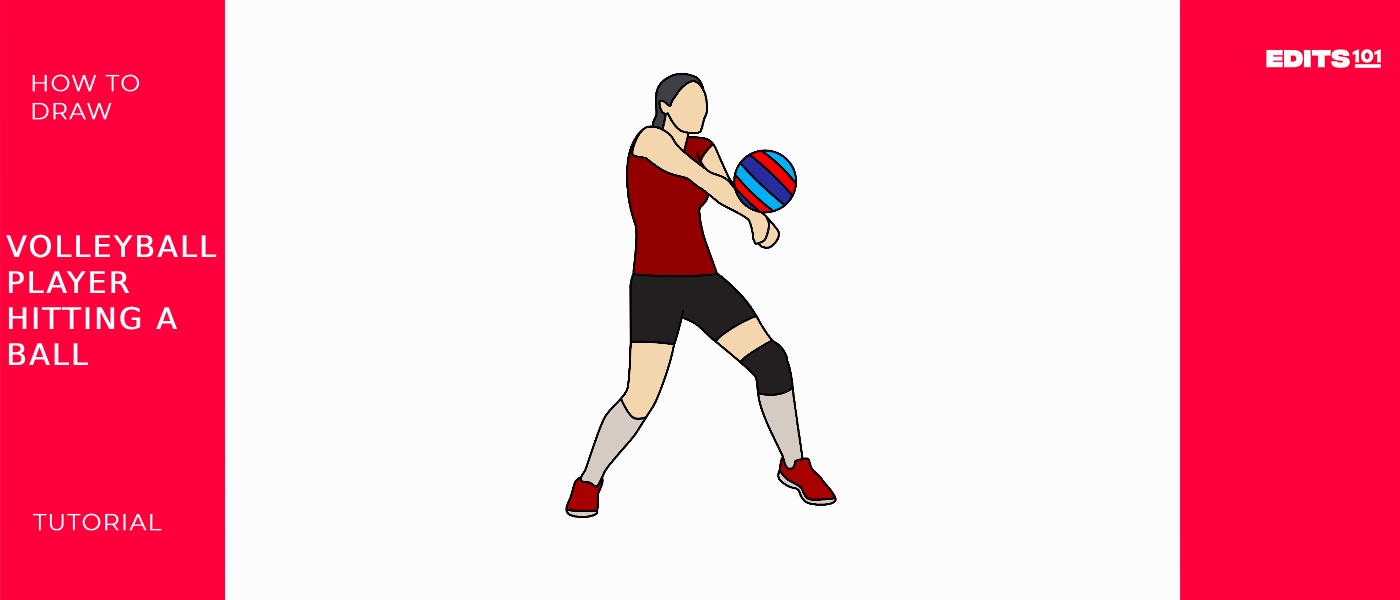
How To Draw A Volleyball Player Hitting The Ball | An Easy Step-By-Step Tutorial
Volleyball is an exciting Olympic sport that requires skill, reflexes, and power. A volleyball player is an athlete who participates in the sport of volleyball. They are skilled in various aspects of the game, including serving, receiving, setting, spiking, blocking, and digging. Volleyball players are typically categorized into different positions: setters, hitters (or attackers), blockers, and defensive specialists.
Each position has specific responsibilities on the court. Players must possess good agility, coordination, strength, and endurance to excel in the fast-paced nature of volleyball. Drawing a volleyball player in action hitting the ball captures the energy and motion of this thrilling game.
| Steps | Complexity level |
| Draw the head | 3 |
| Draw the hands | 3 |
| Draw the jersey | 4 |
| Draw the shorts | 3 |
| Draw the legs | 2 |
| Daw the socks and knee pads | 4 |
| Draw the shoes | 4 |
| Draw the volleyball | 2 |
What You Will Need
- Paper
- Pencil
- Eraser
- Colors
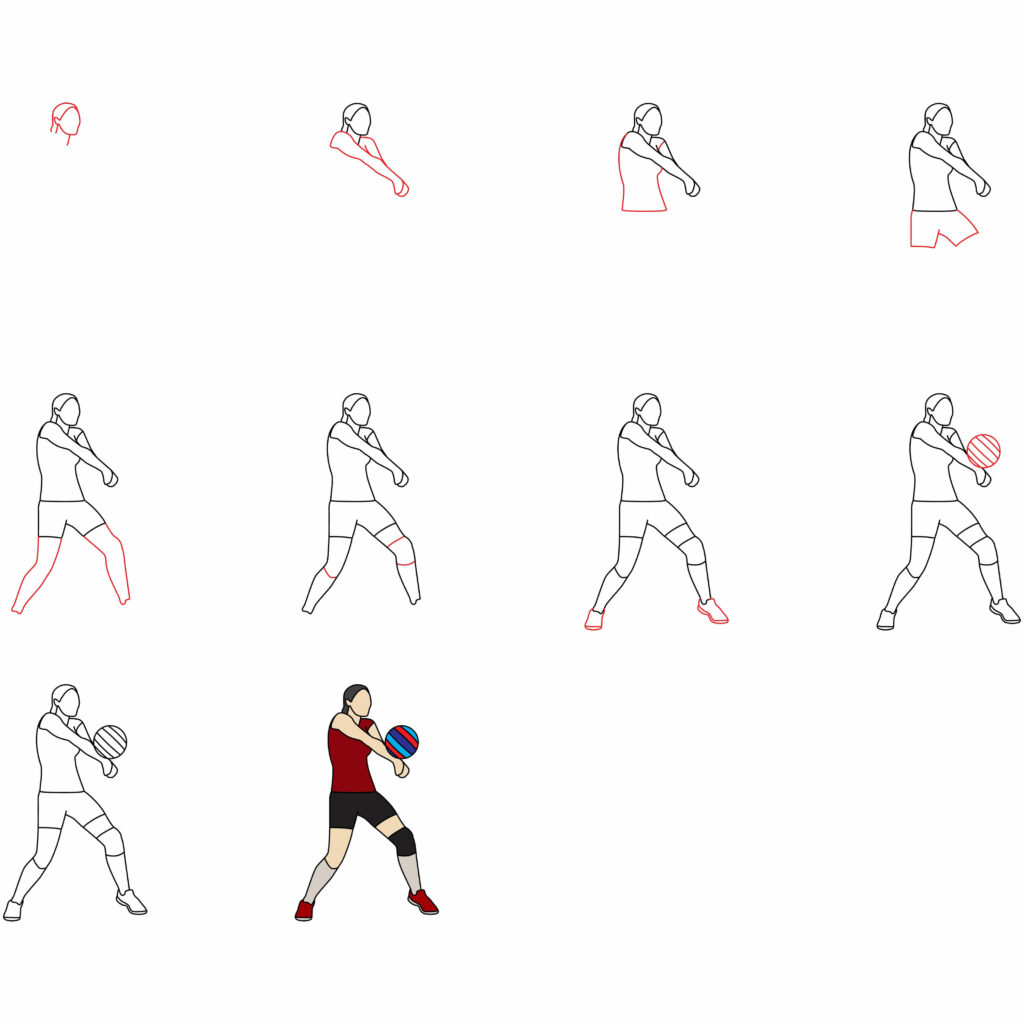
How to Draw a Volleyball Player Hitting the Ball
In this fun step-by-step drawing guide, you’ll learn techniques for illustrating a volleyball player mid-swing. You can bring dynamic volleyball action to life on the page with just a pencil, eraser, and paper. Spike your creativity and prepare to render these Olympic athletes with dramatic flair!
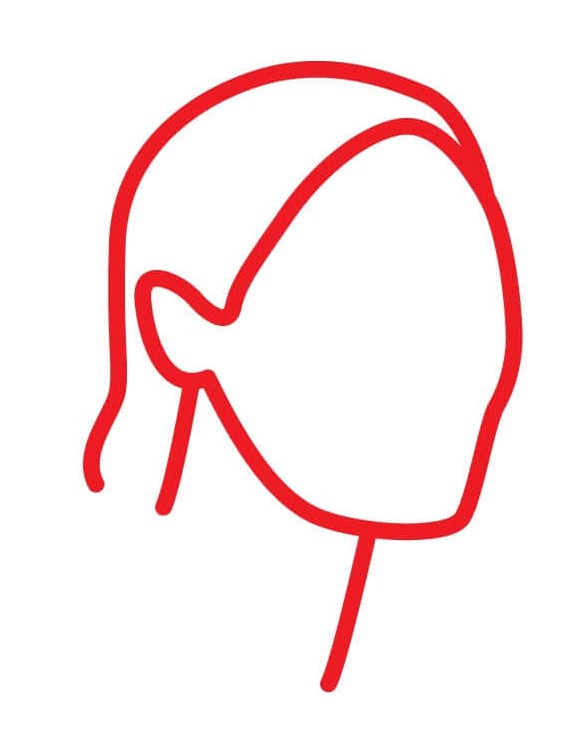
Step 1: Draw the head
Start by drawing the volleyball player’s head in the same way we made the head of the softball coach, which will establish the proportions for the rest of the body.
Begin by lightly sketching a circle in the middle of your paper for the basic shape of the head. Then, draw a vertical line down the center and a horizontal line across the center to create a crosshair that divides the face into quadrants. Use the horizontal line as a guide to sketch the eyes, nose, mouth, and chin. Place the eyes in the upper quadrants, the nose and mouth in the middle, and the chin on the bottom. Refine the features, erasing guidelines as needed. Outline the head and neck. You now have the foundations of the face mapped out!
- Start with a circle for the basic head shape
- Add vertical and horizontal lines to divide the face
- Sketch eyes, nose, mouth, and chin using lines as a guide
- Refine features and define face and neck shape
Step 2: Draw the hands
We will add the volleyball player’s hands to start posing the arms. On one side, sketch the basic shape of a hand with five finger lines spreading out from a mitten-like palm shape. Draw a boxy shape on the opposite side for the other hand.
These will become the spiking hand and the supporting hand. Place them on either side of the head, with one higher than the other, to create different arm positions. Use basic shapes, angles, and lines to block in each hand shape. Draw the wrists and part of the forearms extending from the hands. Positioning the hands early lets you establish the arm and body angles before adding details.
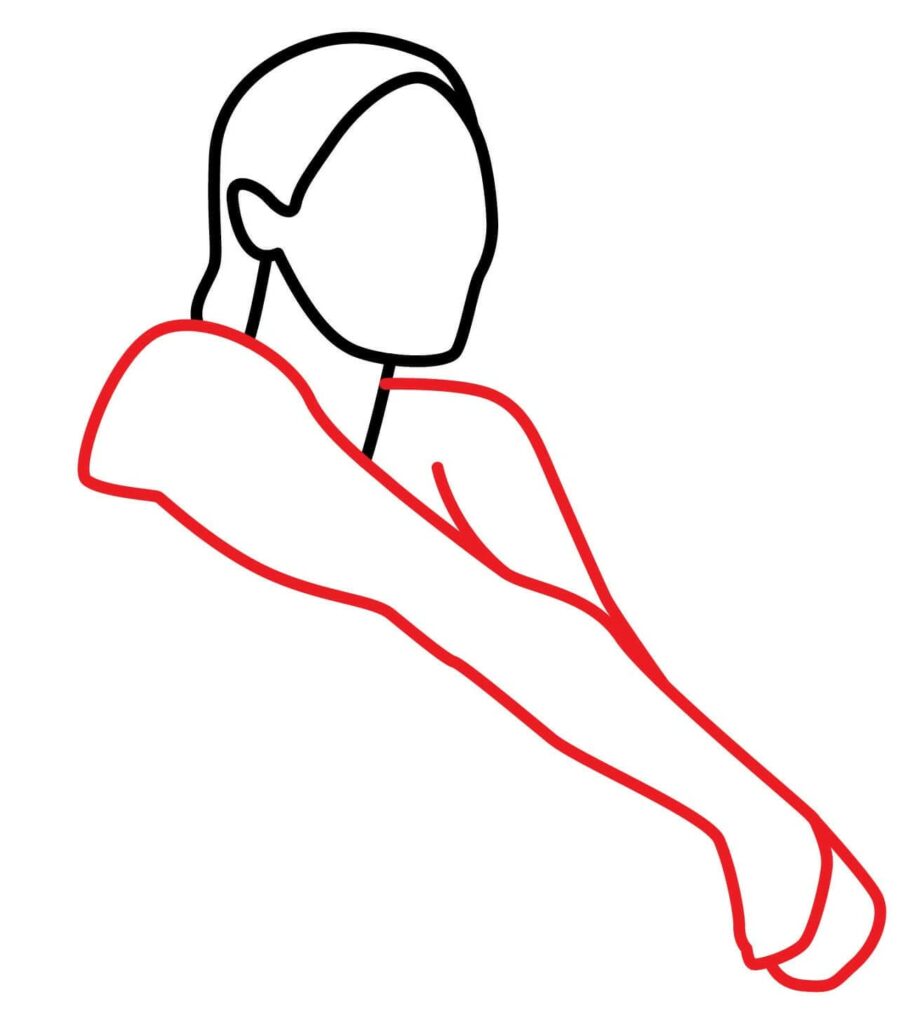
- Sketch basic hand shapes with fingers on each side of the head
- Create a spiking hand and supporting hand
- Use lines and angles to define palm and fingers
- Add wrists and partial forearms extending from hands
- Allows setting arm/body poses before details
Step 3: Draw the jersey
Now, we will add the jersey of our volleyball player. Use straight and curved lines to sketch the outline of the jersey top. It should have short sleeves, a v-neck shape at the top, and a hem along the bottom. Draw crisscrossing line patterns to indicate the mesh-like texture of volleyball jerseys. Add the player’s number prominently on the front and back.
Erasing any overlapping guidelines, refine the jersey’s shape to look natural on the player’s torso. The jersey helps define the proportions of the chest, arms, and midsection. Take your time to draw clean lines and angles.

- Sketch jersey outline with v-neck, short sleeves, hem
- Add crisscrossing lines for mesh texture
- Include prominent player numbers on the front and back
- Refine jersey shape to fit natural torso form
- Defines chest, arm, and midsection proportions
Step 4: Draw the shorts
We will complete the volleyball player’s outfit by adding the shorts. Below the jersey hem, sketch the outline of athletic shorts, mainly using straight lines and simple curves. Add a waistband at the top and leg openings at the bottom.
Draw a few curved lines on the sides, indicating folds and creases in the fabric to give the short shape. Connect the shorts to the existing torso using clean lines. Erase any overlapping sketches. The shorts help establish the proportions of the hips and legs and complete the uniform. Take care drawing the angles and shapes.
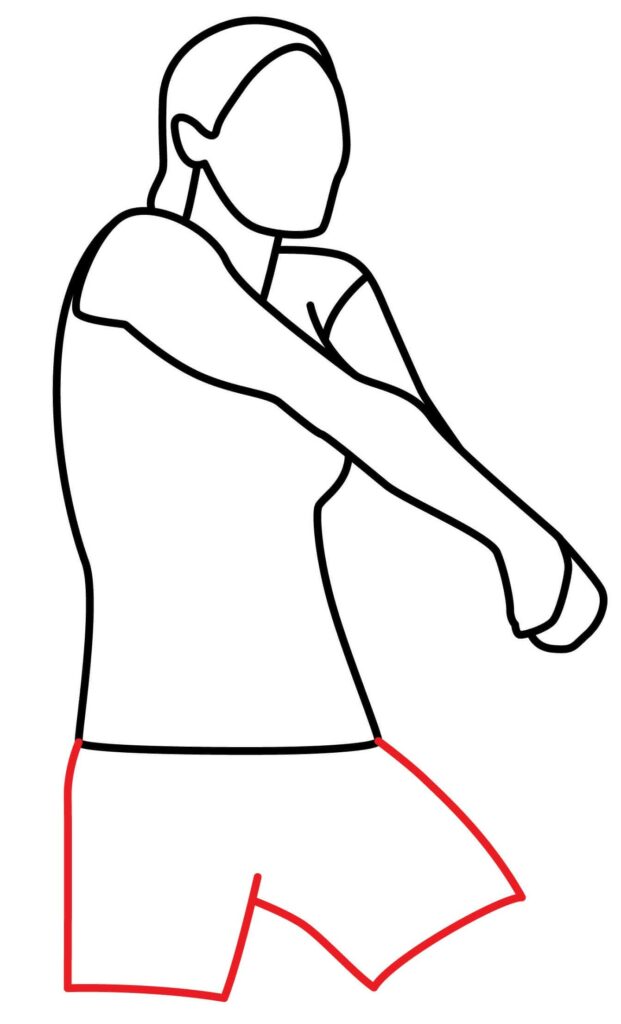
- Sketch shorts outline using straight lines and curves
- Include waistband and leg openings
- Add curved lines for fabric folds and creases
- Connect shorts neatly to the existing torso
- Defines hip and leg proportions
- Completes the volleyball uniform
Step 5: Draw the legs
Moving further down the body, let’s add the legs to get our volleyball player standing. Using straight and bent lines, sketch the basic shapes of the legs extending down from the shorts. Draw one leg, mostly straight, bearing the body weight. Bend the other leg up at the knee for a dynamic pose.
Add curved lines to indicate the muscles and shape of the calves and thighs. Draw the feet turned outward with triangles for the shoes. Connect the legs neatly to the shorts and torso above. Erase any stray sketch marks. The legs establish the overall height of the figure and balance of the body pose. Take care with the proportions.
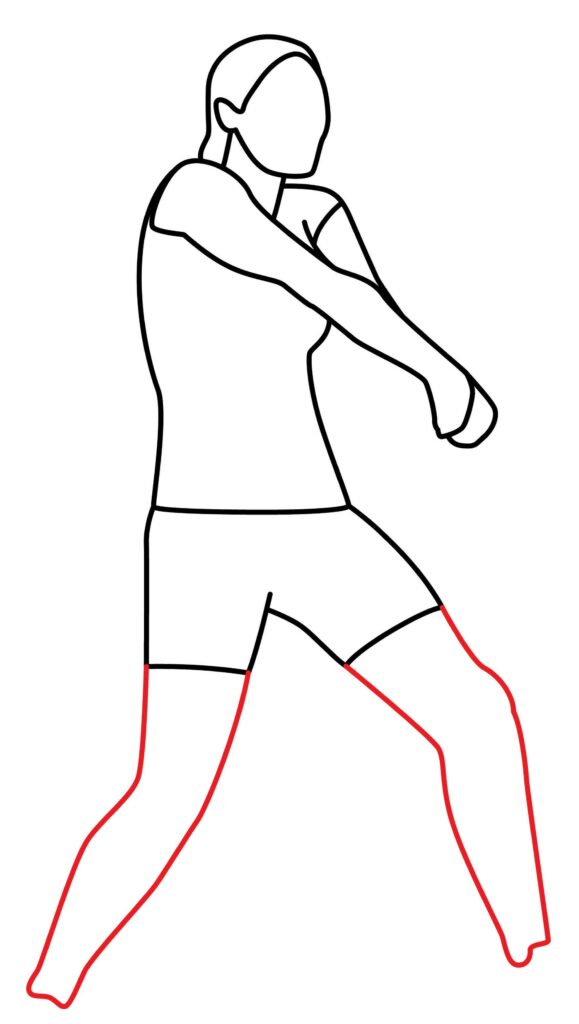
- Sketch basic leg shapes with one straight and one bent
- Add curves for calf and thigh muscles and form
- Draw turned-out feet with triangle shoes
- Connect legs cleanly to existing torso and shorts
- Defines height and balances weight of the pose
Step 6: Draw socks and knee pads
Now for some vital volleyball accessories – socks and kneepads. These will protect and complete the player’s look. Draw a curved line across the shin for the sock opening on each lower leg. Then, add some lines around the calves for the sock tube shape.
For kneepads, sketch a rounded rectangle shape right above each knee. Add a few lines at the top edge for the elastic strap. Erase any overlapping lines and refine the shapes. Consider adding brand logos or team colors to customize. These finishing touches add realism and personality to your volleyball player drawing. Take care with the placement and proportions.
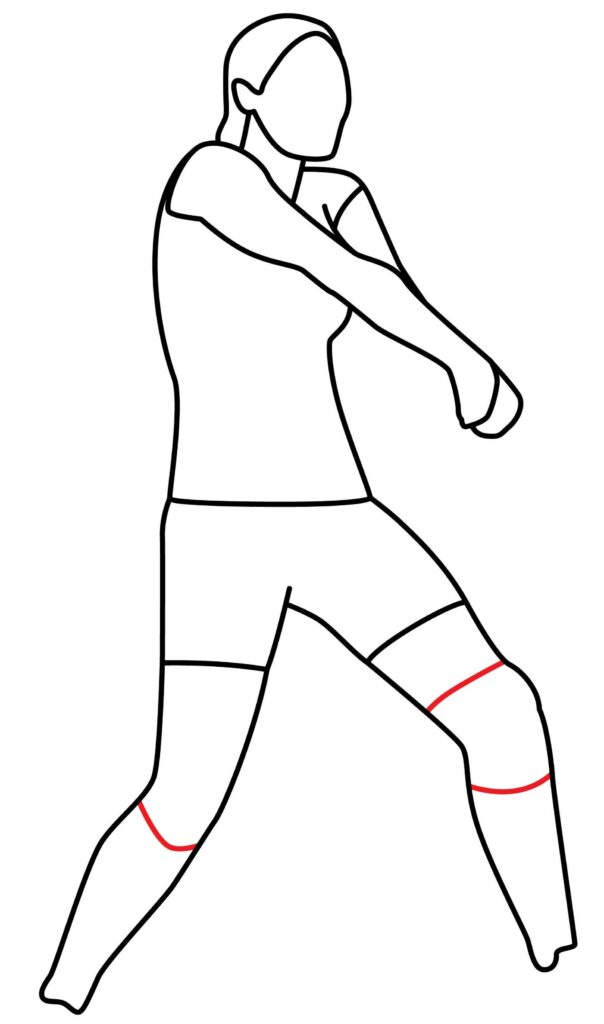
- Draw curved lines for sock openings and tube shape
- Sketch rounded rectangular kneepads above knees
- Add elastic strap lines across the top of kneepads
- Erase overlaps and refine shapes
- Customize with team logos and colors
- Realistic details for volleyball uniform
Step 7: Draw the shoes
Every athlete needs proper footwear, so add some volleyball shoes to complete the outfit.
Below each ankle, sketch the basic shape of athletic shoes with a rounded toebox, openings, and patterned side stripes. Draw a triangle at the back for the heel. Add a bit of tread texture to the sole. Erase any overlapping lines. The shoes provide stability for the feet and ground the player visually. Take care with the shape and perspective.
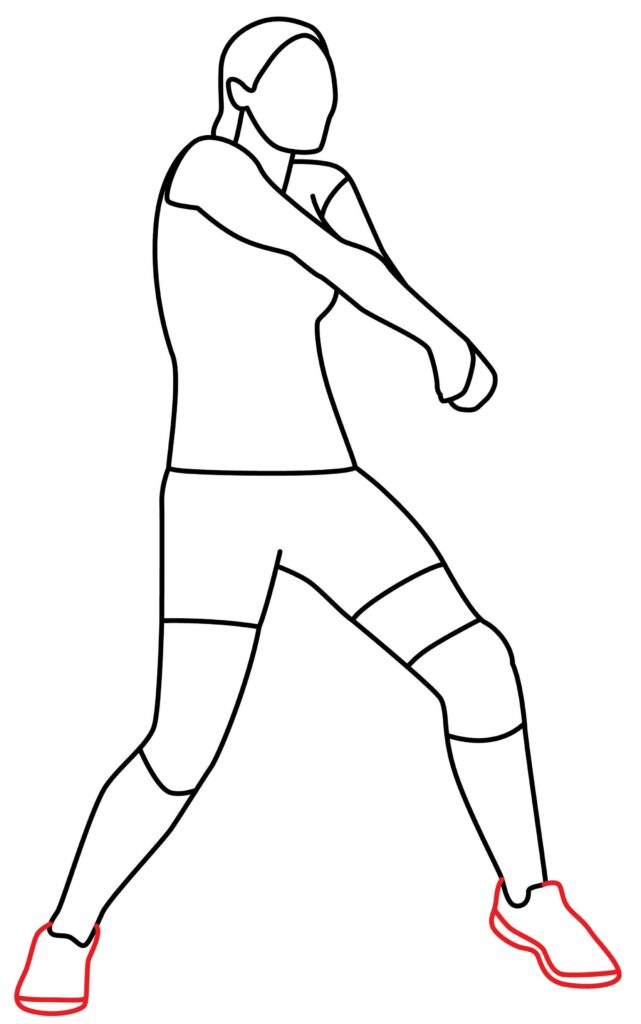
- Sketch basic athletic shoe shape on each foot
- Include openings, side stripes, triangle heel
- Add sole tread patterns
- Provide foot stability and ground the pose
Step 8: Draw the ball
What’s a volleyball player without their ball? We will draw the ball so that the ball is in contact with our athlete. Draw a circle on one hand to represent the ball making contact at the hit point. Add some curved lines around it to show the ball compressing on impact. Position the ball at the contact point based on the arm/hand placement. This creates a dynamic spiking action. Erasing overlaps, refine the ball shape and contact lines so the interaction looks natural. Now, your volleyball spike drawing comes to life! Carefully placing the ball is key.
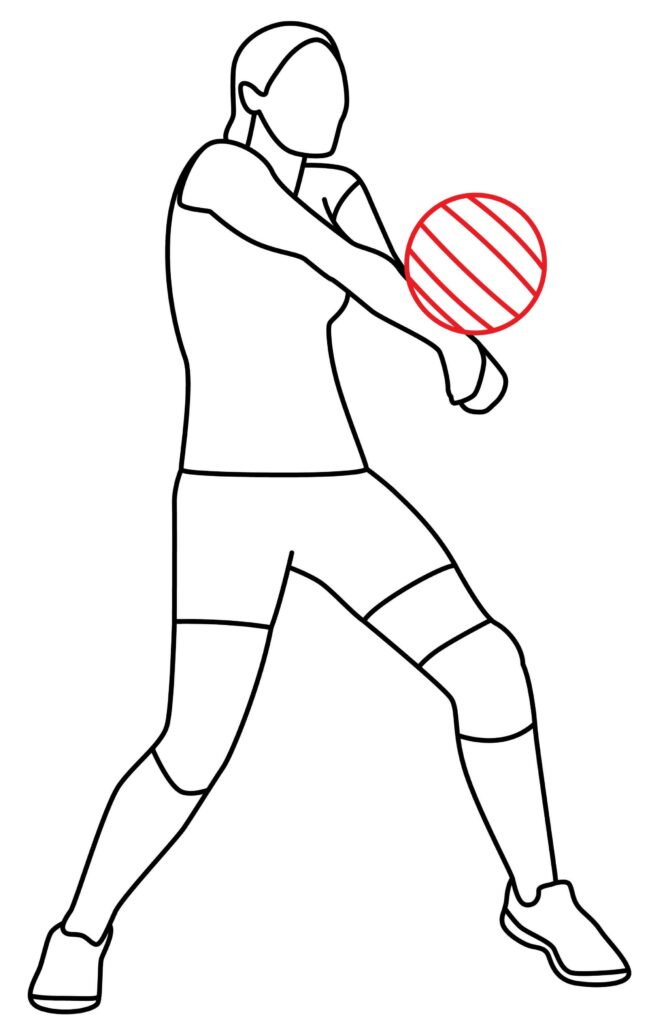
- Draw a circle for the ball making contact with the hand
- Include curved lines around the ball showing compression
- Position the ball at the proper contact point for spiking action
- Refine ball/hand interaction so it looks natural
- It brings the spike scene to life!
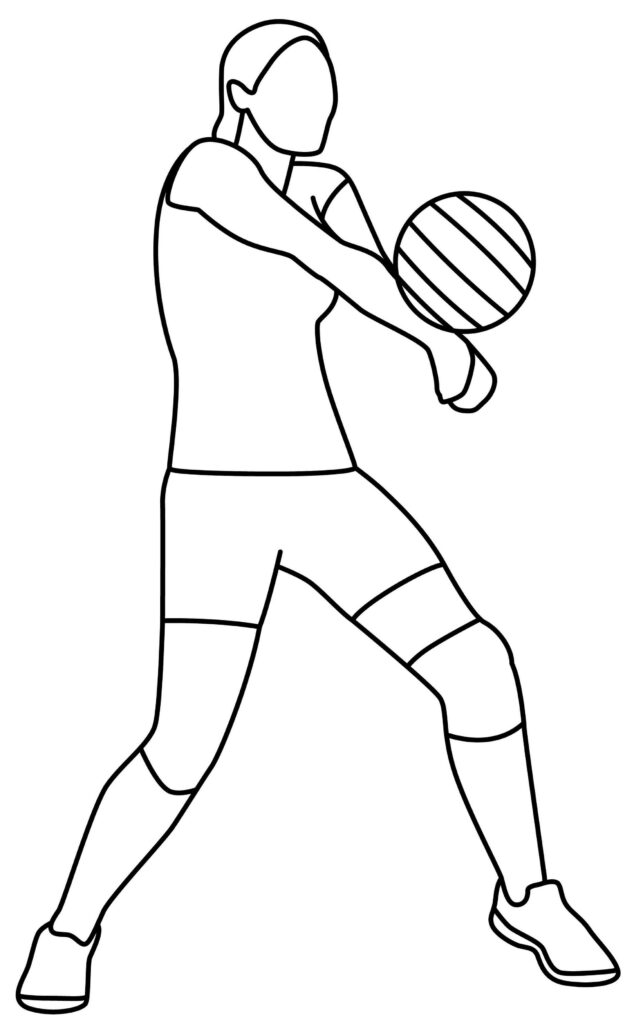
Step 9: The volleyball player hitting the ball is ready
Our player is prepared to take the lead in the game. You did an excellent job. You created your volleyball player hitting the ball, and we’re sure you followed every instruction.
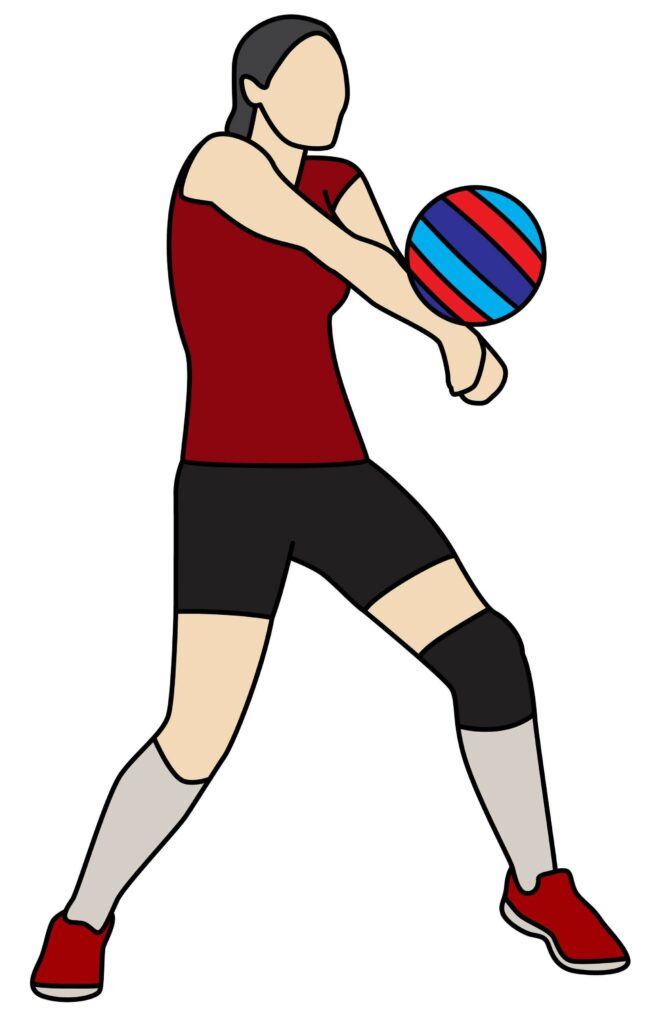
Taking your drawing to the next level
Now that we are done with the sketching, we will upgrade our volleyball player, hitting the ball with a background and color.
Adding a Background
Consider placing your volleyball player on a court to provide context. Sketch a hardwood floor with court lines and a view of the net and poles. Add details like spectators, bleachers, and other players to create a whole volleyball scene. You can also hint at the environment by adding a solid color or just a section of floor or net. Keep it simple so the focus stays on the spiking player.
Adding Color
Adding color brings vibrancy to your volleyball artwork. Use red, white, black, and green for classic volleyball colors. Shade the uniform with darker and lighter values to show folds and dimensions. Give the ball sheen and shadows for realism. For the court, use light brown wood tones. The possibilities are endless for creative color combinations to make your drawing pop.
Bonus Tips
Play with perspective by drawing the view from below to emphasize the spike. Use fluid lines to capture realistic fabric motion. Refine proportions from photo references of athletes. Add background motion lines to show speed and intensity. Convey the player’s power and motivation through their facial expression. Sketch alternative poses like serving, bumping, or diving. Add authentic details like knee pads, sweat, and equipment logos.
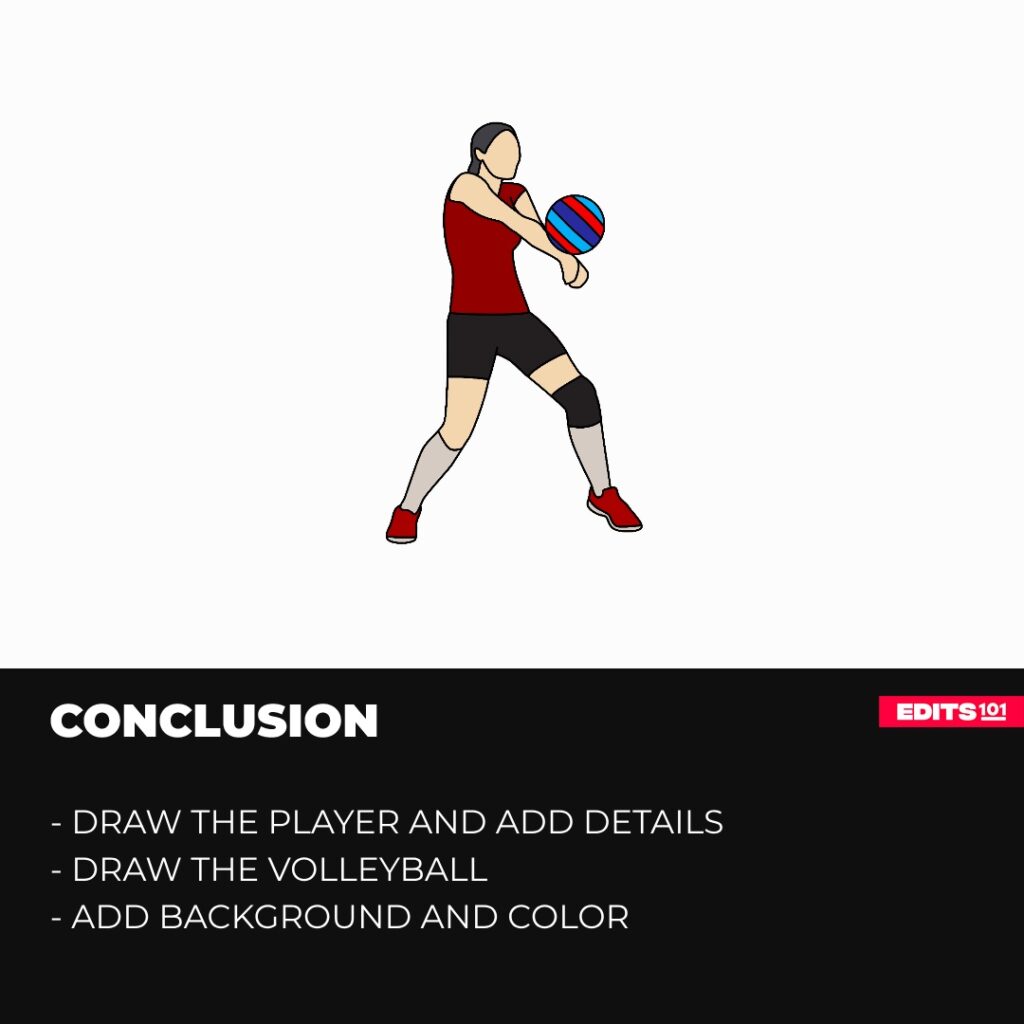
Conclusion
If you’ve followed along with each step, you now have the tools to draw dynamic volleyball action scenes. Start with proportion and form, build up the pose, and then bring your art to life with color, shading, and perspective. Drawing athletes fosters appreciation of the human body’s grace and abilities. Continue practicing figure drawing to improve your artistic skills over time. Allow yourself the freedom to make mistakes and learn from each picture. Now that you know the fundamentals, you can depict volleyball action like a pro.
Thanks for reading & feel free to check out more of our articles!
Author Rating
Overall Rating
Summary
this guide explains how to draw a volleyball player hitting the ball. It also explains some interesting facts about the game and ways to upgrade your drawing.