How to Draw Volleyball Shoes | In 5 Simple Steps
Volleyball is an energetic sport that requires specialized footwear to play at your best. Volleyball shoes are specialized footwear designed to enhance performance on the court. They feature a unique outsole pattern for superior grip on indoor surfaces, facilitating quick lateral movements and jumps. These shoes prioritize shock absorption with ample cushioning in the midsole, which is crucial for protecting against impact during play.
They maintain a low profile and are lightweight to promote stability and agility. Breathable materials in the upper ensure comfort by regulating temperature and moisture. Additionally, volleyball shoes offer support through reinforced uppers, stable heel counters, and cushioned ankle collars. Flexibility is balanced with stability, allowing natural foot movement. Choosing the right fit is essential for optimal support and injury prevention.
| Steps | Complexity level |
| Draw the outline | 3 |
| Draw the soles | 2 |
| Draw the top line | 3 |
| Draw some patterns | 3 |
| Draw the lace | 3 |
What You Will Need:
- Paper
- Pencil
- Eraser
- Colors
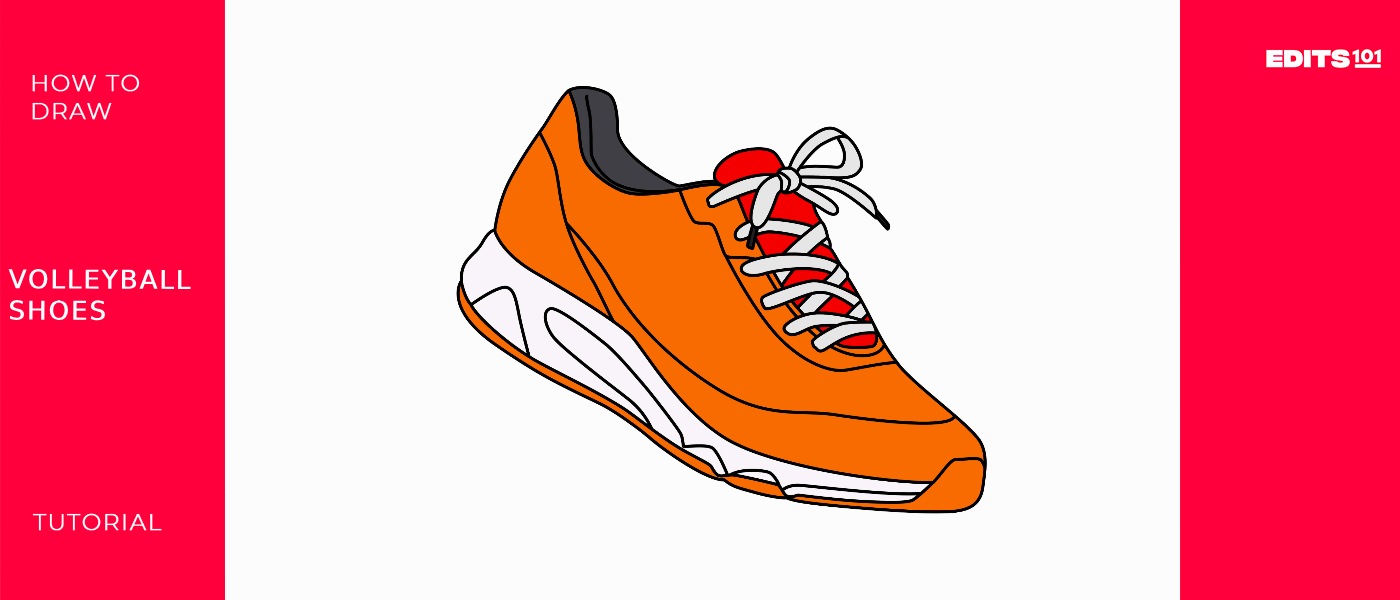
How to Draw Volleyball Shoes
Drawing a detailed pair of volleyball shoes is not only fun for sports lovers but great art practice, too. In this step-by-step tutorial, we’ll learn how to illustrate volleyball shoes, from laces to soles. With simple supplies like paper, pencil, and eraser, you’ll be designing your stylish and realistic volleyball shoe art in no time!
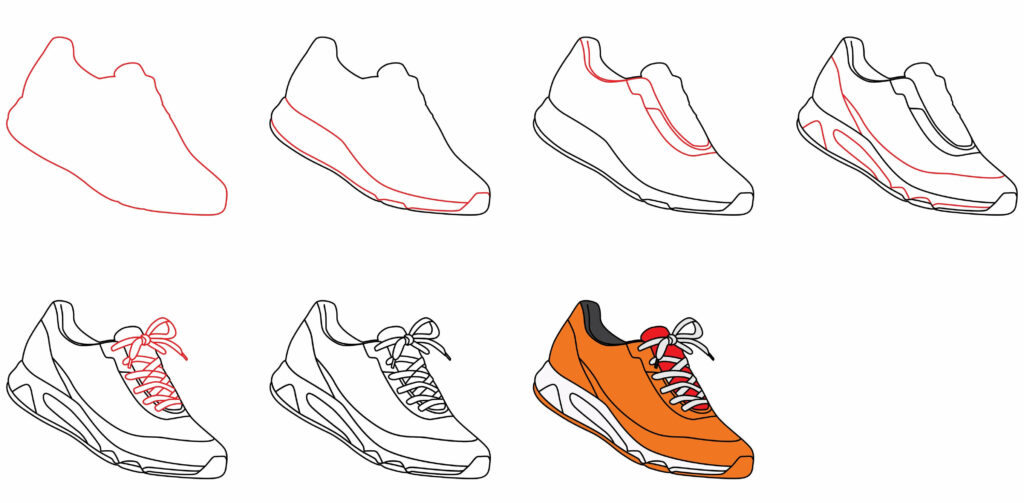
Step 1: Draw The Outline
To start, begin drawing in the middle of your paper. Lightly sketch the outline shape of the volleyball shoe using a combination of curved and straight lines. Start with a larger upside-down U-shape for the sole. Then, draw another U-shape about halfway up to separate sole and upper shoe.
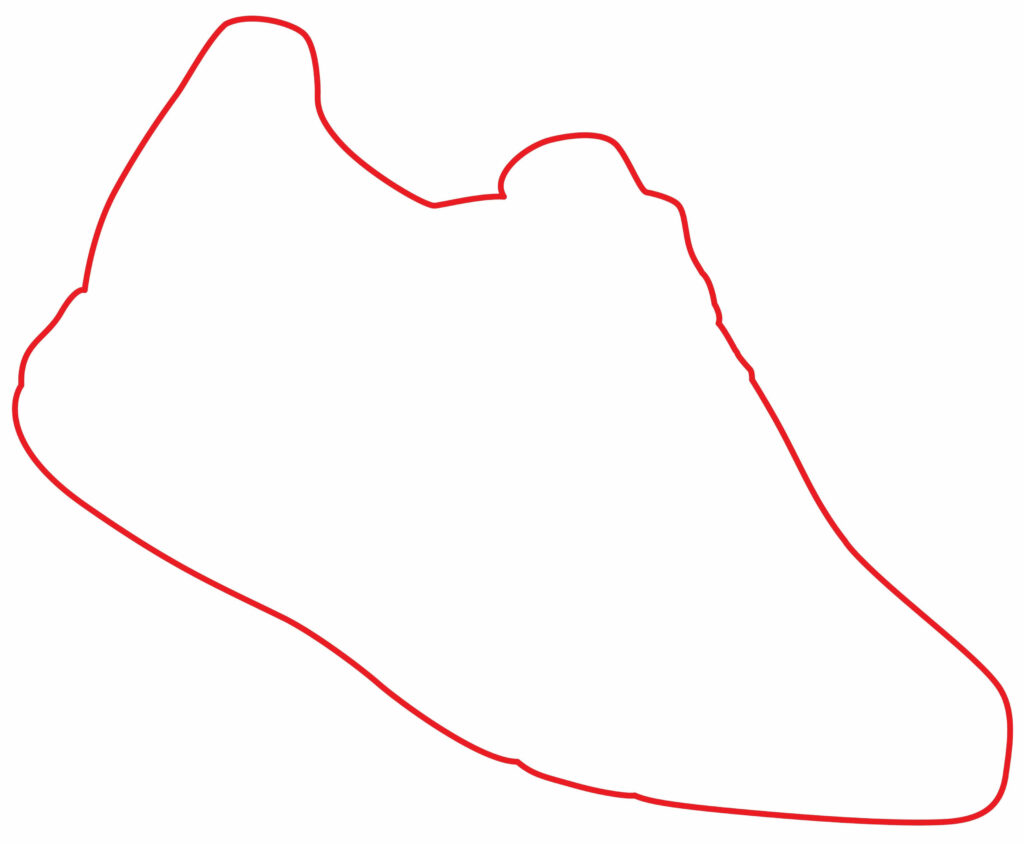
Next, add flowing curves up the sides for the basic shape of the shoe upper, leaving an opening for the laces. Connect the heel with straight lines. Go over the outline until you have the general silhouette of a volleyball shoe. Stay loose and light at this stage as you map out the foundation.
- Start with upside down U for the sole
- Add another U-shape to divide the sole and upper
- Flowing curves connect the sides of upper
- Leave opening for laces
- Straight lines join the heel
- Lightly sketch basic shoe silhouette
Step 2: Draw The Soles
Now that we have the basic outline, it’s time to make the volleyball shoes look more three-dimensional by adding the sole details. Start with the bottom sole. Use curved lines to sketch in the tread pattern, creating the look of grooves and ridges that provide traction.
Then draw a horizontal line across the shoe to divide the upper and lower soles. Above this, add some curved lines to define the shape and contour of the upper sole. Adding these key sole elements creates depth and dimension to make your shoe illustration start to pop off the page!
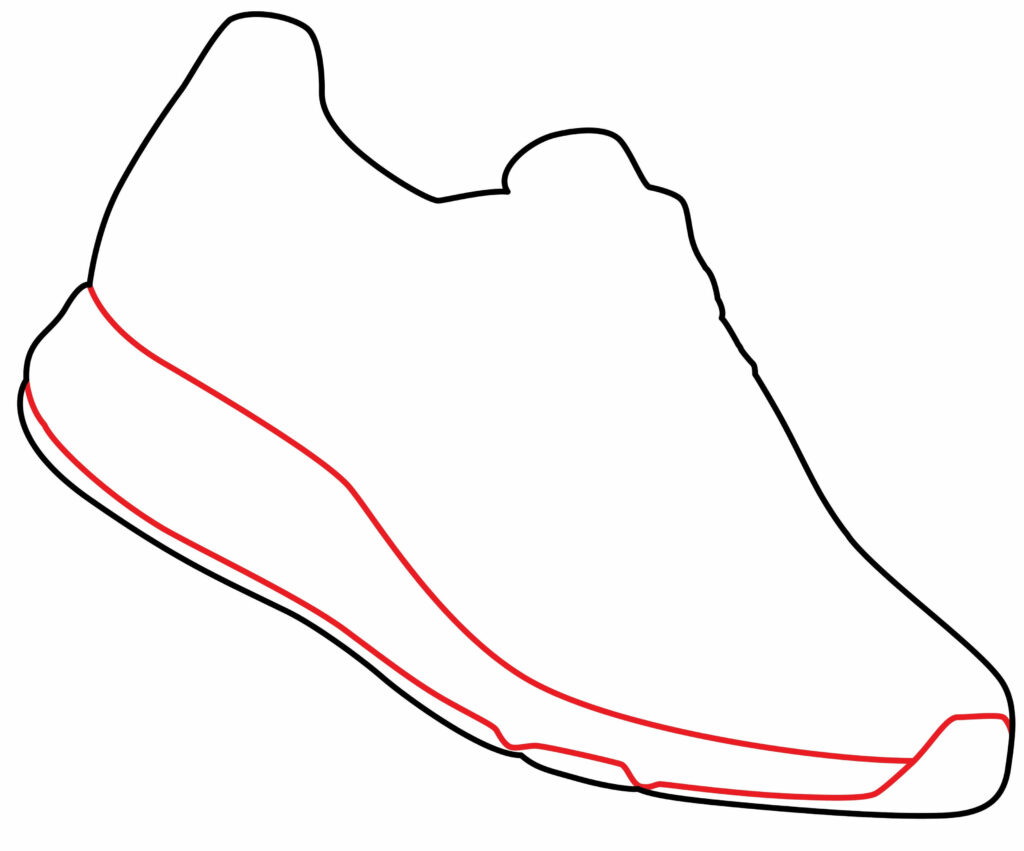
- Sketch curved lines for the bottom sole tread pattern
- Add a horizontal line to separate the upper and lower soles
- Use curves to shape the upper sole area above the line
- Creates 3D look with definition between soles
Step 3: Draw The Topline
Now let’s focus on defining the top section and openings of the volleyball shoes. Start by drawing a curved line across the front to mark the topline edge where the laces will go. Then add two short angled lines on either side of the laces opening to indicate the tongue area.
Below the laces, sketch a small U-shape on each side for the eyelet openings where the laces will be threaded through. Add as many eyelet openings as needed. Finally, draw curved lines continuing down the front of the shoe to meet the sole. These details make the shoe look more realistic and finished!
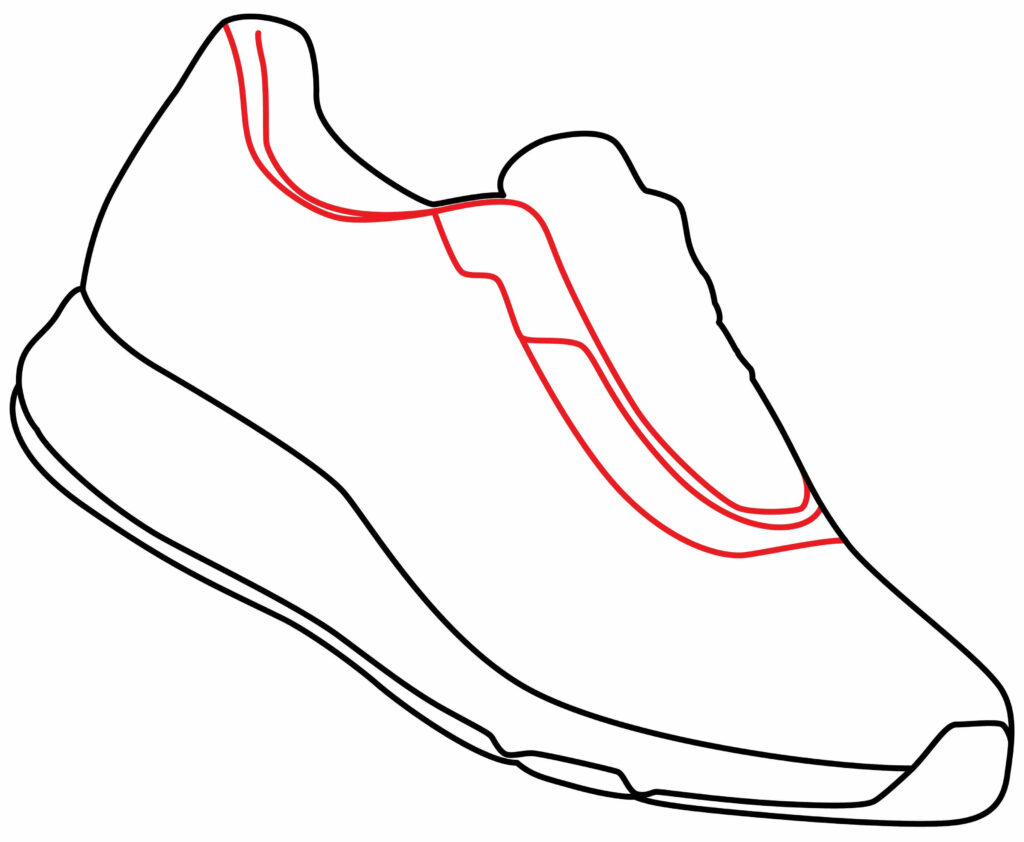
- Draw a curved line for laces opening topline
- Add short angled lines for the tongue section
- Sketch U-shapes for eyelet lace openings
- Connect front to sole with curved lines
- Defines top of shoe and openings
Step 4: Draw Some Patterns
Now, we can customize our volleyball shoes by adding fun decorative patterns and designs. This allows you to unleash your creativity! Use curvy zigzag lines to create stripes across the shoe upper or along the sides. You can make wavy, curved, or straight stripes – any type you like!
Add additional shapes like stars, hearts, or geometric patterns to the upper as well. Make them different sizes and angles for interest. For the sole, sketch patterns like zigzags, dots, checkerboard, or treads. These will liven up the bottom areas. The possibilities are endless for original patterns and textures. Go bold and make your volleyball shoes truly unique!
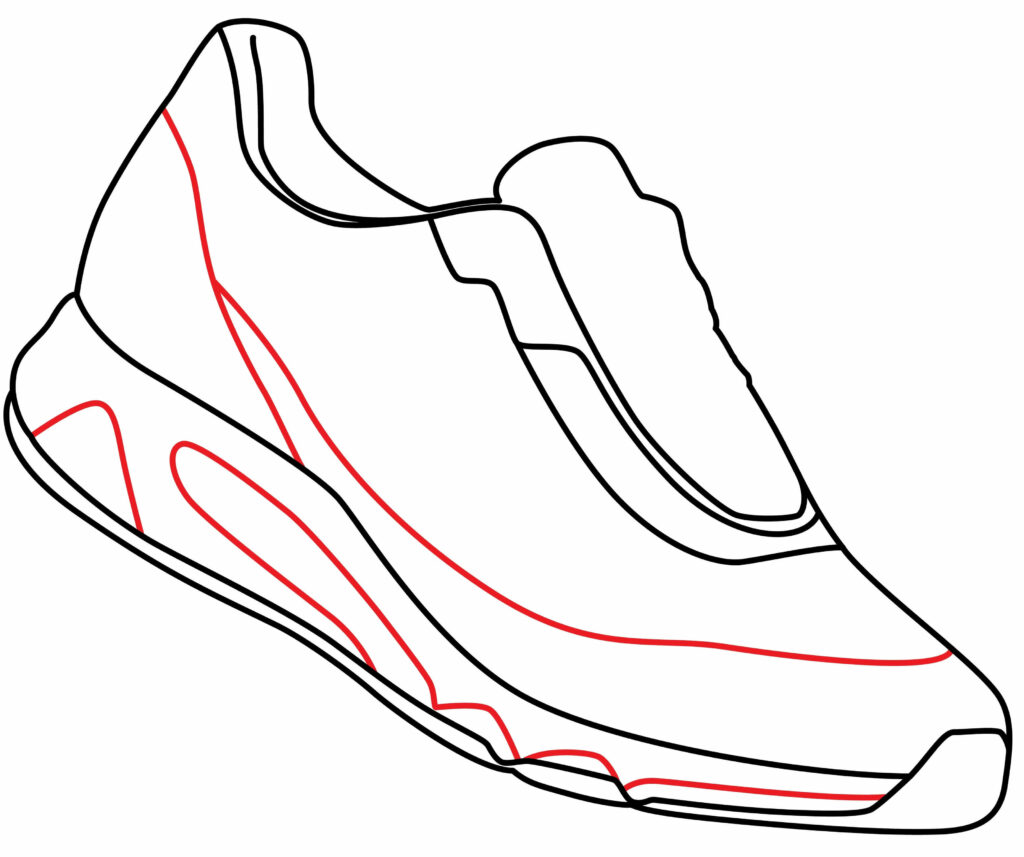
- Add stripes with curvy or straight lines
- Include shapes like hearts stars on the upper
- Sketch zigzags, dots, treads on sole
- Get creative with fun patterns!
- Custom designs make shoes stand out
Step 5: Draw The Lace
What’s a shoe without laces? Let’s add this important finishing detail. Use a series of zigzag or crisscrossing lines to illustrate the lace threading up through the eyelet openings you drew earlier.
Make the lace line thickest at the bottom, tapering in width as it goes through each hole toward the ankle opening. This creates realism and dimension. Draw a little bow or knot at the top of the crisscross lace if desired. Adding this fun detail gives your volleyball shoe even more personality!
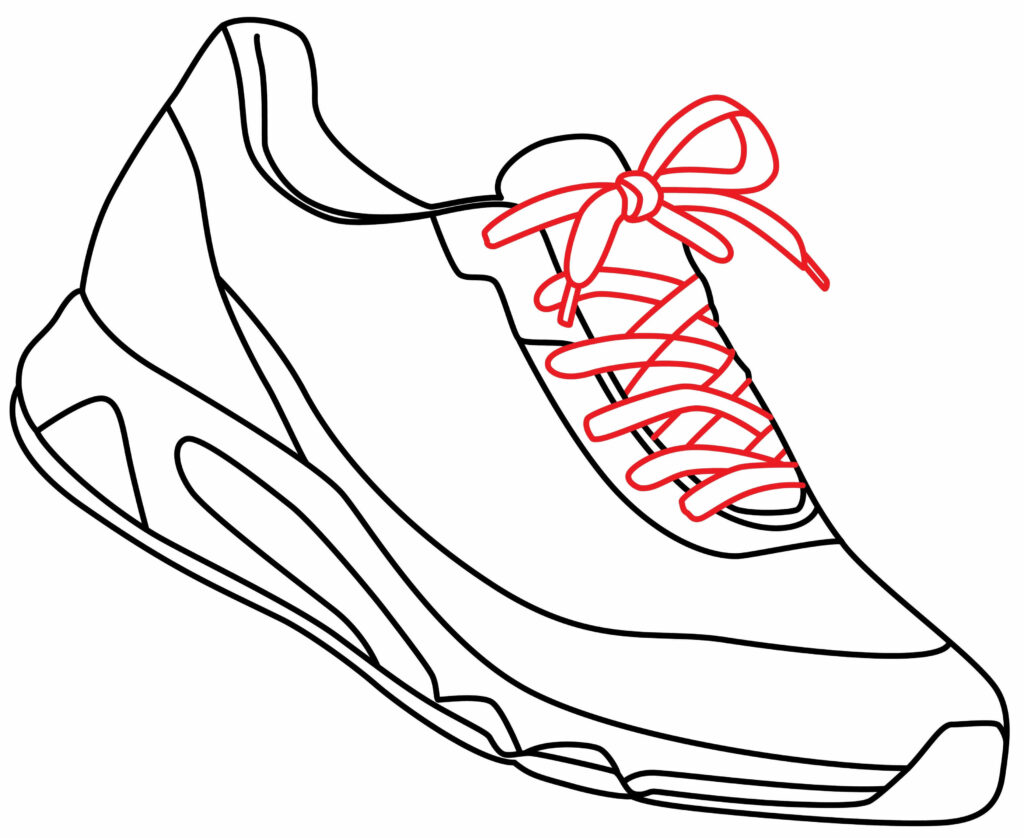
- Draw zigzag lines for crisscross shoe lace
- Make lace thickest at bottom, tapering as goes up
- Add small bow or knot at lace ends
- Brings personality through fun decorative detail
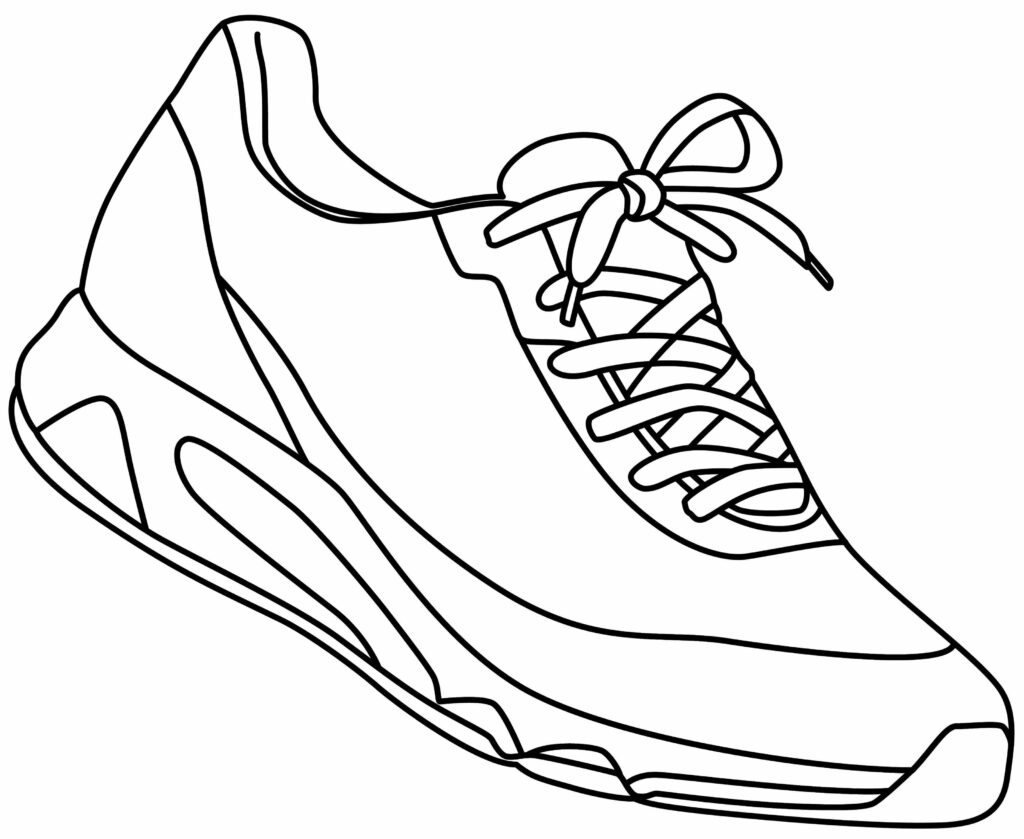
Step 6: Congratulations! Your volleyball shoe Is Ready
You did it! By following along through each step, you now have a finished volleyball shoe drawing to be proud of.
Taking the Drawing to the Next Level
Now it’s time to celebrate completing this guided drawing tutorial. Go ahead and sign your sketch! The learning process is the real joy – not the end product. So pat yourself on the back for all of the effort you put into this artistic endeavor. Great work!
Here are suggestions for taking the volleyball shoe drawing to the next level by adding a background and coloring
Adding a Background
Consider placing your finished volleyball shoe drawing into an appropriate setting to tell a fuller visual story. For example, draw a simple volleyball court with lines on the ground, a net, and a ball. Or place the shoe in a gym locker room with lockers and benches. You could even depict the shoe alone on a white background to keep the focus entirely on your artistic creation. Take the extra step to integrate your shoe into a setting that supports the overall context.
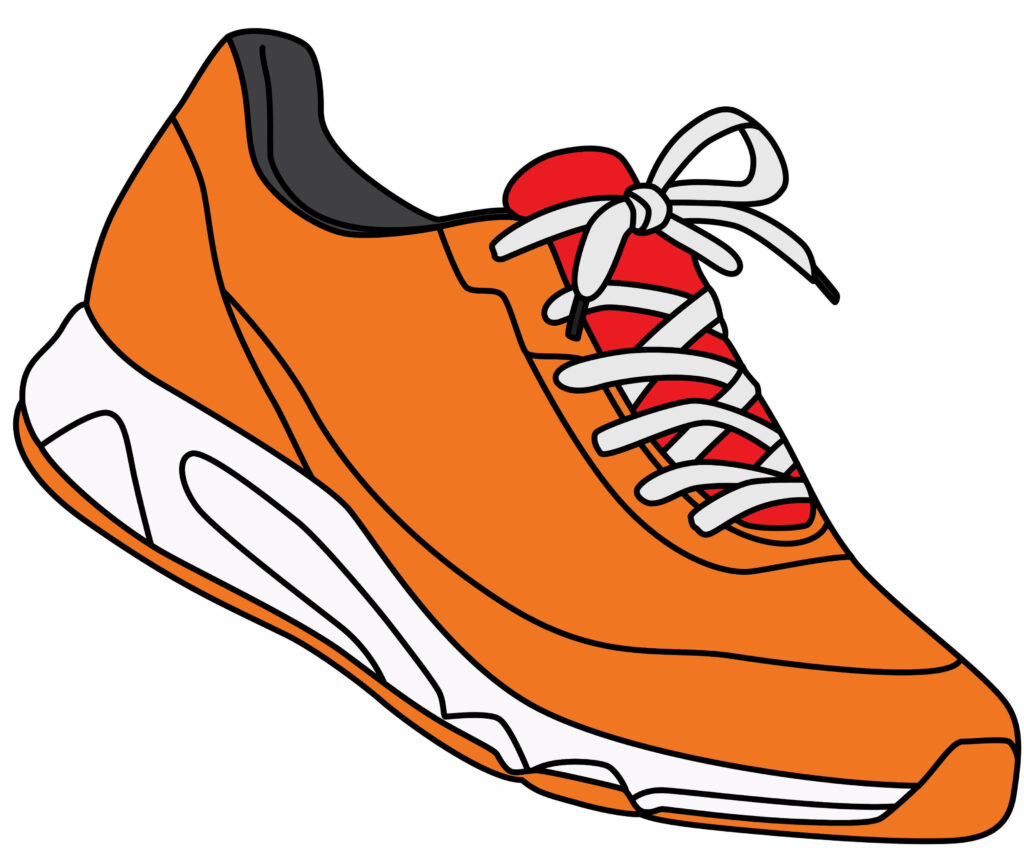
Coloring the Drawing
Color allows you to bring vibrancy and energy to your volleyball shoe artwork. Outline the main shapes first with a thin black pen or marker. Then, use colored pencils, markers, crayons, or paints to fill in your drawing. Look at real shoe photos for inspiration, or let your imagination run wild with color combinations. Use lighter and darker values to create dimension. Add fun decorative touches like logos, brand names, or emblems. The world is your oyster when it comes to coloring your creative shoe drawing!
P.S. bonus tips
Push your creativity further by playing with different perspectives, like drawing your shoe from a low-angle or aerial view for dramatic effect. Add your unique design embellishments, such as sparkles, textures, or graffiti-style art. Incorporate dynamic motion by sketching the shoe from a jumping or diving viewpoint. Render the laces and shoe materials accurately through delicate details like reflections and luster. Consider mixed media approaches combining drawing with painting, collage, or photography for innovative artistic dimensions. Explore the shoe’s line, curve, and angle to capture its full personality from all sides. Your custom volleyball shoe masterpiece has no creative limits, so take artistic risks to develop your style and skills to new heights. Let the shoe reflect the eye-catching energy and movement of the sport itself.
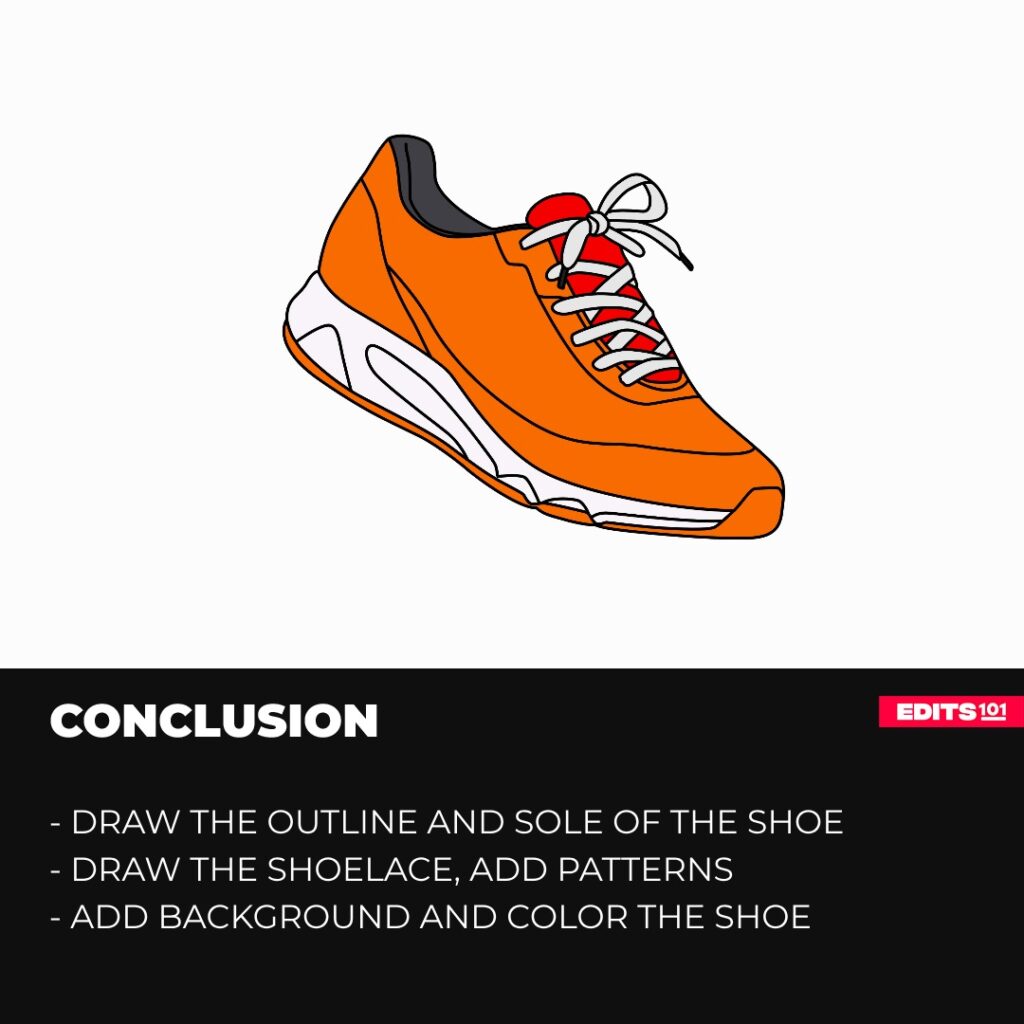
Conclusion
Drawing a realistic volleyball shoe may seem daunting, but breaking it down into simple steps makes it approachable for any artistic level. With foundational skills in shape, line, texture and color, you can now render your unique shoe design. Use this tutorial as a guide, but also as a springboard to unlock your creative vision. Design bold colors, patterns and accessories that express your individuality. Take pride in the specialized sports art you have crafted. Display it as an emblem of your budding talents. Keep drawing different footwear designs – whether athletic or casual – to build artistic confidence. With focused practice, you’ll be able to sketch shoes as quickly as you tie the laces. So get motivated by completing this tutorial and prepare to draw your next footwear masterpiece.
Thanks for reading & feel free to check out more of our articles!
Author Rating
Overall Rating
Summary
Learn the basics of drawing a volleyball shoe. In the process, you will also learn about drawing sneakers and how to make them look impressive.