How to Draw a Car Carrier | Easy Tutorial
Ever wondered how brand-new cars are transported? Or how a broken down vehicle is moved to the repair shop? Well, the answer is in the car carrier. You have probably seen one on your street or TV. But do you know how to draw one? If not, today’s lesson is for you.
Before diving into drawing a car carrier, we need first to understand what this is. Also referred to as a car hauler, car-carrying trailer, or auto transport trailer, a car carrier is a semi-trailer or trailer that is designed to transport passenger vehicles efficiently. Car carriers can either be open or closed.
What You Will Need
- A pencil
- An eraser
- A drawing piece of paper
- Coloring supplies
- At least 30 minutes
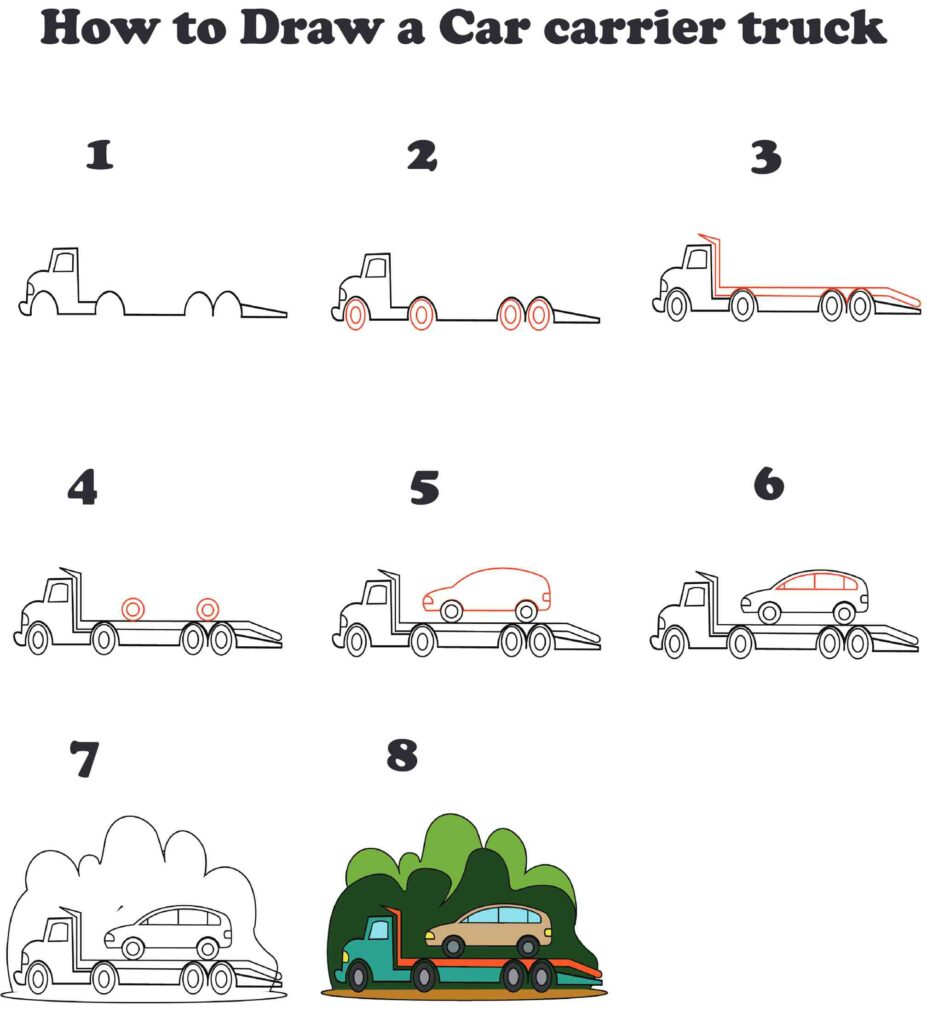
Steps for Drawing a Car Carrier
In our tutorial, we will be drawing a simple car carrier with an open cargo bed. We will be focusing on more of a cartoon-style car carrier. As a result, we will be using freehand most of the time. You can refine your drawing later once you understand how to draw a car carrier. Here are the steps we will be following.
Step 1: Draw the Body of the Truck
A car carrier is basically a truck that is equipped to carry vehicles. As a result, the first thing we are going to draw is the base of the truck.
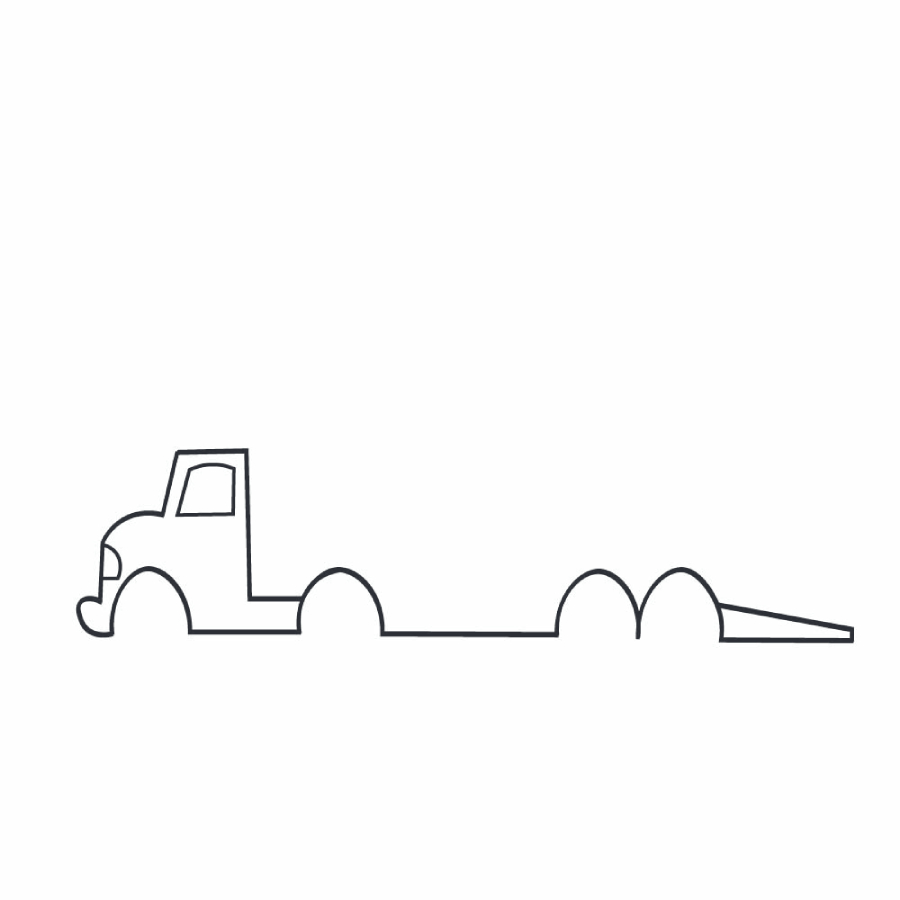
We will start with the bottom part of the truck. For this, we need to start by drawing a straight line starting from the left to the right of your drawing paper. Make sure you leave some space between the left and right margins. There should also be ample space between the top and bottom of the drawing paper.
Now that you have a horizontal line, we need to start by adding the driver’s cabin. We will add this on the left of the horizontal line. Start by drawing a rectangle that covers about a quarter of the length of the horizontal line. Make the top left corner rounded.
Next, you need to add another narrower rectangle on top of the first one. This will serve as the top part of the driver’s cabin. Add a smaller rectangle inside the top rectangle for the window. You then need to add a small oval shape on the left side of the bottom rectangle to represent the headlight.
Next, we need to add the indentations for the wheels. Start by adding an oval shape below the driver’s cabin. You should then draw another oval shape right behind the driver’s cabin to create the second notch for the wheel. Add another pair of conjoined oval shapes near the right end of the line to form the notch for the rear wheels.
Your drawing should now look like this.
To refine the drawing further, erase any lines that cut through the bottom of the oval shapes we added for the wheel notches. You should also add a protrusion on the bottom left part of the truck to represent the bumper. For the ramp on the rear, draw a horizontal line that starts from the right end of the horizontal line and connects to the notch for the rear wheel as shown in the illustration.
The body of our truck is now ready! The hard part is over.
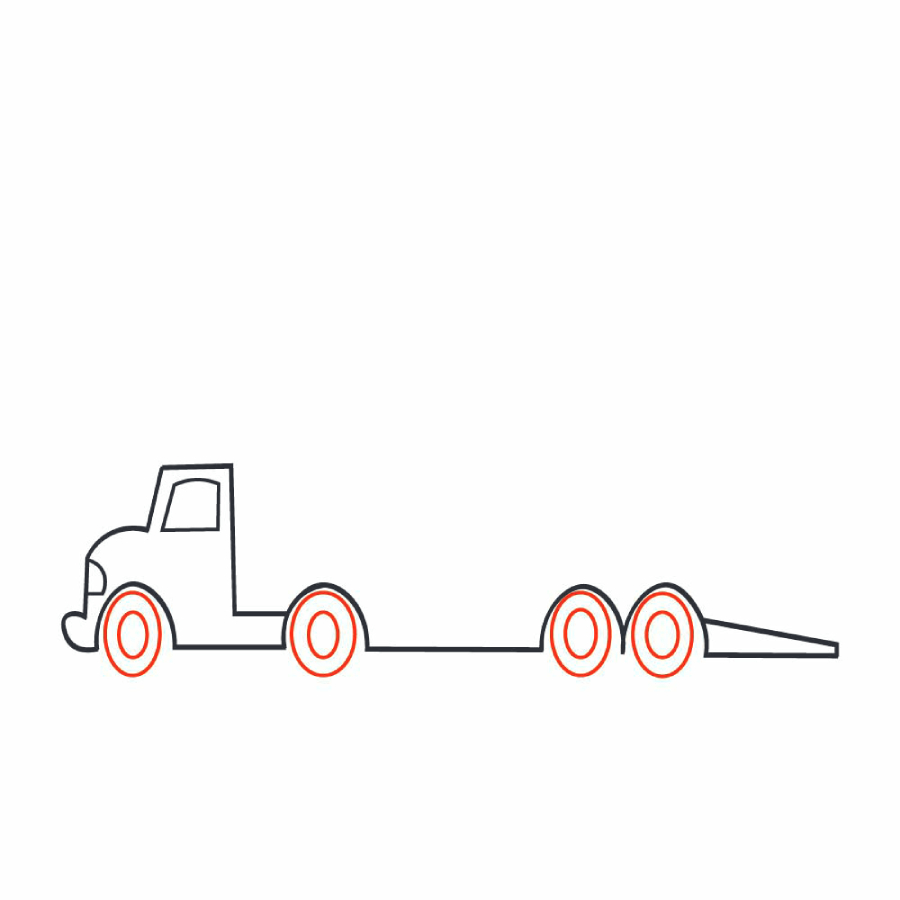
Step 2: Add the Wheels
Our car carrier cannot move around without the wheels, can it? That is why the next thing we have to do is add the wheels. Keeping in mind that we are drawing a cartoon-like car carrier, our wheels will not be a perfect circle.
We will start adding the wheels from the notch under the driver’s cabin. Start by drawing a small, vertical oval shape in the notch. Make sure you leave ample space all around because we will be adding another oval shape over the smaller one in order to form the front wheel. Repeat the process to add the wheels in the remaining notches. Your vehicle should look something like this.
That was easy, right?
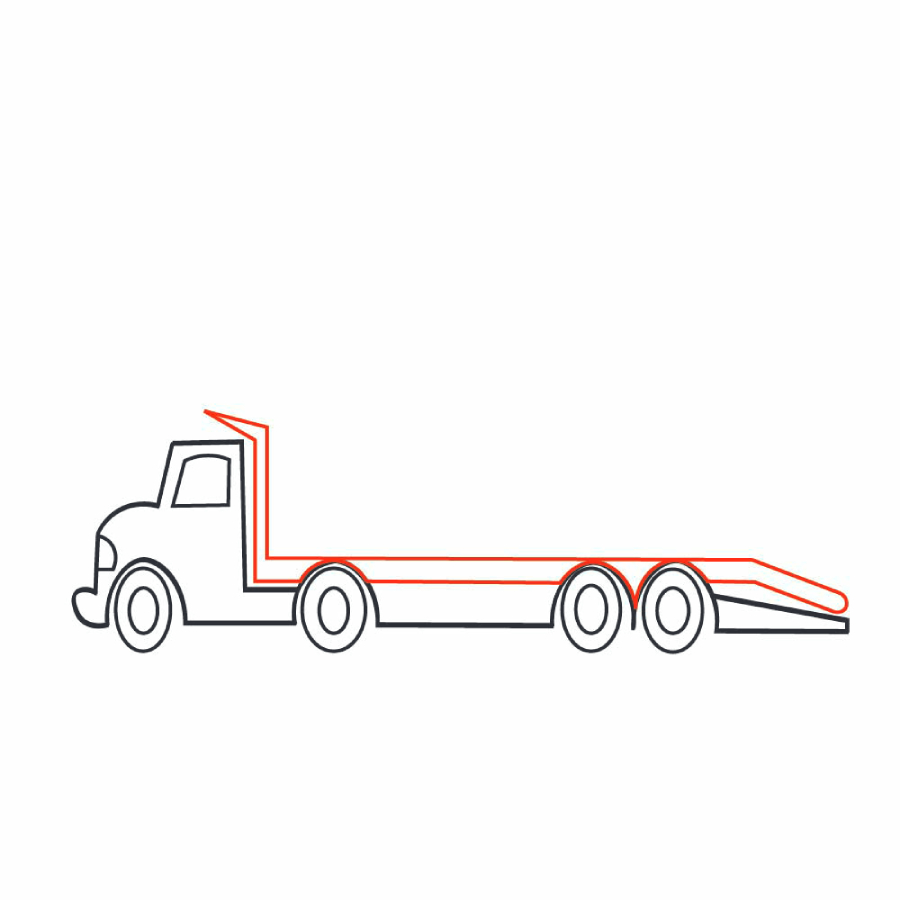
Step 3: Add the Cargo Bed
To be able to carry heavy vehicles, the car carrier has a strong structure and a retractable cargo bed. The retractable cargo bed makes it easy to load and offload vehicles onto the car carrier. The next thing we are going to draw now is the retractable cargo bed.
For this, we will start by drawing a horizontal rectangle over the back wheels of the truck. The top line of the rectangle should be over the wheels while the bottom line should cut slightly through the wheels. Use your eraser to remove the sections that cut through the wheels.
Next, we will add a ramp on the rear. For that, draw a diagonal rectangular shape that slants towards the rear. This will be where the vehicle drives on to get on the cargo bed.
We don’t want a poorly fastened car to roll forward and crash through the driver’s cabin, do we? For added protection, we will add a barrier between the driver’s cabin and the cargo bed. For this, we will add a vertical rectangle that connects with the base of the cargo bed as shown in the illustration below. You can add a small rectangular shape over the driver’s cabin or leave it flat.
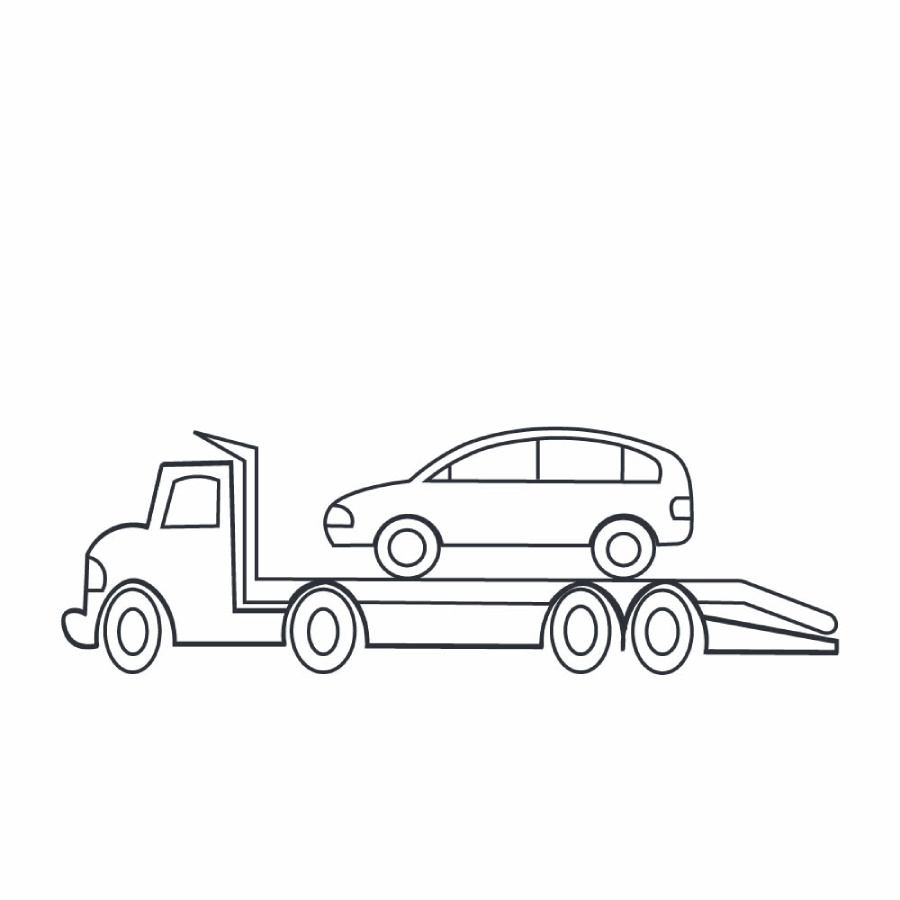
Our car carrier is now complete.
Take the Drawing to the Next Level
While it is okay to leave it as it is, people who don’t know what a car carrier is will be left confused. To make our drawing easier to understand, we will add a car on the cargo bed and a few more details.
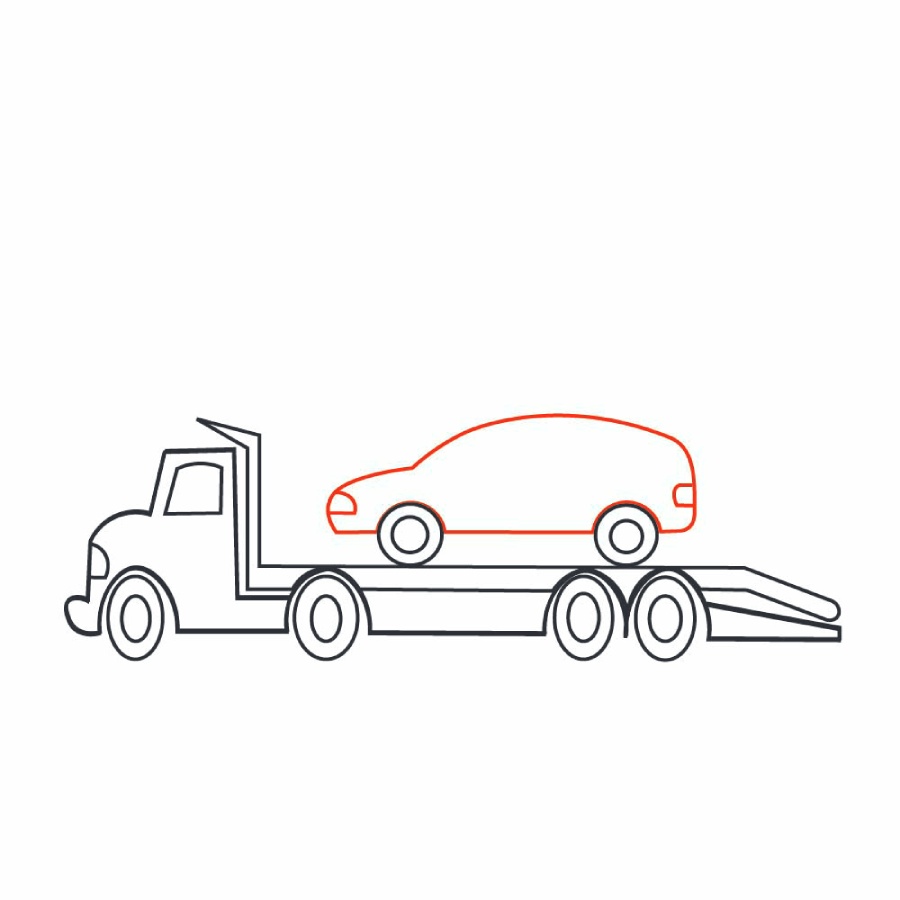
Step 4: Add a Car on the Cargo Bed
To add a car, draw two circles on top of the cargo bed. Add a smaller circle in each of the circles to complete the wheels.

Next, we will add the body of our car over the wheels. You can draw any vehicle you want so long as it fits on the cargo bed of the car carrier. For our drawing, we will add a saloon car. To draw a proportional car, you can start by drawing a rectangle over the wheels. This will serve as the reference for the size of the car. Add a curved front end of the car and curve the rear. To create a realistic car, add front and rear headlights. Erase all the unnecessary lines from the rectangle we drew earlier. You should have something that looks like this.
The final step is all about adding the windows to the car. The windows should fit on the upper part of the car we just drew. You can use any design you want, provided the lines you use for the windows don’t overlap with the body of the car.
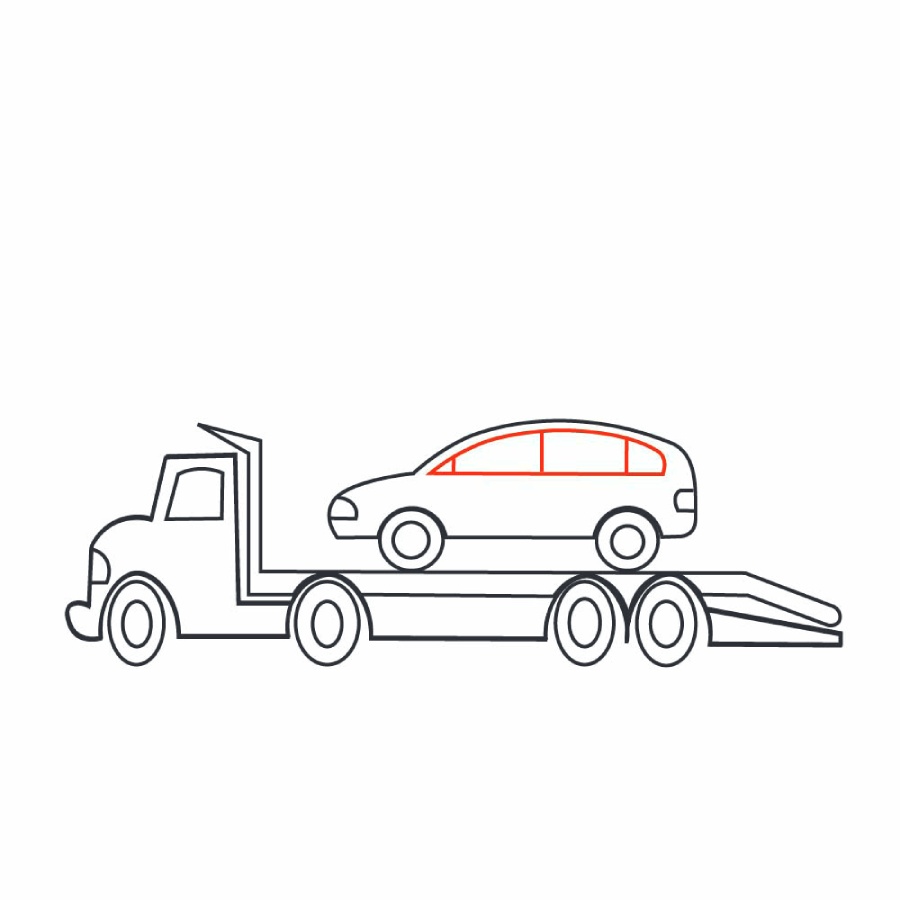
Our car is now ready and so is our drawing.
Does your drawing look similar to or better than ours? If it does, bravo! You are a natural artist. If the drawing is not looking too good, there is no need to be frustrated. The first attempt is always the hardest. You will get better on your next attempt. For now, all you can do is improve the areas you feel are too far off.
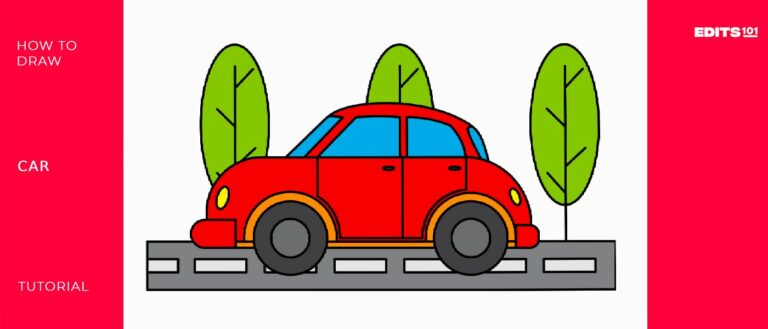
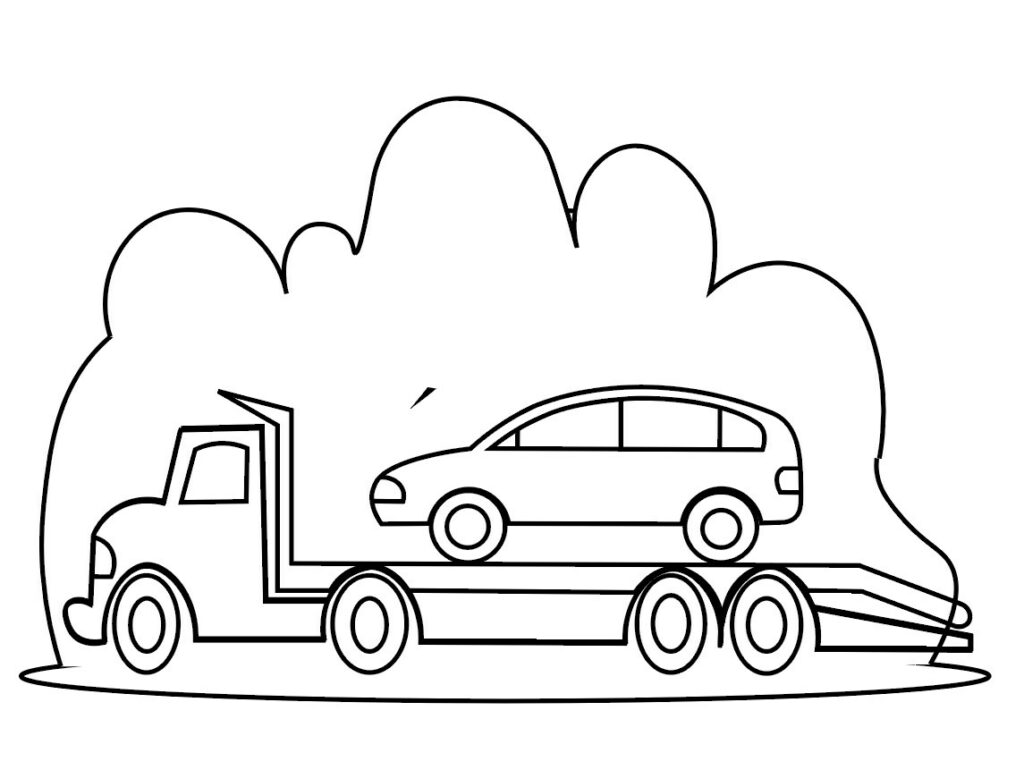
Step 5: Add a Background
It is okay to leave the drawing as it is. However, since our goal is to become great artists, we are going to add more details to help our drawing stand out. For the details, we will be adding a background. You can add a few trees behind the car carrier and a road. It is also okay to add a name and logo on the car carrier and your name on the car being transported. Let your imagination run wild.
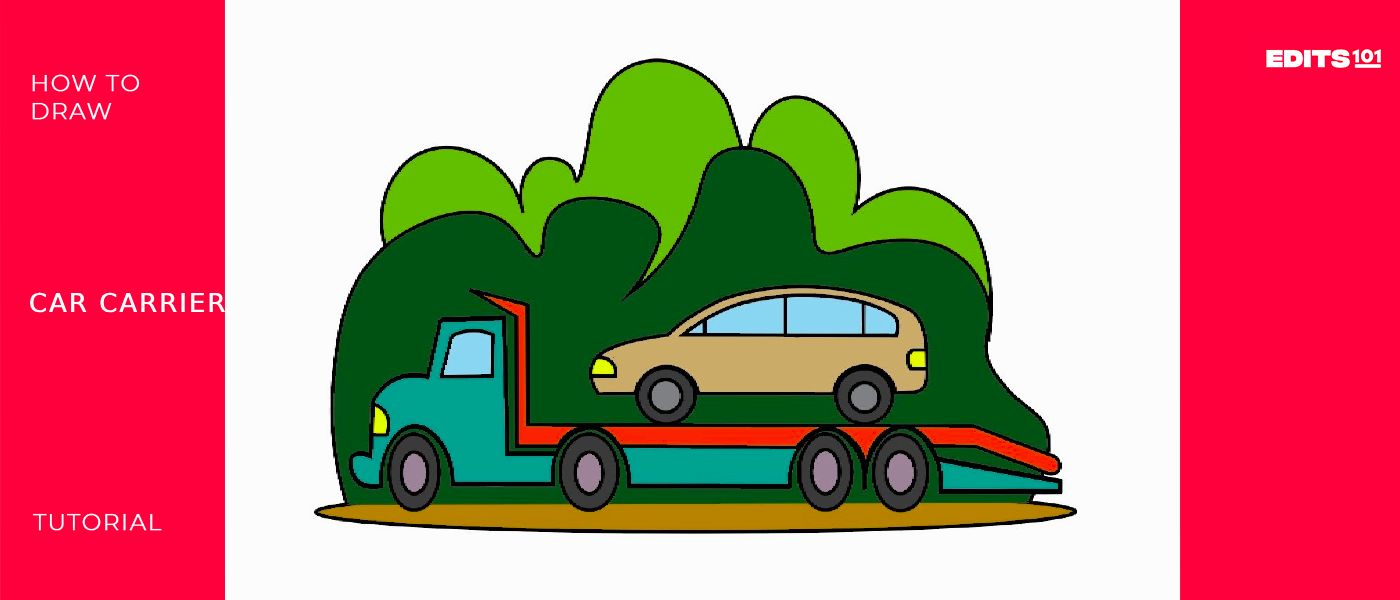
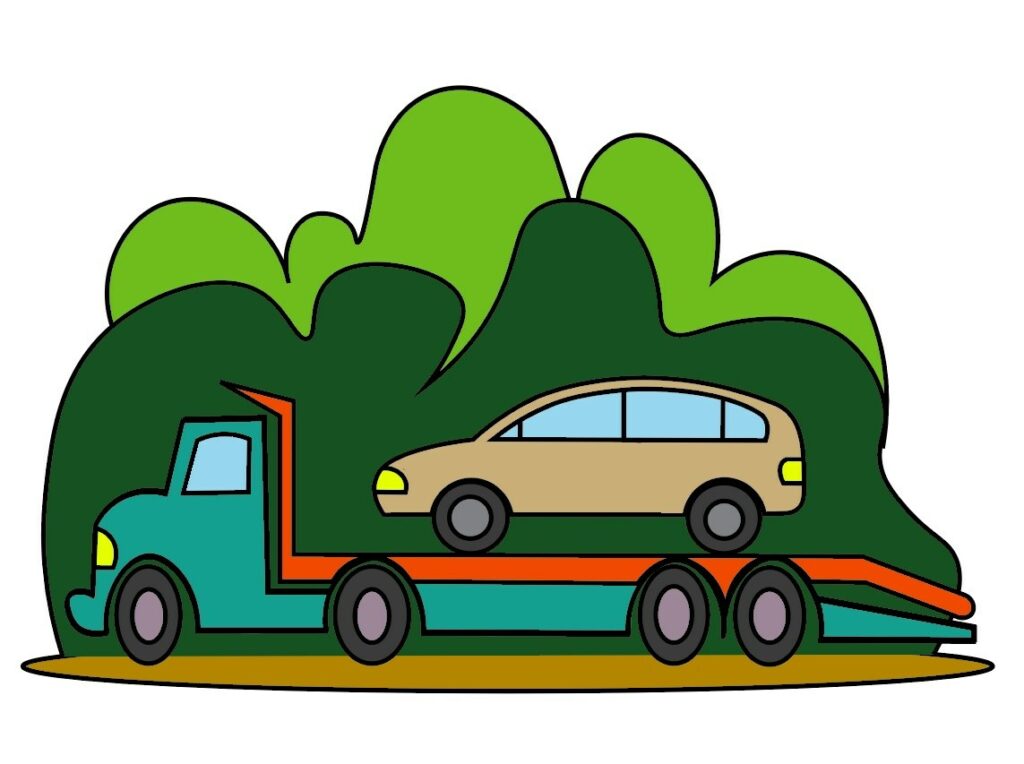
Step 6: Color Your Drawing
The last part is the most fun. It involves adding color to your drawing. Take out your coloring supplies. You can use any colors that you want. Here is what we did to our drawing.
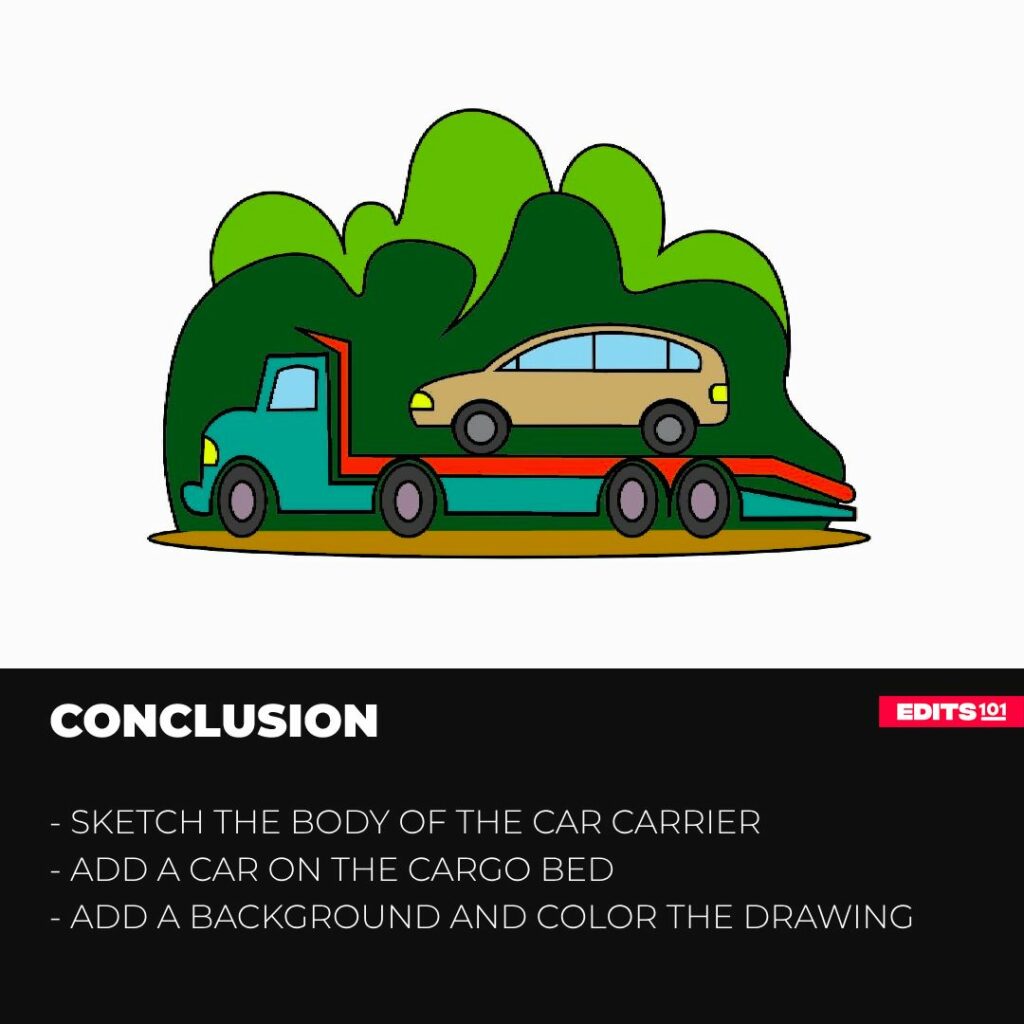
Conclusion
Drawing a car carrier is quite easy so long as you know what steps to follow. The key is to always start by drawing the bottom part of the car carrier and then add more details, including the notches for the wheels, the wheels, and then the flatbed. The car being transported should be added last. If you want to add a background, do so before you start coloring so that the colors don’t overlap.
Thanks for reading & feel free to check out more of our articles!