How to Draw a Snowboard | Step-By-Step Guide
Do you enjoy watching Winter Olympics where athletes descend a slope covered with snow while standing on a board that is attached to their feet? That board is what is referred to as a snowboard. While you might have just learned about this sport just the other day, since you are young, snowboarding has been around since the 1920s. That was more than a hundred years ago. But what exactly are snowboards?
Snowboards are basically boards that a user places on their feet. When compared to skis, the snowboards are usually wider since they are designed to support both feet while a user glides on snow. In today’s lesson, you will learn how to draw a realistic snowboard.
What You Will Need
- A pencil
- An eraser
- A drawing piece of paper
- Coloring supplies
- 30 minutes
How to Draw a Snowboard
A snowboard is one of the easiest things you can draw. It is not complicated and has so few elements. Provided you follow our steps carefully; you will be able to end up with a beautiful drawing. Below are the steps we will be following. Review the steps so that you know what will be involved.
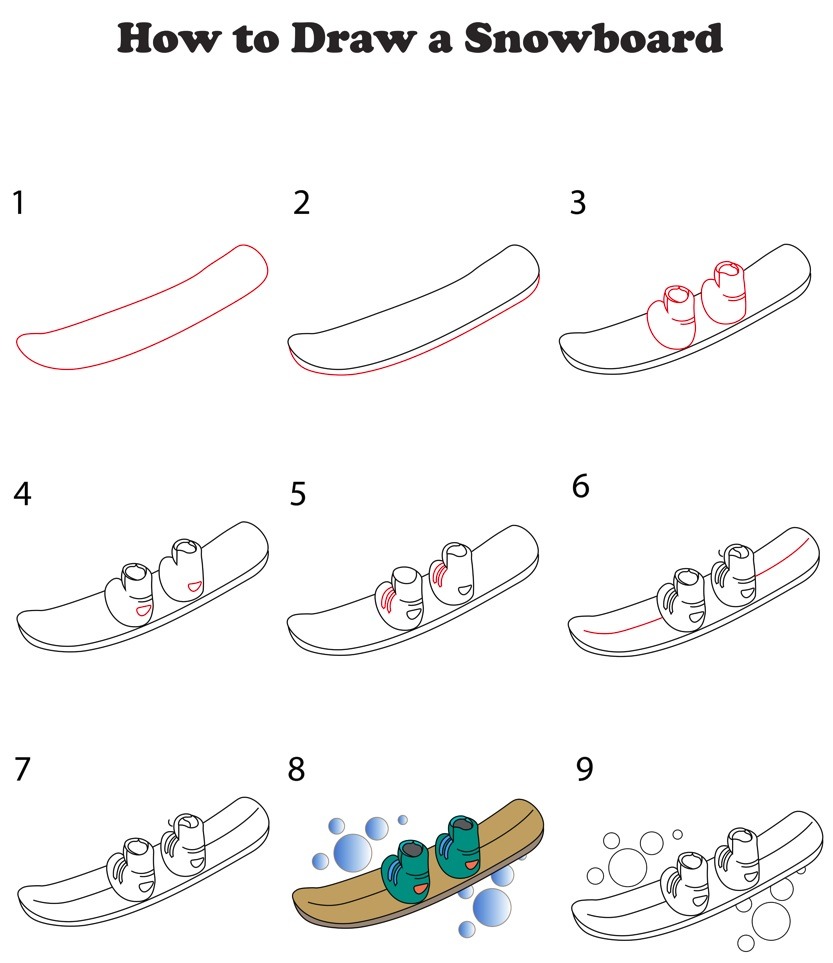
Step 1: Draw the Layout of the Snowboard
Snowboards are available in different styles. The style of a snowboard will depend on its intended use. There are snowboards for freestyle, freeride, park, powder, all-mountain, racing/alpine, and split board. Snowboards are usually constructed using a hardwood core that is sandwiched between layers of fiberglass.
To draw the base of our snowboard, the first thing we will do is draw a diagonal rectangle. This should start close to the bottom left corner and extend towards the top right corner. Make sure you leave ample space between the top right and bottom left corners. We will need that space for other details later.
Once the rectangle is ready, we need to turn it into a snowboard. To do so, we will start by making the corners on the right side of the rectangle rounded. Erase the sharp corners and make them rounded.
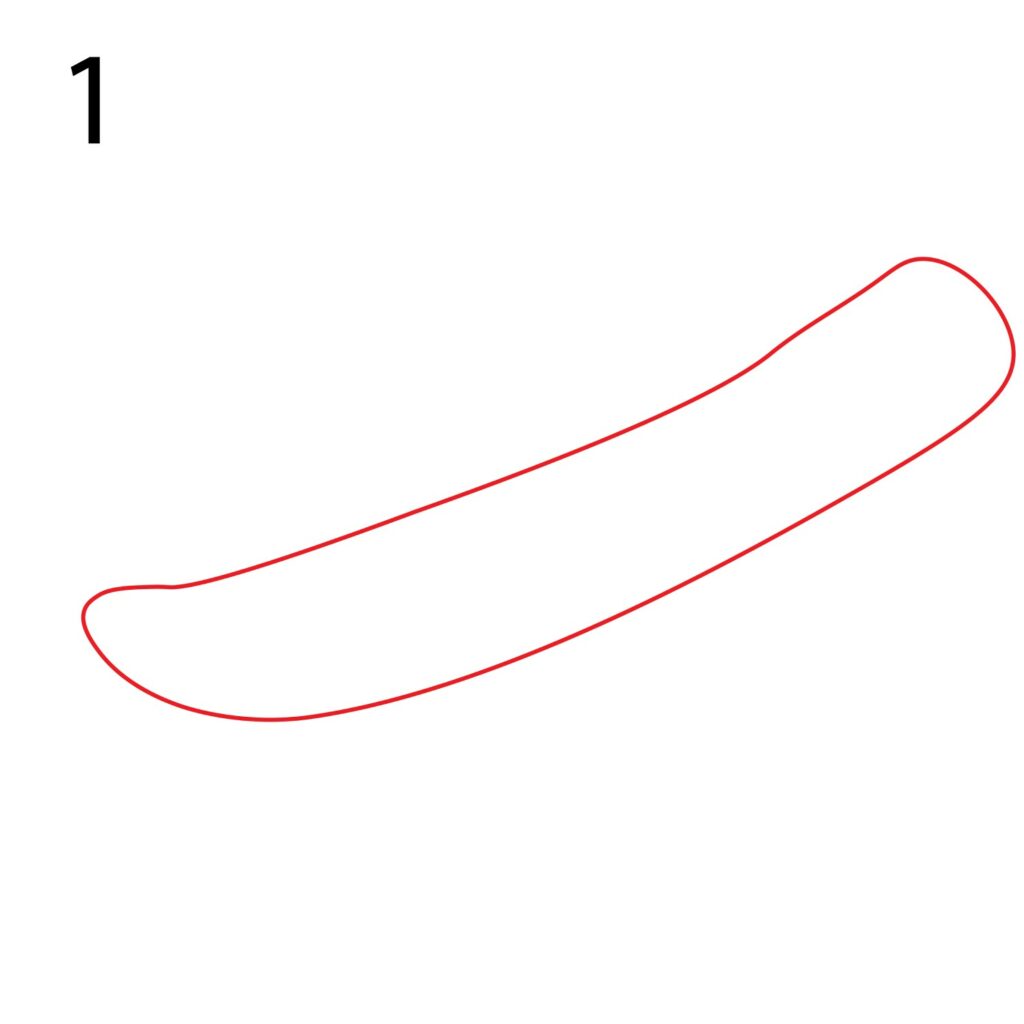
Next, we need to make the bottom left part of the rectangle curved. For this, we will draw a line starting from the top left corner, curve it slightly, and connect it a short distance inside the bottom line of the rectangle. We will then erase the section of the rectangle that sits outside the curved line.
For the upper part of the rectangle, we will add a curved line that is parallel to the curved line we just added. The line will start at the top left corner and extend slightly below the top line of the rectangle. We will then make the top left corner of the rectangle rounded and erase the part of the rectangle that sits above the curved line we just added. You should have something that looks like this.
Step 2: Add an Edge
While a snowboard is made of a strong hardwood material, it is reinforced to support the weight of the user and also to help it last long. For that, a snowboard has a thin strip of steel that surrounds its edges.
To add the strip of steel that surrounds the edge of a snowboard, we will add a line below the shape we just drew. The line should start right below the top left corner, move at an equal distance around the bottom line, and connect to the bottom right corner of the snowboard.
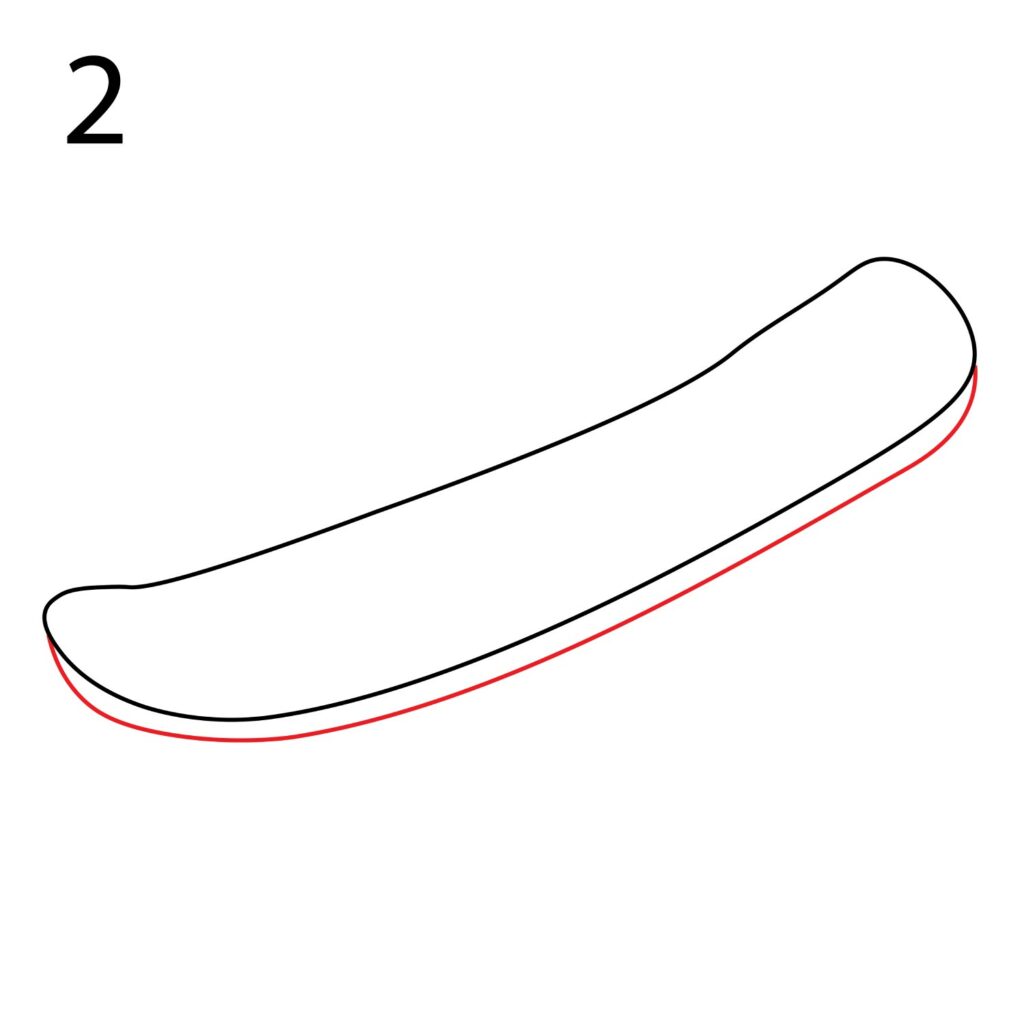
Make sure the edge you add is not too big. The thickness should also be equal all around apart from the section where the line connects to the snowboard.
Step 3: Draw the Snowboard Bindings
One thing you need to understand about snowboards is that they are not exactly like skateboards. The user does not just step on the board. Because of how intensive the sport is, the user has to be strapped to the snowboard. This is done using bindings.
Snowboard bindings are what attach the user’s feet to the snowboard. The bottom of the bindings is known as the baseplate. It has a disk which makes it possible for the user to change the angle of the bindings. There are many types of snowboard bindings. For our drawing, we will add bindings that are found on kids’ snowboards. They are wearable bindings that look like boots.
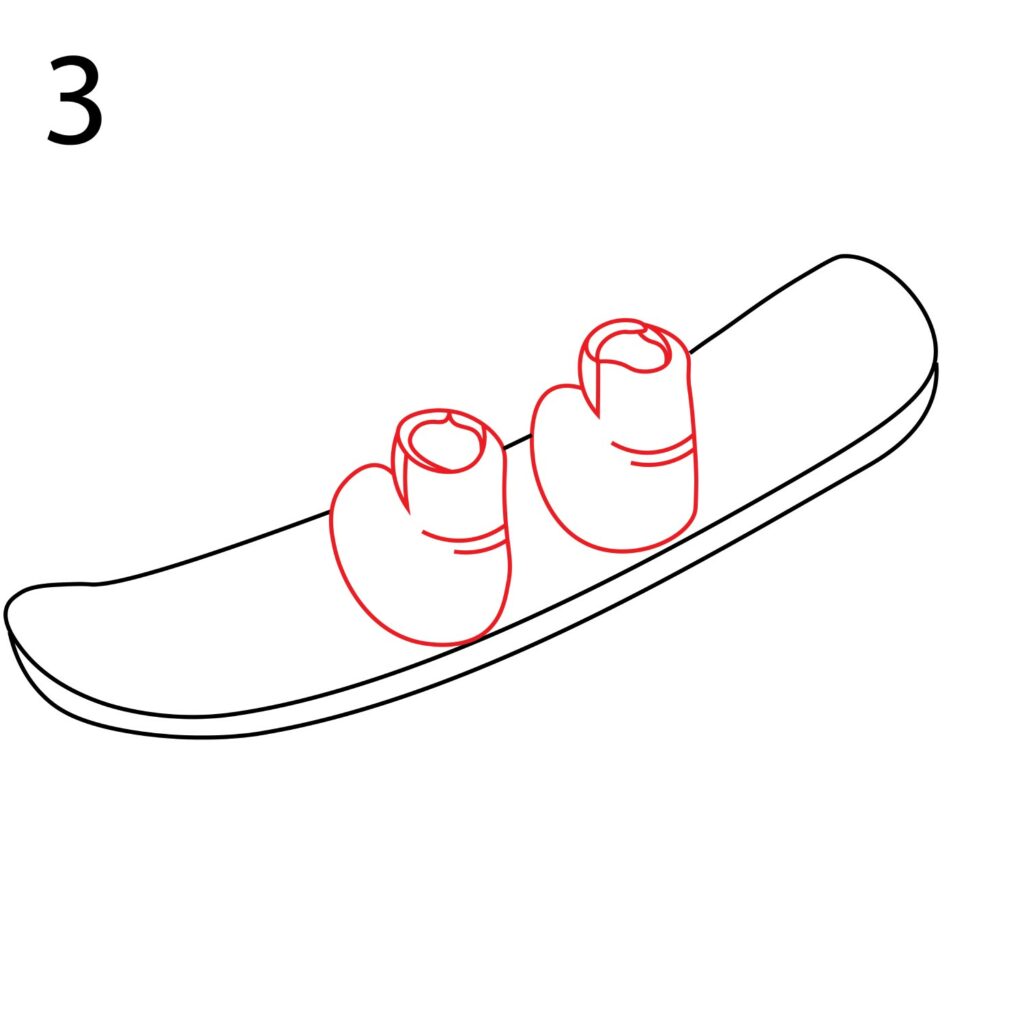
To add the bindings, we will be adding two boot figures in the middle of the snowboard. For that, we will start with the left boot. Draw an oval shape on the snowboard. You then need to add a circle on top and a couple of lines to turn it into a boot. We will do the same for the right boot.
Make sure you erase the lines that cut through the boots. You should also make them the same size.
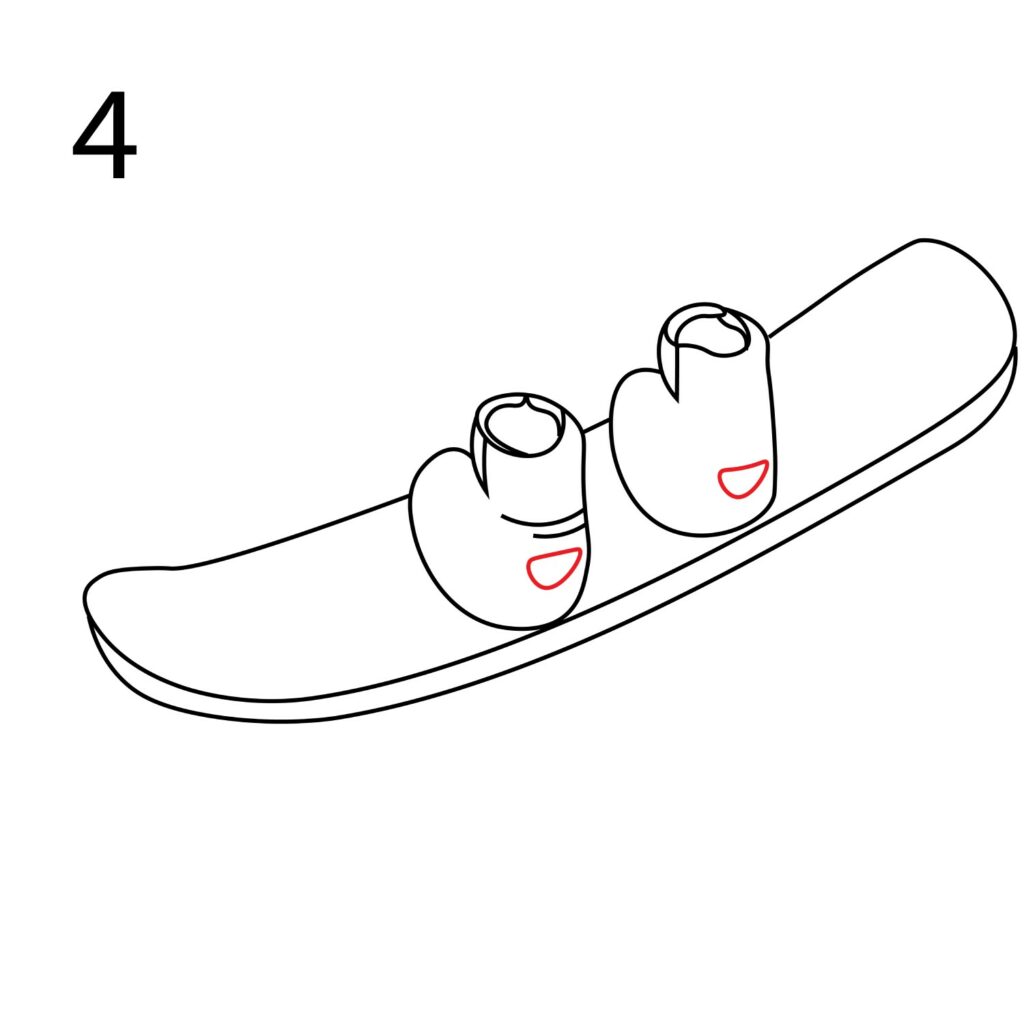
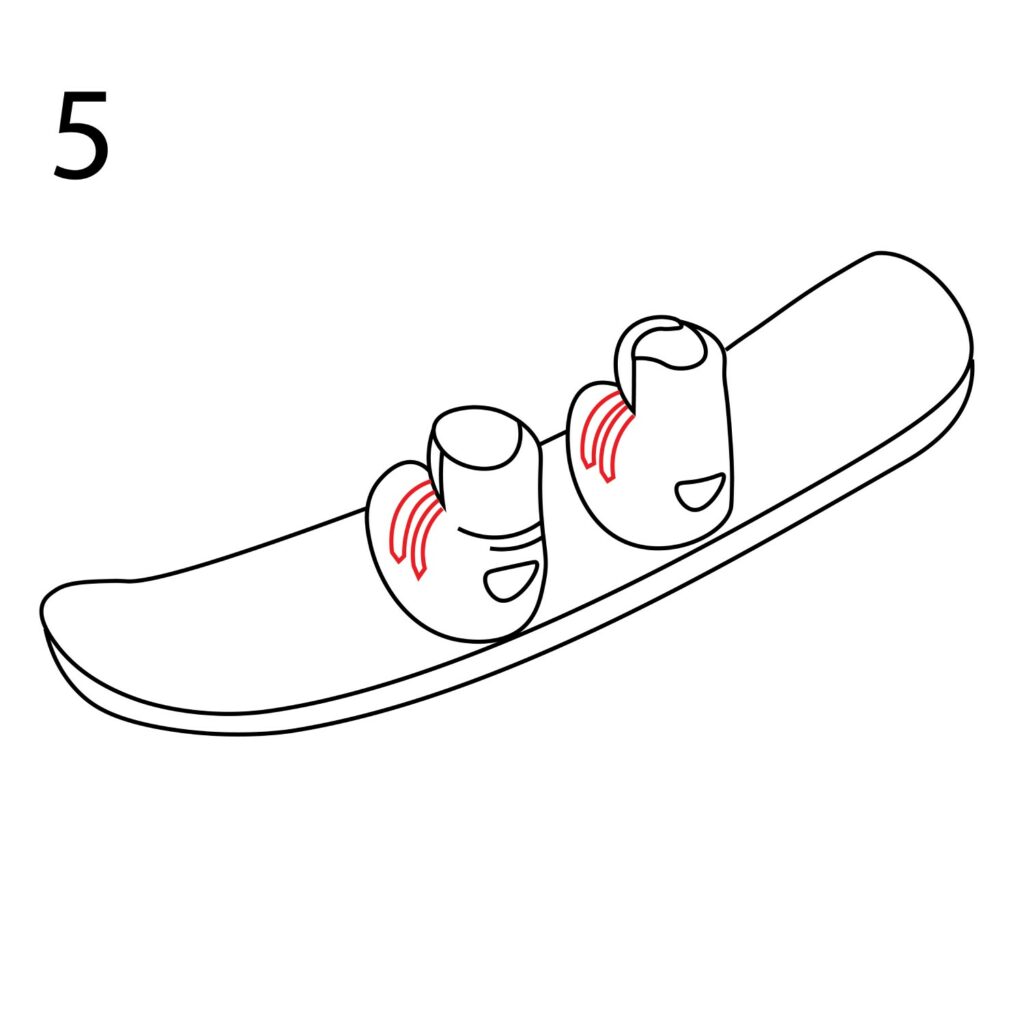
Step 4: Draw the Ankle Straps
To show that our boots offer maximum support to the user’s feet, we will add tiny oval shapes at the back of the boots to represent the ankle straps.
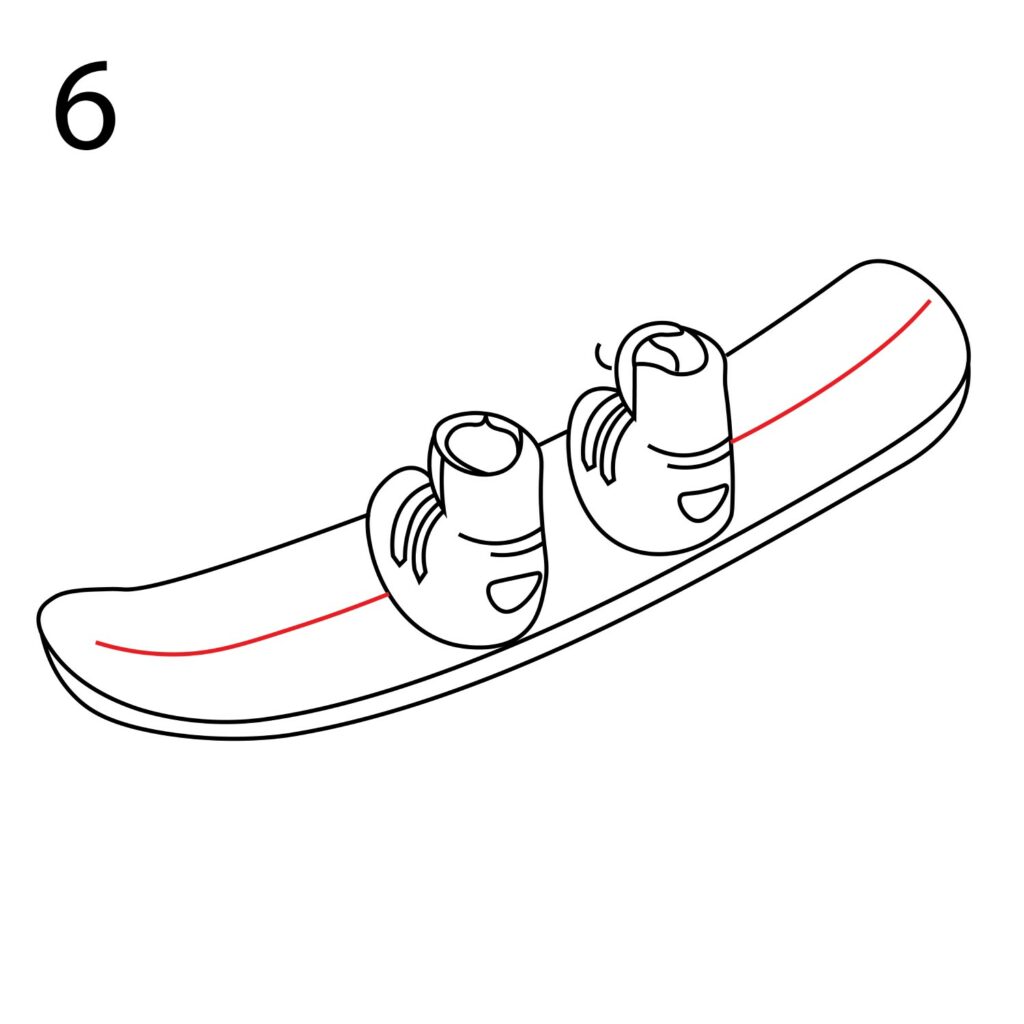
Step 5: Draw the Laces
The rider needs to be able to tighten the bindings around their feet. For that reason, we are going to add some laces on the front part of the snowboard bindings.
Step 6: Final Touch
For the final detail of our snowboard, we are going to add a line in the middle of the board. This line is just for decoration. Make sure you curve it upwards a bit towards the front end of the snowboard to indicate that the front is raised for aerodynamics.
Take Your Drawing to the Next Level
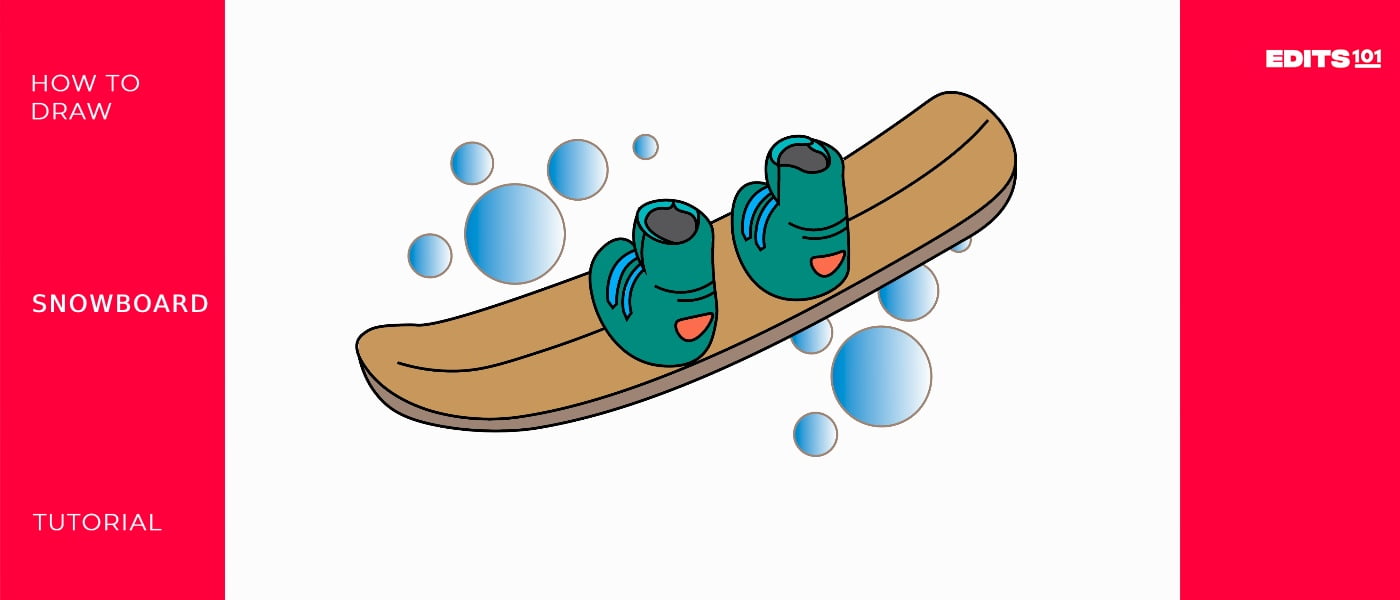
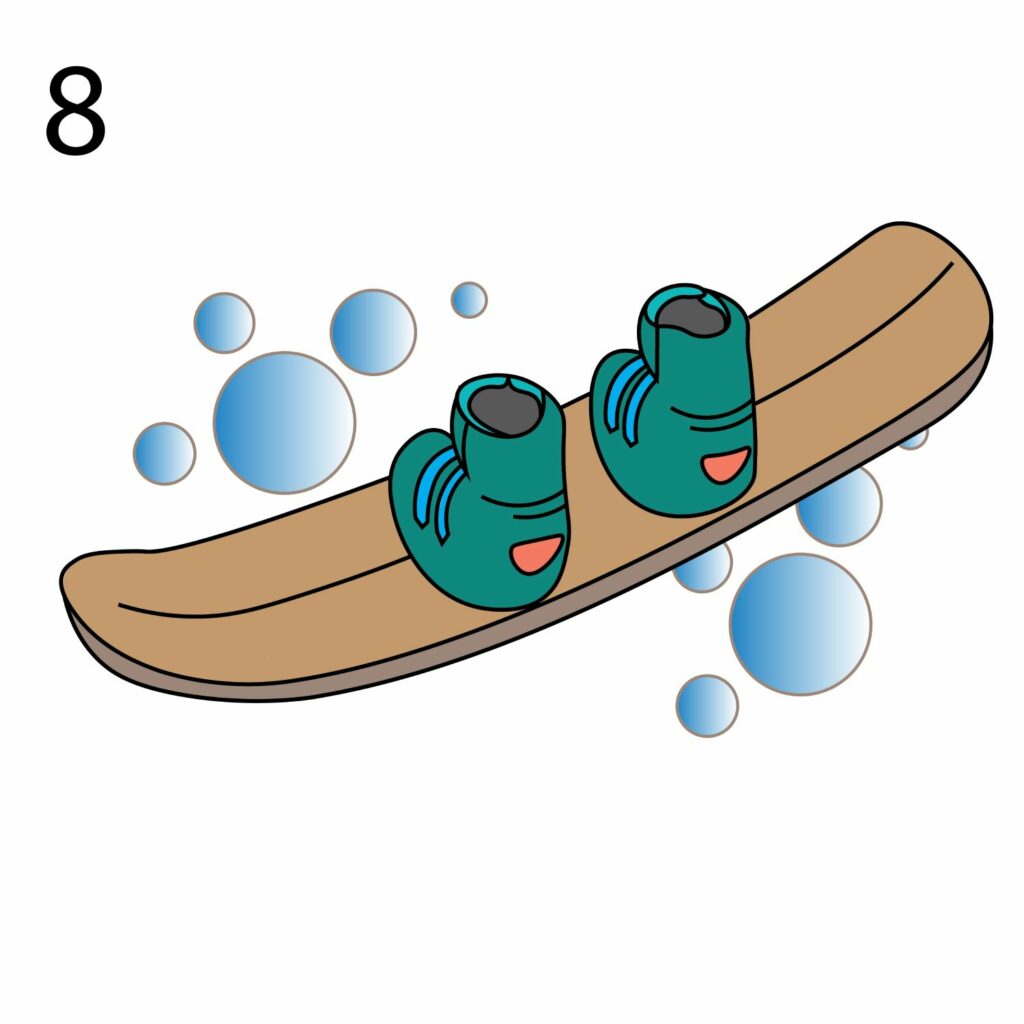
Our snowboard is now ready. If you did not miss any of the steps we discussed earlier, you should have something that looks like this.
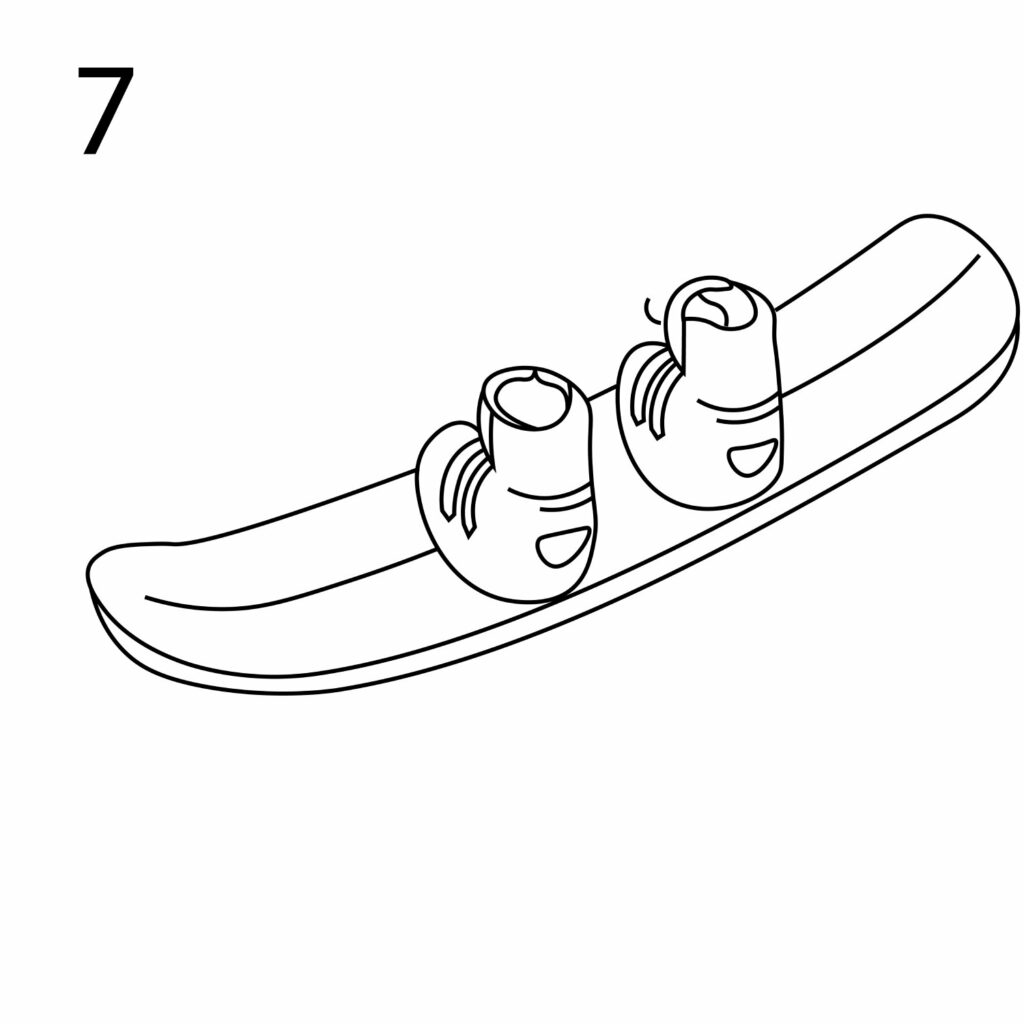
It is perfectly okay to leave your drawing as it is. However, since we want you to become a great artist, we highly recommend against settling for a basic drawing. To make your drawing stand out, you need to add a couple more details.
Add a Background
A snowboard glides on snow. For that reason, the first thing we are going to add is some snowballs around the snowboard. This is very easy to do. Simply draw circles on either side of the snowboard. Make sure the circles you draw are of different sizes.
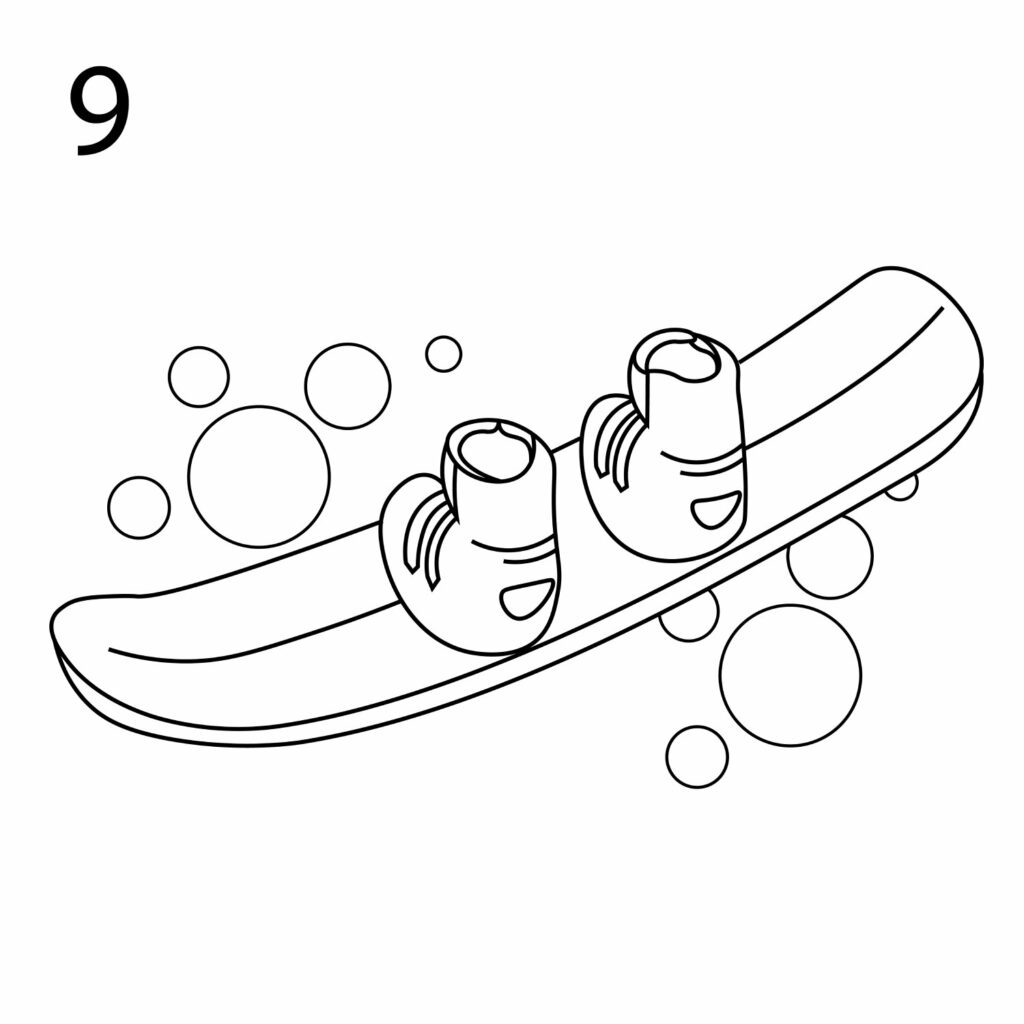
Our drawing is more convincing now. If you want, you can add your name on the board and the name of your best friend on the back of each binding. That will make your snowboard a lot more unique.
Color Your Drawing
The final step is the most fun. It involves adding color to your snowboard. The best thing about this part is that you can go as wild as you want with the colors. It is time to demonstrate how remarkable your coloring skills are.
Remember that snow is usually white, so don’t add a dark color around the snowboard. However, you can use a different shade for the snowballs to stand out. Here is what our final results look like.
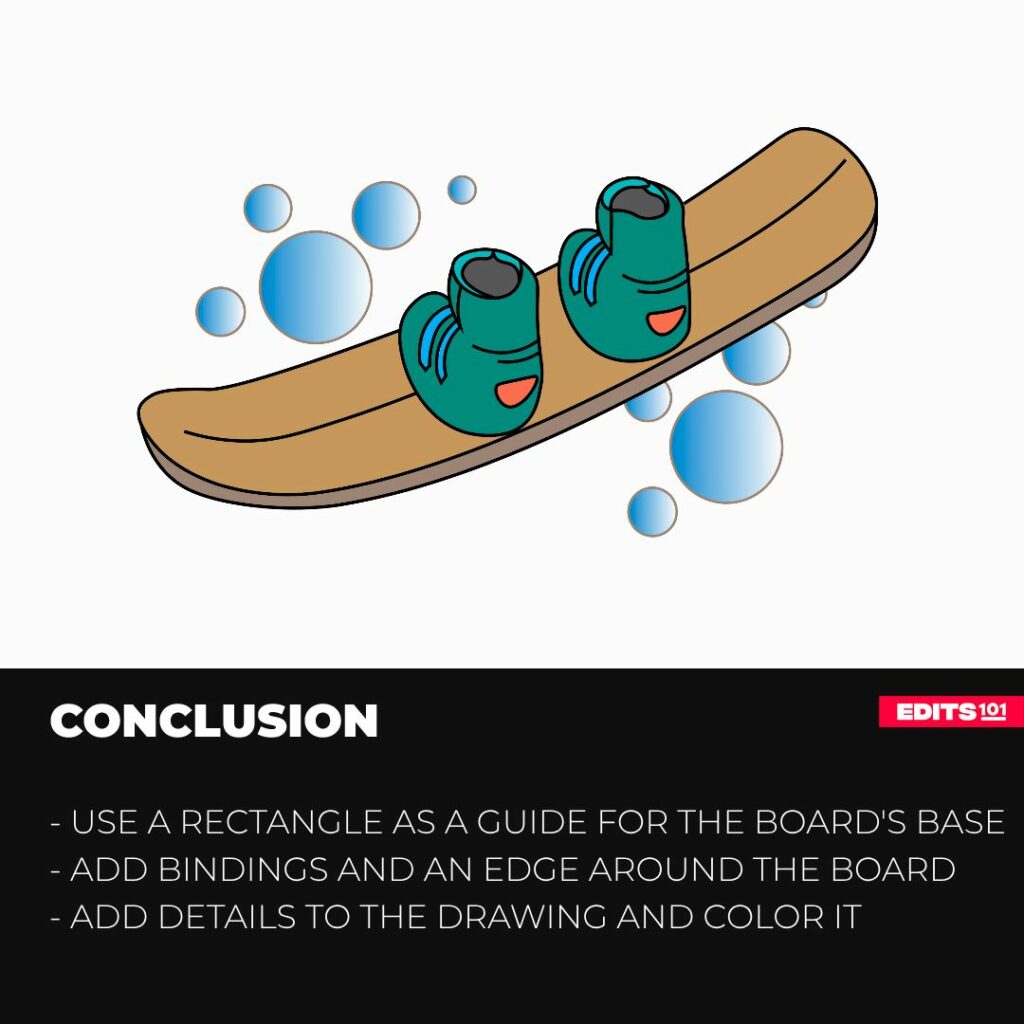
Conclusion
Drawing a snowboard is quite easy. The general rule is to always start by drawing the base of the snowboard, then add other details, starting with the edge, bindings, and other details you would want to see on your snowboard. You also need to make sure that your drawing is proportional and that no lines overlap.
You can draw a snowboard on your favorite sketching software using the steps we discussed. Once you are confident with your skills, you can download an image of a real snowboard and try to draw it. Try to draw the snowboard from different perspectives and add more details with every attempt.
Never allow frustration to get to you. While it is a simple drawing, making mistakes on the first and second attempts is very easy. Keep practicing, and never forget to have fun.
Thanks for reading & feel free to check out more of our articles!