How To Draw A Bowling Lane | A Step-By-Step Tutorial
A bowling lane is the playing surface for bowling, typically made of wood or synthetic materials, extending about 60 feet from the foul line to the headpin. The lane features distinct areas, including the approach where bowlers stand before releasing the ball and the foul line marking the boundary between the approach and the lane.
Arrows and dots on the lane serve as aiming points, guiding bowlers in their throws. The lane surface is coated with oil in specific patterns known as oil patterns or lane conditions, influencing the ball’s behavior as it travels down the lane. Gutters on either side of the lane pose a challenge, as a ball landing in them without hitting any pins results in a “gutter ball.“
| Steps | Complexity level |
| Draw the lane | 1 |
| Draw the approach area and foul lane | 1 |
| Draw the lane arrows | 2 |
| Draw the pins | 2 |
What you will need
● A pencil
● An eraser
● A sheet of paper
● Coloring kit
● Ruler
● 15 minutes
How to draw a Bowling lane
Bowling is a fun and popular sport enjoyed by people of all ages. Have you ever wanted to capture the essence of a bowling lane in your artwork? This step-by-step guide will show you how to draw a bowling lane in a few simple steps. Whether a beginner or an experienced artist, you can follow along and create your unique bowling lane drawing.
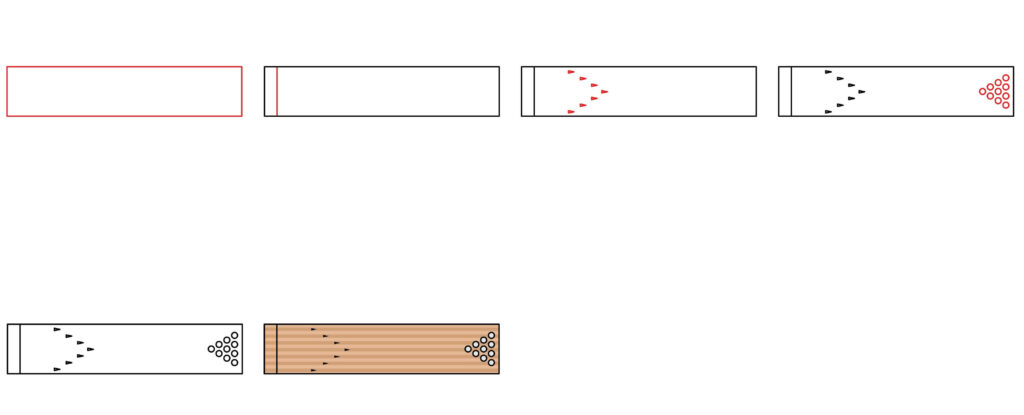
Step 1: Draw the Lane
Start your bowling lane illustration by lightly sketching a long, centered horizontal rectangle spanning your page like we drew for the volleyball net. This forms the foundational playing field surface upon which dramatic rolls and strikes unfold.
Consider leaving white negative space around edges to represent lane width restrictions that add challenge. Feel free to reference regulation proportions but customize shapes if inventing futuristic cosmic bowling environments! However depicted, focus on visually solid yet dynamic rectangles.
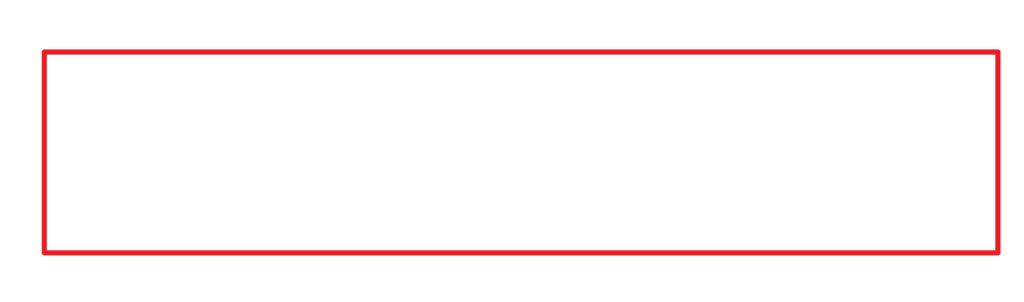
- Lightly sketch a long centered rectangle as the core lane surface
- White space around edges conveys lane width limits
- Customize regulated proportions if desired
Step 2: Draw the Approach Area and Foul Line
On the left side of your central lane, sketch a straight vertical line from top to bottom representing the foul line boundary. Position this line about 1/4th the lane’s width to allow space for a realistic approach area.
Consider extending short horizontal lines within this set-aside zone, reminding us that this empty pavement leads up to the foul line’s ball release cusp. Use arrows or footprint guides if designing more instructional visual aids. Give imaginative bowlers room to stride!
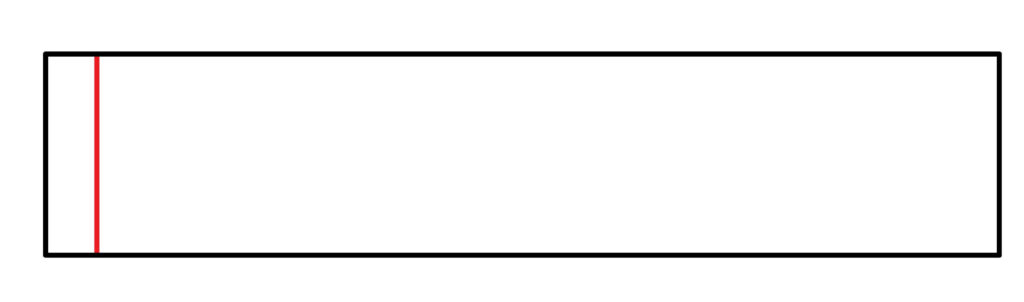
- The vertical line on the left of the lane marks the foul line boundary
- 1/4th width provides realistic pre-throw approach space
- Horizontal lines/icons convey usable pavement space
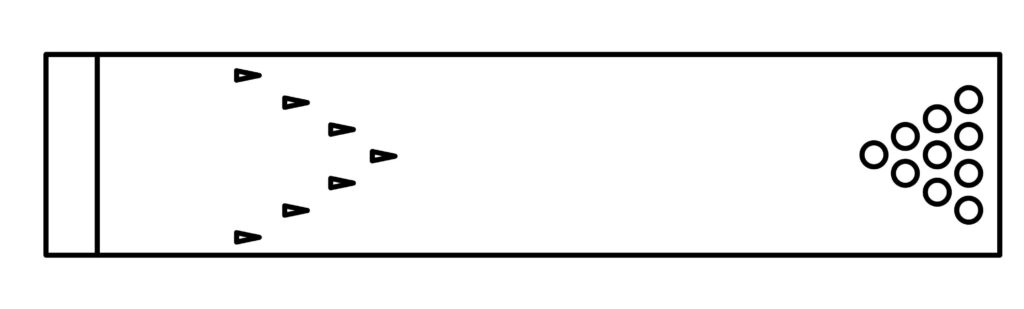
Step 3: Draw the Lane Arrows
Within the lane’s length, evenly space a series of small filled-in triangle icons near the middle to represent targeting arrows that guide competitive ball rolls toward strikes. Rows of arrows offer benchmarks for aligning shots based on pace and spin.
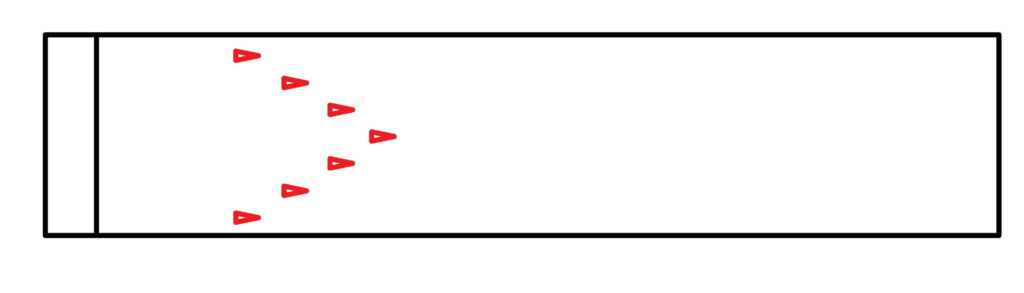
Feel free to customize the number, size, shape, and pattern of arrows based on regional lane styles. Some use circles, zig-zags, or even aquatic icon symbols at points! Unleash creative flair while upholding any desired instructional purpose.
- Small filled triangles serve as aiming arrow guides
- Customize size, shape, and patterns to your preference
- Whimsical themes like sea creatures can inspire
Step 4: Draw the Pins
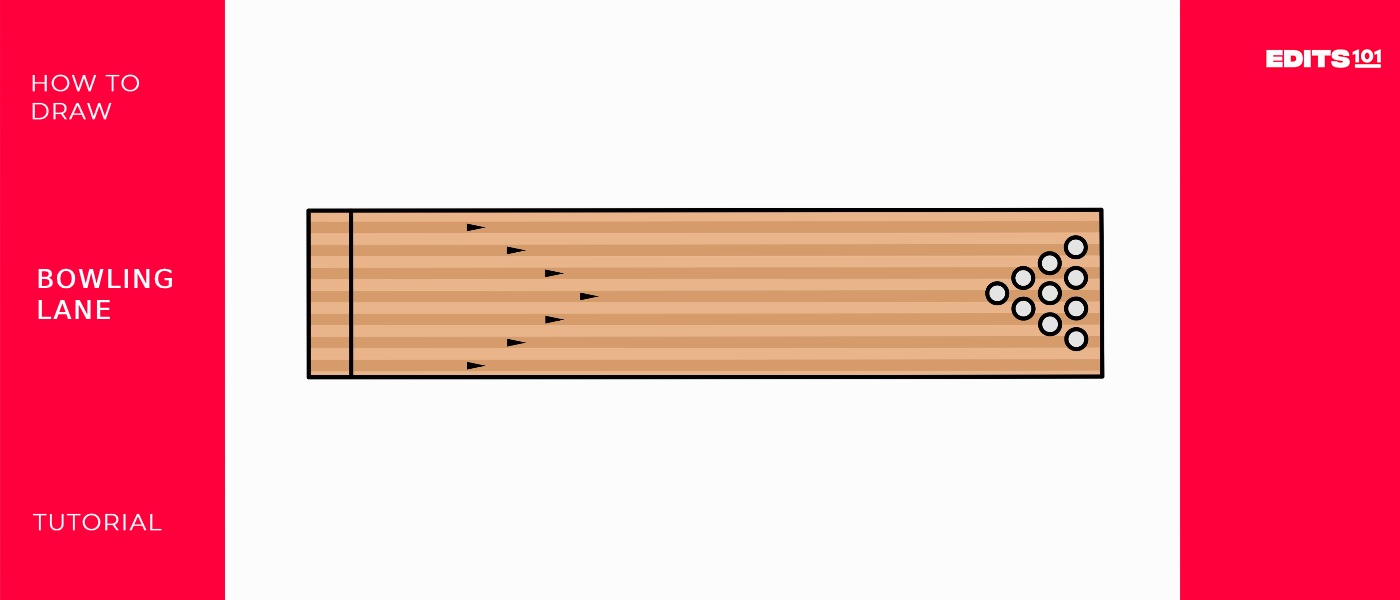
At the end of the lane are ten pins arranged in a triangular formation, and the bowler’s objective is to knock down as many pins as possible with the bowling ball. The back end of the lane, closest to the pins, is where the ball makes its final hook and impact.
Bowling lanes are carefully maintained, and factors such as the bowler’s skill, the characteristics of the bowling ball, and the lane conditions all contribute to the game’s dynamics. The interplay between these elements makes bowling a strategic and skillful sport enjoyed by individuals of all ages and skill levels.
Finally, on the right far end of your lane visualization, anchor ten small circle shapes into a tight triangle representing bowling pins awaiting ball collisions! This prized pyramid shape gives a satisfying structure for strikes to topple.

Consider alternating white and filled circles to define individual units quickly. Take artistic license, adding facial expressions onto pins, sending nervous sideways glances back down the lane towards oncoming balls. Who knows what further anthropomorphic antics and adventures may unfold?
- Anchor ten small circles at the lane’s end as bowling pins
- Alternate white and filled circles to define units
- Anthropomorphic expressions foreshadow further antics!
Step 5: Congratulations! Your Bowling Lane Drawing is Complete
You’ve successfully created a primary bowling lane with the pins in place. Take a moment to admire your work and ensure you’re satisfied with the details.
Taking your Bowling Lane to the next level
Like any other skill, sketching requires practice. Set aside time each day to sketch, even if it’s only for a little while. Be mindful of your surroundings. This enhances comprehension of details, dimensions, and forms. You can start with the basics and work up to more complex topics. Experiment with different drawing tools like charcoal, colored pencils, watercolors, markers, and pencils. Every medium has unique characteristics that could help you identify your preferences.
You can also play with basic hatching, blending, shading, and cross-hatching techniques. Understanding these techniques will greatly enhance the complexity and realism of your drawings. When you’re drawing, use your imagination and try out new concepts.
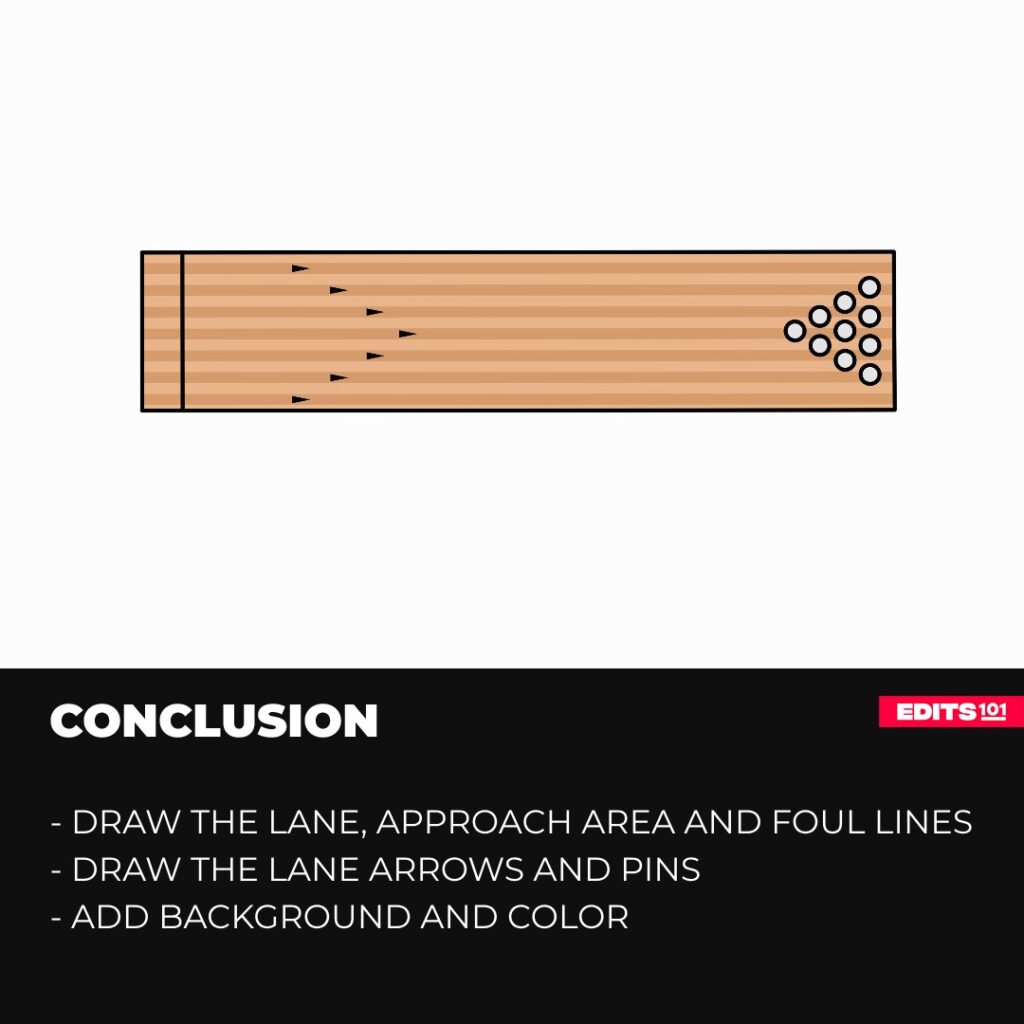
Adding Background to Your Bowling Lane Drawing
Whether celebrating retro alley atmosphere or pioneering futures, funky and fresh, artfully composed backgrounds immerse bowling lane drawings in rich environments. Frame flat minimalist lanes against wood-paneled walls sporting scoring animations, neon bar signs, and hanging disco balls that set festive moods. Or send cosmic lanes twisting through far-flung galactic bowling palaces filled with hovering scorebots and smiling alien bowlers of all shapes and sizes!
For vintage appeal, reference photos of midcentury bowling corners to recreate additional era details like colorful ball return machines, shoe rental counters advertising weekly specials through catchy chalk font, tables for steaming pizza slices, and frothy brews fueling fun times. Populate approaches with fashionably retro bowlers glamming up gutters.
Alternatively, compose cybertronic venues perfect for interstellar roll-offs! Build sleek angular architecture housing specialized rapid-fire mega lanes. Deck towering walls with gigantic hologram pins shattered by thunderous strikes. Include flash bulb pops from leagues of reporters documenting extreme bowling feats! The possibilities stretch as vast as the imagination allows – let creativity guide alleys beyond known frontiers!
Coloring Your Bowling Lane Drawing
Strategic colors allow key lane elements to exhibit styles spanning classic maple boards to distant alien aesthetics. Use warm wooden browns contrasted by gritty lane wax grays for retro realism. Make arrows and lines glow in neon pastels for 70’s showmanship. Number luminous scoring displays in bright reds registering intense “turkey” bonus feats.

In interstellar domains, paint extraterrestrial bio-lanes with rainbow aurora borealis patterns embedded into transparent arthropod tissue hues. Trace edge boundaries in cosmic star-stuff. Design astronomically inspired oil slick color shifts into pins drawing oohs from observers. However depicted, let color intensify bowling drama!
Bonus Tips for Building On Lanes!
Take drawings further by increasing environmental scale until single lanes stretch seemingly endless, engineering holographic special effects into pins for explosions upon strikes, depicting diverse, joyful groups of bowling friends focused on fun over competition, designing cinematic tracking shots following balls rolled from release down the lane depicting curve trajectories, even creating mini golf takes on classics using ramps, windmills and water traps! The possibilities are endless, so imagine bigger!
Conclusion
Through gradual revelation from flat minimalist planes towards fully formed interactive environments, we now understand fundamental building blocks that are able to evolve into spectacular story stages. Revisit practices with patience and belief until visions spill effortlessly from the mind through willing hands to the page portal. Stay present in creative journeys without judgment. In time, currents carry all spirits forward stroke by stroke.
Thanks for reading & feel free to check out more of our articles!
Author Rating
Overall Rating
Summary
This guide explains how to draw a bowling lane used in bowling.