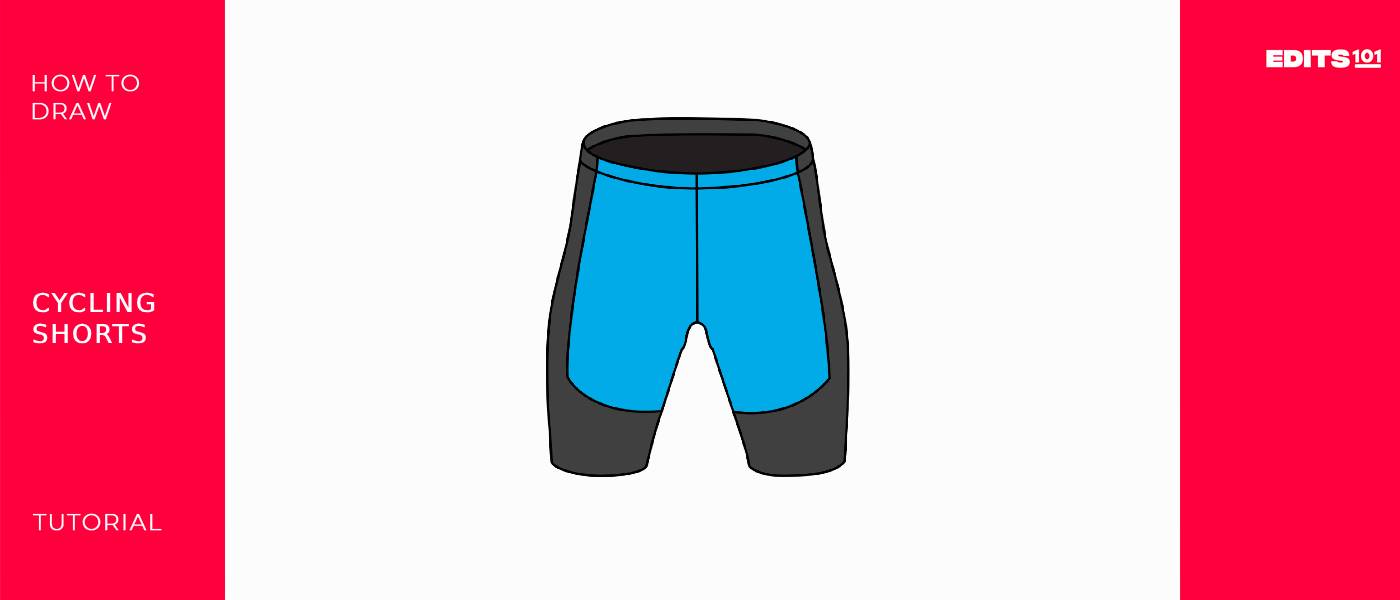
How to Draw 3D Cycling Shorts | In 5 Easy Steps
Cycling shorts are specially designed shorts worn by cyclists to provide comfort and performance benefits during cycling activities. These shorts are usually made of stretchy, moisture-wicking materials that help wick away sweat and keep the cyclist dry.
The tight fit of cycling shorts also helps reduce wind resistance, allowing cyclists to move more efficiently through the air. The snug fit helps prevent chafing and friction against the skin, which can be common issues during long rides.
In today’s tutorial, you will learn how to draw your very own pair of cycling shorts in only 5 simple steps. This exercise is great for beginners and those with experience alike.
| Steps | Complexity Level |
| The Elastic Waist | 2 |
| The Thigh Outline | 3 |
| Extra Details | 2 |
What You Will Need
- Sketchpad or drawing paper
- Pencils (2b, 3b or 5b)
- An eraser
- A ruler (optional)
- Color pencils or markers
- 15-20 minutes
How to Draw Cycling Shorts
Drawing a pair of 3d cycling shorts can be a fun activity to do in your spare time, because not only does it improve your drawing abilities, it’s also quite easy to do.
Before you start, make sure you have all of your drawing tools at your disposal, thoroughly check out the outline we provide to get you up to speed on all you will be drawing, make sure you have enough time on your hands to make your drawing the best it can possibly be, and without any further ado, let’s get down to business!
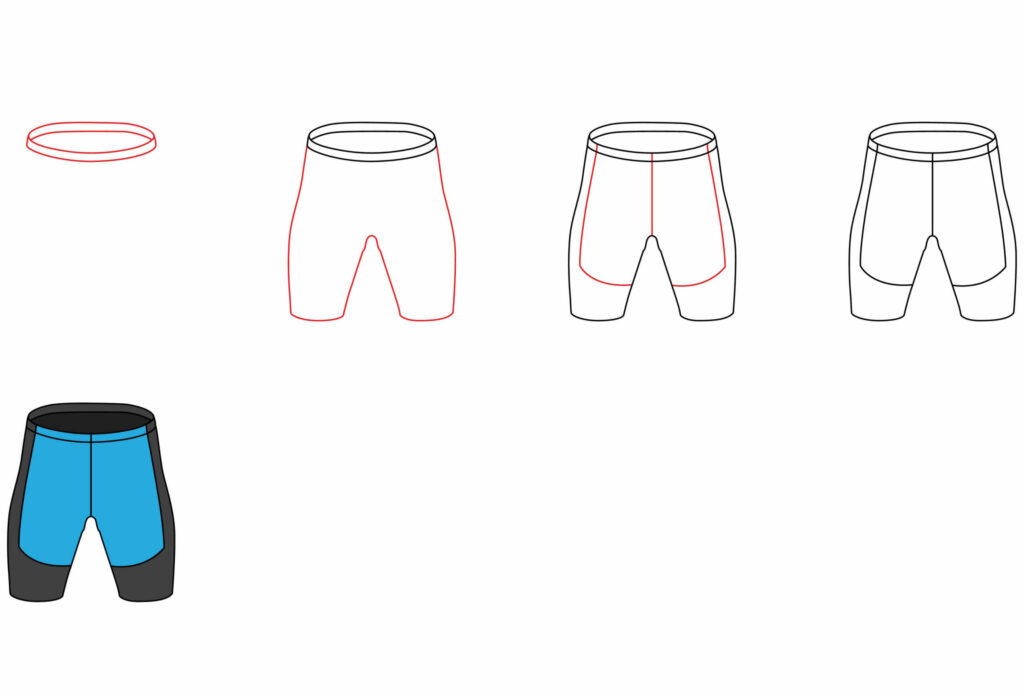
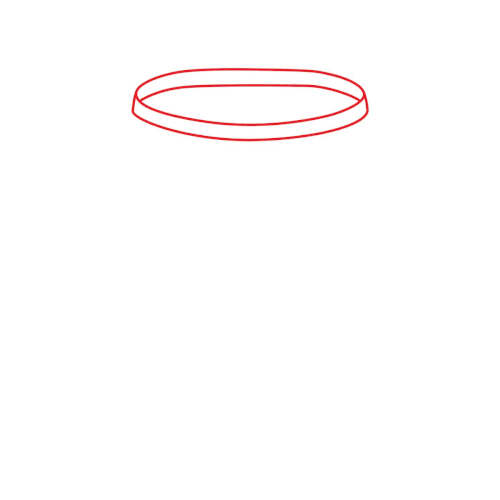
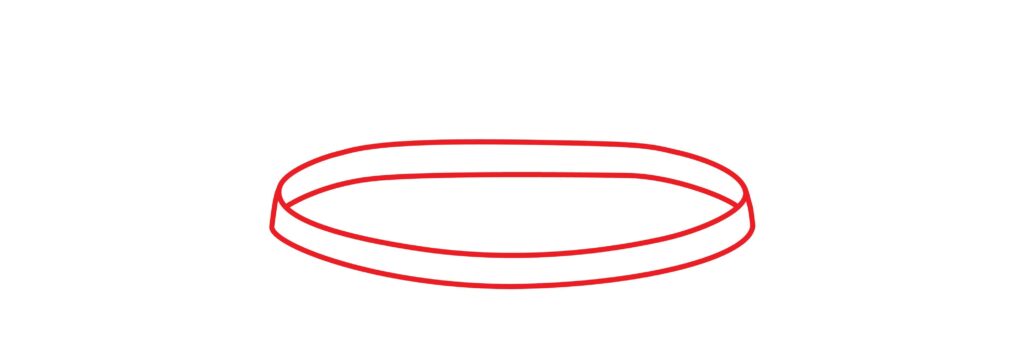
Step 1: Draw the Elastic Waist
Our first step is drawing the elastic waist. We will base the rest of our drawing off of this step, so be sure to start drawing somewhere on the middle of your page or a little bit higher than that.
Start by drawing a long, thin oval shape. Next, starting from the inside the oval, draw a line starting from the left curve of the oval shape and connect it to the right side. Ensure that the line curves in a similar way as the top line of the oval and that there’s a sufficient amount of space between them.
Once that is done, from the left side, draw a rectangle shape that begins from the side of your oval and ends against the other (right) side of your oval shape. Keep the spaces between the rectangle shape the same as the one between your top oval line and the line underneath it.
- Draw a long thin oval a little beneath the middle of your paper
- Draw a curvy horizontal line just below the upper line of the oval
- Add a thin rectangle directly beneath the oval shape
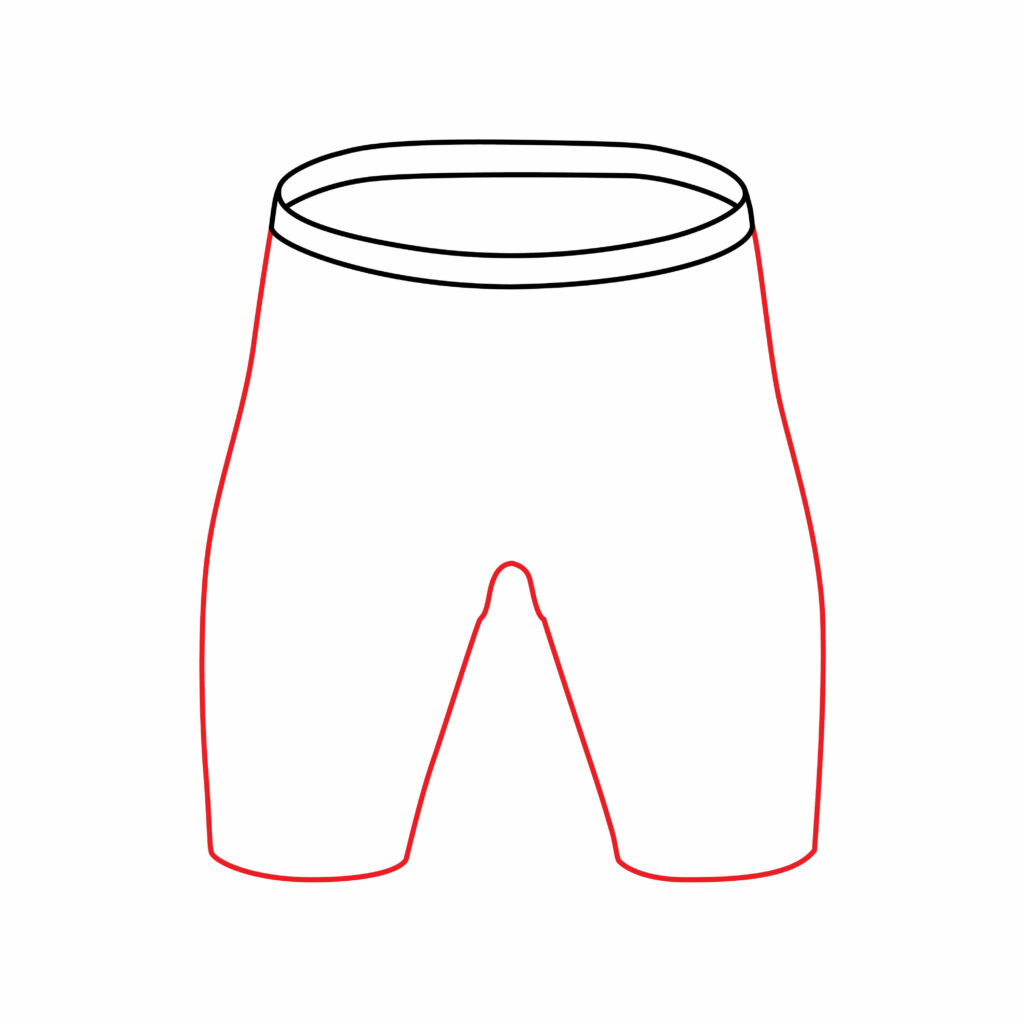
Step 2: Draw the Thigh Outline
Now we can get started on drawing the outline of the thighs. This step mainly consists of drawing some vertical, horizontal and diagonal lines.
Starting from the left border of your elastic waist, draw a slightly wavy vertical line. Add a small little bump along the side to represent the thigh, and then end the shorts’ pants by drawing a small horizontal line.
From there, draw a diagonal line upward which is going to curve somewhat sharply in the middle before going downward into another diagonal line.
After this, the same rules apply. Draw a horizontal line to cut off the end of the right shorts’ pants, then draw a wavy vertical line upward with a bump to resemble the thigh and connect that line to the border of your elastic waist on the right.
Remember to make your drawing symmetrical – so what you draw on the left should look relatively the same as what you draw on the right.
- Start by drawing a series of vertical, horizontal and diagonal lines on the left
- Add a smooth curve on the mid-section to represent the chamois
- Follow the same drawing steps on the right side
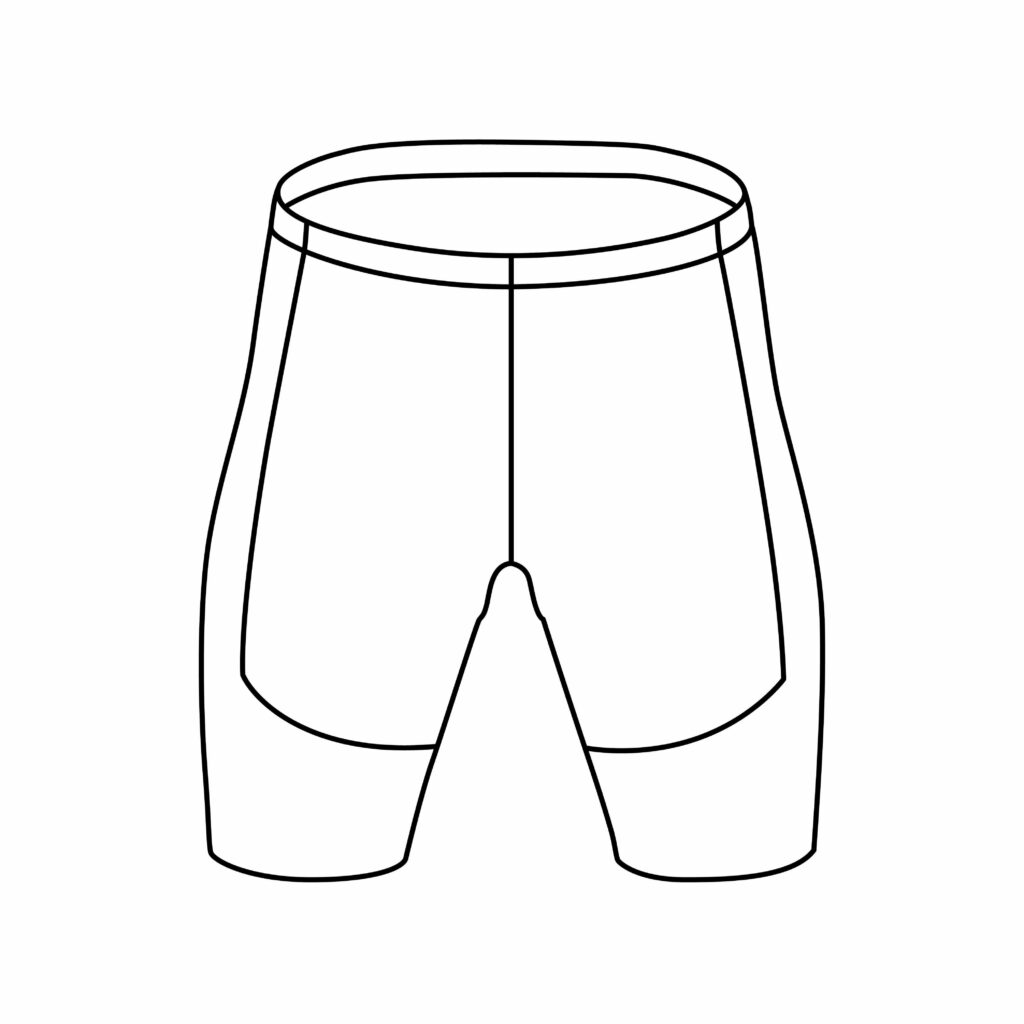
Step 3: Add some Extra Details
Your drawing now needs a little bit of detailing to make it extra appealing and to add some life-like characteristics of cycling shorts. For this step, we are mainly going to add some more lines inside the outline of our shorts. These will resemble the seams of the fabric.
First, draw a wavy vertical line on the left hand side of your shorts, starting from the bottom elastic waist and ending in the middle of the thigh region. Turn the vertical line into a horizontal one and connect it to side of the inner thigh (right).
Your lines together should look like a big capital letter “L”. Do the exact same thing on the opposite side (right) only this time the horizontal line will run inward, to the left. This will look like an inverted capital letter “L”.
Finally, draw a straight vertical line in the center of your cycling shorts, from the bottom part of the elastic waist down to the crotch (the top part where the inner thighs connect). You can use a ruler for this section to make your line super straight, though it’s not a must if your drawing hand is capable.
- Draw a big capital letter “L” over the left side of the shorts
- Add a seam using a straight vertical line down mid-region of the shorts
- Draw an inverted capital letter “L” on the right side of the shorts

Congratulations! Your Cycling Shorts Drawing Is Complete
Well done on completing your pair of 3D cycling shorts drawing! Take this opportunity to analyze your drawing, identify areas where possible corrections are needed, and refine your drawing using correction tools if necessary.
But, don’t just stop there, though. Consider following the steps below to let loose and have some fun with your work.
Taking your Drawing to the Next Level
As we mentioned before, you’ve accomplished an amazing feat! But art is so much more than a step-by-step tutorial with exact instructions on how to draw a couple of lines and curves. We’ve helped you cover the basics. Now it’s time to explore, take your drawing capibilities as high as it can go and make your drawing unique and distinctive!
step 4: adding a Background
For a pair of cycling shorts, the possibilities for a background are vast.
Think about it. Are your pair of shorts currently on a cycler’s body? Is that cycler on a race bike, currently taking part in a world-renowned competition like the Olympics or the Tour De France?
Maybe the athlete you have in mind takes part in a lot of sports and cycling is just one of them. Is his/her pair of shorts perhaps lying on a heap of other sportswear, including soccer, softball or volleyball jerseys, ready to be deposited into a laundry basket?
There are endless ideas to play around with that can make your cycling shorts stand out.
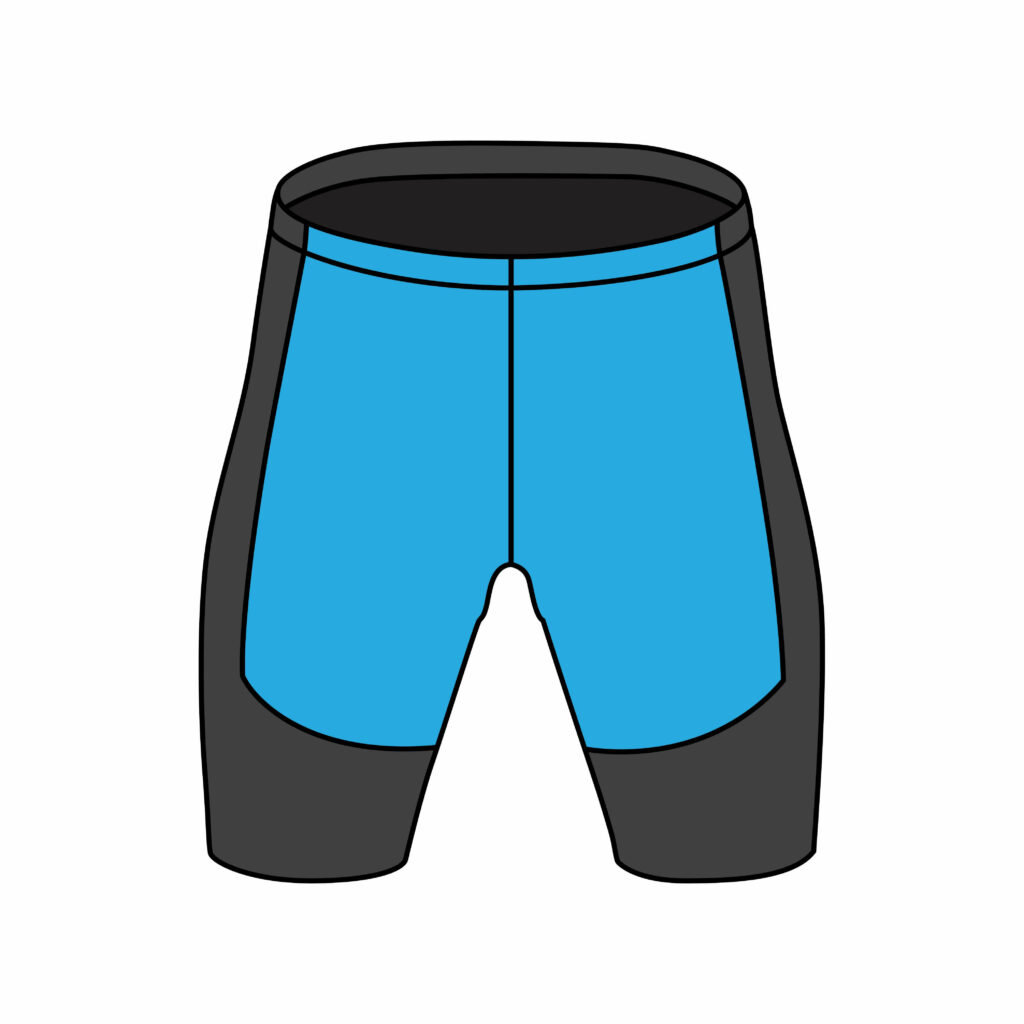
Step 5: adding Color
The use of color in a drawing can have a transformative effect, brightening and livening up the piece. Colors evoke different emotions and create visual interest.
With your pair of cycling shorts, the chose of color is really up to you. You can use whatever colors you wish to brighten up your drawing.
However, be mindful of the fact that the drawing is 3d, and thus needs a dark shade within the oval shape to represent an opening. Additionally, ensure you use different colors for each different step completed to highlight each part individually.
If you like the way we’ve colored in our drawing, feel free to use similar tones on yours!
Bonus tips
Look at photos or real-life examples of cycling shorts to ensure accurate details.
Pay attention to the size and placement of key elements like the padding, seams, and leg grippers.
Add some more distinctive features of cycling shorts like mesh, or reflective surfaces (shading) to make your design more realistic.
Try out various color combinations and patterns to find what works best for your design.
If applicable, add personalized logos or brand markings in a subtle and professional way.
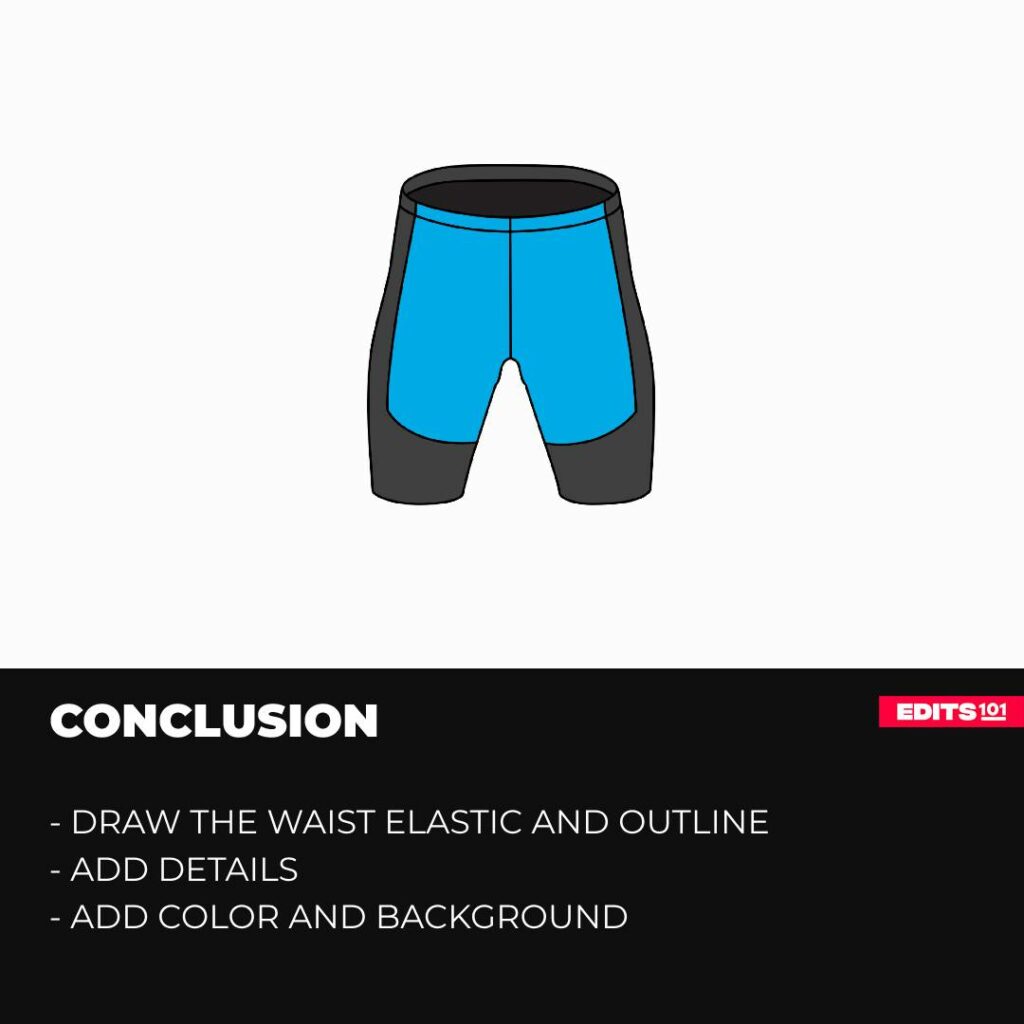
Conclusion
Your 3d cycling shorts drawing is now complete! If you’ve followed all the steps and made it this far, you did some great work. Job well done!
Remember, the more practice you put in, the better your results will be.
You have read and hopefully learnt so much from today’s tutorial; like the function of cycling shorts, how to draw a pair, and where they are used.
For that, be proud of yourself, and remember, you can only improve from here!
Thanks for reading & feel free to check out more of our articles!
Author Rating
Overall Rating
Summary
This tutorial will guide you through sketching a basic pair of cycling shorts and then enhancing the design to achieve a more realistic and detailed appearance.