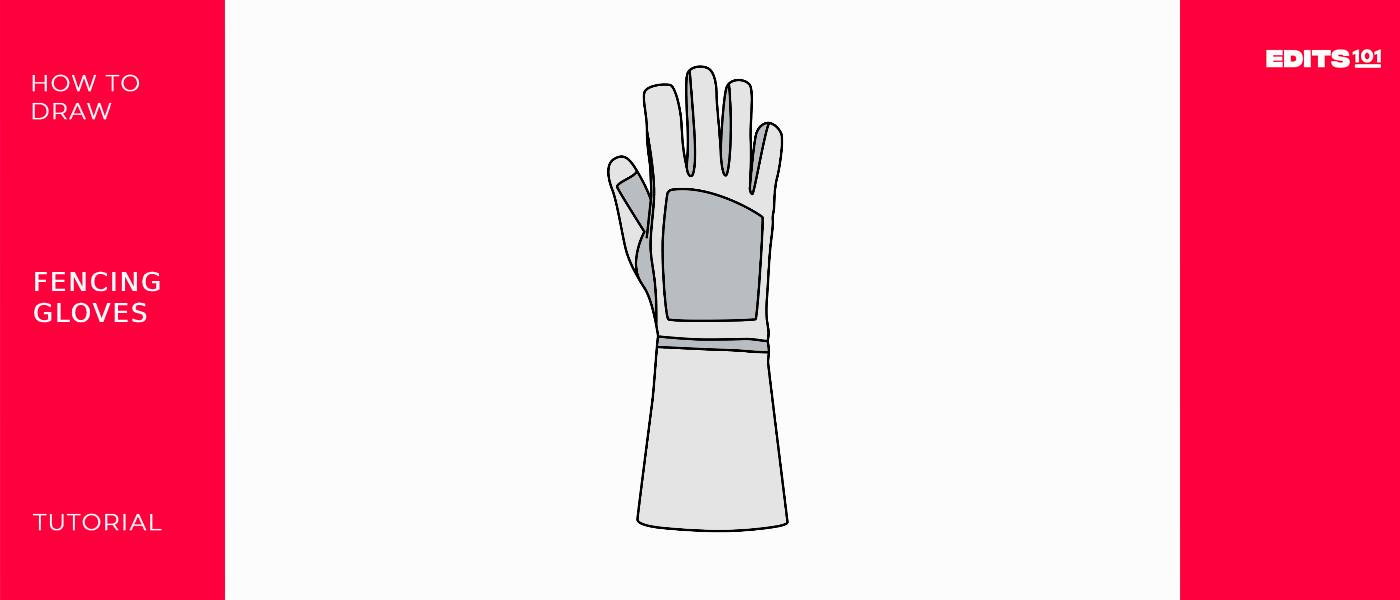
How to Draw A Fencing Glove | In 5 Easy Steps
A fencing glove is a specialized hand protector designed for use in the sport of fencing. It’s commonly worn on the sword-holding hand to provide protection against impact and abrasion during fencing matches.
The glove features padded layers and reinforced areas to offer both comfort and safety to the fencer’s hand while maintaining dexterity and grip necessary for wielding a sword or foil effectively.
In this tutorial, you will learn how to draw a fencing glove in 5 steps!
| Steps | Complexity Level |
| The Wrist Protector | 2 |
| Outline of Hand | 3 |
| Detailing | 4 |
What You Will Need
- Drawing paper or sketchbook
- Pencils (2b, 3b or 5b)
- An eraser
- A ruler (optional)
- Color pencils or markers
- 15-20 minutes
How to Draw A Fencing Glove
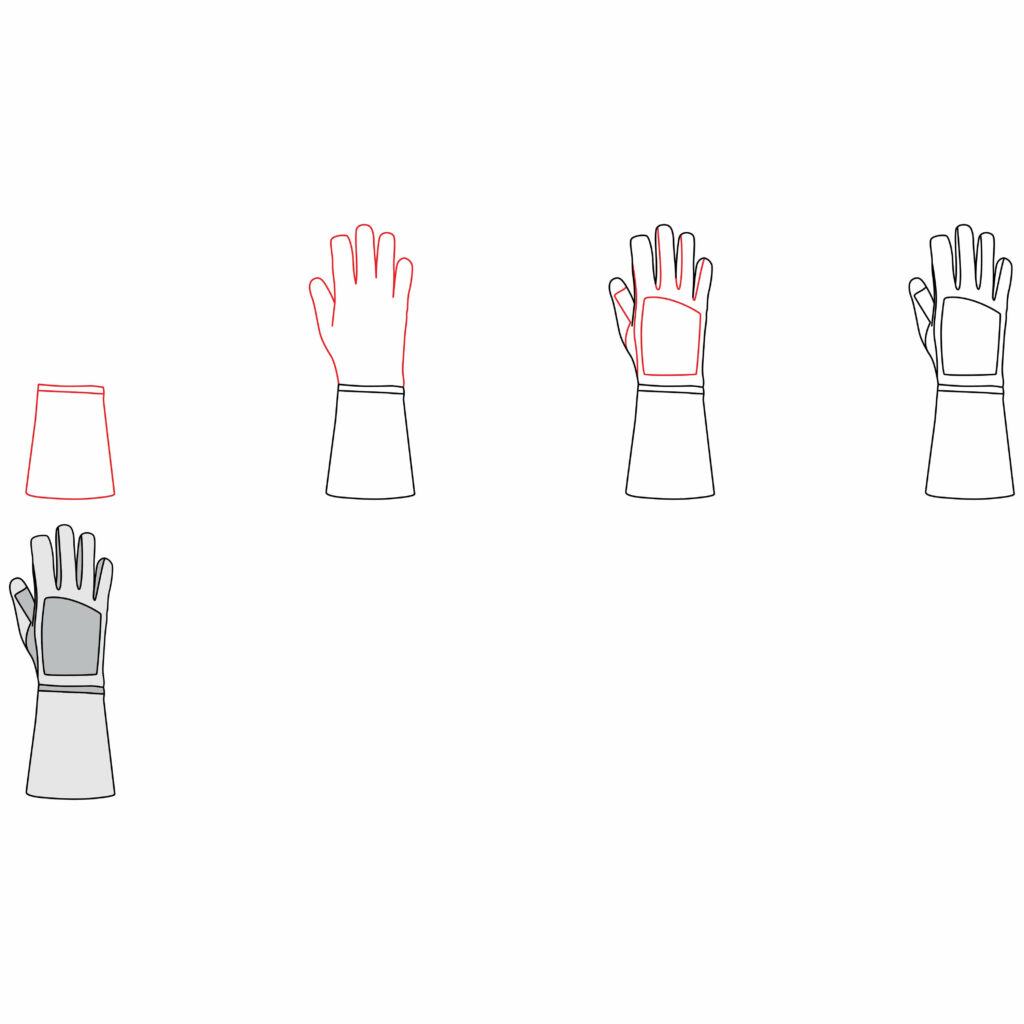
Drawing a fencing glove is entirely doable and rather easy because it only involves sketching three things; the wrist protection, the outline of the hand, and some extra detailing.
Check out the image below for an idea of all steps before you begin. Also, make sure you have all of your drawing tools handy before you jump into action.
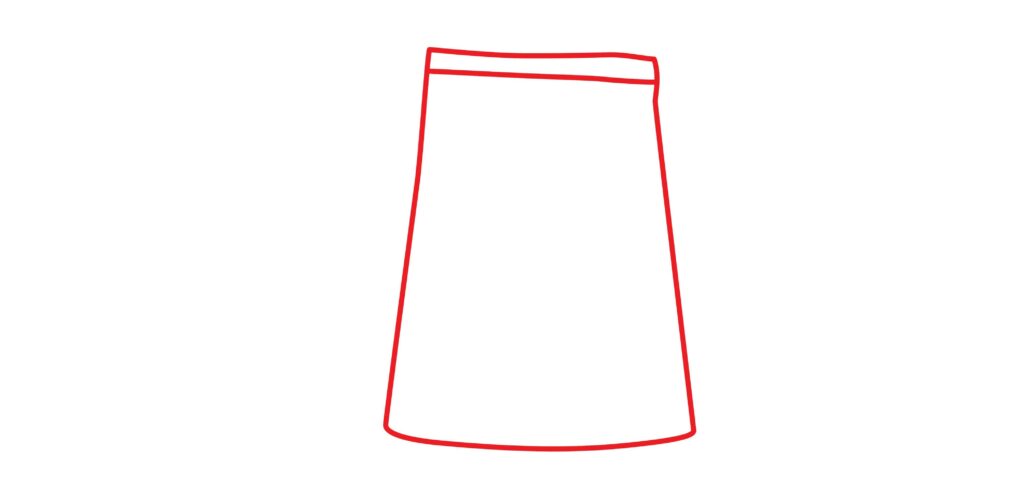
Step 1: Draw The Wrist Protection
Fencing gloves are known for being long and covering a great portion of the hand and wrist area. This is to provide the fencer with a snug fit during competitions and to, more importantly, protect the fencer’s hand.
First decide which way you would like to place your drawing paper. For a big fencing glove drawing, consider flipping your paper onto a portrait orientation.
Start by drawing a thin horizontal rectangle slightly below the middle of your paper. Next, draw a big square directly below the rectangle.
Make sure that the upper corners of the square are attached to the rectangle, and that the bottom is slightly wider than the top.
- Draw a thin horizontal rectangle below the mid section of your page
- Draw a large square attached to the bottom of the rectangle
- The bottom part of the square should flare out
- Remember to make the lines slightly wavy and not too straight
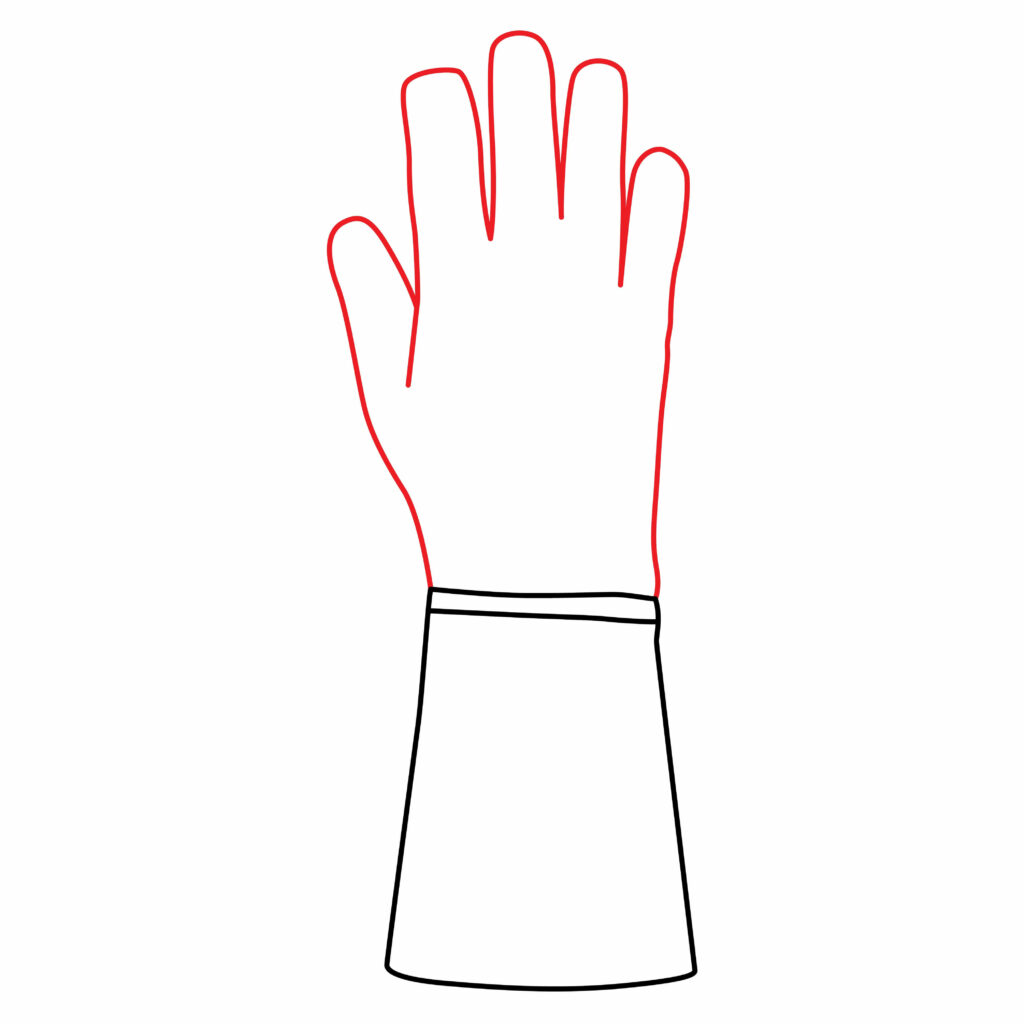
Step 2: Draw the Hand
Now that the wrist protection is complete, we can go ahead and add the outline of the hand. This step requires drawing a lot of curvy lines, so be sure to keep your drawing hand as loose as possible.
Starting from the left, draw a wavy diagonal line from the upper edge of the wrist protection. When the line is about as high as the length of the wrist protection, curve the line to the right and downward to resemble a thumb.
Next, draw the rest of the fingers using a series of wavy vertical lines. The length of each line should vary, and the width of each finger should be slightly different. Polish off the look of them by adding curved horizontal lines above the vertical lines that connect them together to resemble fingers.
- Draw straight up-and-down lines to show the top part of the gloves.
- Make curved lines that extend from these vertical lines to create the fingers.
- Look at your drawing and make any changes to be sure it looks just like the fencing gloves you want.
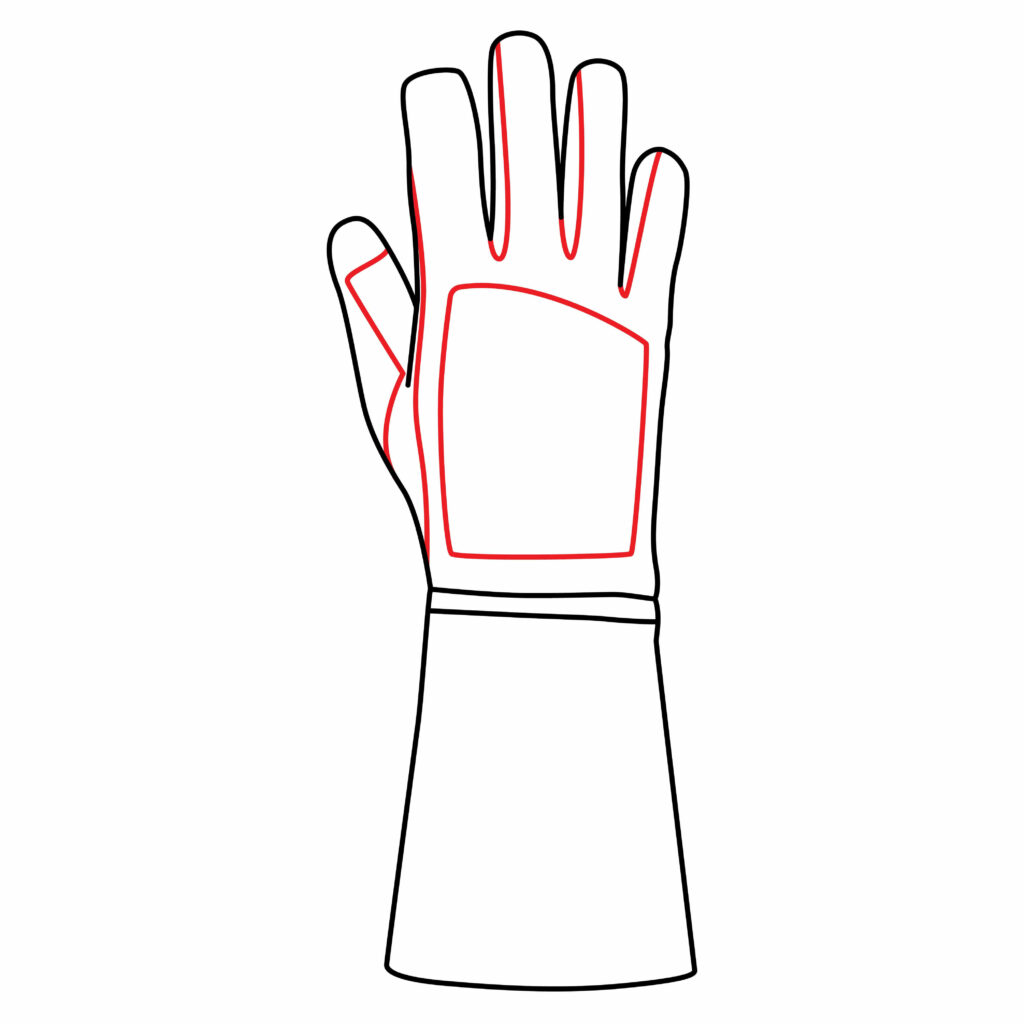
Step 3: Add Some Detailing
The base of the fencing glove is now complete, which means it’s time to dress up the drawing by adding some details.
This will improve the realism of the sketch because it resembles the sewing of the extra padding mentioned before, and highlights the three-dimensional nature of the drawing.
Draw a line on the thumb that starts off vertically curved, and runs diagonally to the left, before curving into a right-diagonal line.
Add a wavy vertical line against the mid-left side of the index finger and connect it to the bottom left side of the palm (below the thumb).
Add a series of lines that begin from the left tip of the middle, ring and pinky finger and connect to the finger webs below. Lastly, draw a square with a curved upper line on the palm/fist of the hand.
- Draw a three-point curved line on the thumb
- Draw a vertical line against the left side of the index finger and palm
- Add a square on the palm
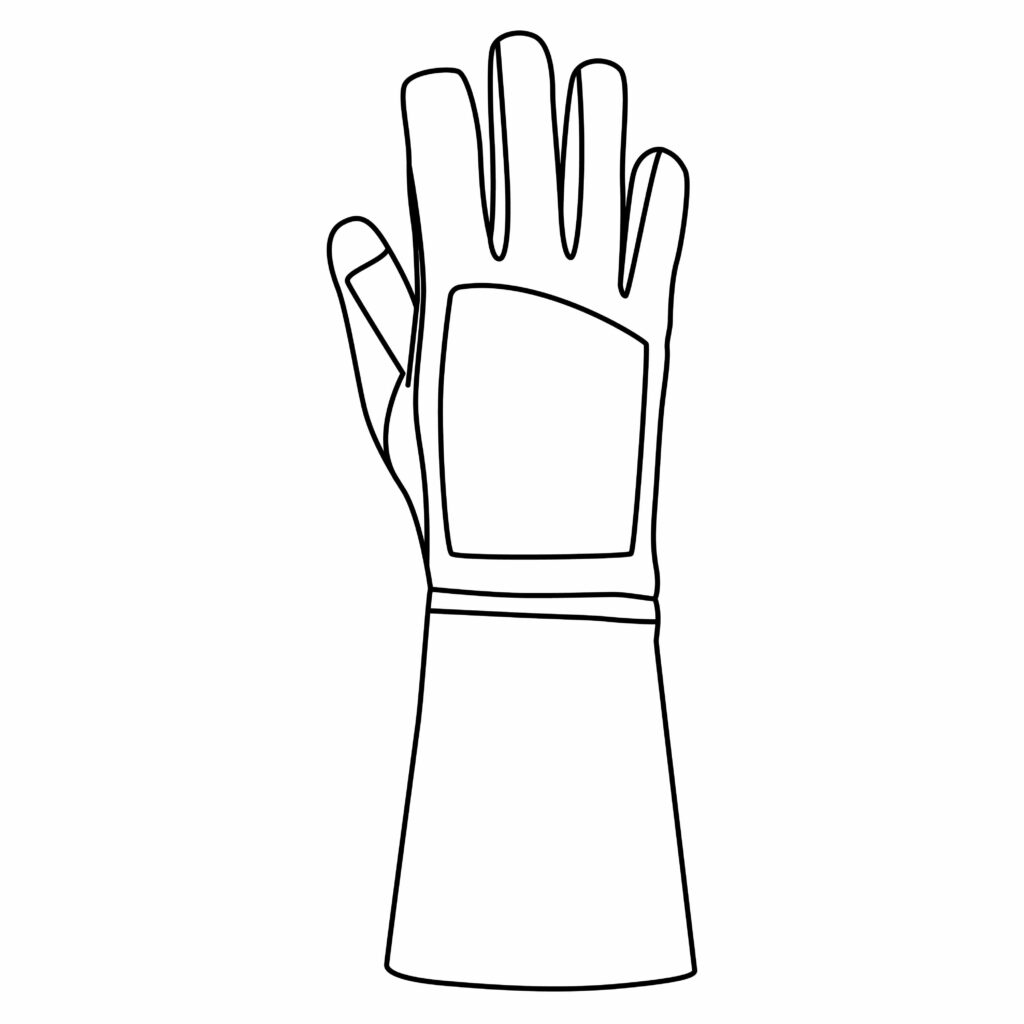
Congratulations! Your Fencing Glove Drawing is Complete
Assess the outcome of your drawing to ensure everything looks as it should. You’re welcome to use the image below as a guide for analysis or some possible corrections.
Taking Your Drawing to the Next Level
Now comes the fun part. Not only do the steps below provide you with means to let your creativity and imagination soar, they also play a big role in enhancing the calibre of your sketch.
Step 4: adding a background
Adding a background to a drawing is like adding a beat to a song. While an acapella version is great, an accompanied instrument simply rounds off the composition and adds a degree of balance.
For your fencing glove drawing, there are a few background ideas to play around with. First, you need to decide what story you’re trying to tell with your drawing.
Where is your fencing glove currently? Indoors or outdoors? Is it daytime or night? Is it discarded or is it currently being worn? Once you figure out those little details, be sure to add them on your paper.
We have a few fencing tutorials on our site that might offer some great inspiration for your background, like a fencing mask, fencing sword and a fencing outfit. Alternatively, we also have some Olympic inspired tutorials, as well.
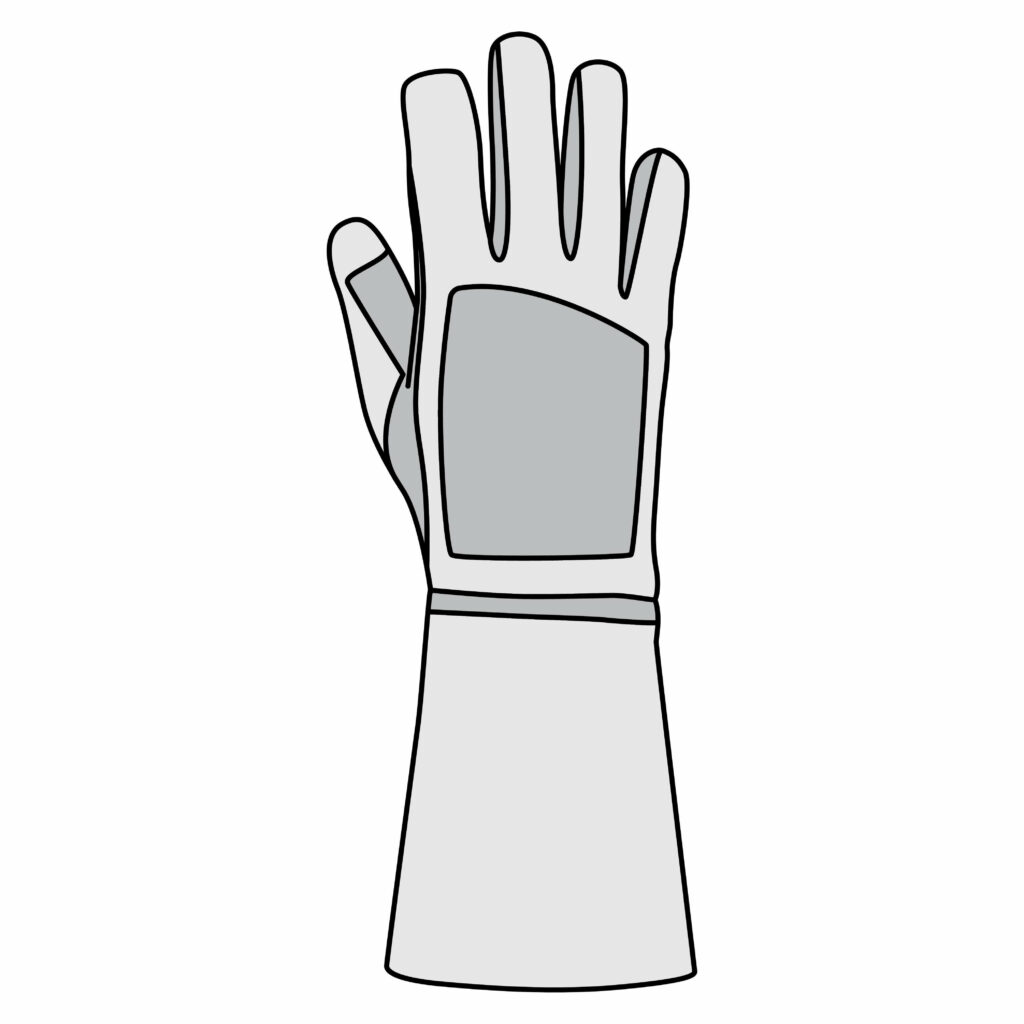
Step 5: adding Color
Similar to a background, adding color immediately heightens the visual appeal of a sketch. Color also contributes to the originality of your pieces.
In regards to a fencing glove, you can be bold and choose vibrant colors if your prefer. We’ve chosen some neutral tones for our drawing to add a realistic touch considering real-life fencing gear is usually monochrome in color.
If you like the look of our glove, feel free to use similar colors. Just be sure to make whichever colors you decide to use different for each part.
I.e., use a light gray for the wrist protection and hand outline, and a darker gray for the added detailing. This beautifully compliments each step drawn.
Bonus Tips
Add some more depth to your drawing by highlighting certain parts with light tones (white, silver, etc).
Write your name on the page to add a personalized touch.
Challenge yourself by drawing a left-hand fencing glove. Use the same steps in this tutorial to complete it, however be sure to use them in an opposing fashion so that the steps resemble a left hand instead of a right.
Check out other tutorials on gloves for some added tips and tricks on how to get the most of your drawing. Like this ice hockey glove, cricket hand glove or cycling glove tutorial.
Conclusion
Congratulations on successfully creating an impressive fencing glove illustration!
In our easy guide, we started by drawing the wrist protection, and then added the outline of the hand until finally drawing the added detailing to the thumb, fist and fingers. To make our drawing stand out, we’ve also added a background and colored it in.
You can use these steps to draw a realistic fencing glove on any sketching software, as well. Bear in mind that it is only with practice that you will get better, so keep drawing and never forget to have fun doing it.

Thanks for reading & feel free to check out more of our articles!
Author Rating
Overall Rating
Summary
This guide outlines the process of illustrating a fencer’s glove, offering valuable insights into the design elements and distinctive features of this essential fencing accessory.