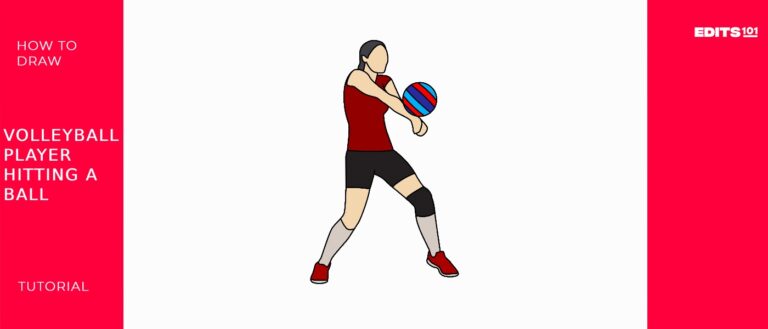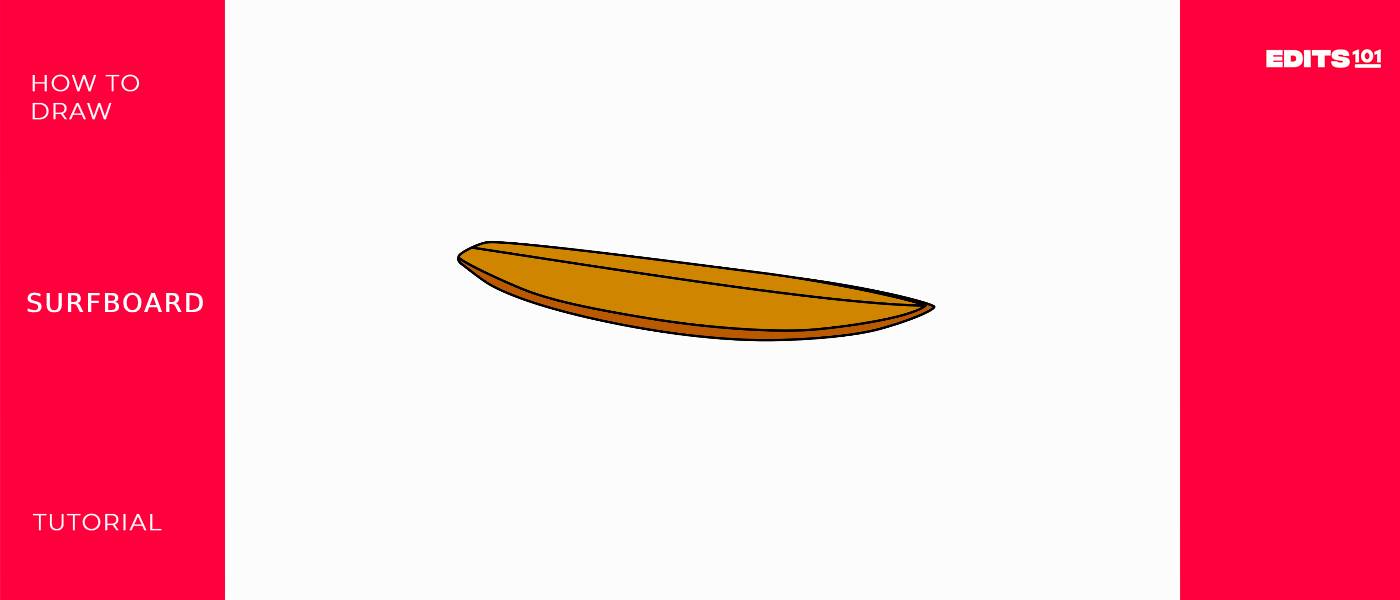
How To Draw A Surfboard | A Step-by-Step Tutorial
Surfing began to evolve into a sport in the early 20th century, particularly in Hawaii as European and American visitors witnessed the local Hawaiians riding waves on wooden boards and became intrigued by this skillful activity.
Those wooden boards eventually advanced into what is known as the surfboard today.
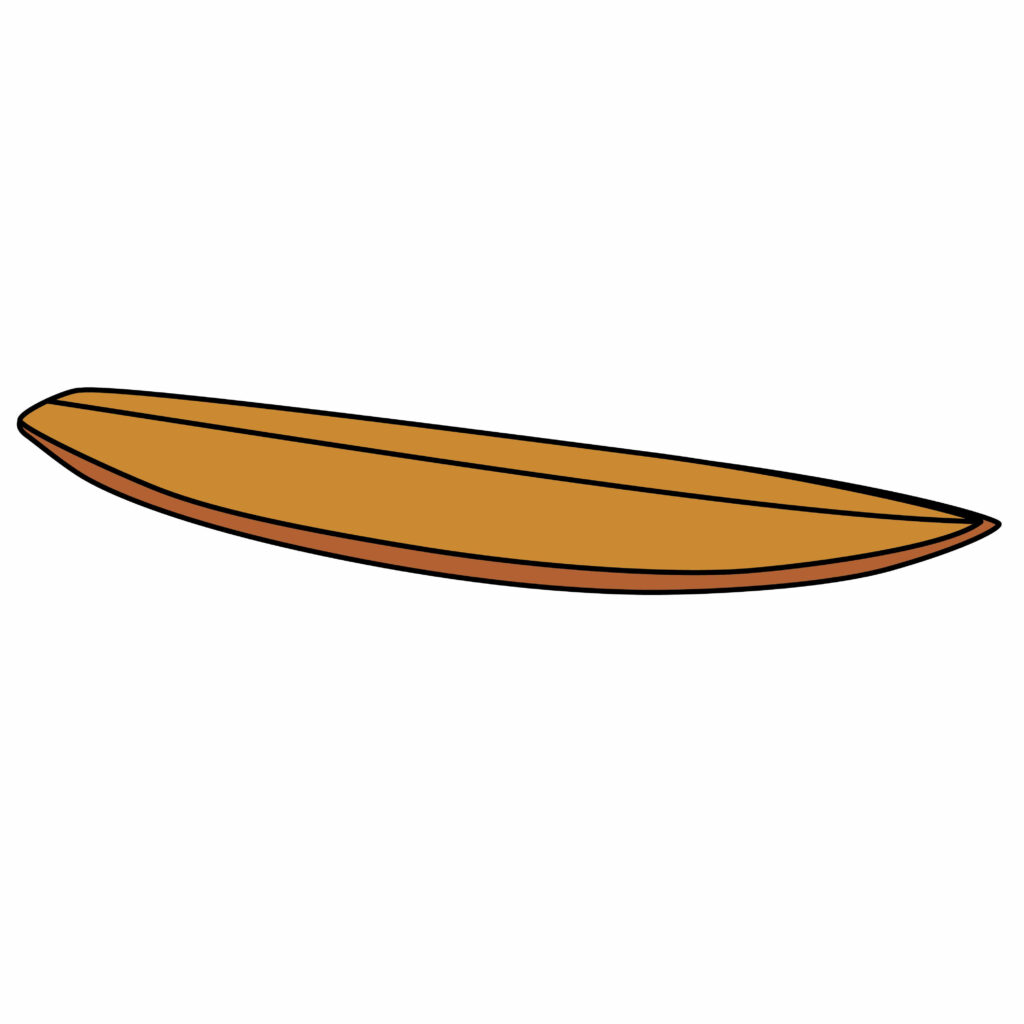
A surfboard is a long, narrow board, usually made of lightweight material such as foam or fiberglass and has a pointed front end, called the nose, and a rounded back end, called the tail, designed for threading oceanic waves with ease.
In this tutorial, you will learn how to draw this cool instrument in 5 easy steps.
| Steps | Complexity Level |
| The Deck | 2 |
| The Bottom | 1 |
| The Stringer | 1 |
What You Will Need
- Drawing paper
- Pencils (2b, 3b or 5b)
- A ruler
- An eraser
- Color pencils or markers
- 10-15 minutes

How to Draw A Surfboard
Drawing a surfboard is an arguably straightfoward and effortless experience as it mainly consists of sketching only three things; the deck, the bottom and the stringer.
Before you begin, check out the outline provided for a detailed overview of what each step entails, grab all of your drawing tools, make sure you have the allocated time on your hands, and without any further ado, jump right on!
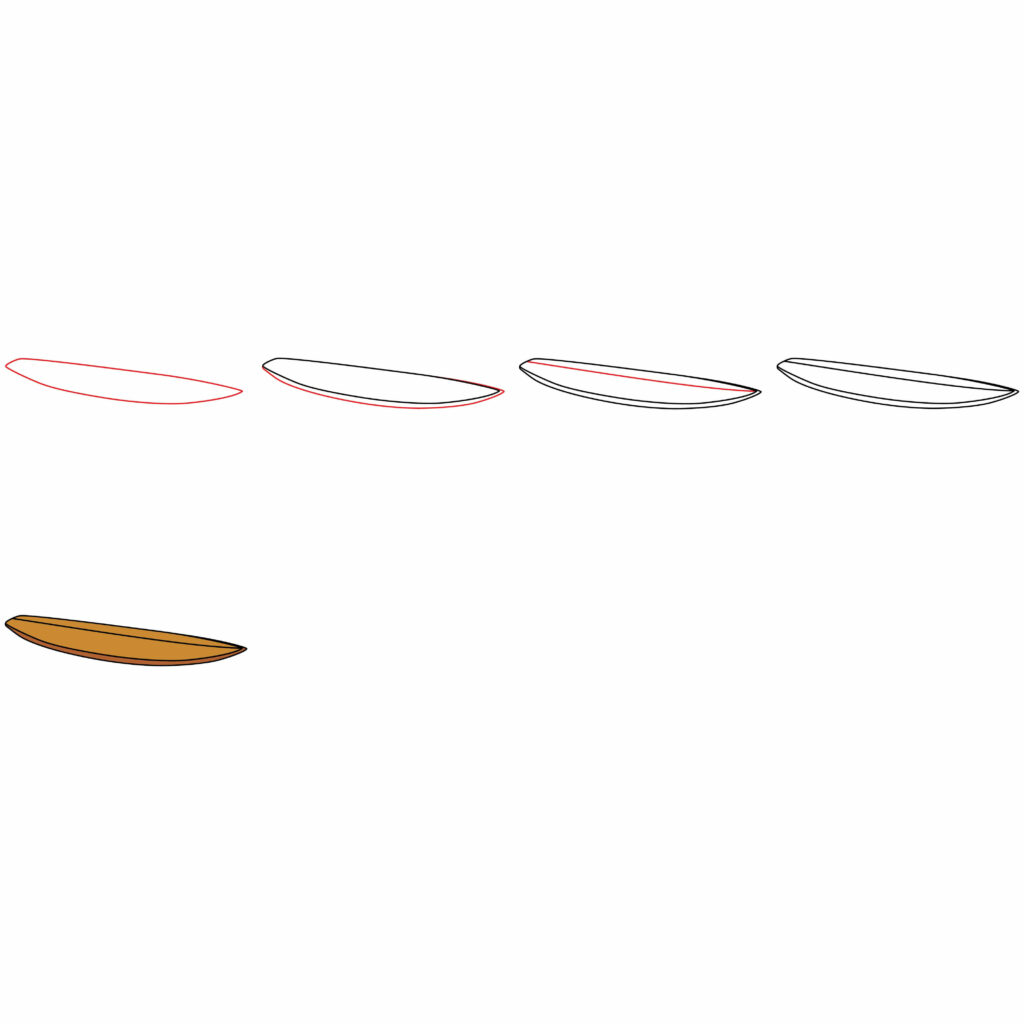
Step 1: Draw the Deck
The deck of a surfboard is the upper surface on which the surfer stands while riding waves. It plays a crucial role in providing grip and stability to the surfer, ensuring they can balance and maneuver effectively on the moving surfboard.
Start by flipping your paper onto a landscape orientation for more room to draw. On the middle of your page, draw a diagonal rectangle with curved corners.
The nose of the surfboard should be on the right side of your page, so be sure to make the right corner of the rectangle sharp and pointy. For the tail end on the left-hand side, round the edges so that they’re nice and smooth.
- Draw a diagonal rectangle on the middle of your drawing paper
- Draw rounded curves on the left side of the rectangle
- Draw a sharp pointed curve on the right side of the rectangle
- Ensure that the rectangle is slanted diagonally

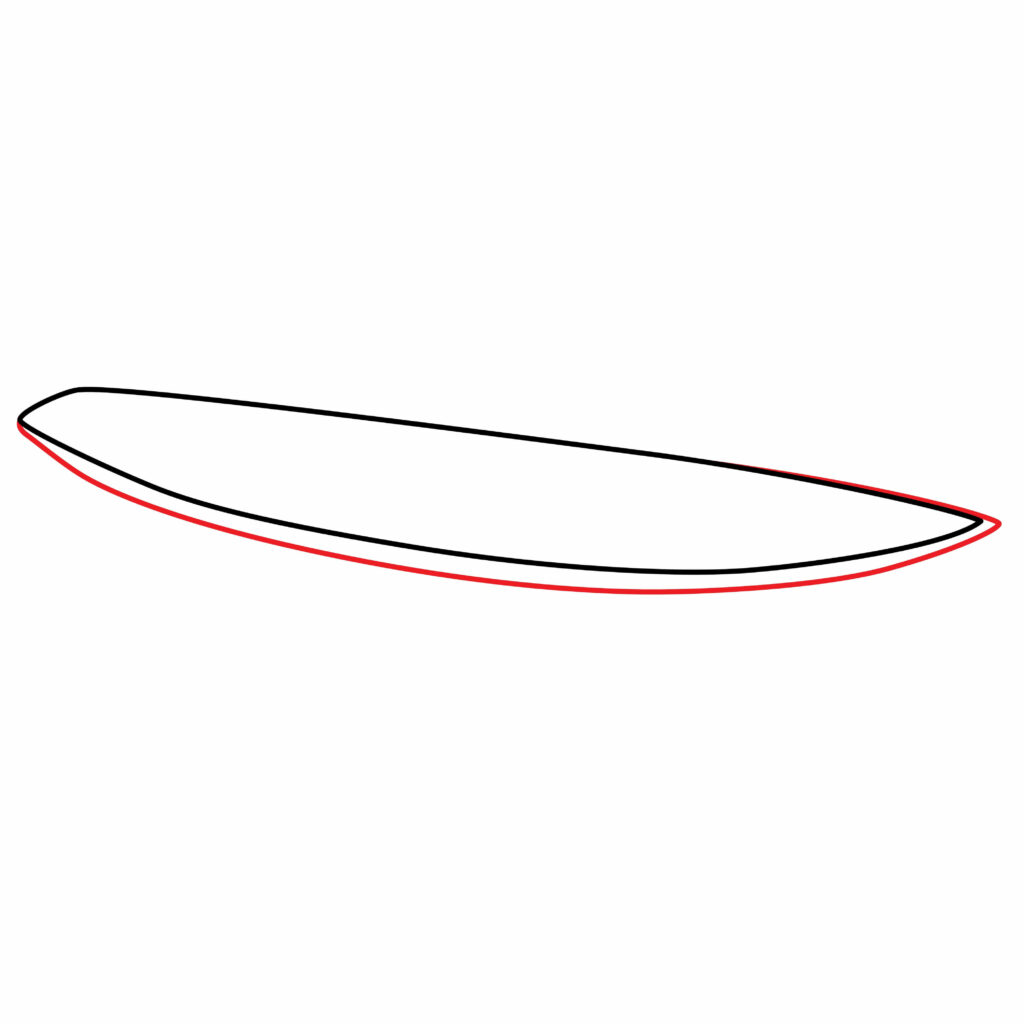
Step 2: Add the Bottom
The bottom of a surfboard, also known as the hull, affects how the board moves through water. A smooth bottom reduces water friction, which in turns allows greater speeds and smoother surfing.
To complete this step, start by drawing a curved horizontal line beneath the deck. Make sure there’s a small amount of space in between the line and the deck, and that the line follows the same curves as that of the deck.
Next, wrap the line around the front of the board and end it off along the upper-right side of the deck. For a nice three-dimensional effect, lessen the space between the line and the deck along the upper part.
- Start by adding a wavy horizontal line below the deck
- Wrap the line around the nose of the board
- Ensure the space between the line and board along the upper right side is narrow, if not, non-existent
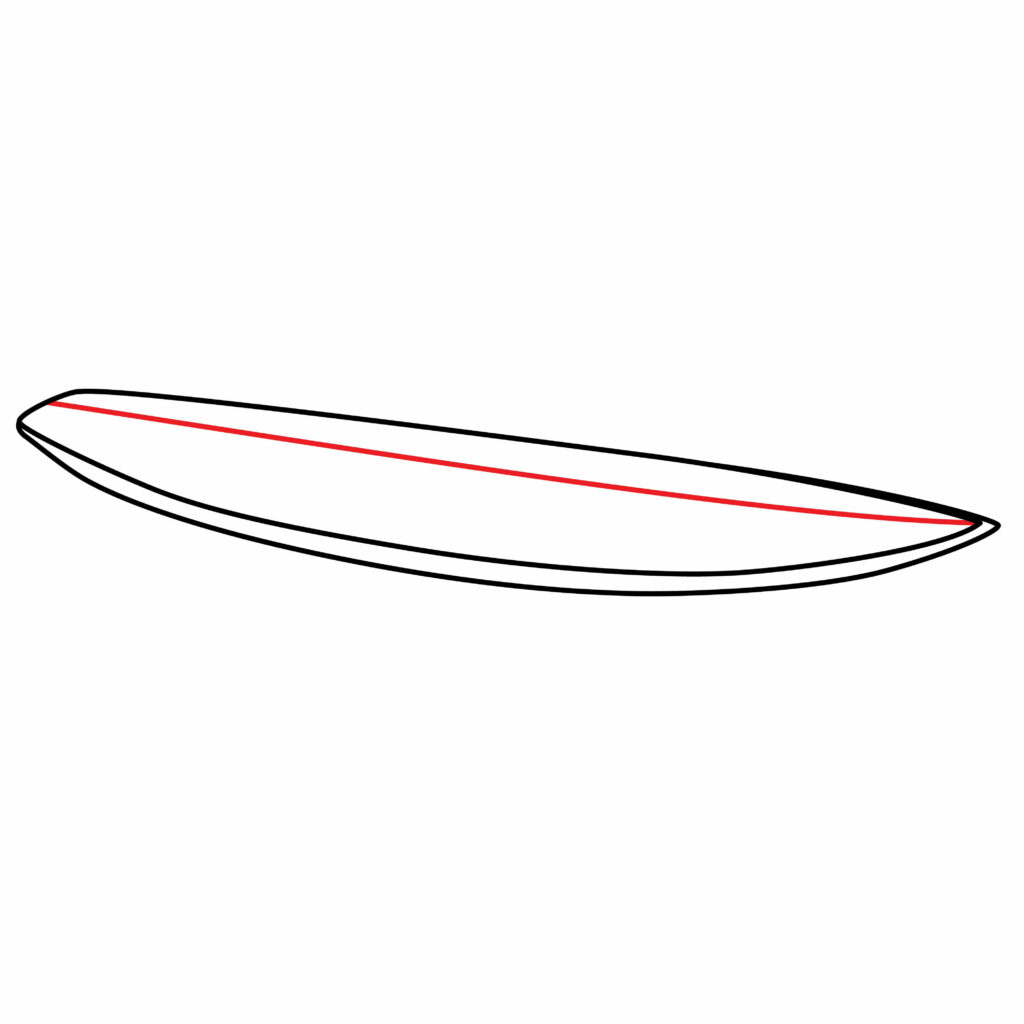
Step 3: Draw the Stringer
A surfboard’s stringer is a thin strip of material, usually wood but sometimes other composites, that runs down the centerline of the board from nose to tail. The primary purpose of the stringer is to provide structural strength and rigidity to the surfboard.
Using a ruler for accuracy, draw a straight diagonal line starting from the middle of the tail and end it off against the middle of the nose. The line should run over the center of the deck, and should be slanted diagonally.
- Draw a straight diagonal line across the center of the deck
- Start the line against the inner mid section of the tail
- End the line against the inner mid section of the nose
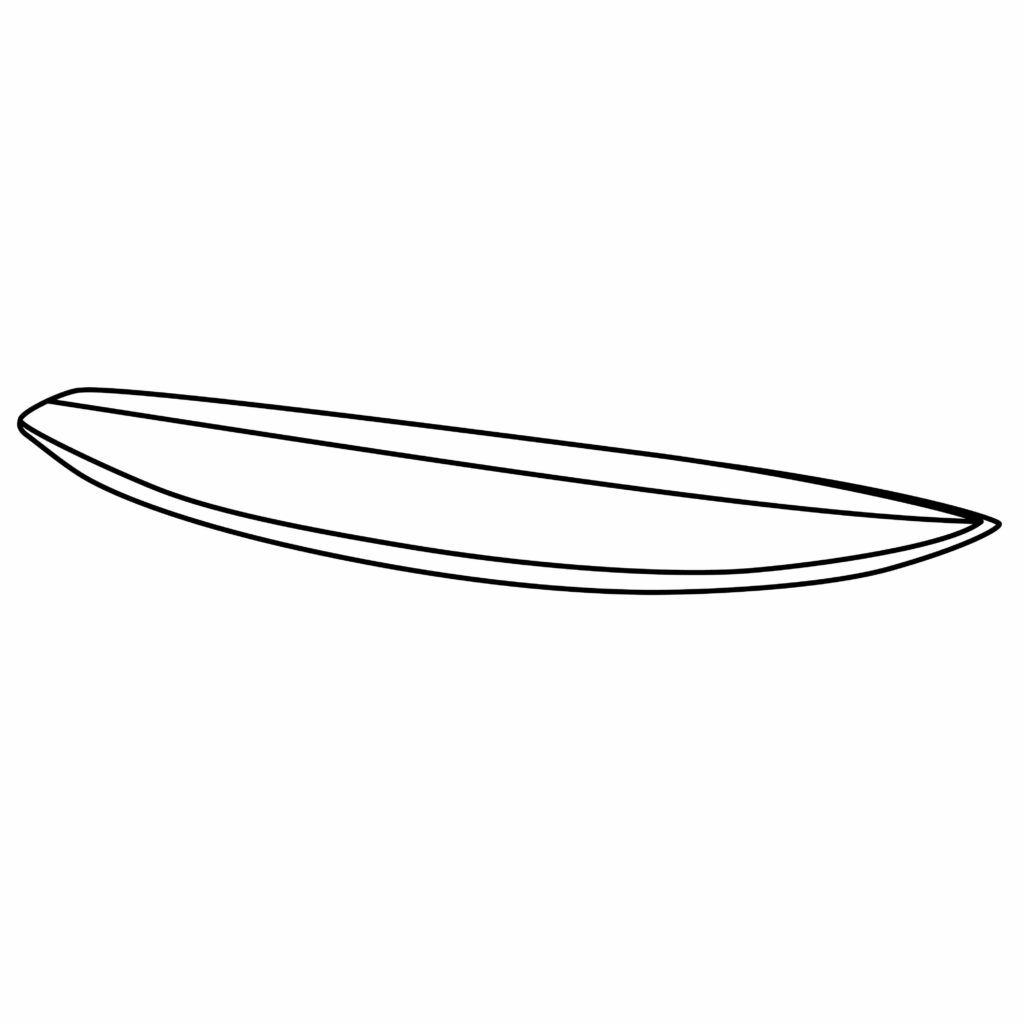
Congratulations! Your Surfboard Drawing is Complete
Job well done on completing your new surfboard drawing! Take some time to assess the overall look of your drawing. If you’re happy with the results, continue on with the rest of the tutorial. If, however, there are a few things you’d like to correct, take the time to do so now.
Taking Your Surfboard Drawing to the Next Level
At this point, you have a really cool depiction of a three dimensional surfboard. If you’d like to leave your drawing as it is, that’s completely okay. However, there are a few ways you can take your black and white sketch and really boost its visual appeal.
step 4: adding a background
Adding a background is like adding a set to a film. It instantaneously opens up the scope of the drawing and encourages curiosity and attention.
Allow your imagination to roam free as you decide which background best compliments your surfboard drawing.
As surfing is a water sport, consider a beautiful oceanic background by drawing things like the sun, some birds, waves and water surrounding your board. This tutorial in particular has a wonderful oceanic backdrop.
Add some other surfing equipment in the background for a more well-rounded drawing, like a surfer’s leg rope, or a surfer’s wetsuit.
Step 5: adding color
Similar to a background, adding color immediately changes the entire drawing by adding a touch of realism and giving it an eye-catching allure.
Real life surfboards come in a variety of colors, so feel free to experiment and use whatever color you’d like. We decided to use brown tones for our surfboard, which you are free to do as well, if you please.
Just be sure to choose different colors for the deck, the bottom and the stringer, so that each part is complimented and highlighted.
Bonus Tips
Add some other distinctive features of a surfboard to make it look even more realistic, such as a leash plug at the back of the board, or some fins along the bottom of the tail.
Add some shadows beneath your board by shading along the bottom with a dark tone.
Now that you know how to draw a surfboard, draw a surfer above your board actively threading some waves!
We have some great tutorials on our site, like how to draw a male surfer and how to draw a female surfer that’ll provide you with ample inspiration.
Add your name to your page to give your drawing a personalized touch.
Conclusion
Your surfboard drawing is now fully complete.
Hopefully you’ve also learnt some fun facts about the invention of the modernized surfboard while completing this tutorial, so give yourself a nice pat on the back for that.
There are many more drawing tutorials for you to get started on, so from Edits101 to you, see you next time!

Thanks for reading & feel free to check out more of our articles!
Author Rating
Overall Rating
Summary
This tutorial will guide you through sketching a basic surfboard design and then enhancing the overall look to achieve a more authentic and intricate appearance.