How to Draw an Ice Hockey Jersey | A Simple Step By Step Guide
Just like with all other sports, ice hockey players are required to wear their respective jerseys during a game. The ice hockey jerseys are special clothing worn to cover the upper part of the hockey player’s body. Just like with a soccer jersey, ice hockey jerseys have jersey numbers, logos, and other decorations.
In this guide, we will be learning how to sketch a realistic ice hockey jersey step by step. Whether you are a newbie or an experienced artist looking to advance your skills, this guide is for you.
| Steps | Complexity Level |
| Drawing the Collar | 2 |
| Drawing the Jersey Outline | 3 |
| Adding Sleeve Patterns | 1 |
| Drawing a Chest Design | 3 |
| Drawing the Bottom Body Design | 1 |
| Drawing the Logo | 3 |
| Coloring | 1 |
What You Will Need
- A drawing piece of paper
- Pencils
- An eraser
- Color pencils or markers
- 15 Minutes
How to Draw an Ice Hockey Jersey Step-by-Step
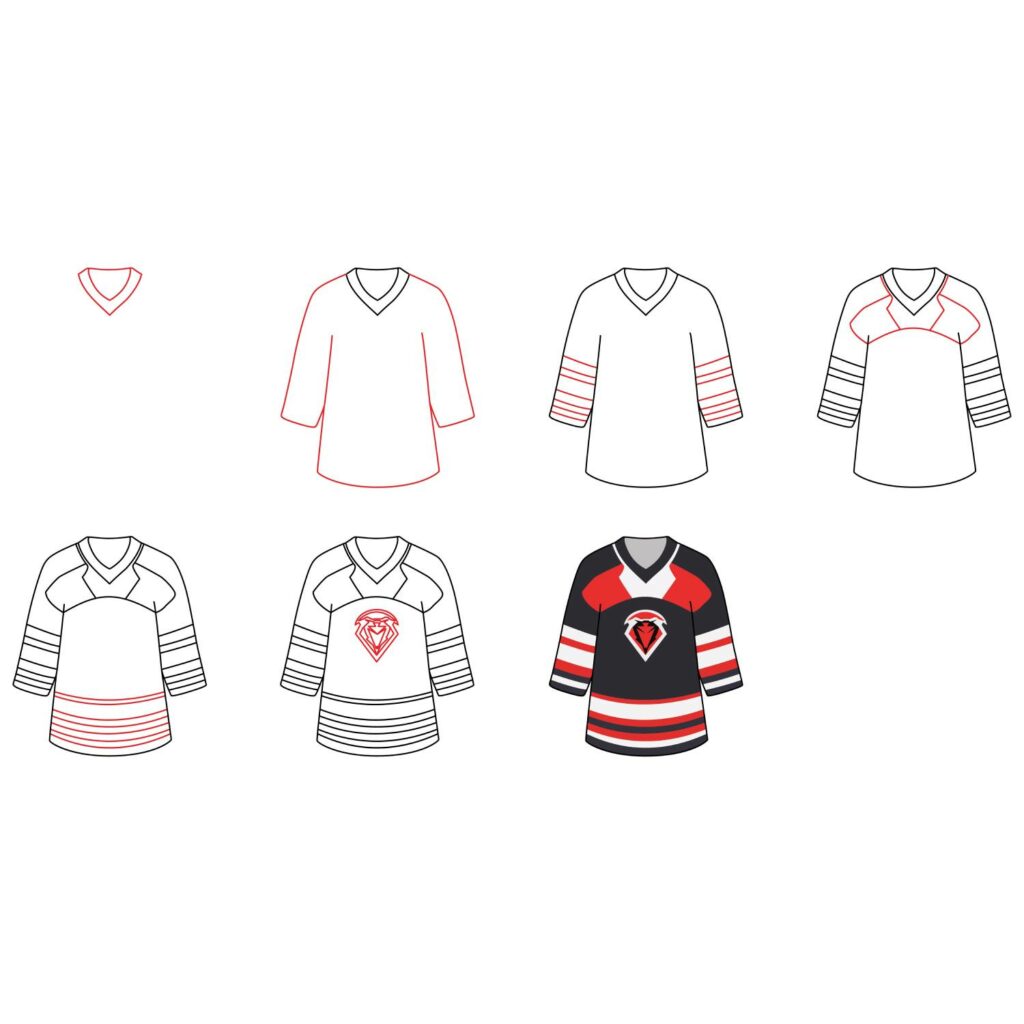
Drawing an ice hockey jersey is pretty straightforward. Simply follow our steps and watch your jersey take shape. To avoid making mistakes, take a moment to study the below image. It includes the 7 steps we will be taking to complete the drawing.
Step 1: Draw the Collar
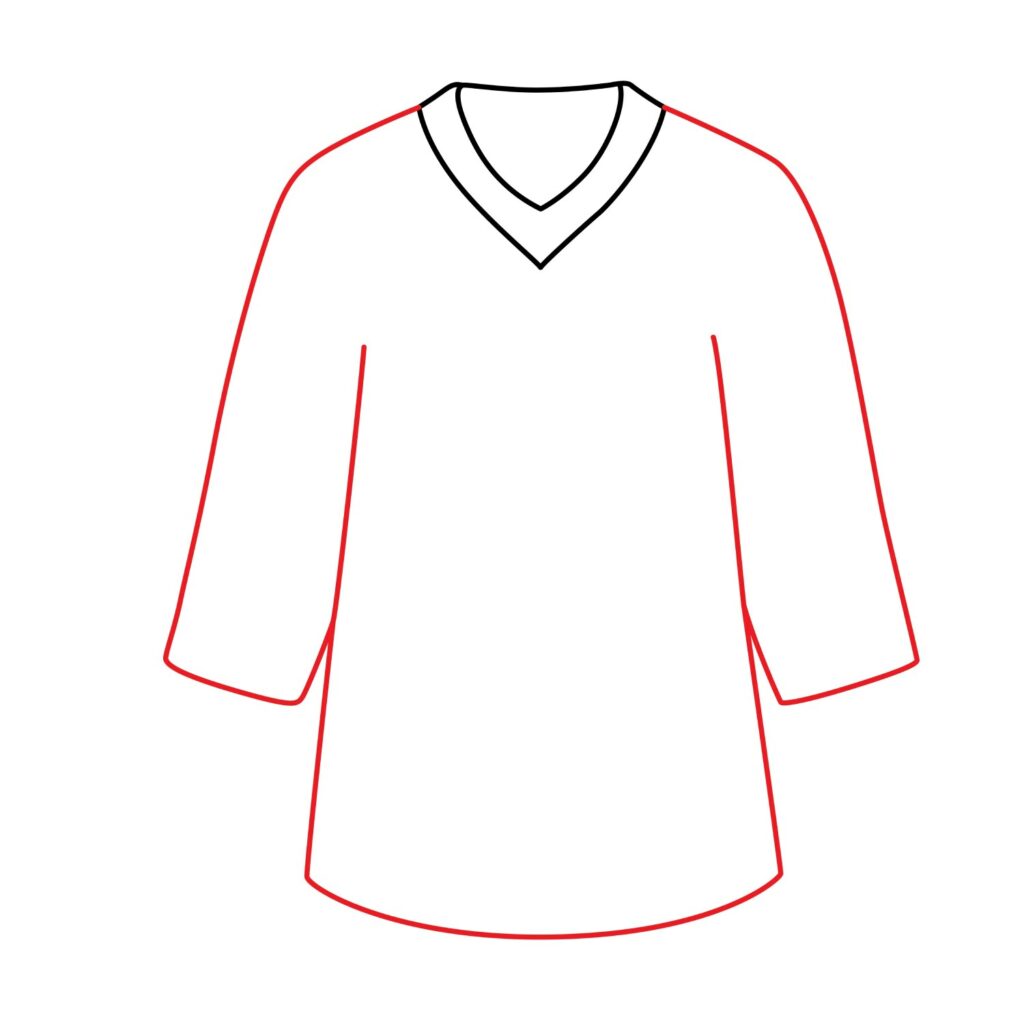
The first thing we are going to draw is the collar. This is the topmost part of an ice hockey jersey. You need to draw it close to the top of your drawing paper and keep it in the middle so that you have ample room for the body of the jersey.
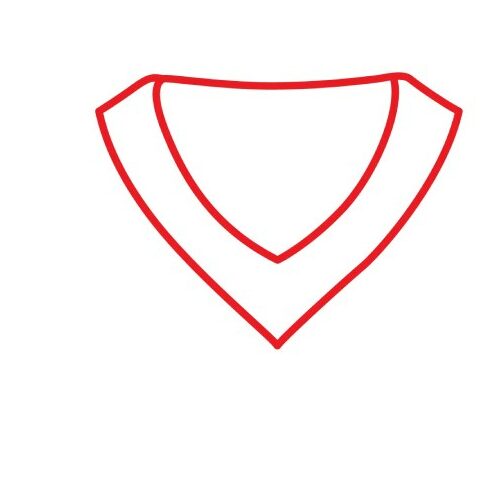
Start by drawing a V-shape with curved sides. Connect the top of the V-shape using a slightly curved line. You need to add another similar shape on the outside of the first V-shape, leaving a small gap between the two shapes. Instead of using a curved line to join the top part of the V-shape, simply use diagonal lines to connect the outer V-shape to the top of the first shape.
Your drawing should look like what we have below. This will form the foundation for your jersey.
- Draw a V-shape with curved lines at the top of the paper
- Connect the top part of the V-shape with a curved line
- Draw a similar shape on the outside of the first V-shape, leaving a small gap between the two shapes
- Connect the second shape to the first one using diagonal lines
Step 2: Draw the Jersey Outline
With the collar ready, we can go ahead and add the bottom part of the ice hockey jersey. One thing you will notice about these jerseys is that they are not as fitting as soccer jerseys. An ice hockey jersey is loose-fitting. For that reason, we are going to make it wider at the bottom.
Use curved lines to draw the sleeves. The sleeves are usually long to protect the player not just from bruises but also from the ice-covered rink. As a result, you need to draw the jersey with loose-fitting long sleeves.
For the body of the jersey, start by adding two slightly diagonal lines starting from the armpits and extending past the length of the sleeves. The two lines should bend outwards so that the jersey is wider at the bottom. Connect the bottom part of the two lines using a curved line. Your drawing should look like what we have below.
- Use curved lines to draw loose-fitting long sleeves
- Use diagonal lines and a curved line to create the bottom part of the jersey
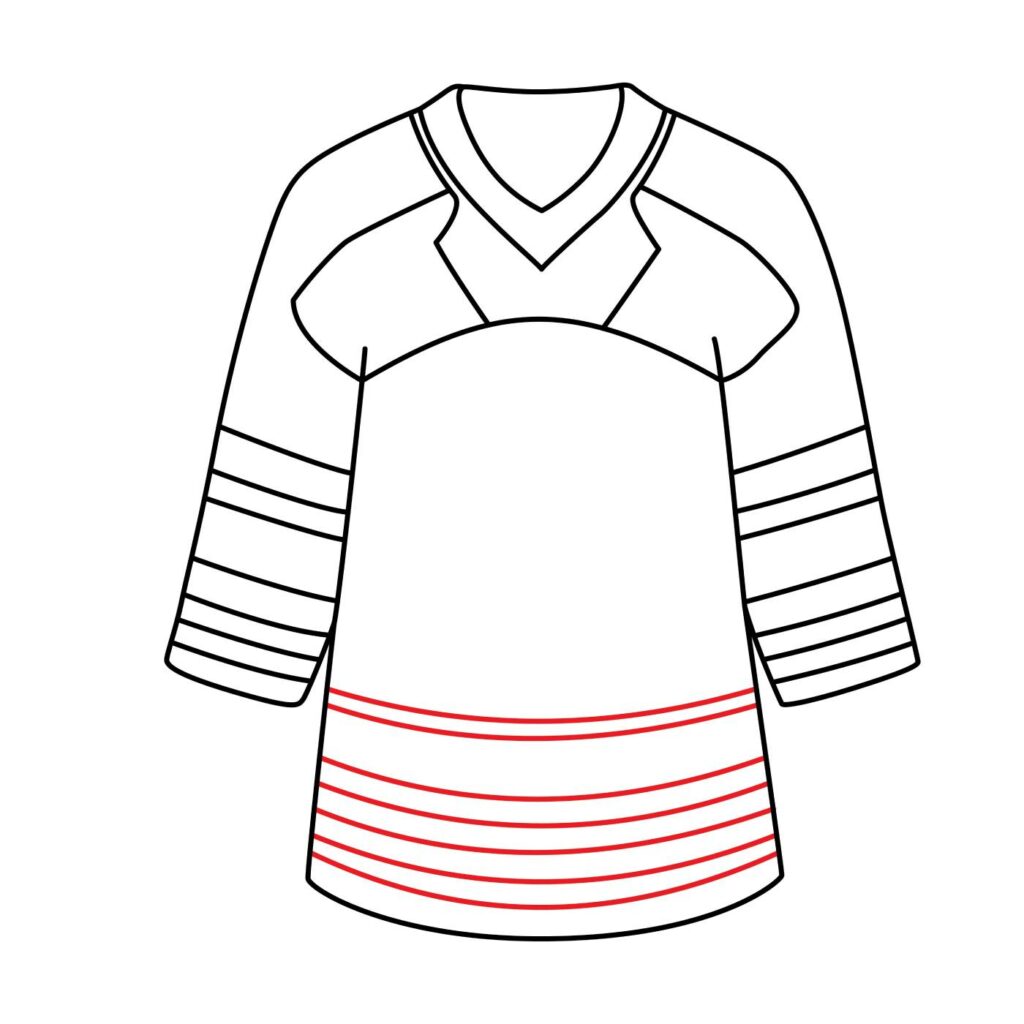
Step 3: Add Sleeve Design
So far, our ice hockey jersey looks more like a robe. To turn it into a jersey, we are going to add some details to it. We are going to start by decorating the sleeves.
To infuse creativity into the sleeves, use angled lines that run across the width of the sleeves. The lines should be on the bottom part of the sleeves. Make sure the lines do not spill outside the borders. Here is what your drawing should look like.
- Add horizontal, angled lines on the bottom part of the sleeves

Step 4: Draw the Chest Design
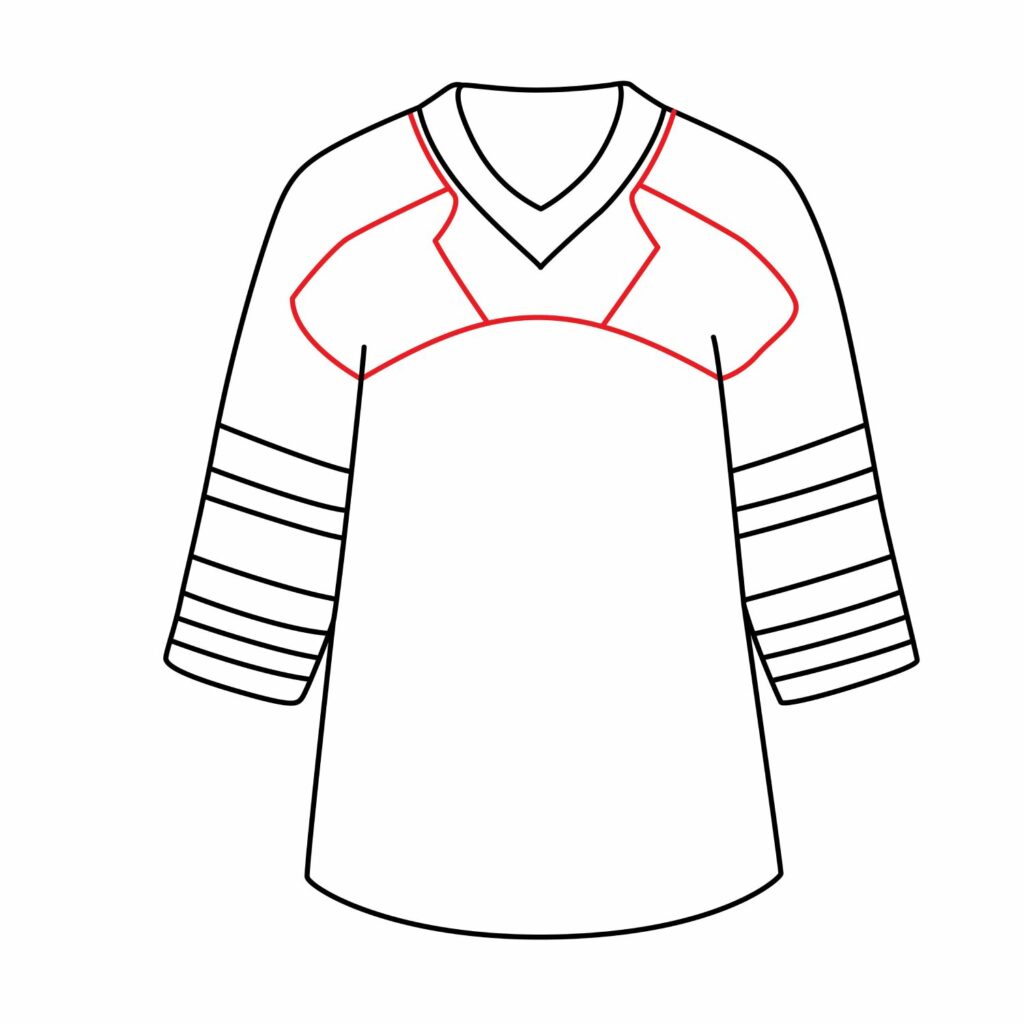
We are now going to add some chest designs. This simple addition will transform our drawing from being a robe into a professional hockey player’s jersey. While you can use any design that you want, to be on the same page, we recommend that you use the same design we are using on our jersey. You can sketch your own intriguing design once you understand how to draw an ice hockey jersey.
In our design, we started by drawing a curved line across the width of the top part of the jersey. We then drew a line that was parallel to the side of the collar, bent it slightly, and added a diagonal line to connect it to the curved line we added earlier. We did the same for the other side of the collar.
To complete the design, we started by adding the right part of the design by drawing a rectangle-like shape. We did the same for the left side.
- Draw a curved line to cover the width of the upper part of the jersey
- Use a combination of vertical and diagonal lines to add a line that runs from the top of the collar to the curved line
- Add rectangle-like shapes to either side of the chest area
Step 5: Draw Bottom Body Design
To remain true to the design of real professional ice hockey jerseys, we are going to add distinctive lines at the bottom of the jersey. For this, we used several curved lines. The lines should be parallel to the base of the jersey.
We used curved lines to show that our jersey is curved and not two-dimensional. You can leave some space between the top pair of lines and the other lines to spice up the design as we did.
- Add curved lines at the bottom part of the jersey
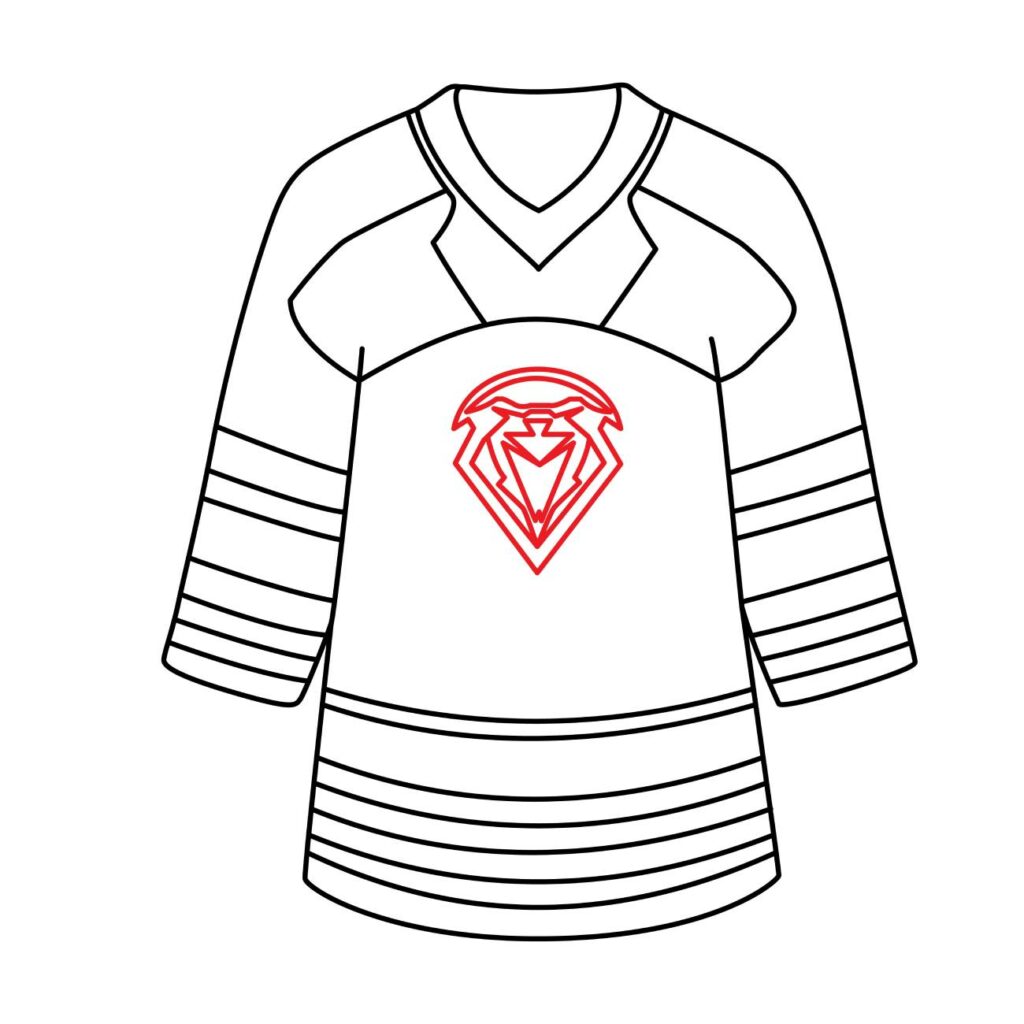
Step 6: Draw the Logo
The final thing we are going to do is add the logo. You can use any logo that you want. In our case, we used a combination of angled and curved lines to draw a distinctive logo. This will be the logo of our team.
You can draw any type of logo that you want in the space between the chest design and the bottom lines of the jersey. The logo can be inspired by your favorite hockey team or you can create your own logo. If you have no idea how to draw a logo, you can simply add a jersey number.
- Use a combination of curved and angled lines to add a logo on the jersey
Step 7: Congratulations! Your ice hockey jersey is complete.
With just 6 simple steps, the drawing of the ice hockey jersey is ready. Take a moment to admire your work. Don’t forget that your drawing can look a bit different from ours. That is okay because every artist has their own unique signature.
If your drawing did not shape up too well, don’t be disappointed. You will have better results on your next attempt. This is because you now have a better idea of what is needed.
Take the Drawing to the Next Level
There are many things you can do to advance your drawing and keep it from looking too basic. One of those things is adding some background. The background can be anything including an ice hockey stick or a hockey puck beneath it. You may also consider adding a name on the jersey and a hockey rink in the background. Let your imagination run wild.
In this lesson, our goal is to teach you how to draw a realistic ice hockey jersey. As a result, we are not going to add any background details. We are, however, going to do one crucial thing; color our drawing.
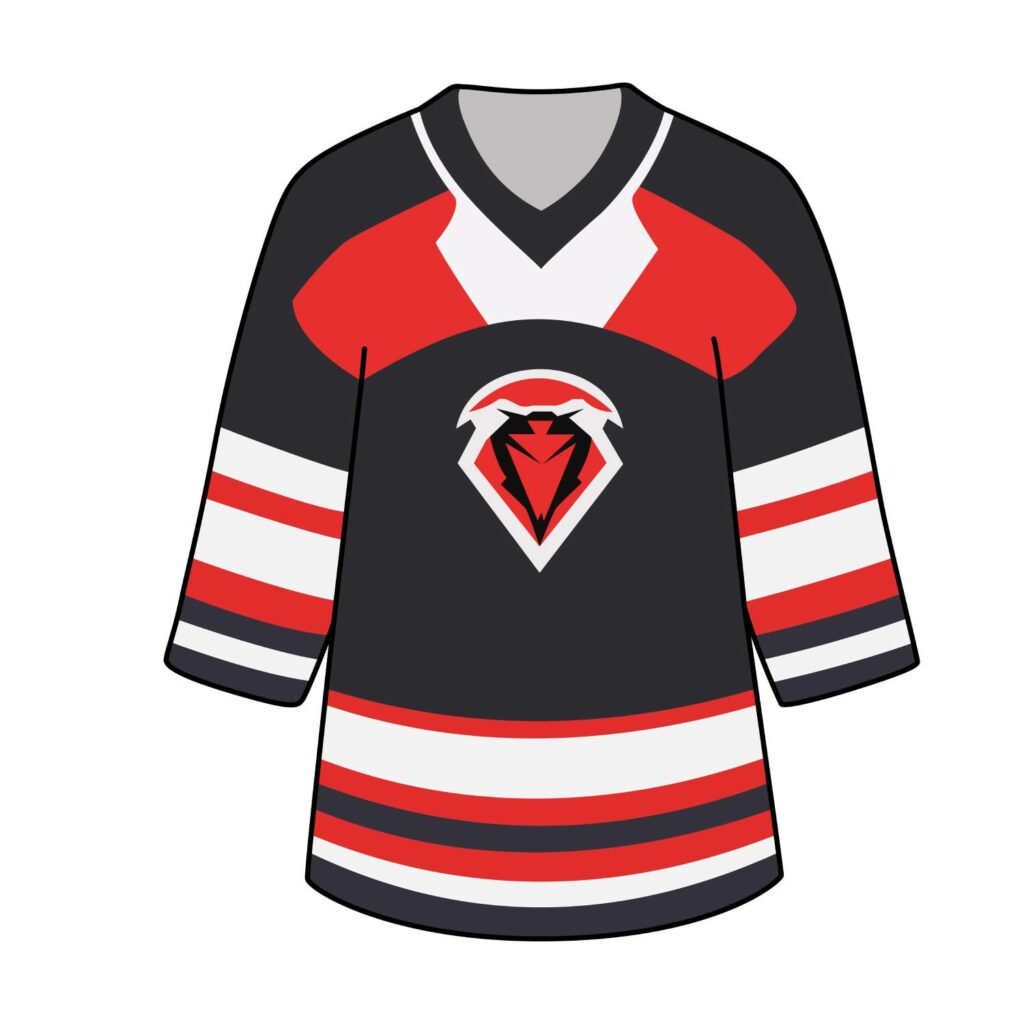
Step 8: Color
Color is what brings your creation to life. The best thing is this is your drawing which means you can use any colors that you want. You can experiment with different shades for the different elements of your jersey. That way you will avoid concealing crucial details. Here is how we colored our drawing.
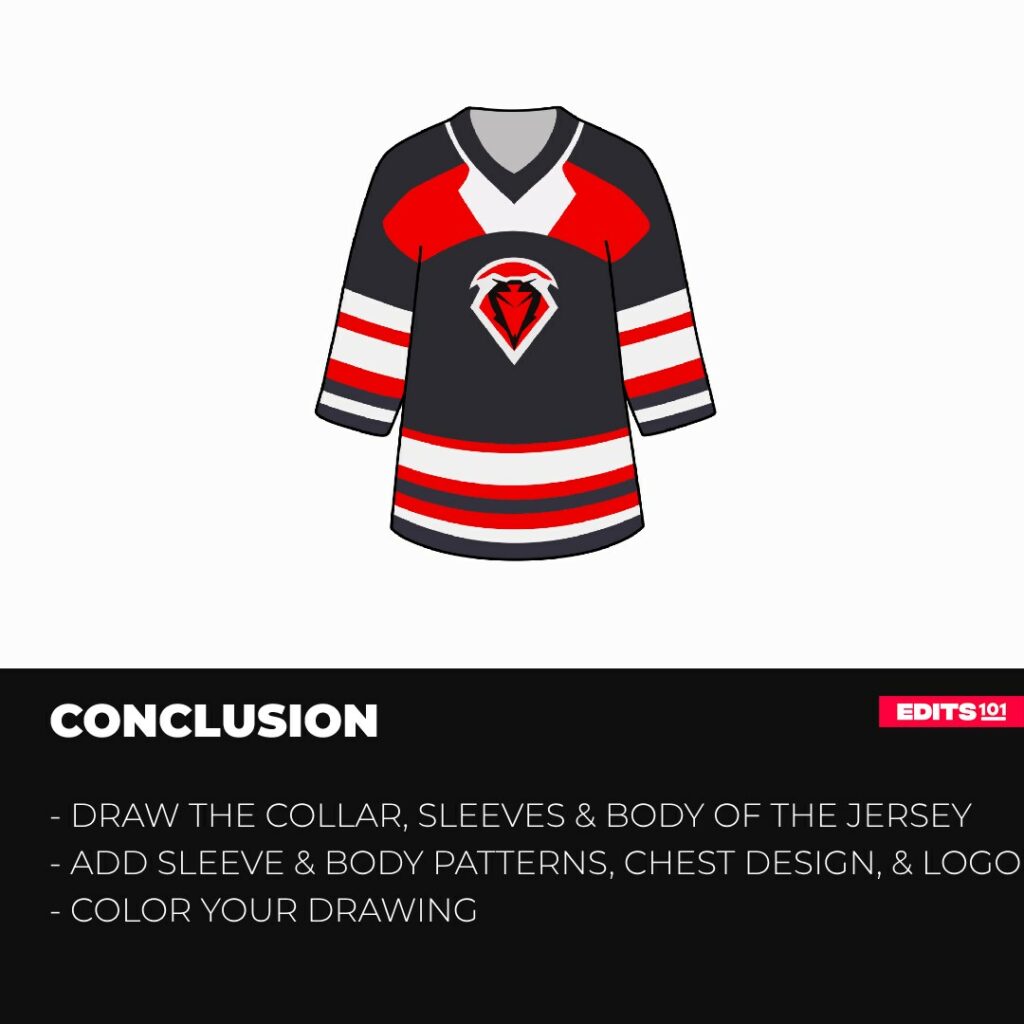
Conclusion
In this guide, we looked at the steps you should take to complete a beautiful ice hockey jersey. We started by drawing the collar by creating a V-shape then added the sleeves and the body of the jersey. To transform the drawing into a realistic jersey, we added a chest design, patterns on the sleeves and body, and then a logo. We then colored the drawing.
Congratulations on creating your very own ice hockey jersey! The guide endeavored not just to spark your creativity but also enabled you to express yourself visually. Keep in mind that it is only with practice that you will become an amazing artist.
Thanks for reading & feel free to check out more of our articles!
Author Rating
Overall Rating
Summary
Learn how to draw a realistic ice hockey jersey in 6 simple steps.