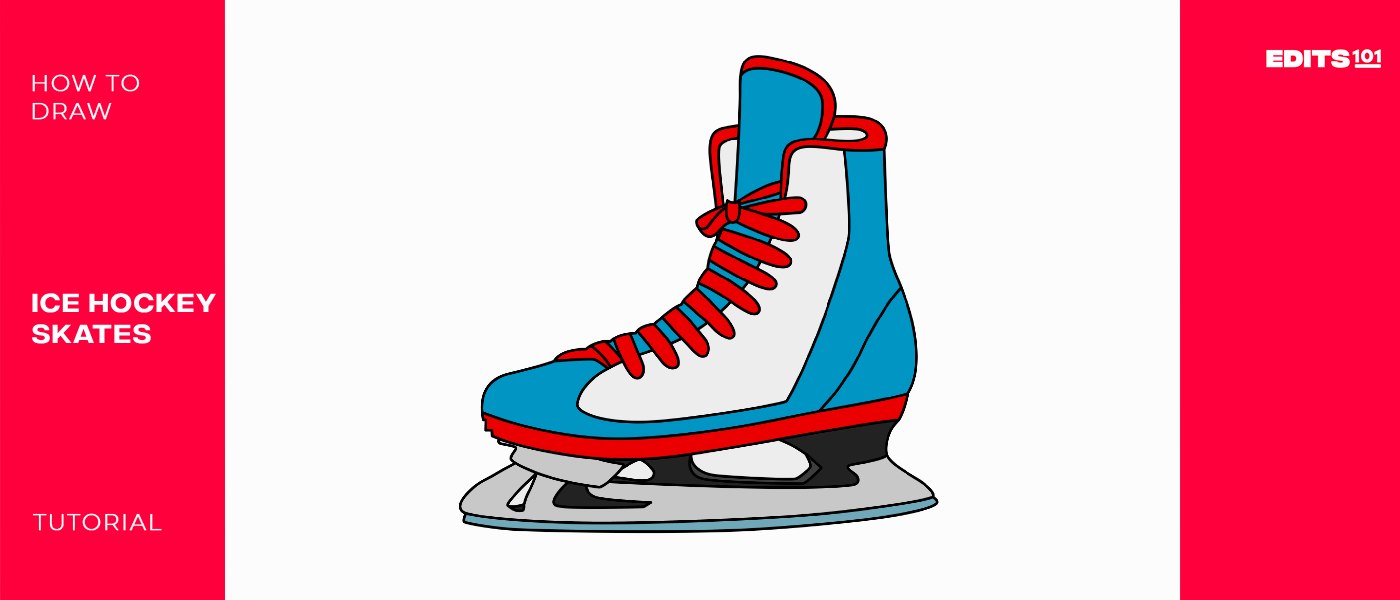
How to Draw Ice Hockey Skates | An Easy Step-by-Step Guide
Unlike field hockey which is played on a field, ice hockey is played on a rink. This is an ice-covered area of play. The players cannot simply walk on the rink. They need special equipment to enable them to move easily on the ice-covered surface. The special equipment is known as ice hockey skates.
The ice hockey skates are basically boots that are designed to protect the hockey player’s feet from the hard puck, and other players’ skates, and also to help them glide over the ice surface. In our lesson today, we will be learning how to draw realistic skates.
| Steps | Complexity Level |
| Drawing the Outline of the Skates | 3 |
| Drawing the Boot and Ankle Support | 3 |
| Drawing the Protective Tongue | 2 |
| Drawing the Laces | 2 |
| Adding Decorations to the Skates | 1 |
| Drawing the Blades | 3 |
| Coloring | 1 |
What You Will Need
- Drawing paper
- A pencil
- Eraser
- Colored pencils or markers
- 20 Minutes
How to Draw Ice Hockey Skates
At first, drawing ice hockey skates may seem difficult. The truth is the process of drawing a realistic skate is not that hard. You simply need to know where to start and how to go about it. That is what we will be doing in today’s lesson.
To keep you from making mistakes, we encourage you to study the below image. It has all the steps we will be taking to complete a realistic ice hockey skate. Studying the below image will make things easier for you because you will know exactly what we will be doing in each step.
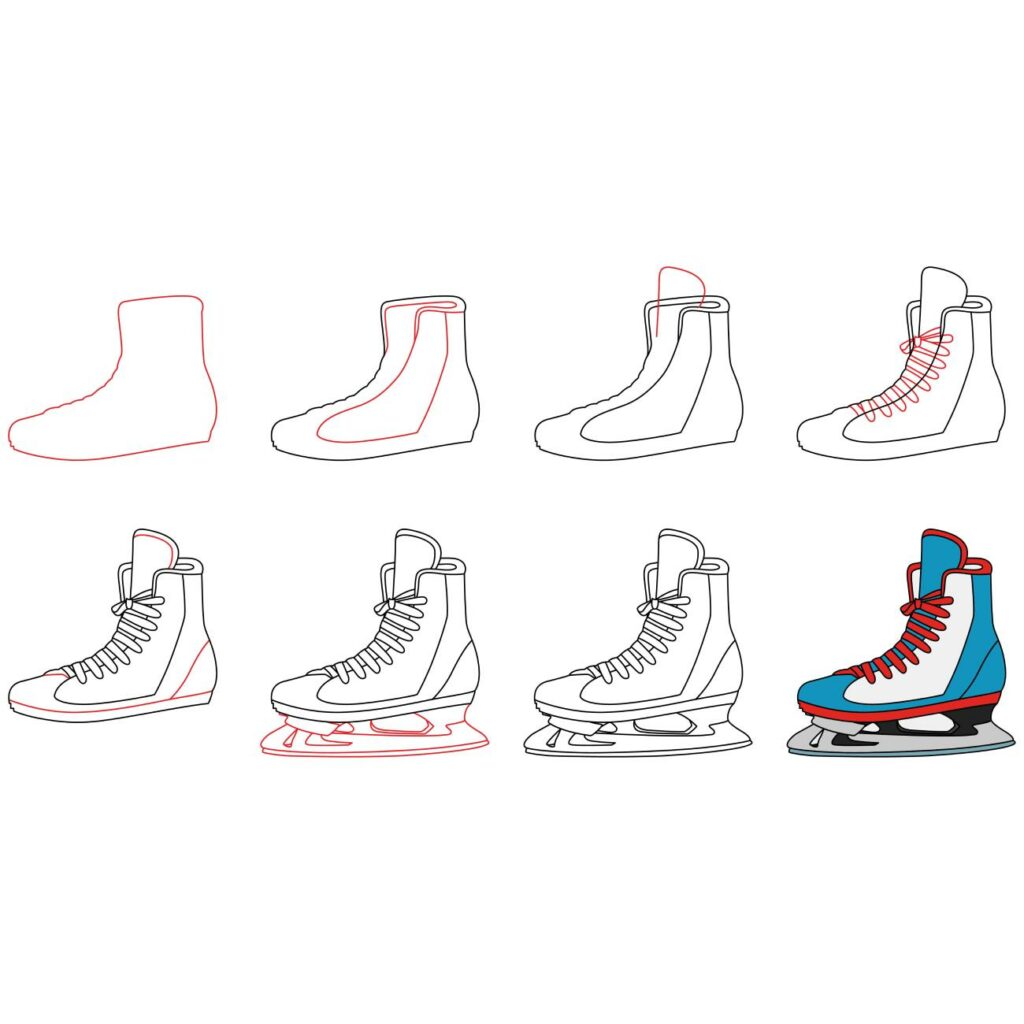
Step 1: Draw the Outline of the Ice Hockey Skates
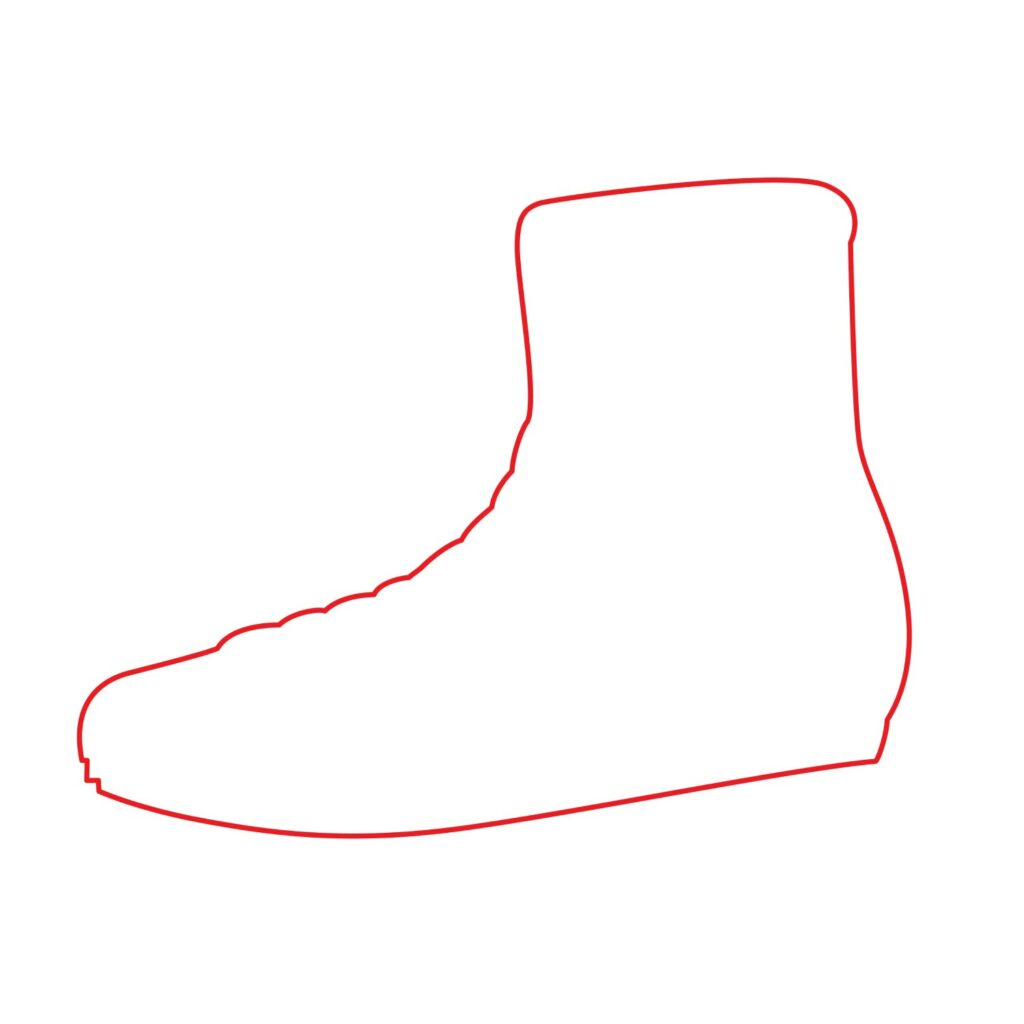
The first thing we are going to do is draw the basic outline of the ice hockey skates. The boot looks very similar to the normal boots you are used to. If you have a boot in your closet, you can take it out and use it as a reference. If you don’t, there is no need to worry, simply draw a shape that is similar to the one we have below.
For the best results, start by drawing the bottom of the boot. Use a curved line that stretches across the width of your drawing paper at the bottom. Make sure there is enough space between the bottom margin and the line because we will be adding some crucial details at the bottom of the boot.
For the body of the boot, use curved lines to create a shape like the one we have below. Your lines don’t need to be super smooth.
- Use a curved line to draw the bottom part of the boot
- Use curved lines to draw the upper part of the boot
Step 2: Draw the Boot and Ankle Support
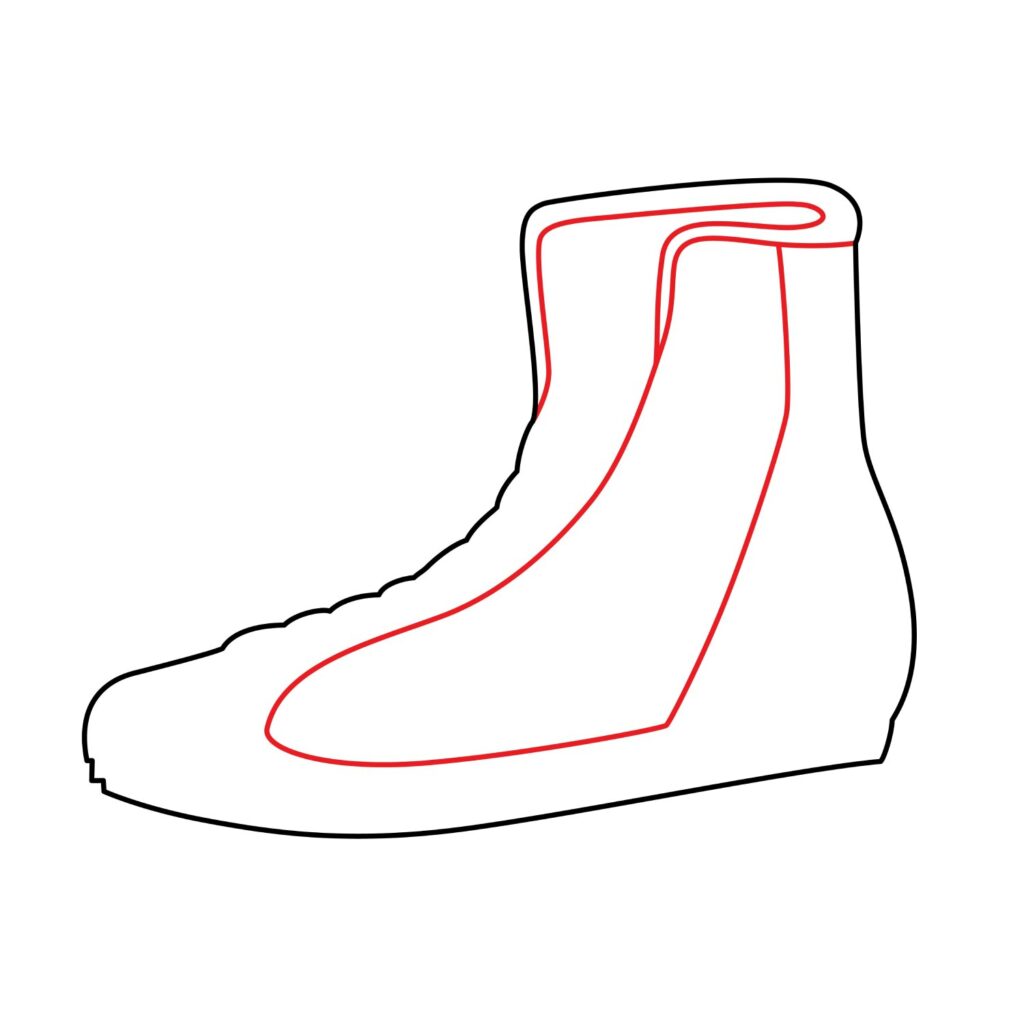
Now that the outline of the boot is ready, we are going to add more details so that the basic shape turns into a realistic ice hockey skate. In the middle of the boot, we are going to draw curved lines to add the support attachment. You also need to add a curved line on the mouth of the boot so that you have something that looks like what we have below. Doing so will form the essential structure of the skates.
- Use curved lines to draw the support attachment and to create the mouth of the boot
Step 3: Draw the Protective Tongue
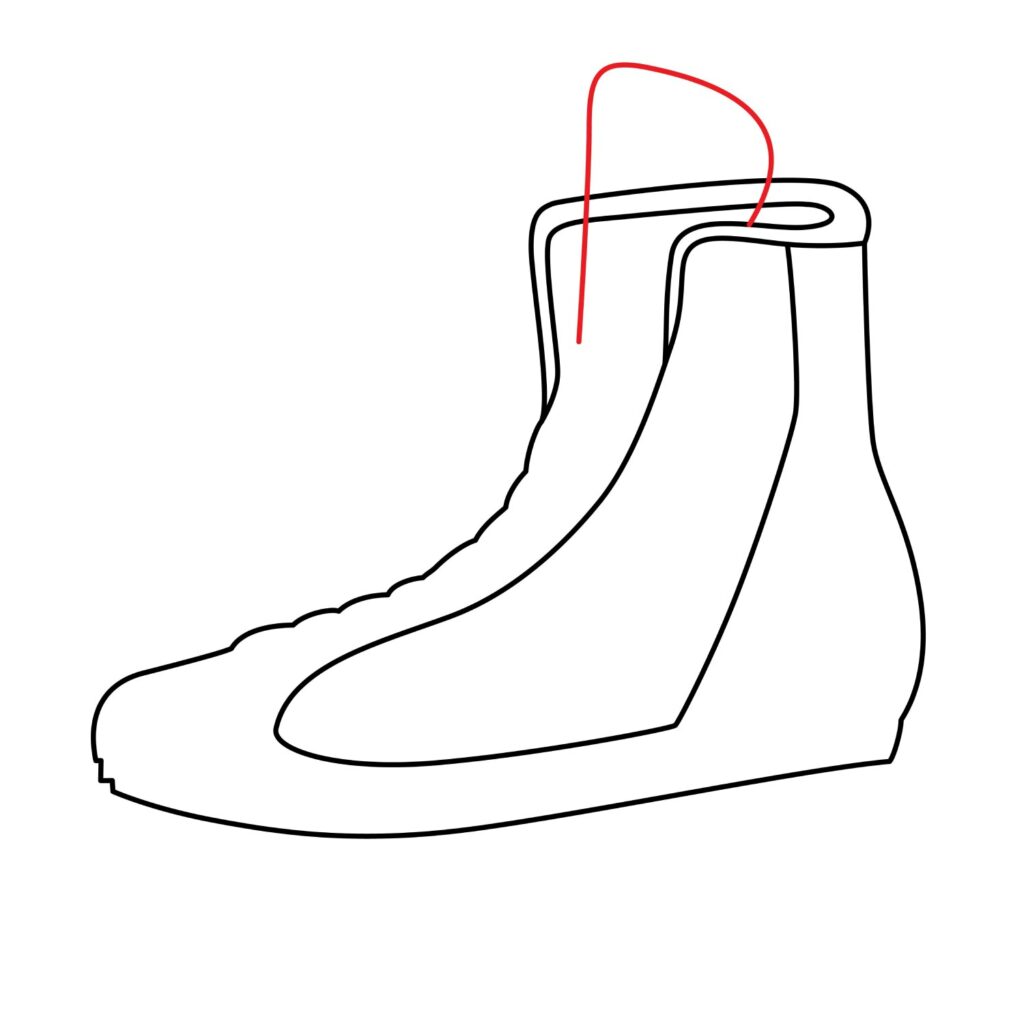
Just like with all boots, including field hockey cleats, an ice hockey skate has a tongue. The tongue is the part of the shoe that sits behind the shoe laces. It protects the foot from the laces once they are fastened.
To draw the protective tongue on the ice hockey skate, we are going to add a curved shape on the upper part of the boot. Start by drawing a vertical line that rises slightly above the height of the shoe. You should then add a line that curves from the top of the vertical line and into the upper part of the boot. Your drawing should look like what we have below. Erase the part of the boot that cuts through the new shape we just added.
- Draw a vertical line that rises above the height of the boot
- Add a curved line at the top of the vertical line and bend it to form the tongue
- Erase the parts of the boot that cut through the new shape
Step 4: Draw the Laces
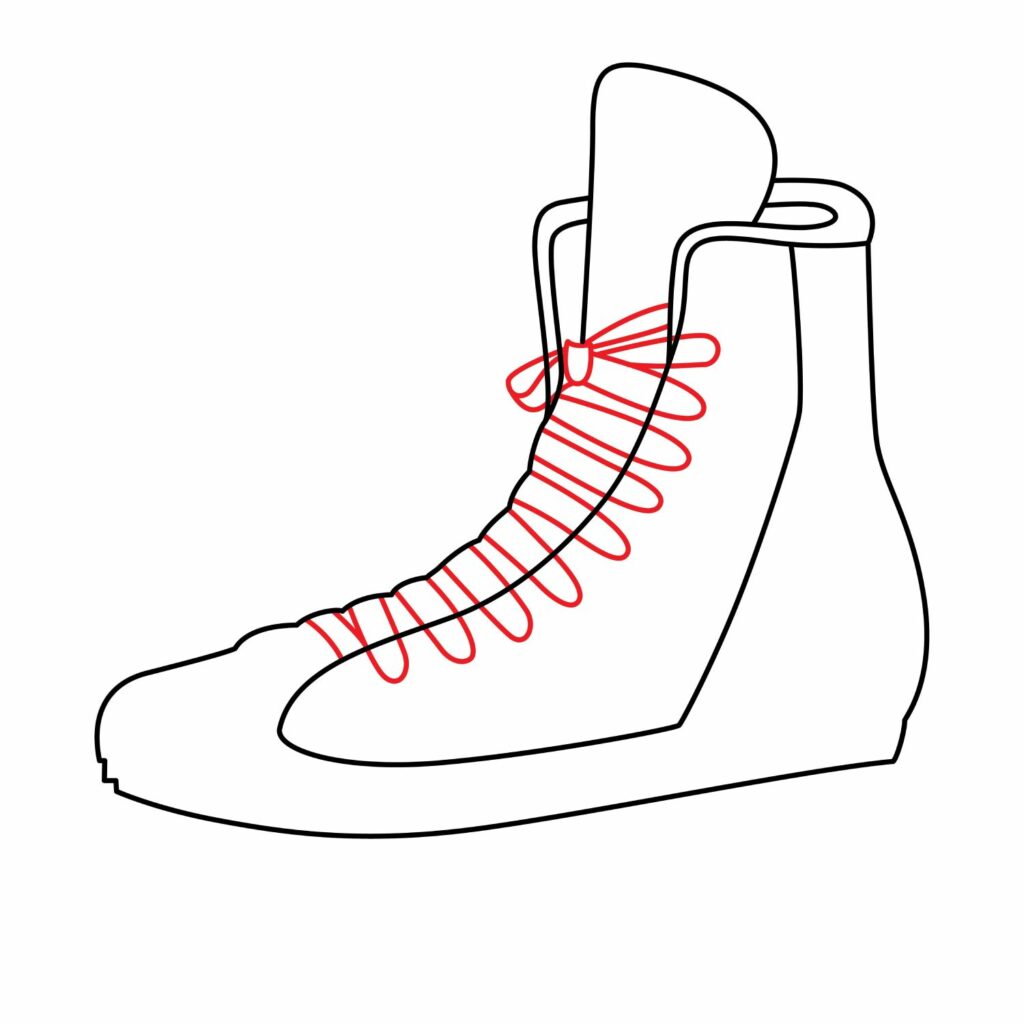
We are now going to add the laces. These are what enable a hockey player to strap the ice hockey skates tightly around their feet. For the laces, we are going to add lines that curve from the outer part of the shoe and slightly inside the ankle support structure we drew in Step 2. Add the oval-like shapes along the length of the boot and stop slightly below the protective tongue.
For realism, draw a knot below the protective tongue. That will indicate that the laces are tied. This simple detail adds a realistic look to the ice hockey skate.
- Use elongated oval shapes to add the laces
- Create a knot below the tongue to show that the laces are tied
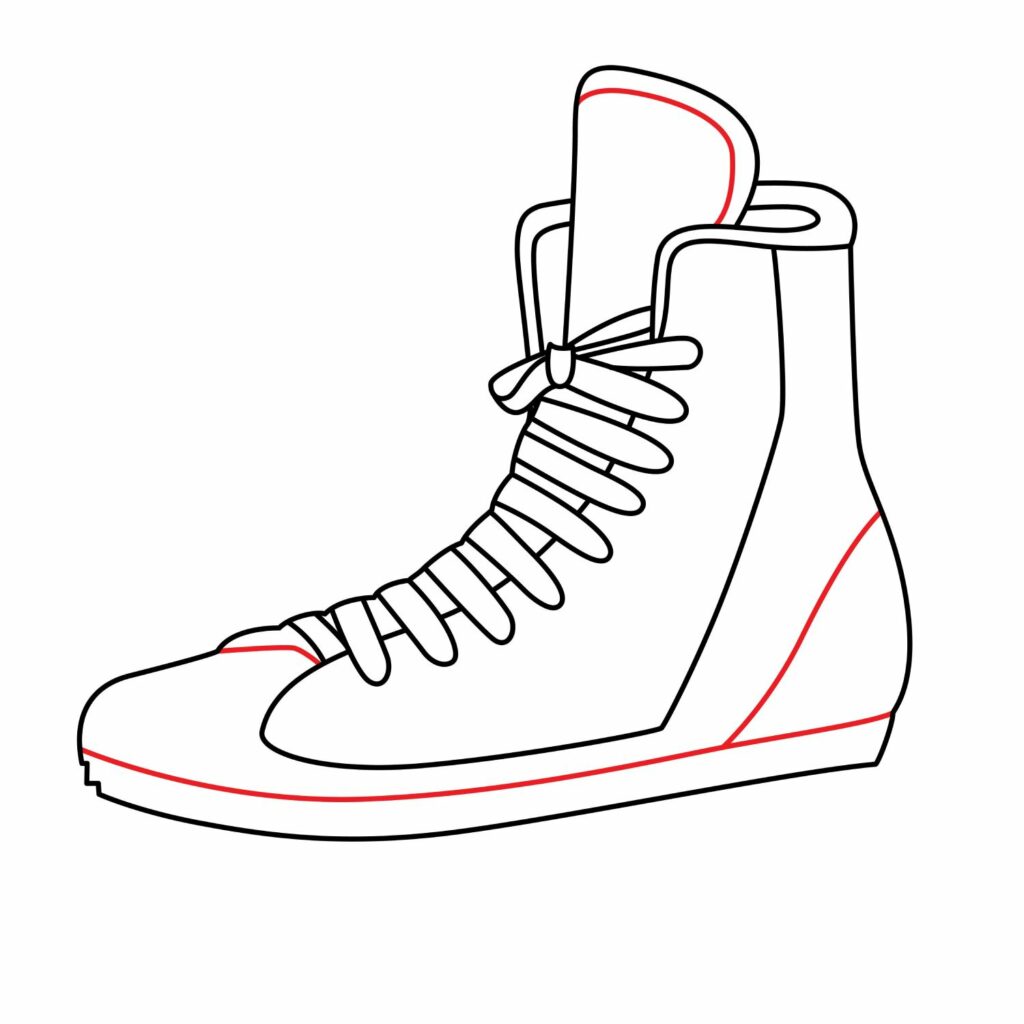
Step 5: Add Decorations to the Skates
To complete the upper part of the ice hockey skate, we are going to add some decoration to it. Start by drawing a curved line that follows the upper curvature of the protective tongue. You also need to add a line above the base of the boot to create the sole as shown in the below image.
For the back end of the boot, add a diagonal line starting from the upper line we drew for the sole and raise it diagonally so that it connects to the back part of the boot.
These simple lines will add depth and texture to your ice hockey skates. The lines make the boot look more realistic.
- Add a curved line that follows the curvature of the upper part of the tongue
- Add a line above the sole. The line should be parallel to the sole
- Add a diagonal line on the back of the boot for heel support
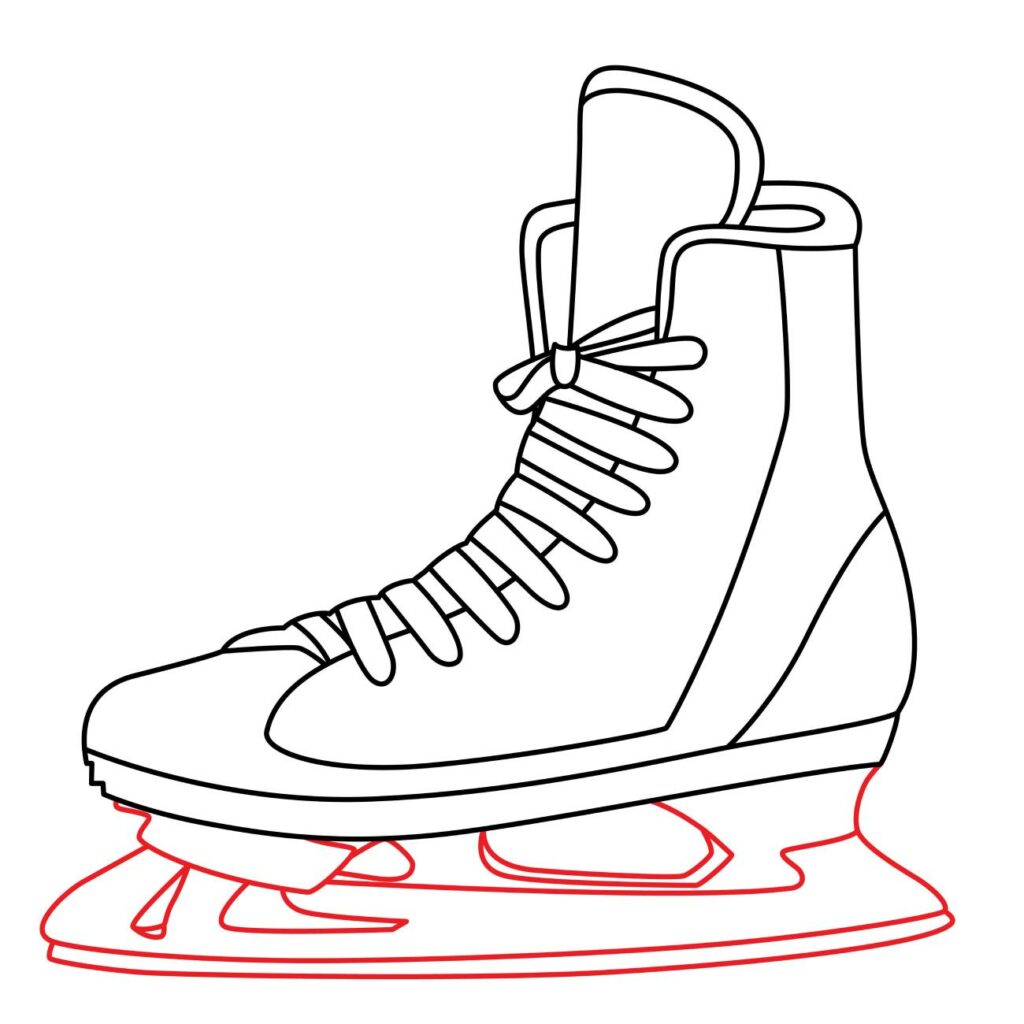
Step 6: Draw the Blade
Since we are drawing an ice hockey skate and not a basketball shoe, we are now going to add the blade. The blade is the bottommost part of the ice hockey skate that enables the player to move smoothly on the ice-covered pitch.
To draw the blade, we need first to add a curved line a short distance below the sole of the boot. The curvature of the curved line should be parallel to that of the sole of the boot. Add a second line to give the blade some depth.
To connect the blade to the bottom of the boot, we will use a combination of horizontal and curved lines to create something that looks like what we have below. Try and make the blade as proportional to the boot as possible.
- Draw a curved line a short distance below the sole of the boot
- Draw another curved line that is parallel to the first one to add some depth to the blade.
- Connect the blade to the sole of the boot using a series of lines
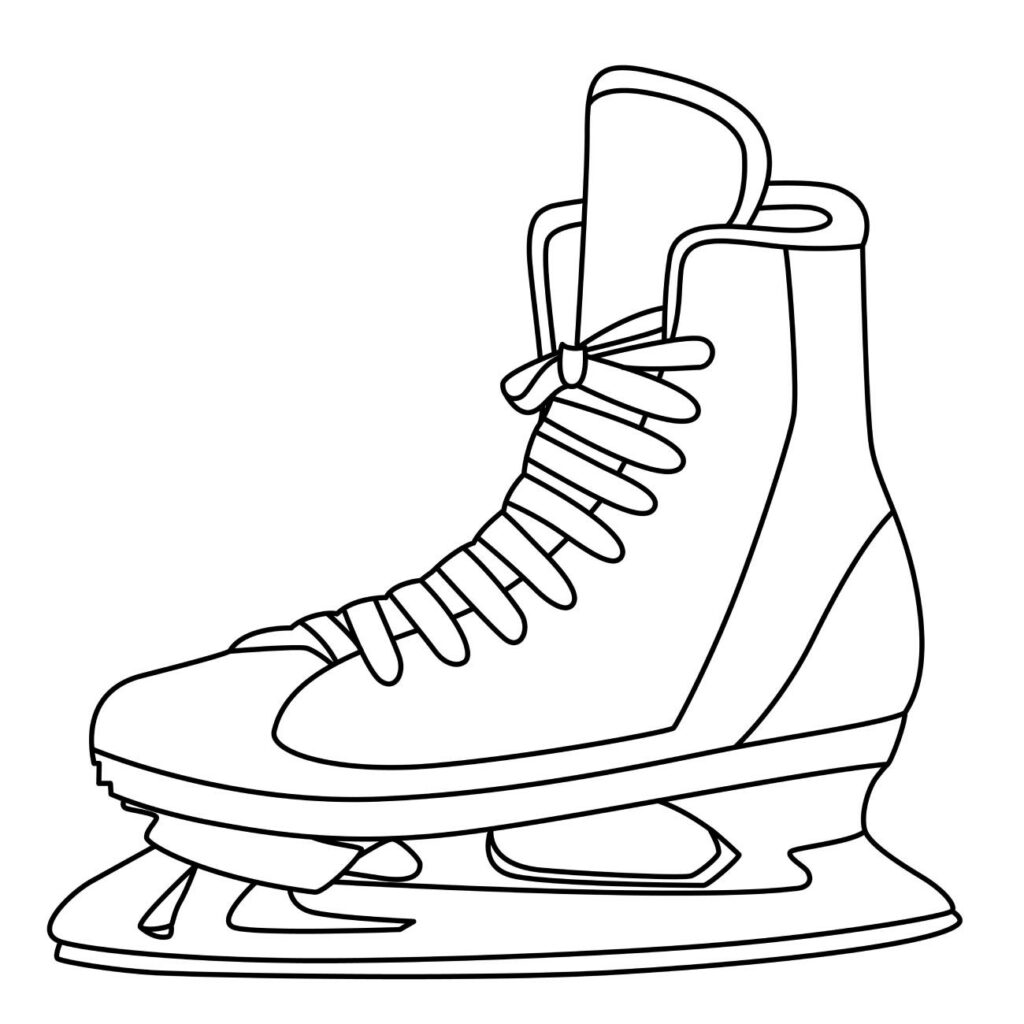
Step 7: Congratulations! Your Ice Hockey Skates Drawing is Done
Your drawing should now look something like what we have below. Take a moment to admire it. You can also take a short break to sip some water before we start advancing our drawing.
It is perfectly okay if your drawing doesn’t look exactly like ours. Every artist has their own unique signature. However, if your drawing doesn’t look good, don’t be frustrated. You will notice better outcomes on your second attempt at drawing the ice hockey skates.
Take the Drawing to the Next Level
It is okay if you wish to leave your drawing as it is. However, since we want you to become a great artist, we advise that you add a couple more details to make your drawing stand out.
To enhance your ice hockey skates drawing, consider adding background details. You can create a scene on an ice rink or in a hockey arena to give your artwork a dynamic and immersive feel. You can also add an ice hockey puck in the background.
To make it easy for you to follow along, we will not be adding a background to our ice hockey skates. We will simply be doing one crucial thing: coloring our drawing.
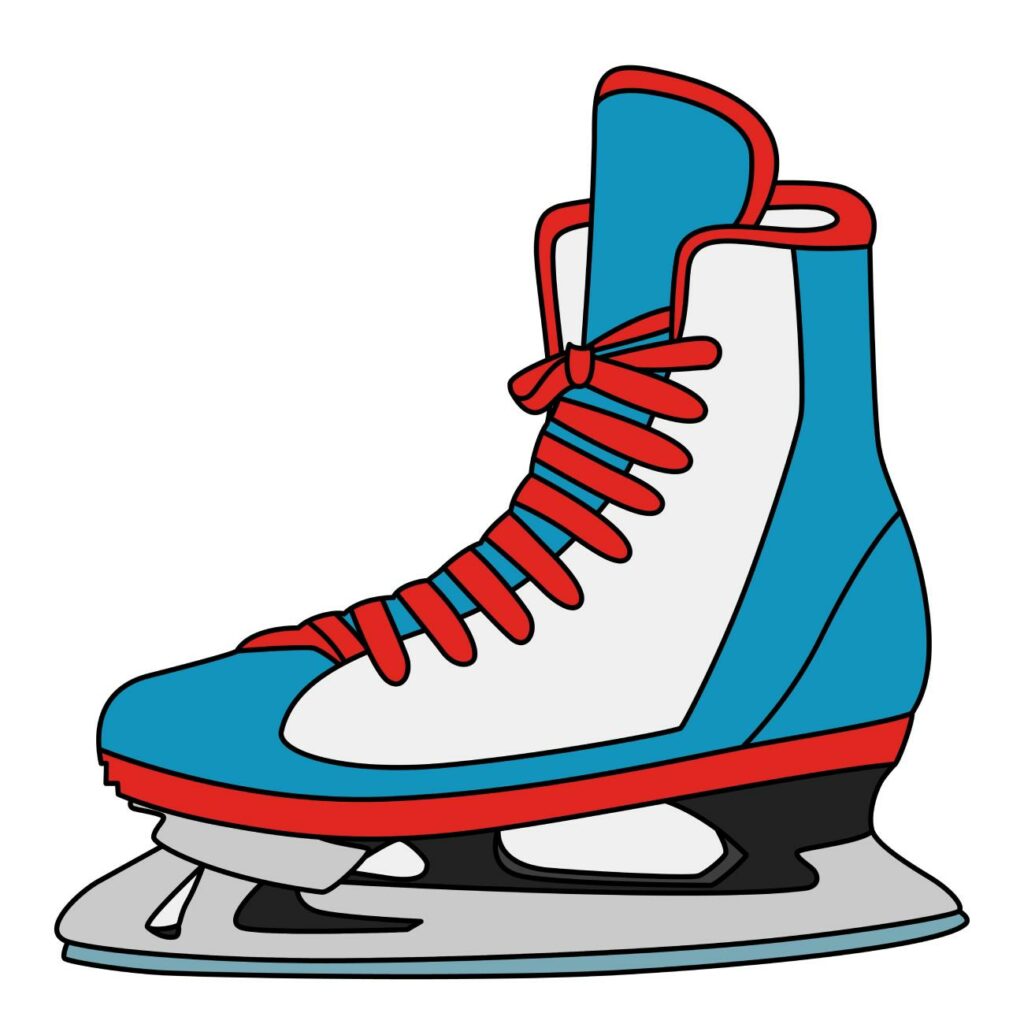
Step 8: Color
The best way to add more vibrancy and depth to your drawing is by coloring it. Take out your coloring supplies and color the skate using your favorite colors. You can get as creative as you want. Experiment with different color combinations to make your skate stand out.
The rule of thumb when coloring is to always use a different color for the different parts of the ice hockey skates. For example, use a different color for the laces and protective tongue. That way you will not conceal the crucial details we use to add depth to our drawing. You should also ensure that the colors don’t spill outside the areas you are coloring.
- Use different color shades for the different parts of the skates
- Ensure the colors don’t spill outside the areas you are coloring
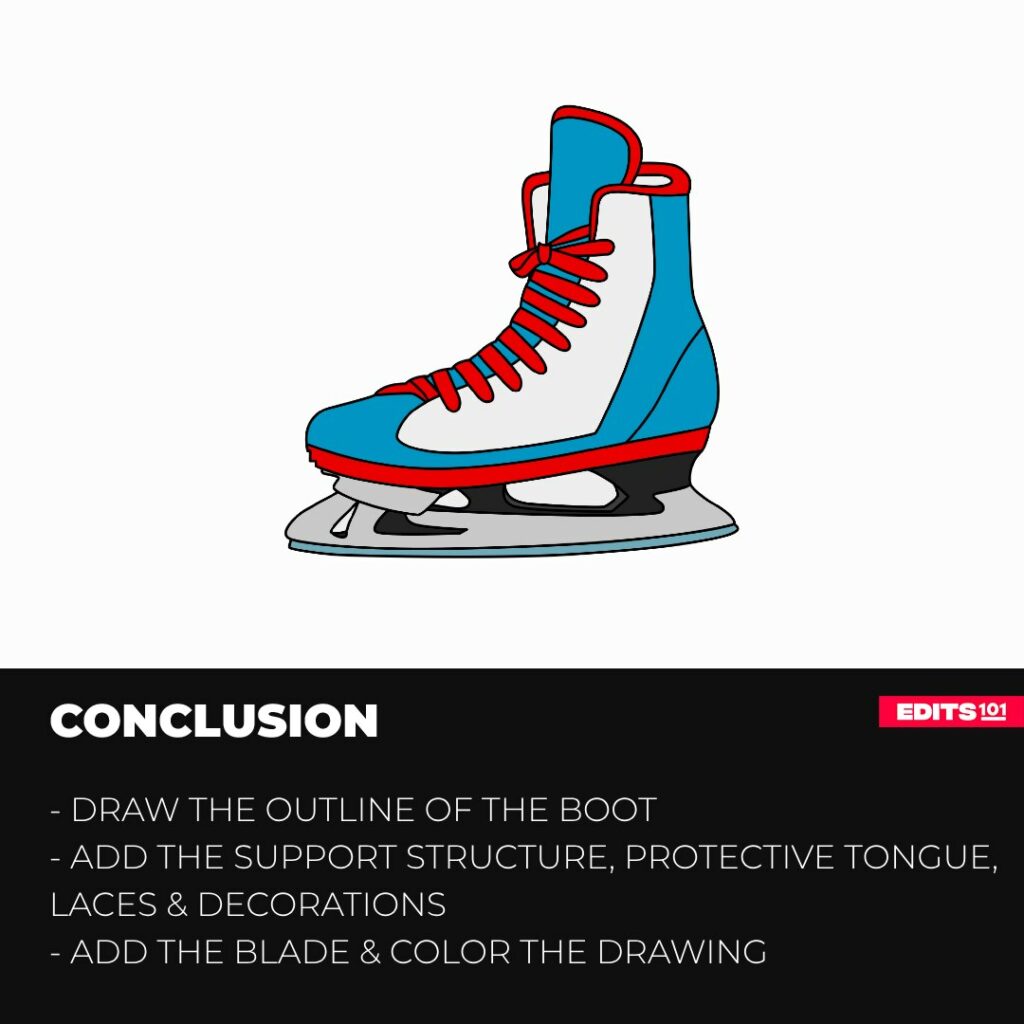
Conclusion
Our guide on how to draw an ice hockey skate has made it easy for you to draw a realistic skate step by step. As you can see, the lesson was fun and easy because we drew each element step by step.
We started by drawing the outline of the boot using curved lines. We then added the support structure and the protective tongue. We later added the laces, some depth to the sole, and some decorations to the boot. To turn the boot into an ice hockey skate, we added the blade using a combination of straight and curved lines. We later brought our drawing to life by coloring it.
You can use these steps to draw a real-life ice hockey skate on paper or on your favorite sketching app. We hope you had as much fun as we did.
Thanks for reading & feel free to check out more of our articles!
Author Rating
Overall Rating
Summary
Learn how to draw realistic ice hockey skates. The lesson also covers how to advance your drawing so that it stands out.