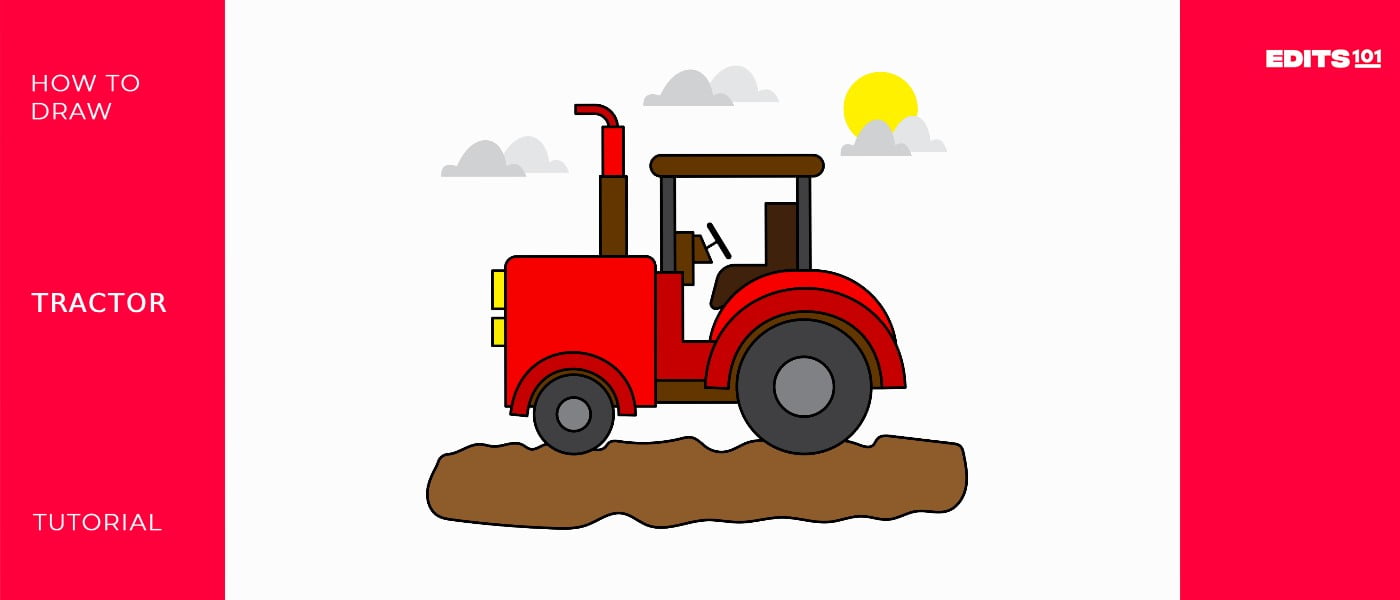
How to Draw a Tractor | 11 Simple Steps
In today’s lesson, we will be learning how to draw a tractor. This is a powerful motor vehicle with large rear wheels that is used mostly on farms for hauling trailers and equipment.
By the end of the lesson, you will not only learn how to draw a realistic tractor from scratch but also learn a few important things about this vehicle. You can use this guide either to draw on paper or on your sketching app. The choice is yours. Let’s get started.
| Step | Complexity Level |
| Drawing the Wheels | 1 |
| Drawing the Fenders | 2 |
| Drawing the Engine Compartment | 1 |
| Drawing the Base | 2 |
| Drawing the Roof | 2 |
| Drawing the Exhaust Pipe | 2 |
| Adding the Steering Wheel and Driver’s Seat | 3 |
| Adding the Lights | 1 |
| Adding Some Background | 2 |
| Coloring the Drawing | 1 |
What You Will Need
- A pencil
- An eraser
- A ruler
- A drawing piece of paper
- Coloring supplies
- 25 minutes
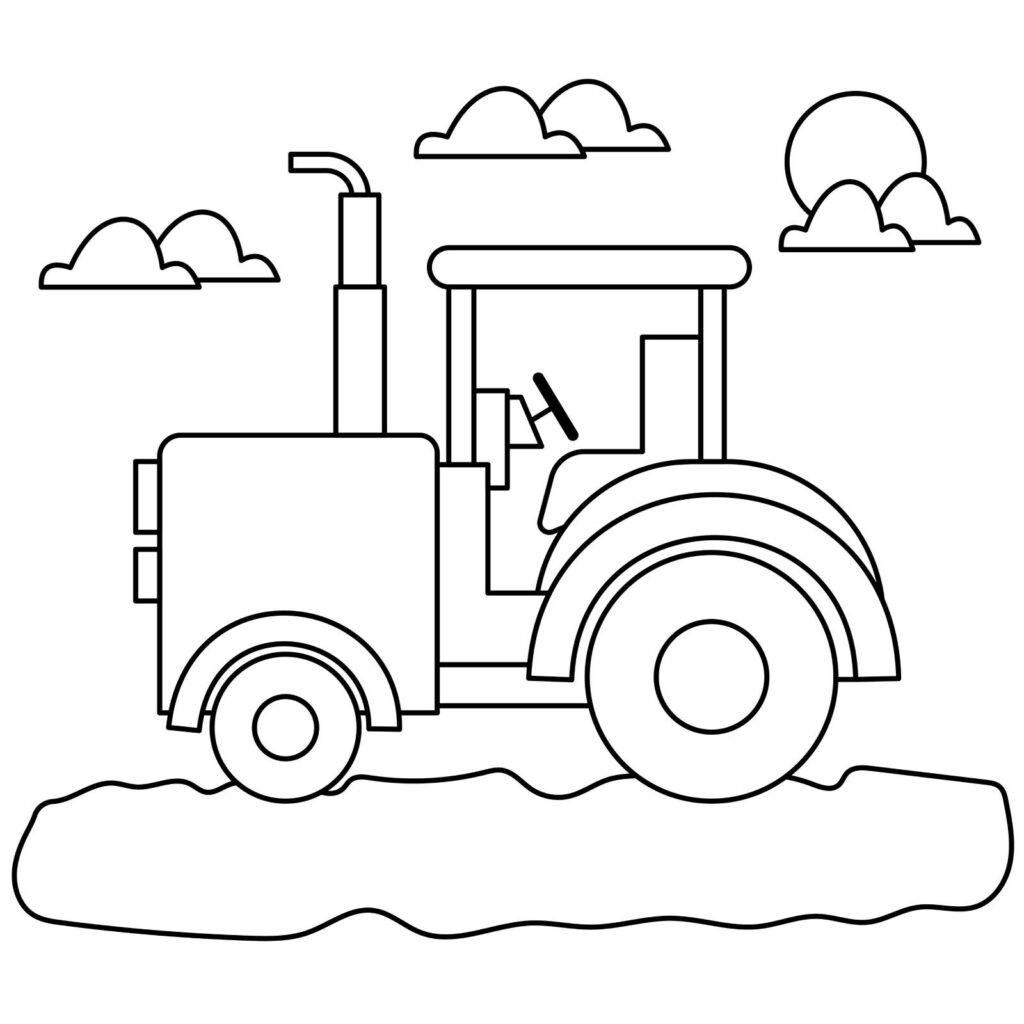
How to Draw a Tractor
To make it easy for you to grasp the concept of drawing a tractor, we will be drawing a very simple tractor. Once you understand what needs to be done, you can move to a more complex drawing. The best thing is that you can use our steps to draw a tractor from any perspective and even from a real photograph.
Here are the steps we will be following. Study them so that you can anticipate each step as we proceed.
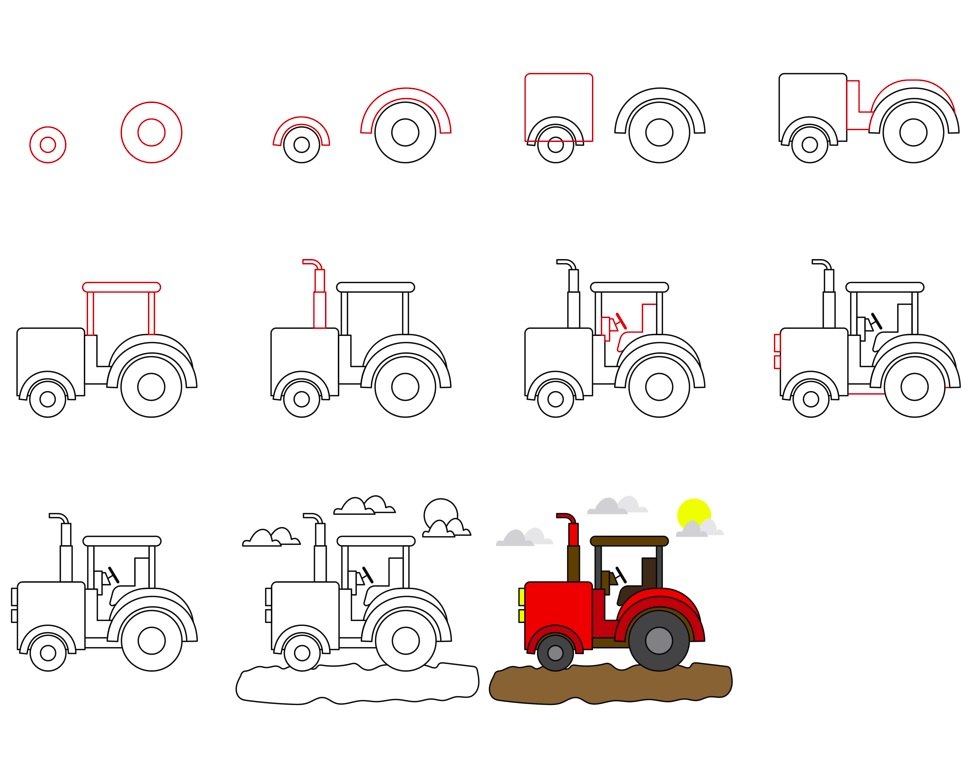
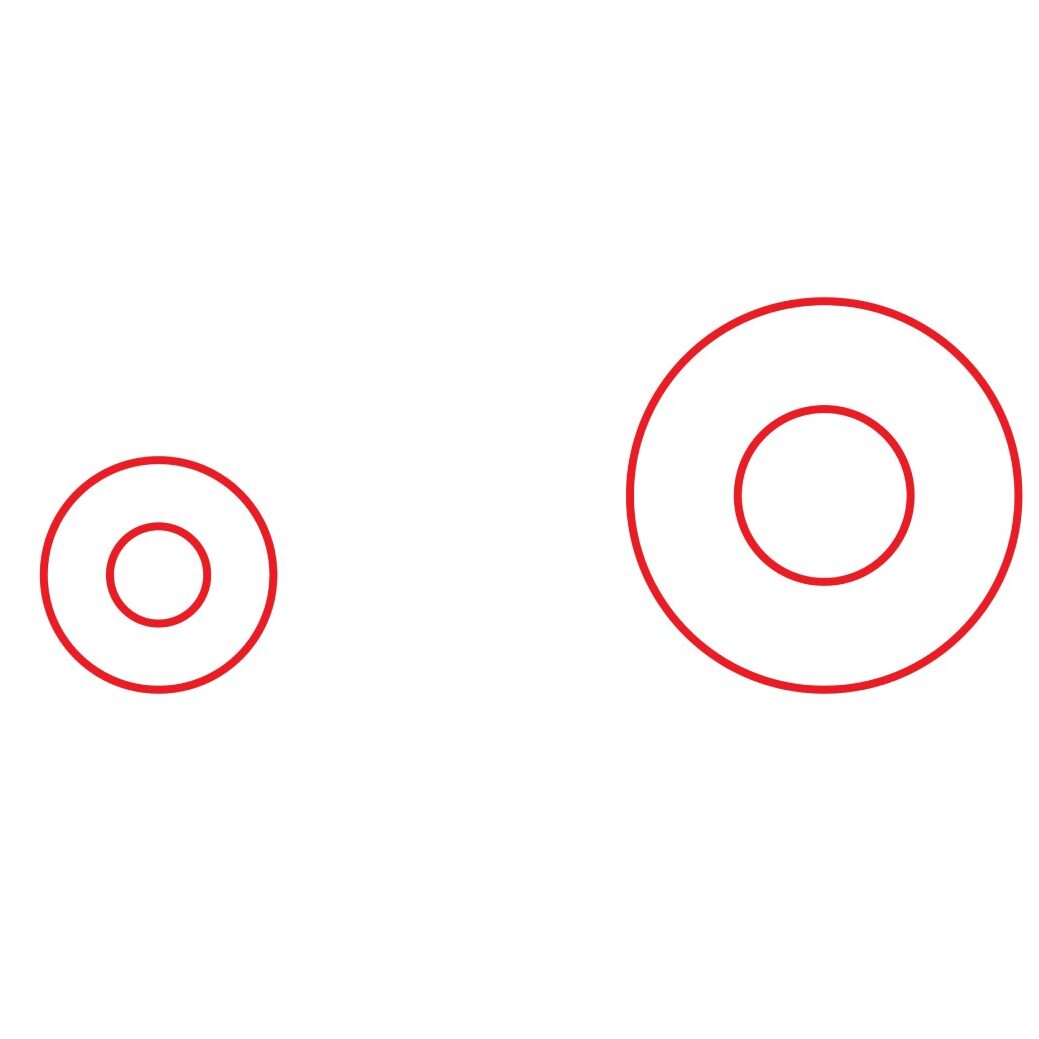
Step 1: Draw the Wheels
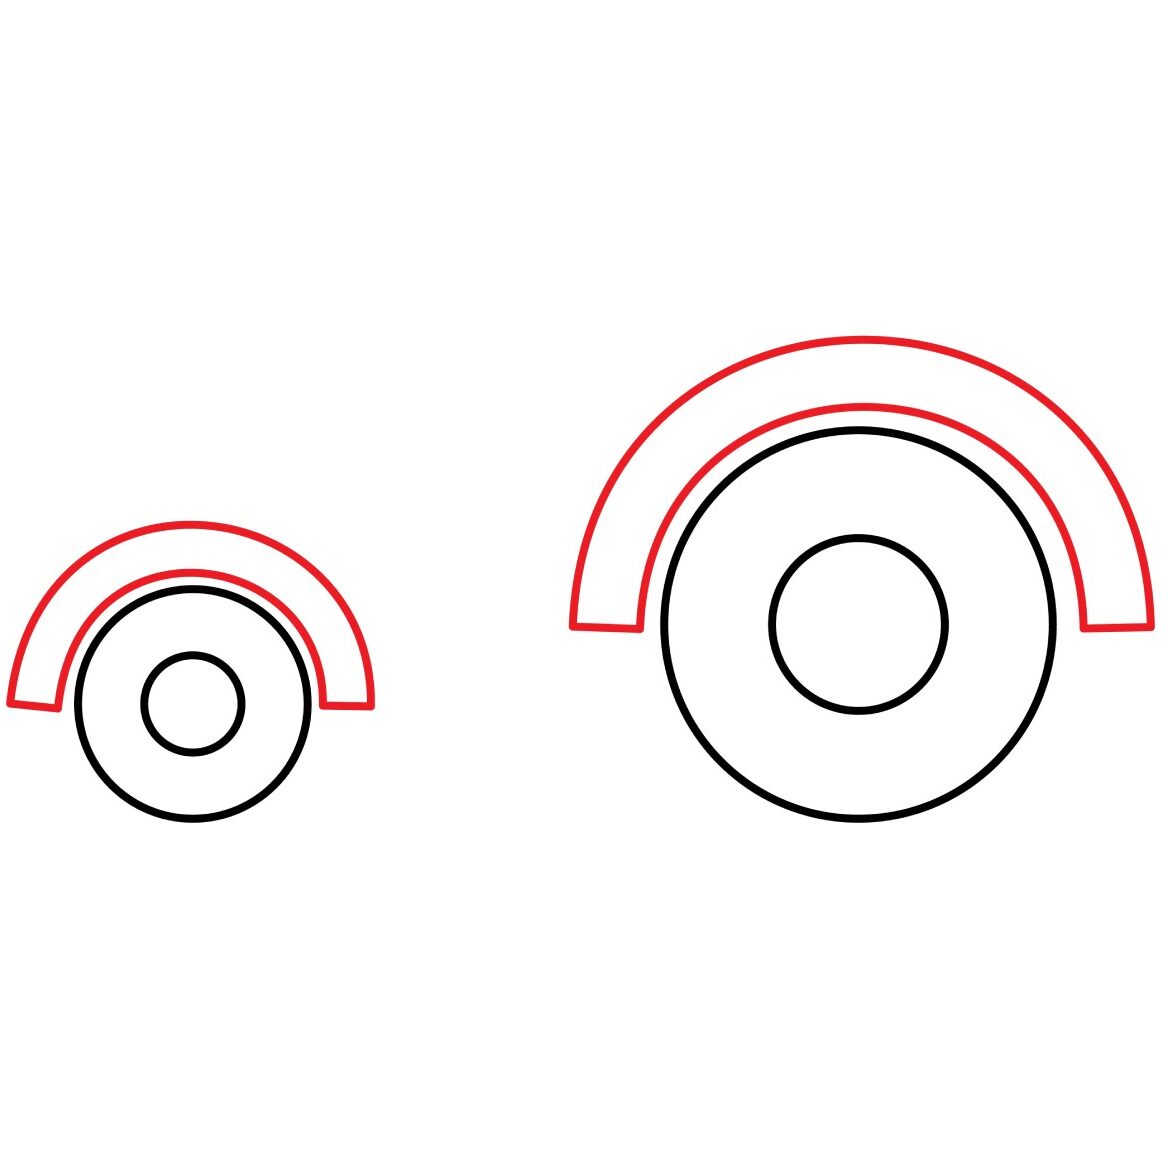
The first thing we are going to draw is the wheels. Due to the perspective of our tractor, we will not be able to draw all four wheels. The way our tractor is positioned enables us to only see two wheels.
From close to the bottom left corner of your drawing paper, draw a small circle. Try and make the circle as smooth as possible. You should then add another smaller circle inside the first one. The inner circle will serve as the rim while the larger circles serve as the tire.
We then need to leave some space and add a larger circle to the right of the front wheel. As aforementioned, unlike a truck, the rear wheel of a tractor is usually larger. That is why we are making the second circle larger. Follow the same process we did when drawing the front wheel. It is, however, important to make sure that the bottom of the front and rear wheels are at the same level.
- Draw a small circle in the bottom left corner of your drawing paper
- Add a smaller circle inside the circle to complete the drawing of the front wheel
- Leave a space and draw a larger, rear wheel to the right of the front wheel
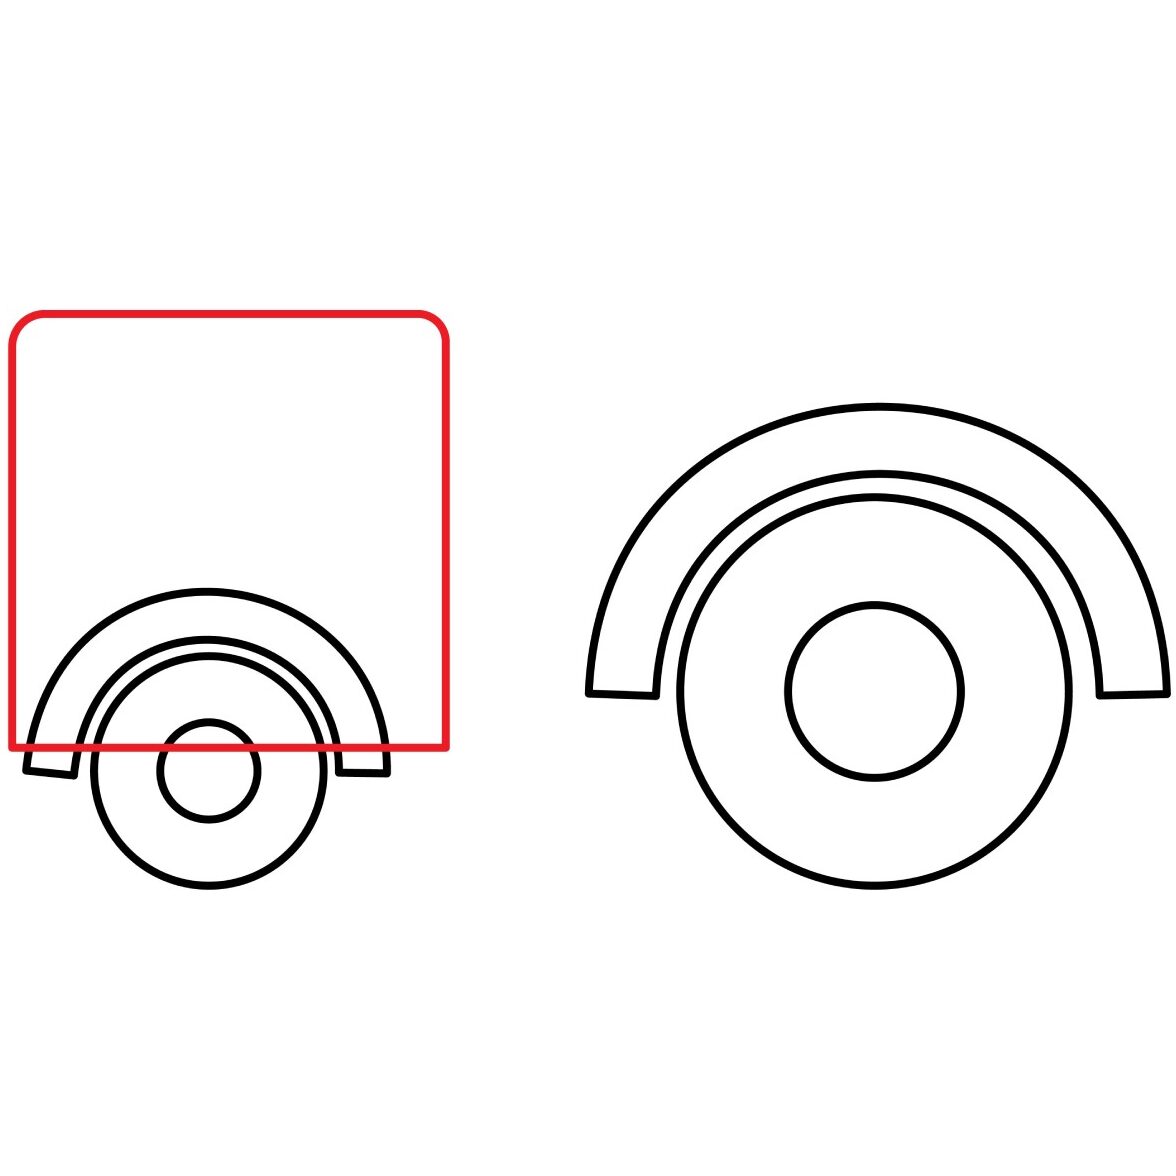
Step 2: Draw the Fenders
Being a farm vehicle means a tractor is mostly used on rough terrain. The wheels will thus pick up a lot of debris and throw them behind them. To keep the debris from getting to the driver and dirtying the tractor too much, we need to add fenders. The fenders are the features that go above the wheels that trap dirt and mud that is lifted by the moving wheels.
Drawing the fenders is very easy. We will start with the front fender. Add two semi-circles above the wheel. The semi-circles should cover about half the top of the wheel. Next, join the two semi-circles with diagonal lines to form an arc shape over the wheel.
You need to do the same for the rear wheel. Make the fenders as smooth as possible and make sure they don’t touch the wheel. Your drawing should look like this.
- Draw two curved lines over the front wheel
- Connect the two curved lines to form an arch-shape
- Add a similar shape over the rear wheel
Step 3: Draw the Engine Compartment
To be a powerful vehicle, a tractor has a big engine that sits on the front part of the vehicle. The engine compartment is what we will be drawing next. This is a box-like structure that houses not just the engine but also the radiator, headlights, fuel tank, and many more components needed in the running of the tractor.
To draw the engine compartment, use your ruler to add a vertical rectangle above the front wheel. To make it more realistic, erase the bottom line of the rectangle that cuts through the wheels and fenders. You should also make the top corners of the rectangle rounded.
- Draw a vertical rectangle above the front wheel
- Erase the bottom part that goes through the front wheel and fender
- Make the top corners of the rectangle rounded
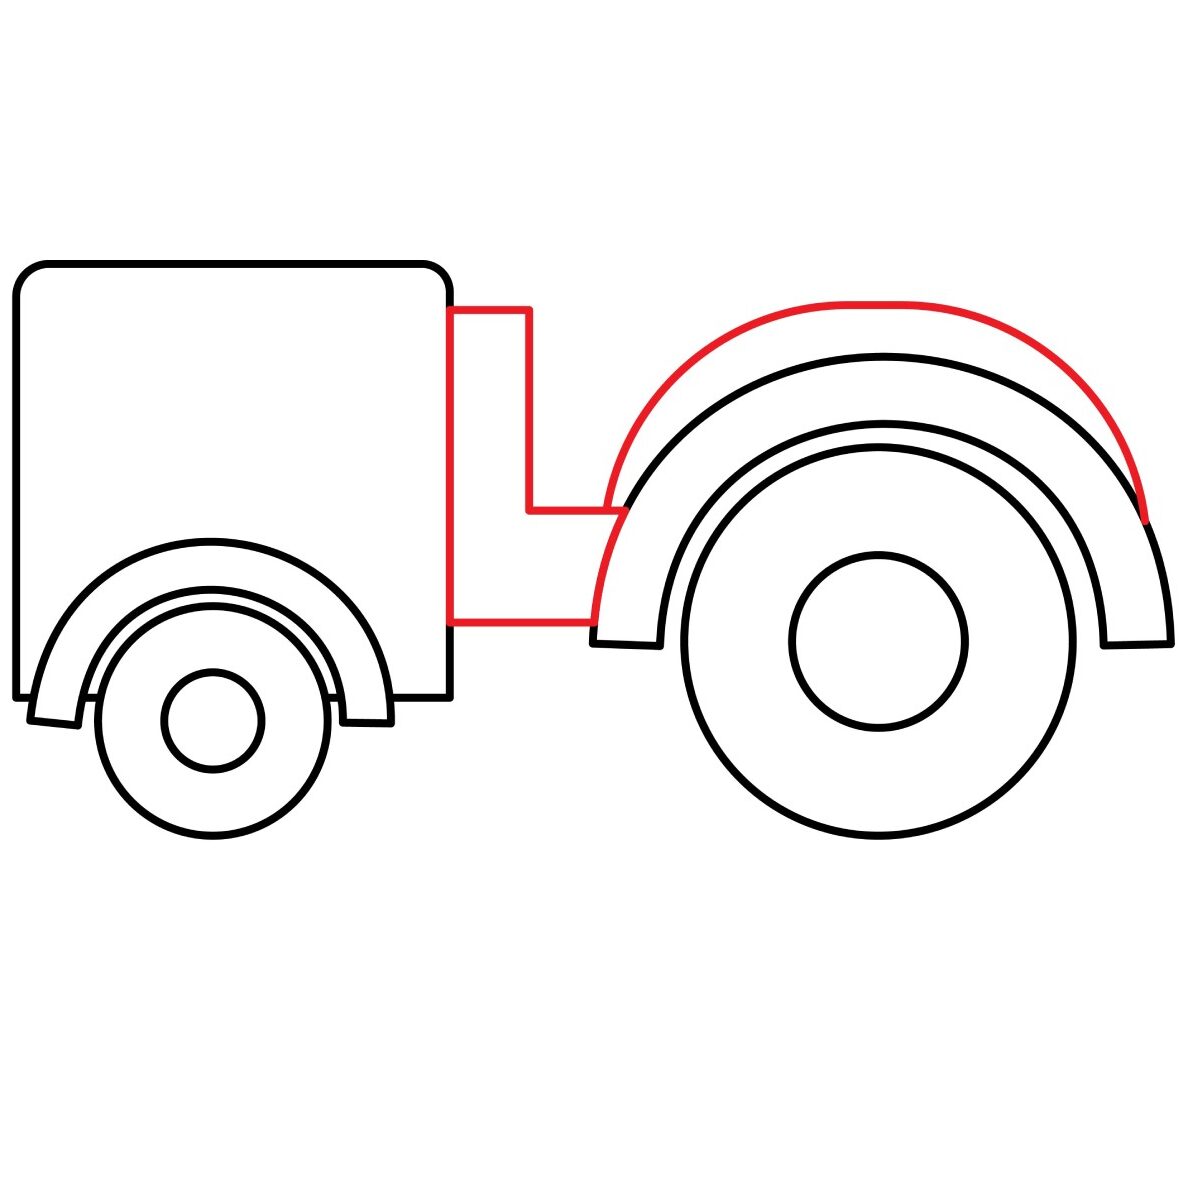
Step 4: Draw the Base
The base is the part on which all the parts of the tractor are mounted. To draw the base, we will start by drawing a vertical rectangle that attaches to the engine compartment. We will then add another horizontal rectangle that connects the vertical rectangle to the rear bumper. Use your eraser to remove the line that separates the two rectangles.
We are then going to add a structure over the rear wheel to serve as the base for the driver’s cabin. To do so, we will add a curved line that starts from the horizontal rectangle we added earlier, curves over the wheel, and connects to the back side of the rear fender.
- Draw a vertical rectangle that attaches to the engine compartment
- Add a horizontal rectangle at the base of the vertical rectangle and extend it to the rear fender.
- Erase the line that cuts between the two rectangles so that you have one solid shape.
- Add a curved line over the rear fender
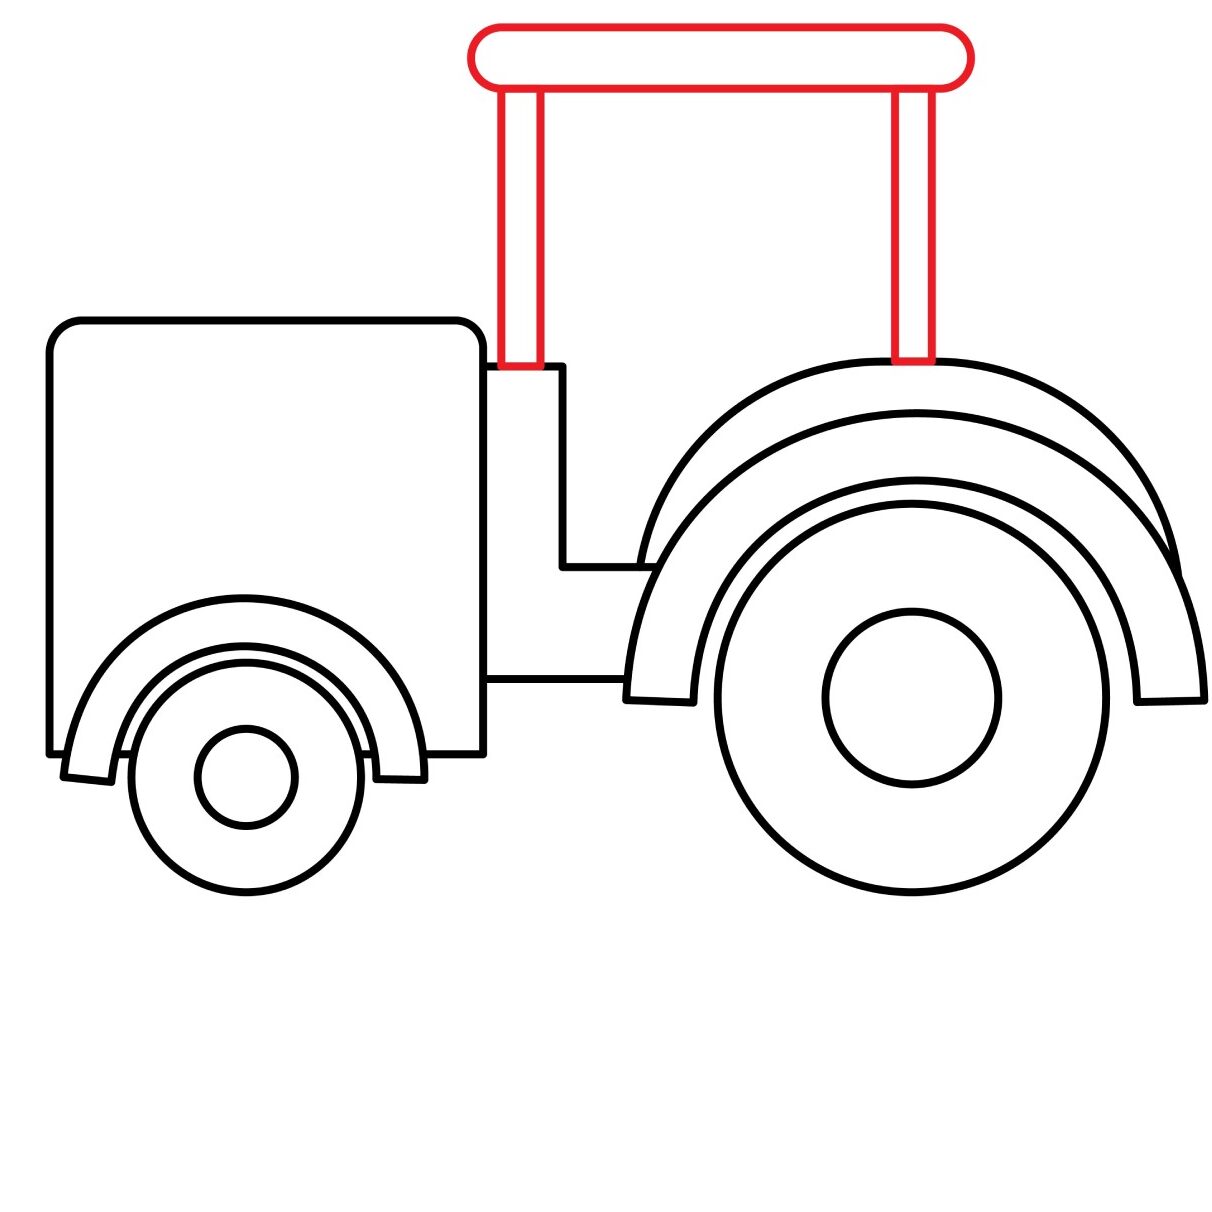
Step 5: Draw the Roof
We are now going to add a roof over the driver’s cabin. The roof serves as a sun shield. It also shields the driver from rain and debris that may fall from above.
We will need three shapes to add the roof. First, we will draw a vertical rectangle starting from the structure we added above the rear wheel. The rectangle should go above slightly past the height of the engine compartment. We will then add another vertical rectangle starting from the base behind the engine compartment. The second rectangle should be the same size as the first one.
To complete the roof, we will add a horizontal rectangle that sits above the two vertical rectangles we just added. For more realism, make the corners of the horizontal rectangle rounded.
- Add two vertical rectangles starting from the base
- Draw a horizontal rectangle over the two vertical rectangles
- Make the corners of the vertical rectangle rounded
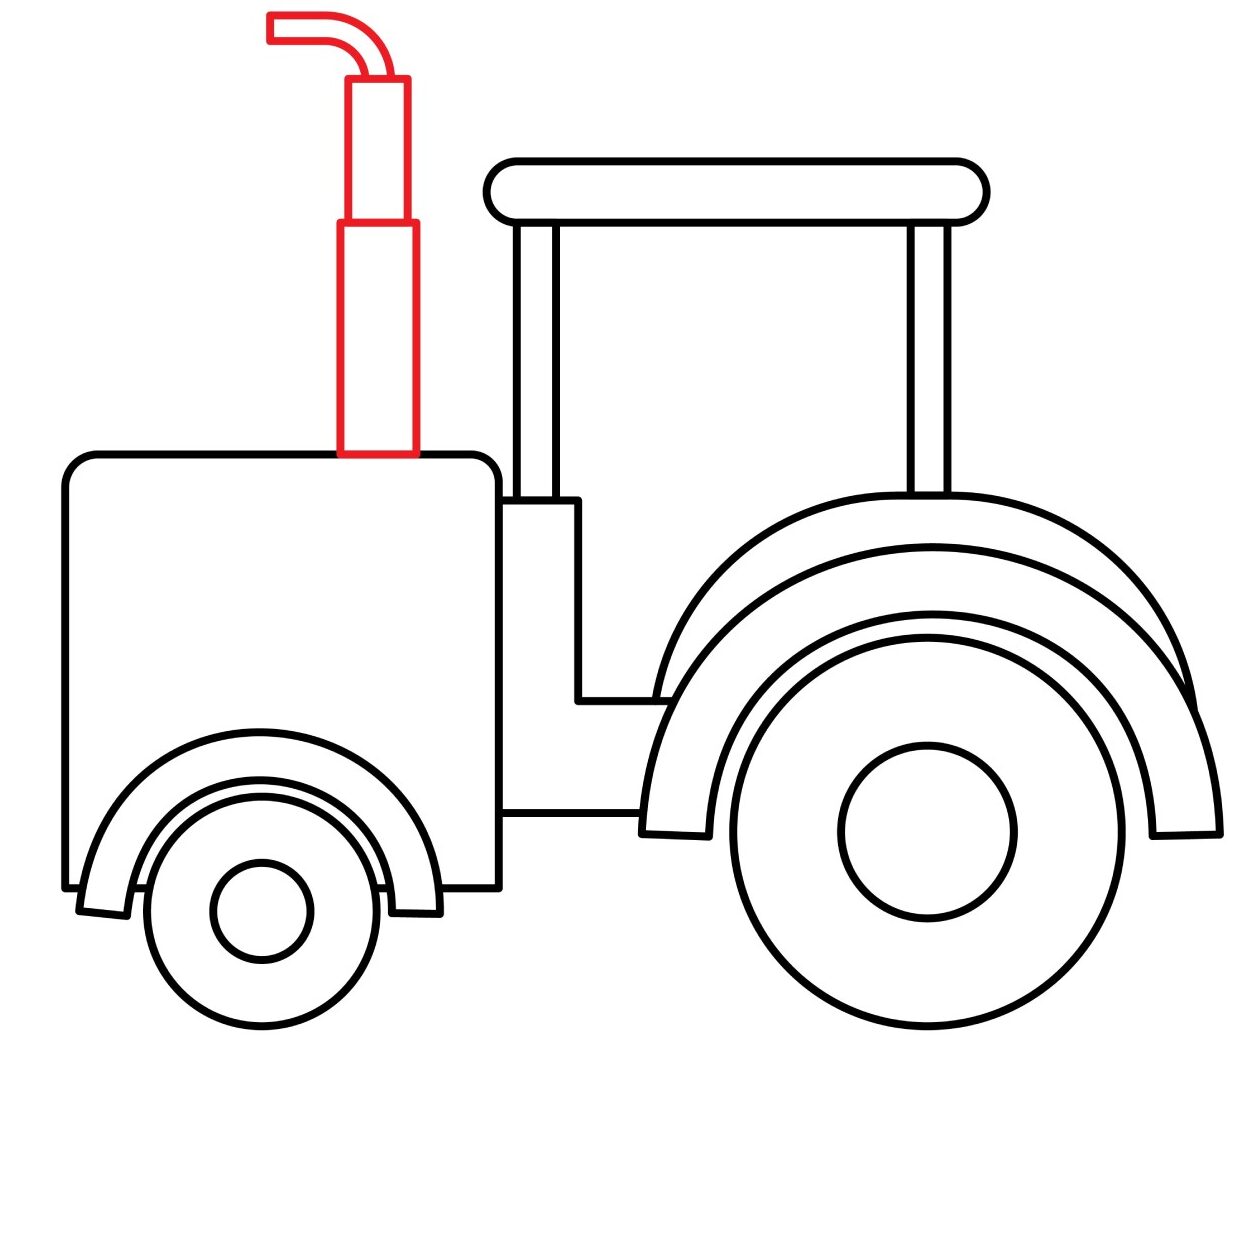
Step 6: Add the Exhaust Pipe
Having a powerful engine means a tractor produces a lot of smoke. For this reason, a tractor has an exhaust pipe that is larger than that of a standard truck.
The exhaust pipe sits on the engine compartment. To draw it, start by drawing a narrow vertical rectangle on the engine. The height of this rectangle should be shorter than the height of the tractor’s roof. Next, add another smaller vertical rectangle on top of the first one. The height of this rectangle should soar above the roof. Finish the exhaust structure by adding a tube-like structure that curves towards the front.
- Draw a narrow, vertical rectangle on the engine compartment
- Add a narrower vertical rectangle on top of the first rectangle
- Add a tube-like structure over the second rectangle and bend it to the left
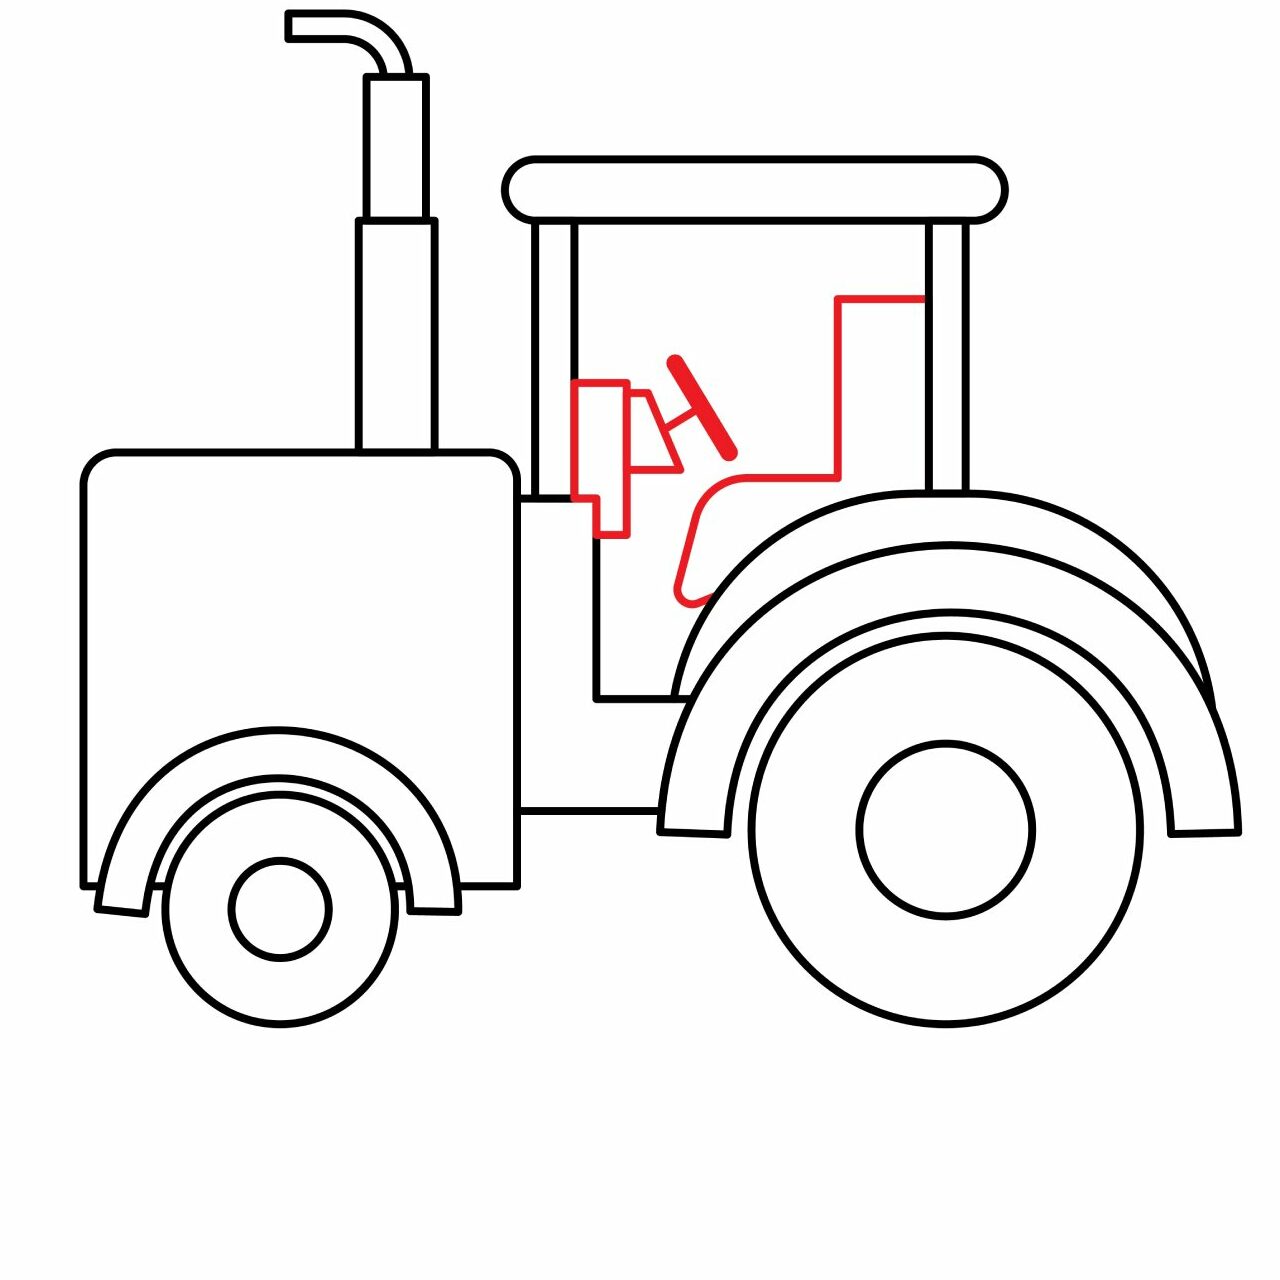
Step 7: Add the Steering Wheel and the Driver’s Seat
The steering wheel is what enables the driver to turn the tractor in any direction he or she wants. We will be adding it to the dashboard. This is the area behind the steering wheel that has the gadgets that help the driver know the fuel level, speed, and other important details. To add the dashboard, draw a small vertical rectangle that is attached to the front part of the driver’s compartment.
For the steering wheel, we will start by adding a triangle on the right side of the dashboard and then add a thick diagonal line that is parallel to the right side of the triangle. The diagonal line will serve as the steering wheel. Use a line to connect the steering to the dashboard.
For the driver’s seat, we will start by adding a line that starts from close to the roof of the cabin, extends slightly to the left then goes down to almost the base of the driver’s cabin. The line should then move to the left horizontally then curve downwards and connect to the base. That will form the seat.
- Add a small vertical rectangle to the left side of the driver’s cabin
- Add a triangle to the rectangle with the diagonal line on the right
- Add a thick diagonal line that is parallel to the slanted side of the triangle
- Add a line to connect the thick diagonal line to the triangle
- Add vertical rectangle to the right side of the cabin
- Add a curved shape above the wheel and connect it to the vertical rectangle
- Erase the line that separates the two shapes
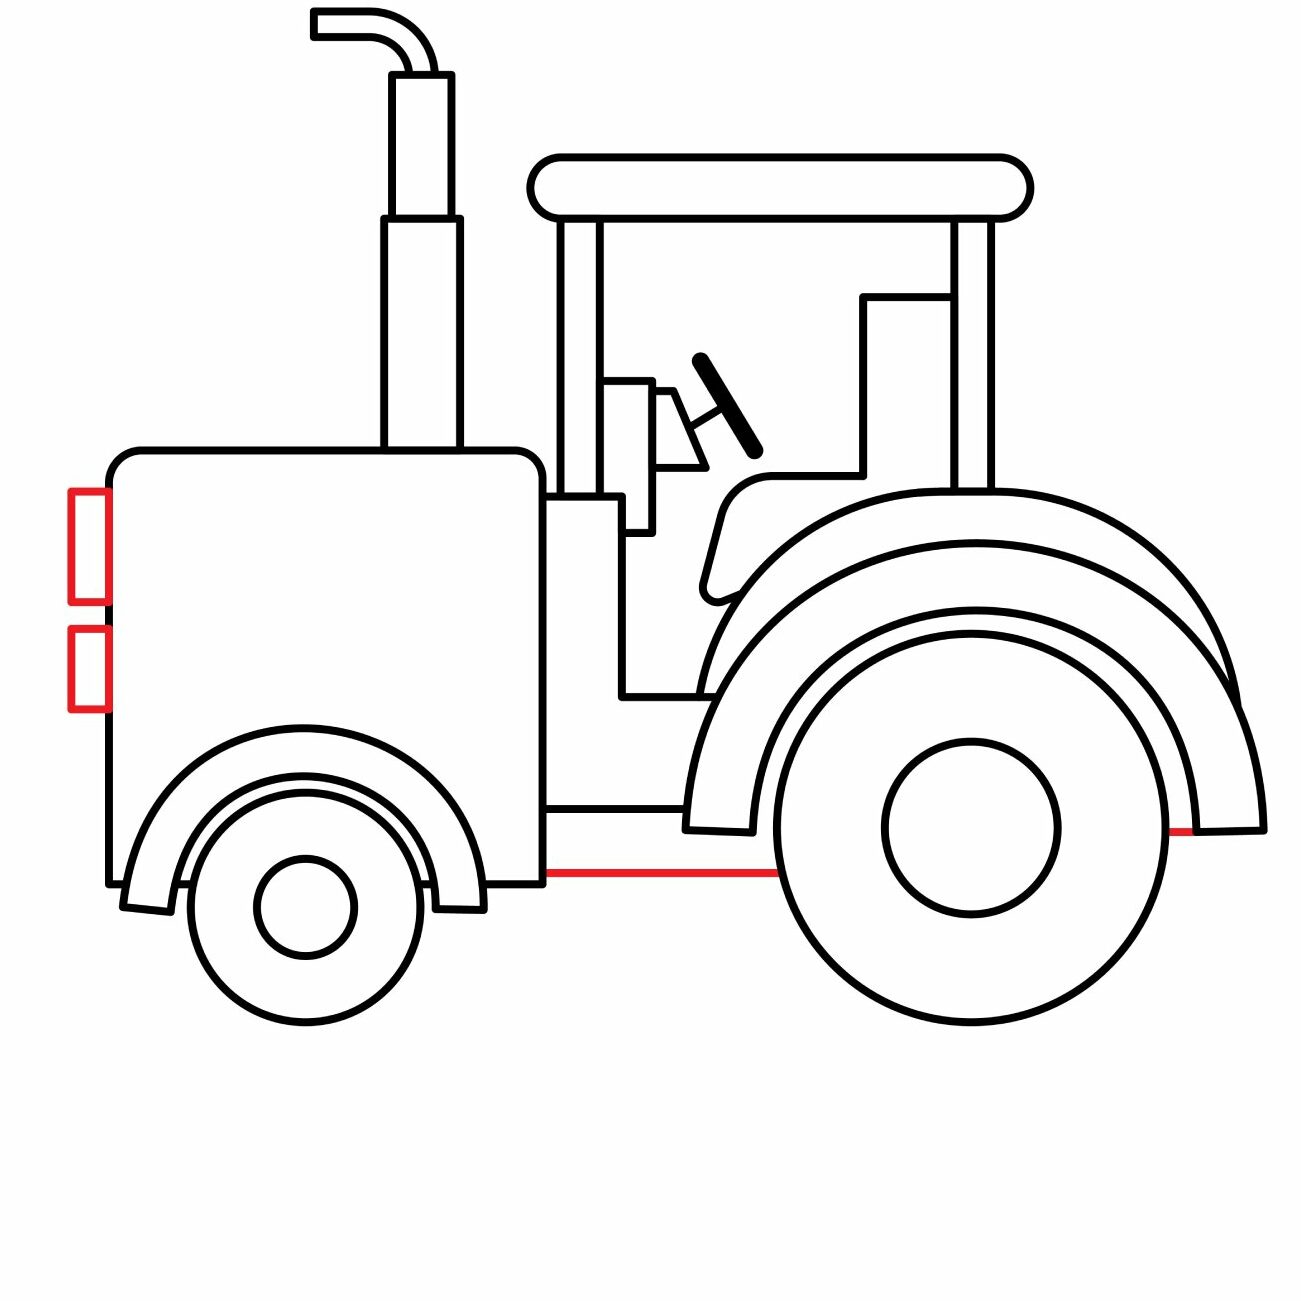
Step 8: Draw the Lights and Base
Our tractor should be able to work at night. That is why we need to add some headlights on the front. Draw two vertical rectangles on the left part of the engine compartment to form the headlights.
Next, we are going to add a chassis to the lower part of the tractor. The chassis is the structure on which every component of a vehicle is mounted. Since we cannot see the entire structure of the chassis, we will simply add a horizontal line starting from the base of the engine compartment and connecting it to the rear wheel.
- Draw two small vertical rectangles to the front part of the tractor to form the headlights
- Add a horizontal line at the bottom of the tractor to form the chassis
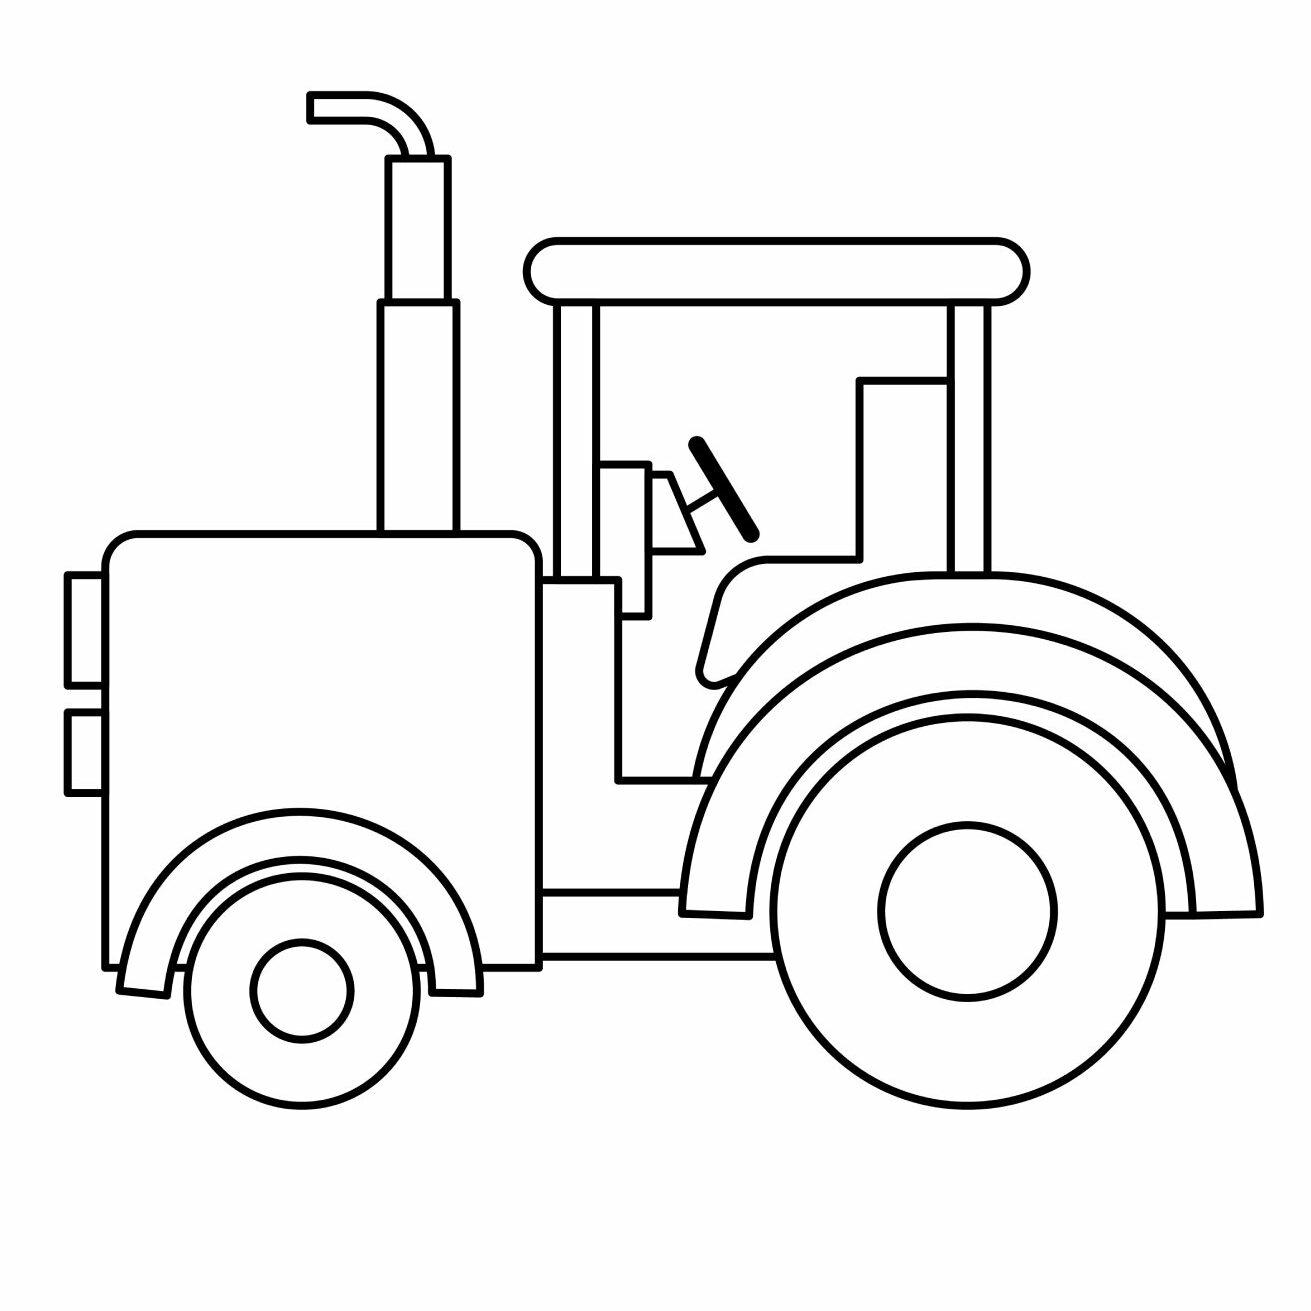
Step 9: Refine Your Drawing
Our tractor is now ready. You can use this time to advance it a bit by redoing the areas you feel are way off. You should, however, not be frustrated if your drawing is not looking too good. You will do better on your next attempt.
Take the Drawing to the Next Level
We don’t want a basic drawing. We want to demonstrate that we are great artists. For that reason, we are going to add some details to the tractor.
Add Some Background
The first thing we will do is add some background. You can add a rough road beneath the tractor and some clouds. If you want, you can also add some trees and shrubs in the background as well as some rocks. Let your imagination run wild.
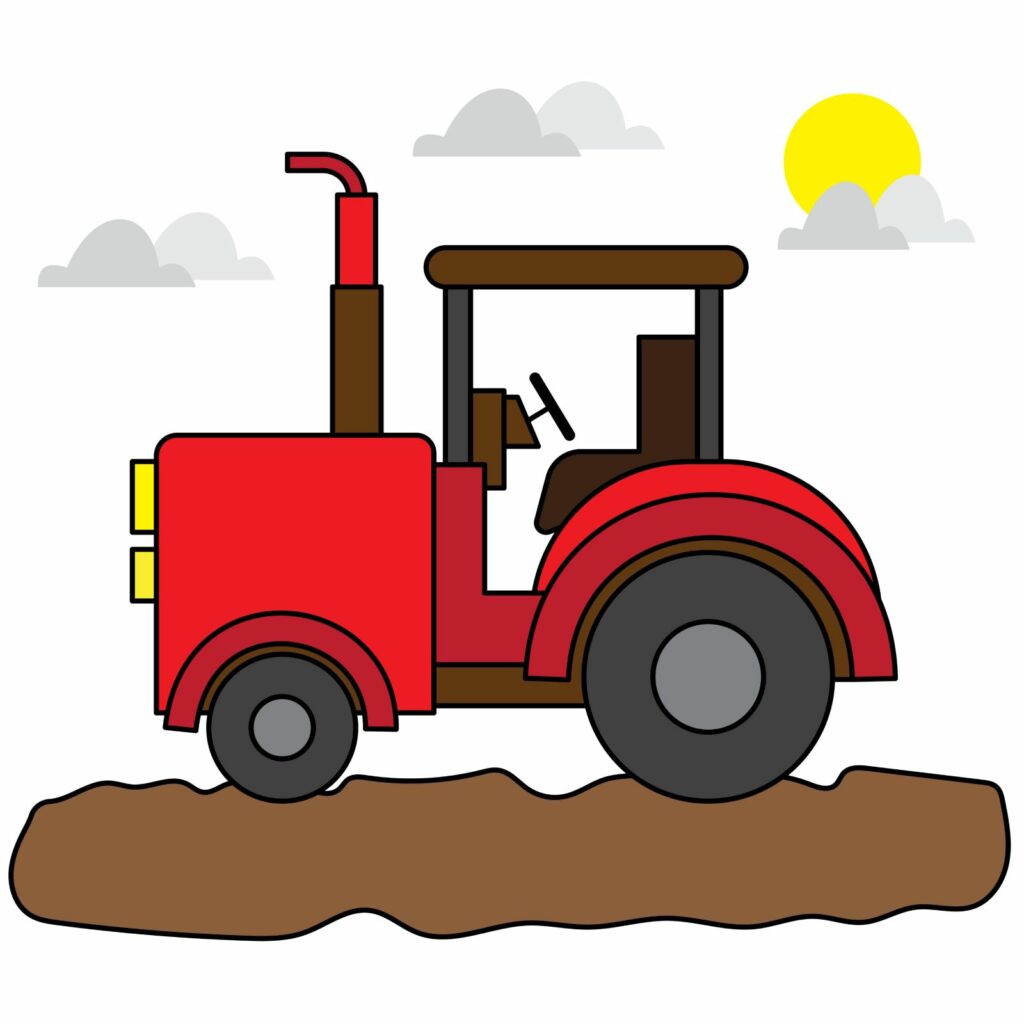
Color Your Drawing
Bring the tractor to life by coloring it. Take out your coloring supplies and show us how good you are with colors. This is what we did to our drawing.
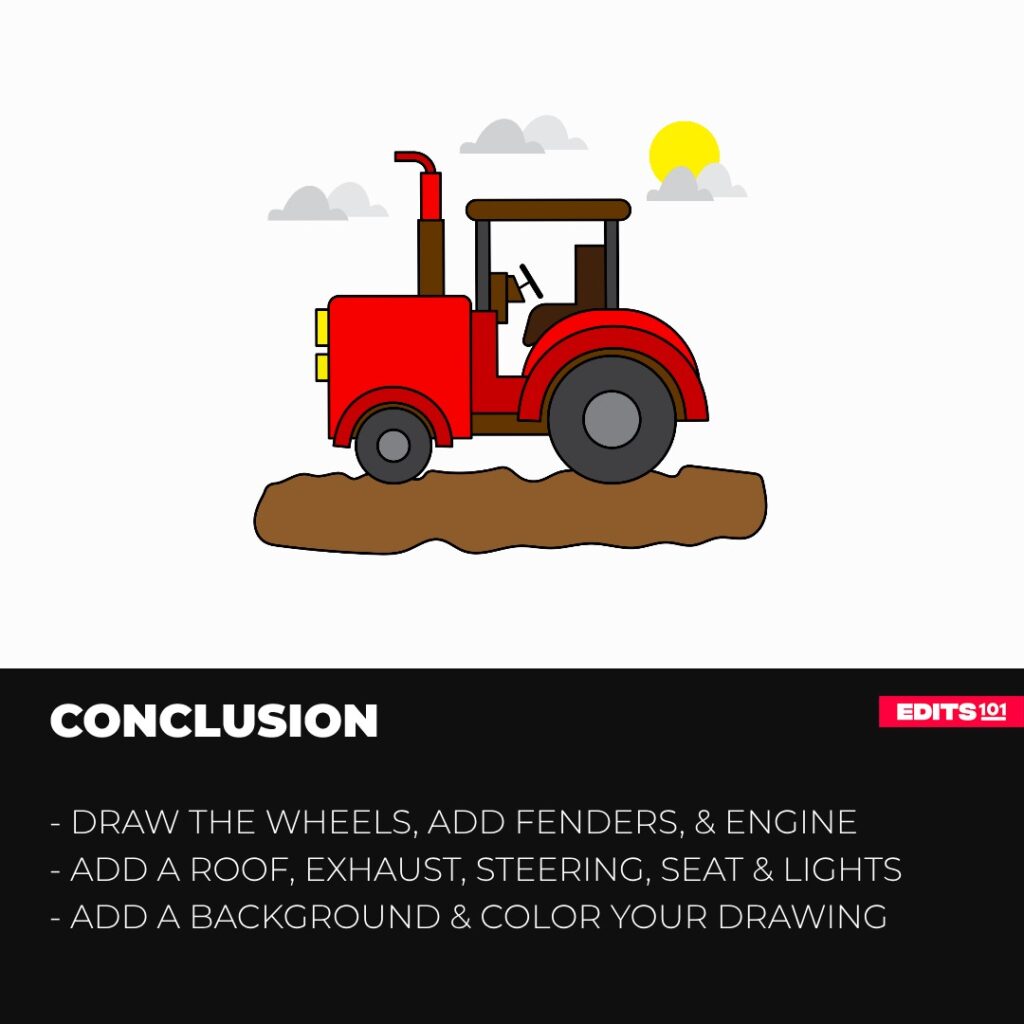
Conclusion
Drawing a tractor is not as complicated as drawing a cement mixer truck. You simply need to combine a couple of shapes. In our drawing, we started by drawing the wheels and then added the fenders, engine compartment, base, roof, exhaust pipe, and details in the driver’s cabin. We then added a background and colored our drawing.
As you may already know, it takes practice to become a great artist. Keep sketching and always have fun.
Thanks for reading & feel free to check out more of our articles!
Author Rating
Overall Rating
Summary
Learn what a tractor is and the name of the different parts. You will also learn how to draw a tractor step by step.