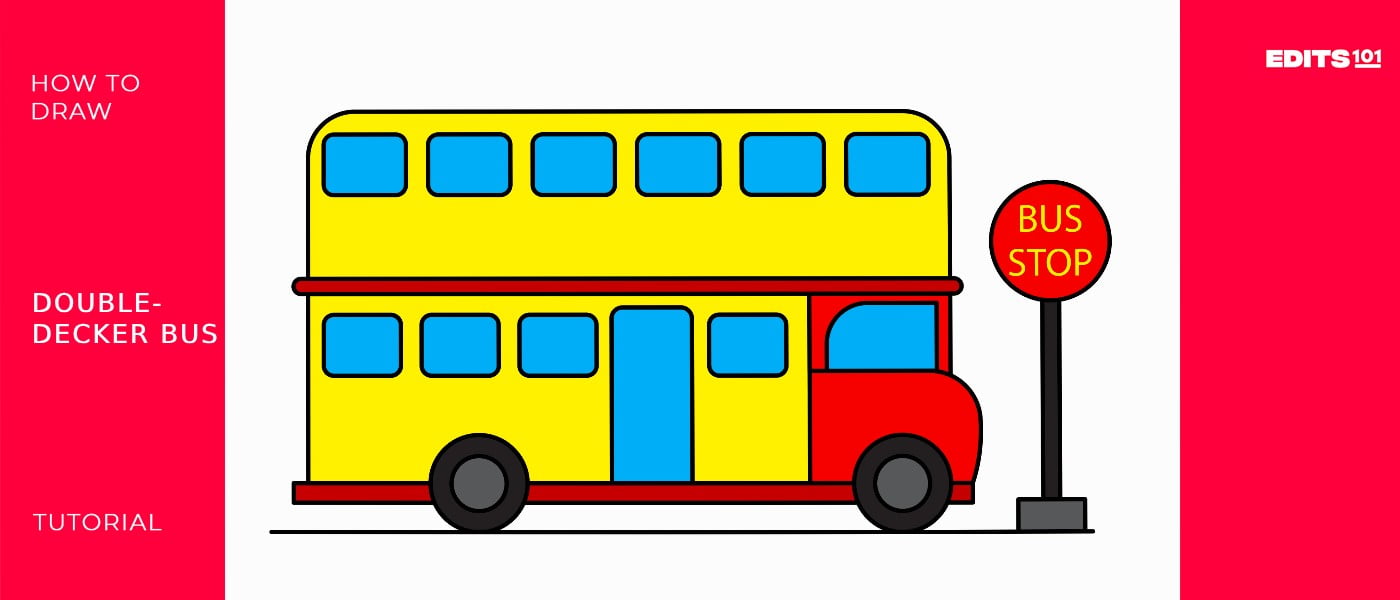
How to Draw a Double Decker Bus | Step By Step
Thank you for joining our drawing class. Today, we will cover yet another simple drawing: a double-decker bus. These iconic vehicles are a symbol of many great cities, and drawing one is an exciting adventure!
This step-by-step guide will make it super easy, so grab your pencils and let’s hit the road to create your very own double-decker bus.
What You Will Need
- A pencil
- An eraser
- A ruler
- A drawing piece of paper
- Coloring supplies (crayons, markers, or colored pencils)
- 30 minutes
How to Draw a Double-Deck Bus
Our goal is to make it as easy as possible for you to draw a beautiful double-decker bus. That is why we are focusing on a simple but realistic bus drawing.
All you need to do is follow our steps keenly. Later on, once you are confident of your skills, you can add more details to your double-decker bus or draw one from an image you get from the internet.
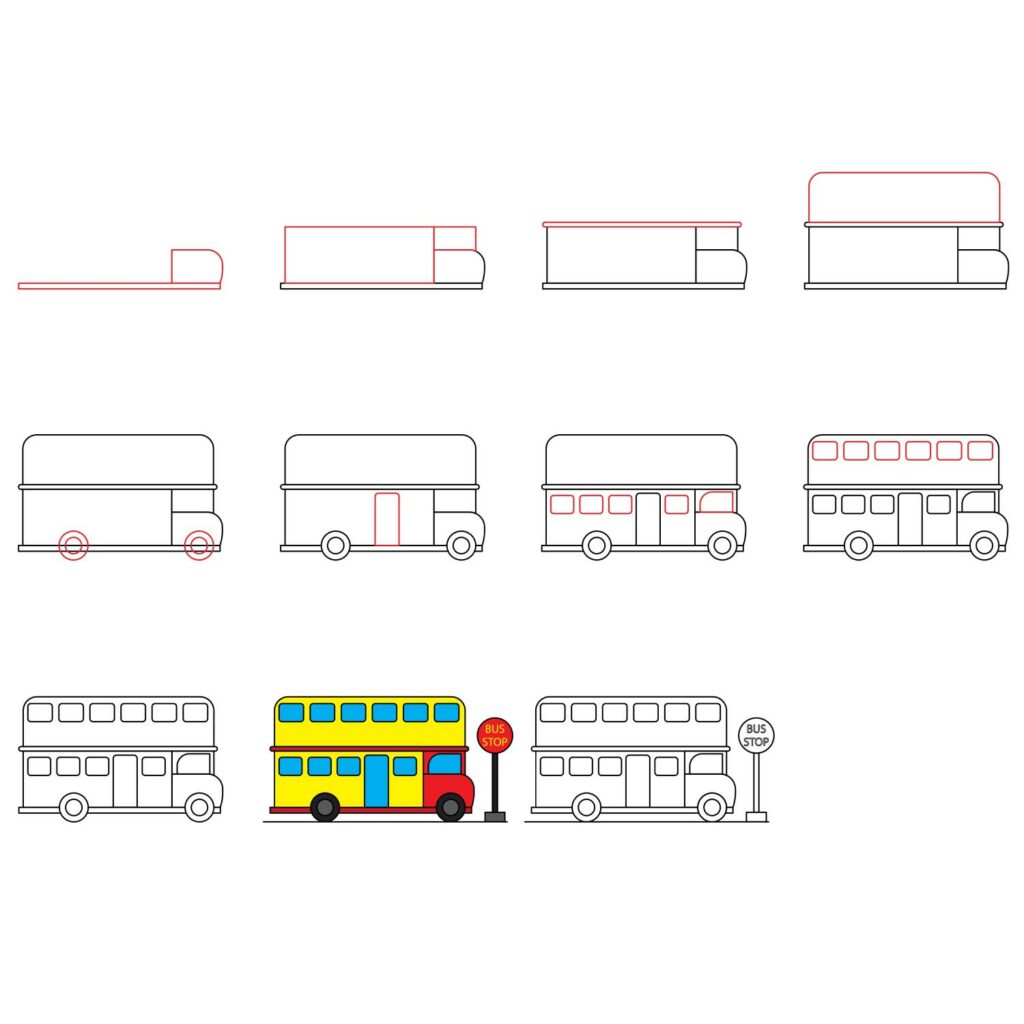
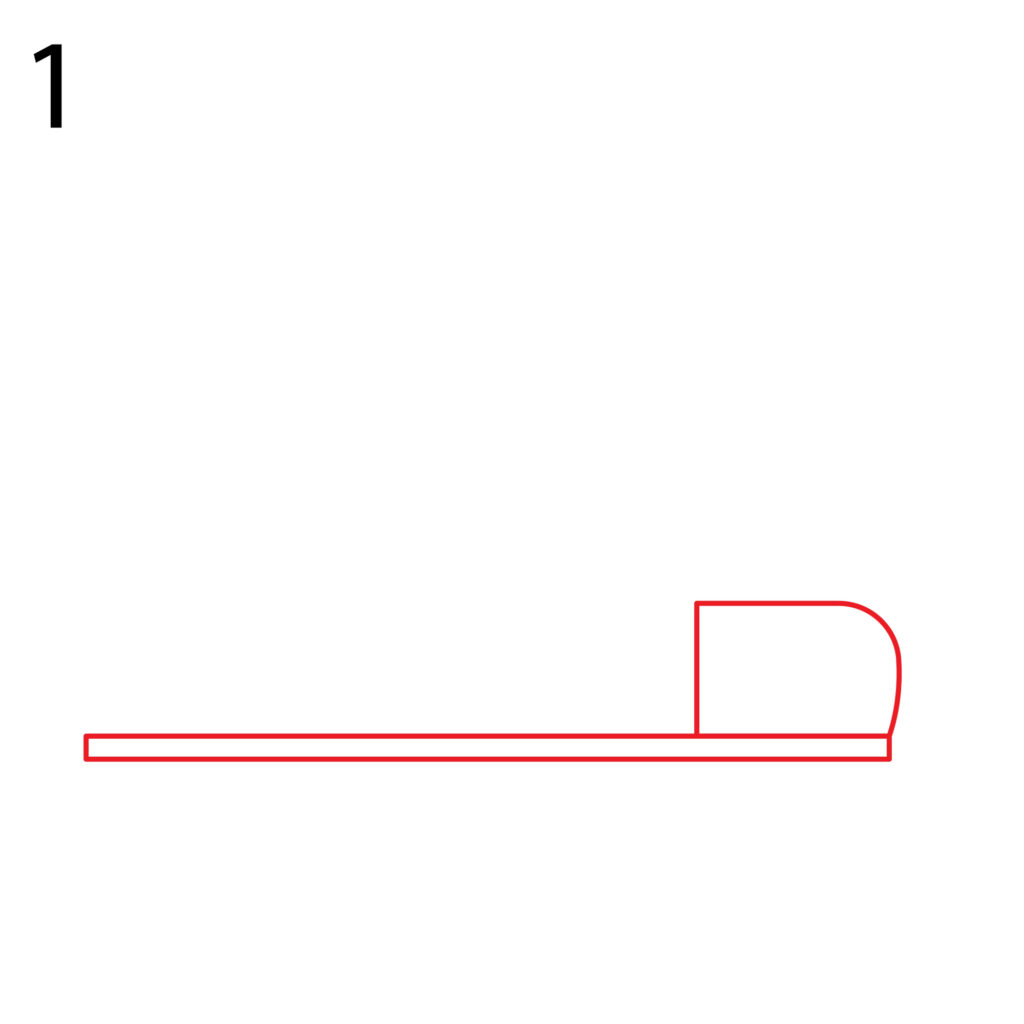
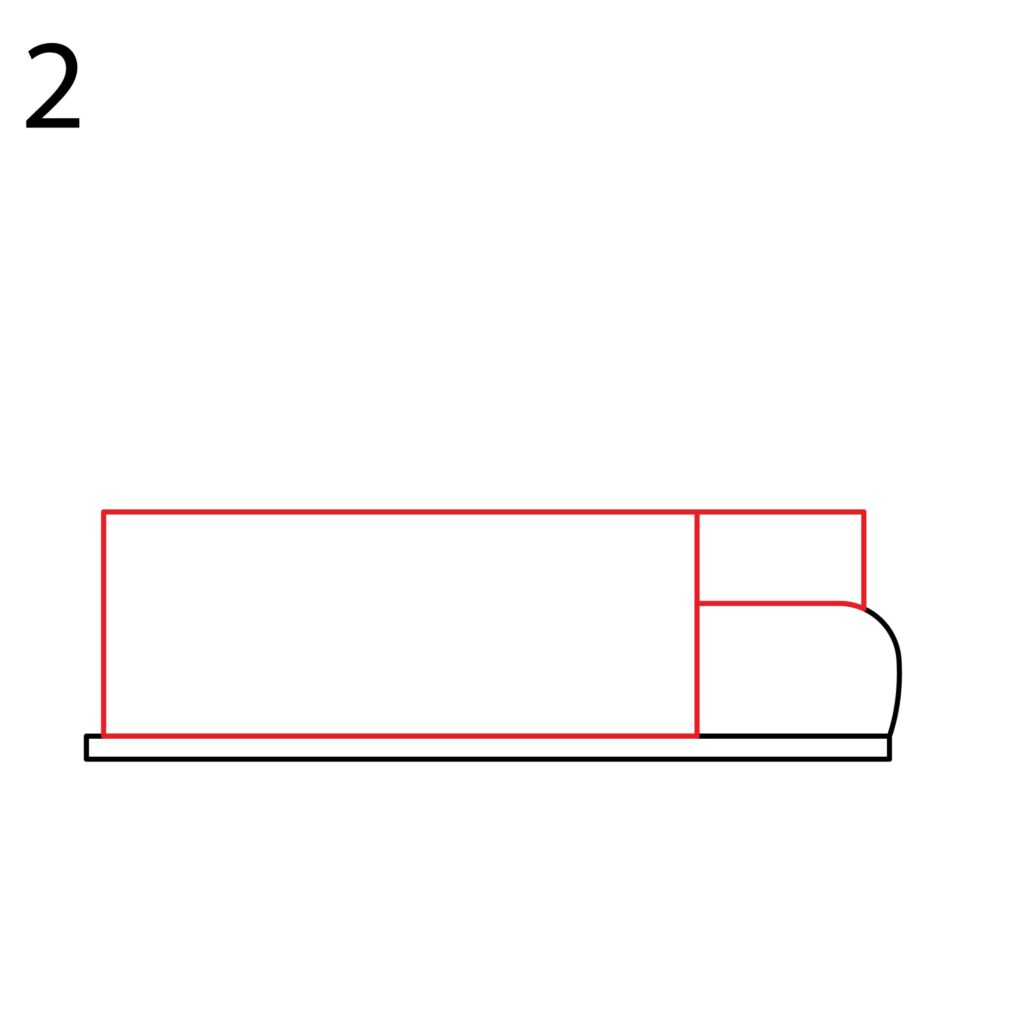
Step 1: Draw the Base
The first thing we will be drawing is the base of the bus. This will be the chassis and the driver’s cab. These will form the bottom part of the bus and give us a base for the other parts of the bus.
Start by drawing a flattened horizontal rectangle close to the bottom of your drawing paper. Make sure you leave some space at the bottom for other components of the bus. You should also have some margins on the left and right of your drawing paper.
We will start with the driver’s cabin by drawing a square on the right end of the rectangle. The square should take up less than a quarter of the length of the rectangle. Next, erase the top right corner and make it rounded. You should now have something that looks like this.
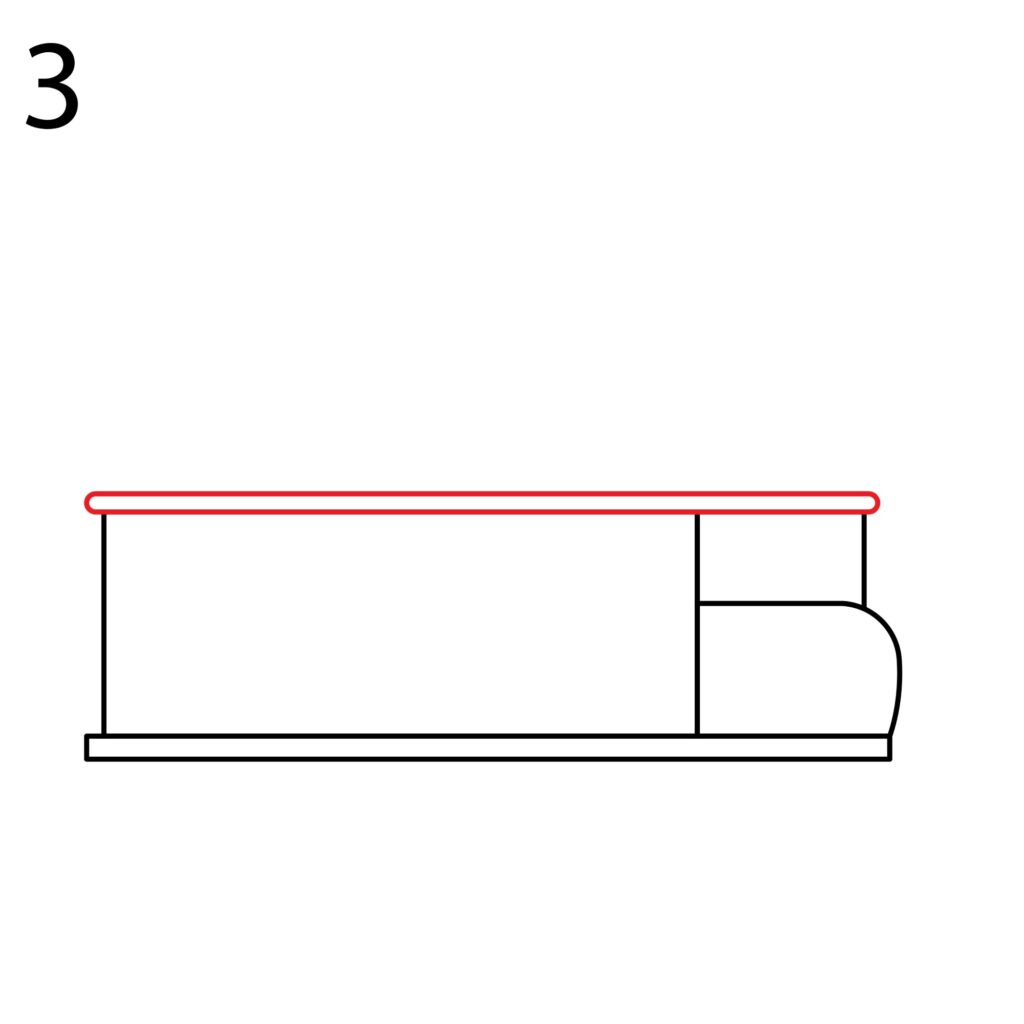
Step 2: Draw the Lower Deck
A double-decker bus has a sitting capacity of between 70 and 90 people. Some larger models can seat up to 120 passengers. To be able to accommodate that large number of passengers, a double-decker bus has a very large body. We will start by adding the bottom part.
We will start by drawing a rectangle behind the driver’s cabin for the bottom part of the double-decker bus. The height of the rectangle should be slightly higher than that of the driver’s cab. Next, we will add another rectangle on top of the driver’s cabin. This is needed to form a solid base for the upper deck, just like the cruise ship.
I know you are wondering what we are up to because the drawing looks nothing like a bus. Just be patient. The final results will surprise you, wink!
Step 3: Draw the Base for the Upper Deck
To be able to support the weight of the passengers on the upper deck, we will have to start by adding a base. This will serve as the chassis for the upper deck.
Draw a rectangle similar to the one we added for the bottom base. The rectangle should be parallel to the bottom base and not too thick. It should look like this.
Step 4: Draw the Upper Deck
For a double-decker bus with a capacity of 100 passengers, the upper deck accommodates about 40 passengers while the lower deck accommodates the remaining 60 passengers. For stability purposes, the upper deck has to accommodate fewer people than the lower deck.
Drawing the upper deck is quite easy. Simply add a rectangle over the base we added for the upper deck. Next, we need to make the top corners a bit rounded. Simply erase the top left and right corners and add curved corners.

The body of our double-deck bus is complete. All that is left now is adding the details that will turn the shape into a bus.
Step 5: Draw the Wheels
For our double-deck bus to start shaping up, we need to add the wheels. The wheels have to be proportional to the lower deck.
Start by drawing a small circle on the base under the lower base. It should not be too far to the left because it needs to support the weight of the bus. Next, add another circle over the smaller circle to complete the rear wheel. Follow the same procedure to add the front wheel beneath the driver’s cabin.
Next, you need to use your eraser to remove any lines that cut through the wheels.

Step 6: Draw the Passenger Door
The next detail we will be adding is that of the door. We will be adding the door in the middle of the lower deck. Remember that this is still the same door used by passengers heading to the upper deck. As a result, it needs to be taller but the height should not go up to the upper deck.
Draw a vertical rectangle in the middle of the lower deck using your ruler. The rectangle should start on the lower base and almost touch the upper base. Next, use your eraser to remove the sharp top left and right corners of the rectangle and make them rounded. You should have something that looks like this.

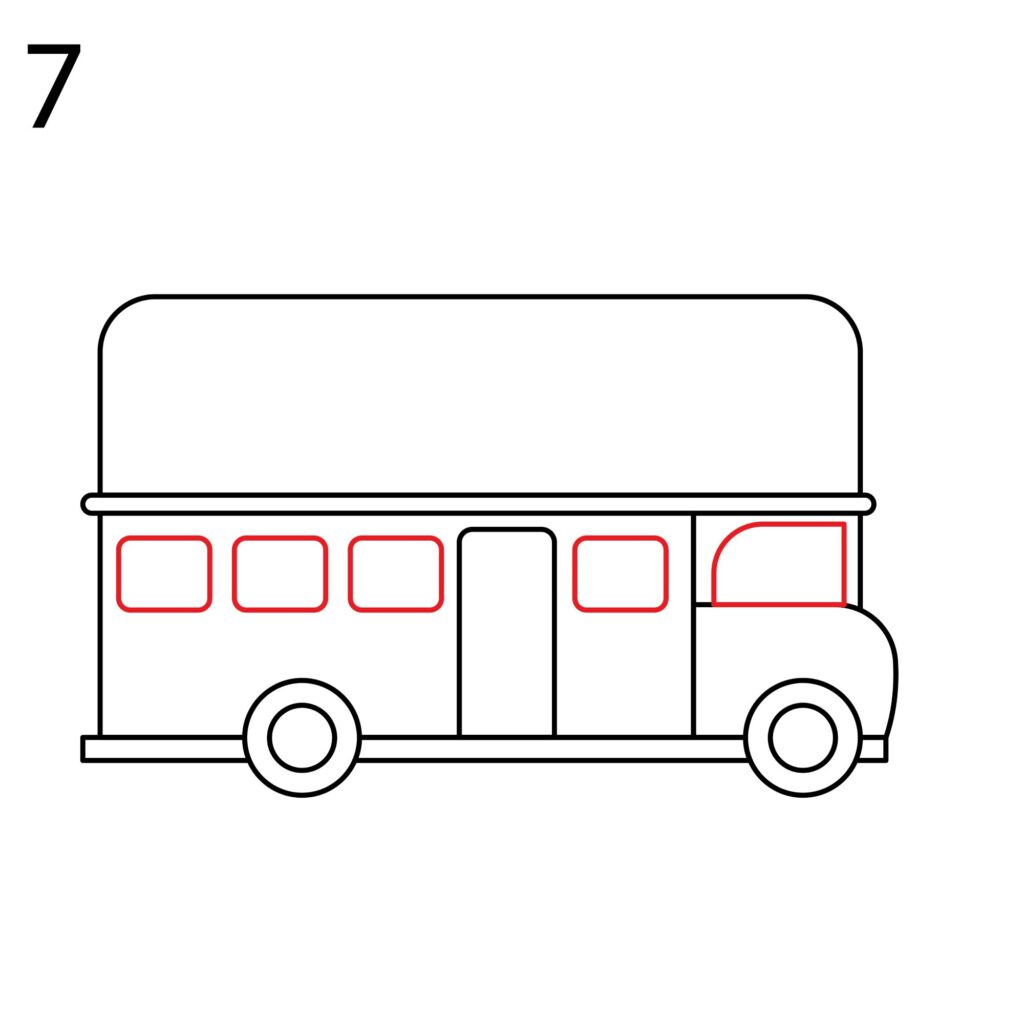
Step 7: Draw the Windows
Our bus is taking shape, right? Now to improve it even more, we are going to add the windows. The windows need to be at the same level and close to the same size. This is save for the front window on the driver’s cabin.
To draw proportional windows, start by placing the ruler slightly below the upper deck and draw a faint line on the lower deck. Move the ruler slightly down and draw another faint line. The two parallel lines will serve as our guide when adding the windows.
We now need to draw pairs of vertical lines connecting the upper and lower faint lines. Leave a small space between pairs of vertical lines to form the space between the windows. Next, using the faint lines we drew earlier, add the top and bottom parts of the windows. Your windows are now complete and at the same level. Use the eraser to remove the unused, faint lines we drew to serve as our guide.
For the front window, you need to add a rectangular shape inside the upper part of the driver’s cabin. Next, make the top left corner of the rectangle curved, as shown in the below illustration.
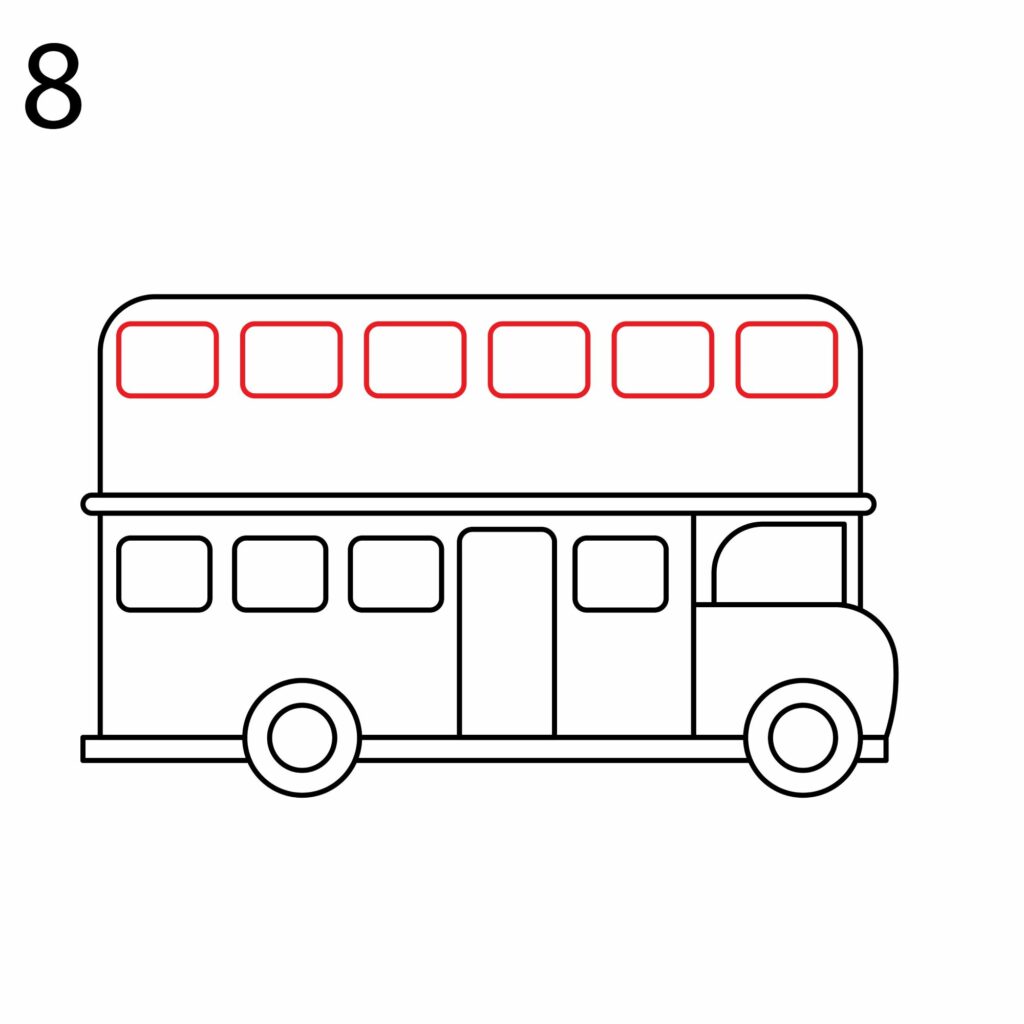
Step 8: Add Windows to the Upper Deck
The passengers in the upper deck have the best view of the city landscape. This is made possible by the elevated position and the windows. For that reason, we are going to add windows to the upper deck, too.
We will use the same technique we used for the windows in the lower deck. Start by drawing two faint lines to serve as guides, then add pairs of vertical lines to create the windows. Don’t forget to erase the faint lines once you are done.
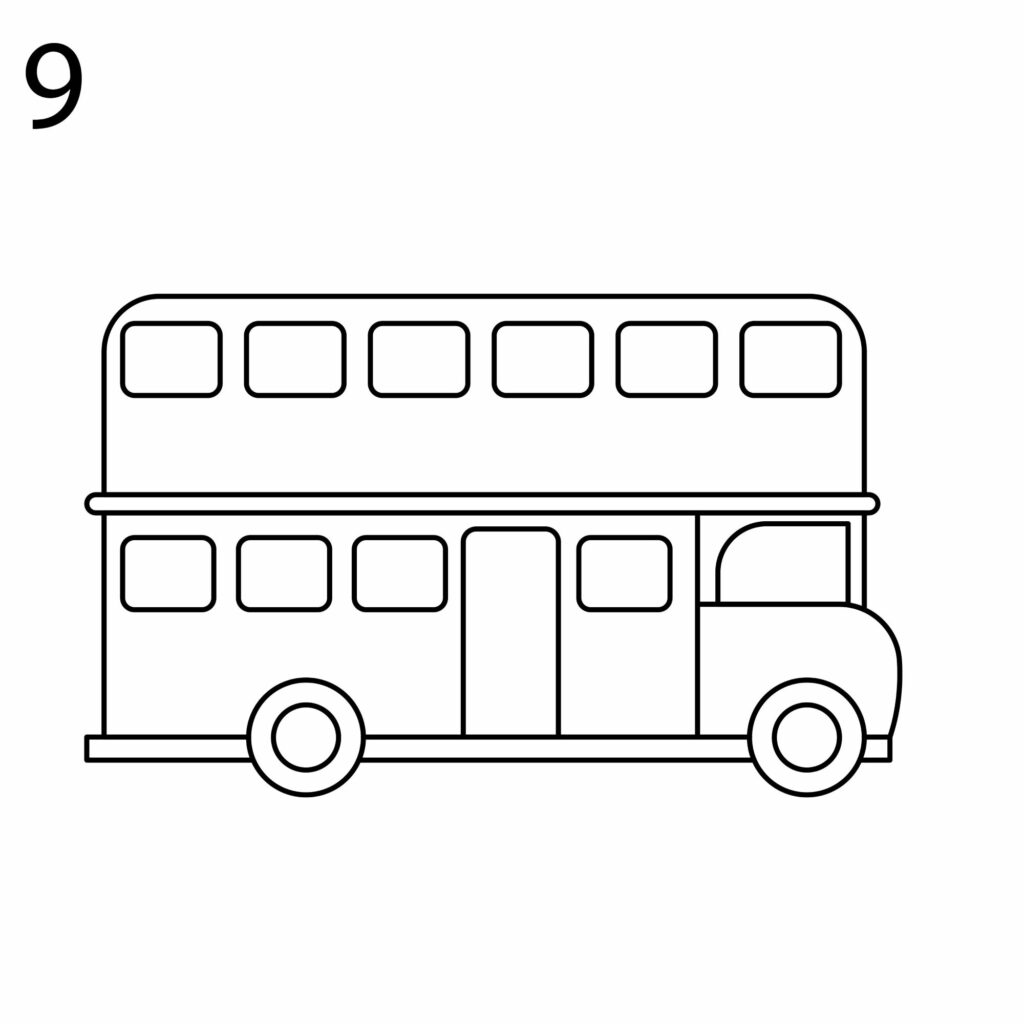
Step 9: Our Double-Decker Bus is Ready
Our double-deck bus is now ready! That was easy, right? Before we add more details to the drawing, we need to refine the areas that don’t look too good. Use your eraser to remove any lines that are overlapping and to improve the shapes that don’t look too good.
Take the Drawing to the Next Level
We will not leave our bus as it is. This is because adding more details to the drawing will make it more impressive.
Add Some Background
The first thing we will add is a horizontal line below the wheels of our bus. This will serve as the road. Next, we will add a Bus Stop sign using a circle and rectangles.
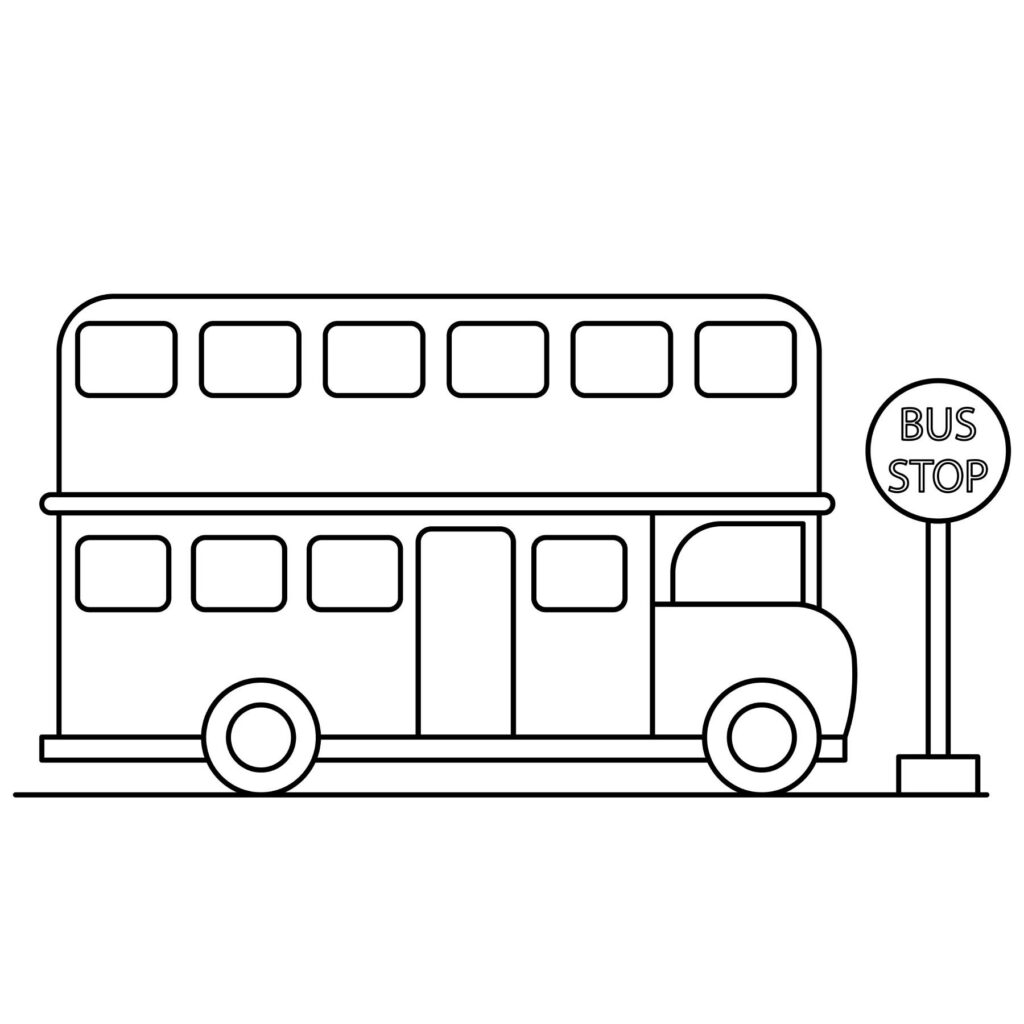
You can add more details to your bus including a name on the size, trees in the background, and some grass in the area below the bus. Let your imagination run wild.
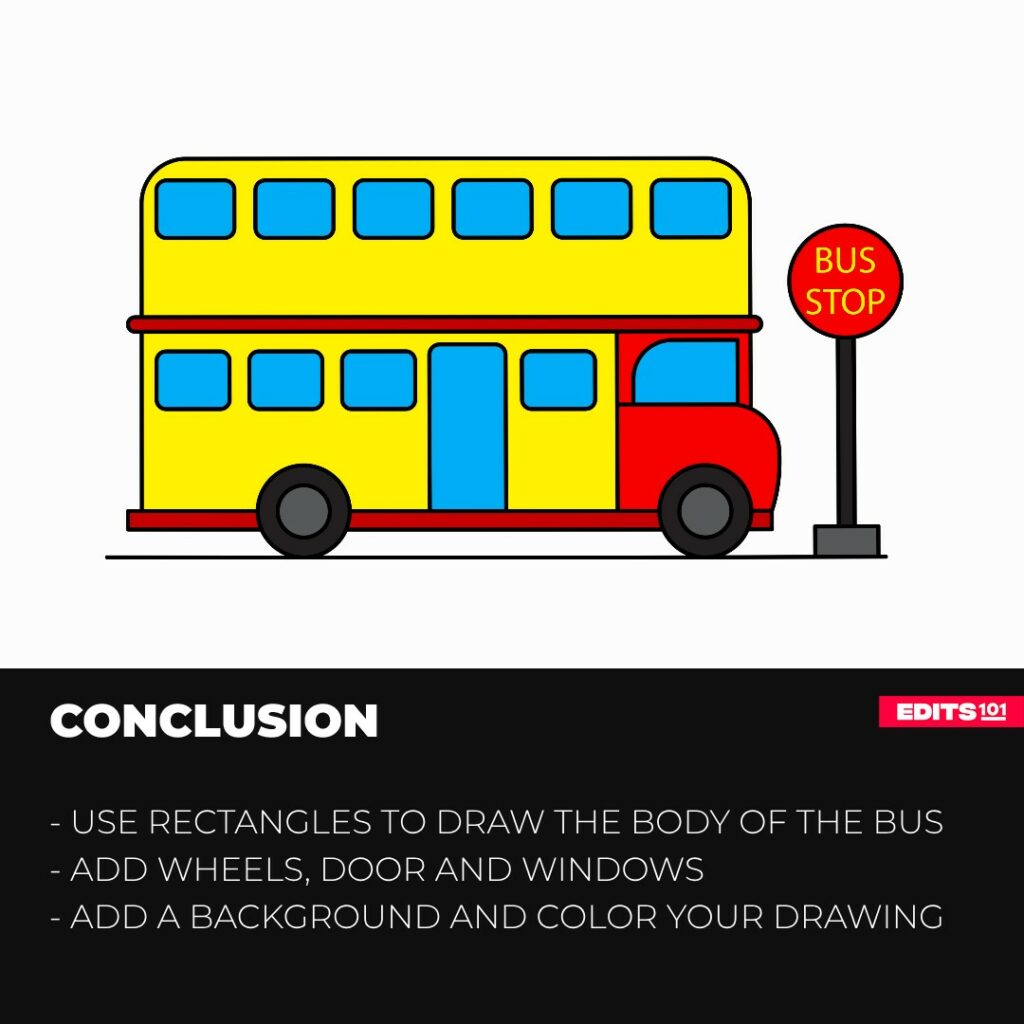
Color the Drawing
When you are satisfied with your drawing, take out your coloring supplies and add color to the double-decker bus. You can use any color you want. Here is what we did with ours.

Conclusion
Drawing a double-decker bus is pretty straightforward. You need to start by drawing the base, then add the lower decker and then the upper decker. Adding the wheels, door, and windows brings the double-decker bus to life. You can then add any background you want and color your drawing for it to stand out.
To become a great artist, you need to keep practicing. If your drawing doesn’t look good after the first and second try, don’t be afraid to give it another try. Always remember to have fun.
Thanks for reading & feel free to check out more of our articles!
Author Rating
Overall Rating
Summary
This tutorial shows you how to draw a double-decker bus using informative steps and bonus tips and tricks to enhance the overall drawing.