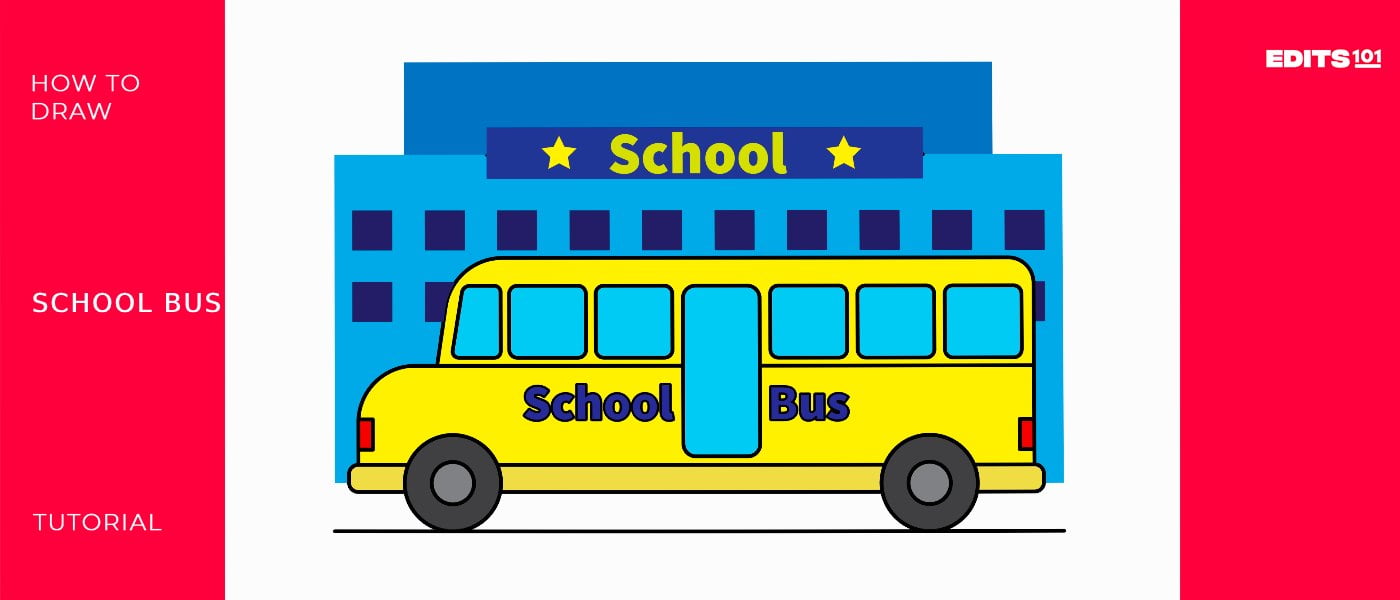
How to Draw a School Bus | Simple Steps
Hey there. Today’s lesson will teach us how to draw a school bus. All you have to do is follow our steps and we will help you create a beautiful school bus while teaching you how to become a great artist. But first, here is an interesting fact about school buses.
Ever wondered why school buses have no seatbelts? Well, it is for your safety. I know it sounds illogical but the truth is the high seat backs, and spacing between the rows are done to keep you safe. Another interesting fact is the color yellow. The color is considered eye-catching thus the reason it was selected as the standard color for school buses all over the world. Now let’s get back to today’s lesson.
What You Will Need
- A pencil or marker
- A drawing piece of paper or your preferred sketching app
- An eraser
- A ruler
- Coloring supplies
- 30 minutes
How to Draw a Realistic School Bus
Drawing a school bus is pretty easy. However, to make our lesson even easier, we will be drawing an simpler school bus. This is because we want you to grasp the basics of drawing a beautiful school bus. You can then use what you learn here to draw any bus from any perspective and even from a real photograph. Here are the steps we will be following.
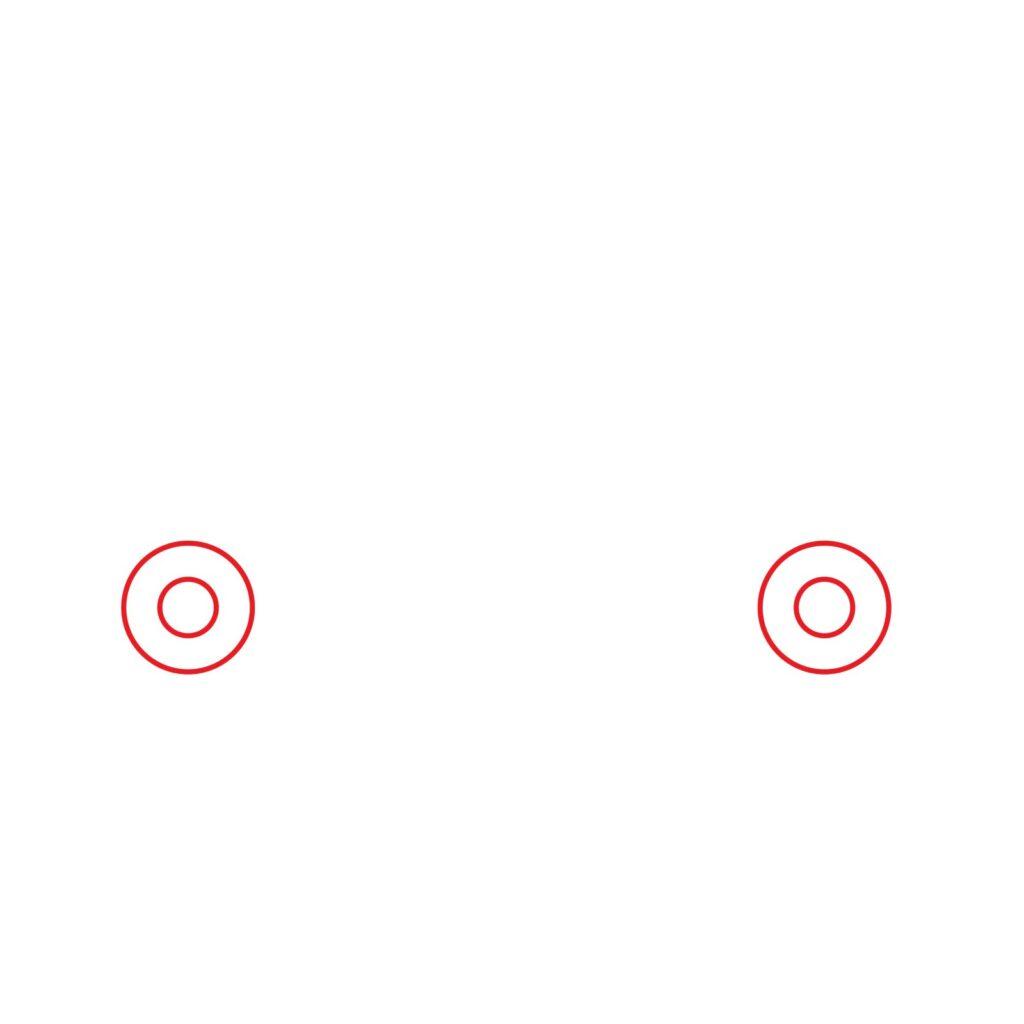
Step 1: Draw the Wheels
The wheels on the bus go round and round, round and round, round and round. Don’t we all love this song? Well, for the love of the wheels on the bus, we will start by drawing the wheels. This is the easiest part of our lesson.
Start by drawing the front wheel in the middle of your drawing paper, close to the left margin. Draw a smooth circle and another one inside it. This will serve as the front wheel. Next, draw a similar wheel close to the right margin. This will serve as the rear wheel. Make sure the two wheels are at the same level and of the same size.
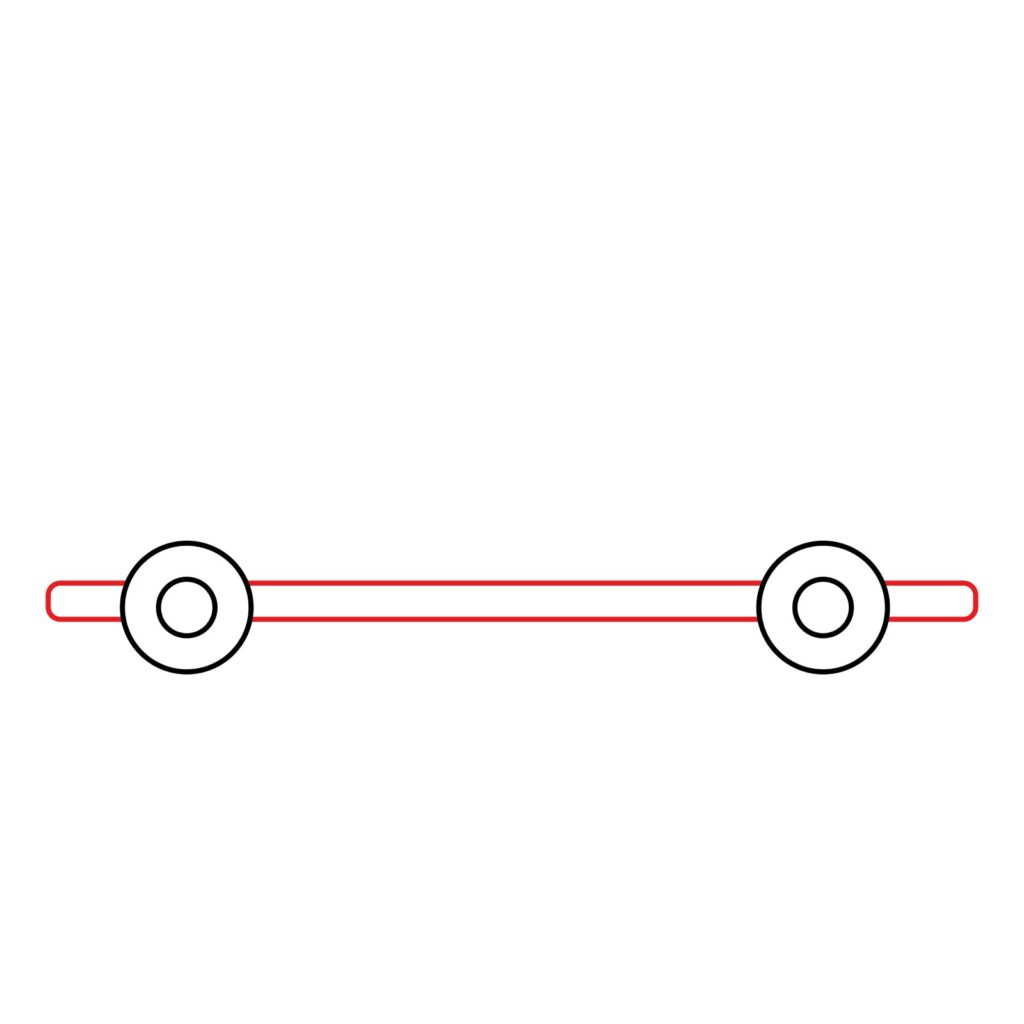
Step 2: Draw the Base
The base of a bus, or any other vehicle, is known as the chassis. The chassis is the base frame on which all the components of a vehicle are mounted. This is what we will be drawing next.
To do so, use your ruler to draw a horizontal line that starts a short distance in front of the front wheel, cuts through the center of both wheels and ends a short distance past the rear wheel. Add another parallel line below it and then connect the two lines with a vertical line on the ends. You should then use your eraser to remove the sections of the horizontal lines that cut through the wheels.
To make your drawing more impressive, consider making the corners rounded. This is important because school buses do not have sharp corners.
Step 3: Draw the Lower Body
It’s time to turn our drawing into a school bus. For that, we will start by adding the lower part of the body. As you may already know, a school bus is a very large vehicle. It is designed that way to accommodate as many students as possible and safely.
It is pretty easy to draw the bottom part of the bus. Using your ruler, add a rectangle over the chassis. The chassis should serve as the bottom part of the rectangle. The rectangle should not be too high because we will be adding more components over it.
For realism, make the top left corner of the rectangle rounded. This will serve as the front part of our school bus. Try and create something that looks like this.

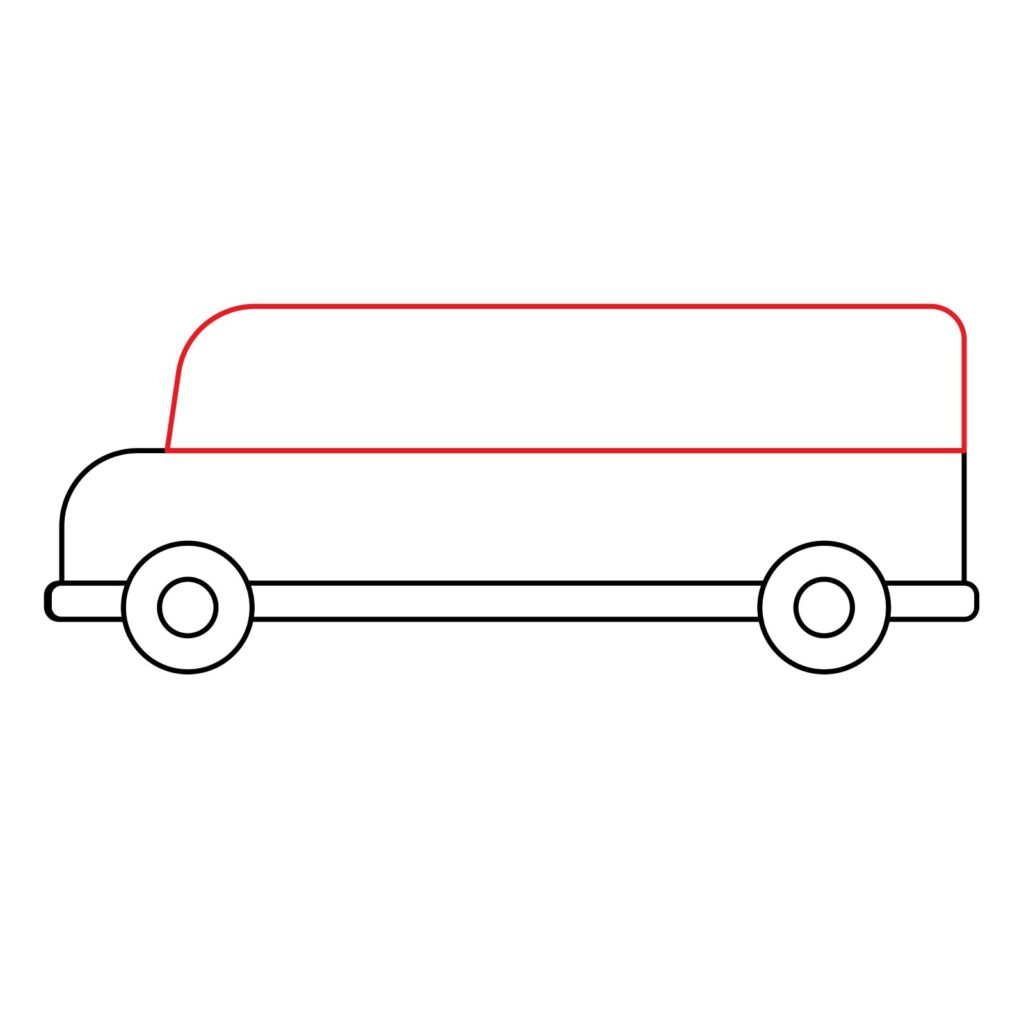
Step 4: Draw the Upper Body
The next thing we need to add now is the upper part of our school bus. This is the part that has the windows. It is also by adding this part that our school bus will start to take shape.
We are going to add another horizontal rectangle on top of the first one we added for the lower body. The only difference is that the rectangle for the upper body needs to be shorter on the left side of the drawing. This means it shouldn’t start on top of the rounded top left corner of the lower body but a short distance from that corner.
Once the rectangle has been added, we are going to make the top right corner a bit rounded. Next, to distinguish the front part of the bus from the rear part, we will add a slightly diagonal line starting from the top left corner and slanting towards the left to connect with the top of the lower body. We will then erase the left part of the rectangle and make the top left corner rounded. Your drawing should look like this.
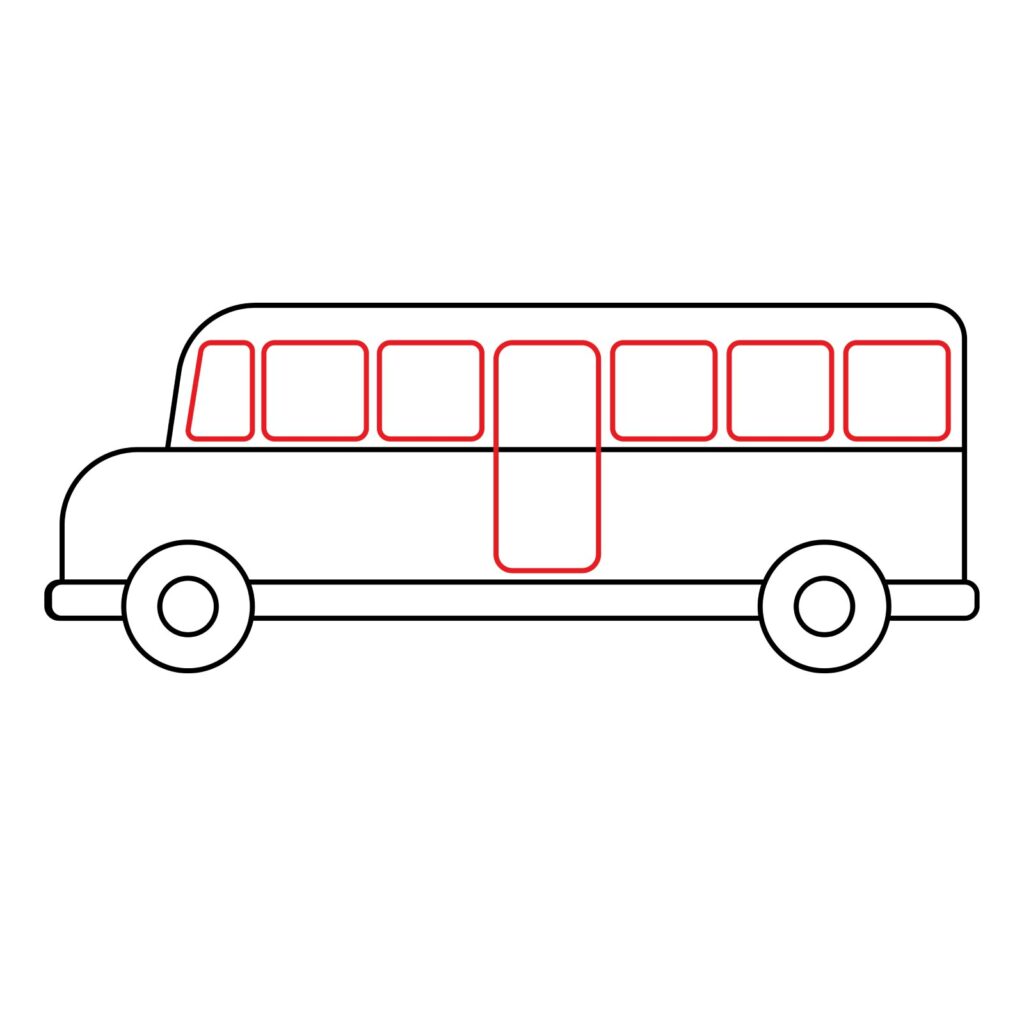
Step 5: Draw the Door and Windows
While it is very easy to draw the door and the windows, you must make them as proportional as possible. For this, we are going to start by drawing some faint lines to serve as our guide. Place your ruler a short distance above the top of the lower body and draw a faint line from the front of the bus to the back. Move the ruler up and add another faint line a short distance from the ceiling. We will be adding the windows in the space between the two faint lines.
The first thing we are going to add is the door. The door of our bus will be in the middle of the bus. We will draw a vertical rectangle that stretches from the space above the chassis and connects to the uppermost line we added as our guide. For realism, we are going to make the corners of the rectangle rounded.
For the windows, we will start with the driver’s window. This should be on the left part of the upper body. This is the front part of our bus. This window is a bit different from the others. It has a slanted left part to fit perfectly behind the windshield.
Next, with the faint lines as our guide for the height of the windows, we will create square shapes along the length of the upper body. Make the corners rounded and try and make the square shapes the same size. These will serve as our windows.
Erase the line that cuts through the rectangle we added for the door.
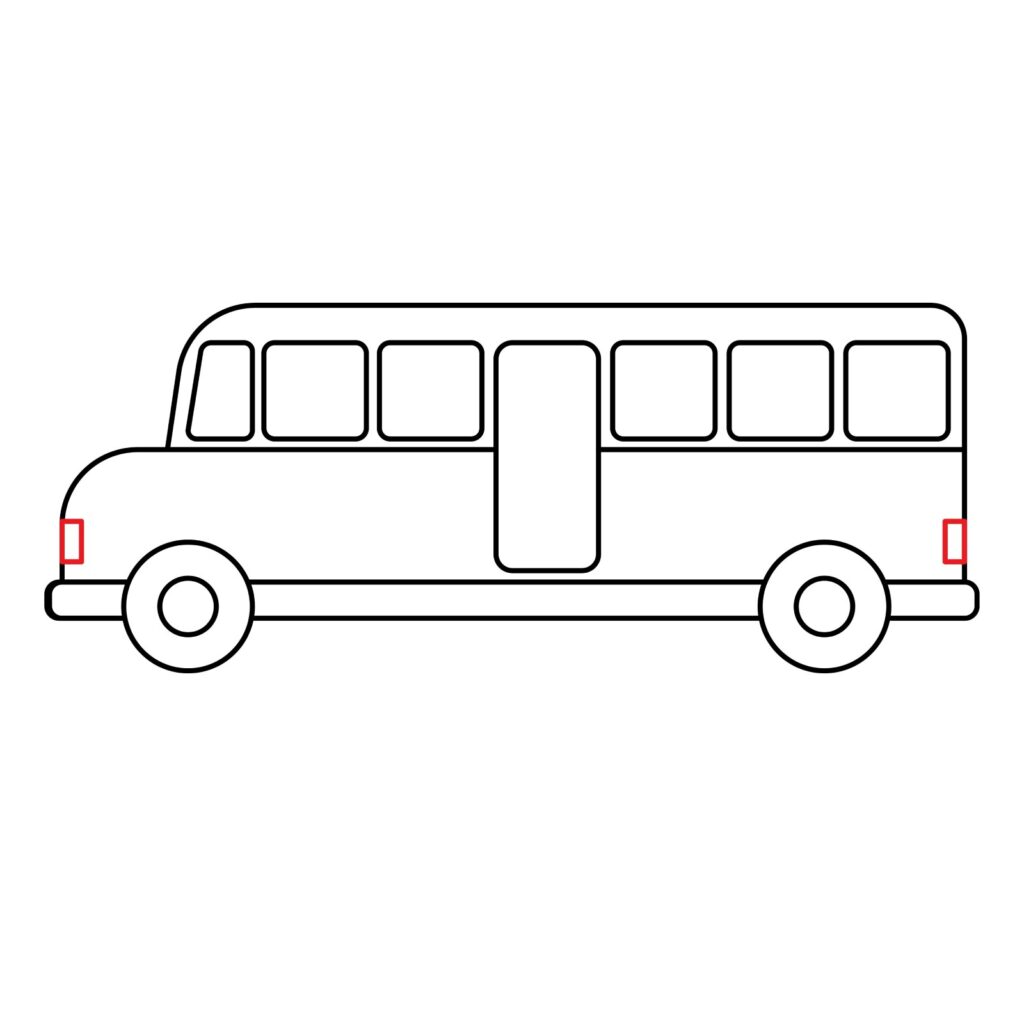
Step 6: Add the Lights
The bus driver needs to be able to drive at night and in dark tunnels. For that reason, our school bus will have headlights. The headlights sit above the chassis on the left part of the lower body. Use a vertical rectangle to serve as the lights.
When the driver hits the brakes, other motorists should be able to know that the bus is slowing down. For that, our bus needs rear lights. We will add a vertical rectangle right above the chassis on the right part of the lower body.
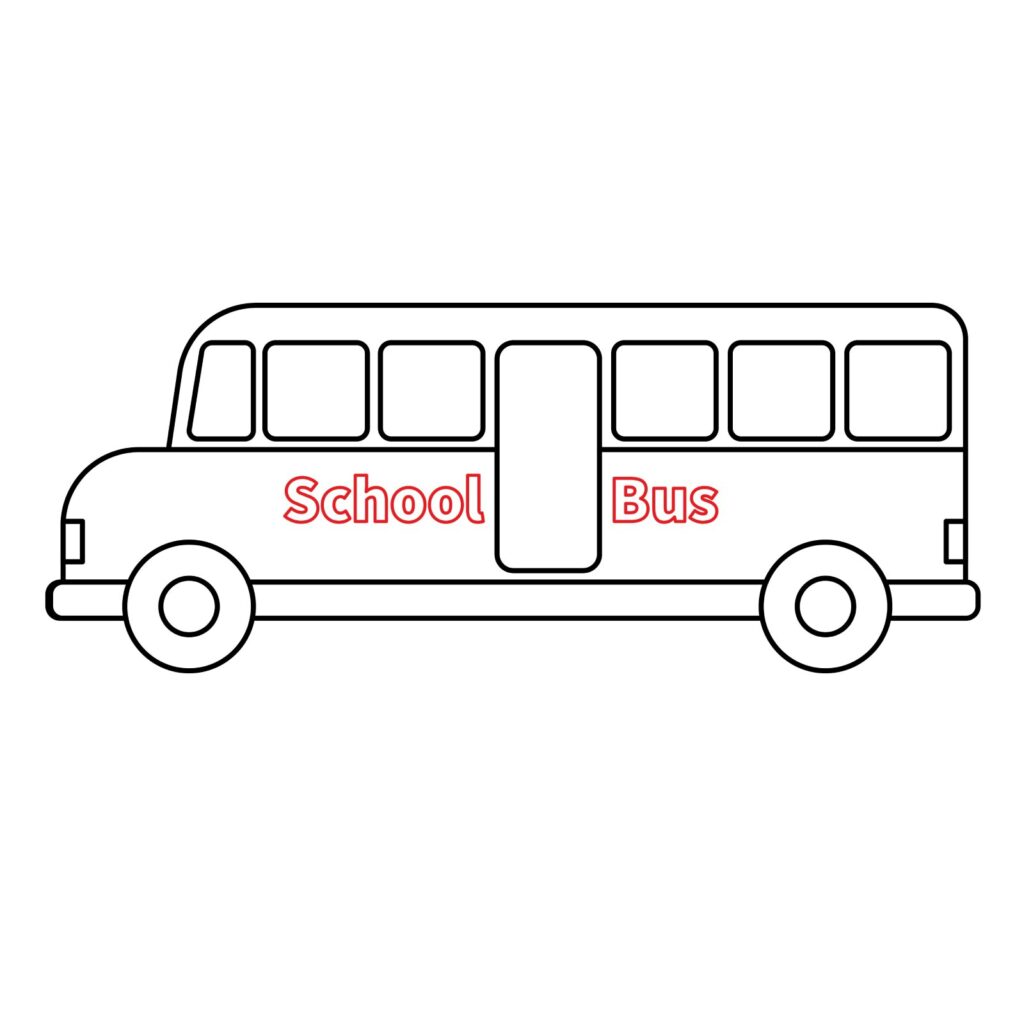
Step 7: Add a Name
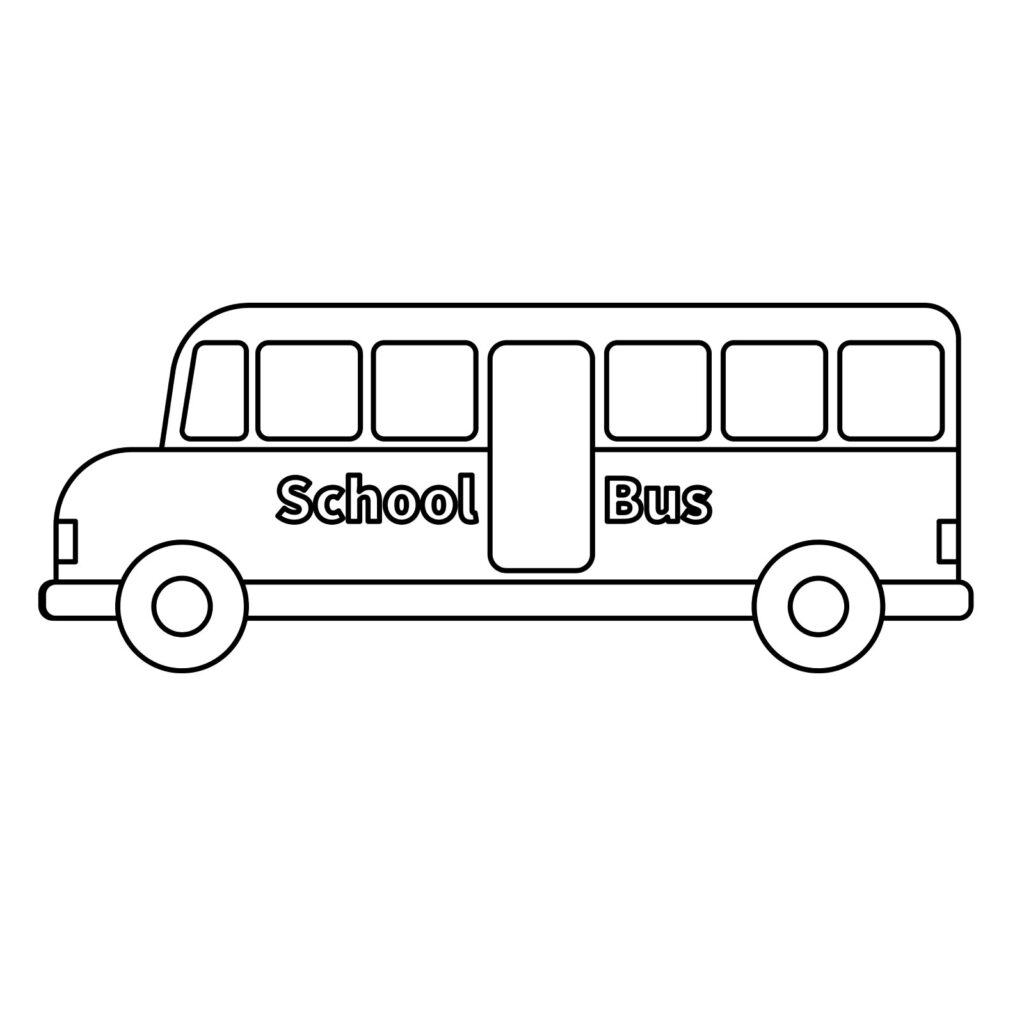
Your school bus has the name of your school on the side, right? Let’s do the same to our drawing. Since we don’t know the name of your school, we are simply going to add the name School Bus on the side. Try and use as stylized text as possible.
Step 8: Refine Your Bus
Our school bus is now ready! Congratulations!
You can take this time to refine your drawing further. Redo the areas that don’t look too good. However, if your drawing is way off, don’t be frustrated. There is always room for improvement on the second attempt. The key is to keep practicing and never forget to have fun.
Take the Drawing to the Next Level
It is tempting to leave your drawing as it is, isn’t it? Most people would want to leave it as it is in fear of ruining it with more details. However, to become a great artist, you have to be willing to take risks. This is because people don’t love basic drawings. They want drawings in which the artists pay attention to details. here is how you can advance your drawing.
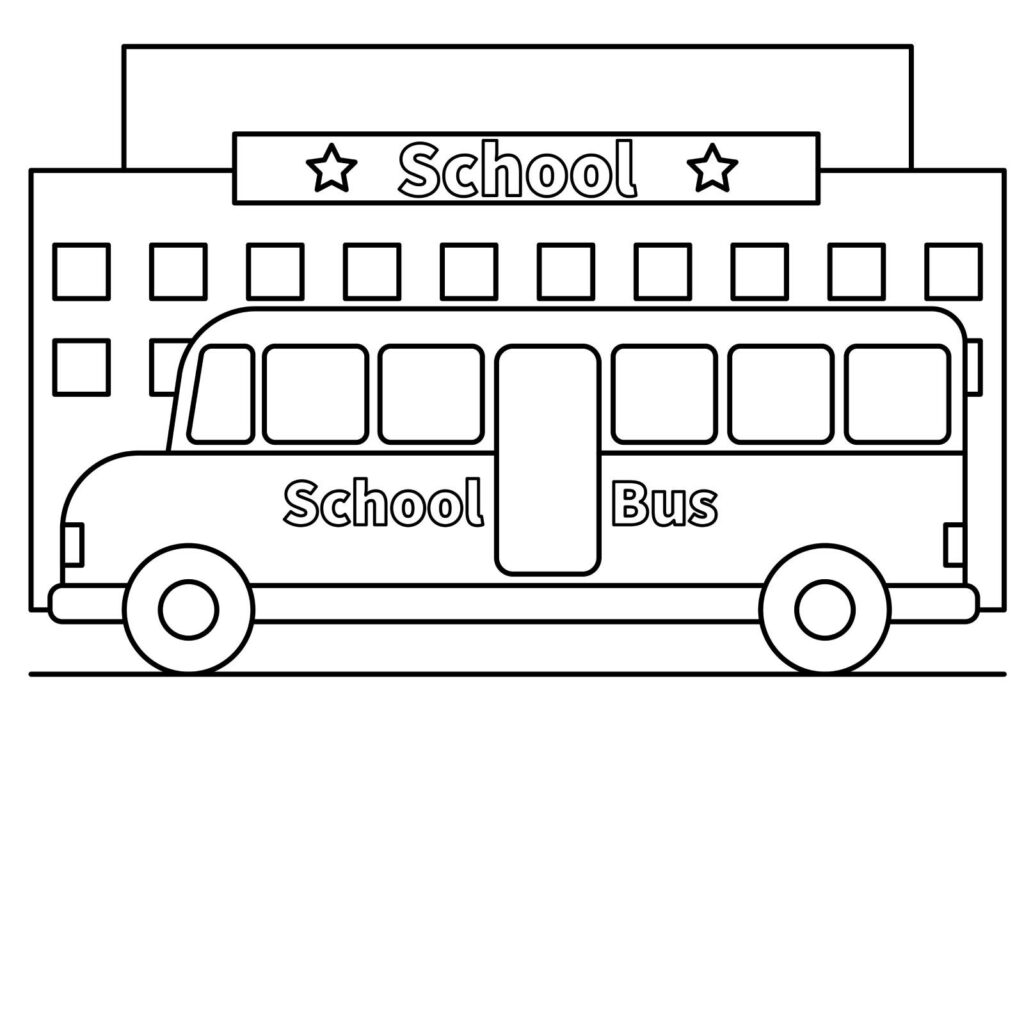
Add a Background
Adding a background to your drawing moves it from being a boring drawing to an amazing drawing. Start by adding a line below the wheels. The line will serve as the road. Next, you can add any background that you want. In our case, we used rectangles and squares to draw a school building in the background.
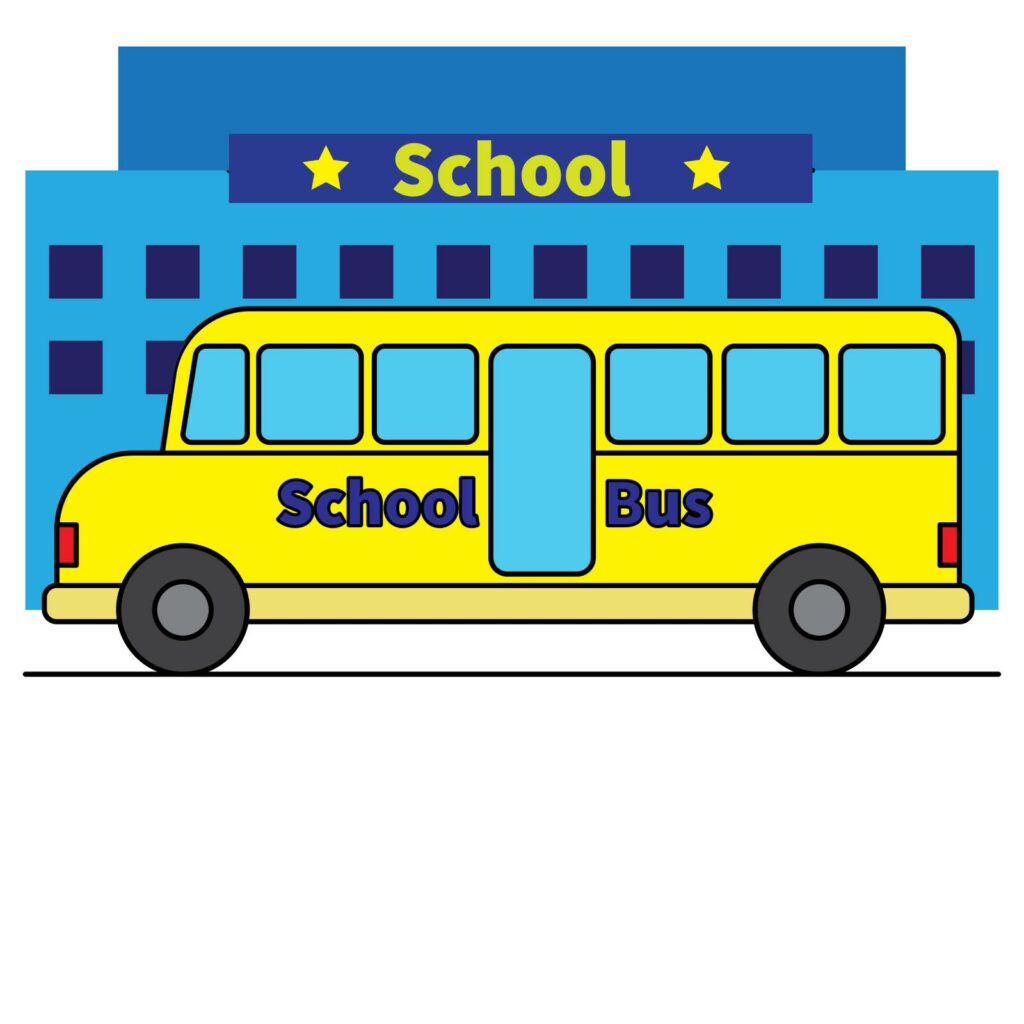
Color Your Drawing
Once you are satisfied with your drawing, color it. While you can use any color that you want, always keep in mind that school buses are usually yellow. You must also make sure that the colors don’t spill outside the areas you are coloring.
Congratulations! The school bus drawing is ready.
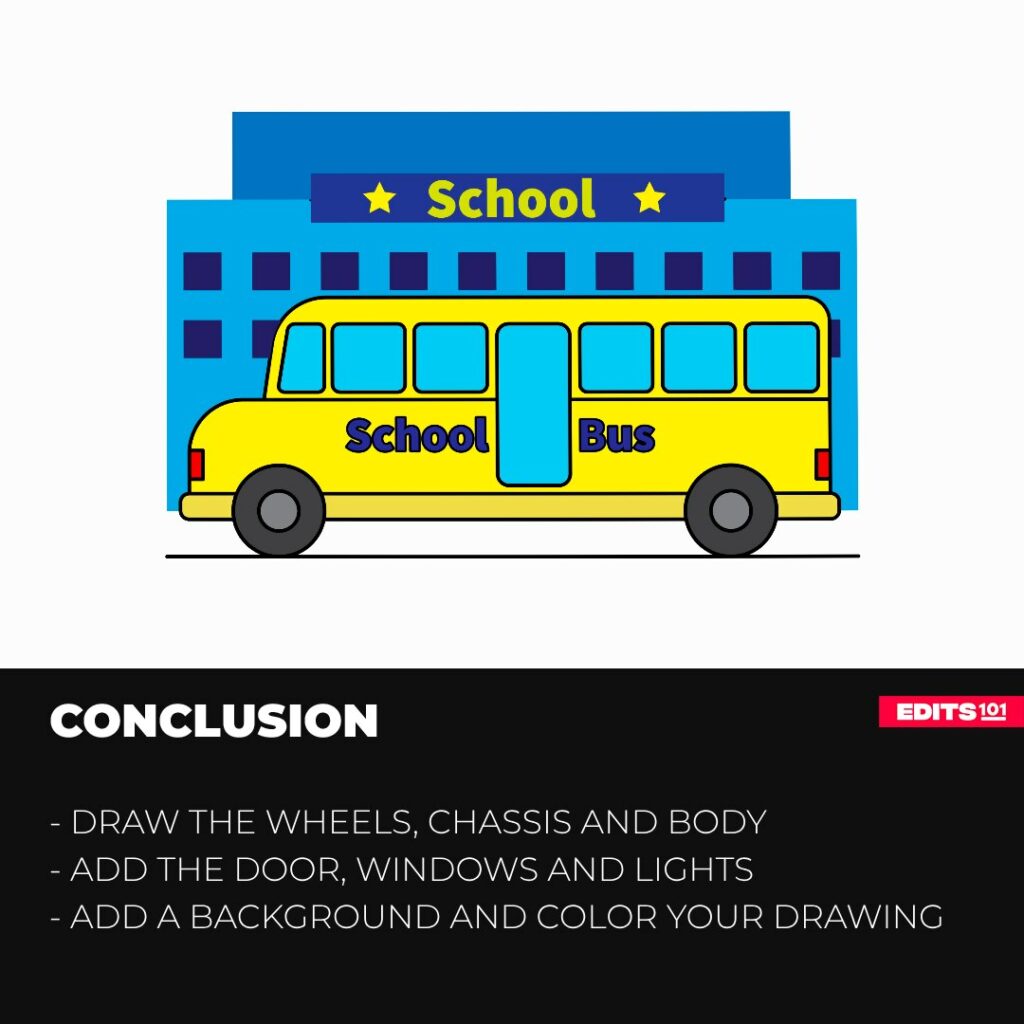
Conclusion
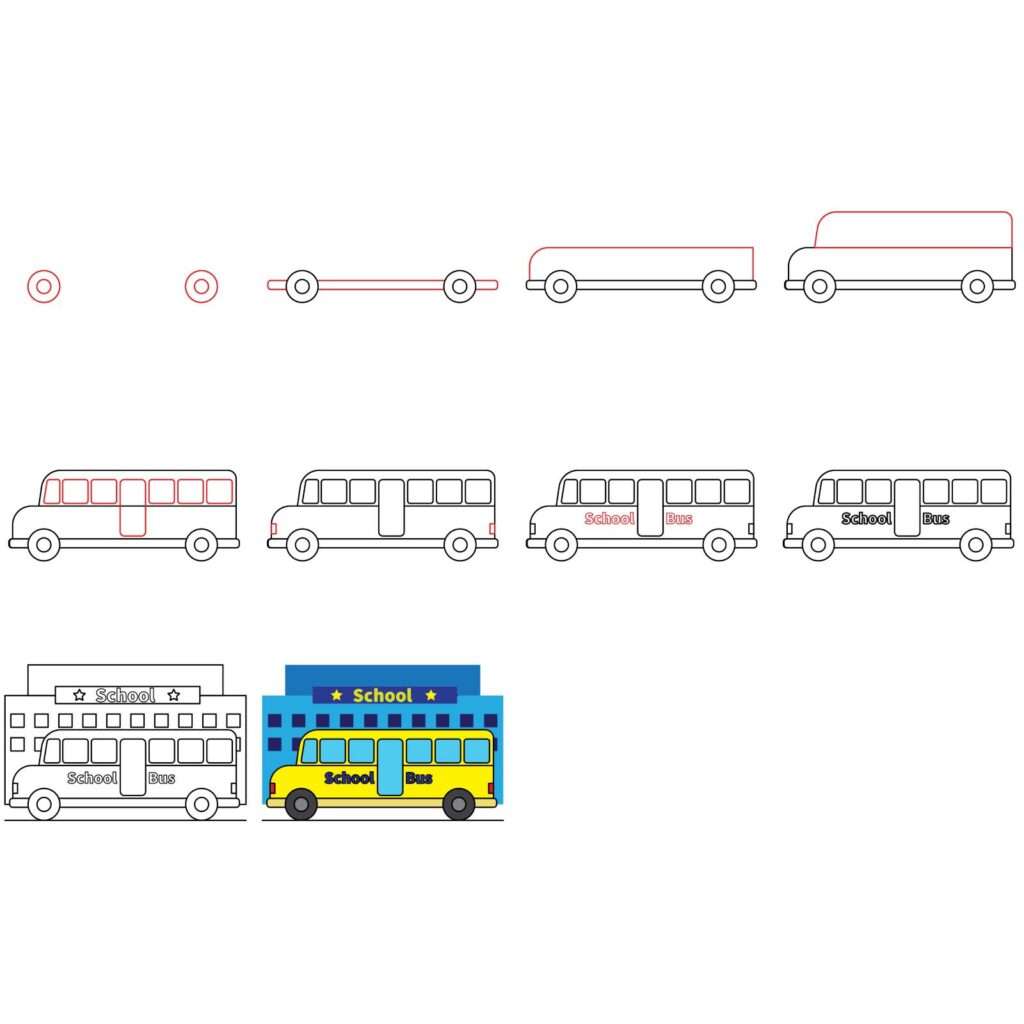
Drawing a school bus mainly involves combining simple shapes. In our lesson, we started by drawing the wheels using circles then added the chassis, lower body, and upper body using rectangles. We then added the door, windows, and lights using squares and rectangles. To advance our drawing, we used squares and rectangles to add a school building. The final step involved coloring the drawing.
To improve your drawing skills, try and repeat our steps at least one more time. You will notice that your drawing will look better on your subsequent attempt. Never forget to have fun!
Thanks for reading & feel free to check out more of our articles!