How To Draw A Tricycle | A Fun Guide
A tricycle is a fun vehicle for children. At an early age, children love to ride on it. Riding a tricycle can reportedly boost confidence and enhance mind-muscle coordination in children. A tricycle has three wheels, a bicycle has two wheels, and a unicycle has one wheel.
Kids love to take this love onto paper and draw their imaginations. But sometimes, they are stuck and don’t know where to start.
In this guide, we will go in-depth through the step-by-step process of drawing a tricycle. This is the easiest and most effective procedure. If you follow all these steps, you will have a mesmerizing drawing within minutes.
What you will need
- A pencil
- An eraser
- A sheet of paper
- Coloring kit
- Ruler
- 30 minutes
How to Draw a Tricycle
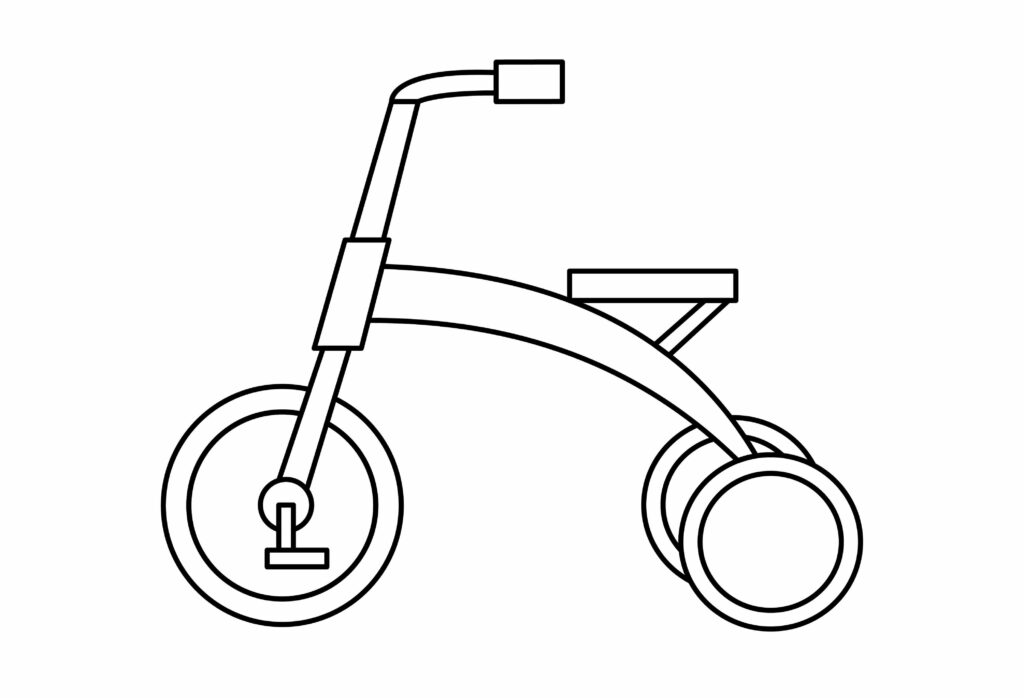
First, we will make the tricycle’s main structure, also known as the body. Although making the body may seem a bit difficult, we will break it down for you in the easiest way possible.
After making the body, we will add the details as well to make it look appealing and glittering. Grab your pencil and paper, and we are about to begin.
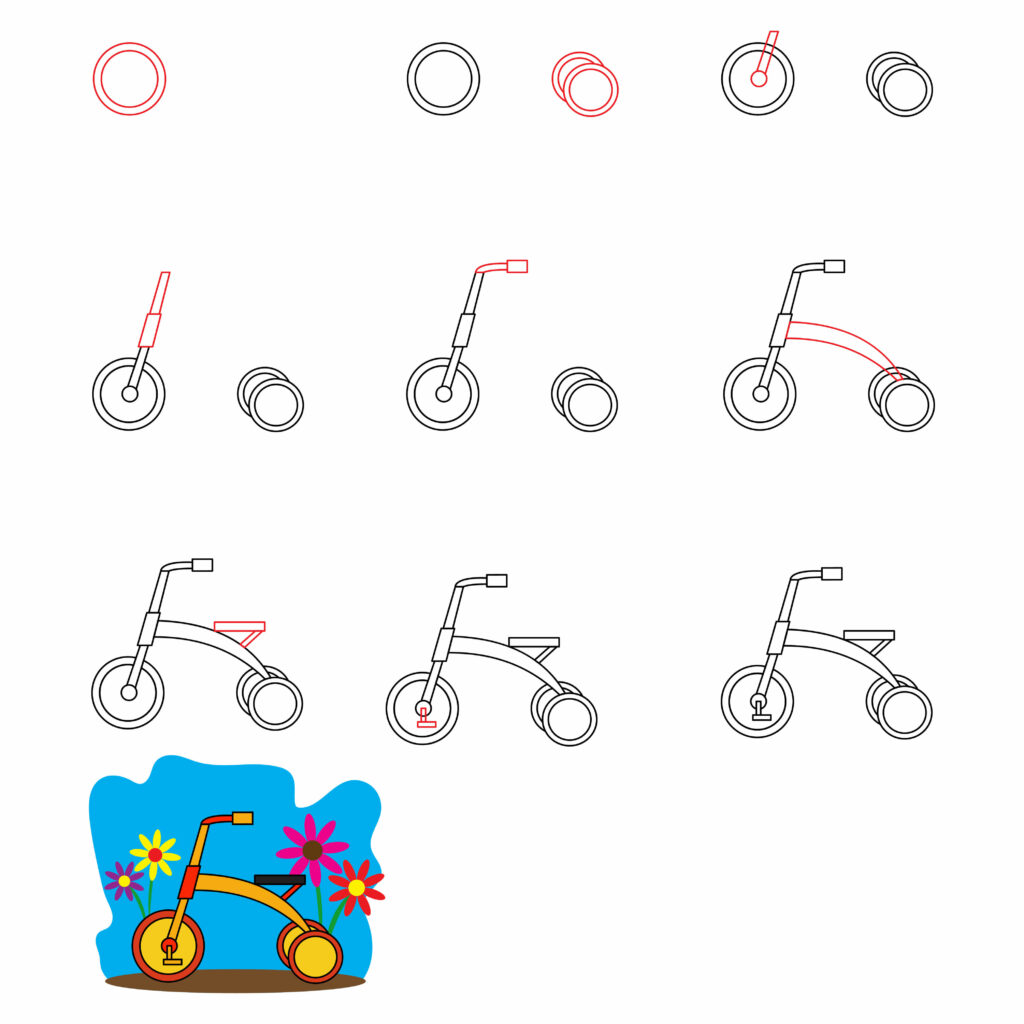
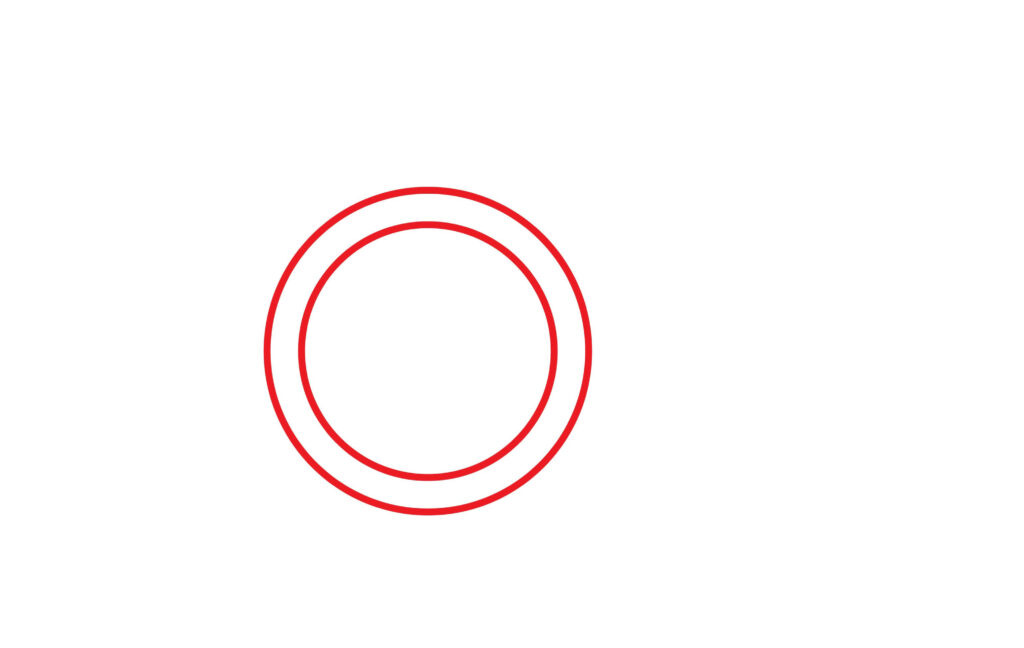
Step 1: Draw the front wheel
Wheels are the base of a tricycle. The smoother they are, the faster your trial cycle is. Now, remembering this, we will make a smooth circle free hand.
Remember, we might not get a perfect shape on the first try, but we will get it ultimately. Otherwise, we can also use a round lid to make our circle. After making the first circle, we will make another circle inside the first circle. This will be our first wheel.
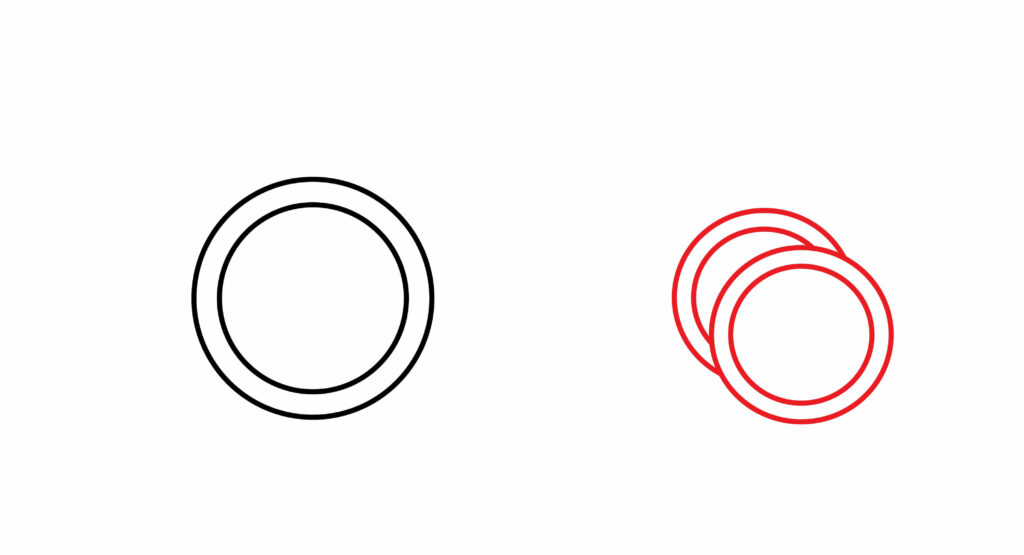
Step 2: Draw the back wheels
As the name suggests, tricycle, we need to make two more wheels.
Using the same free-hand technique, we will make two circles for each wheel. Remember, we have to make the back wheels smaller than the front wheel. Alignment of the wheels is the key here. One of the wheels is half hidden since we are making it from the side angle. The wheels are ready now; we will now attach the rest of the body.
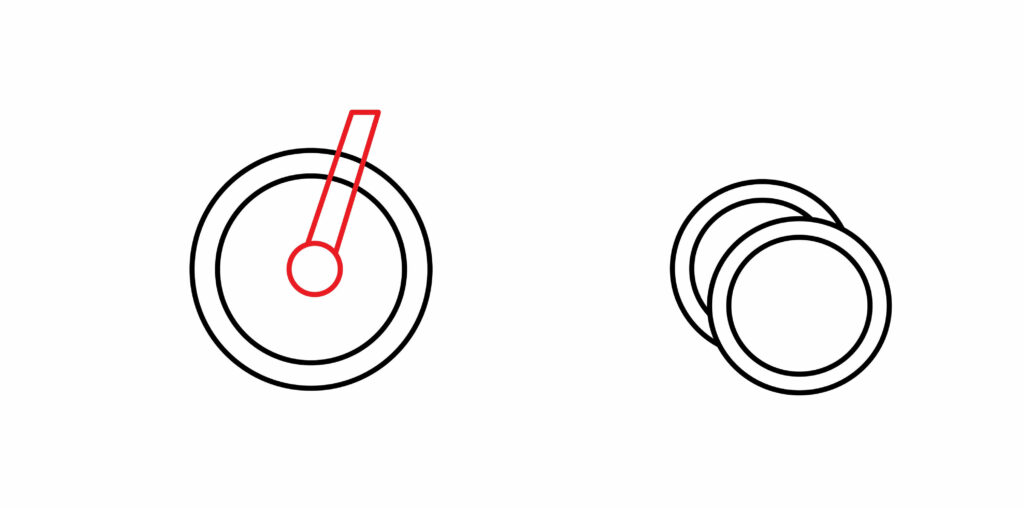
Step 3: Draw the connector for the front wheel
We don’t want the front wheel to roll away. To make a connector (as we did in the bicycle drawing), draw a small circle in the middle of the front wheel (the wheel we drew in step – 1). Make two slightly angled parallel lines connecting the front wheel. We will use a ruler to draw these lines. Connect both lines at the opposite end of the connector.
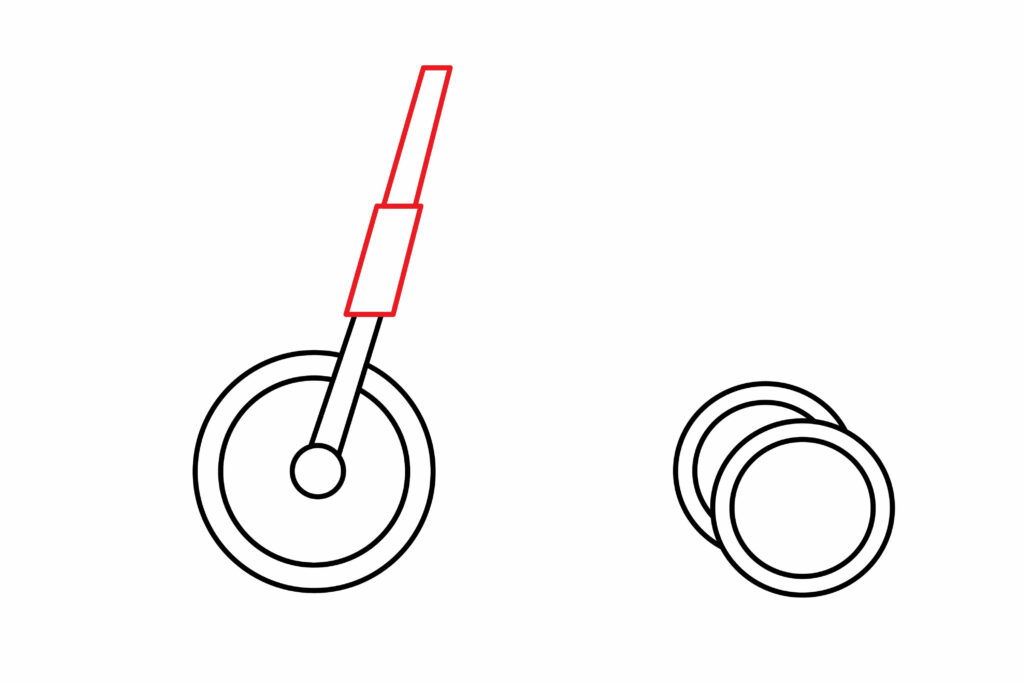
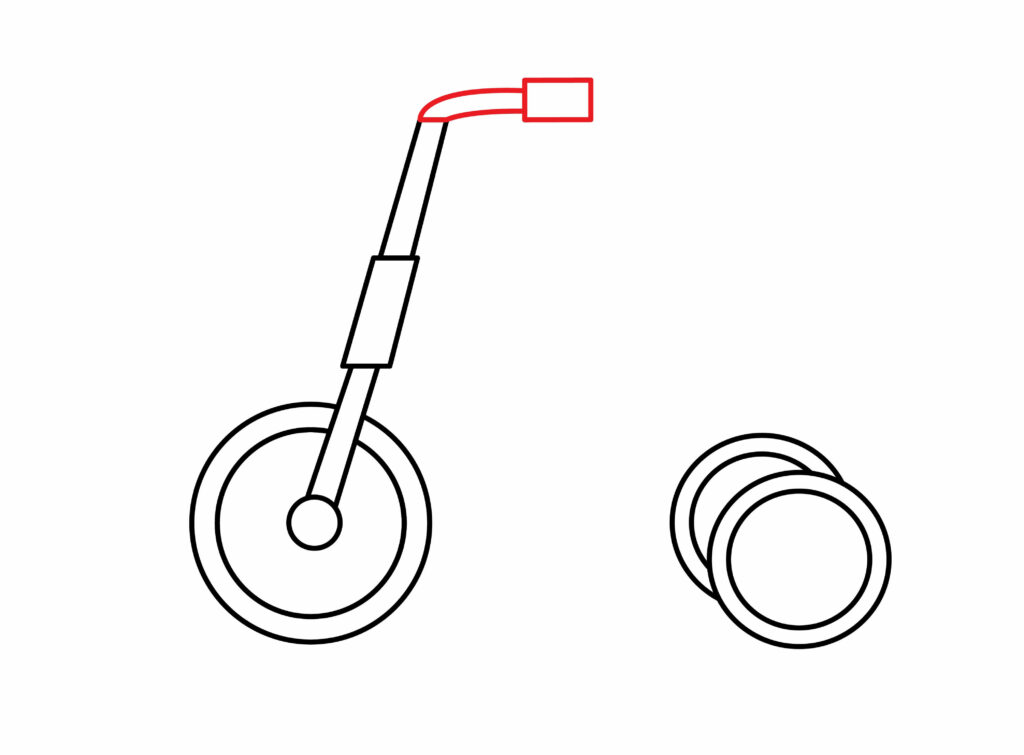
Step 4: Draw the handlebar
After making the connector, we have to draw the handlebar. Of Course, we need a handlebar to make our tricycle look more enhanced. Draw a small rectangle shape in the same direction as the connector lines to draw the handle.
After drawing the rectangle, draw two angled lines on top of the rectangle. Remember that the upper two lines should be narrower than the rectangle shape. We will use a ruler to make a rectangle shape and angled lines. This will give our tricycle a pleasing look.
Step 5: Draw the handle
The handlebar supports the handle. We cannot control a tricycle without a handle. Drawing a handle is pretty easy.
We will make two angled lines almost perpendicular to the handlebar. At the end of these two lines, we will make a rectangle. The length of this rectangle should be smaller than the rectangle we drew in the handlebar. The handle of our tricycle is ready.
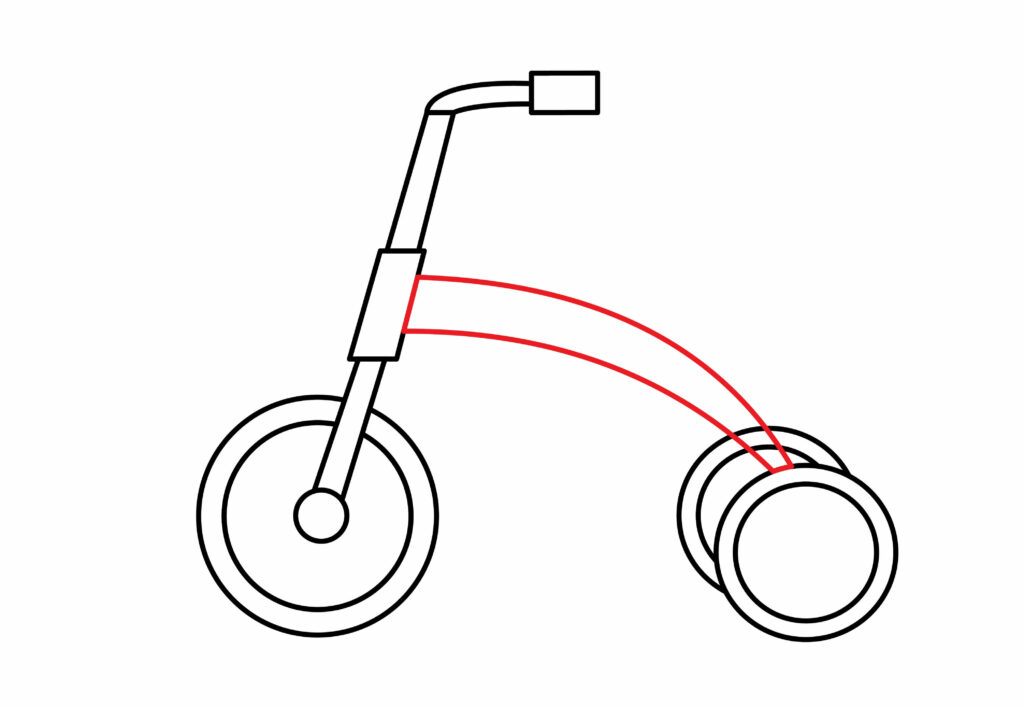
Step 6: Draw the main body of the tricycle
We want a proper base for our tricycle. A strong base that can hold our weight. To draw the main body, put your pencil tip on the rectangle shape in the handlebar (step 4). Make a line slanting downwards and attach it to the back wheel.
In the same pattern, make another line below the first line. Now, we have two lines attached to the back wheels. The main body of our tricycle is ready. We can see our tricycle is getting ready very effectively.
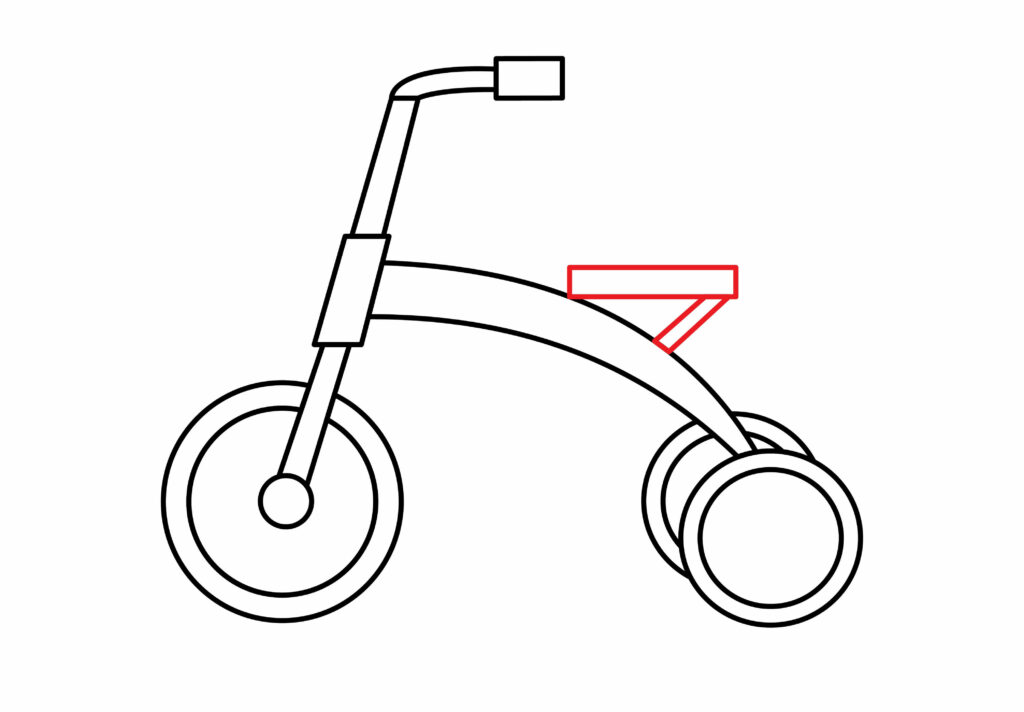
Step 7: Draw the seat
We don’t want our rider to float in the air; rather, we want it to sit on the bicycle and ride it comfortably. But where will we sit? Of course, on the seat. To draw the seat, make a rectangle on the upper side of the main body.
We will make two parallel slanted lines under the seat to support our seat. These lines are connecting the seat to the main body. Do not make the seat too big, as it would seem unrealistic. After this process, our seat is ready.
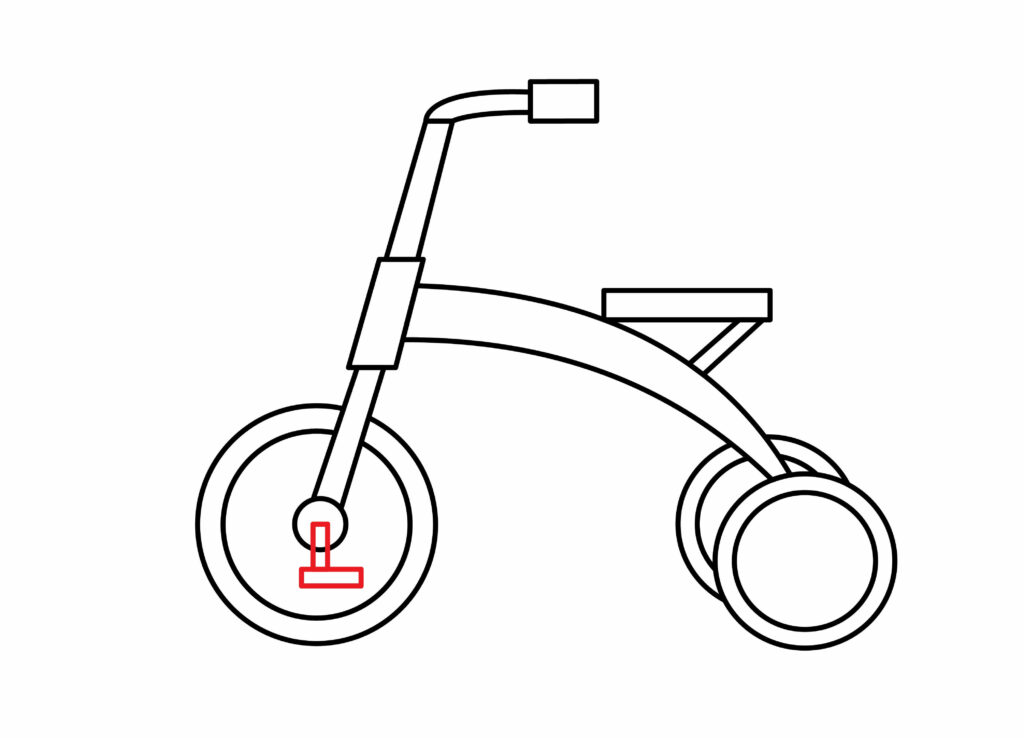
Step 8: Draw the pedal
Our tricycle doesn’t have an engine; it needs pedals so one can drive it. Pedals are like the gears of a tricycle.
To draw these, sketch two rectangles perpendicular to each other in the middle of the front wheel. We will make only one pedal since we are making the tricycle from the side angle. The pedal must be right in the middle of the front wheel to maintain the symmetry of the tricycle. Note that the pedals should not be long. If it gets long, the pedals will hit the ground while pedaling. It’ll be a highly unrealistic approach. To avoid this and to make our tricycle realistic, make small pedals (smaller than the diameter of the front wheel).
Step 9: The tricycle is ready
We have done it! Yes! We are confident enough that your drawing is like ours. Well, if it is not, it’s alright. With a bit of practice, you can make a symmetrical tricycle. Remember to follow all the steps; do not skip any step in the process, and you will have your tricycle on your papers within minutes.
Taking your Tricycle Drawing to the Next Level
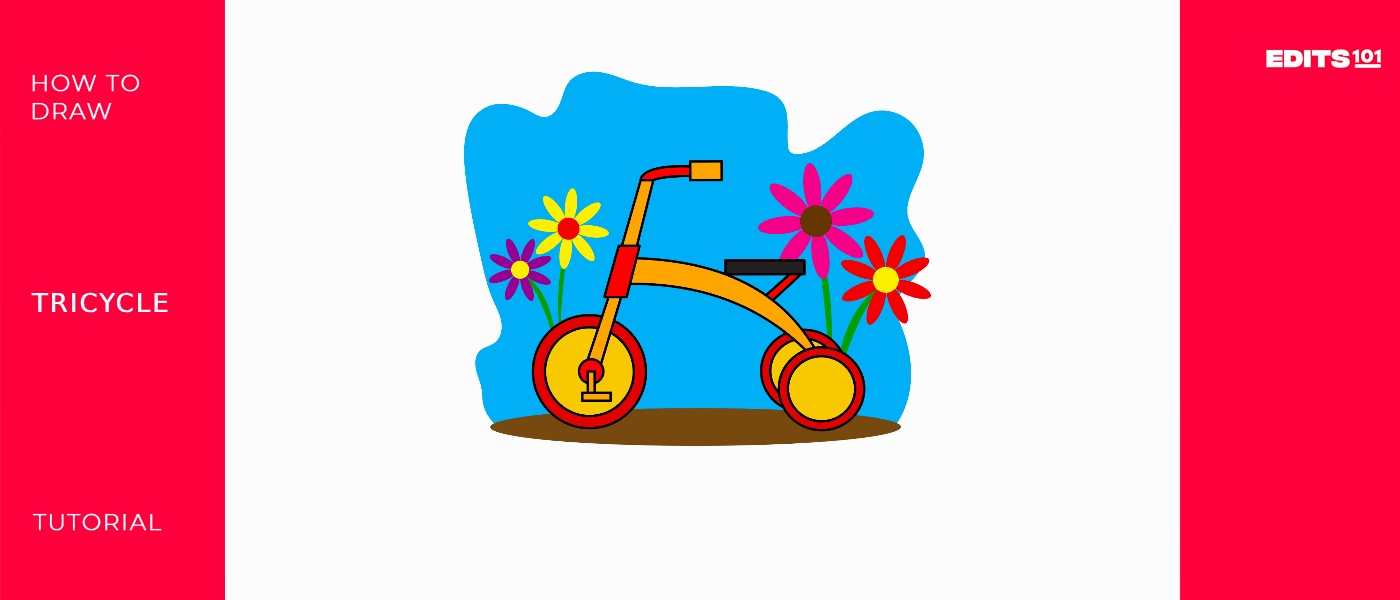
Our tricycle is ready, but it seems unlikely. We can add colors to it, which are essential for a charismatic look, to make it eye-catching and captivating. What else can make your drawing an amazing piece of art apart from colors? The colors and the background of the tricycle can serve this purpose.
Adding background to your drawing
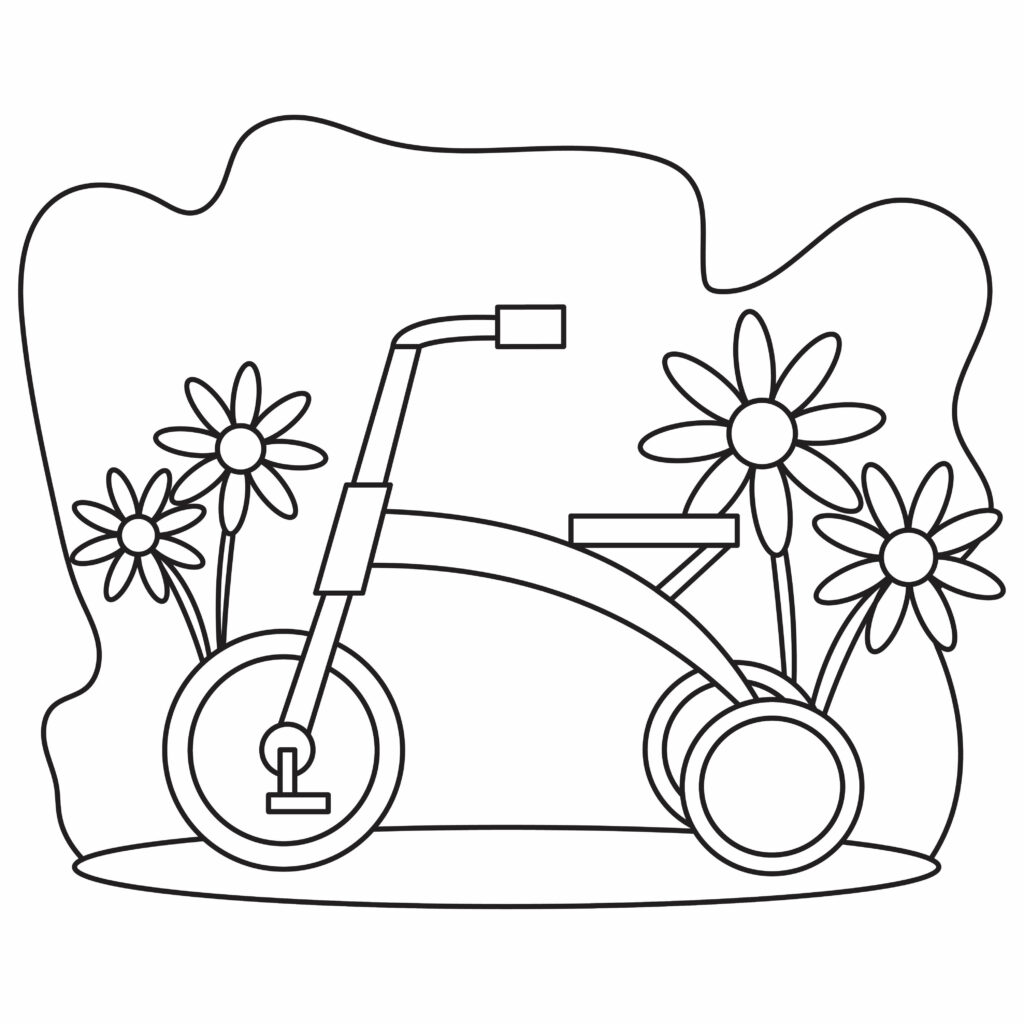
Here, you can use your imagination to create any background you wish. It can be a street, a garden, a park or anything you like. Since most of the kids like to drive around the park or garden, we’ll make the relevant background.
We will draw beautiful flowers and bushes behind the tricycle. We will make a small circle to draw flowers and then add petals around it. We can use the same round lid to make the circle that we used to make wheels. If the lid seems bigger, we can make a circle freehand also.
After adding the flowers, we will outline to make our drawing scenic and eye-catching. While making the background, always remember that no line goes over our tricycle. In case it does, we will use the eraser to remove the extra lines.
This is just one example of making the background. Multiple backgrounds can be made. Try multiple backgrounds and go with the one that pleases you the most.
Adding colors to your drawing
Without colors, a drawing seems unappealing. Colors add a vibrant look to any drawing and make it eye-pleasing. To make our tricycle look vibrant and lively, we will color it.
Everyone has their own choice of colors. Any color can be a part of a tricycle. Natural colors can be an excellent choice to make the tricycle look amazing. This activity should be enjoyed thoroughly. Just pick up your colors and start coloring the tricycle. To maintain the aesthetics of the drawing, make sure the colors do not exit the boundaries.

Once we have colored the tricycle, we will also color the background. Remember that the background should not be dark. Light colors in the background will make the tricycle pop and glitter.
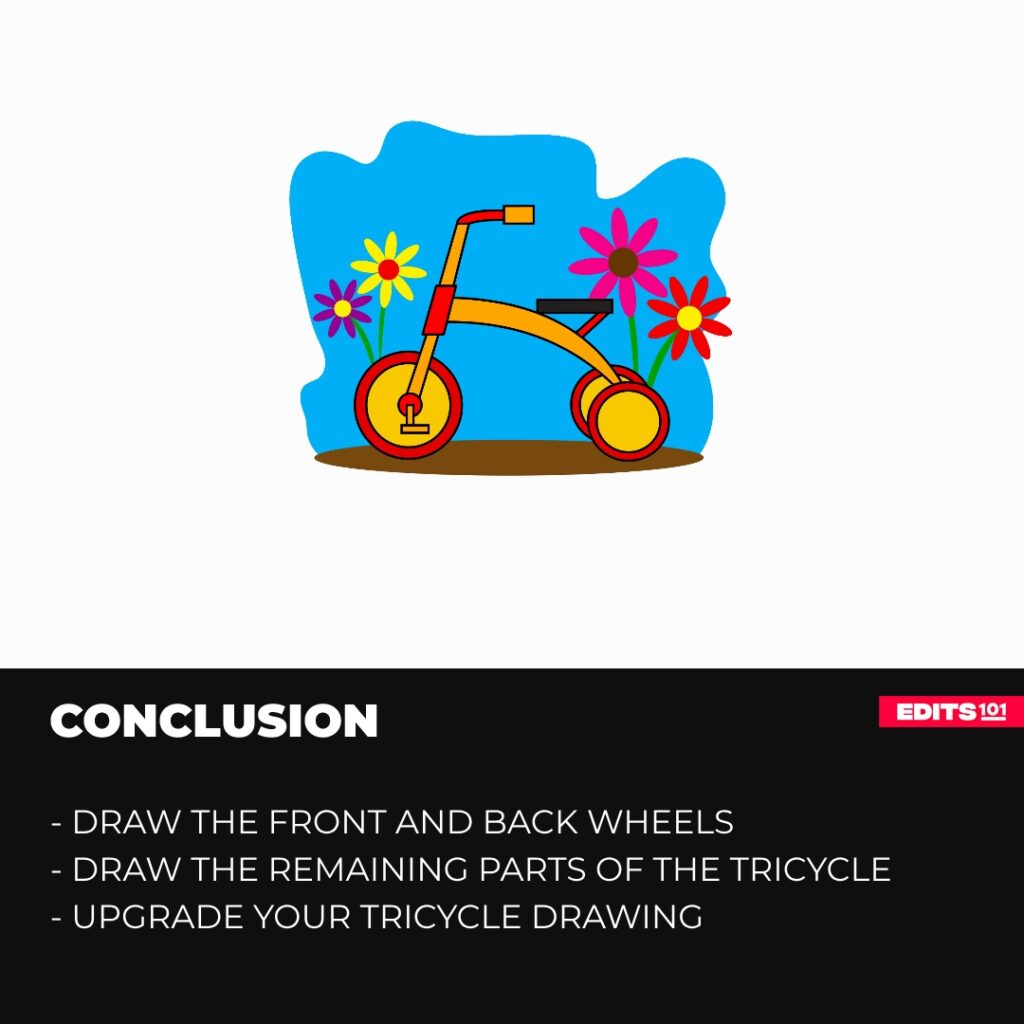
Conclusion
We have completed our drawing, and it was a fun process. We are certain that you enjoyed it as much as we did.
Now, we well recap the entire process. We started by making the front wheel and back wheels. After that, we made a handlebar to support the handle. Later, we added a handle on top of the handlebar. We made the main body and the seat of the tricycle. Lastly, we drew the pedals.
To make it look pleasing, we added vibrant colors to it. It surely popped out.
Thanks for reading & feel free to check out more of our articles!
Author Rating
Overall Rating
Summary
This guide explains how to draw a tricycle t in a simple and effective way.