How to Draw a Softball Glove | Step-By-Step Guide
In today’s lesson, we will be learning how to draw a fantastic softball glove step by step. We will also be sharing a few interesting facts about the glove and the game of softball. But first, let us first understand what a softball glove is.
A softball glove is designed to help a player catch a softball easily while protecting their hand from the impact of the ball. These gloves are distinguished from baseball gloves by their large size which is meant to accommodate the large softball.
| Step | Complexity Level |
| Drawing the Outline | 3 |
| Drawing the Inner Line | 2 |
| Drawing the Bridge | 1 |
| Drawing the Laces | 2 |
| Drawing the Sew Line | 2 |
| Adding Details | 1 |
| Coloring | 1 |
What You Will Need
- A drawing piece of paper
- Pencils
- Eraser
- Ruler
- Colored pencils or markers
- Your imagination and enthusiasm!
- 25 Minutes
How to Draw a Softball Glove Step by Step
Drawing a softball glove might seem intimidating at first but once you understand the steps you need to follow, everything becomes a lot of fun. In our tutorial, we will be drawing the inside of a softball glove.
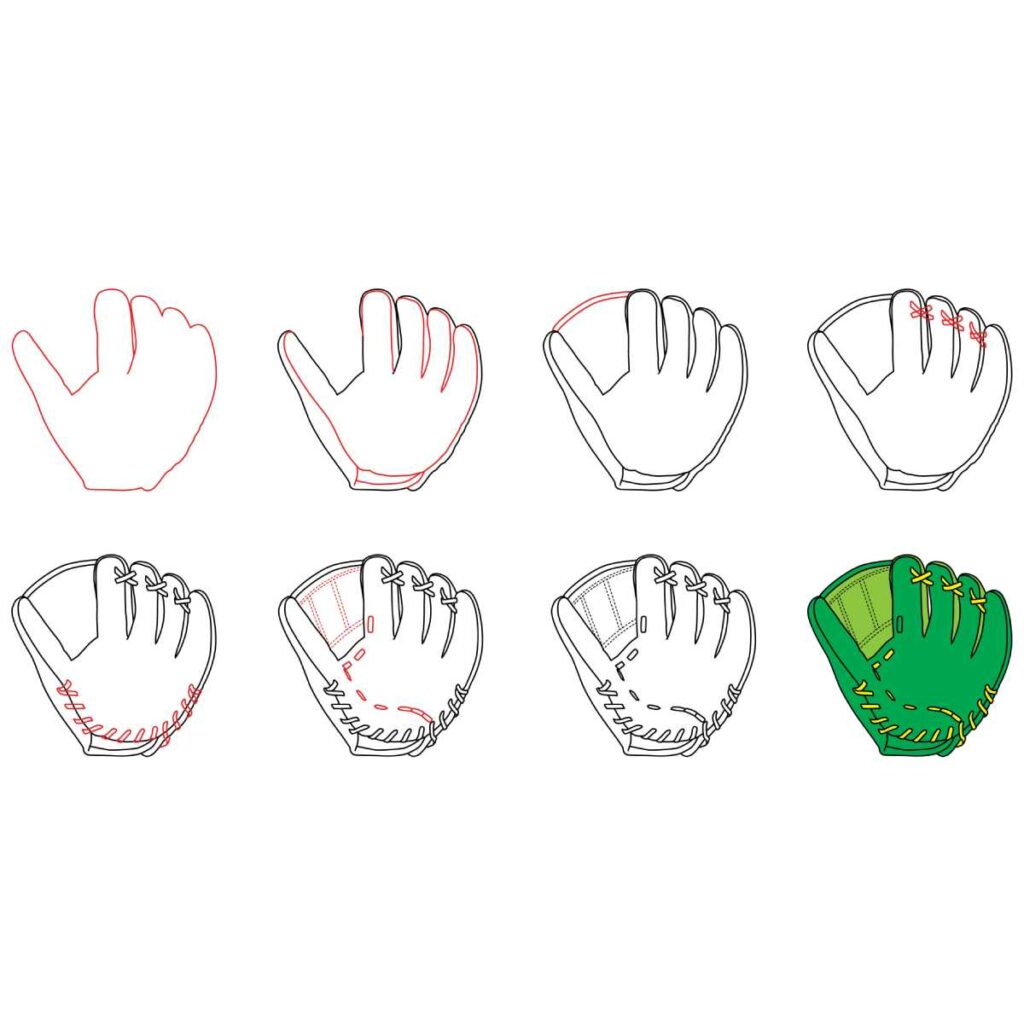
To give you an overview of what we will be doing, we encourage you to study the below image. It contains the steps we will be following throughout the lesson. The steps are designed for kids which means irrespective of your skill level, you will be able to follow along and draw an amazing softball glove. Studying the steps will help you avoid making mistakes.
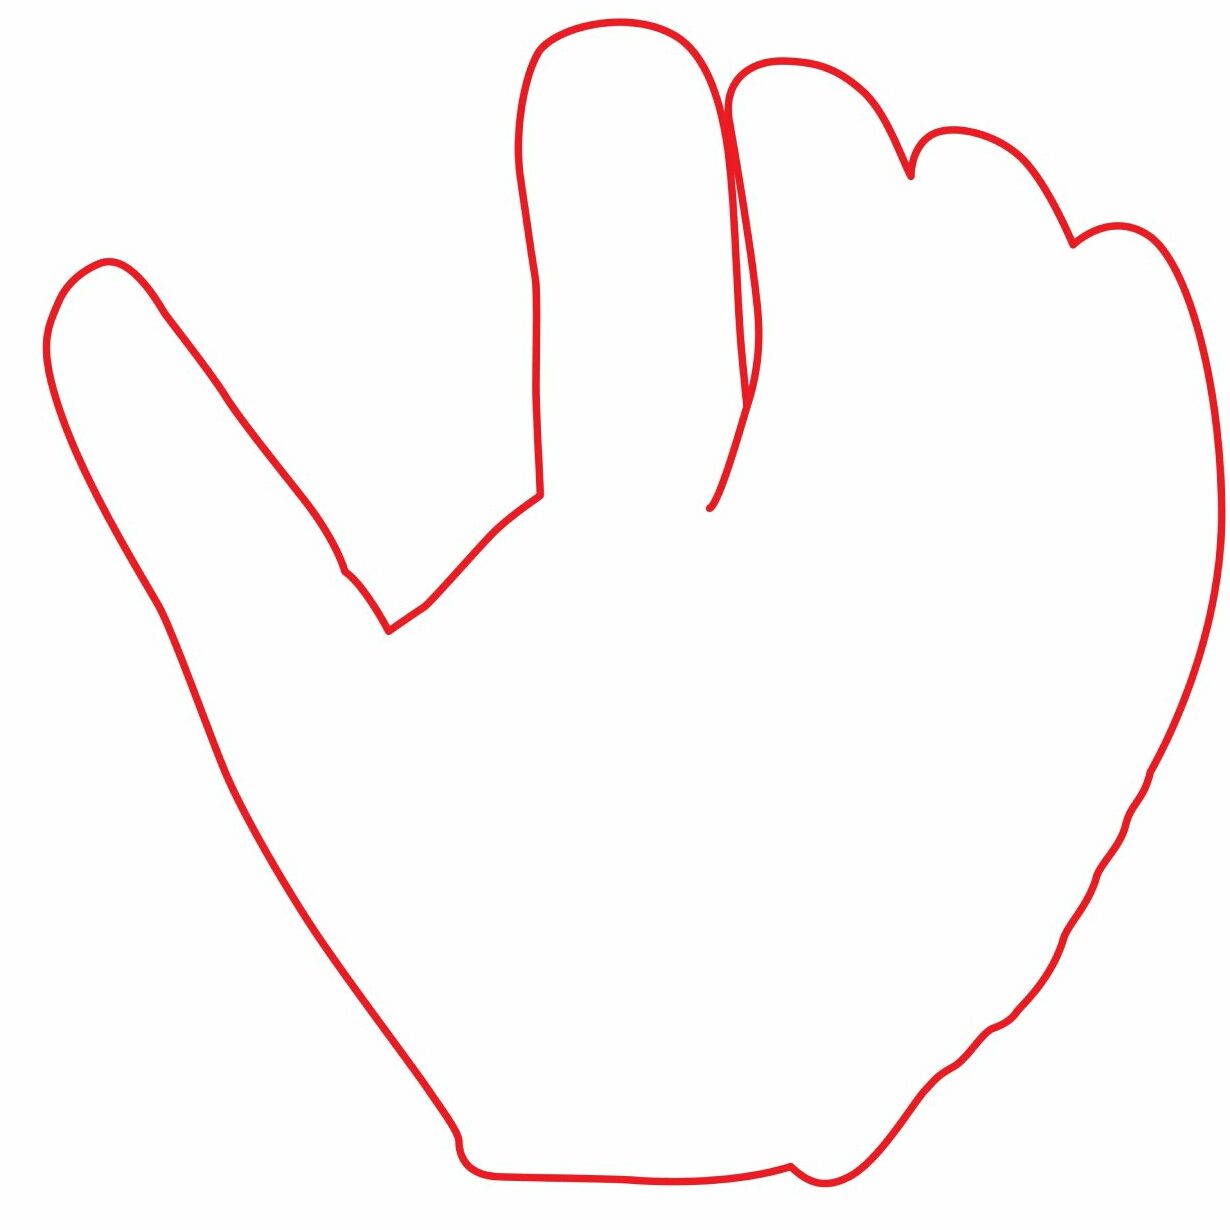
Step 1: Draw The Outline
The first thing we are going to draw is the outline of the softball glove. Hold your drawing paper firmly and draw a shape that resembles the inside of your left hand. The shape should fill the middle of your drawing paper.
For realism, make the space between the thumb and the index finger bigger. It should look like what is shown in our illustration. You also don’t need to draw individual fingers at this point. We will do that in the next step. The lines don’t need to be as smooth, either because we are drawing the outline of a glove and not a real hand.
- Draw the outline of the glove
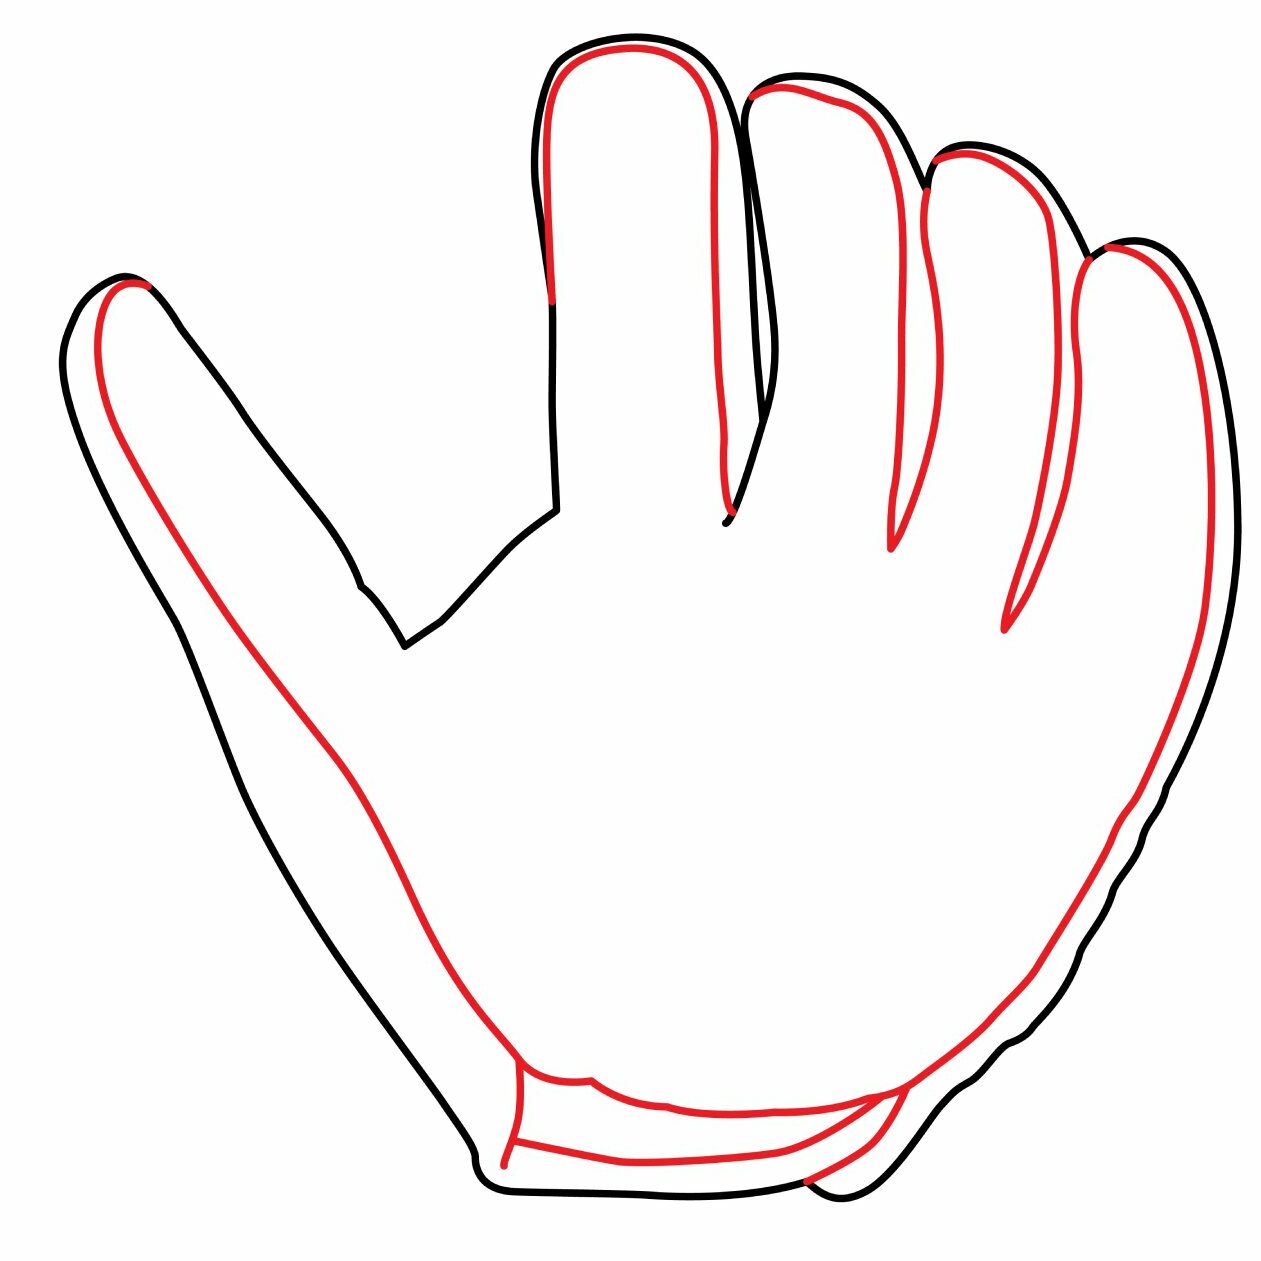
Step 2: Draw The Inner Line
We are now going to add the lines between the fingers. This is needed because when wearing a softball glove, each finger gets into its own pocket. We need to draw the lines between the fingers in order to make our softball glove more realistic.
We are going to add curved lines that cover the length of the fingers. Since we are drawing the inside of the glove, use the inner part of your left hand as your reference. The lines you add should not be too long.
Next, add a line starting from the tip of the thumb, and extend it downwards to the wrist. Curve the line up to connect to the tip of the pinky finger then curve it on the inside of each finger up to the index finger. Add a rough rectangle at the area near the wrist for detail. As you can see, the inner lines of the gloves give it amazing depth and detail.
- Draw curved lines to distinguish the fingers
- Add an inner line starting from the thumb, down to the list, and up to the pinky
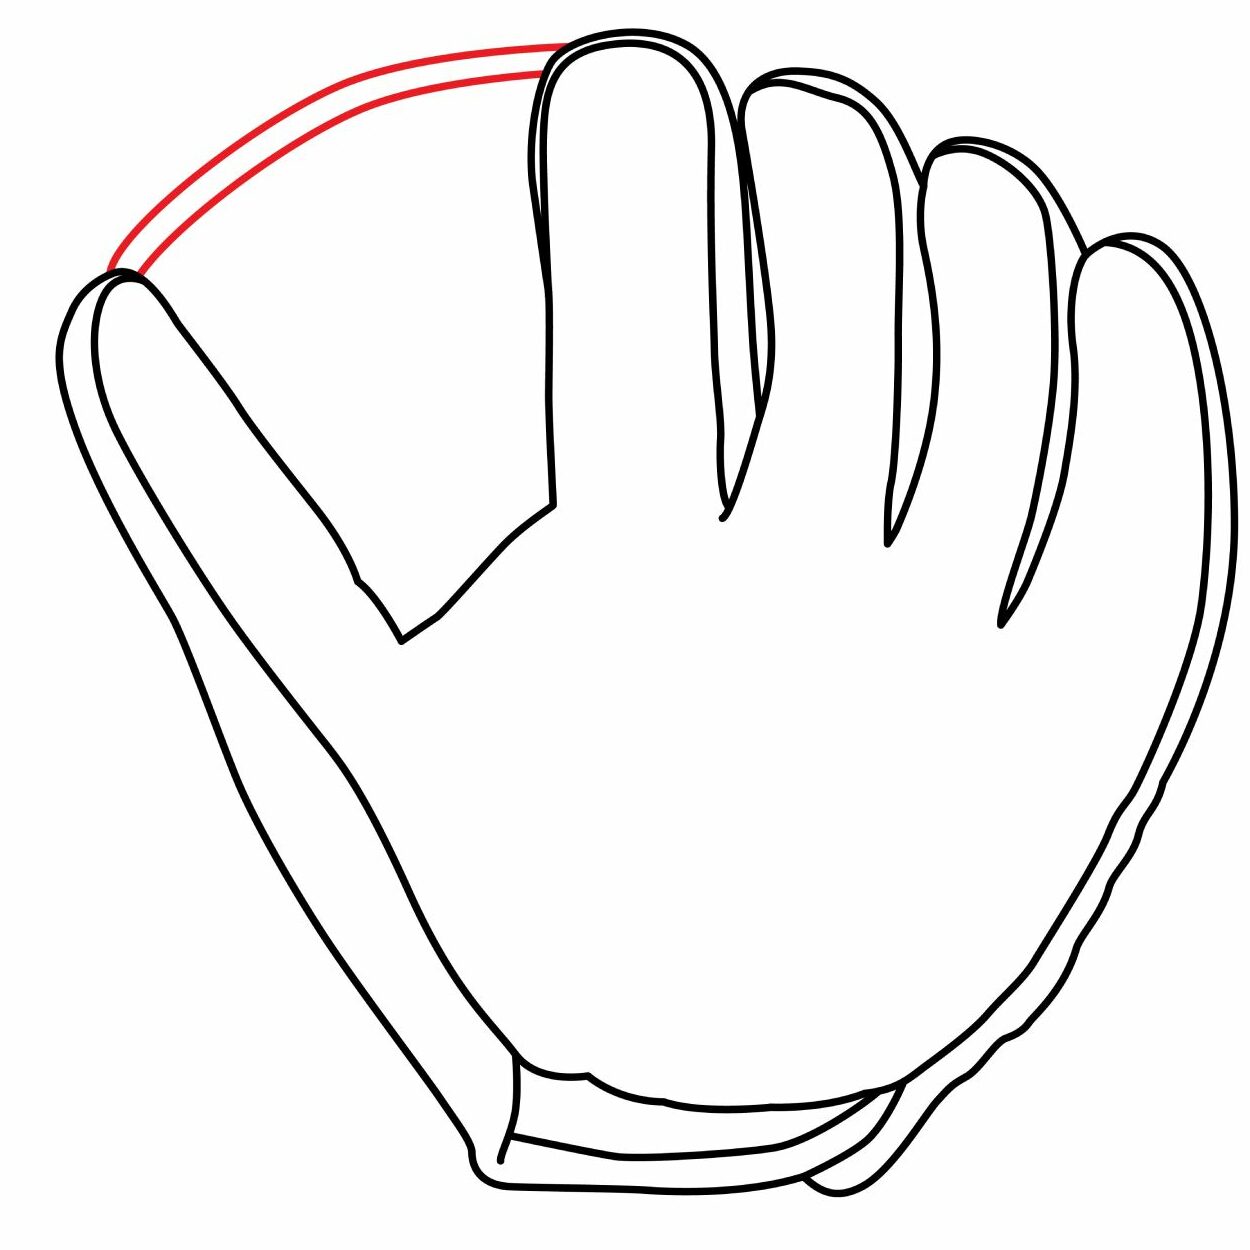
Step 3: Draw The Bridge
The reason we left a large space between the thumb and the index finger is to have room for the bridge. The bridge, also known as the webbing, is a web-like structure between the index finger and the thumb in a softball glove. It makes it easier for a player to catch the softball.
Drawing the bridge is quite easy. Simply add two curved lines starting from the tip of the thumb and connecting to the tip of the index finger. That’s it!
- Draw two curved lines connecting the tip of the thumb to the index finger
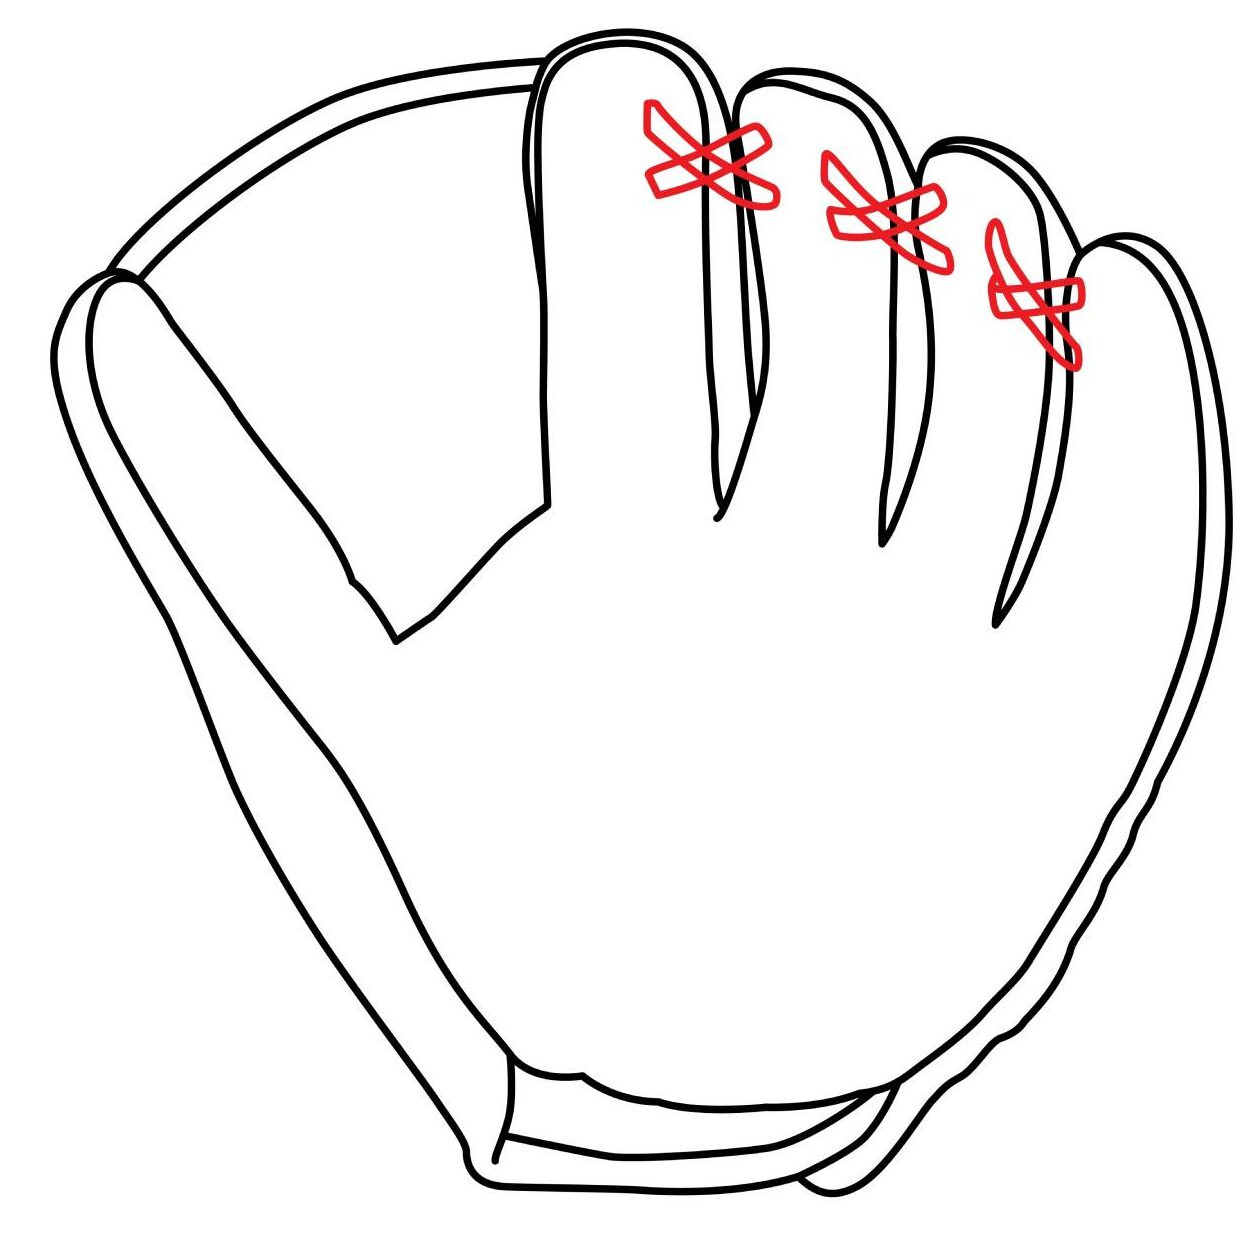
Step 4: Draw The Lace
The softball glove has to be strapped tightly around the hand of the player otherwise it will slip off or get uncomfortable. That is why the next thing we are going to add is the laces.
On the inner part of the softball glove, the laces are near the tip of the fingers. Use angled lines to create crisscrossing rectangles that connect all the fingers as shown in the below illustration.
- Add laces between the fingers
Step 5: Draw The Sew Line
If you have seen a softball glove up close, you know that it has large sew lines. This is because, in addition to being made of leather, the pieces are joined together using strips of leather. You will mostly see them in the area near the wrist.
We are now going to add the large sew lines to the softball glove. We will do so using a combination of angled and curved lines along the bottom part of the glove. As you can see, the sewed lines add texture and realism to our drawing.
- Use angled and curved lines to add sew lines

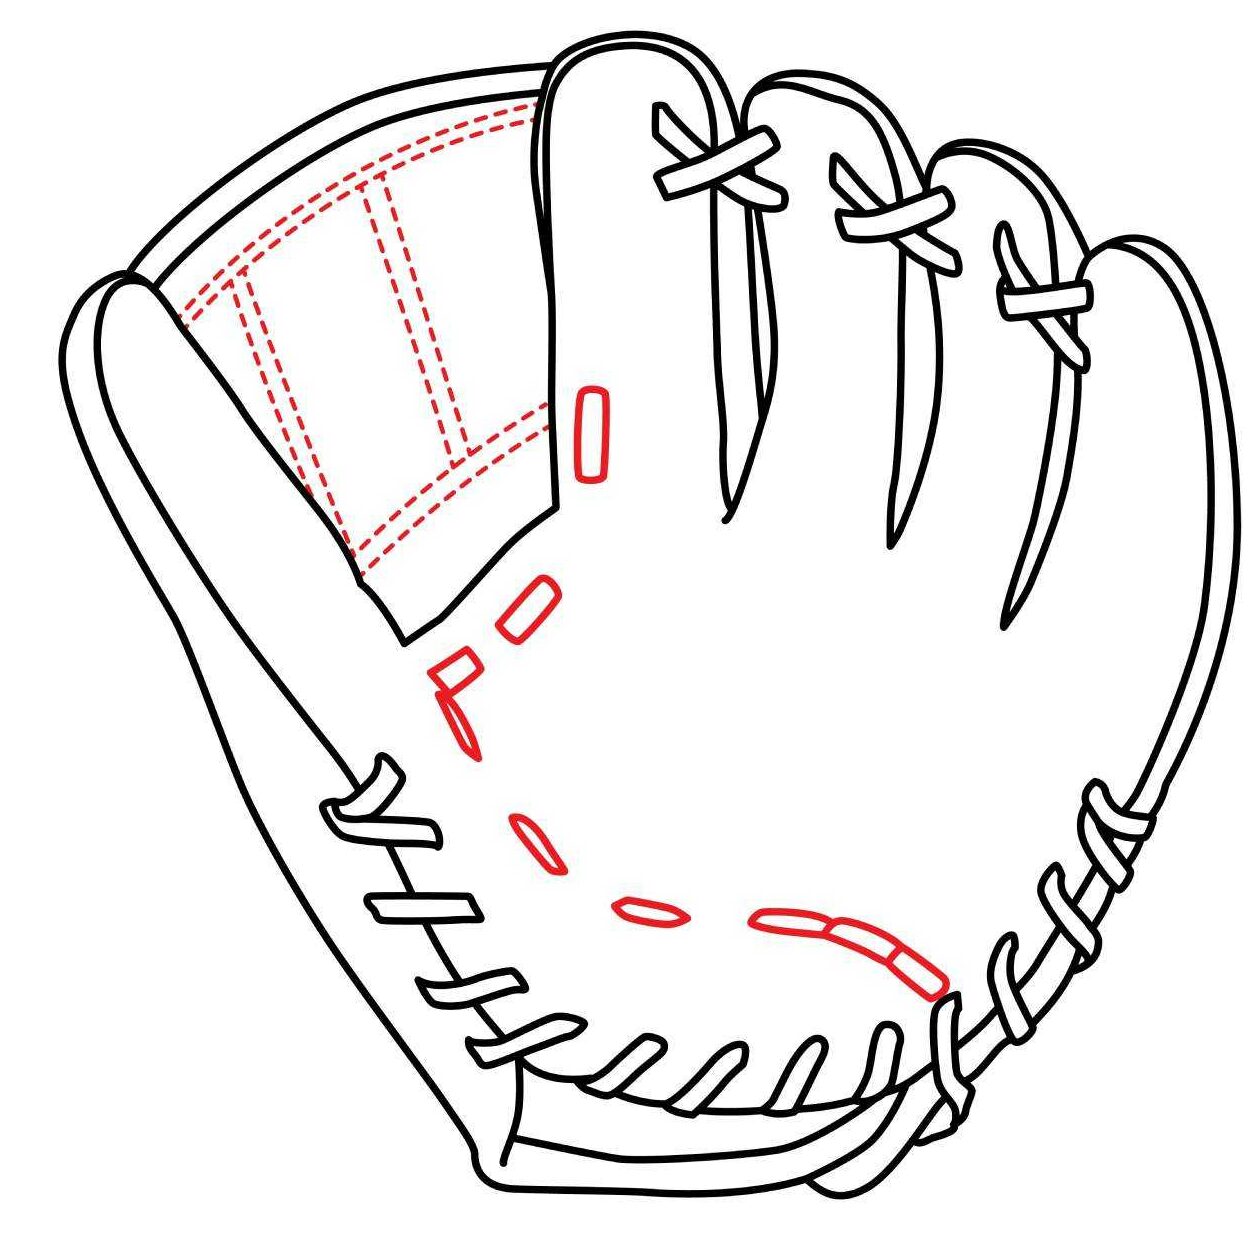
Step 6: Draw The Details
We are now going to add more intricate details to our softball glove. We will start with the area above the sewing lines. Here, we are going to use a series of shapes to add some texture. We will also add more texture in the area below the thumb, all the way to the index finger.
The bridge also needs more details. For this, we will add some sew lines to indicate that there is some fabric in the area between the thumb and index finger. Start by adding two dotted curved lines below the lines we added between the tips of the thumb and index finger. You should also add two more dotted curved lines in the area close to the base of the thumb. Next, use your ruler to draw two pairs of dotted diagonal lines that connect the dotted curved lines we just added.
- Use a series of shapes on the palm to add details to the glove
- Add two pairs of dotted curved lines in the bridge
- Connect the curved lines using two pairs of diagonal dotted lines
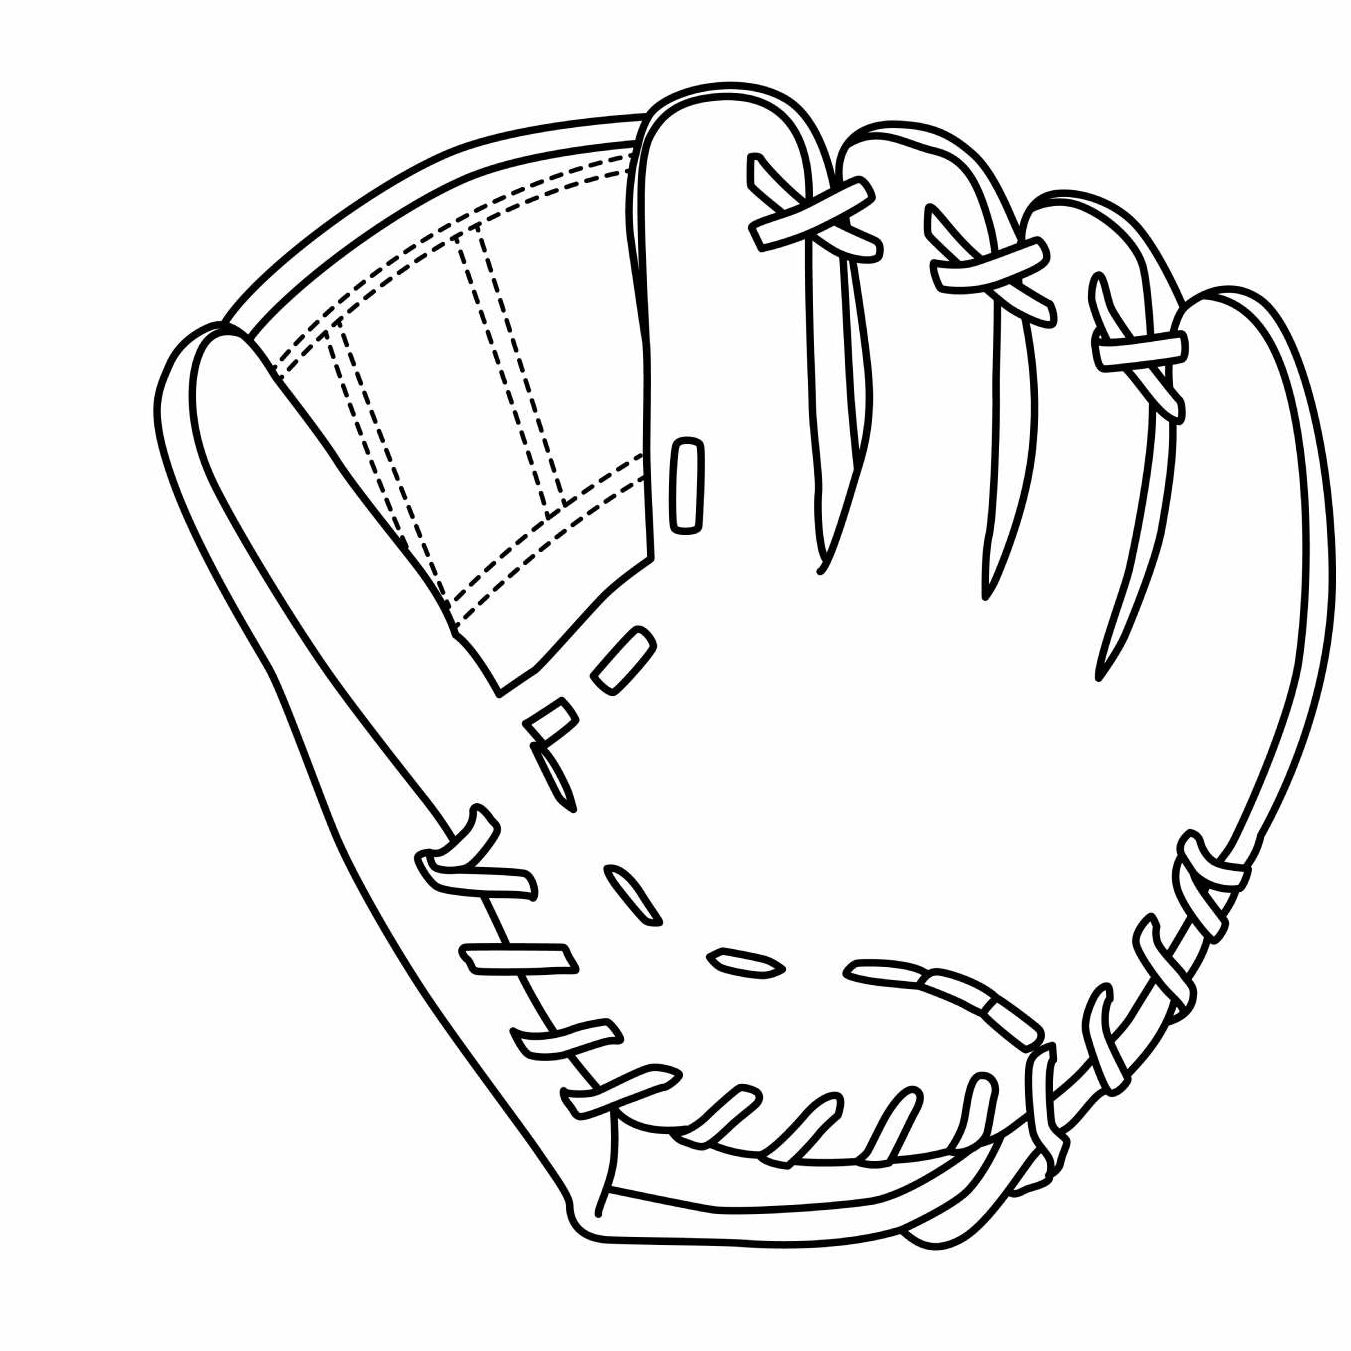
Step 7: Congratulations! Your Drawing Is Ready
You did it! Step back and admire your softball glove drawing. It’s an amazing accomplishment. If it doesn’t look too perfect, don’t worry, you will notice a significant improvement on your next attempt.
Taking the Drawing to the Next Level
If you are looking to enhance your drawing further, consider adding a background. Imagine your softball glove in action on a bright, sunny day at the softball field. Sketch the softball field or add a blue sky with scattered clouds. You can also add a softball or a softball bat in the background. Writing your name on the glove is also a good idea.
In our tutorial, we will not go too much into the background details. Our aim is to help you draw a realistic softball glove. That is why we will focus on the basics. You can let your imagination run wild once you grasp the basics of drawing a realistic softball glove. We will only advance our drawing using colors.
Step 8: Color
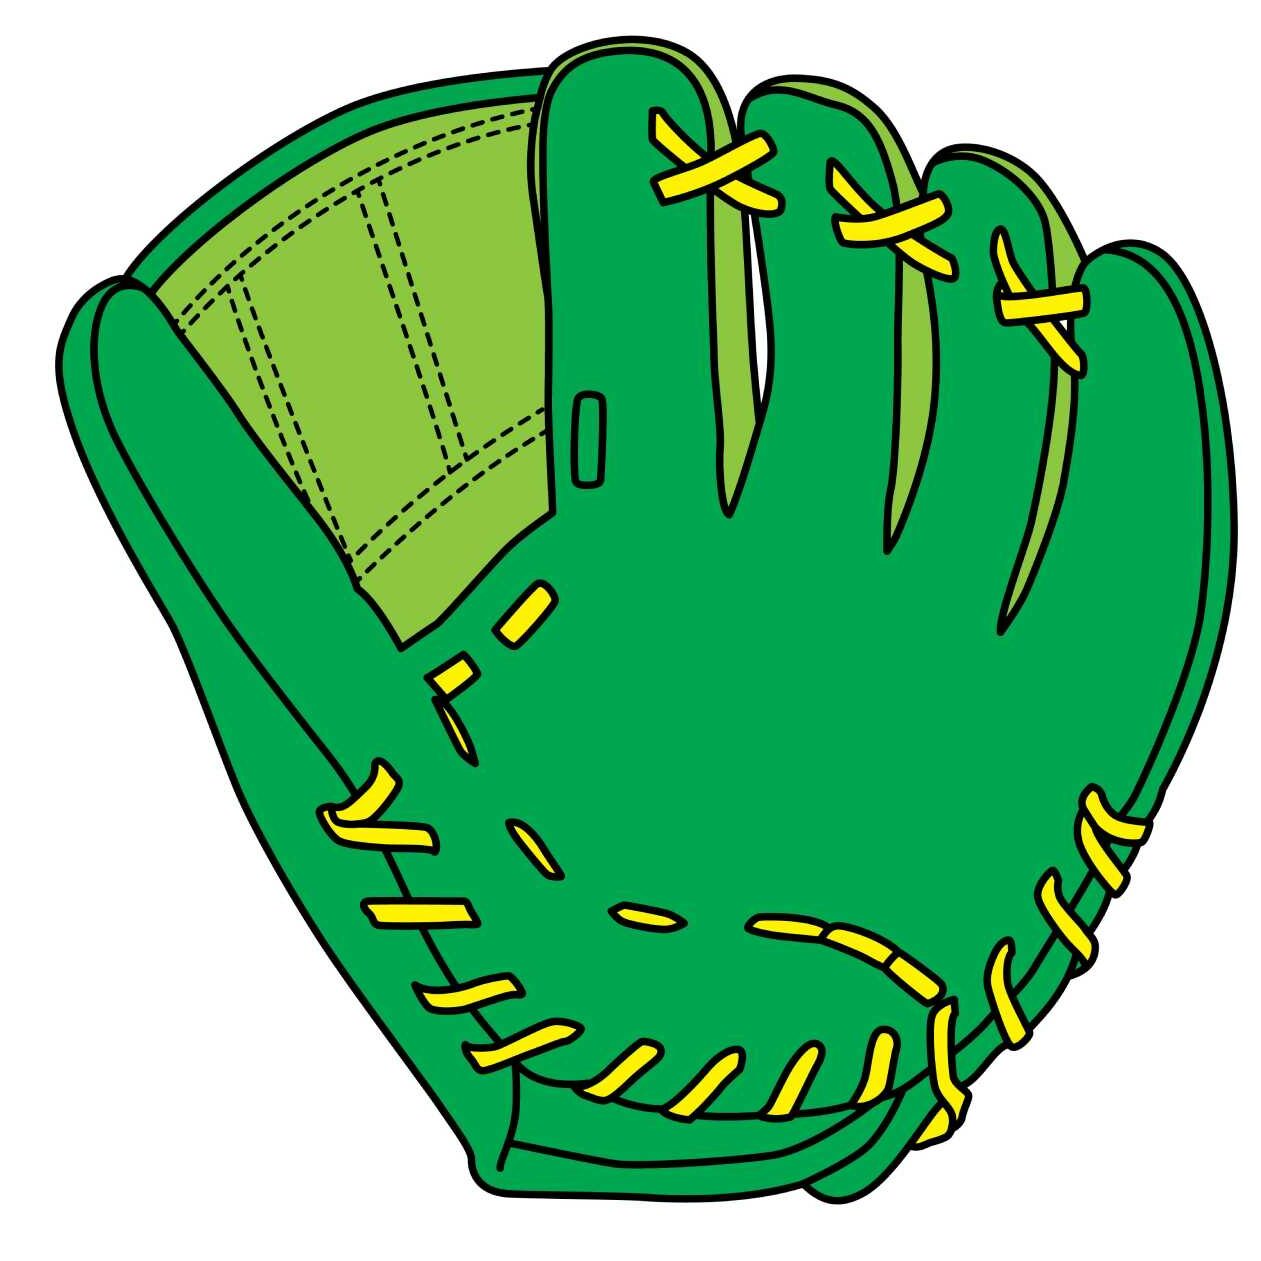
To help your softball glove pop, you need to color it. This is where you take out your coloring supplies and use the colors that you love in your drawing. You can experiment with shading and blending as much as you want until you achieve the look that you want.
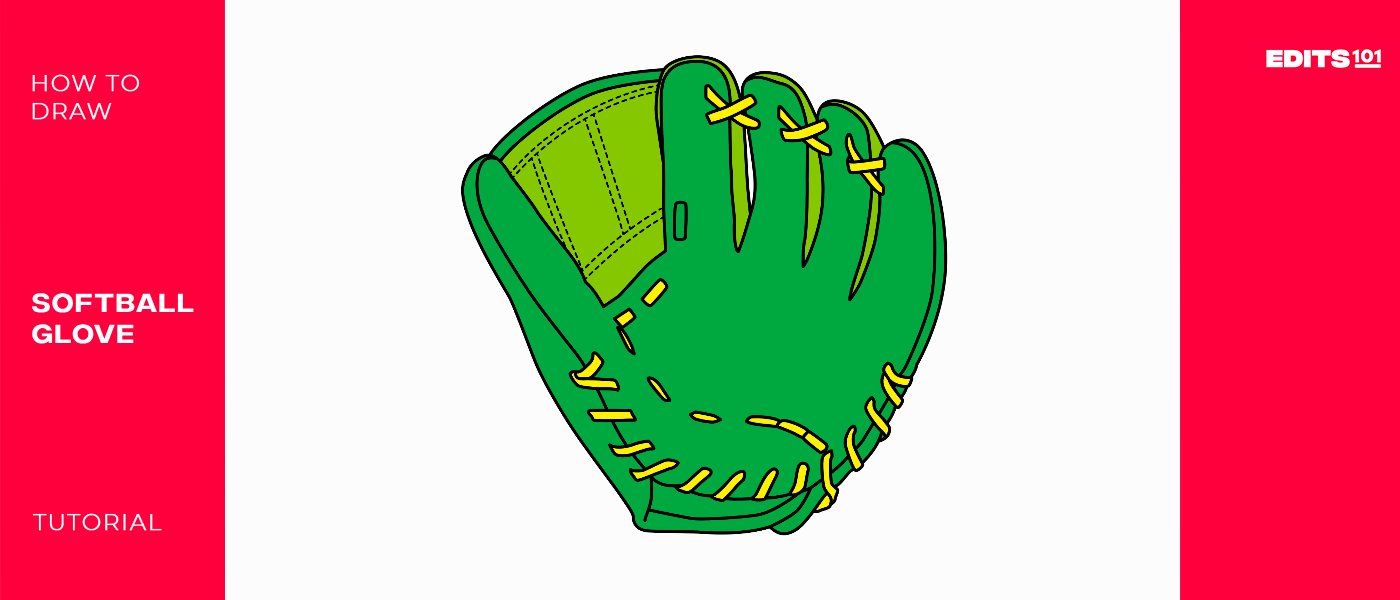
To bring our drawing to life, we colored it using different shades of green. To distinguish the laces and sew lines from the rest of the glove, we colored them yellow.
Keep in mind that this is your drawing and you can use any colors that you want. You simply need to make sure the colors don’t spill outside the areas you are coloring.
Conclusion
Learning how to draw a softball glove enables you to explore your artistic talent while learning about the different parts of the glove. In our drawing, we started by drawing the outline of the glove using the inside of our left hand as a reference. We then used lines to draw the fingers and to add the bridge. We later added more details to our drawing by adding sew lines and laces. To bring our drawing to life, we colored it.
You can use these steps to draw any glove including a baseball glove. The steps can further be used to sketch a softball glove on any of your favorite sketching software.

Thanks for reading & feel free to check out more of our articles!
Author Rating
Overall Rating
Summary
The guide covers the steps you should take to complete a realistic drawing of a softball glove.