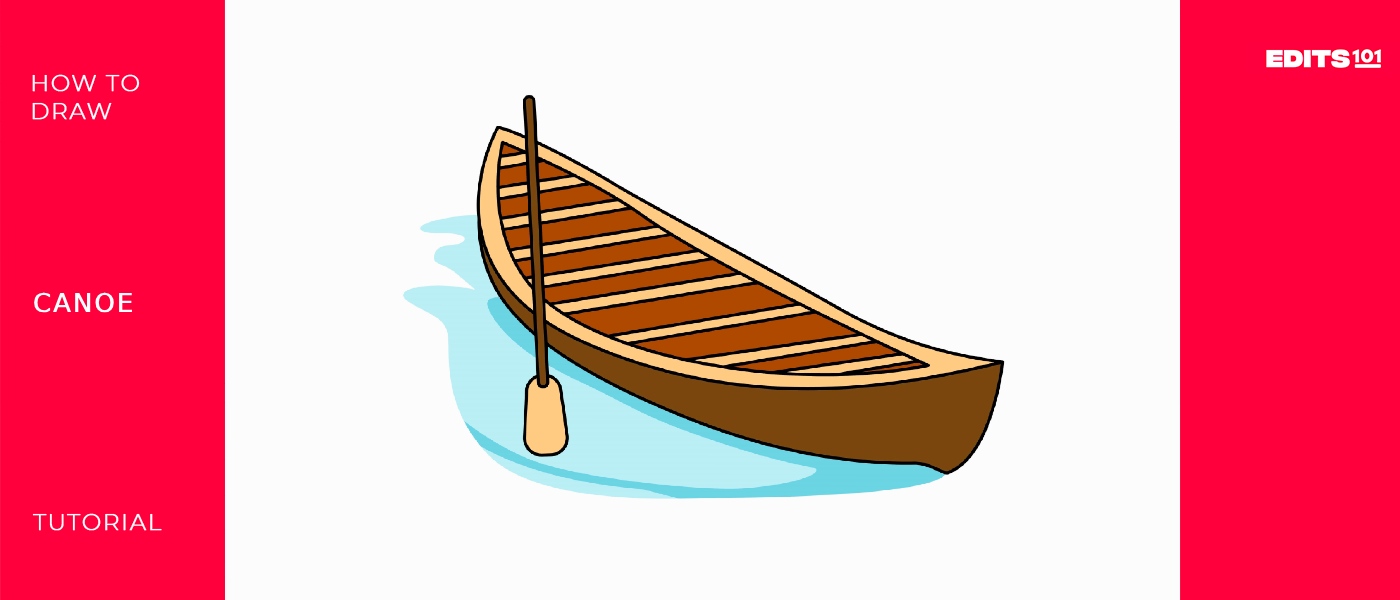
How To Draw A Canoe | 6 Easy Steps
Are you ready to draw another amazing drawing? Today, we will draw a canoe. It is almost similar to a rowboat.
The Pesse canoe from the Netherlands is the earliest known canoe artifact. A carbon dating ranges from 8040 to 7510 BC. Canoeing was used for long-distance travel in numerous nations, including Polynesia, the Amazon basin, and North America. The deck inside a canoe is less weatherproof than in a kayak since a canoe has an open top. A canoe has high sides, making it more difficult for water to jump up and spray you while you paddle.
What you will need
- A pencil
- An eraser
- A sheet of paper
- Coloring kit
- Ruler
- 30 minutes
how To Draw a canoe
Get ready and dive into the world of drawing. Today, this comprehensive guide will teach you how to draw a canoe in almost 30 minutes. To make a perfect drawing, follow this guide carefully. There are 4 to 5 steps, and you can make an excellent piece of art.
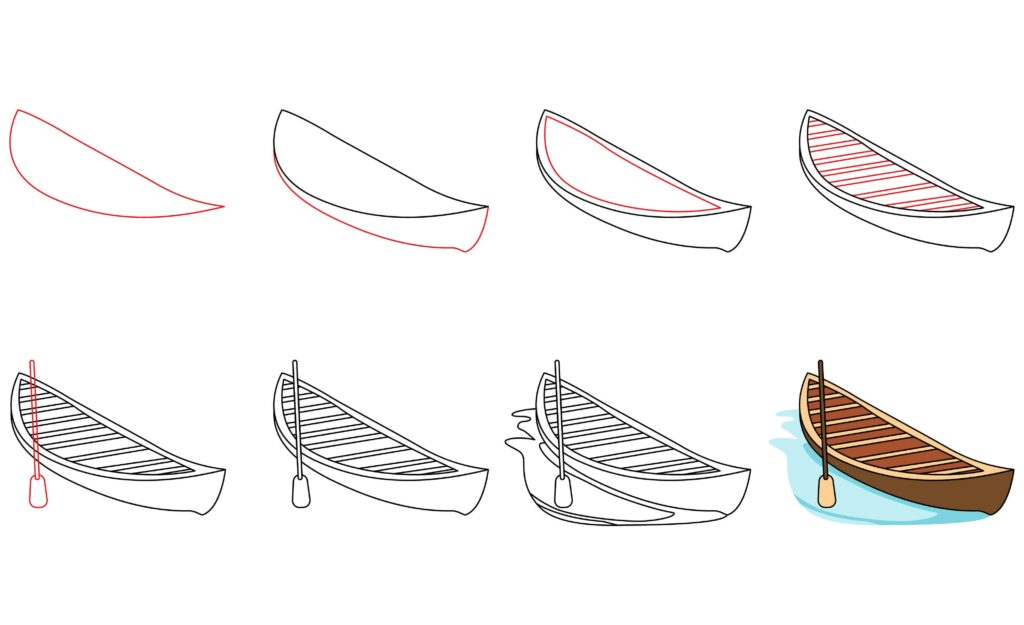
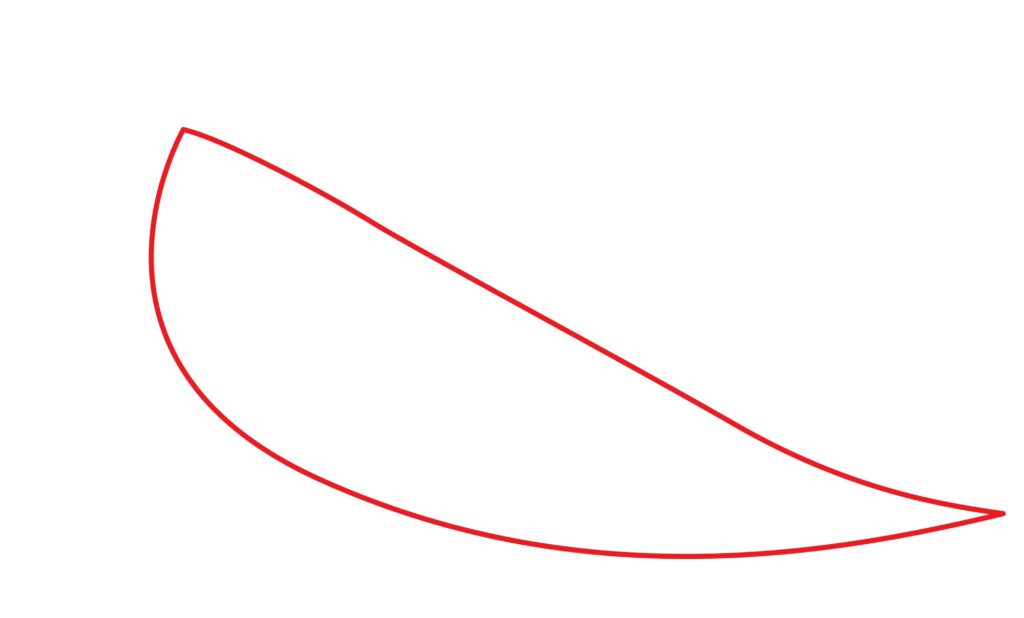
Step 1: Draw the main body
In our first step, we will draw the main body of the canoe. While drawing, we will also learn some facts about canoes. Do you know why it is called a canoe? The word “canoe” in English is of French origin. The Spanish word “canoa” is where the French got it from, and Christopher Columbus himself even noted it as much in his journal. The Arawakan Indians of the Caribbean islands used the word “kana:wa” to describe their boats, and the Spanish eventually adopted it.
To make the main body, draw a curved line in the middle of the page and connect the upper part of the curved line with a straight horizontal line. Or draw the shape as shown in the image.
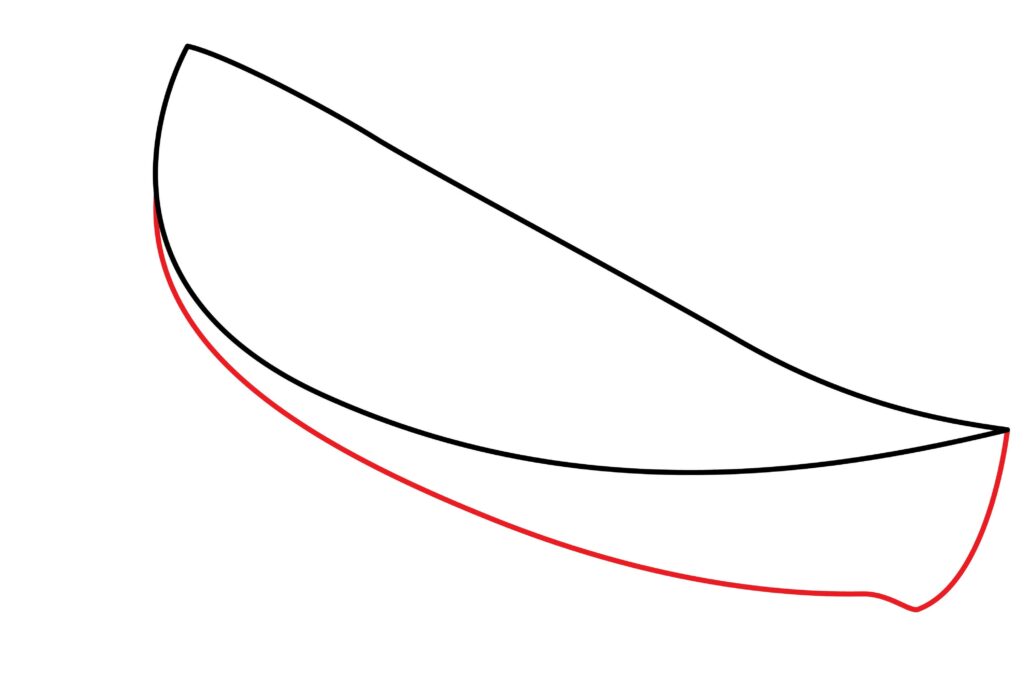
Step 2: Draw the down part of the body
A canoe’s fundamental components include its bow, stern, hull, keel, deck, gunwales, thwarts, yoke, and seats if any are present. Each component of a canoe has a specific purpose and performs a particular function. All components give stability, speed, tracking, longevity, and, most importantly, safety and seaworthiness.
We will keep it simple in our drawing. In our second step, we will make the down part of the body. As shown in the image, draw another curved line below our first curved line and join it with the right side of the canoe.
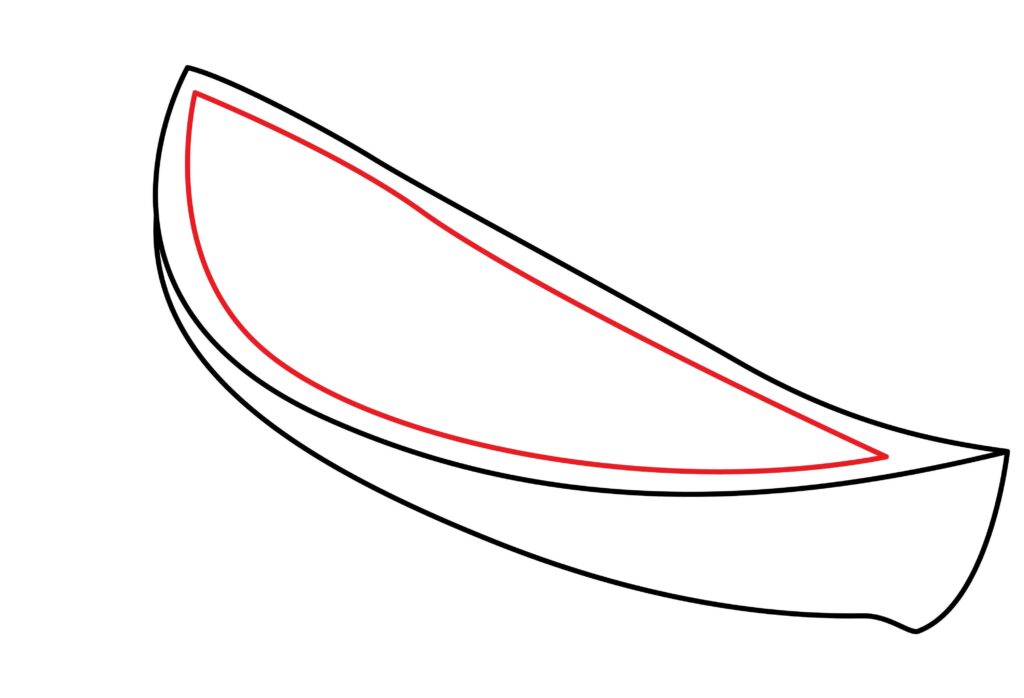
Step 3: Draw the middle part of the body
In this step, we will add the middle part of the body. This middle part is like the inner boundary of the canoe. It is an effortless step; all you have to do is line the oval shape drawn in the first step as the main body of the canoe.
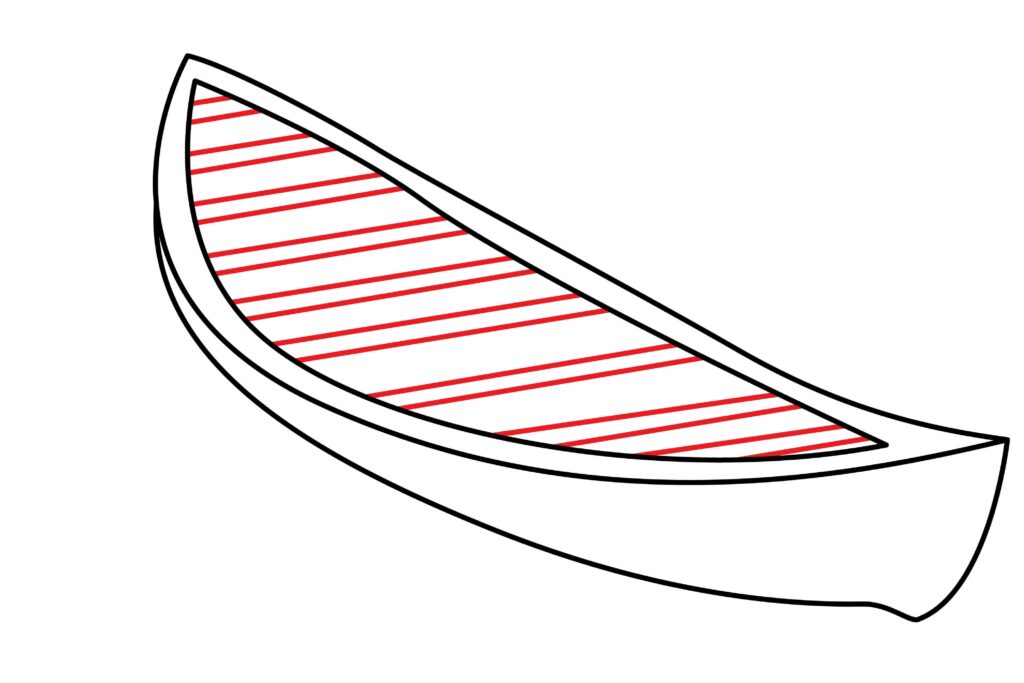
Step 4: Draw some detail of the body
In our fourth step, we will add some detail to the body of our canoe. Draw some horizontal lines in the body of the canoe to make the seating place. The seats are present in only some types of canoe, but we will draw it for our canoe.
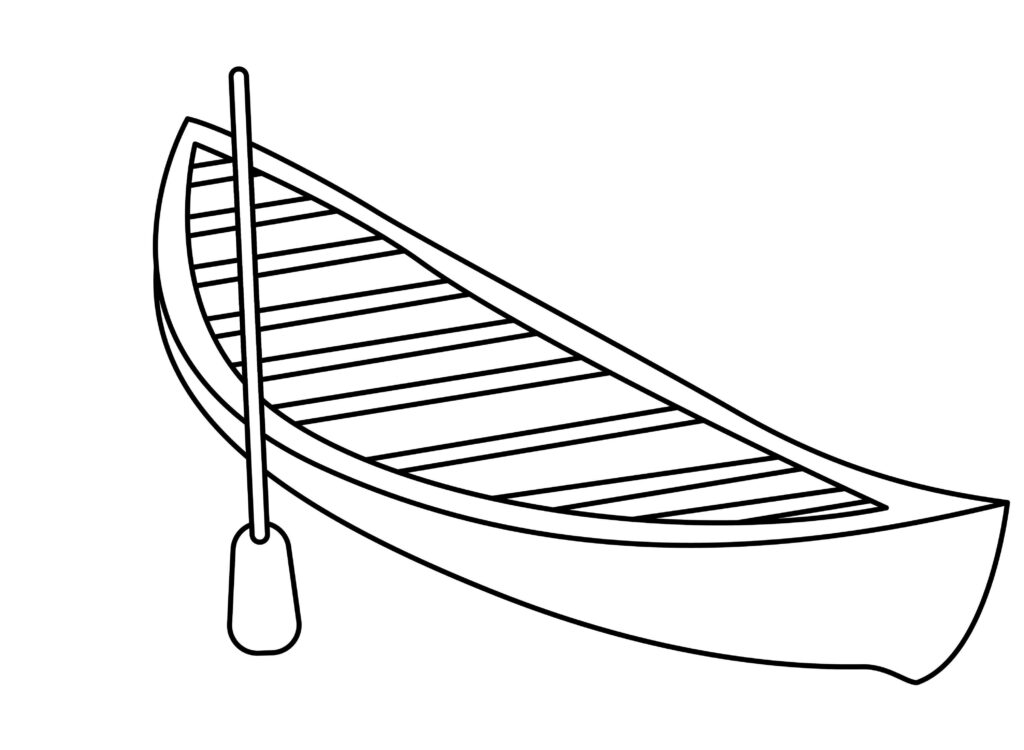
Step 5: Draw the oars
This is our fifth and final step. In this step, we will draw the oars of our canoe. An item used for waterborne propulsion is an oar. At one end, the oars have a flat blade. The rower holds the other end of the oar. Oars need the paddler to sit with their back to the direction they’re heading – essentially rowing backward – and drive the boat by pushing the water away from it.
To make the oars, we will draw vertical lines over the canoe, as shown in the image. Then, draw an oval shape at the bottom of these lines.
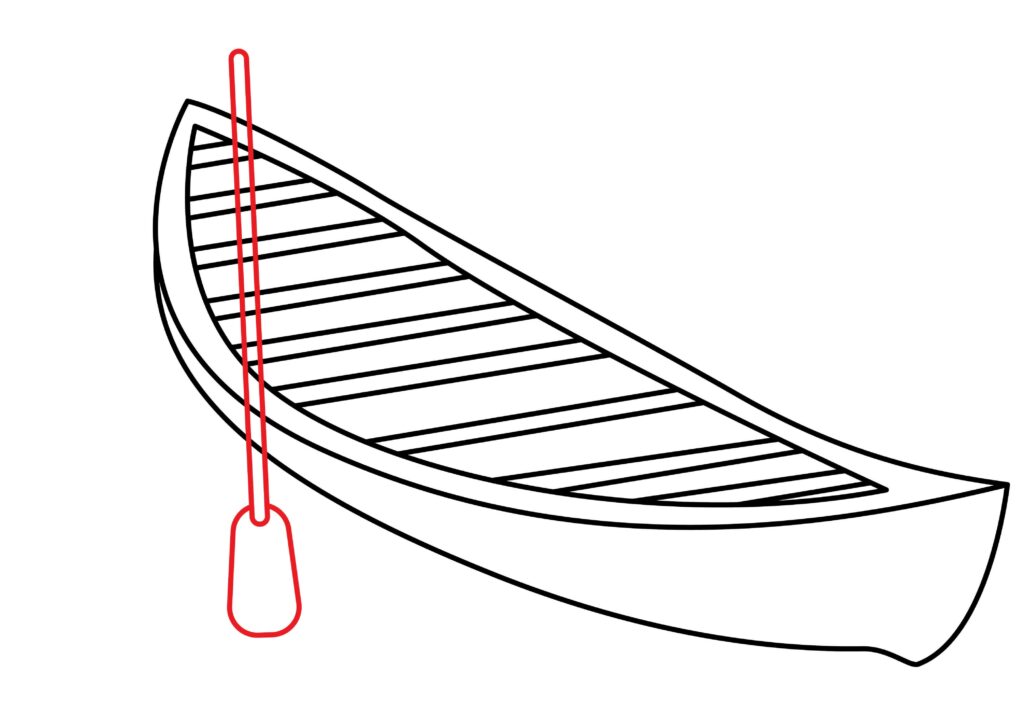
Finally, erase any overlapping lines in our drawing.
Step 6: Our canoe is ready
Congratulations! Our drawing is ready. We are sure you followed each step elucidated in this guide to complete your drawing. Hold up, something is missing in our drawing. You guessed it right. There is no color or background.
In our guide, we will elaborate on how to add life to our drawing and give a context. So grab your stationery and let the real fun begin.
Taking your Canoe drawing to the next level
Creation starts with imagination. The capacity to create a mental picture of something that is not observed through the five senses is known as imagination. The mind can create scenes, things, or events in the mind that do not exist, are not happening, or have already happened. After picturing what you wish, you will act as you imagine and produce what you envisage. Your creative potential is infinite. Everything is possible as long as you know how to use it properly. You may improve your artwork in a similar way to how creativity works. Give your creativity free rein to produce a beautiful drawing.
You’ll gain more self-assurance and enthusiasm for drawing after doing this. The focal points of this section are experimentation and innovation. We’ll embellish our drawing using a variety of elements.
Take out your stationery, and start working your magic.
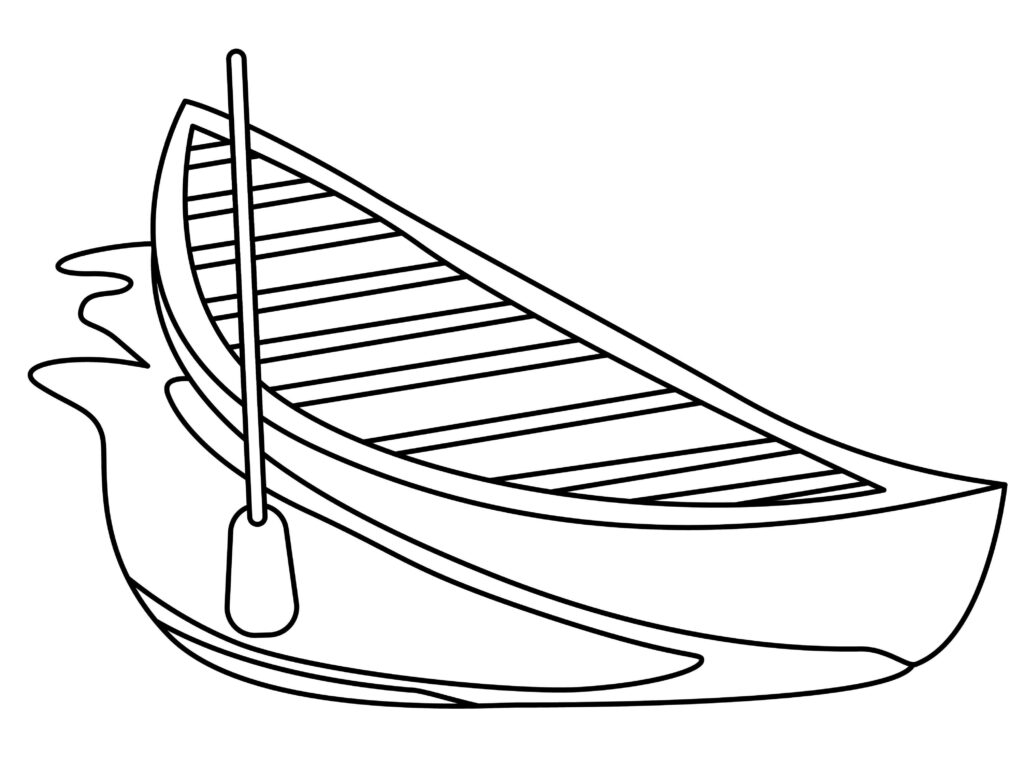
Adding background to your drawing
The background establishes the setting, which also lends the elements a sense of atmosphere. The impact depends on minor details, like a wall’s cast shadow or a pattern’s recurrence. A lovely backdrop is an appealing background and a visual link to the foreground subjects.
For a drawing to have context, depth, atmosphere, and a story, it must have a background. The value and overall effect of the artwork can be increased by improving the composition and adding more proof for the theme. Everyone can tell a story. It can also be expressed graphically orally. Using the context of your drawing, you can explain your story. A drawing appears radically different with a background. It provides background information and adds depth to the particular.
You can make your canoe in the water. It might be by the seashore or in the water with a sailboat. You can draw the sun in the sky to show summer vibes. You can even draw some fish jumping out of the water and having. These are a few ideas for the background. Do not limit your selves to these ideas; create your background with your imagination.
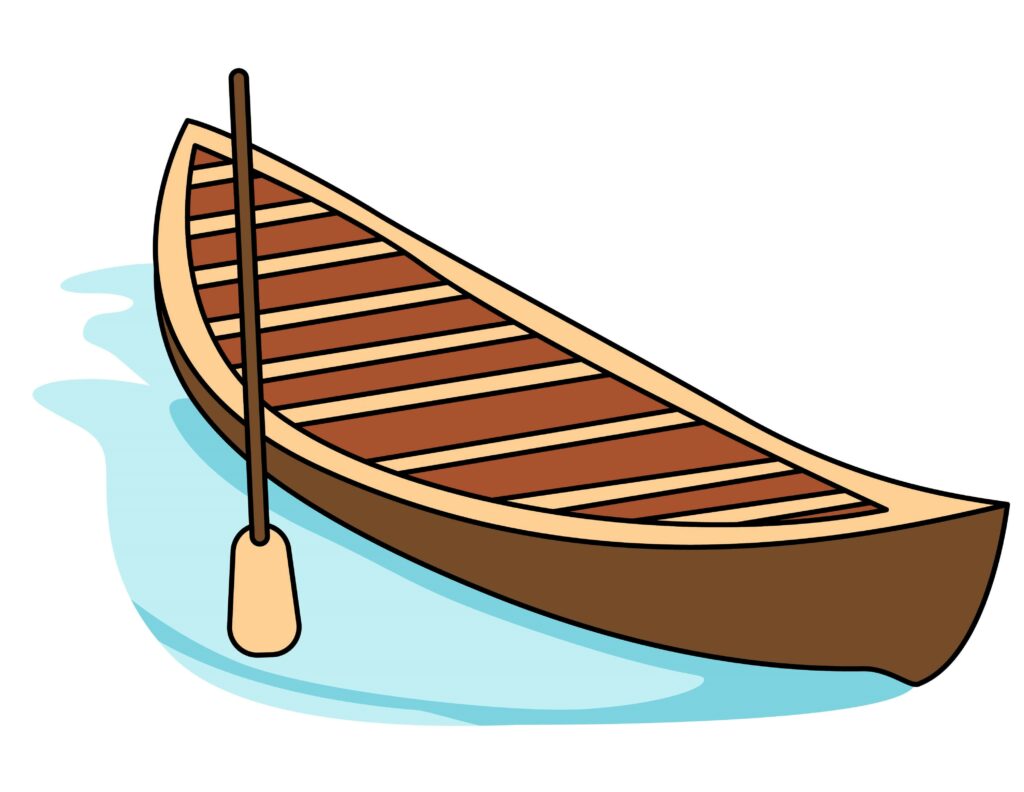
Adding colors to your drawing
Do you know that Drawing and coloring help students develop fine motor skills, attention, and creativity? The movements and particular grip used when coloring can aid in the growth of the muscles in the fingers, hands, and wrists. As this ability develops, it may lead to better handwriting.
Drawings need color because it may elicit emotions, convey meaning, and establish a mood. They breathe fresh life into the piece by transforming flat lines into lively, dynamic compositions. Your choice of the color scheme may impact how you feel. Warm colors may exude coziness, but cool colors evoke peace or melancholy. Additionally, colors visually enable things to move forward or backward by defining form and depth.
By experimenting with color, let’s add some life to the background and our electric scooter. There is no hard-and-fast coloring guideline; you can express yourself however it makes you feel and who you are. You can color your canoe according to your preference or stick to the stereotypical brown color. Make your water blue and the sun bright yellow. You can do shading by using different shades of colors to enhance your drawing.
It is a beautiful method to discover your creative side. Every color gives your drawing a fresh depth of charm. There’s a whole new world here. So get your crayons, marker colors, poster paints, or anything else you want, and start working your colorful magic.
P.S. Bonus Tips
Our artwork is complete, and we hope you enjoyed it as much as we did. One’s creativity is limitless, as was previously stated. The drawing can be enhanced in any way. You can use the backdrop and color more creatively than we did.
You can draw a person oaring the canoe. You can make it look like a competition between different canoes. You can customize the canoe according to your preference. You make some patterns or some designs on the body of the canoe.
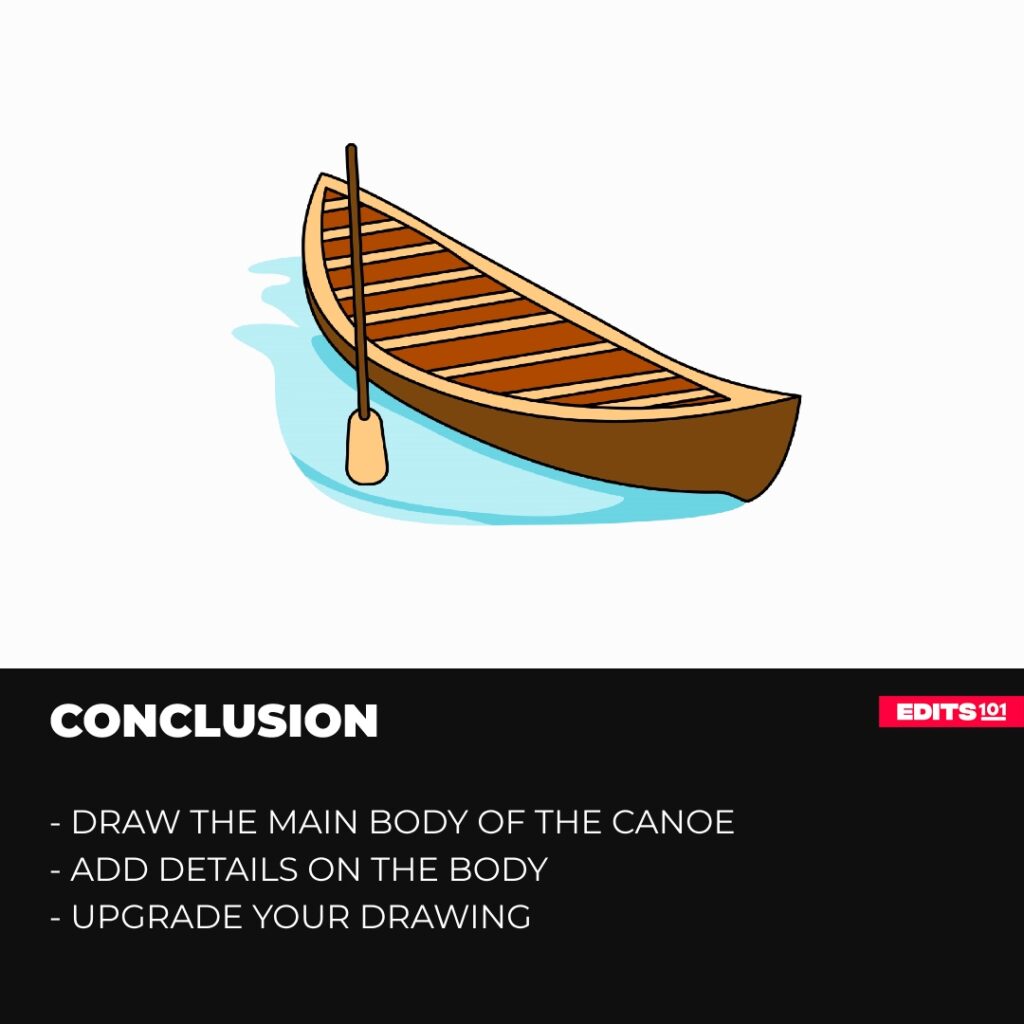
Conclusion
Well done! Our drawing is all done now. It was a fun and easy process. We’re confident you followed each step without skipping and made a fantastic drawing. This guide explained each step most easily. We started by making the main body, its down and middle parts, and then drew the seating area and the oars.
Keep in mind that drawing is a fun way to explore our options. Sketching numerous objects should always be fun. If your initial attempt provides different results, don’t worry; try again. Giving up is never a good idea.
Thanks for reading & feel free to check out more of our articles!
Author Rating
Overall Rating
Summary
Learn how to draw a canoe in simple steps. You will also learn about the names of the different parts as well as a few interesting facts.