How to Draw a Submarine | Step-by-Step Guide
Submarines are amazing water vehicles designed to travel on and under water. While submarines have been around for hundreds of years, they were not as powerful as they are today. Present day submarines are not only bigger but are nuclear powered which means they can go for months or even years without refueling.
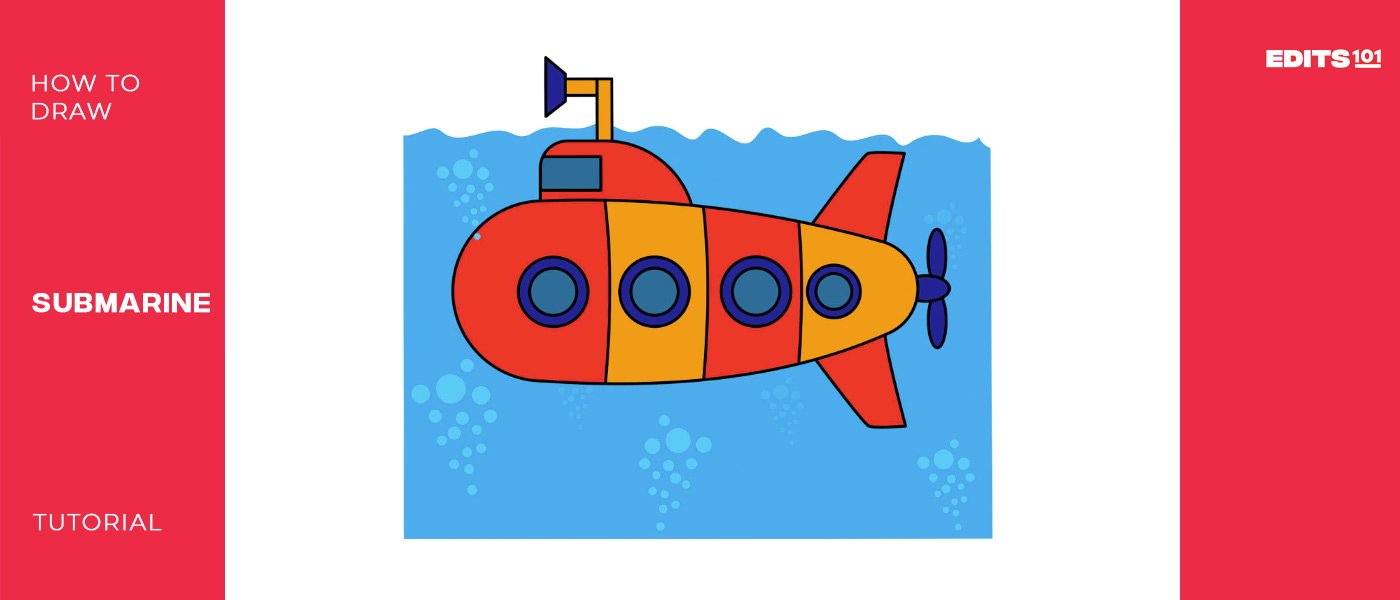
If you have been struggling to draw a submarine, our guide for today will help you draw a realistic submarine from scratch. All you have to do is follow our steps carefully.
| Step | Complexity Level |
| Drawing the Body | 1 |
| Drawing the Sail | 1 |
| Drawing the Periscope | 2 |
| Drawing the Windows | 3 |
| Drawing the Rudders | 2 |
| Drawing the Propellers | 2 |
| Adding Submarine Details | 2 |
| Adding Some Background | 3 |
| Coloring | 1 |
What You Will Need
- Pencil
- Paper
- Eraser
- Crayons or Coloring Pencils
- About 20 minutes of your time
How to Draw a Submarine
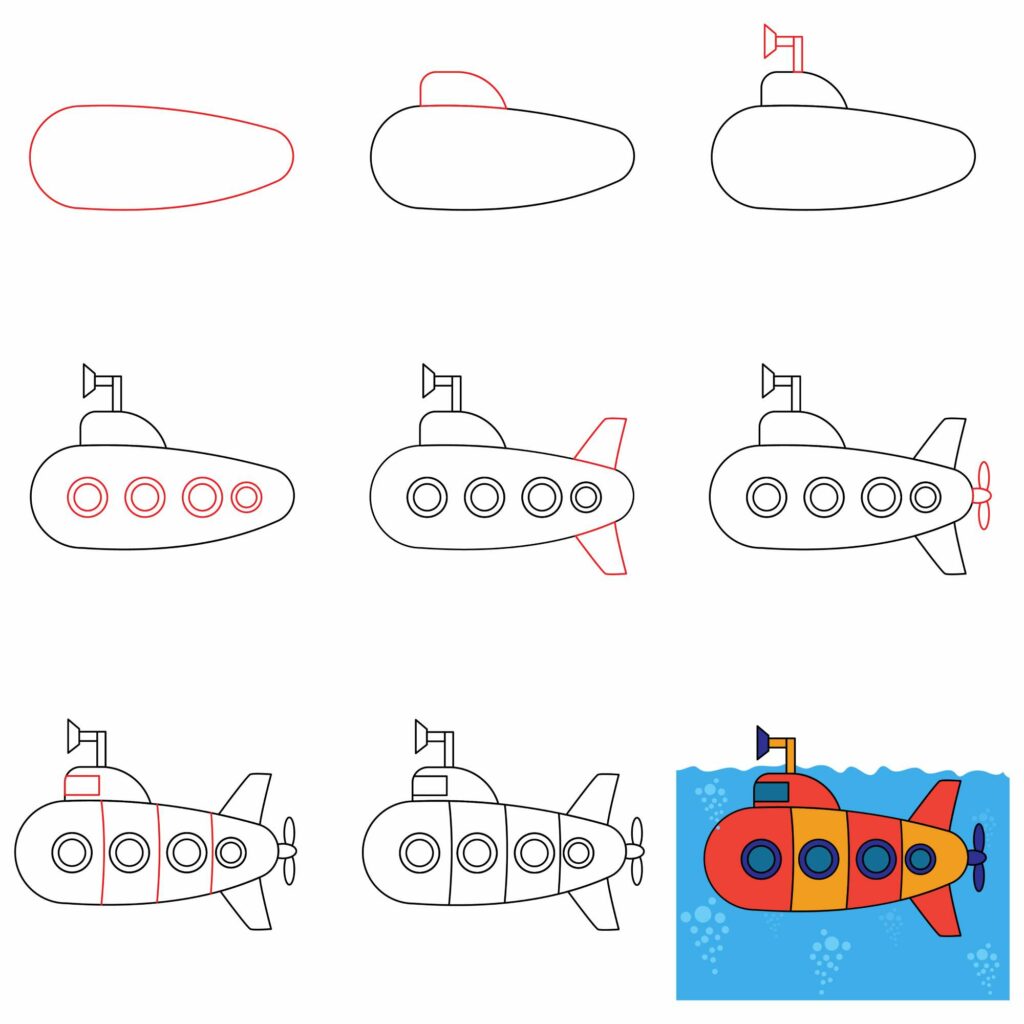
It doesn’t matter how basic or advanced your drawing skills are, in this guide, you will learn how to draw a submarine using basic drawing tools. You simply need to follow the steps.
Step 1: Draw the Body
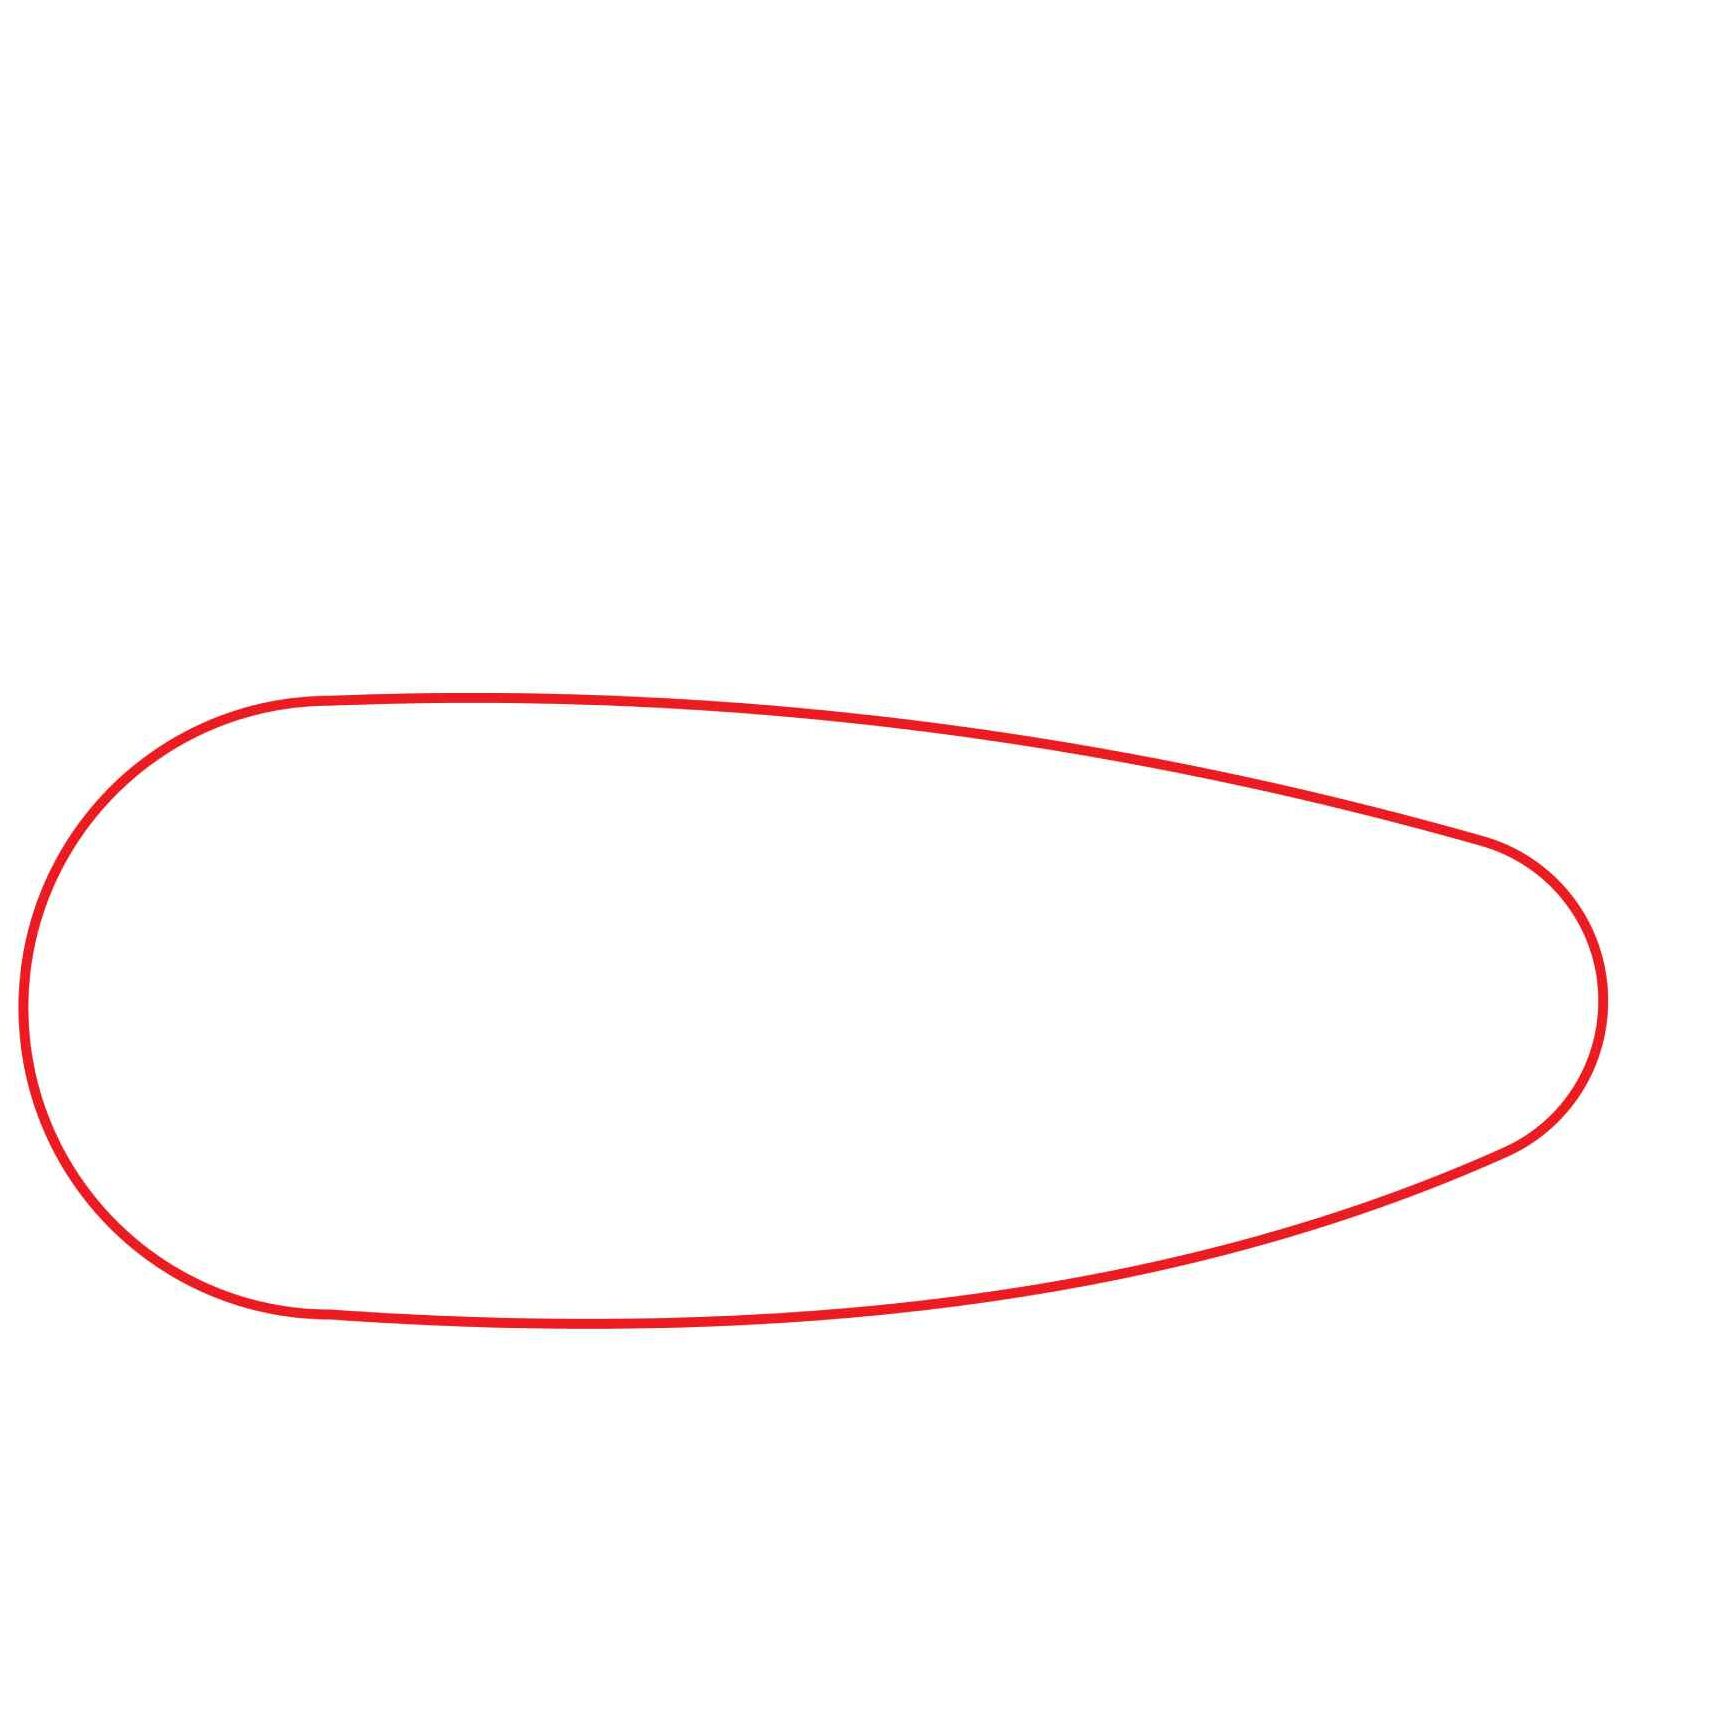
The first thing you need to do is draw the outer hull of your submarine. This will be the body of the submarine so make it big enough.
To draw the outer hull, you need a horizontal oval shape in the middle of your drawing paper. Try to keep your lines as smooth as possible to achieve a shape similar to the one we have below. The bigger end of the oval will serve as the front end of the submarine.
- Draw a large oval shape with one enlarged end
Step 2: Draw a Sail
The inspiration for how to build a submarine was borrowed from a fish. That is why a submarine looks like a fish. It has fins to help it navigate the water and keep it from spinning when on or underwater.
Just like a fish or a boat, the submarine has a dorsal fin which helps stabilize the vessel by keeping it from rolling over. For the submarine, this is known as the sail or simply as the fin.
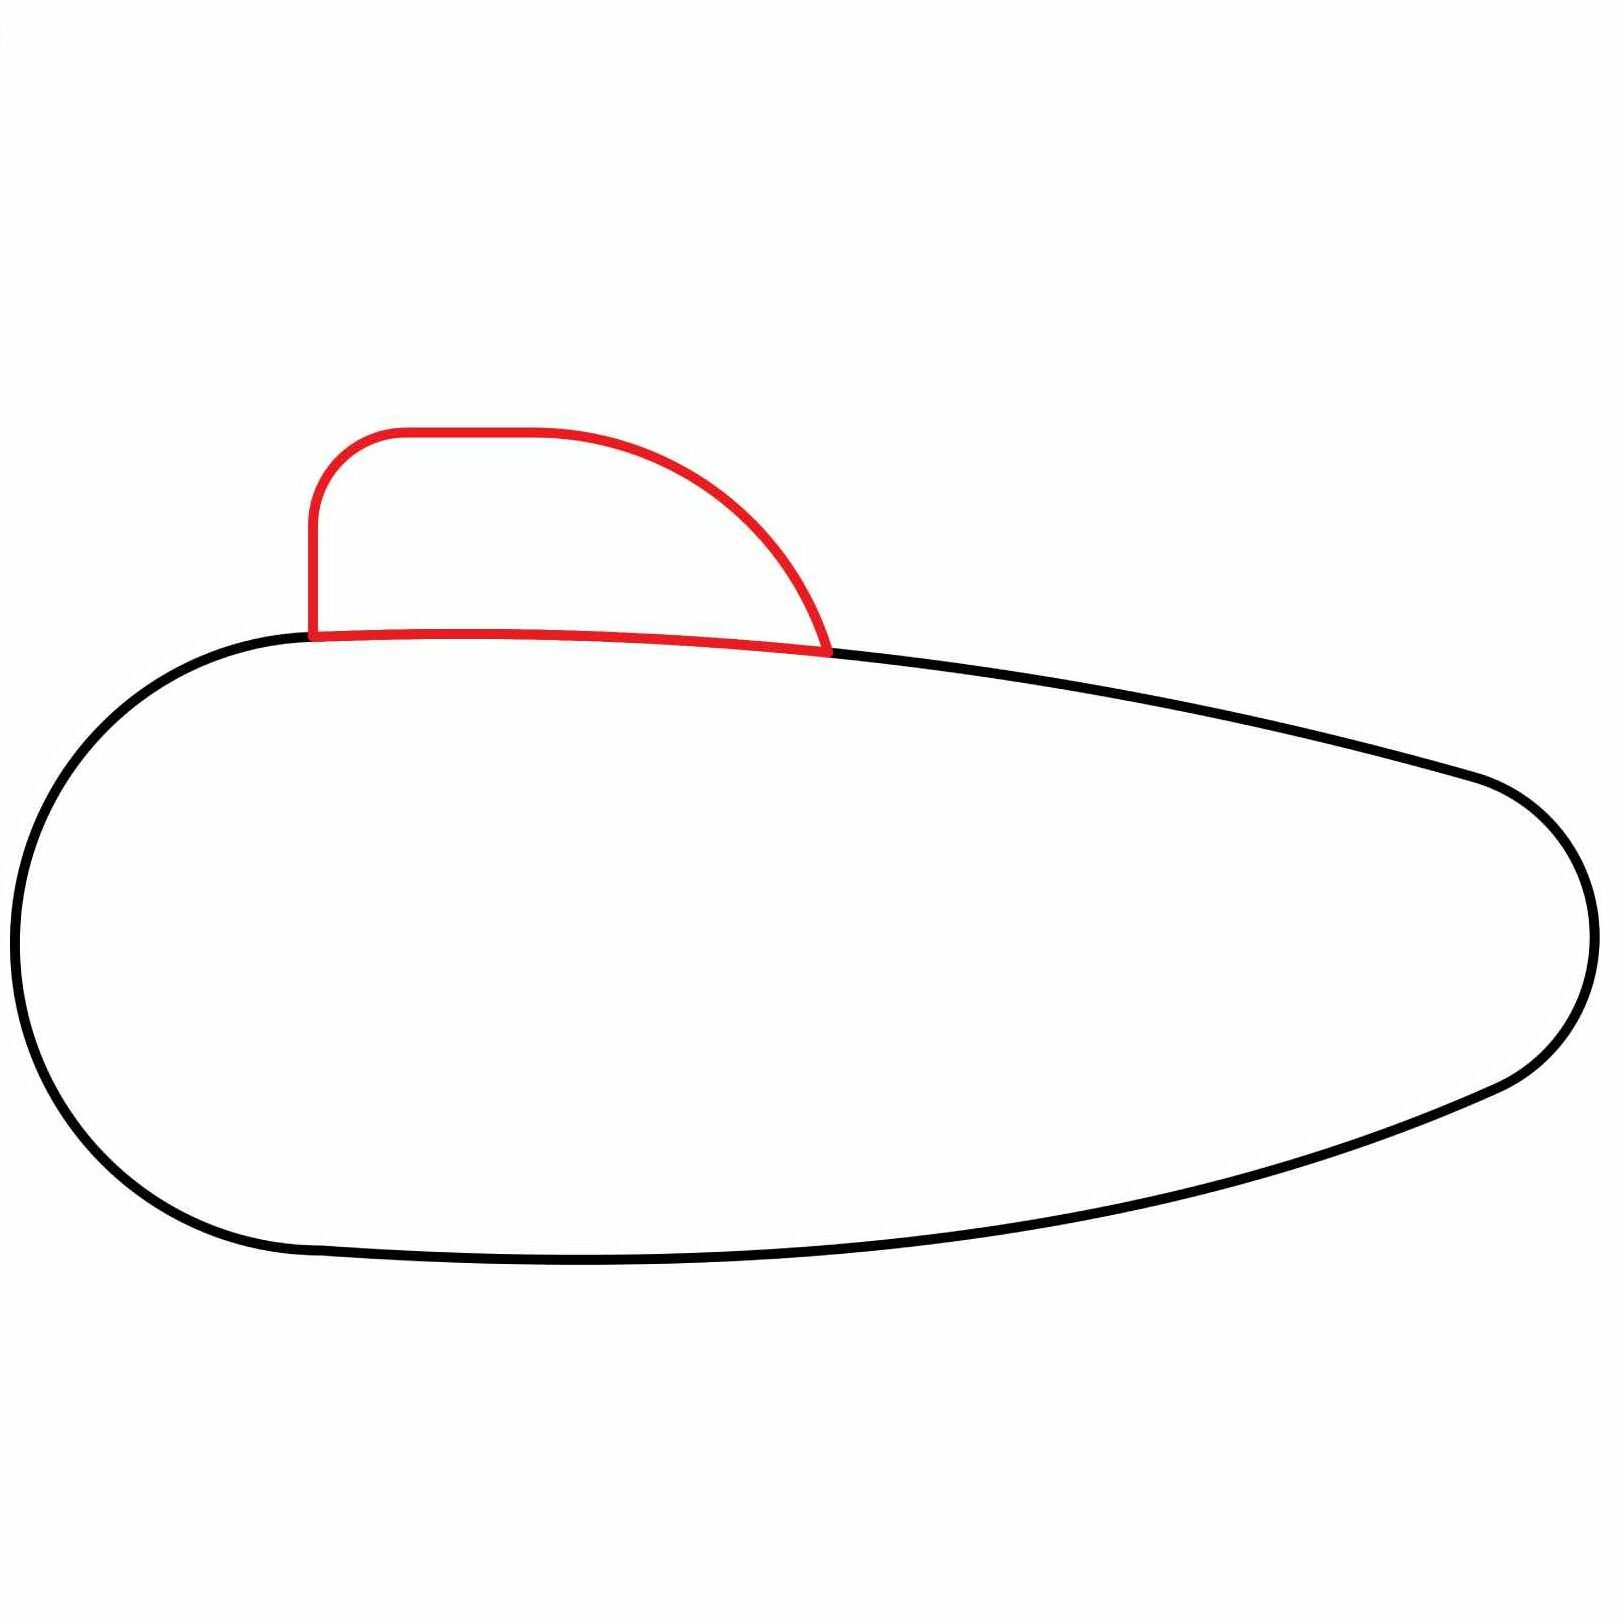
To add the sail, draw a small triangle shape that points upwards. You then need to erase the pointed ends and make them rounded. The triangle also needs to be a bit curved from the right side so that it looks like what we have in the image below.
Important point: The sail serves as the conning tower. The conning tower is a raised platform on a submarine where periscope is located.
- Draw a small triangle on the front end of the submarine
- Make the corners rounded and curve the diagonal end of the triangle
Step 3: Draw the Periscope
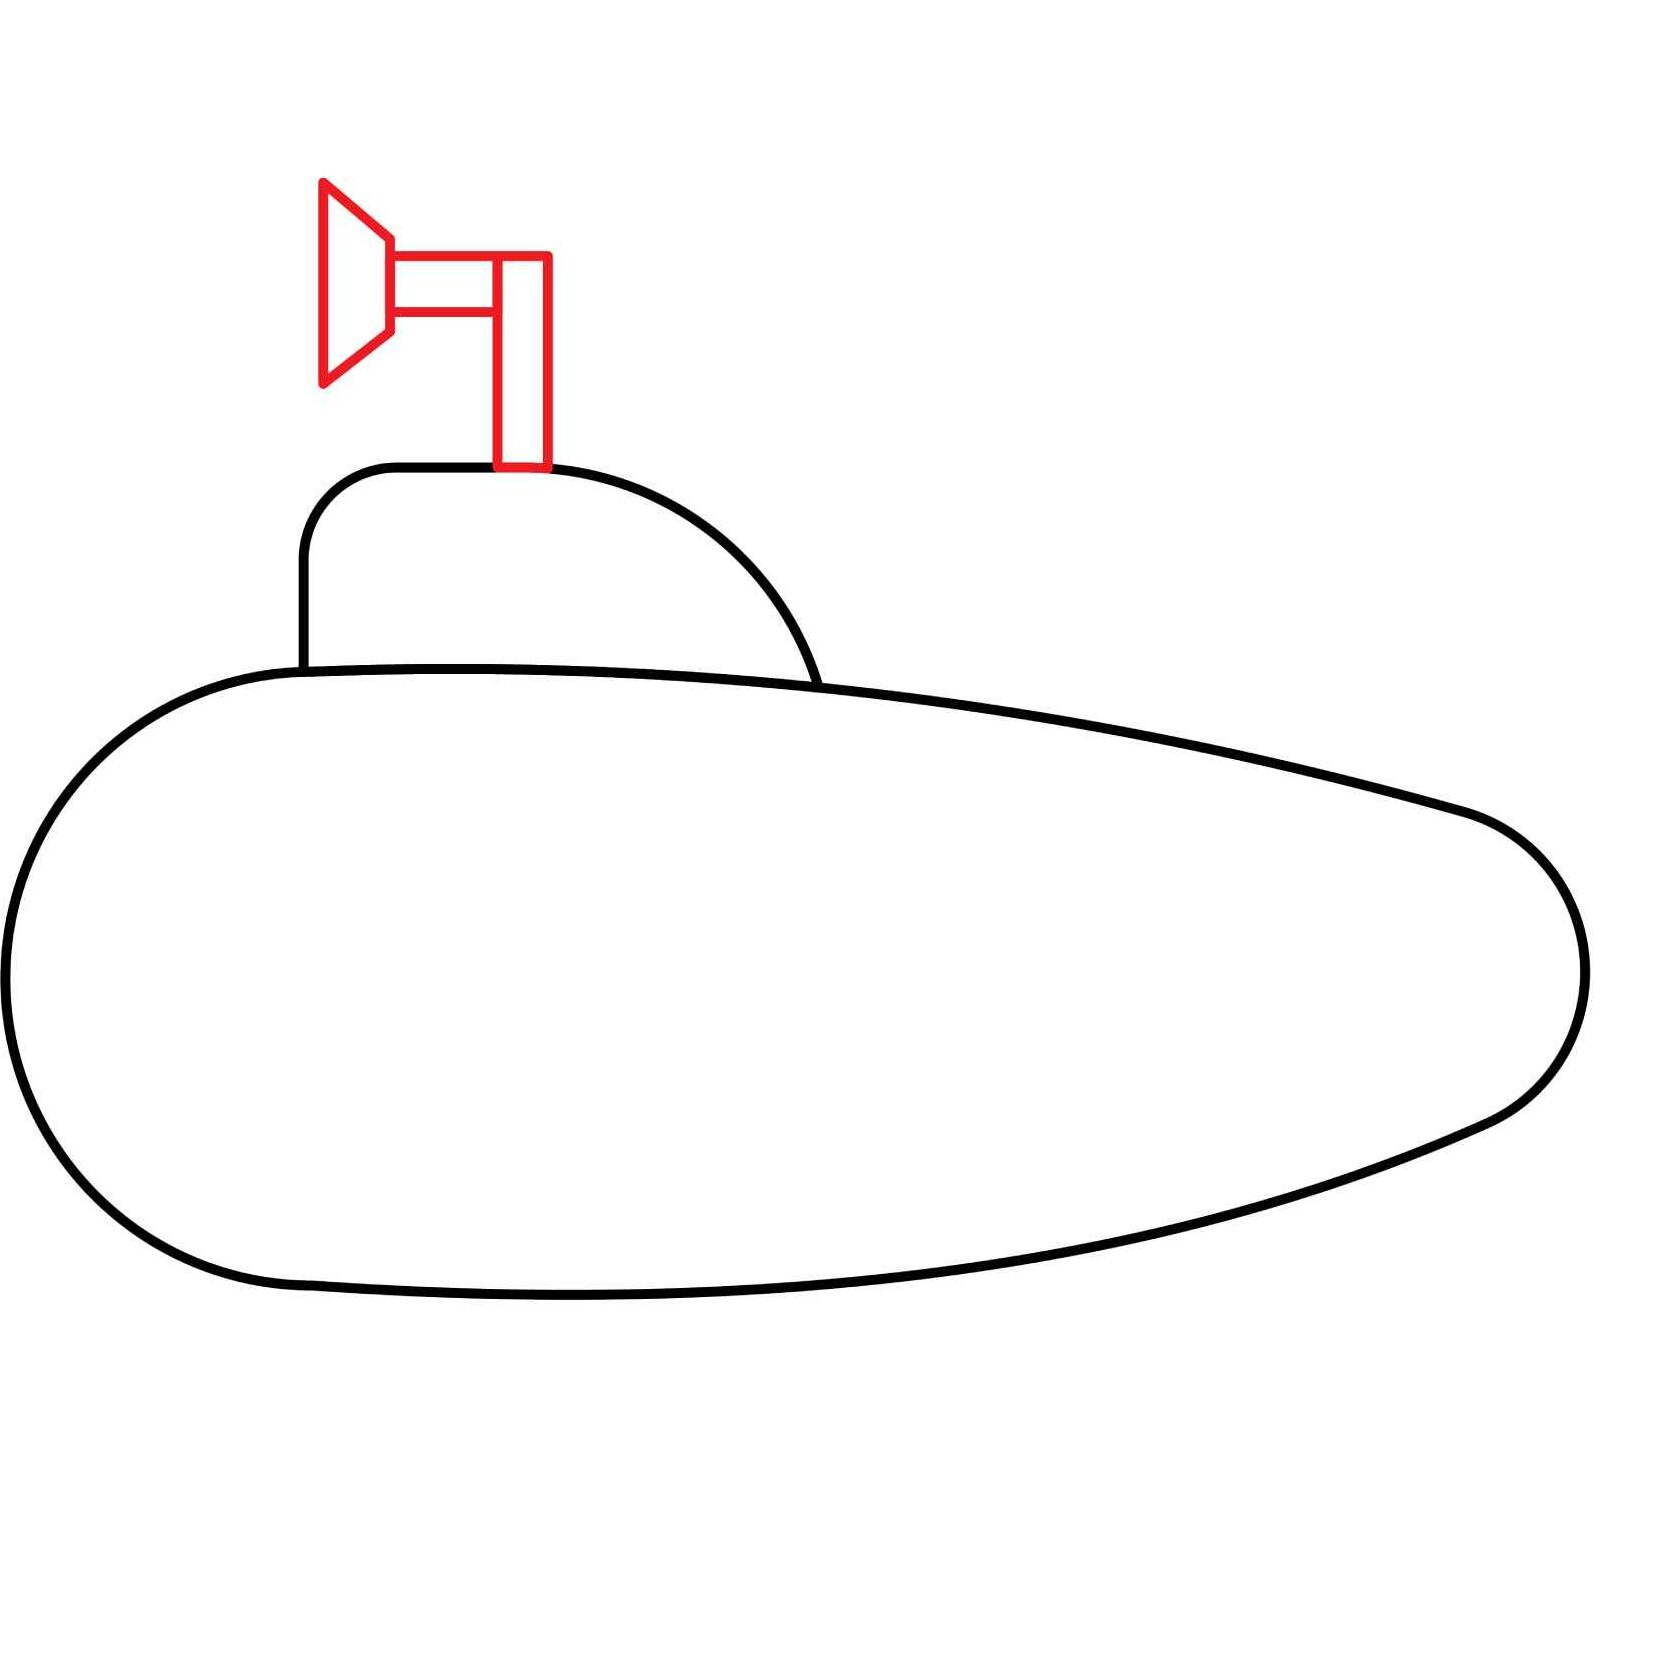
While underwater, the only way for the sailors to see above the water is by using a periscope. From the top of the sail, you need to draw a vertical rectangular like the one shown in the below image.
From the top left end of the vertical rectangle, add a smaller horizontal rectangle and then a trapezoid (trapezium) at the end of the smaller rectangle as seen in the above image. This will form the periscope.
- Draw a small vertical rectangle on top of the sail
- Add a horizontal rectangle from the top left end of the vertical rectangle
- Add a trapezium on the left end of the horizontal rectangle
Step 4: Draw the Windows
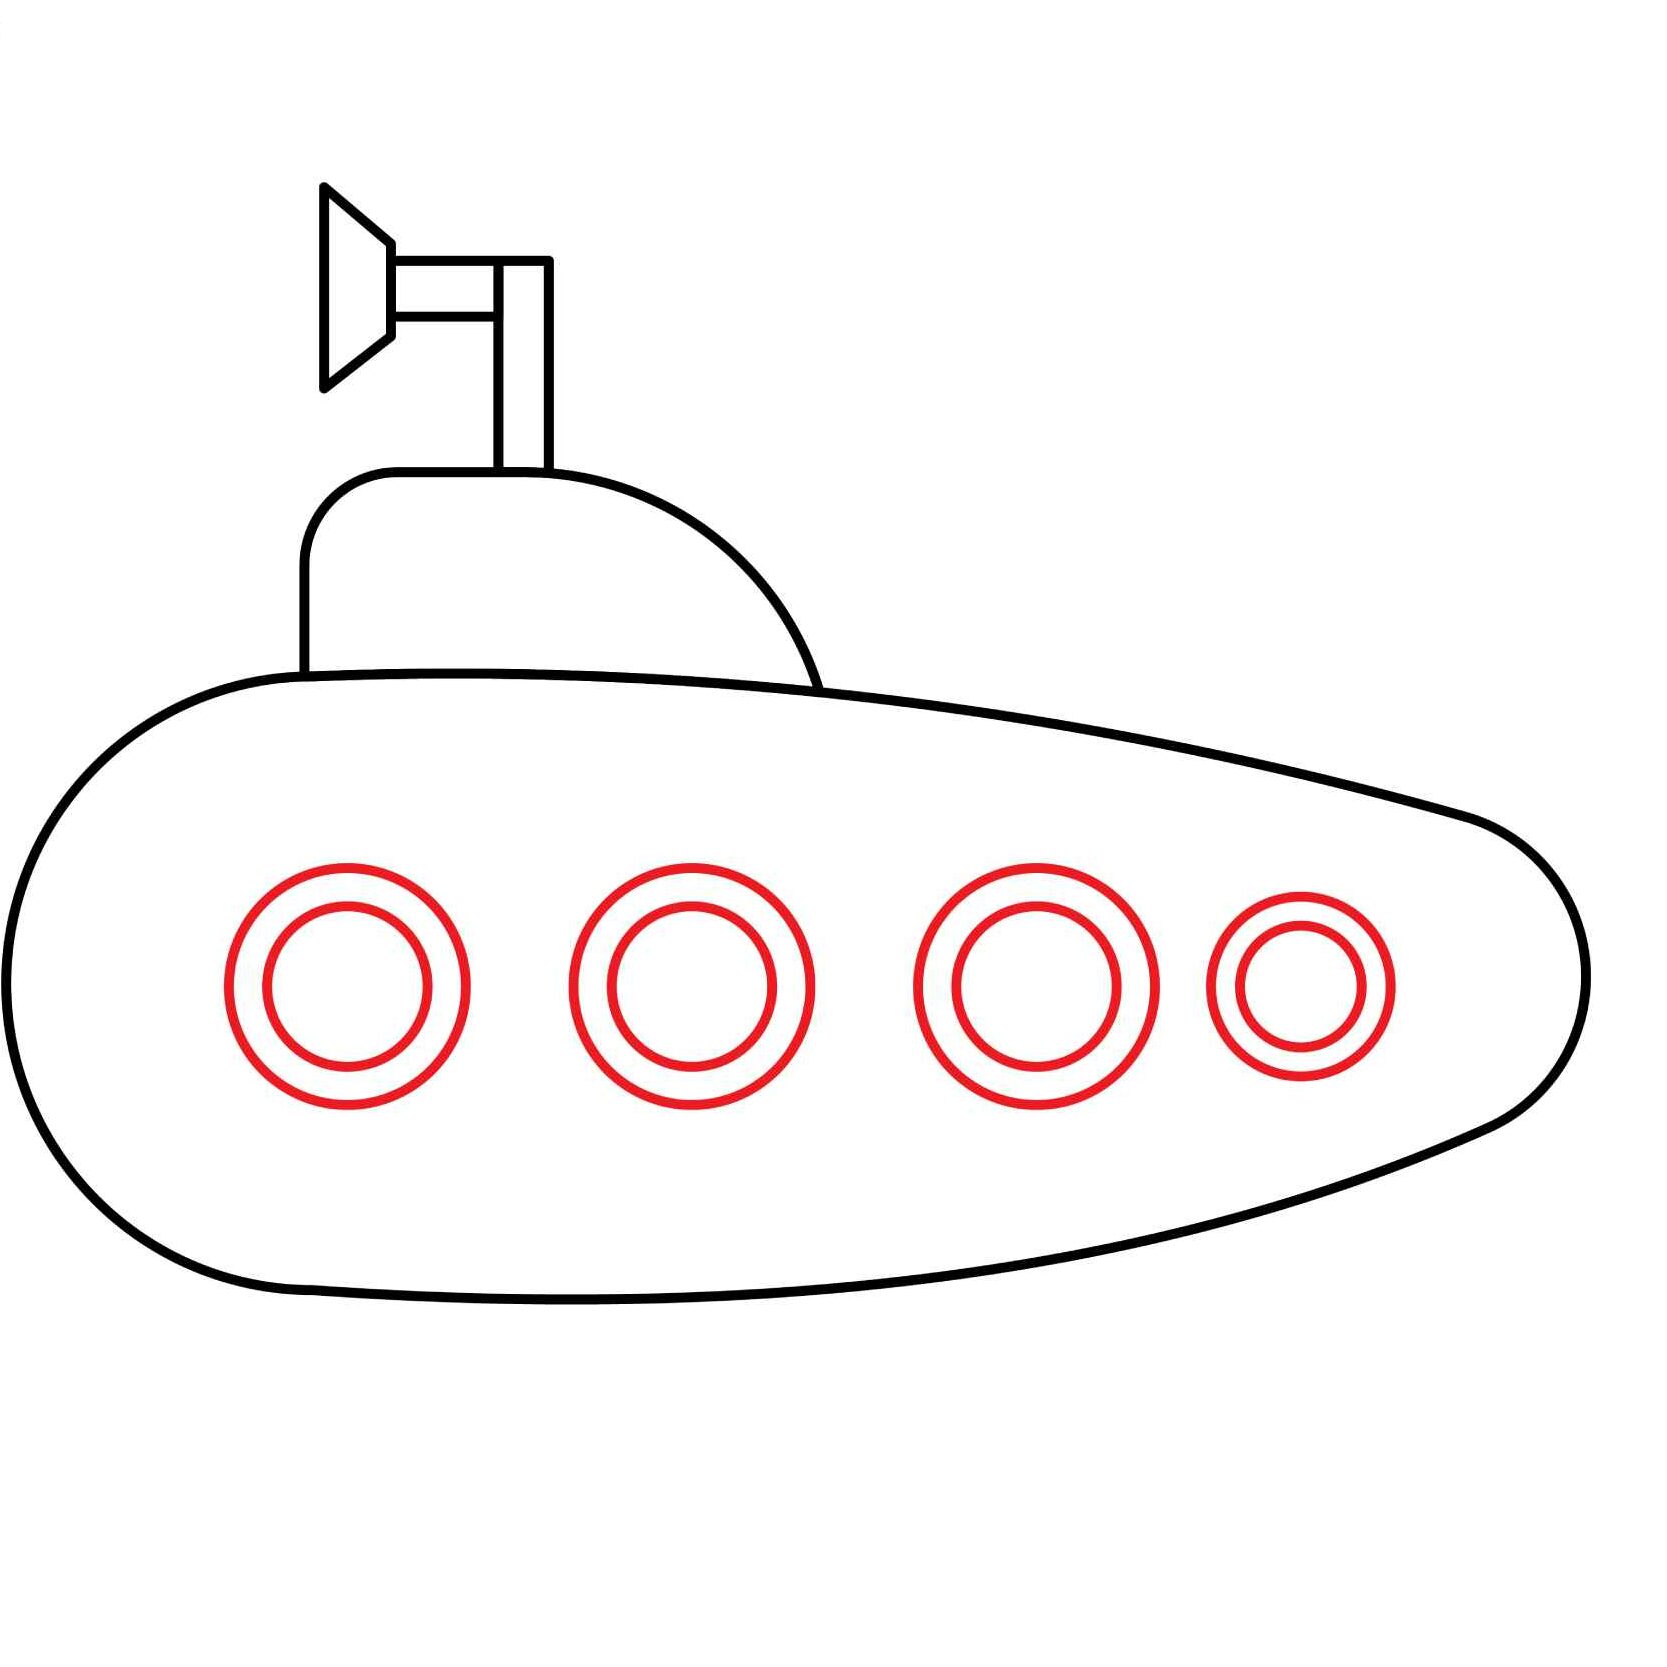
Now we need to add circular windows (known as portholes) on the hull of our submarine. To do so, draw a circle with a smaller circle inside it. The first circle should be drawn in the area closest to the front end of the submarine.
Repeat the process and add three or four more windows along the length of the hull. Ensure you space the windows properly so that they are not too close together.
- Draw a circle on the front end of the submarine and another circle inside it to form a porthole
- Repeat the process and add three or four more portholes, properly spaced, along the length of the hull
Step 5: Draw the Rudders
Just like a battleship or an airplane, our submarine cannot navigate the water without the rudders. The role of the rudders is to help with steering. On the back end of the submarine, you need to draw two small rudders.
Draw a triangle on the upper section of the submarine’s rear end and another triangle on the bottom. Use your eraser to remove the pointy end of the triangles and replace it with a horizontal line. This will form the rudders.
- Draw two triangles on the rear end of the submarine, one on the upper and another on the lower side
- Remove the pointy ends and replace them with a horizontal line

Step 6: Draw the Propellers
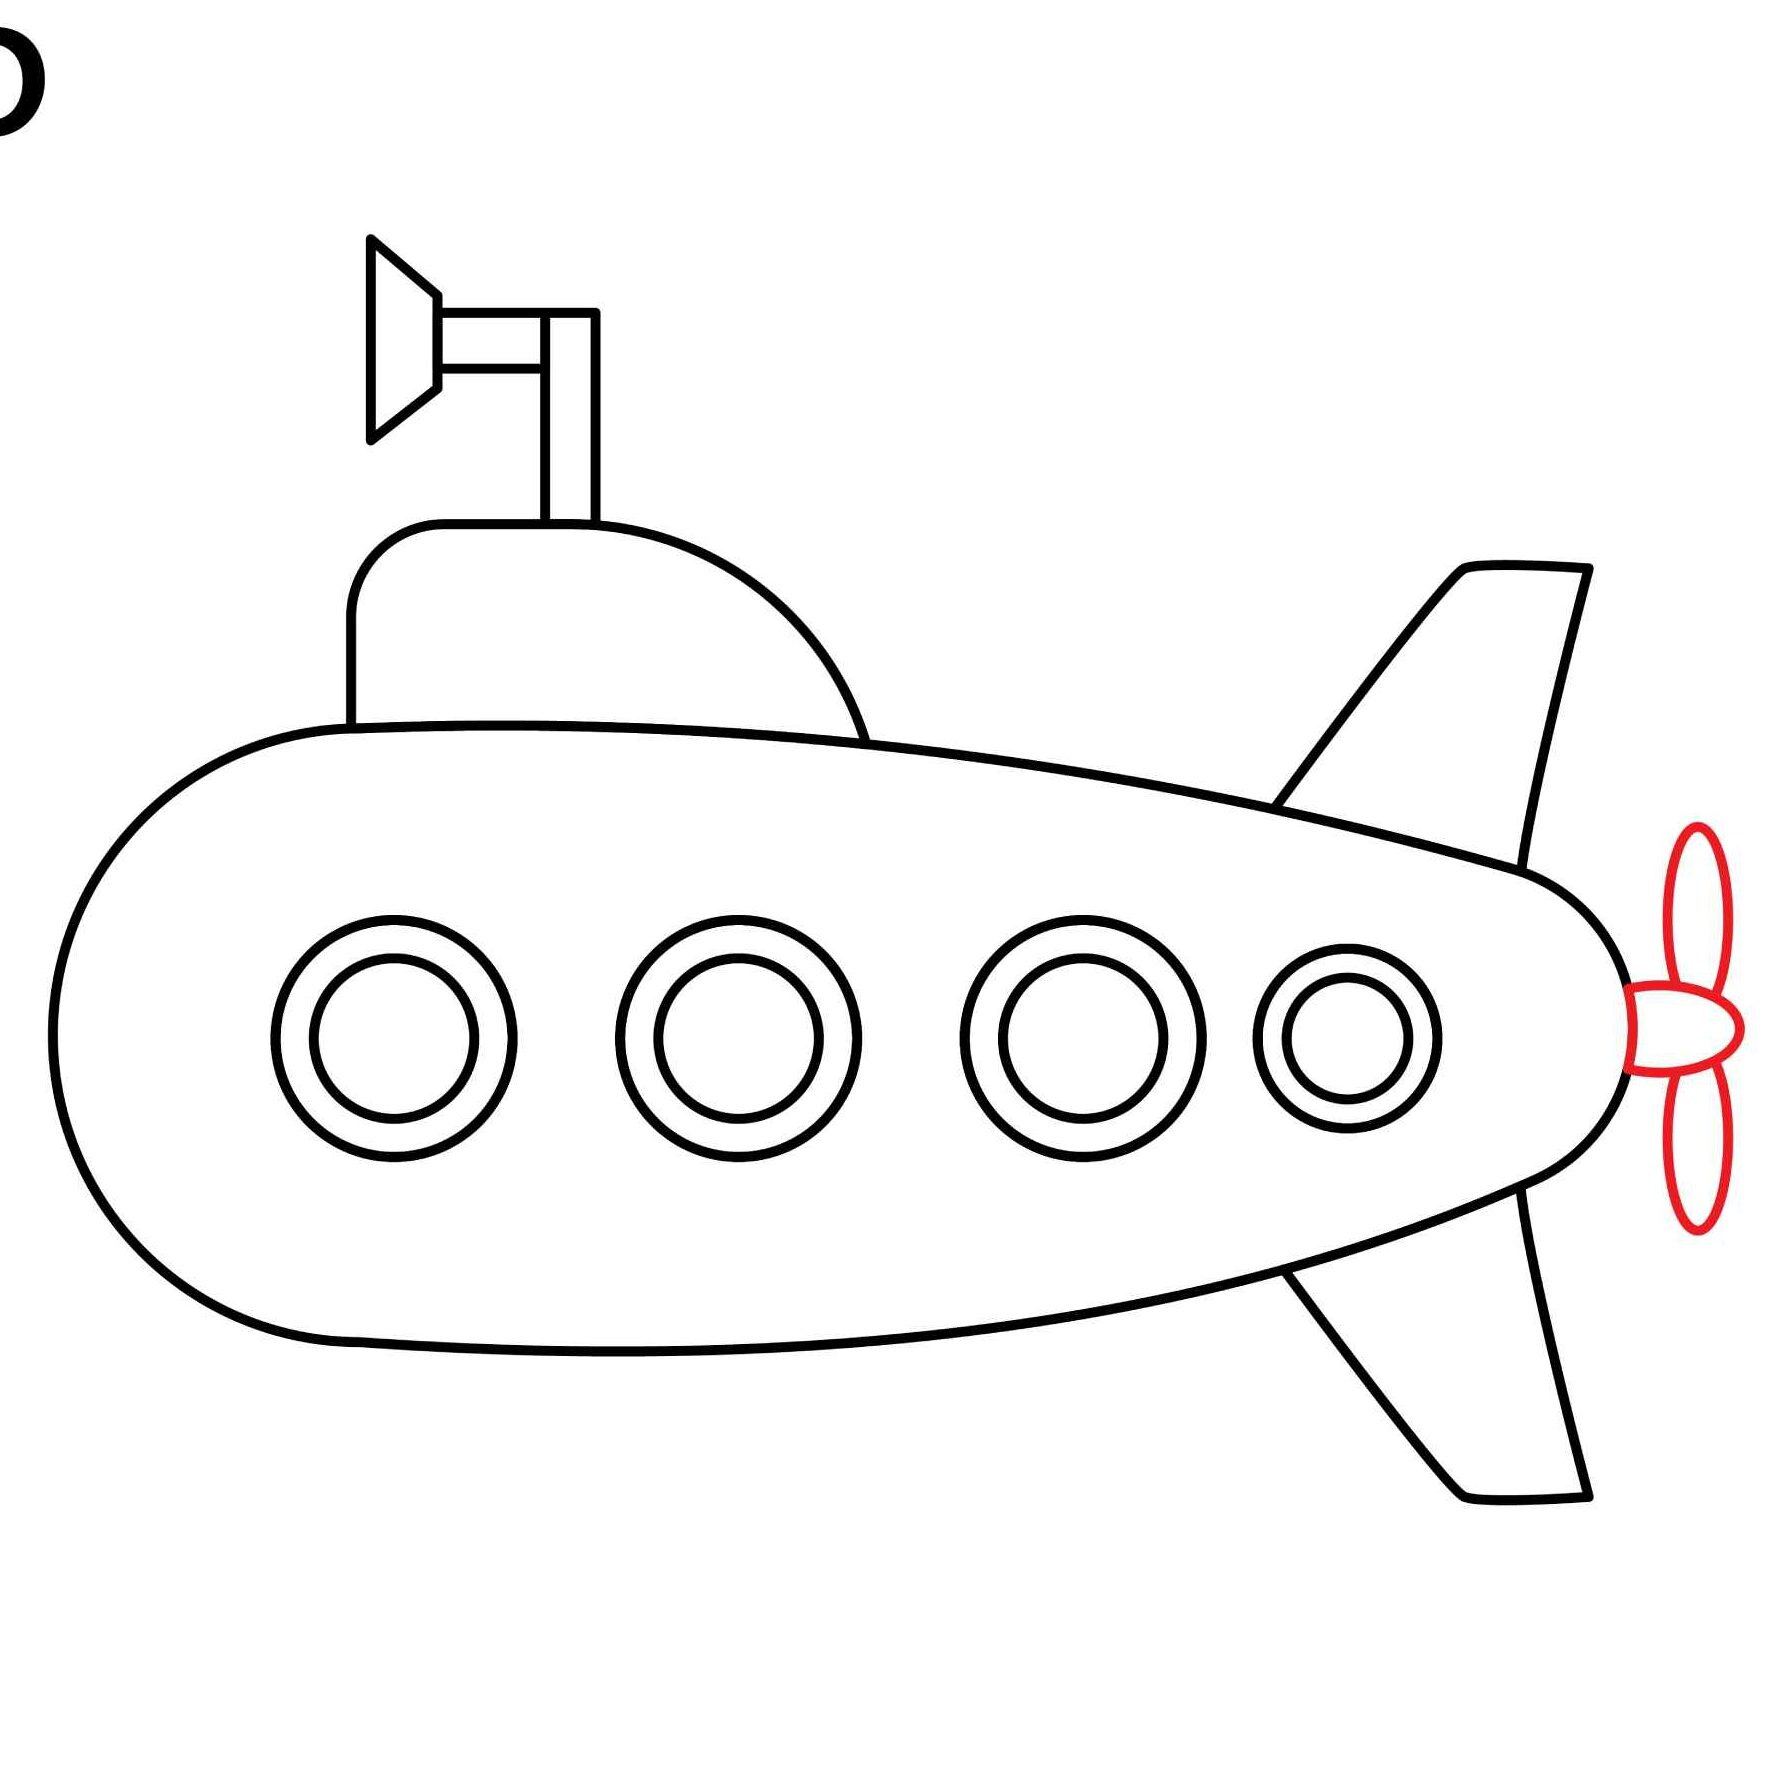
For the submarine to move, it needs a propeller. We will add this to the back end of the submarine. We will first add a small oval shape to serve as the mounting for the fans. Next, we need to draw two oval shapes on either side of the small oval shape. That will now complete the fan which will serve as the propeller.
- Draw a horizontal oval shape on the rear end of the hull to form the mounting
- Add two vertical oval shapes on either side of the mounting
Step 7: Add More Submarine Details
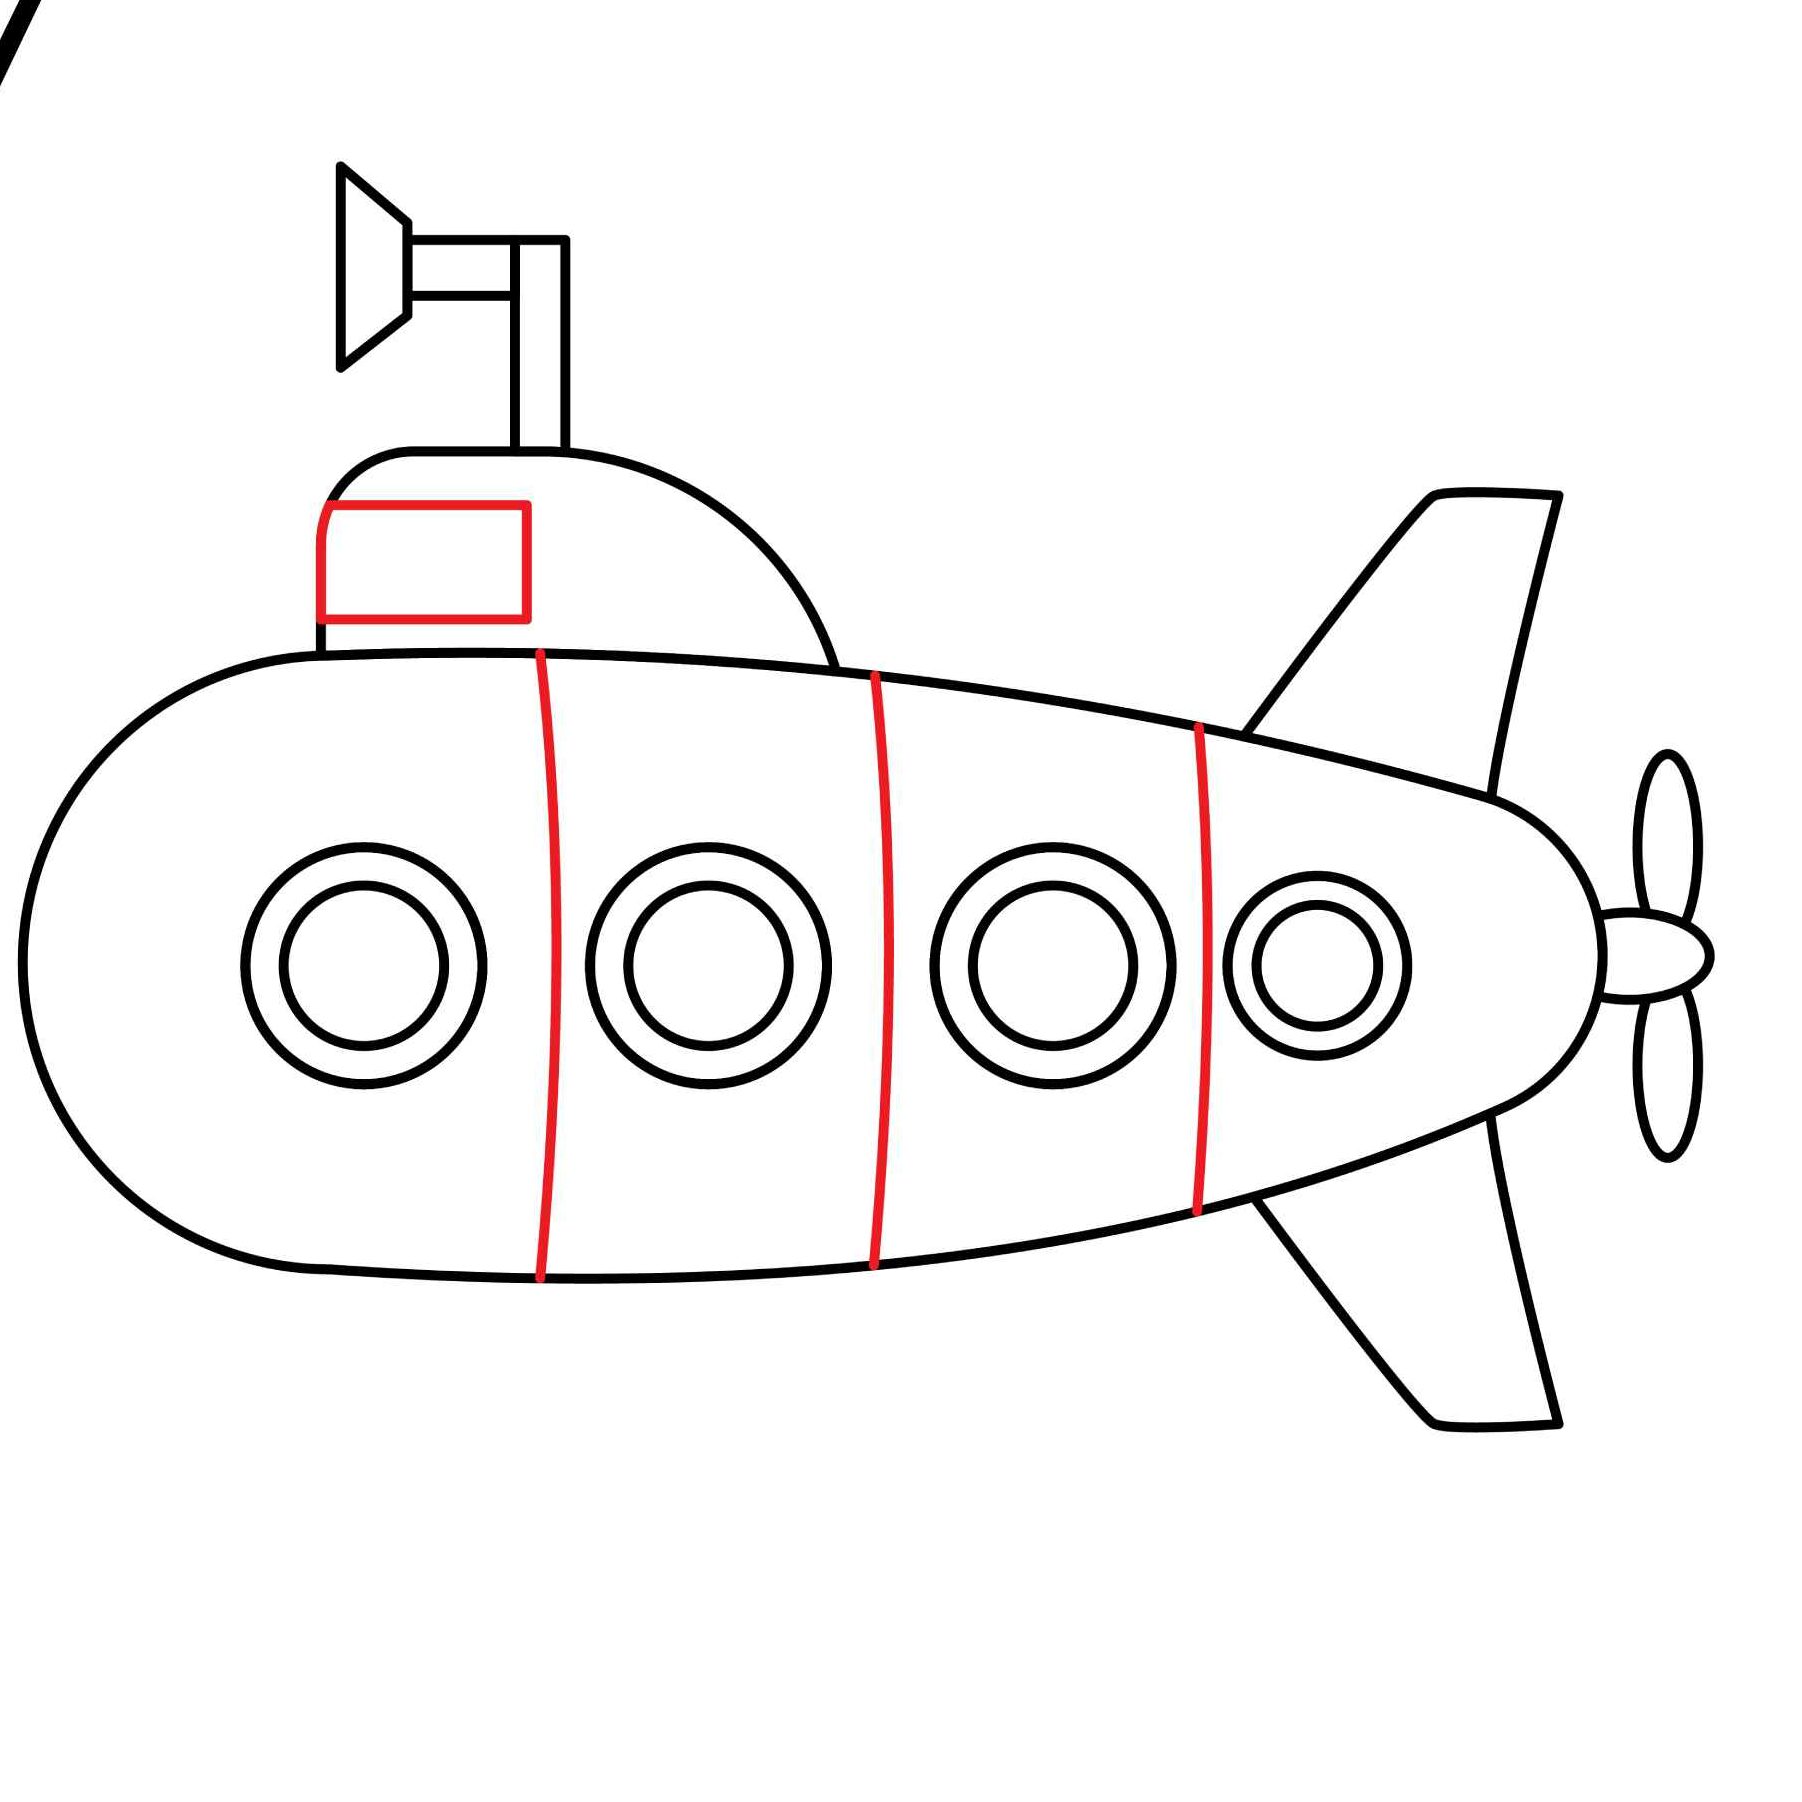
To make our submarine more realistic, we have to add some details to the hull. We will first draw lines on the outer hull to show the rivets that join the body together. Each line should pass between the windows as shown below.
Next, we need to add the main window through which the sailors can peep through. This will be placed on the sailplane. Draw a rectangle that starts from the front end of the sailplane and stops at the middle.
- Add slightly curved vertical lines between the portholes
- Draw a horizontal rectangle on the left end of the sailplane to create the main window.
Step 8: The Submarine is Ready
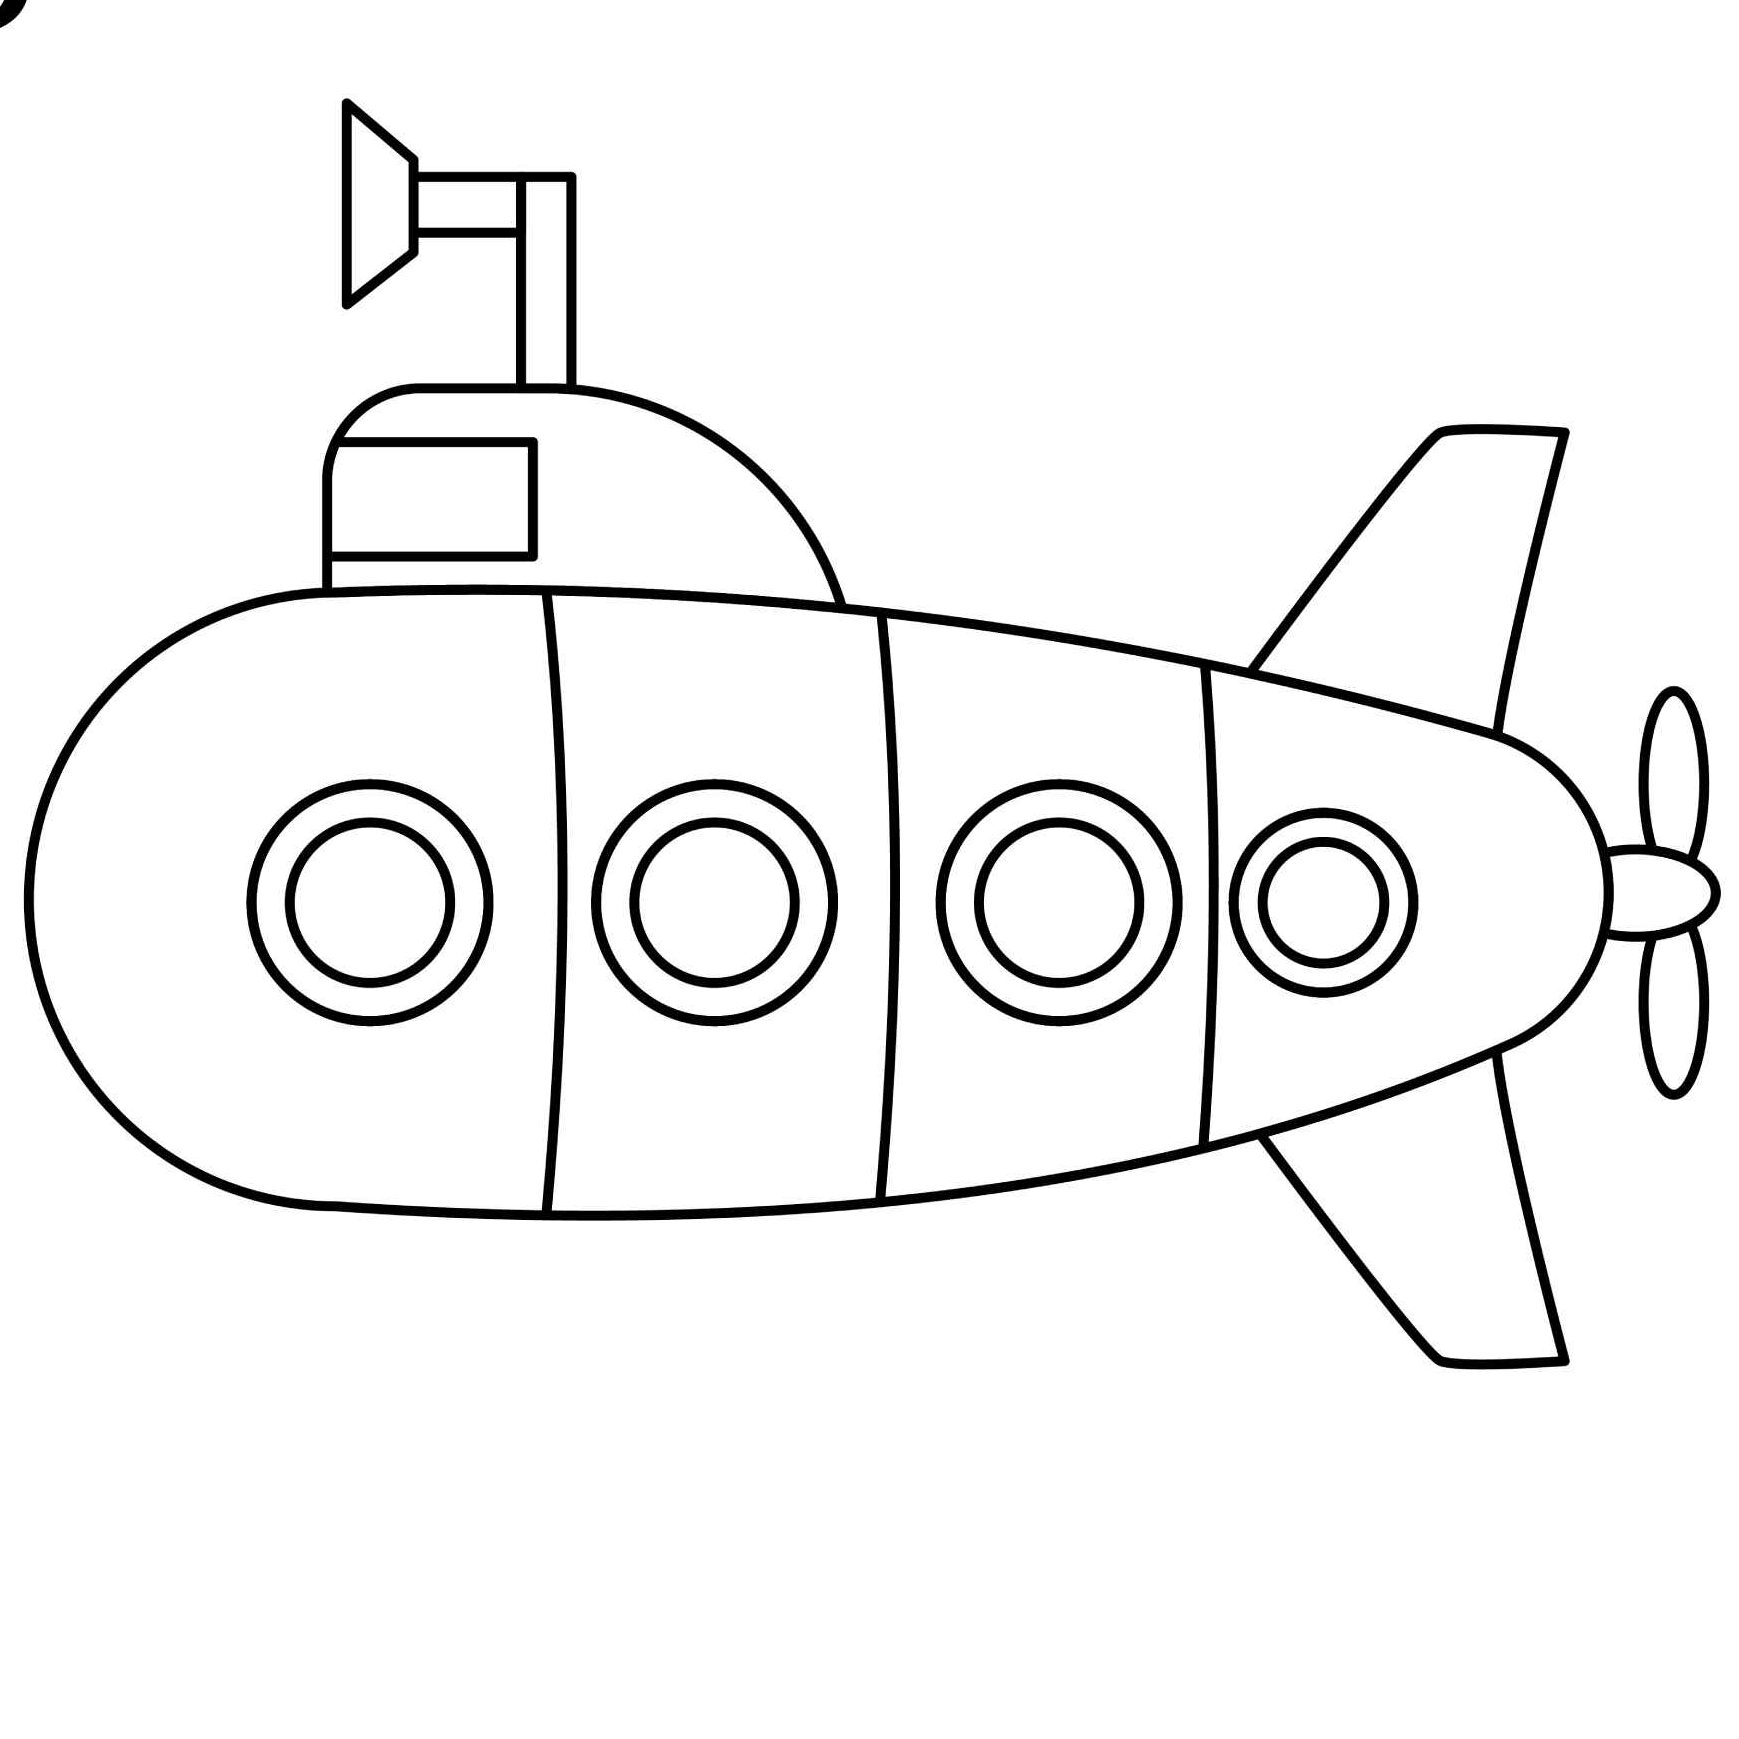
The basic layout of the submarine is now ready. You should have something that looks similar to the one pictured below. Take a moment to admire your handiwork.
Do not be frustrated if things do not shape up as you would want. You will notice better results on your next attempt at drawing a submarine.
Take the Drawing to the Next Level
It is perfectly okay to leave the drawing as it is. However, if you want your drawing to look amazing, we need to add some more details.
Step 9: Add Water Around the Submarine
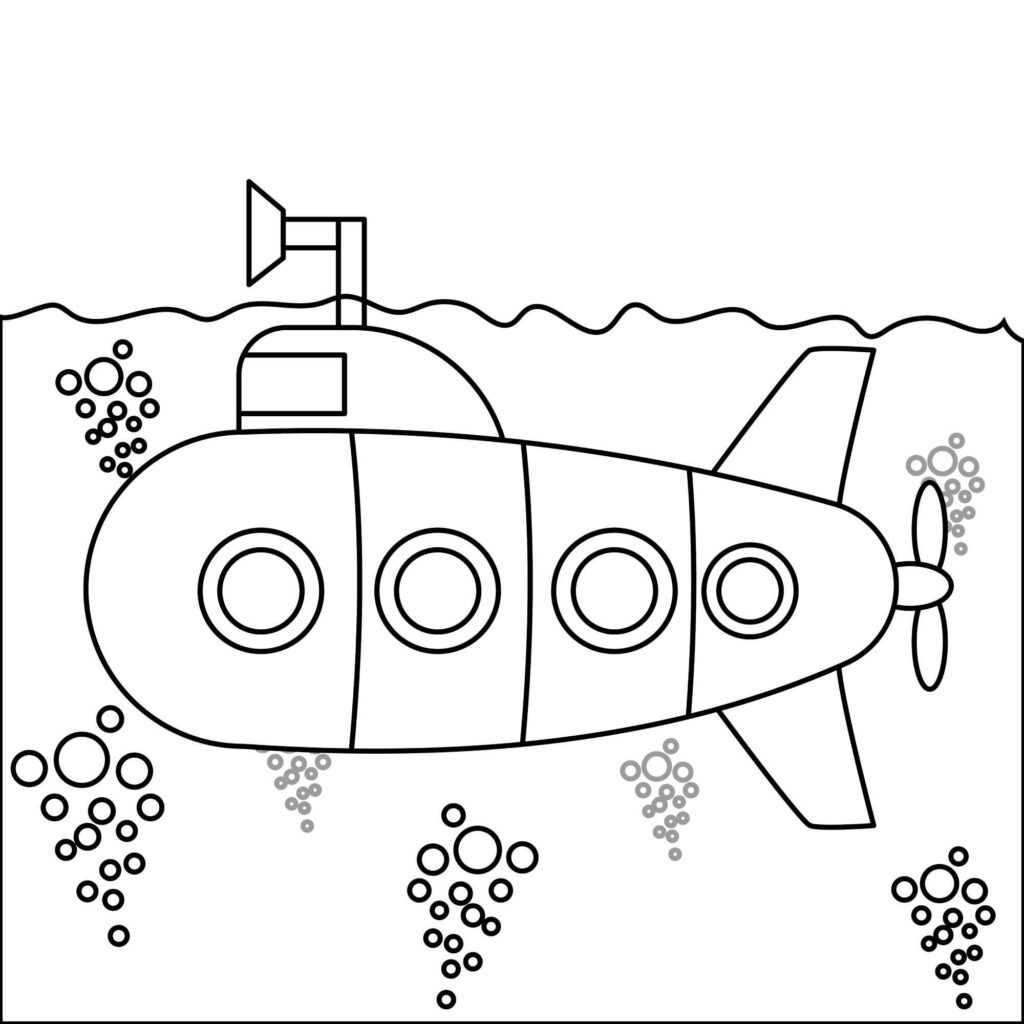
The first thing you should do is add water around the submarine. Since a submarine is not like a pirate ship that travels on water, we are going to add water all around it. For this, we need to start by adding the surface of the water above the drawing.
Draw a wavy line over the hull of the submarine. Keep in mind that the periscope should be above the surface of the water. The wavy line should, therefore, be below the periscope.
- Add the surface of the water above the sail but below the periscope
Step 10: Add Some Bubbles
The best way to depict water is by adding some bubbles. Draw clustered circles as shown in the above image to portray bubbles.
If you wish to add more details, you can add some tiny sea creatures around the submarine such as fish and octopuses. Do not overdo this as too many details will cause your drawing to feel crowded and unimpressive.
Step 11: Color the Submarine
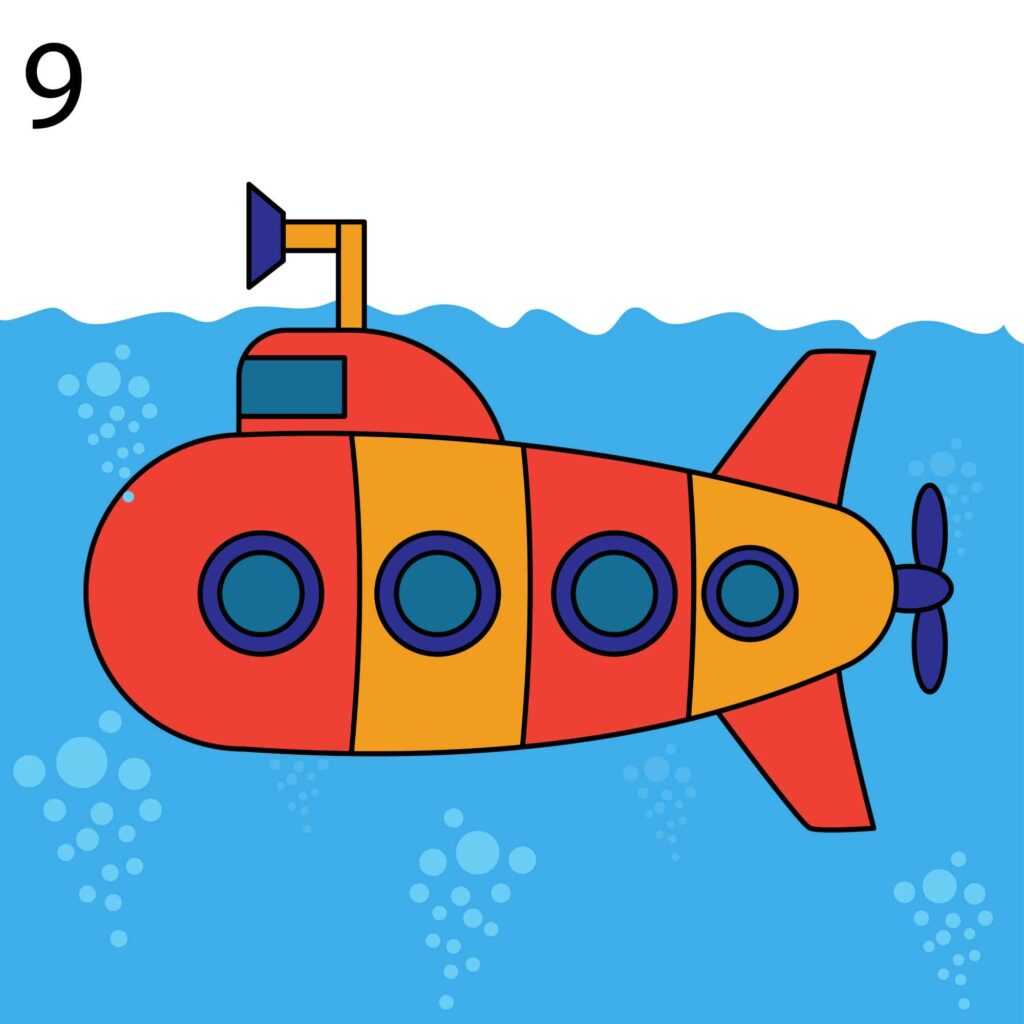
Now to the fun part, we need to use our coloring supply to add color to our submarine. This is your submarine which means you can use any colors you like.
Important Points
While a submarine is traditionally grey in color, you can get a bit creative as we did with our drawing. You can use a darker shade of blue for the water and a lighter shade of blue for the bubbles.
Keep in mind that if you color the area above the water blue you will ruin your image. You can leave it as white. If you have added a boat, make sure you color it.
Conclusion
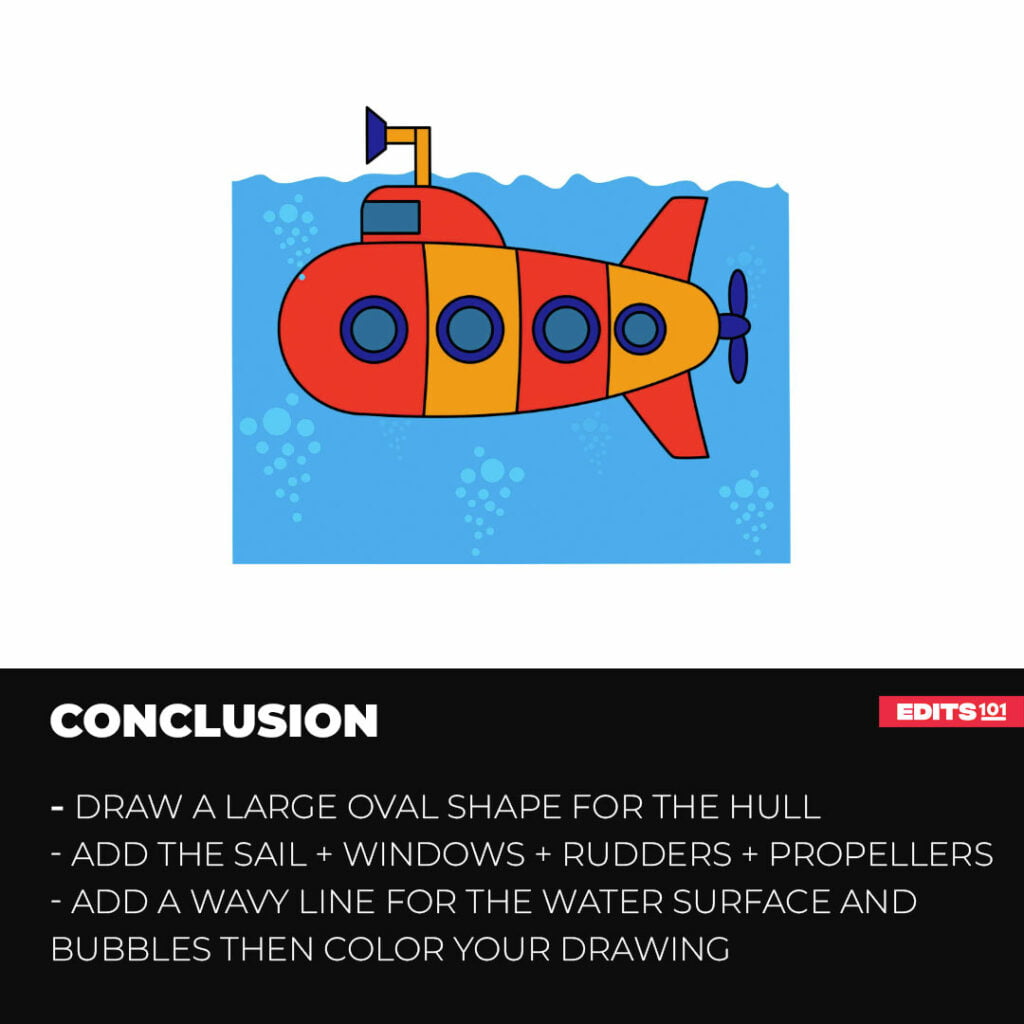
The article looks at how you can easily draw a submarine with details that match your mood and desire. We started by drawing the hull and adding the sail then added the periscope, windows, rudders, and the propeller. To make our submarine more impressive, we added the surface of the water and some bubbles then went wild with our coloring supplies.
If you don’t wish to use pen and paper to draw your submarine, you can follow these steps to draw a submarine on your preferred software. You can draw on the Paint app on Windows, Adobe Photoshop, Adobe Illustrator, CorelDraw, or any other software.
Thanks for reading & feel free to check out more of our articles!
Author Rating
Overall Rating
Summary
The post is a simple guide on how to draw a submarine. You will also learn about the different parts of a submarine and how to make your drawing more impressive.

