How to Draw a Construction Crane | 11 Steps
A construction crane is a machine operated from a fixed position to transport, raise, and lower heavy-duty materials. It is equipped with a hoist rope, chains, or wire ropes and shelves. Its mast enables it to reach really high and can be adjusted to rise with the height of a building that is under construction.
In this guide, we will be looking at the steps you should take to draw an impressive crane. In the process, you will also learn about the different parts of a construction crane and a few interesting facts about it.
| Steps | Complexity Level |
| Drawing the Foundation | 1 |
| Drawing the Mast | 1 |
| Drawing the Operator’s Cab | 2 |
| Drawing the Jib | 2 |
| Drawing the Hoist | 3 |
| Drawing the Hook Block | 1 |
| Drawing the Counterweight & Tower Peak | 2 |
| Drawing the Main Load Line & Decoration | 3 |
| Adding a Background | 1 |
| Coloring | 2 |
What You Will Need
- Pencil
- Eraser
- Drawing paper
- A ruler
- Coloring supplies
- 15 minutes
How to Draw a Construction Crane
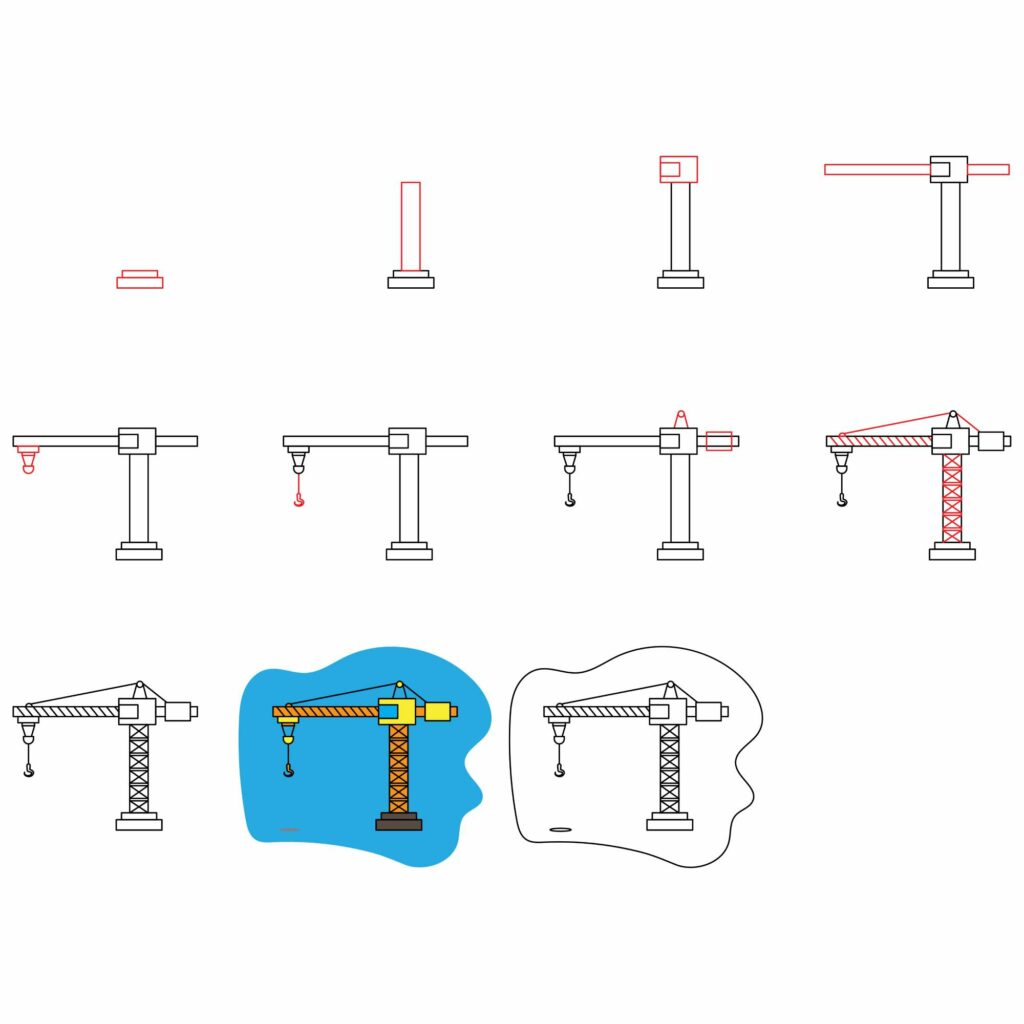
A construction crane has seven main components: the hook block, hoist, jib, operator’s cab, counterweight, mast, and foundation. We will be drawing these key components step by step. Take a moment to study the below image. It has all the steps we will be taking in today’s lesson.
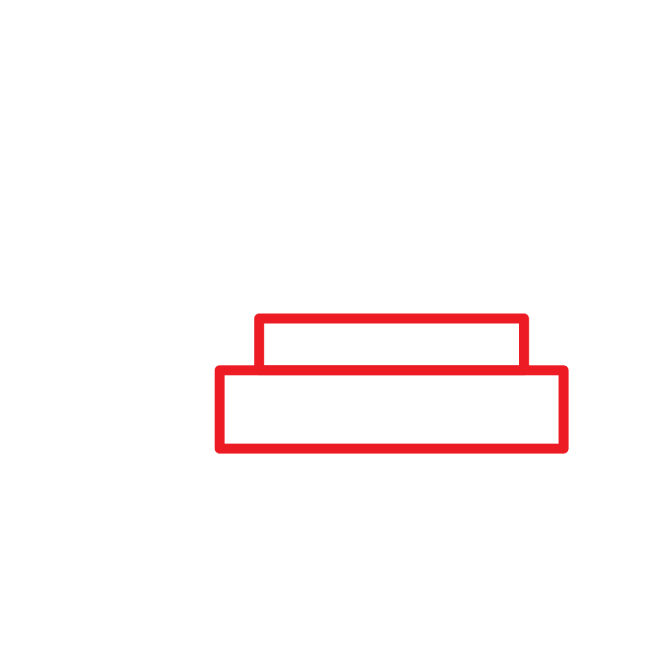
Step 1: Draw the Foundation
Since tower cranes can rise to hundreds of feet in the air, they are secured to a solid concrete foundation. This is unlike a cherry picker where the crane is mounted on a truck. Since we are going to draw a tower crane, the first thing we will draw is the foundation/base.
From the bottom right corner of your drawing paper, you need to draw two horizontal rectangles stacked on each other. Use your ruler to draw the first rectangle then add a smaller rectangle on top of the first one. This will serve as the foundation for our crane.
Keep in mind that the base should not be too big. You should also have some space left between the base and the right margin to allow space for the counterweight that we will add later on.
- Draw a horizontal rectangle on the bottom right corner of your paper
- Add another smaller rectangle on top of the first one
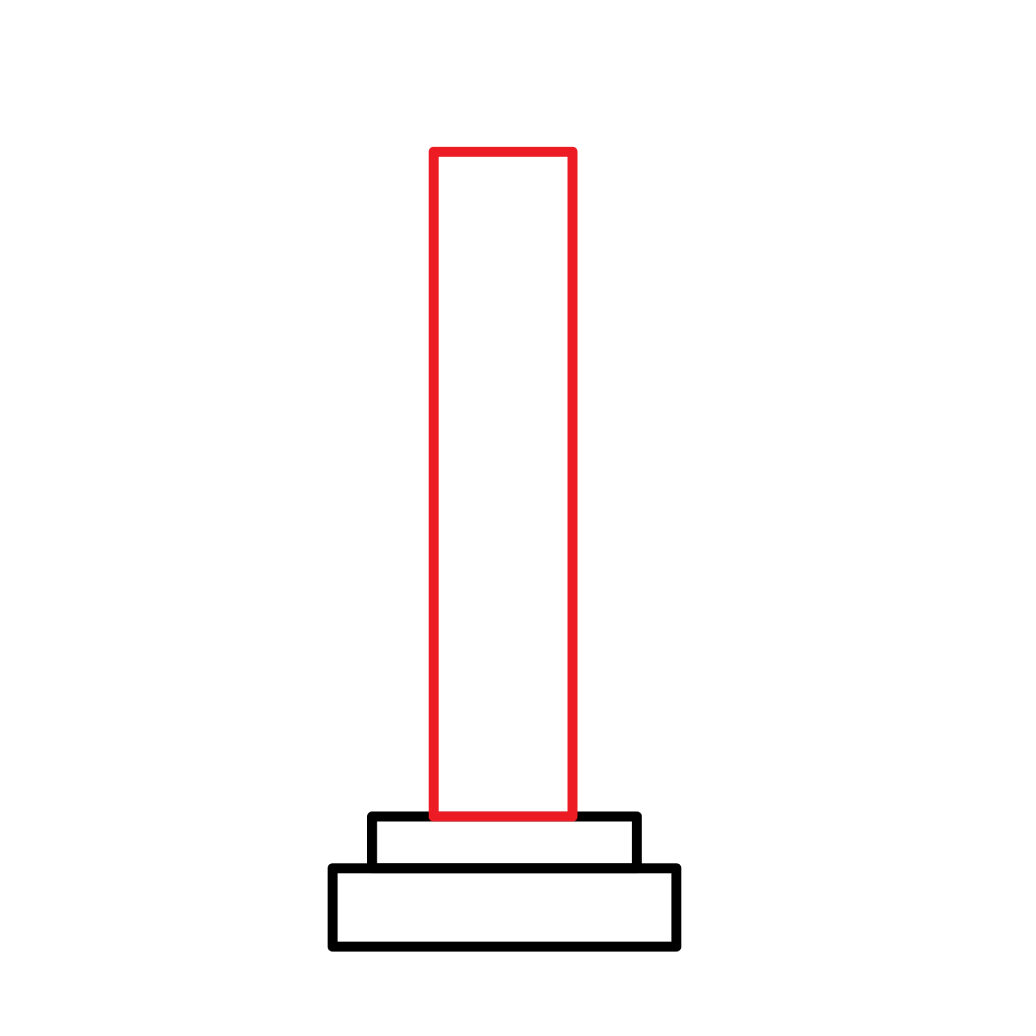
Step 2: Draw the Mast
Also referred to as the boom, the mast is the largest part of a construction crane. It is made of a long steel construction that extends from the foundation to the turntable.
There are two main styles of crane booms available:
- Lattice boom: This has a fixed length and is seen in crawlers or tower cranes.
- Hydraulic boom: This is a mast that can extend and retract during operation.
We will be drawing the lattice boom because it is the easiest to draw. From the top of the foundation, draw a vertical rectangle that extends upwards. Don’t extend them to the top margins because we need space at the top for other crane components.
- Draw a vertical rectangle starting from the top of the foundation to form the mast
- Leave ample space between the top of the mast and the upper margins
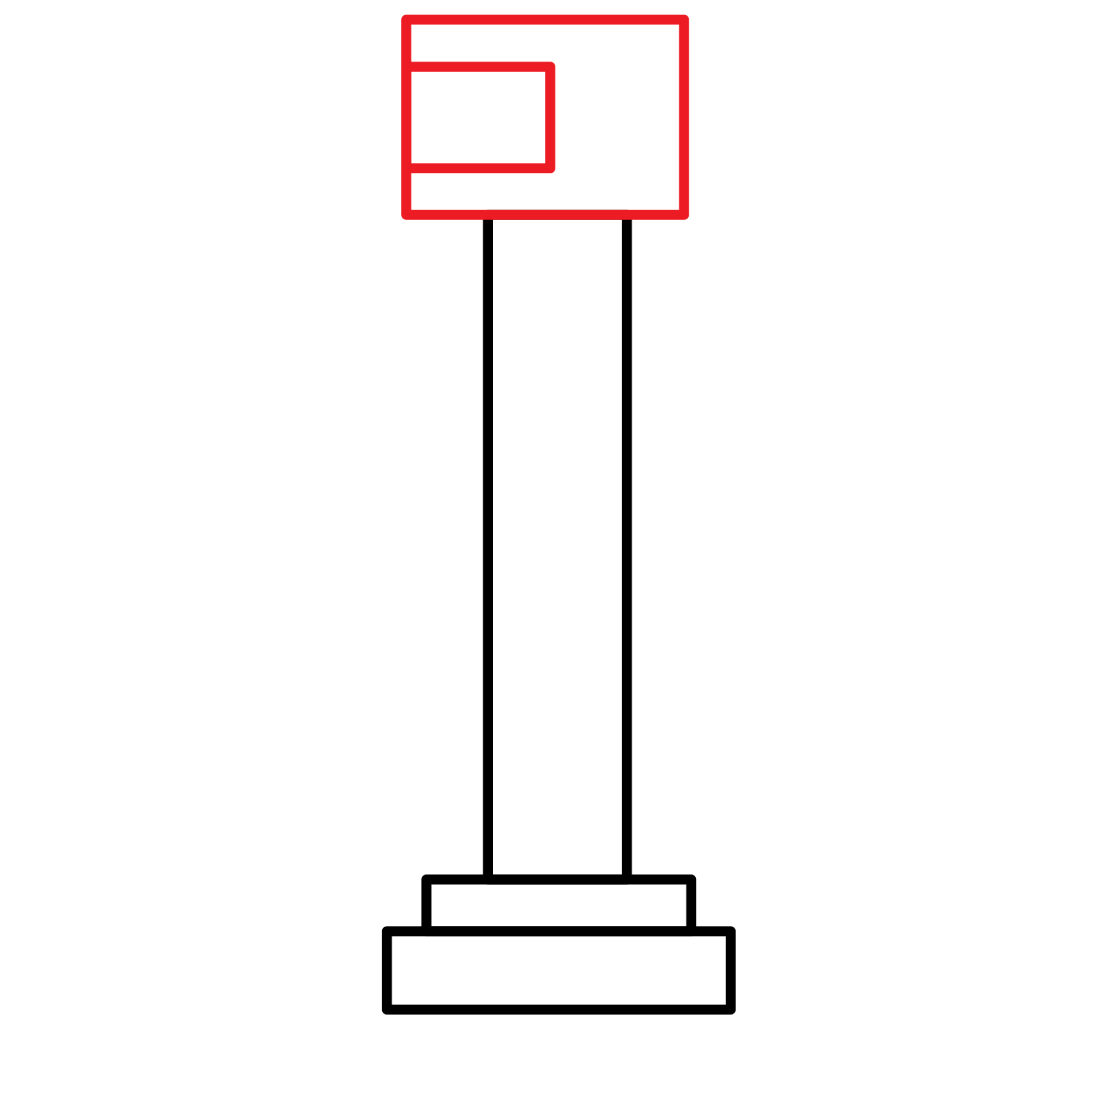
Step 3: Draw the Operator’s Cab
The crane operators control the heavy-duty machinery from a cab located at the very top of the mast. In many construction cranes, the operator’s cab serves as the turntable. The turntable, also known as the slewing unit, is the section of the construction crane that enables the crane to rotate 360 degrees.
To make our crane easy to draw, we will be drawing a construction crane that combines the operator’s cab and the turntable. Use your ruler to draw a square shape on top of the mast. The square should be wider than the width of the mast. It should, however, not be too big so that it is proportional to the mast.
The operator needs a window to be able to see what is around. Draw a rectangular shape on the left side of the square. It should look like what we have in our illustration.
- Draw a horizontal rectangle on the mast to form the operator’s cab
- Draw a rectangular window on the left side of the cab
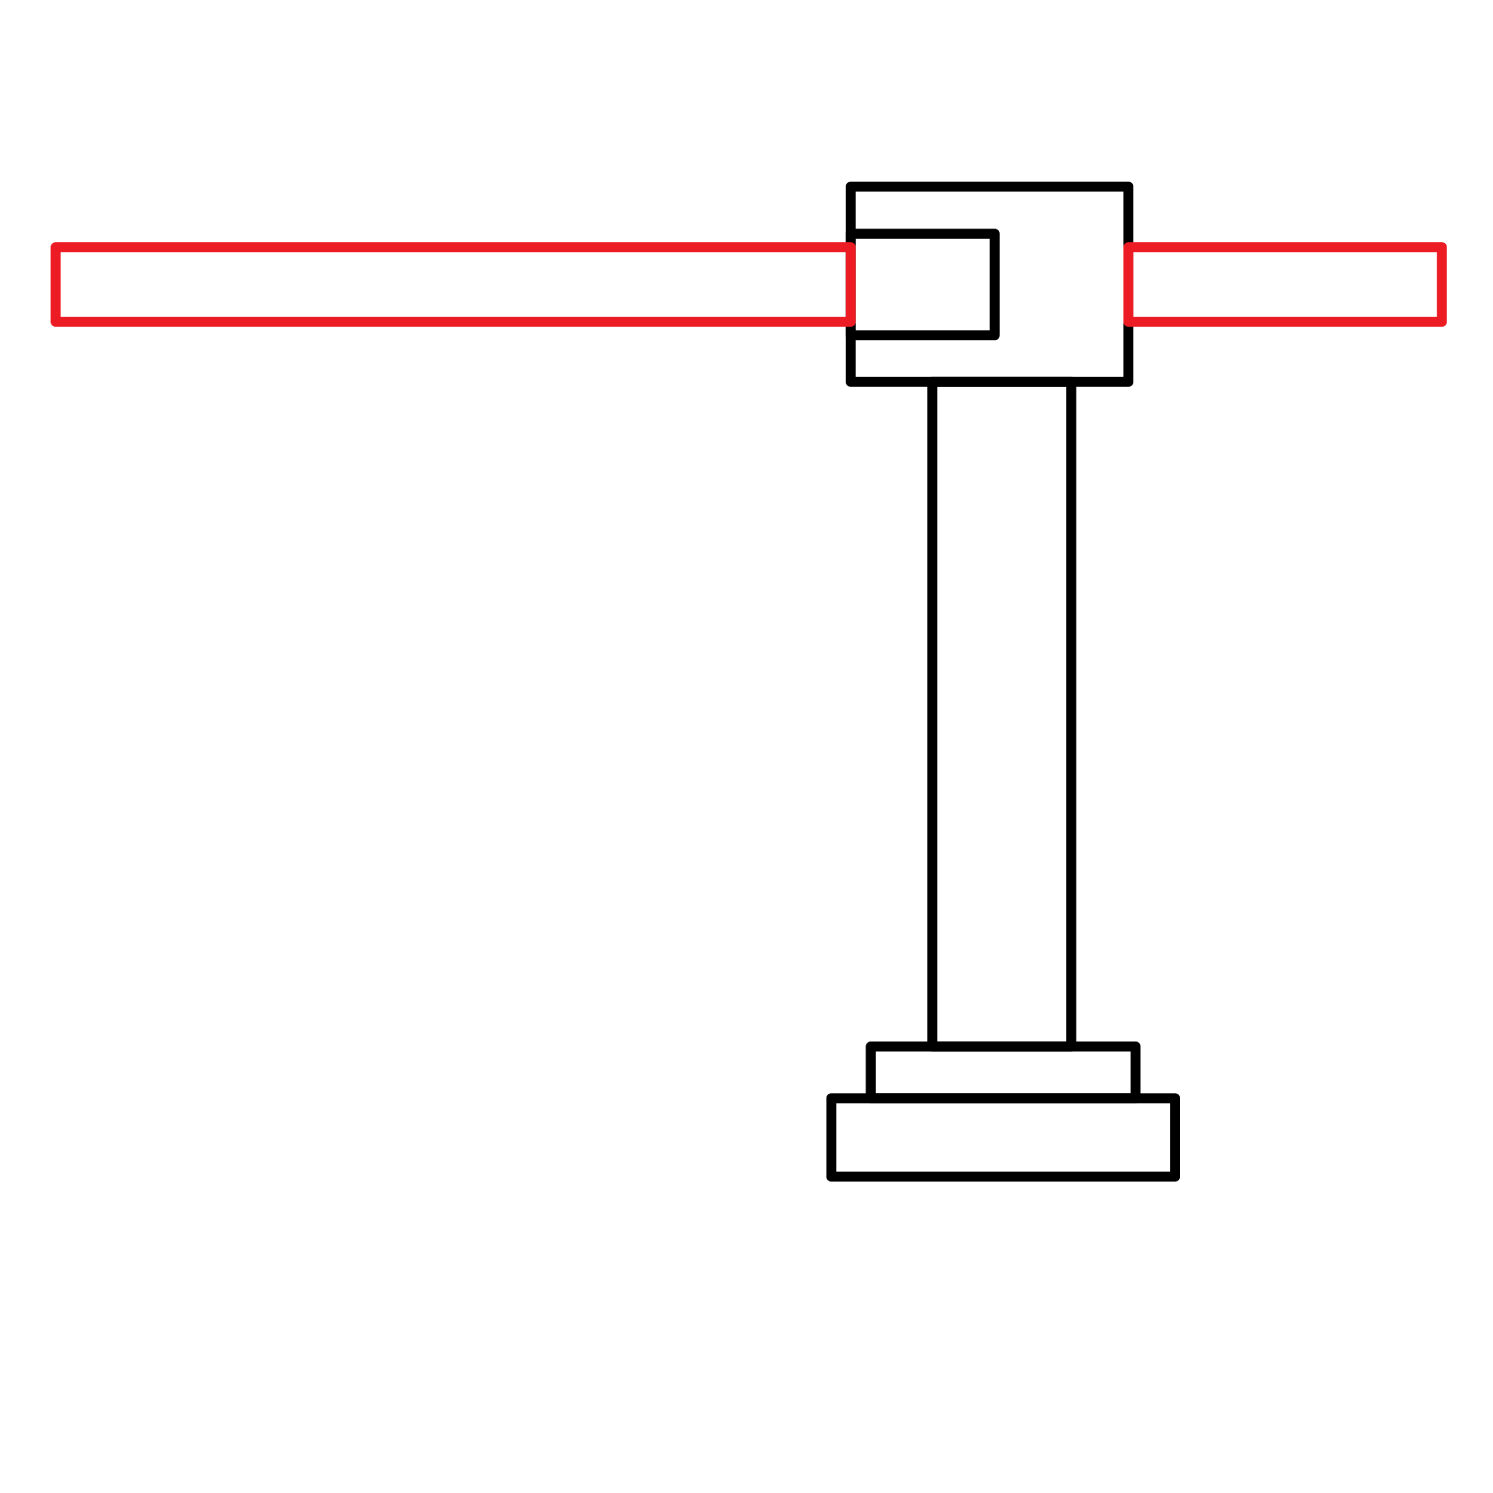
Step 4: Draw the Jib
The jib is the detachable horizontal piece that is attached to the mast. The length of the jib can be increased or reduced by adding or removing attachments from it. The jib puts space between the mast and the load to reduce the risk of material hitting the primary support. The jib is also what supports the counterweight and the hook block.
Use your ruler to draw two parallel lines that pass through the operator’s cab. The distance between the two lines should not be wider than the operator’s cab and should extend more to the left than to the right as shown in our illustration below. Connect the ends of the parallel lines with a straight line. You should then use your eraser to remove any lines that went through the operator’s cab.
- Draw a flattened rectangle that passes through the operator’s cab
- The side of the rectangle to the left should be longer than the one on the left
- Erase the lines that cut through the operator’s cab
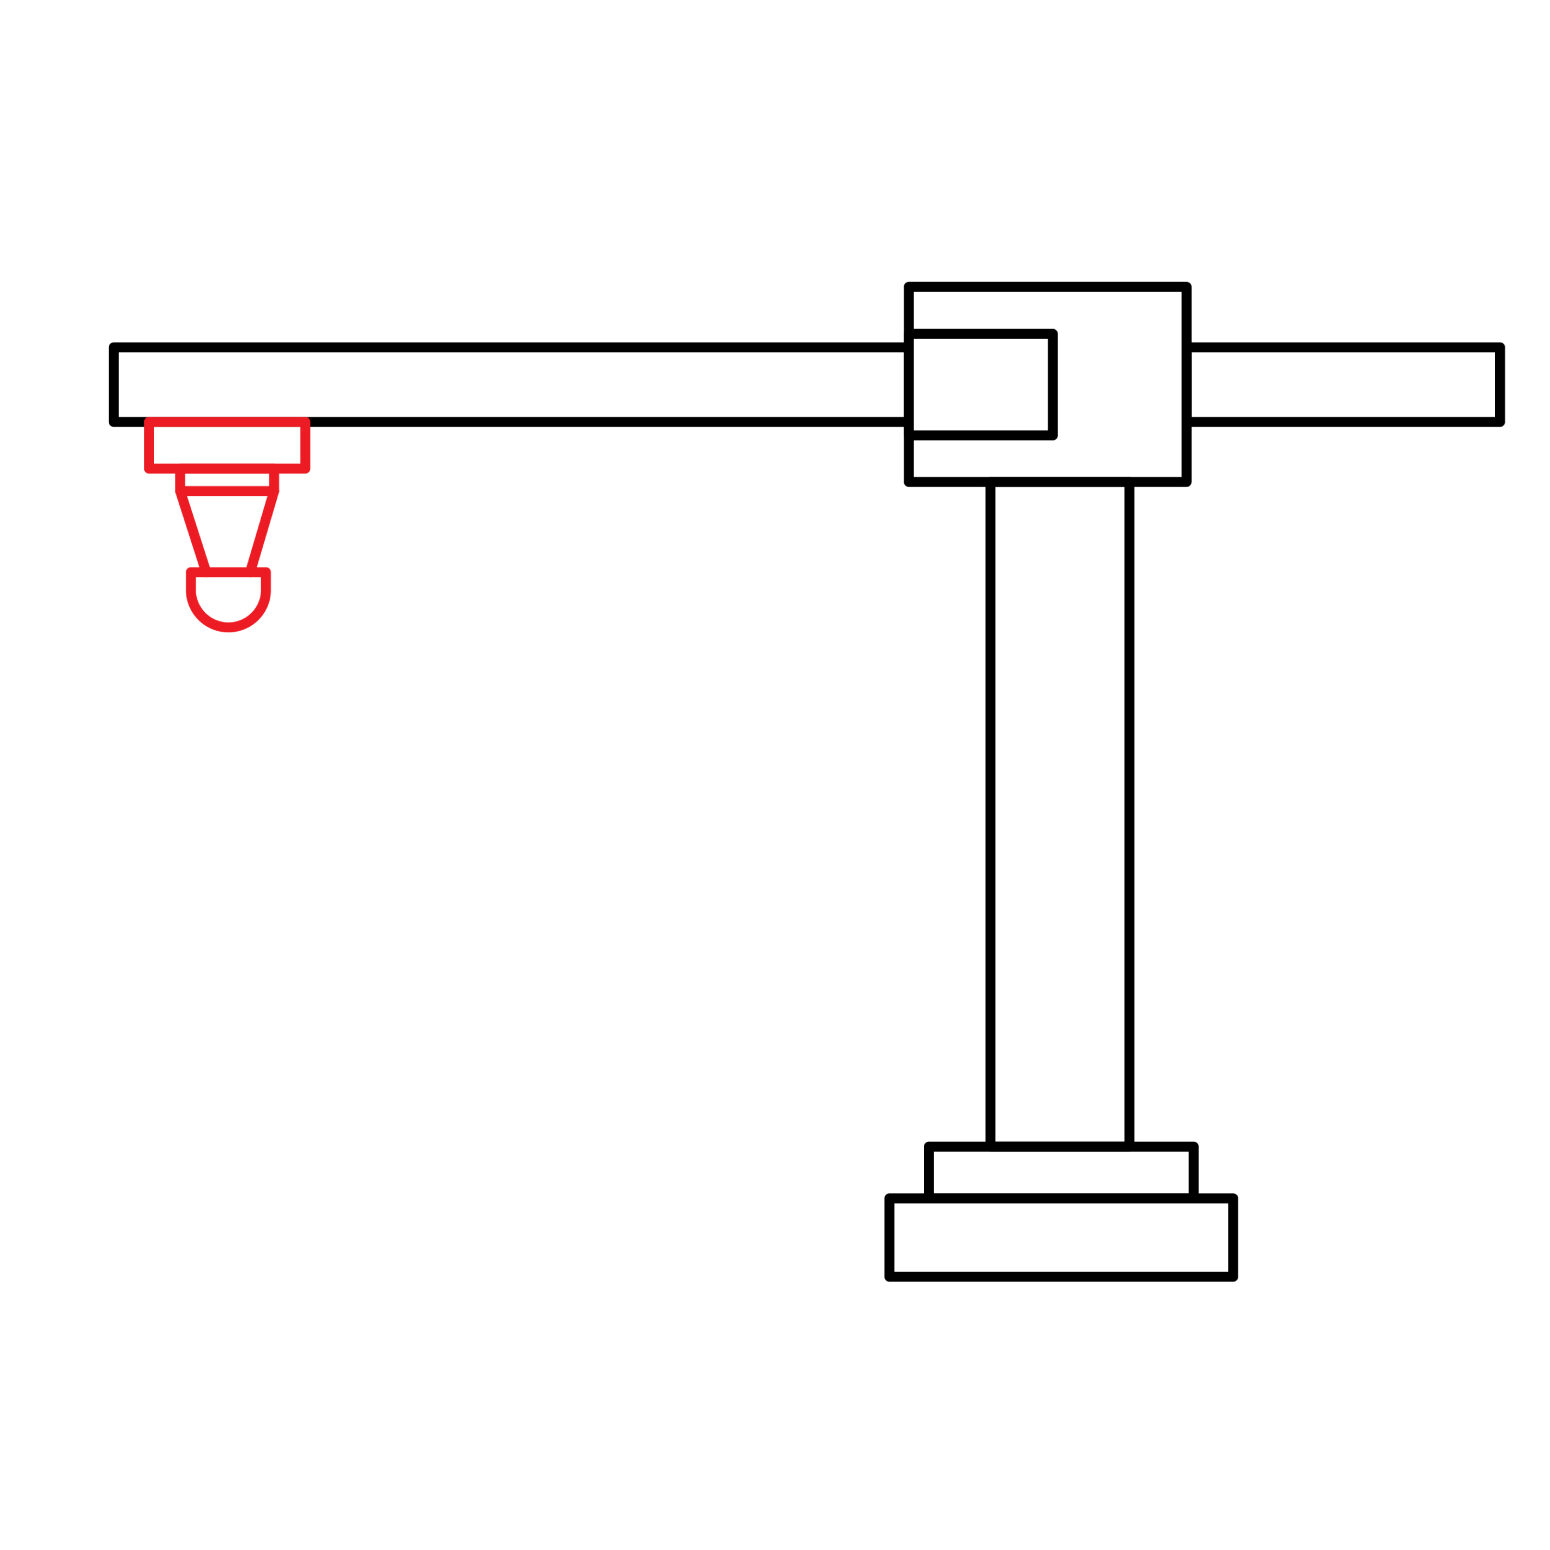
Step 5: Draw the Hoist
The hoist is the mechanism that enables the crane to lift loads vertically. The system is made up of wires and cranking mechanisms. The cranking mechanism is powered by an electric motor or a hydraulic system.
During operation, the hoist moves along a bridge girder from left to right. This enables the operator to adjust the location of where to pick up or drop a load. For this movement to be possible, a construction crane has a trolley mechanism built into the jib.
Using your ruler, draw a small rectangle at the far left end of the jib. Add another tiny rectangle below it and then draw a vertical rectangle with a narrow bottom part. Draw a semi-circle on the bottom of the vertical rectangle to complete the drawing of the hoist.
- Draw a small, horizontal rectangle below the left end of the jib and another smaller one right below it
- Add a vertical rectangle below the rectangle and make the lower end narrow
- Add a semi-circle to the bottom of the vertical rectangle
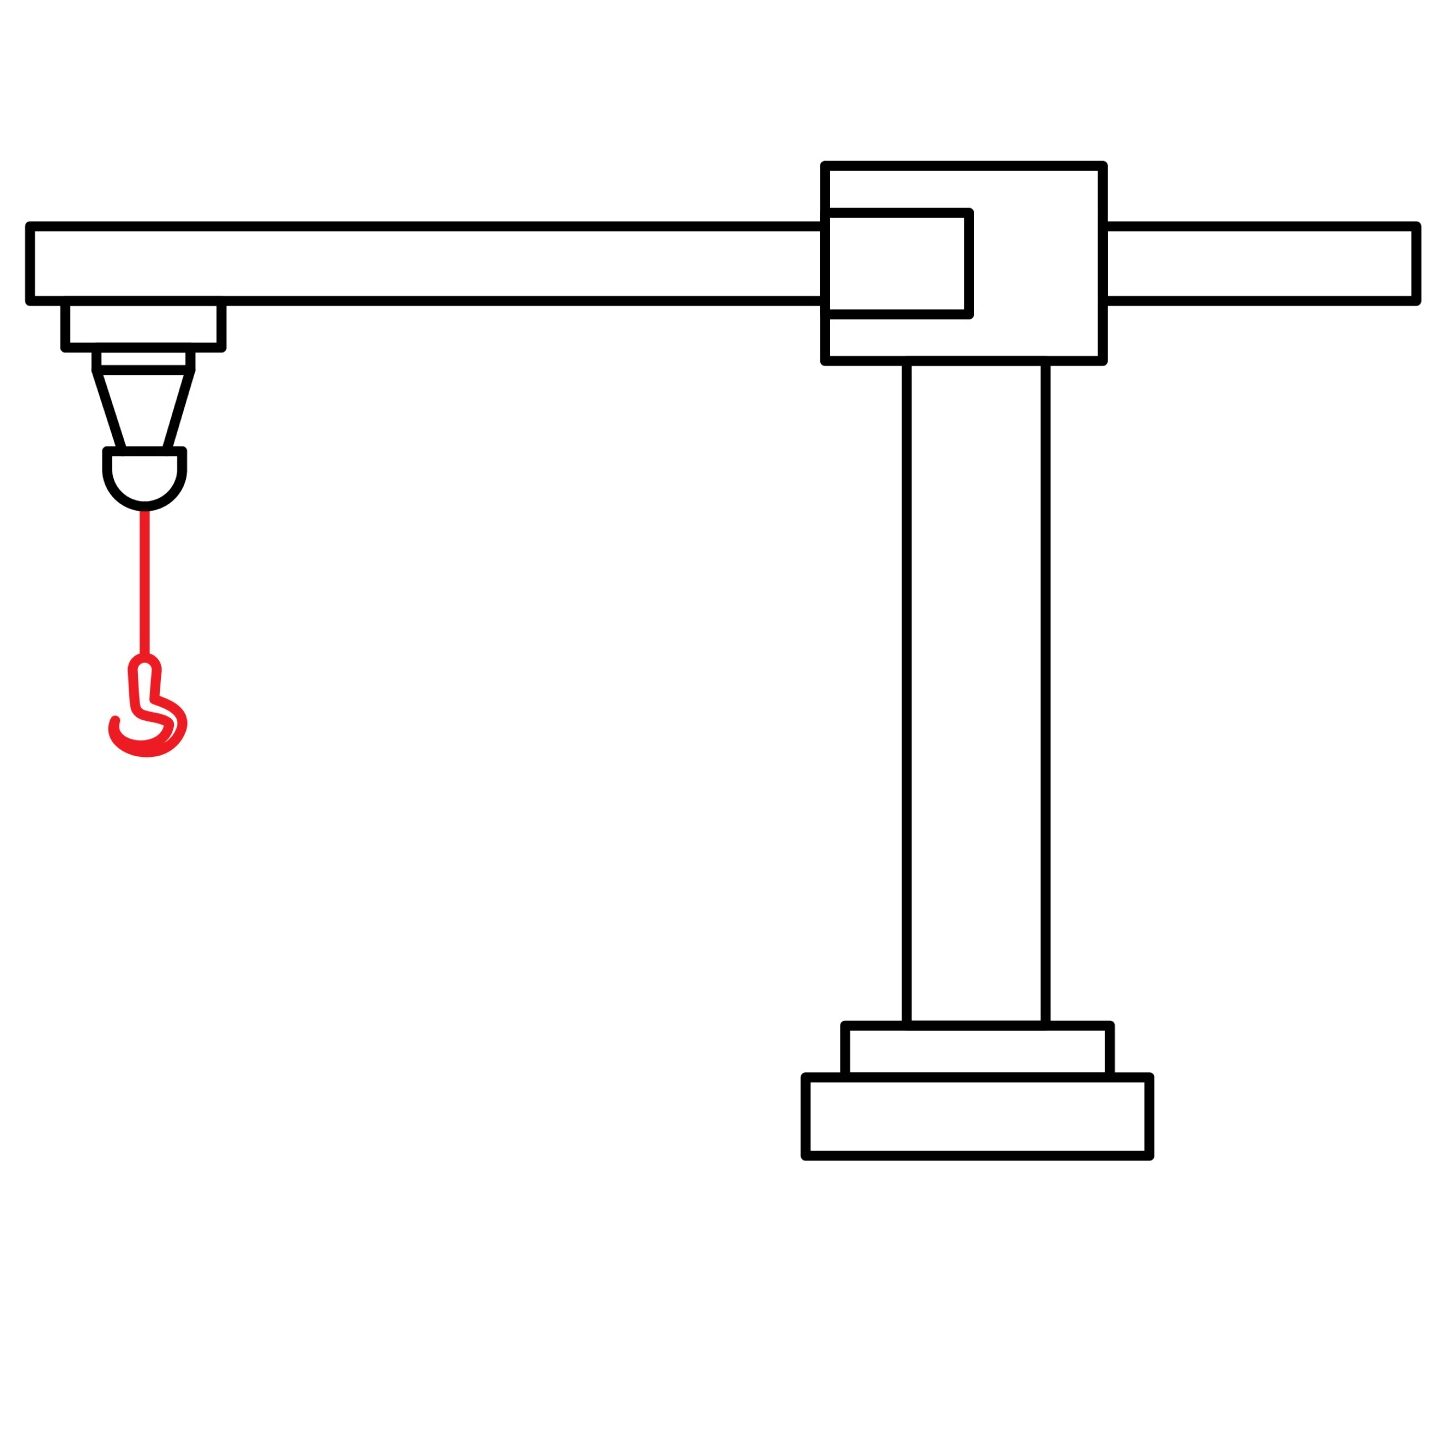
Step 6: Draw the Hook Block
The hook block is the component that connects the load to the crane. Just as the name implies, the component is basically a hook. It is made up of a hook, bearings, sheaves, and pulleys. The hook block is heavy enough to support heavy loads.
It is good to note that the main load line that supports the hook block can extend all the way to the ground level and even lower. The load line is also strong enough to lift heavy loads.
To add the hook block, start by drawing a vertical line from the semi-circle we added to the hoist. The line should be parallel to the mast. At the end of the line, draw a hook as shown in our illustration.
- Draw a vertical line below the semi-circle we added for the hoist
- Add a hook at the bottom end of the vertical line
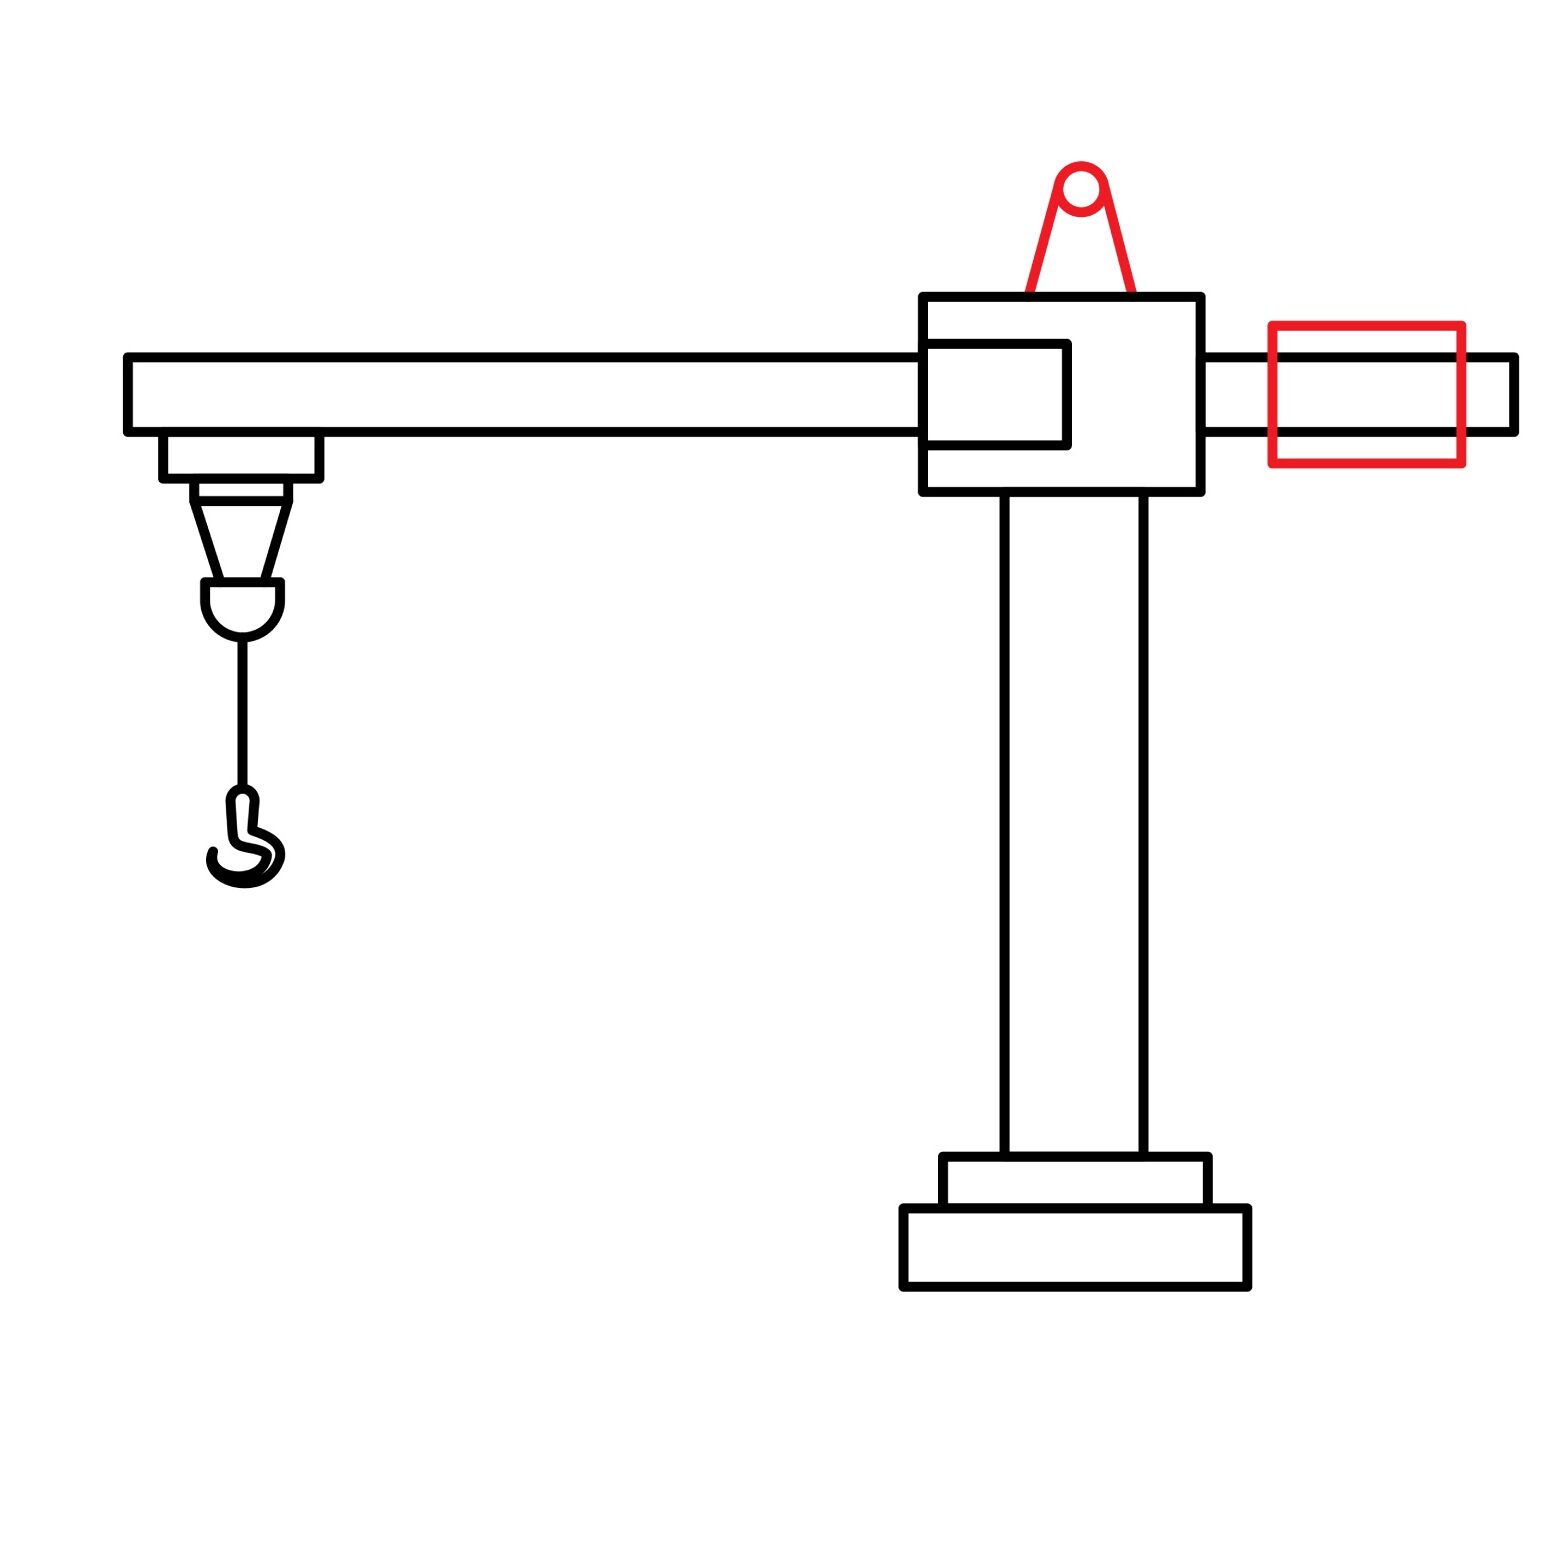
Step 7: Draw the Counterweight and the Tower Peak
The work of the counterweights is to balance the construction crane when lifting heavy loads. The counterweight sits across from the hoist, behind the operator’s cab, and is held in place by a counter-jib. The amount of counterweight should match the load size. This means that the counterweights are stackable and removable.
To draw the counterweight, use your ruler to add a square behind the operator’s cab. The width of the square should be bigger than that of the jib so that there is a distinction. Use an eraser to remove the lines of the jib that pass through the square.
We are now going to add the tower peak. This is also known as the apex. It is the extended part of the mast that rises above the operator’s cab. It gives more support to the wire rope that passes from the hoist to the hook.
Draw a small circle above the operator’s cab and connect it to the cab using two diagonal lines as shown above.
- Draw a square, wider than the width of the jib, behind the operator’s cab
- Erase the lines that cut through the square to complete the drawing of the counterweight
- Draw a small circle over the operator’s cab and connect it to the cab using two diagonal lines to form the tower peak
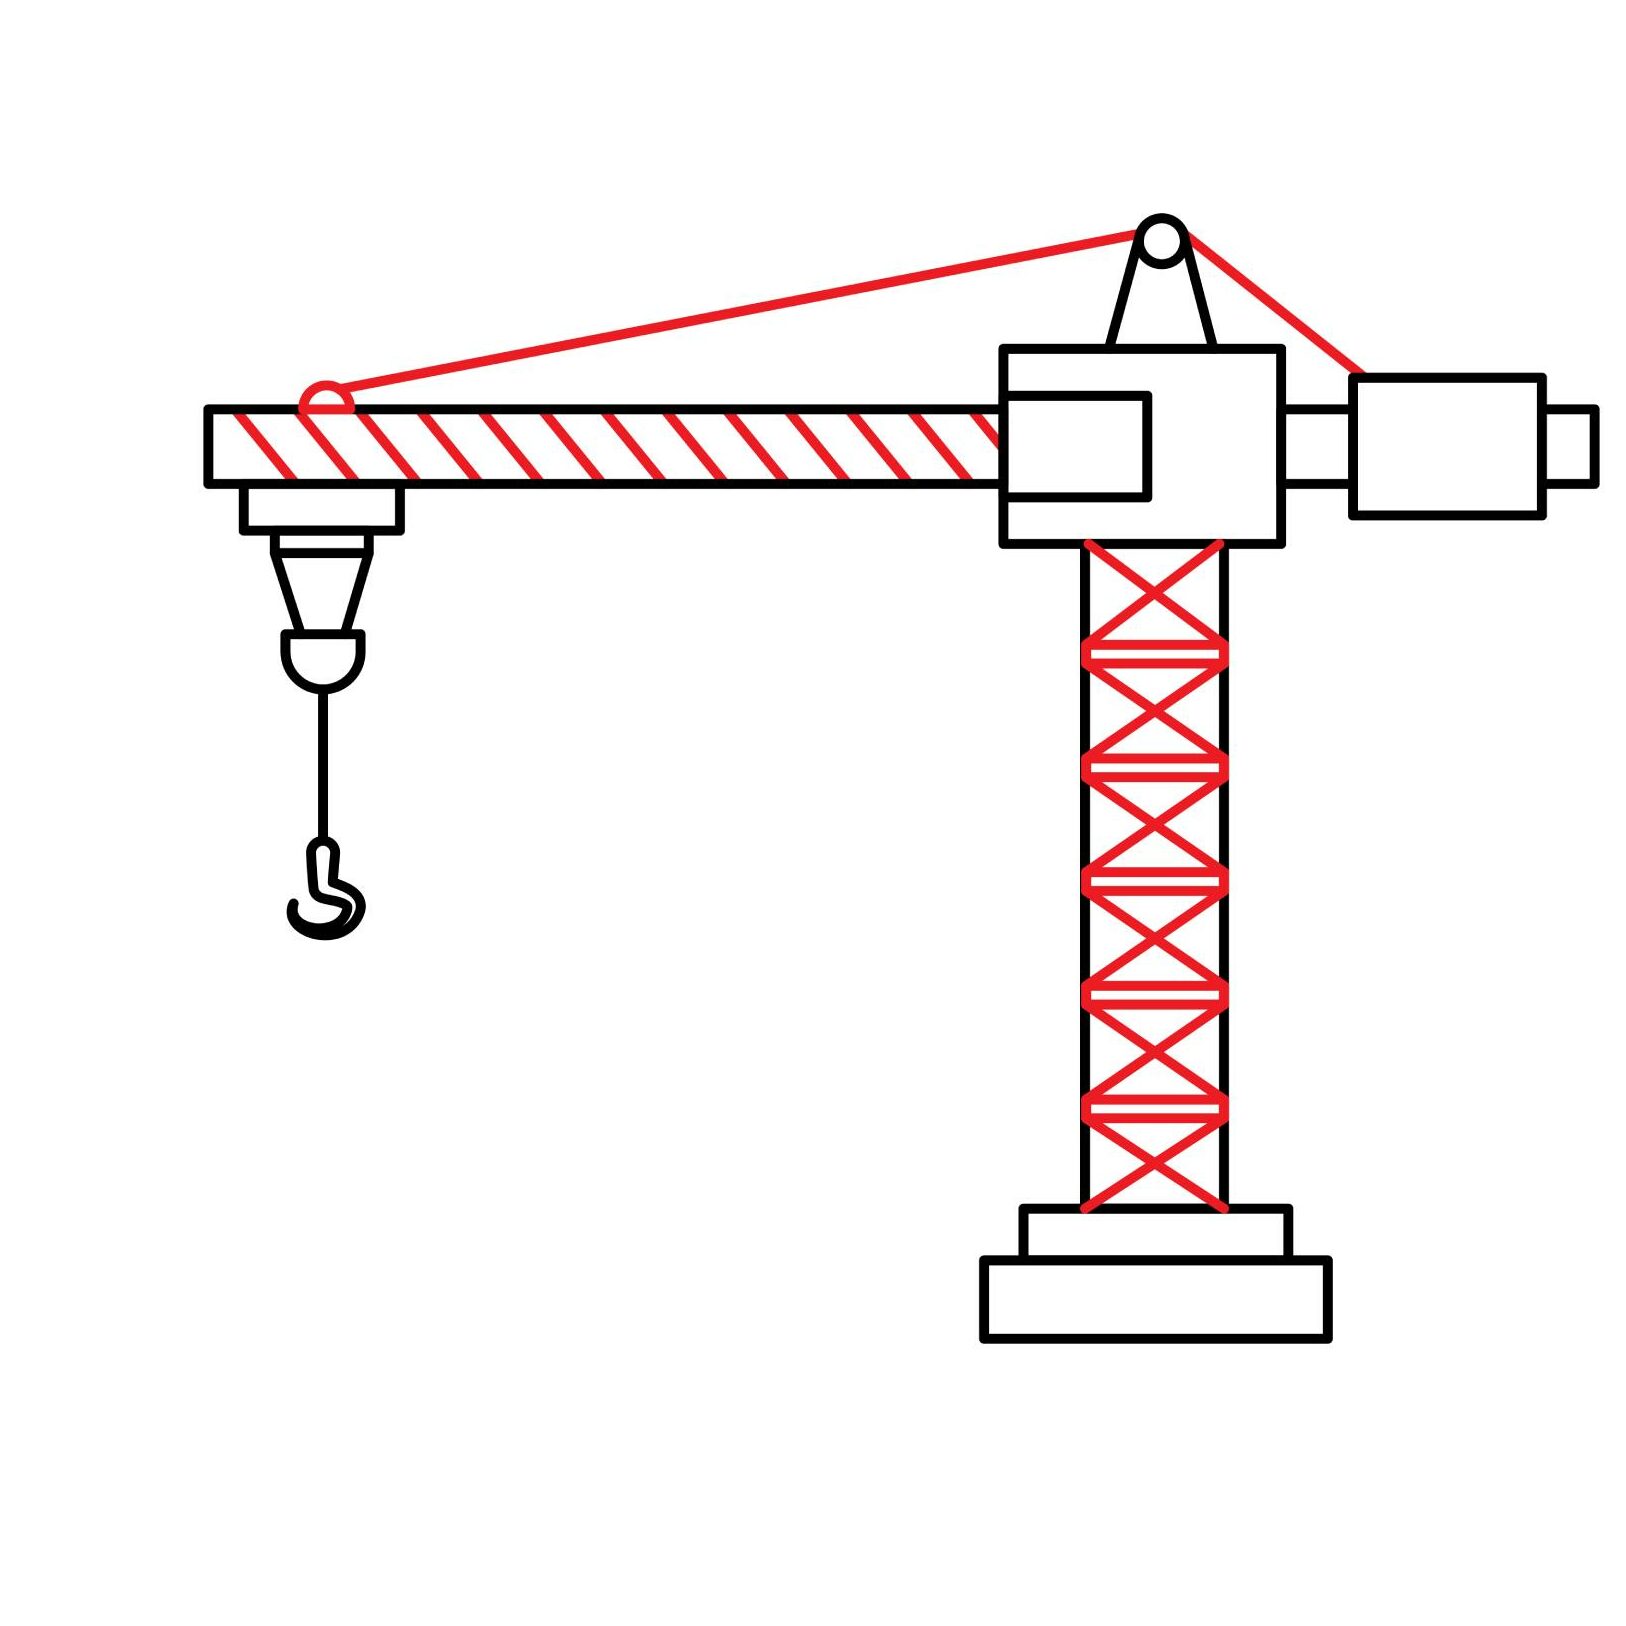
Step 8: Draw the Main Load Line
Also referred to as the pendant, the main load line is the cable that enables the crane to lift loads. The cable connects the counterweight to the hook block.
To draw the main load line, use your ruler to draw a straight line that starts from the area directly above the hoist and connects to the circle we drew on the tower peak. Draw another straight line from the tower peak to the counterweight as shown below.
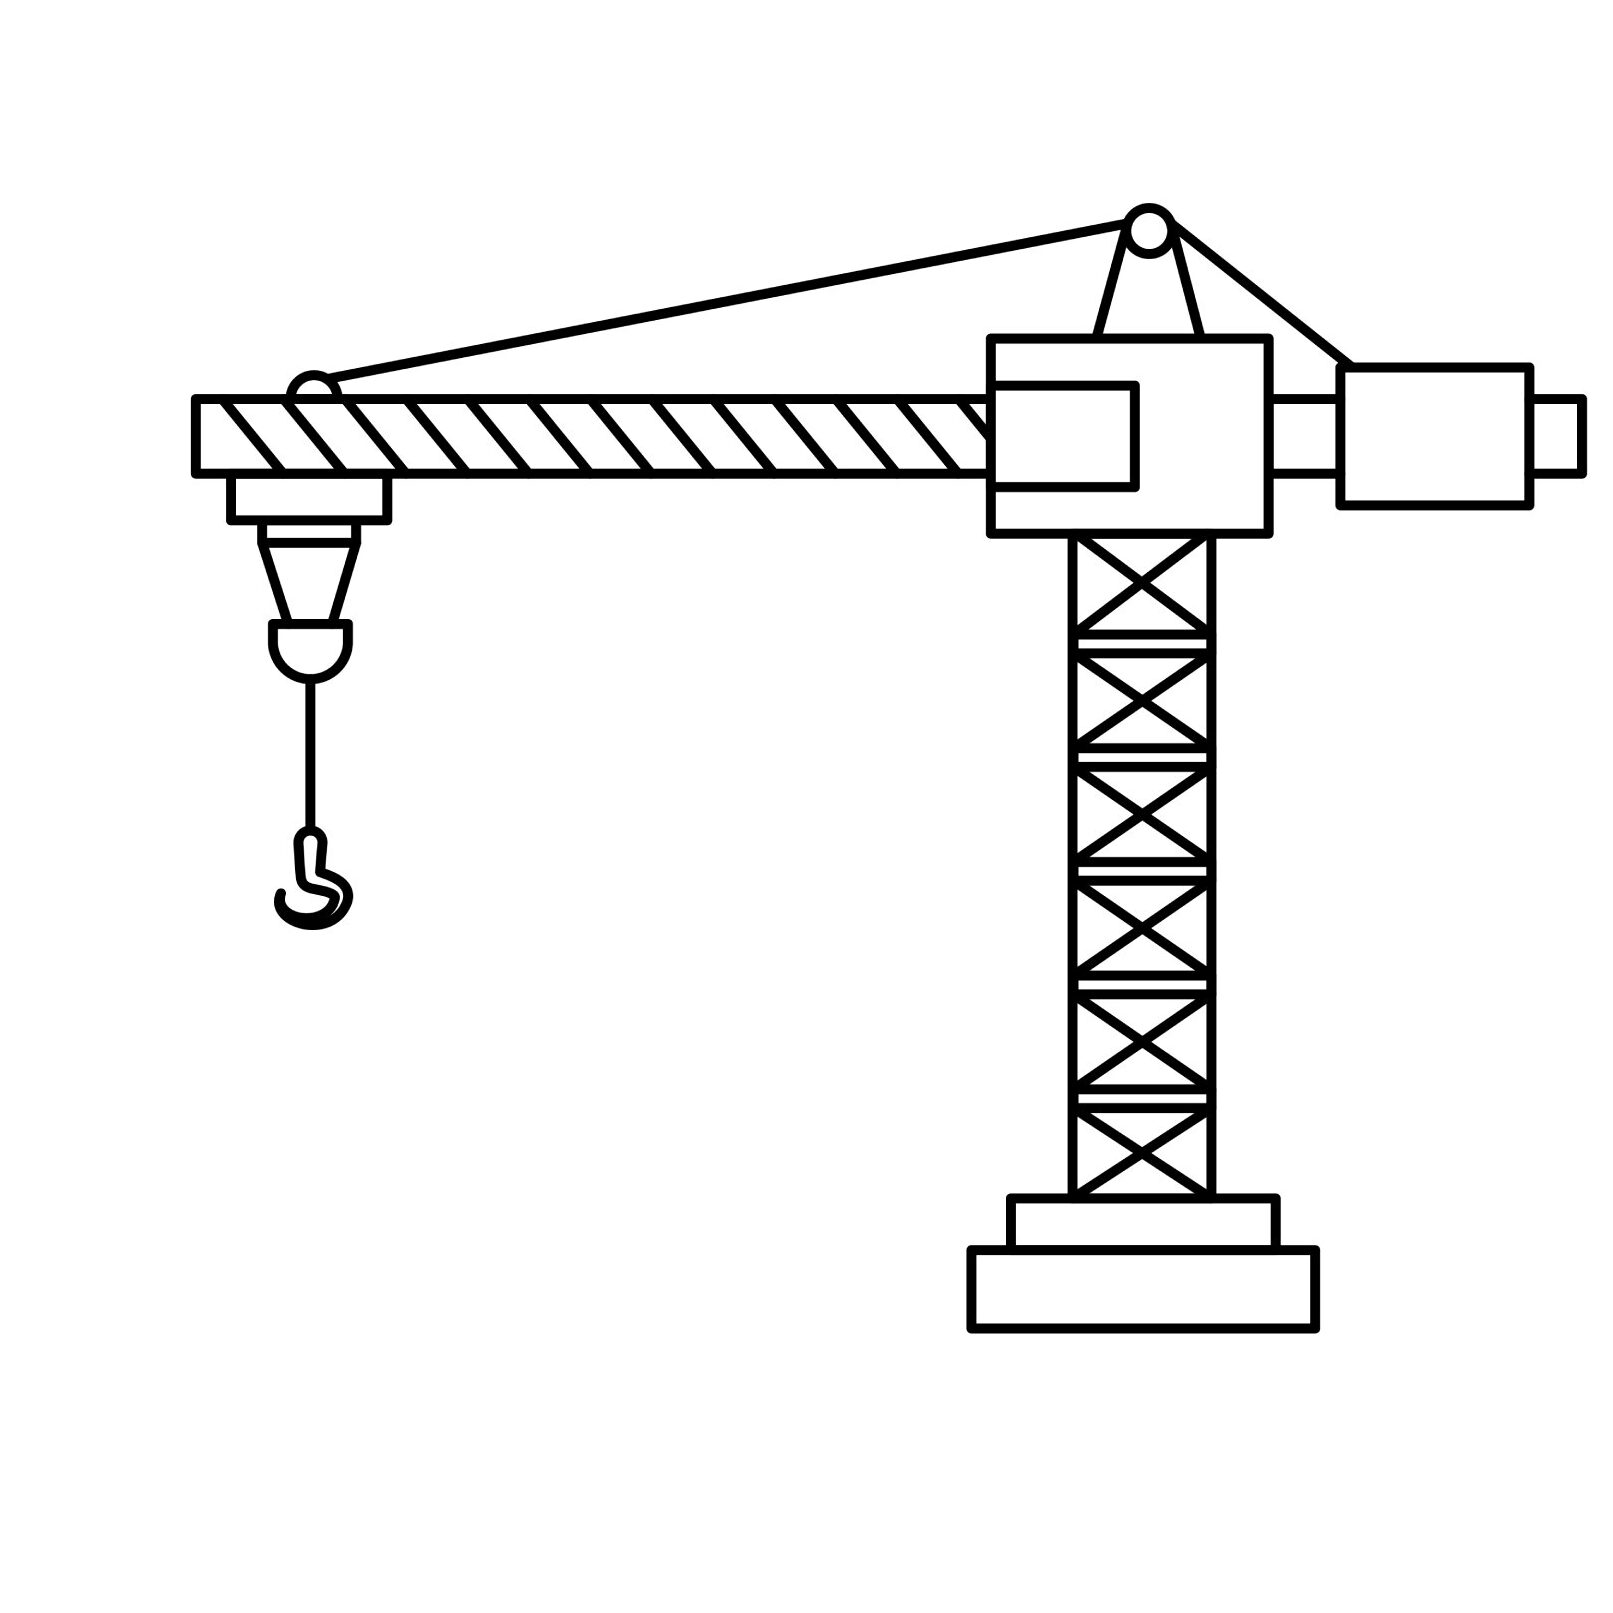
To complete our construction crane drawing, we need to add diagonal lines along the jib as shown in the illustration above. Next, add horizontal lines along the mast and add X marks in each box to indicate that the mast is made of metal.
- Draw a line starting from the tower peak to the area above the hoist
- Draw another line starting from the tower peak to the counterweight
- Add diagonal lines along the jib
- Add horizontal lines along the mast and X marks between the lines
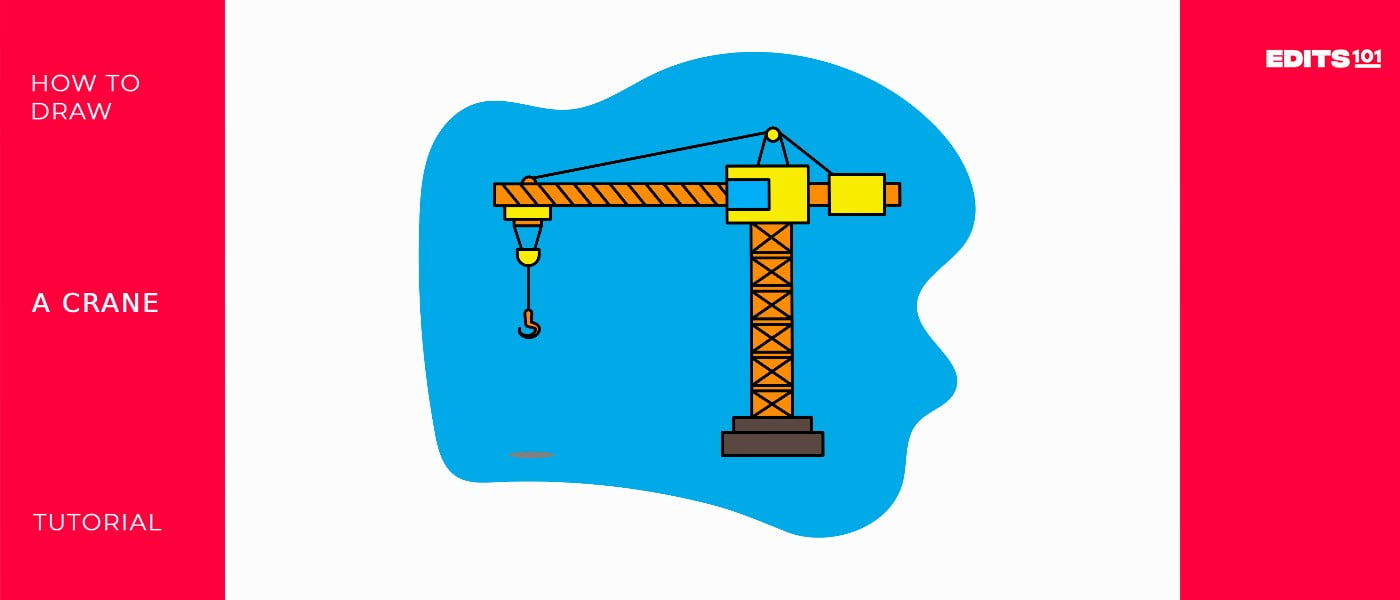
Step 9: The Construction Crane is Ready
If you follow all the steps, your construction crane should be ready. Take time to refine the areas that don’t look too good. Your crane should look like ours or even better.
Take the Drawing to the Next Level
Although it is okay to leave our crane as it is, we will take it further by adding a few more details.
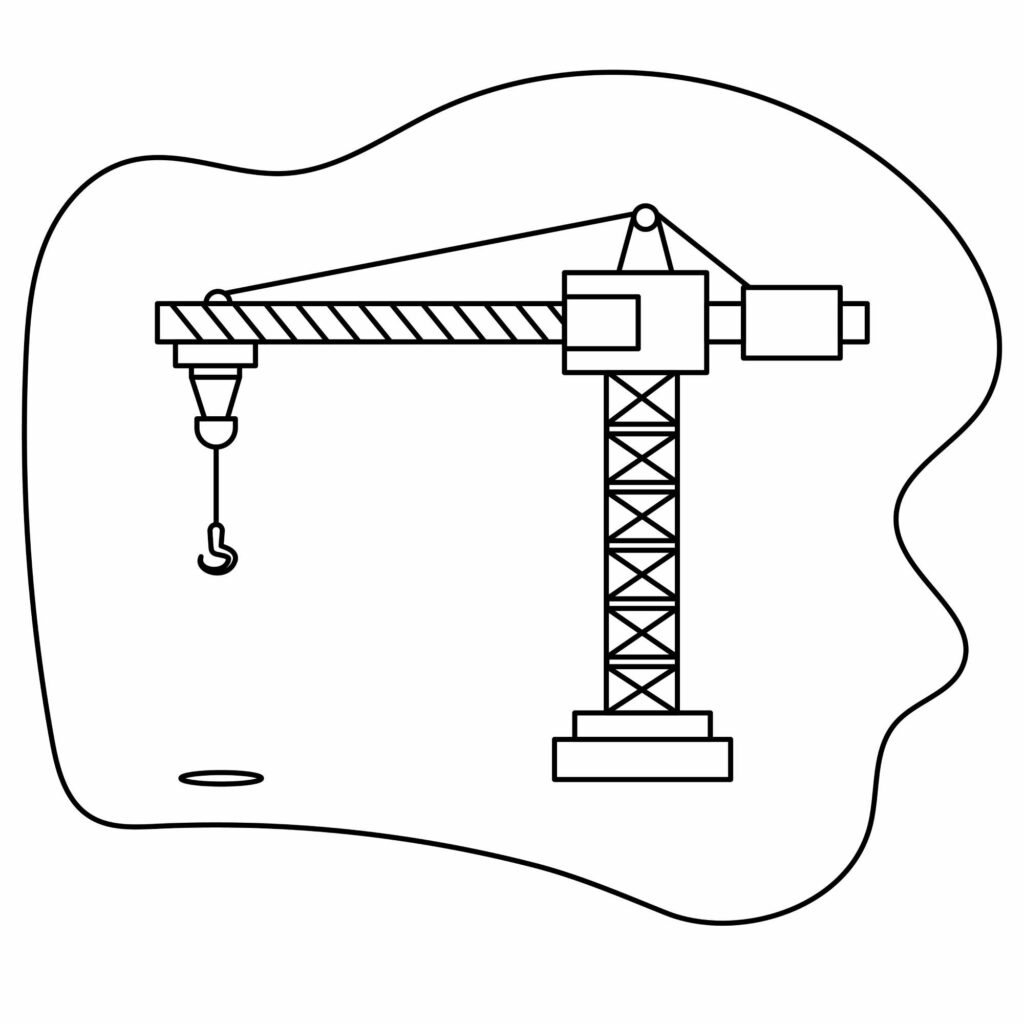
Step 10: Add a Background
You can add as many details as you want to your construction crane including a dump truck below the crane. For our crane, we simply added a frame and a small oval shape to indicate the shadow of the hook as it moves toward the ground.
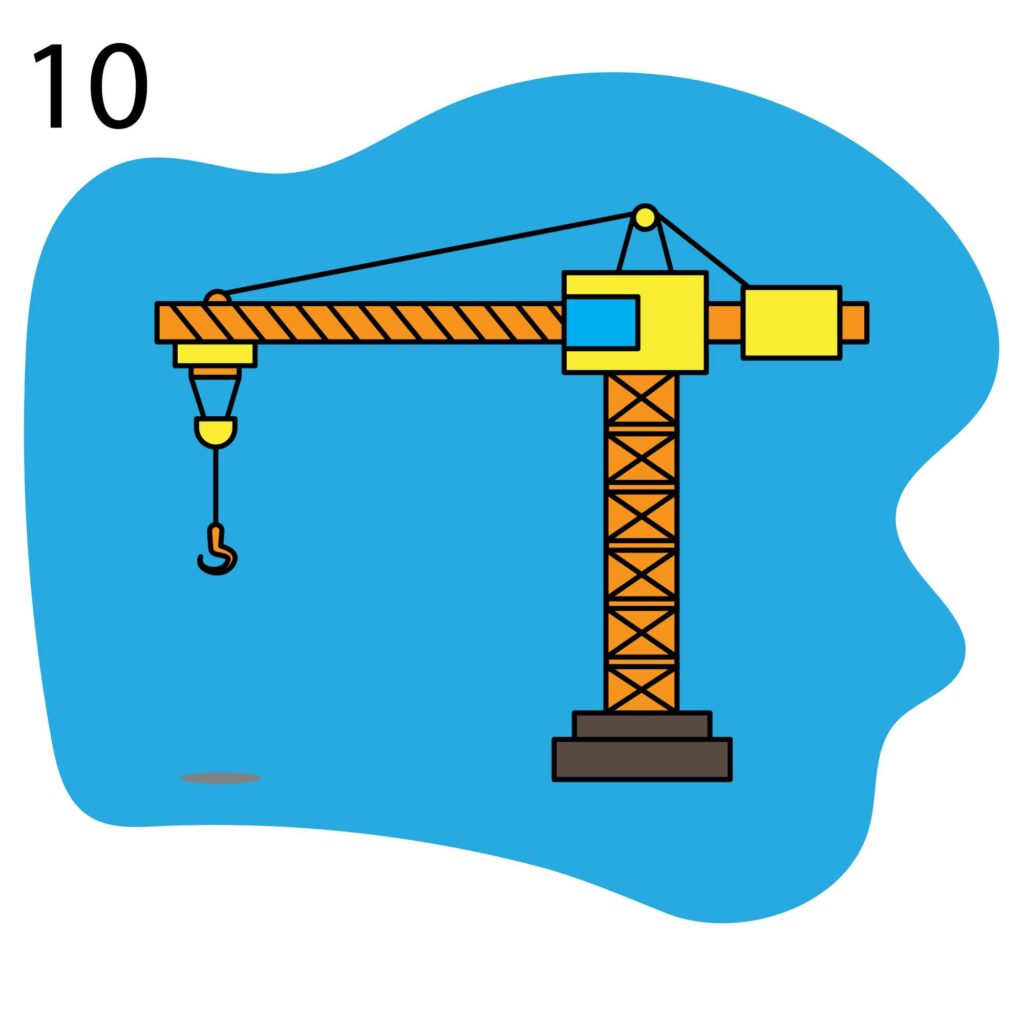
Step 11: Color Your Drawing
Take out your coloring supplies and add color to your drawing. Here is what we did to our construction crane.
Conclusion
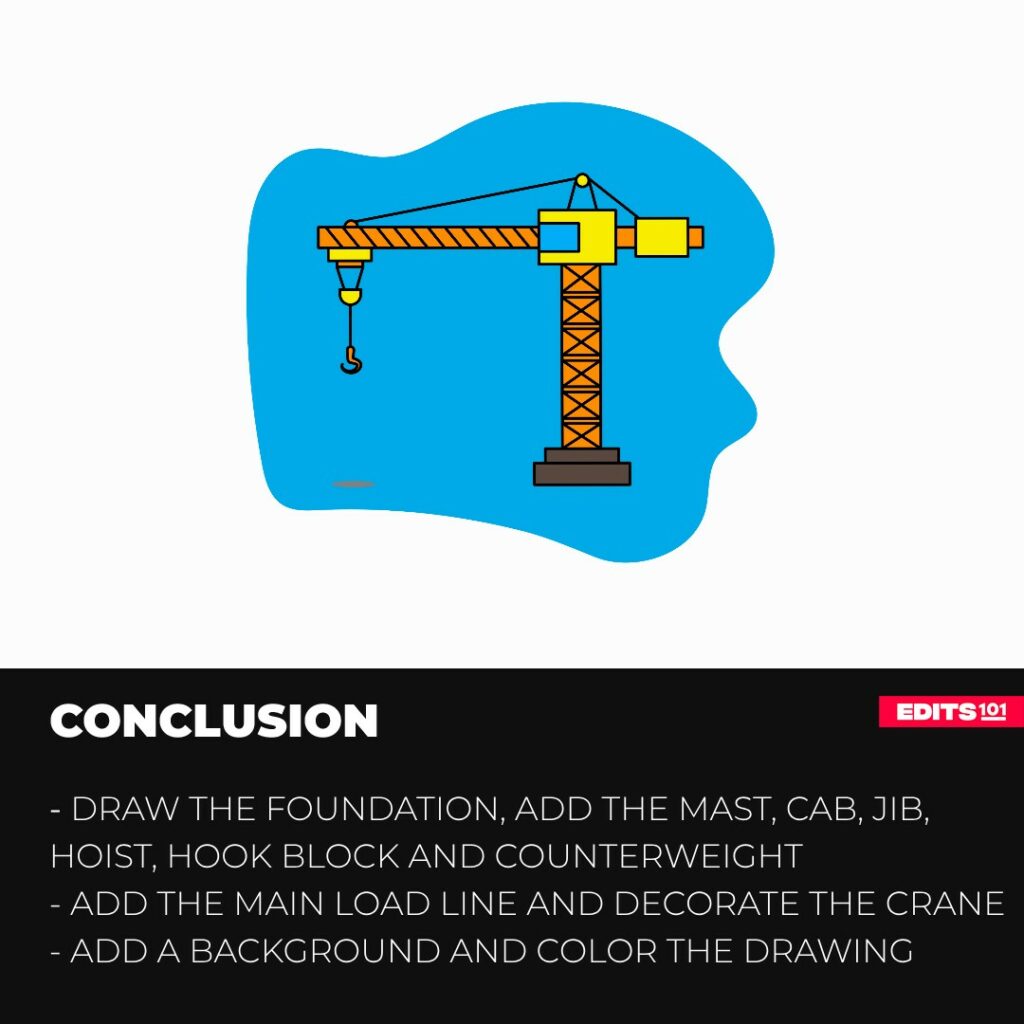
Drawing a construction crane is easy and involves a lot of straight lines. We started by drawing the foundation and then added the other parts starting with the mast, operator’s cab, jib, hoist, hook block, counterweight, and then the main load line.
To make our drawing stand out, we added a frame around the crane and a small shadow. We then used our coloring supplies to add color to our drawing.
Hopefully, you have learned a lot about construction cranes. You will see better results on your second attempt at drawing a construction crane.
Thanks for reading & feel free to check out more of our articles!
Author Rating
Overall Rating
Summary
Learn how to draw a detailed construction crane. You will also learn about the different parts that make up a crane.