How to Draw Boxing Shorts | A Drawing Tutorial
Boxing shorts were created in the early 20th century to provide boxers with comfortable and functional attire during their matches. Before the invention of this uniform, fighters typically wore long pants or other cumbersome clothing that hindered their movement and agility in the ring.
These shorts became popular as they allowed for greater flexibility and ease of movement, enhancing a boxer’s performance during fights. Today, boxing shorts are a common part of the sport’s attire and are designed to be lightweight, breathable, and flexible to ensure maximum comfort for athletes.
In this tutorial, we will provide you with a step-by-step guide on how to draw a pair of boxing shorts!
| Steps | Complexity Level |
| The Elastic Waist | 2 |
| The Shorts Outline | 3 |
| Extra Detailing | 1 |
What You Will Need
- Sketchbook or drawing paper
- Pencils (2b, 3b or 5b)
- An eraser
- A ruler (optional)
- Color pencils or markers
- 15-20 minutes
How to Draw Boxing Shorts
This is a great exercise to improve your drawing abilities as it merely involves sketching three components: the elastic waist, the outline of the shorts and some extra detailing.
Before you begin, be sure to thoroughly peruse the outline for an insight on all the steps, grab all of your required drawing tools, and make sure you have the allocated time – with a few extra minutes to spare – available.
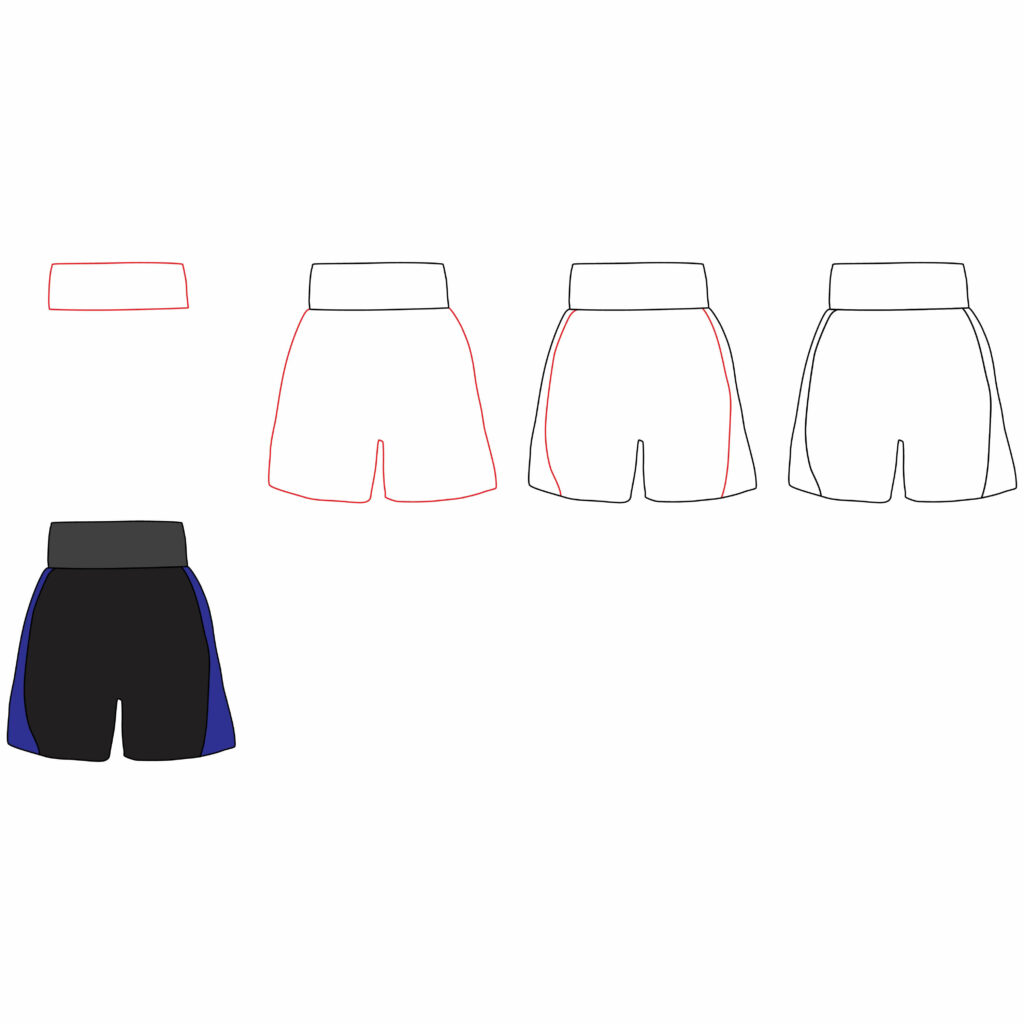
Step 1: Draw the Elastic
The elastic waist of a pair of boxing shorts is an adjustable band made of stretchy material that encircles the waist to provide a comfortable and secure fit for the boxer.
Before you begin sketching, decide which page orientation best suits your drawing. For a big pair of shorts, opt for a portrait orientation. If you’d like to draw a small pair of shorts, go for a landscape orientation as this allows more room to draw other things on the sides.
First, draw a semi-large rectangle on the middle of your paper. Ensure that the lines are not too straight as a wavy design will improve the drawing’s realism. Additionally, make the upper horizontal line of the rectangle slightly shorter than the bottom one so that the sides appear marginally diagonal.
- Flip your drawing paper on an orientation that best suits your design
- Draw a wavy rectangle on the middle of your page
- Make sure the sides of the rectangle are slightly diagonal

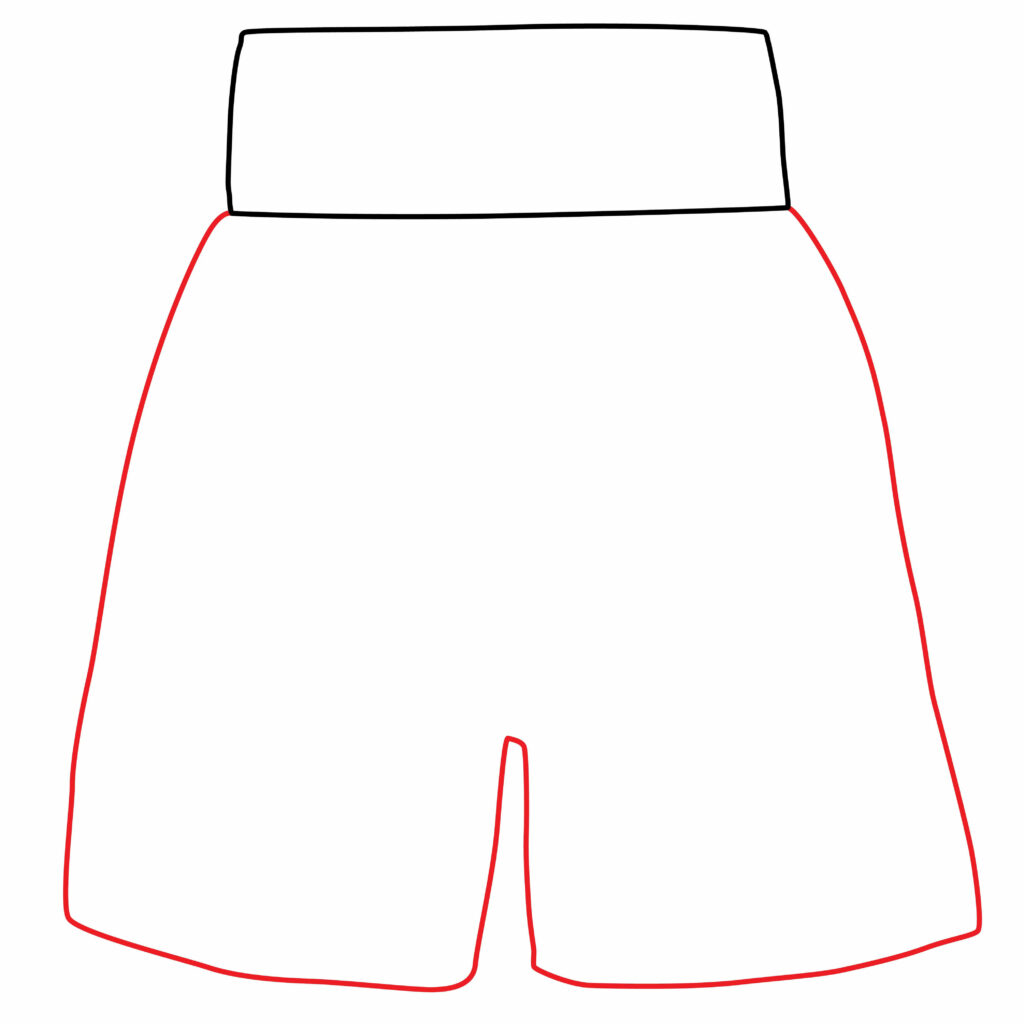
Step 2: Draw the Shorts Outline
Next, we’ll add the outline of the shorts. The outline is typically made from satin or polyester fabrics, and display a baggy fit to ensure optimal mobility, so bear in mind that the short’s width needs to be nice and wide.
First, starting from the bottom corner of the elastic waist, draw a slightly curved diagonal line that runs downward. Sharply curve the line into a horizontal line once you reach the desired length, then draw a curved diagonal line running upward.
Once your line is approximately three quarters the length of the outline, sharply curve it into downward running diagonal line. Add the horizontal line along the same length as the first horizontal line drawn, and then add the curved diagonal line that connects with the opposite bottom edge of the elastic waist.
- Start by drawing a long diagonal line from the bottom corner of the elastic waist
- Ensure that you follow the same process on both sides of the outline
- Keep the breadth of each leg nice and wide
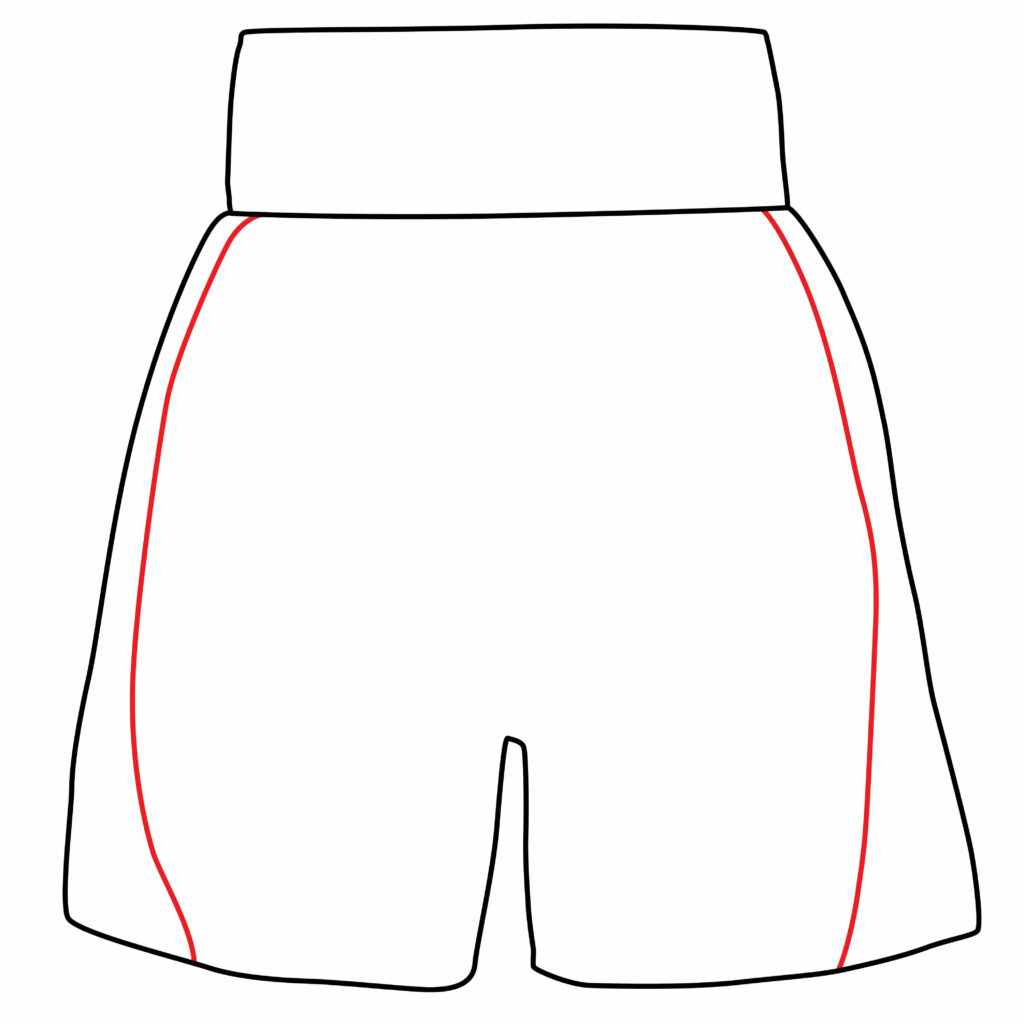
Step 3: Add extra details
To give your boxing shorts a realistic look, it’s important to add some extra detailing on the outline of the shorts. These will represent the sewing and seams.
In order to complete this step, start by drawing a curved vertical line close to the left edge of the shorts’ outline. Make sure that the line begins against the upper-left corner of the elastic waist, and ends against the mid-bottom of the shorts’ left leg.
Apply the same technique on the right side, however this time, curve the line to the right instead of the left.
- Draw a curved vertical line on the shorts’ left leg
- Draw a similar curved vertical line on the shorts’ right leg
- Make sure that both lines curve in an opposing fashion
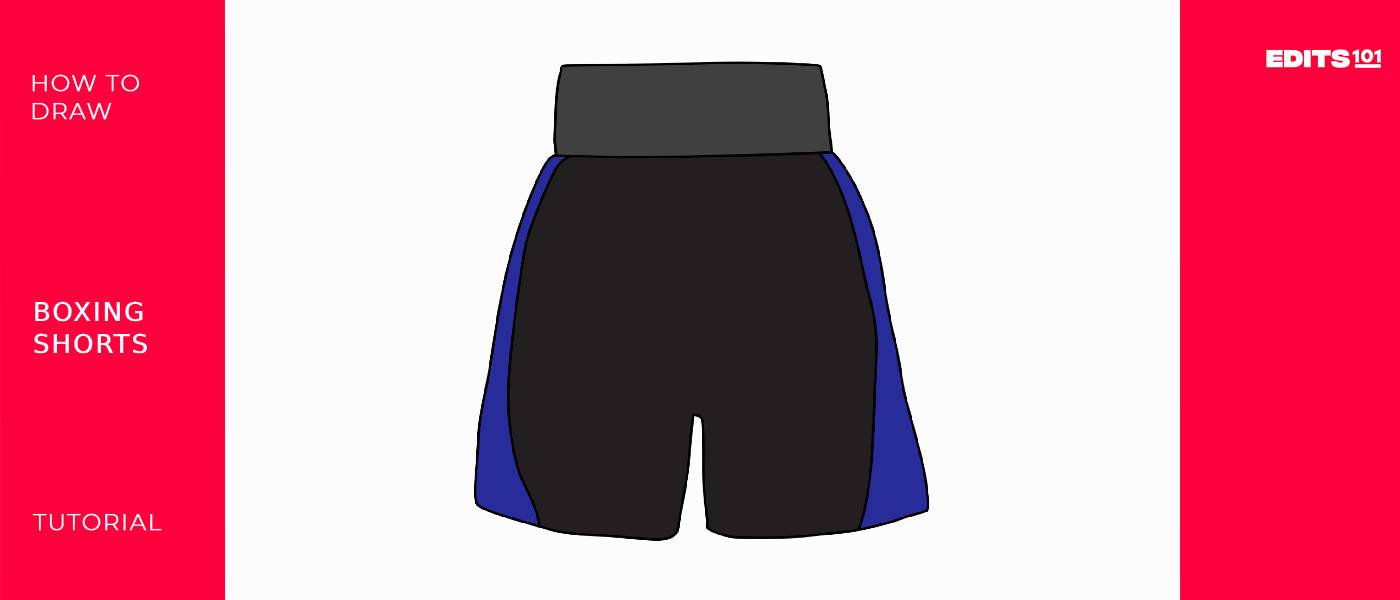
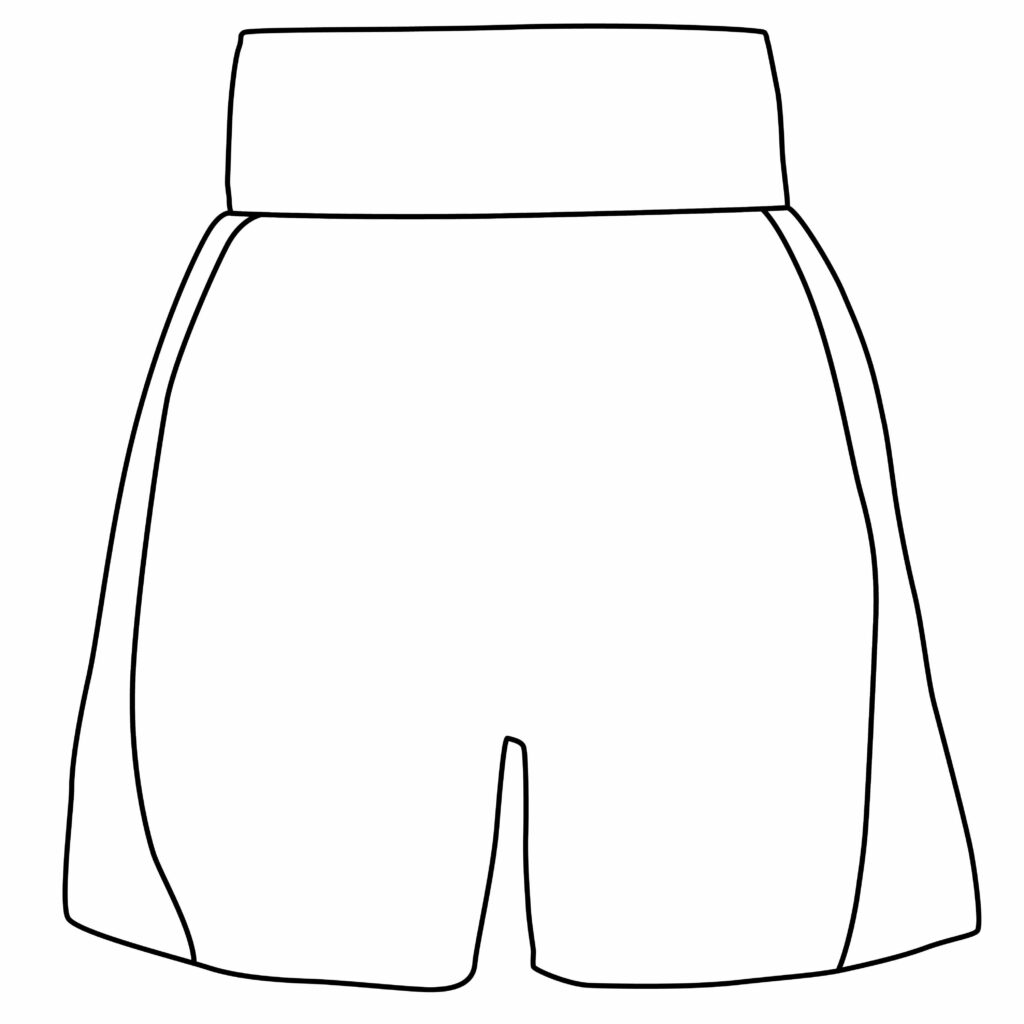
Congratulations! Your Boxing Shorts Drawing Is Complete
Take a well deserved break and inspect the quality of your drawing. Make sure that you’re happy with the results before you continue on with the tutorial. You’re welcome to use the image provided for comparison to make any corrections that may be needed.
Taking your Boxing Shorts Drawing to the Next Level
While a black and white sketch of boxing shorts is surely a successful feat, adding a background and coloring in your drawing will enhance its visual appeal and heighten the drawing’s realism.
step 4: adding a Background
Before you add a background to your drawing, it’s important to figure out what kind of story you’re trying to tell with your art. Do you want your boxing shorts to be on a boxer? Are they laying in a boxing ring? Is the surrounding ambience dark or light?
There are an array of ideas to choose from. Allow your imagination to roam free as you explore the possibilities. You could think outside the box and place your boxing shorts inside a sleek sports car, en route to a boxing match.
To match the boxing theme, you could draw various boxing gear as well, such as a pair of shoes, a robe, headgear, or even a corner stool.
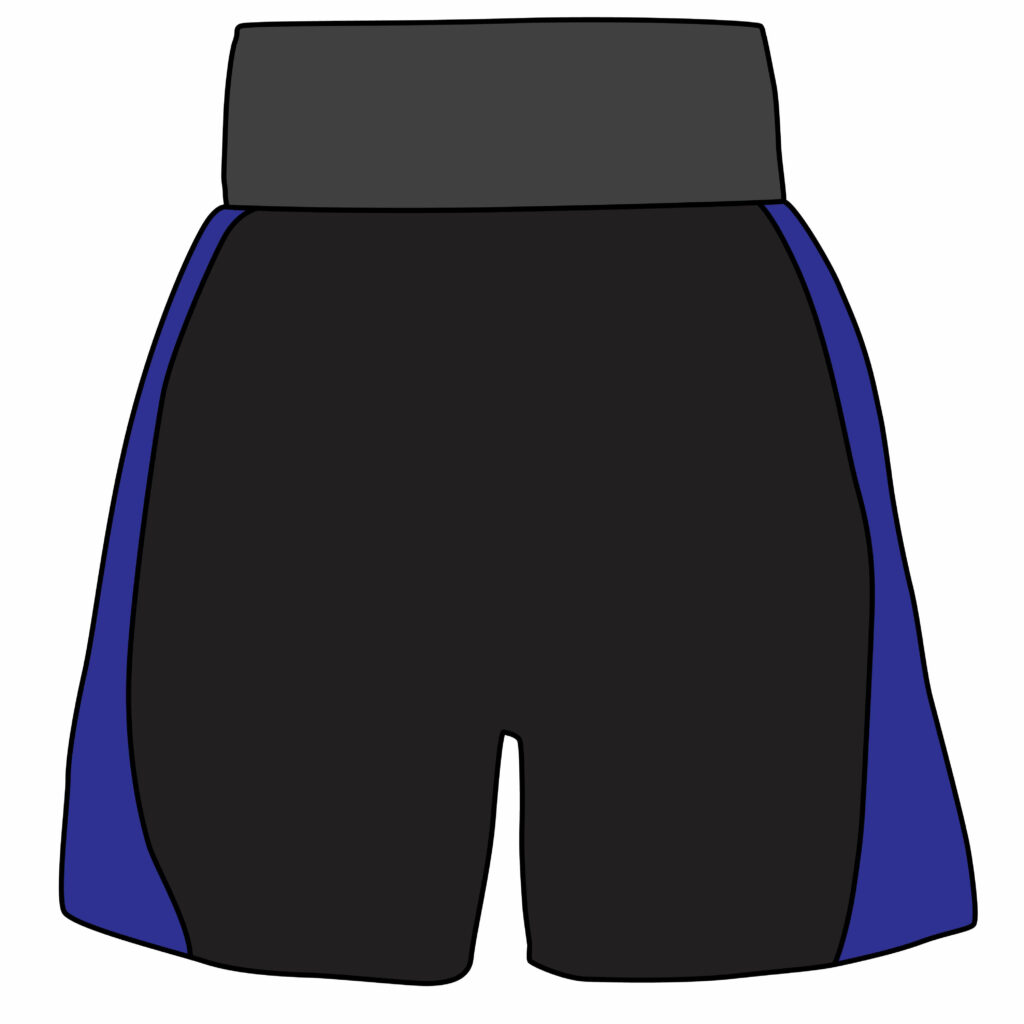
step 5: adding color
Adding color will almost instantly attract attention to your drawing. It not only livens up the illustration, but it also adds that extra touch of realism mentioned above.
In regards to a pair of boxing shorts, there are a variety of color combinations to choose from. Real-life boxing shorts don’t come in any single color, but a variety of them, so you could ultimately use whatever colors you prefer as you complete this step.
We’ve chosen some dark tones for our boxing shorts. If you like the look of them, feel free to use similar colors for yours. Just be sure to use different colors for each step as it will highlight each component and compliment the overall design.
Bonus Tips
Use reference images of real boxing shorts to study the design elements and details.
Pay attention to the proportion and placement of each component as you draw.
Experiment with different drawing techniques such as shading, cross-hatching, or stippling to add depth and texture.
Practice drawing folds and creases in the fabric to make the shorts look more realistic.
Consider adding small details like stitching, embroidery, or reflective elements for added visual interest.
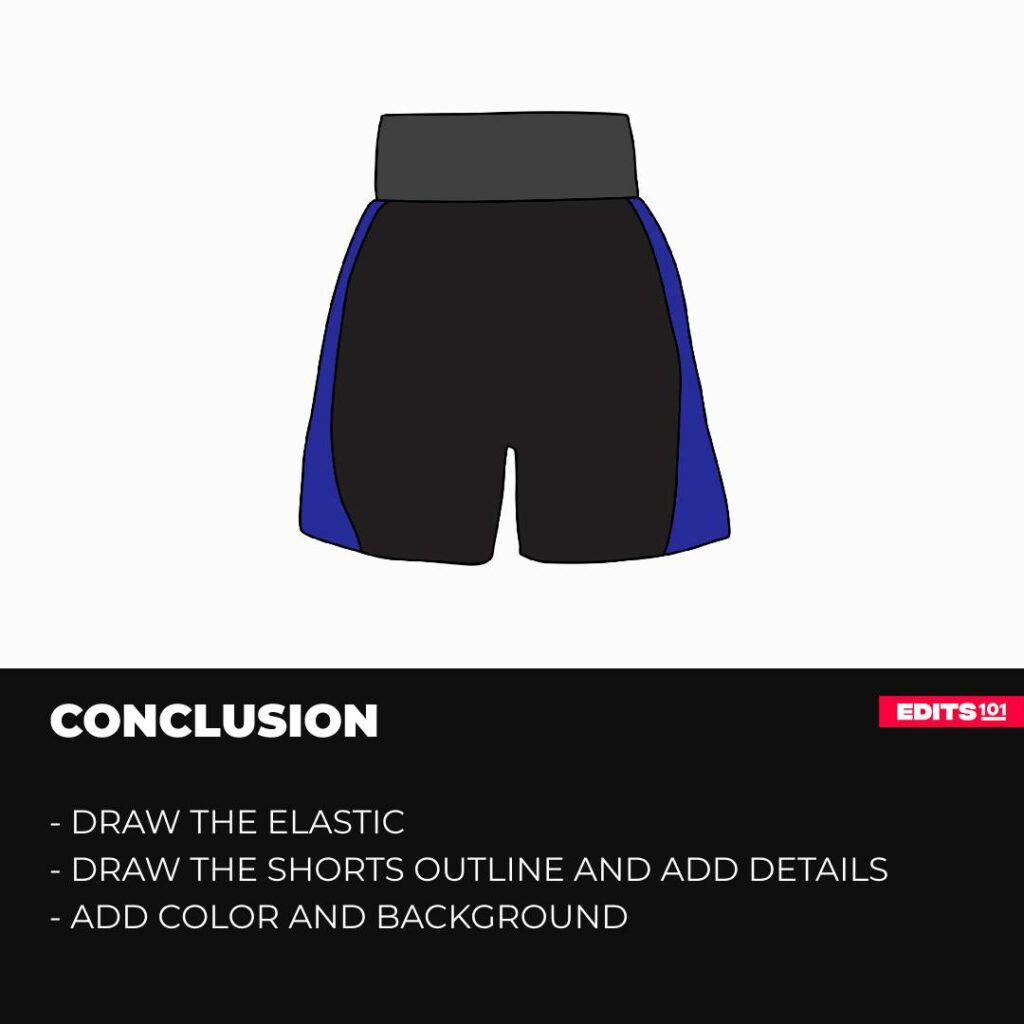
Conclusion
Congratulations on completing this boxing shorts drawing tutorial! Through this process, you have hopefully gained a deeper understanding of how to effectively depict an elastic waist, outline the structure of shorts, and incorporate intricate details to enhance your artwork.
As you continue to refine your craft, remember to practice regularly and experiment with different styles and approaches. Your dedication and commitment to improving your drawing abilities will undoubtedly lead to even greater achievements in the future. Keep up the excellent work!
Thanks for reading & feel free to check out more of our articles!
Author Rating
Overall Rating
Summary
This tutorial will guide you through sketching a basic design for boxing shorts and then refining it to achieve a more authentic and detailed appearance.