How to Draw a Motorcycle | 12 Simple Steps
There are many ways of drawing a motorcycle. The method you use will mainly depend on the type of motorcycle you are drawing. In today’s lesson, we will be looking at how to draw a superbike.
A superbike is basically a high-performance motorcycle that has a significantly higher engine capacity. While there is no universal definition of superbikes, most motorcycles that have a higher engine capacity and high performance are often placed in the superbike category.
| Step | Complexity Level |
| Drawing the Head | 2 |
| Drawing the Wheels | 2 |
| Drawing the Front Suspension | 1 |
| Drawing the Fuel Tank and Seat | 2 |
| Drawing the Front Fender | 1 |
| Drawing the Engine | 3 |
| Drawing the Toolbox and Rear Fender | 2 |
| Drawing the Swingarm | 2 |
| Adding Handlebars and More Details | 3 |
| Adding a Background | 1 |
| Coloring | 1 |
What You Will Need
- A pencil
- An eraser
- A drawing piece of paper
- Coloring supplies
- 20 minutes
How to Draw a Motorcycle
By the end of this lesson, you will not just be able to draw a beautiful motorcycle but you will also learn about the different parts that make up a motorcycle.
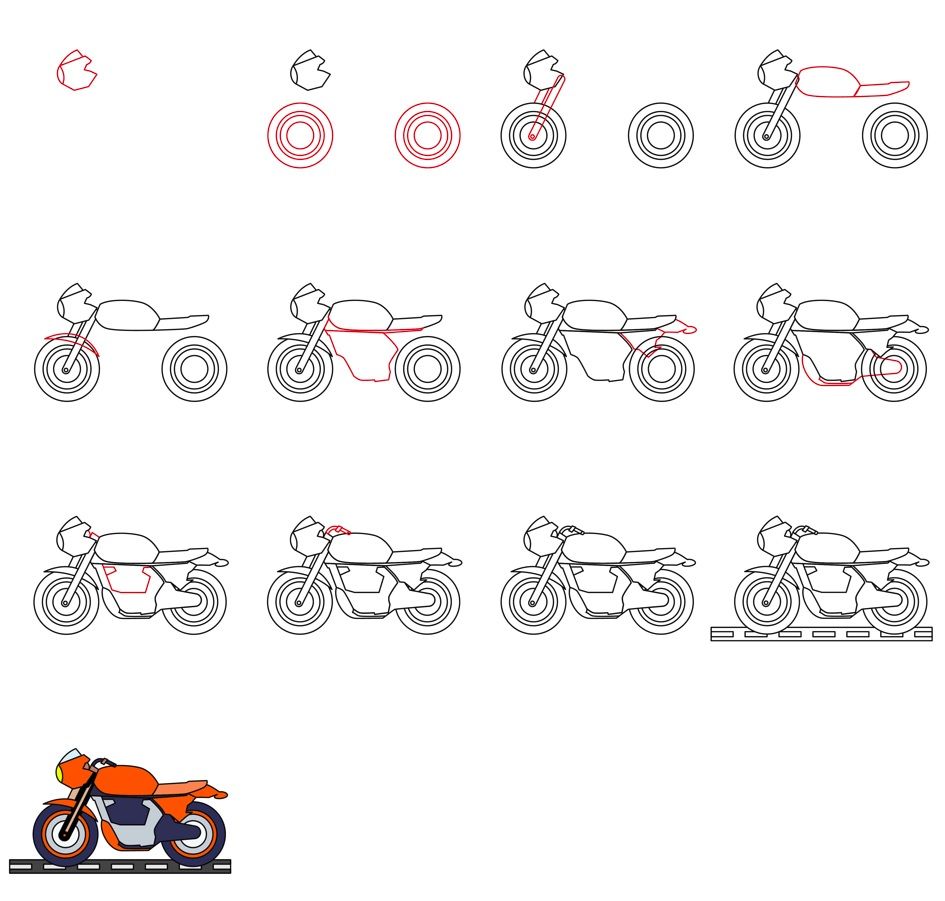
To help you get an idea of what we will be doing, the below image has the steps we will be taking. Take a quick look at these steps so that you are better prepared for every step.
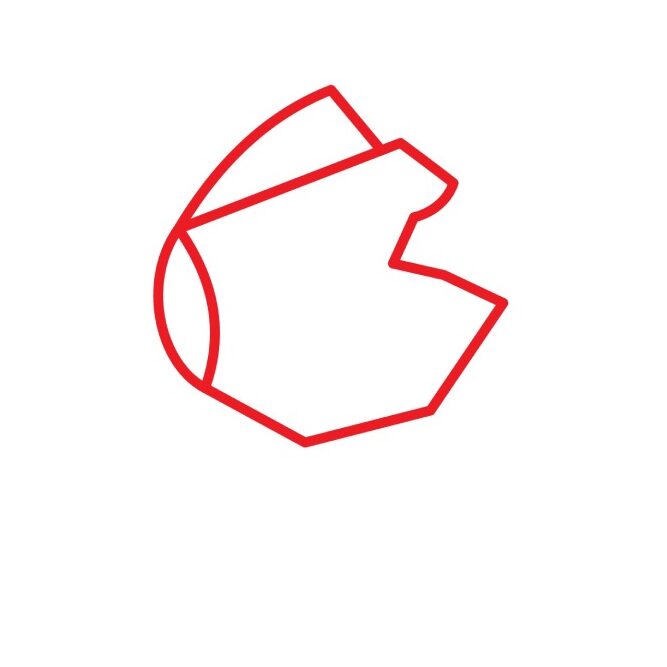
Step 1: Draw the Head
The first thing we are going to draw is the head of the motorcycle. This is the part of the motorcycle that holds the windshield, speedometer, headlights, and start switch.
To draw the head, start by drawing a small vertical oval shape close to the left margins of your drawing paper. The drawing should also be close to the top margin of your drawing paper. This is because we need ample space for the wheels and other parts of the superbike. The oval shape will serve as the headlight.
Next, we are going to add the windshield. For this, we will start by drawing a triangle shape with the vertical side on the right while the other end sits on top of the headlight. Curve the diagonal side of the triangle upward, slightly. That will form the windshield.
For the compartment that houses the speedometer, we are going to start by drawing a short diagonal line starting from the bottom of the headlight and extending slightly, downwards, towards the right. We will then add another short diagonal line that extends towards the right and then another one that connects to the first line we added for the base of the windshield.
To complete the head, add a small groove below the windshield and erase the line that cuts through the right. Your drawing should now look like this.
- Draw a vertical oval shape to serve as the headlight
- Draw a triangle with a curved top on the headlight to form the windshield
- Add a shape to the right of the headlight and below the windshield to form the compartment that houses the speedometer
- Add a small groove to the right of the head
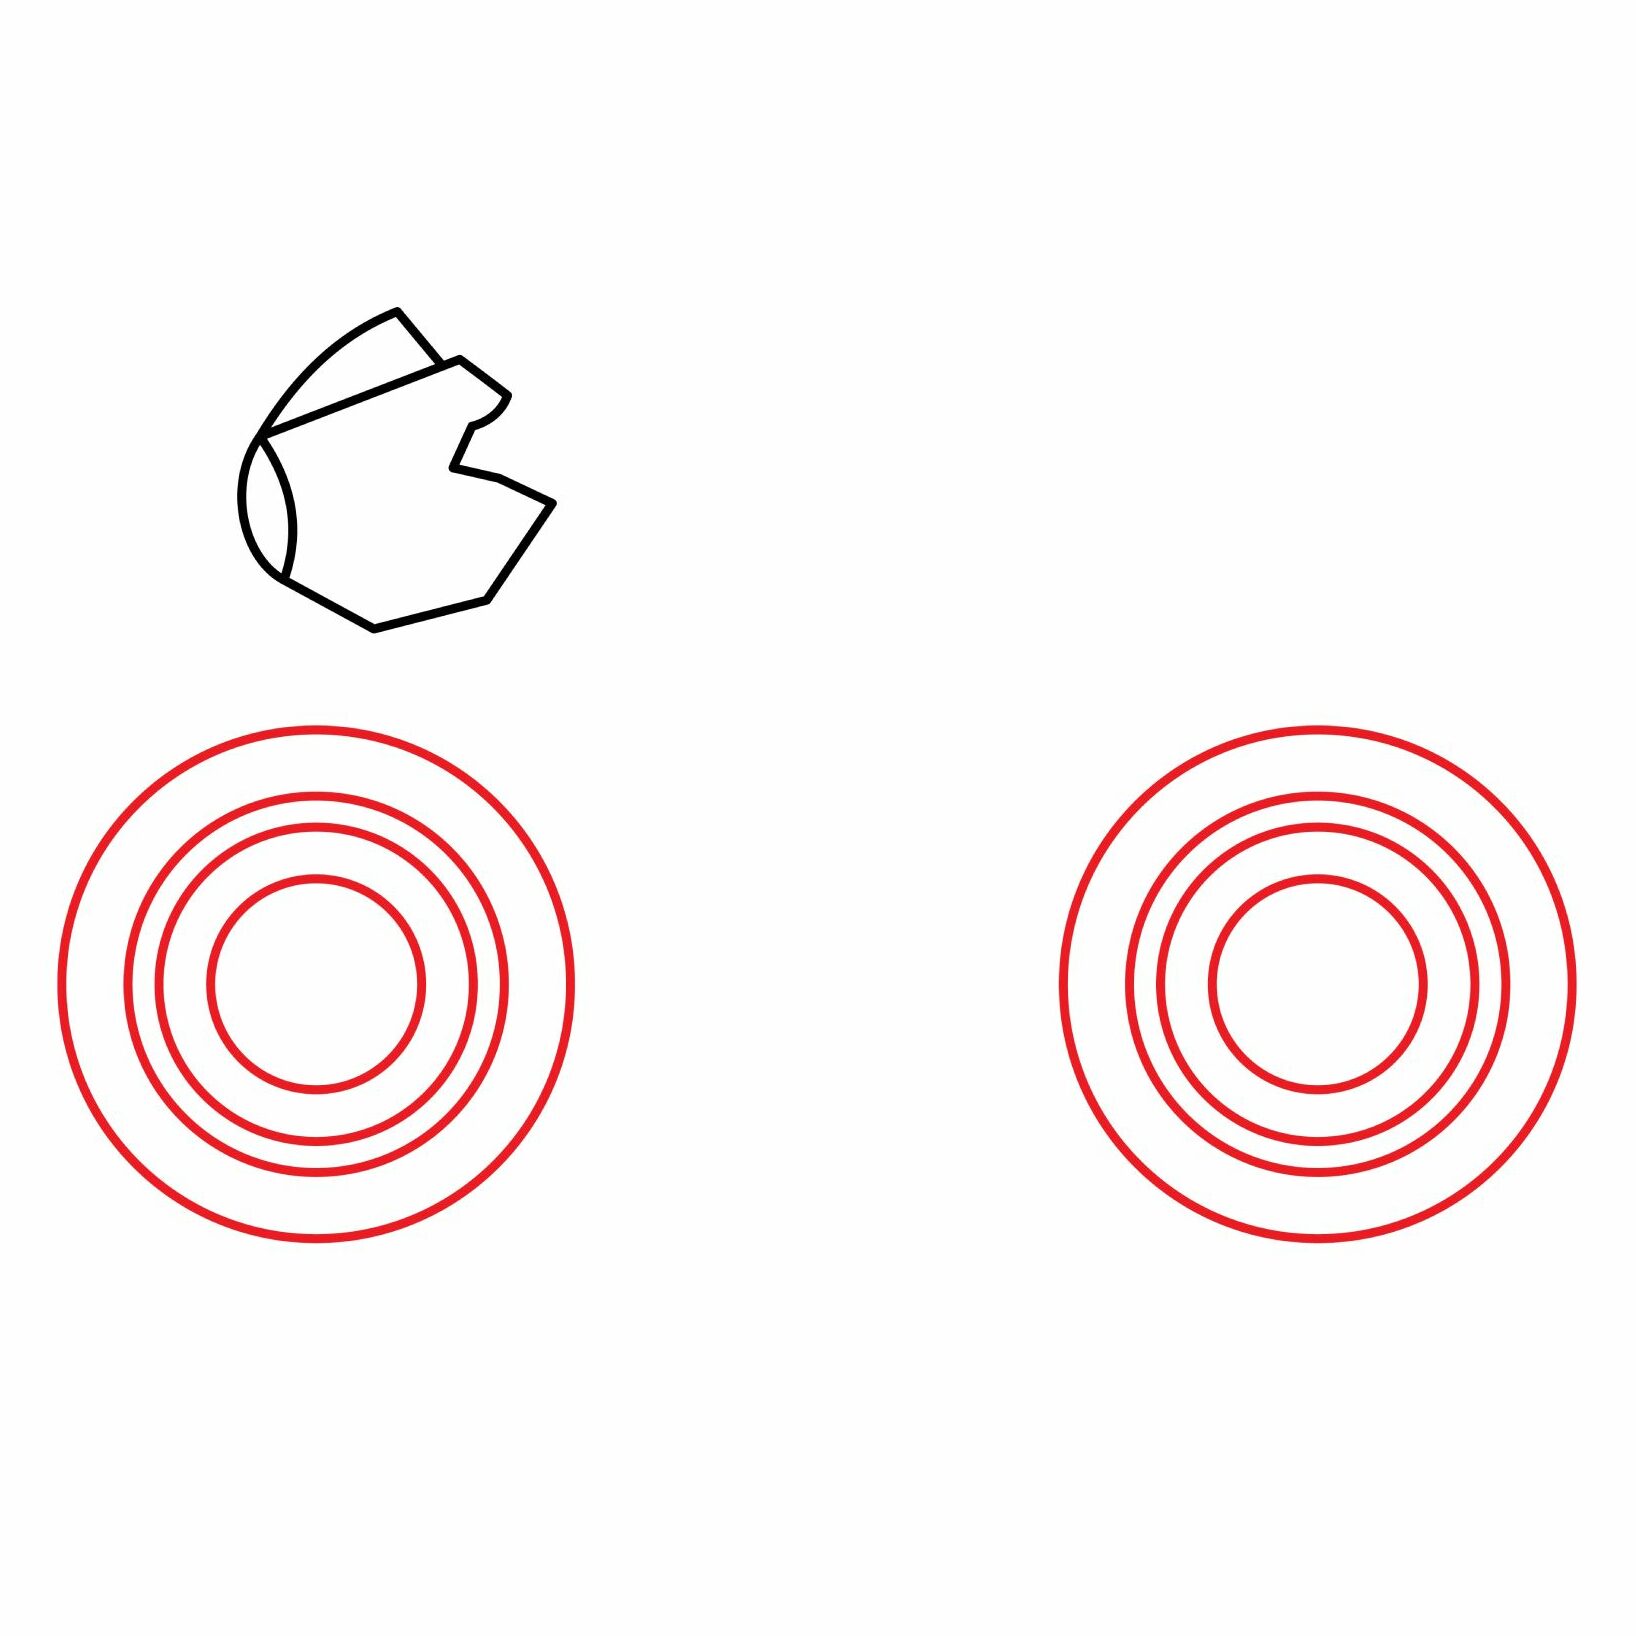
Step 2: Draw the Wheels
The wheels of a superbike are not like those of a standard motorcycle. They are designed for speed and endurance. We will be starting with the front wheel.
Right below the head of the motorcycle, draw a circle. The circle should be big enough because this will serve as the tire. Try and make the circle as smooth as possible. Next, we will add three more circles inside the first one. Make sure you leave some space between the outer circle and the immediate inner circle so that the shapes form a realistic wheel.
For the rear wheel, follow the same process as the one we used for the front wheel. Make sure the rear wheel is close to the right margin of your drawing paper. It should also be of the same height and elevation as the front wheel. Here is what your drawing should look like.
- Draw a large circle below the head
- Add three more circles inside the first circle, leaving space between the circles
- Repeat the process to draw the rear wheel
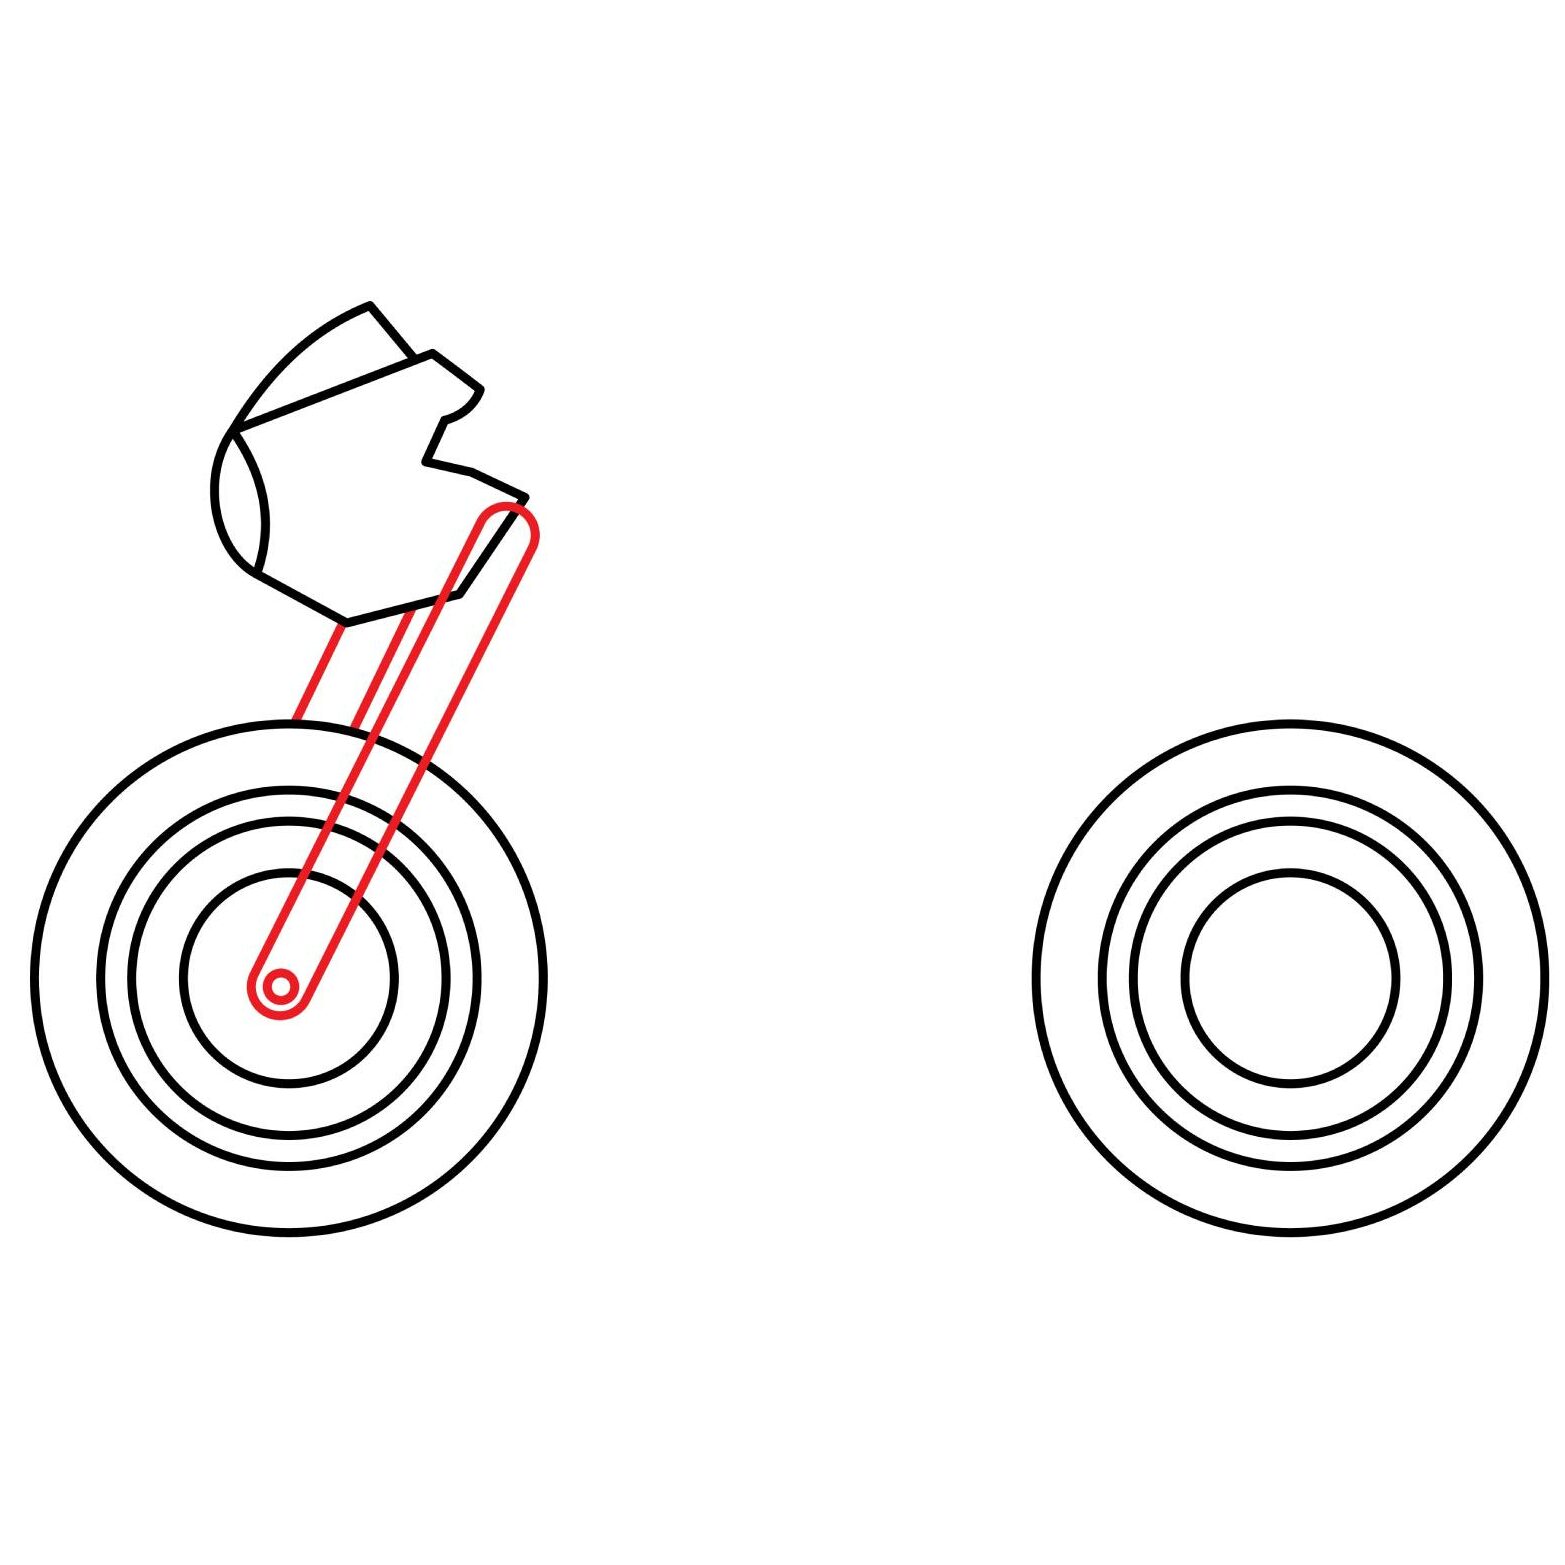
Step 3: Draw the Front Suspension
For comfort when riding at high speeds, a superbike needs a good suspension system. The suspension reduces impact to the rider’s arms especially while riding on rough terrain. We are now going to add the front suspension. The front suspensions are usually connected to the handlebars. This means the suspensions start right below the head of the motorcycle.
We will start by drawing a small circle in the center of the front wheel. Next, we will draw a tube-like structure starting from the bottom right part of the head and extending it diagonally to connect with the small circle we added in the center of the front wheel.
Since a motorcycle has two front suspensions, we are going to draw two lines that are parallel to the first suspension. This will start from the bottom of the head and end at the top of the front wheel. This is because the front wheel will conceal the remaining part of the suspension.
To complete the drawing, erase any lines that cut through the suspension.
- Draw a small circle in the middle of the front wheel. This forms the hub.
- Draw a diagonal tube-like structure starting from the base of the head and connecting to the hub. This forms the left suspension.
- Draw another tube-like structure starting from the base of the head and ending on top of the front wheel. This will be the right suspension.
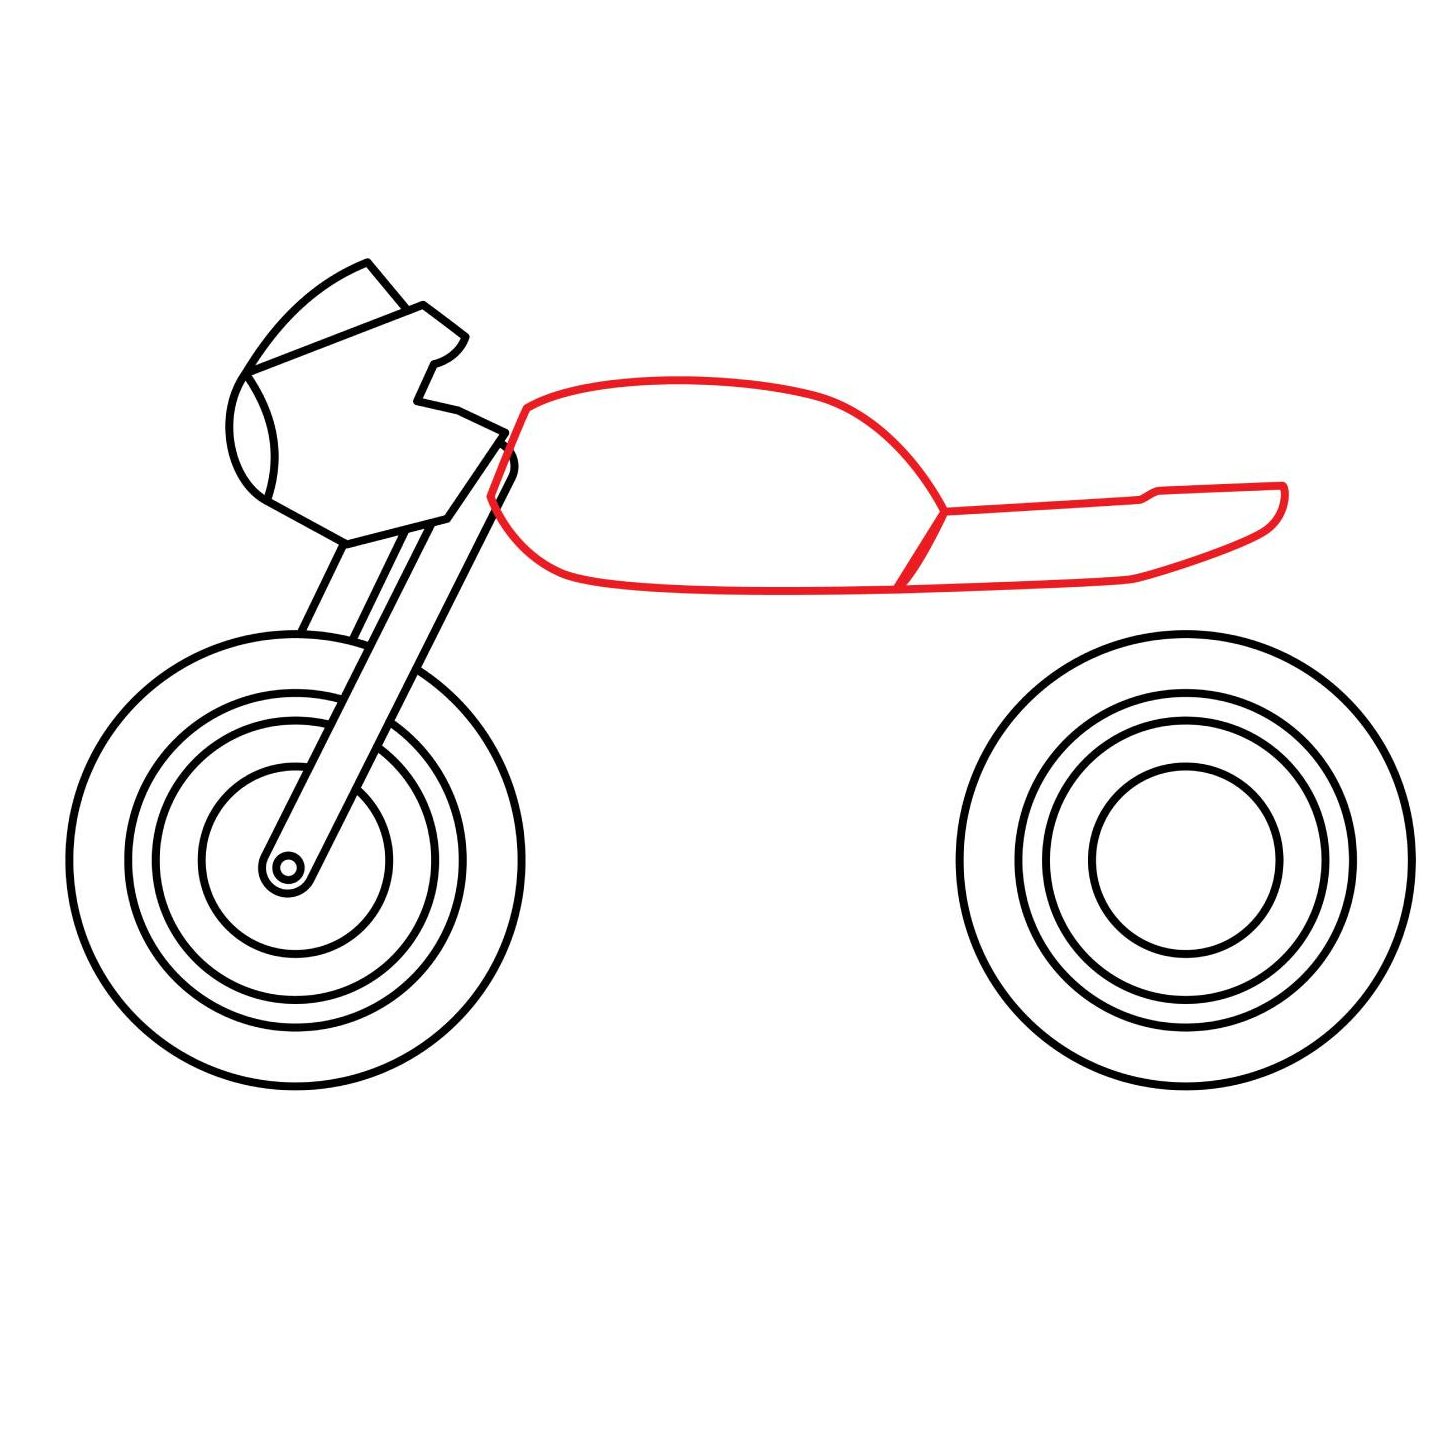
Step 4: Draw the Fuel Tank and Seat
The fuel tank is a large structure that sits right behind the head. To draw it, draw an oval shape that has the left end touching the head and the right part close to the rear wheel. The oval shape should not be too wide because we will be adding other components below it.
The front seat goes right behind the fuel tank. To add it, we are going to add a rectangle-like structure starting from the right part of the fuel tank and extending backward and hovering over the rear wheel. For realism, make the bottom and top parts of the rectangle a bit curved.
- Draw an oval shape behind the head to form the fuel tank
- Add a horizontal rectangle behind the fuel tank to form the seat
Step 5: Draw the Front Fender
A motorcycle needs a front fender. This is a metallic structure over the wheel that catches debris before it gets to the rider.
To draw the fender, add a semi-circle structure on top of the front wheel as shown below. We will then erase the section of the semi-circle that cuts through the front suspension and then remove the part of the front wheel that cuts through the fender.
- Draw a semi-circle over the front wheel
- Erase the part of the fender that cuts through the suspension
- Erase the parts of the wheel that cut through the fender

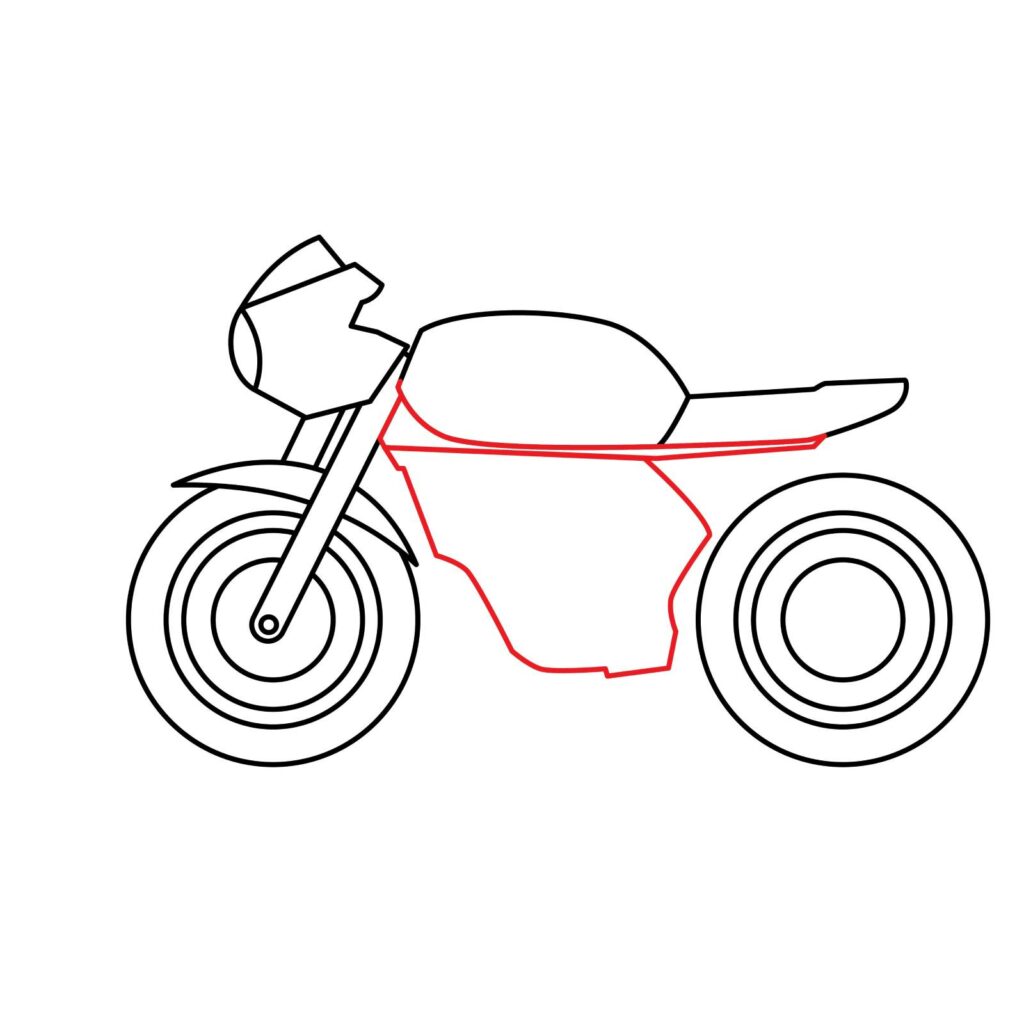
Step 6: Draw the Engine
The engine of a motorcycle sits below the fuel tank. To draw it, we need to add a structure right below the fuel tank and the front seat. Curve the structure towards the right so that it doesn’t touch the rear wheel. As you can see from our illustration, the structure doesn’t need smooth lines because it is made up of a collection of components.
- Draw a rough structure below the fuel tank and seat. The structure should sit between the wheels. It forms the engine
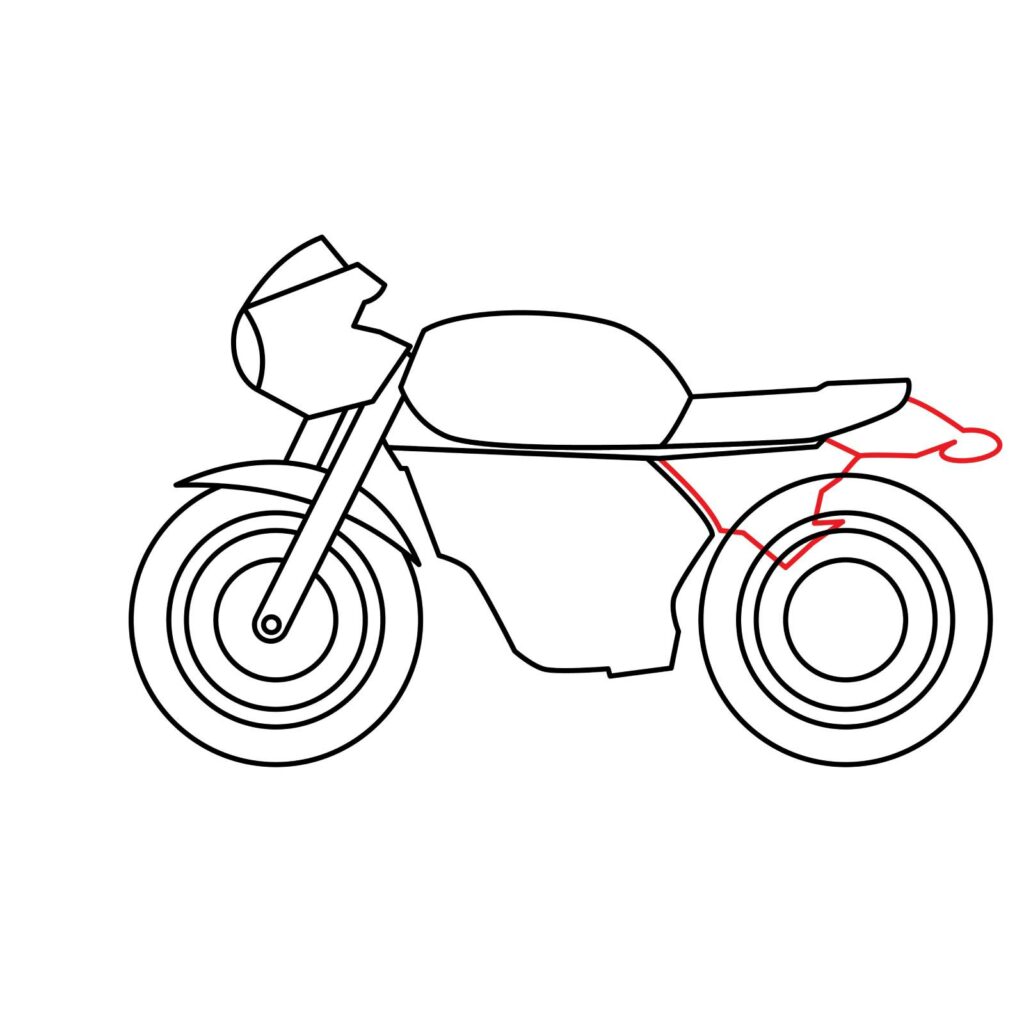
Step 7: Draw the Toolbox and Rear Fender
A superbike has a toolbox for storing essential tools such as pliers and screwdrivers. The toolbox sits below the seat.
Add a triangle-like structure below the front seat. The structure should cover part of the rear wheel as shown in our illustration below. Erase the lines that cut through the toolbox.
For the rear fender, add a shape similar to the one shown below. The structure should extend a bit towards the right so that it is sufficient enough to keep debris from flying into the back of the rider.
- Draw a triangle-like shape below the seat to form the toolbox
- Erase the lines that cut through the toolbox
- Draw an elongated shape above the rear wheel to form the rear fender
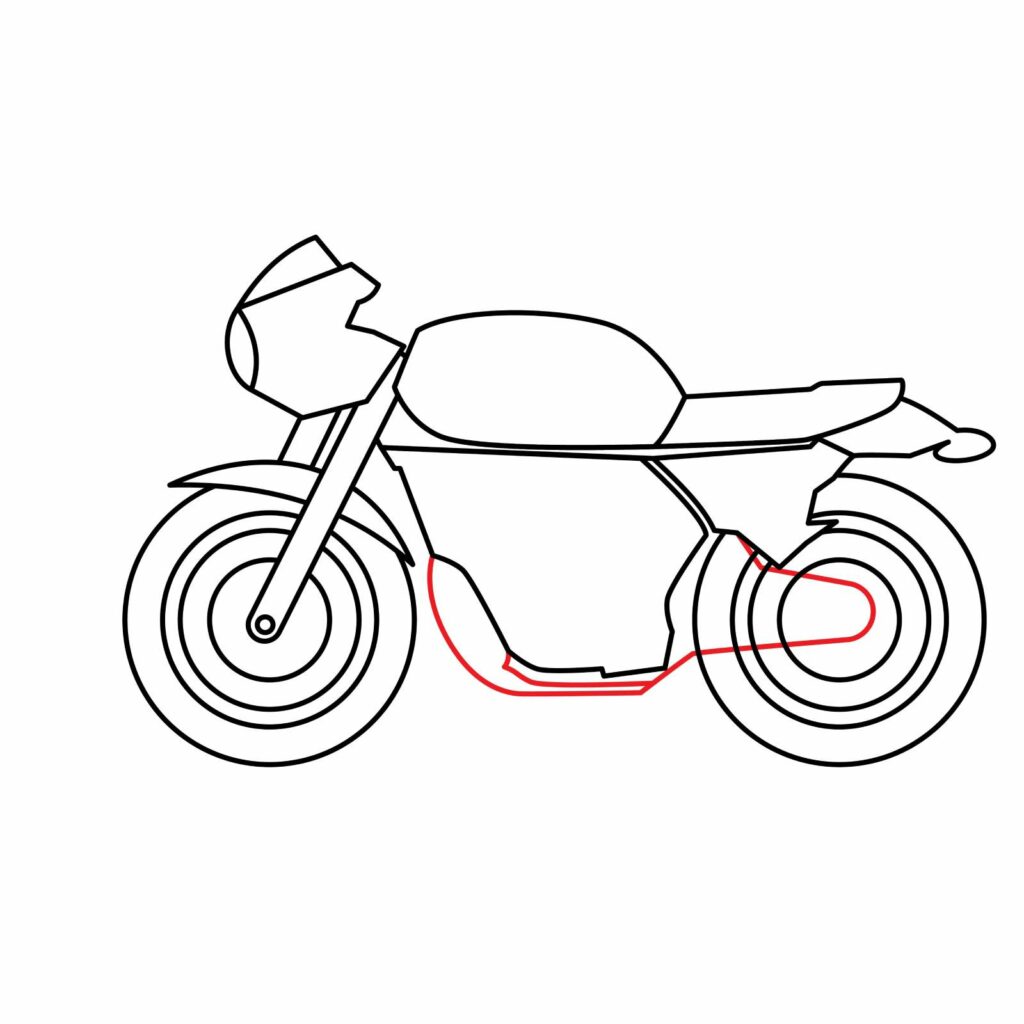
Step 8: Draw the Swingarm
The swingarm is a mechanical device that attaches the rear wheel to the body. It houses the chain which sends power from the engine to the rear wheel.
To add the swingarm, we will draw a line that starts from the front end of the engine, curves around the bottom of the engine and connects to the center of the rear wheel then curves backward and connects to the right side of the engine as shown below.
Erase the lines that cut through the swingarm.
- Draw a shape that narrows on the rear wheel and widens towards the body
- Erase the lines that cut through the swingarm
Step 9: Add More Details to the Motorcycle
To demonstrate attention to detail in our drawing, we are going to add a couple of things. First, we will add a rough shape to the structure we added for the engine. This will be for decoration. We will also add a rough shape in the groove we left on the head of the motorcycle. These details will keep our motorcycle from being too plain.
- Add a rough shape on the engine for decoration
- Add a rough shape in the groove on the right of the head for speedometer details
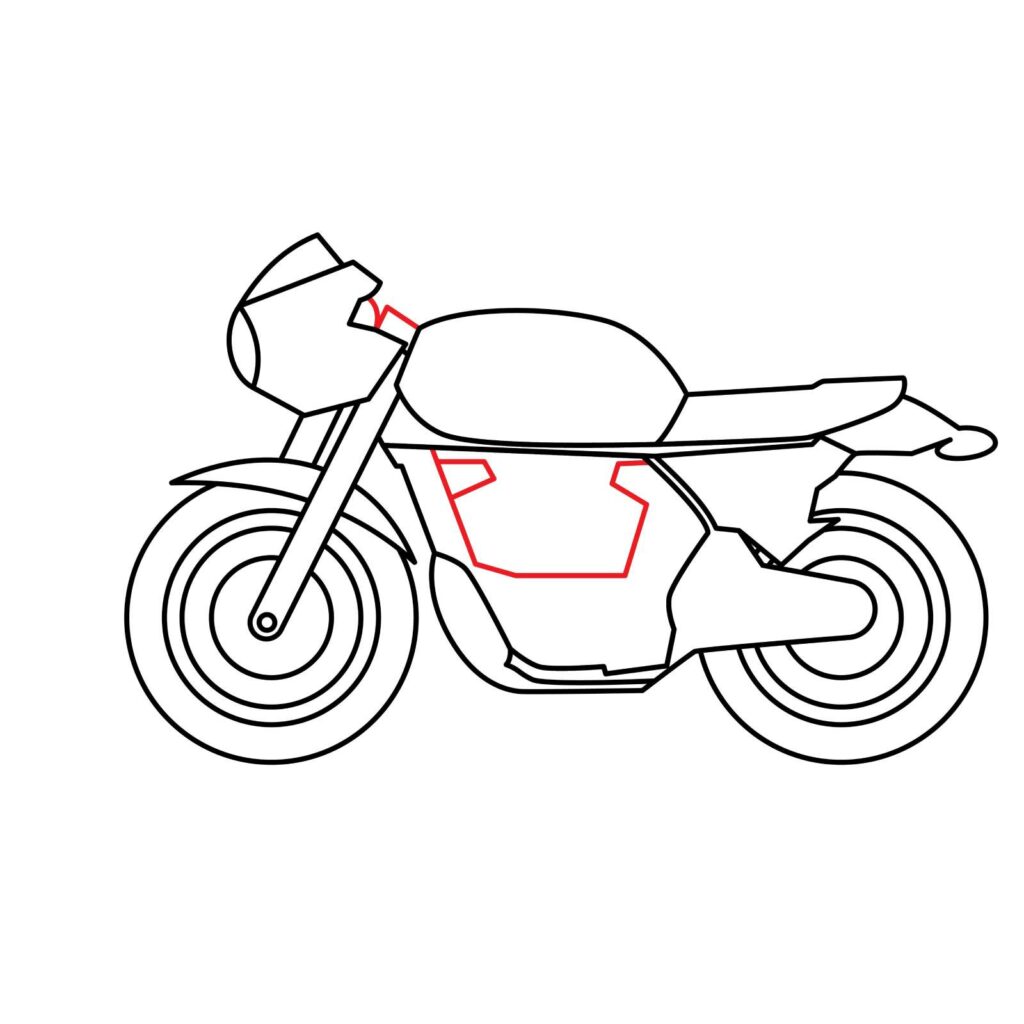
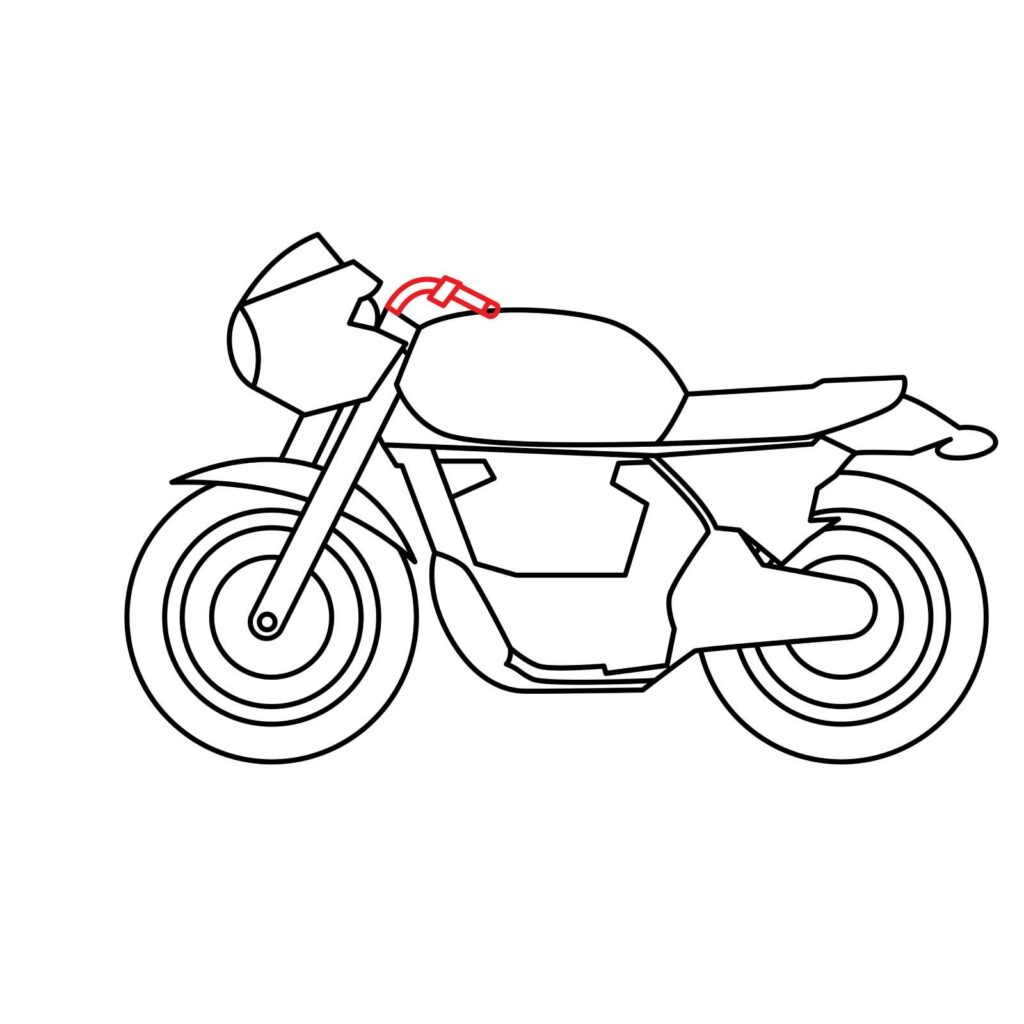
Next, we are going to add the handlebars using a tube-like structure starting from the head and curving towards the fuel tank. It should look like this.
- Use a tube-like structure, with a notch, to form the handlebars and handles
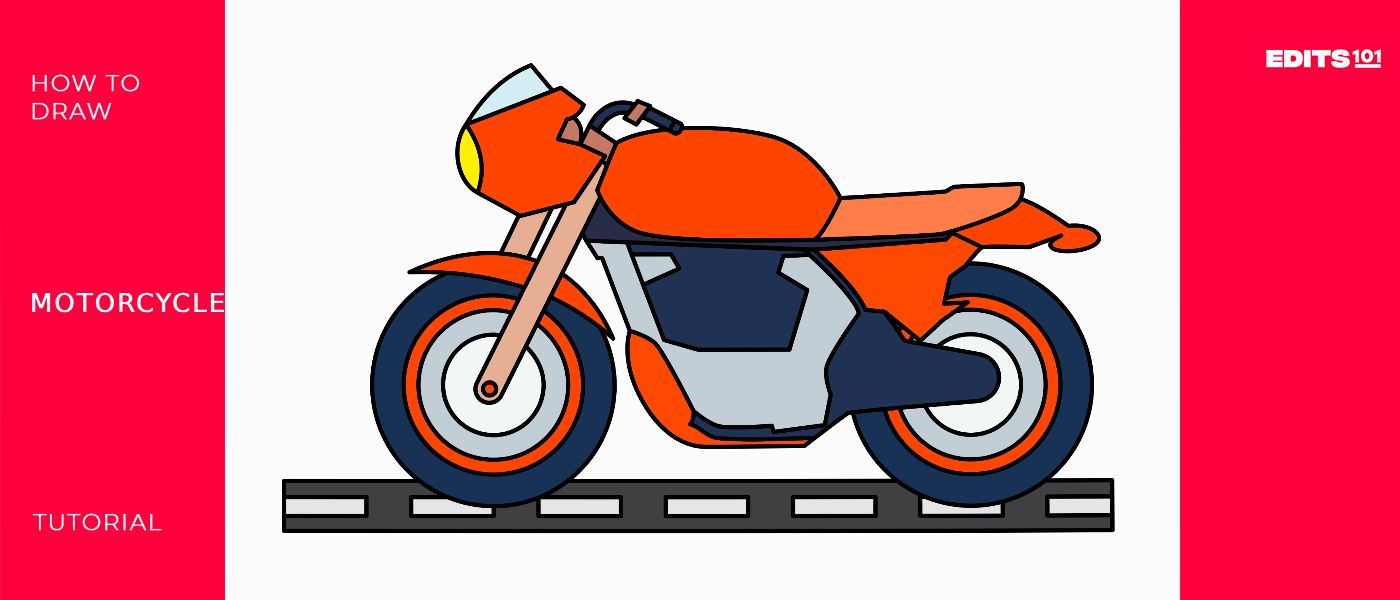
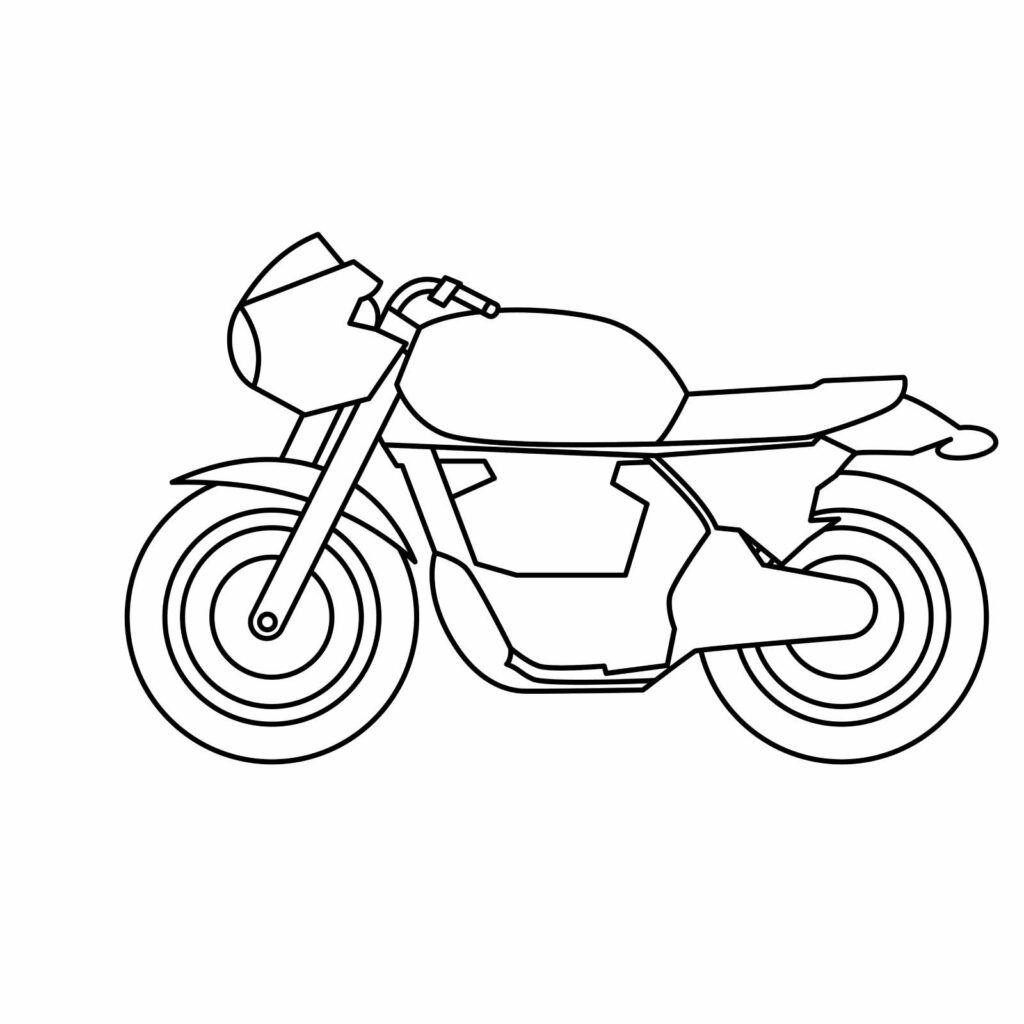
Step 10: Refine Your Drawing
Our motorcycle is now ready. What you can do now is try and redo the areas that seem way off from what we have below. You should, however, not be frustrated if your motorcycle does not shape up as well as ours. You will achieve better results on your second attempt.
Take the Drawing to the Next Level
While the motorcycle is now ready, it is always good to advance it a bit. We will do so by adding a couple of details to it.
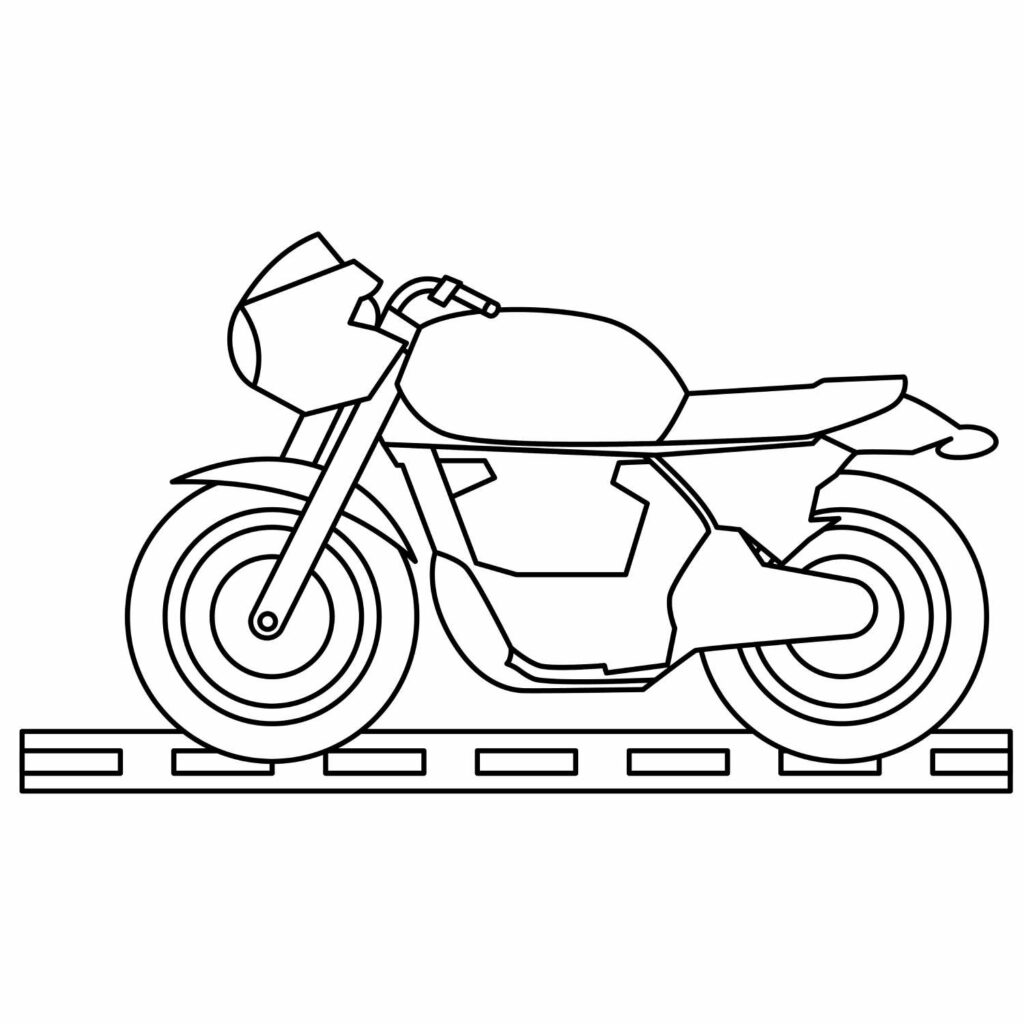
Step 11: Add a Background
The first thing you should consider adding is a road below the motorcycle. You can do so using a horizontal structure like the one we used in our drawing.
- Use horizontal rectangles to add a road below the motorcycle
If you want, you can add some trees behind the motorcycle, add a name to the fuel tank, and some rocks below the rectangle we added for the road. Let your imagination run wild.
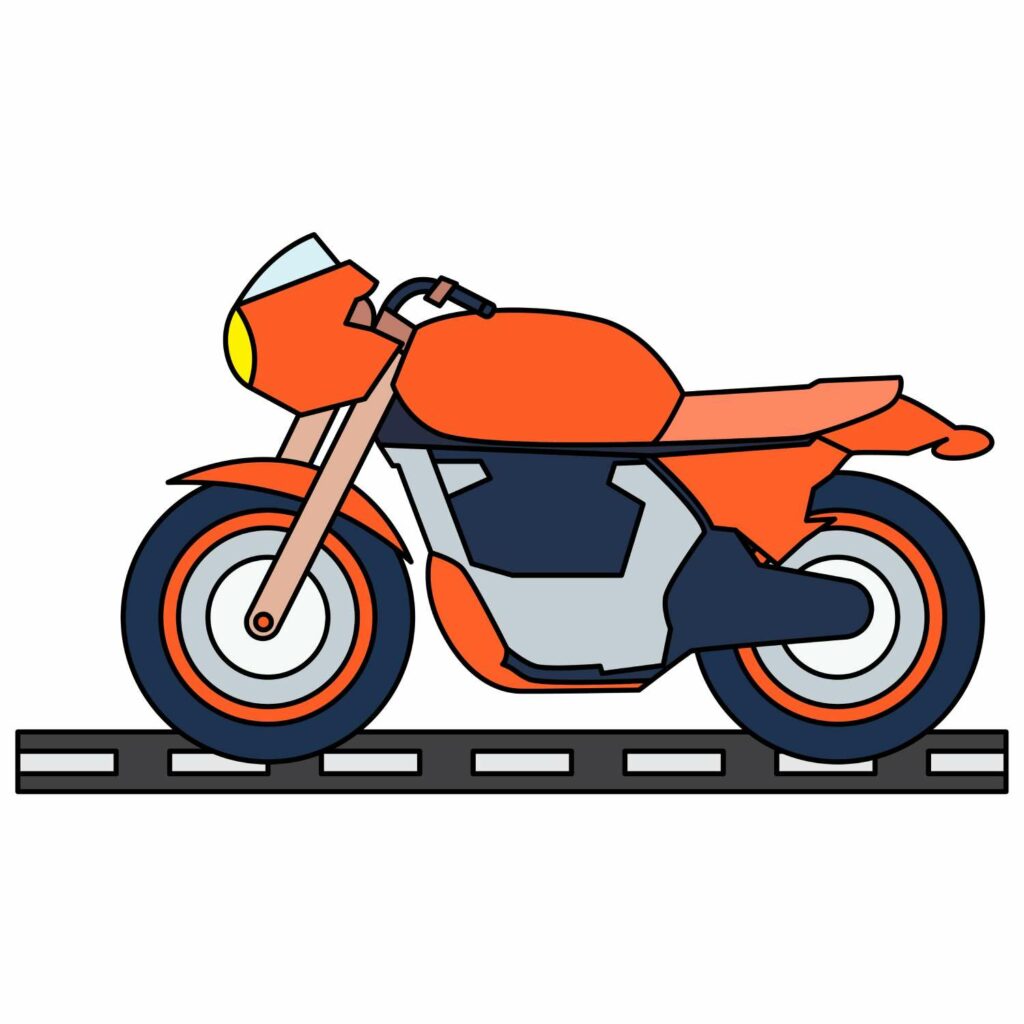
Step 12: Color Your Drawing
Once you are satisfied with all the details on your motorcycle, go ahead and color it. There are no rules on the colors you can use.
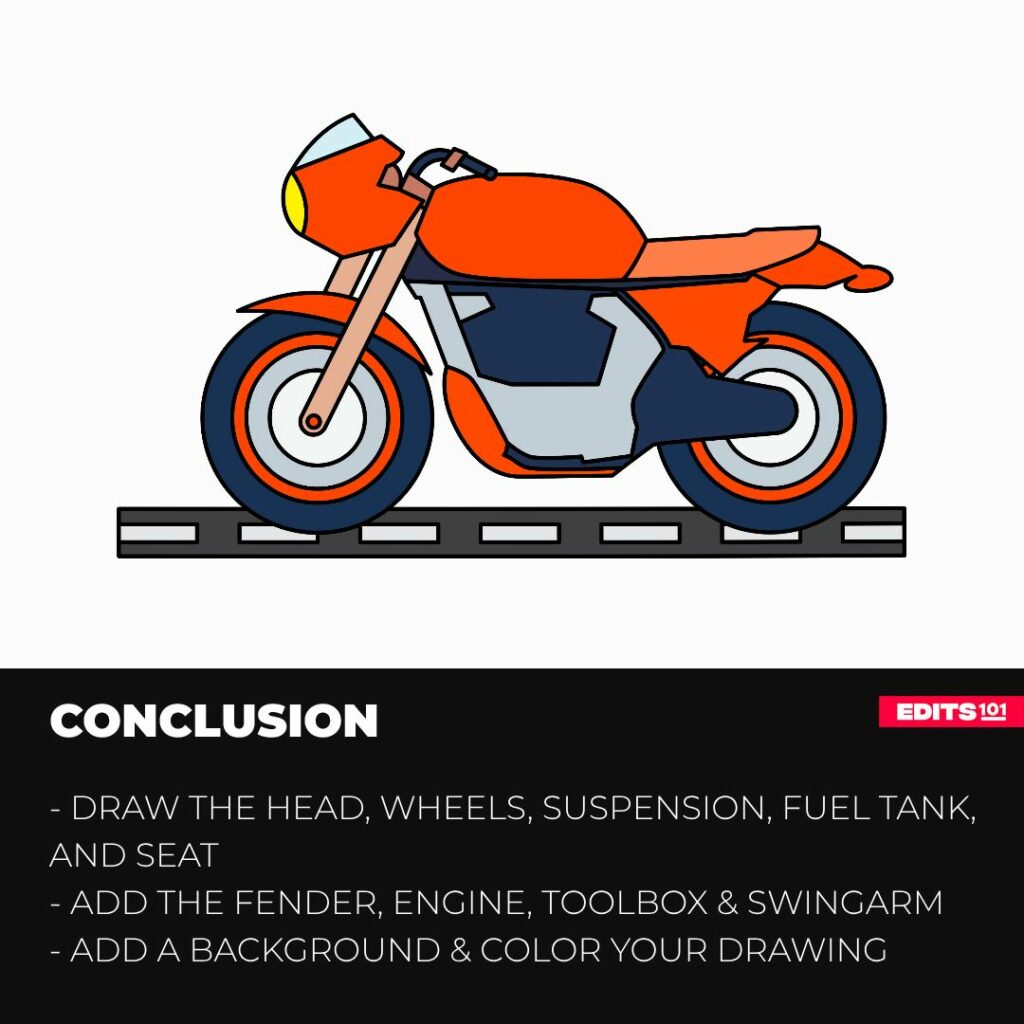
Conclusion
In today’s lesson, we learned how to draw a motorcycle. We started by adding the head of the motorcycle then the wheels, the fuel tank, seat, front fender, engine, toolbox, and rear fender, and then refined our drawing with finer details. We advanced our drawing further by adding some background and then colored everything.
You can use our steps to draw a motorcycle from a real photograph or sketch one on your favorite app. The key is to keep practicing and have fun.
Thanks for reading & feel free to check out more of our articles!
Author Rating
Overall Rating
Summary
This is a fun guide for kids on how to draw a beautiful motorcycle. You will also learn interesting facts as well as the various parts that make up a motorbike.