How To Draw A Camper | A Fun Tutorial
Are you ready for a cool adventure in drawing? Today, we will learn how to draw a cool camper.
But first, what’s a camper?
A camper is like a mini-home on wheels. It’s a cozy little space to stay in while on an adventure. It is a bit different than an RV camper. Imagine drawing a camper and including all the wild imaginations in it. Buckle up yourself; we’re going on a drawing adventure.
What you will need
- A pencil
- An eraser
- A sheet of paper
- Coloring kit
- Ruler
- 30 minutes
How To Draw a Camper
We will dive deep into the and explore the fun world of camping together. All you have to do is to follow each step carefully. By doing that, you will have an amazing camper within a few minutes.
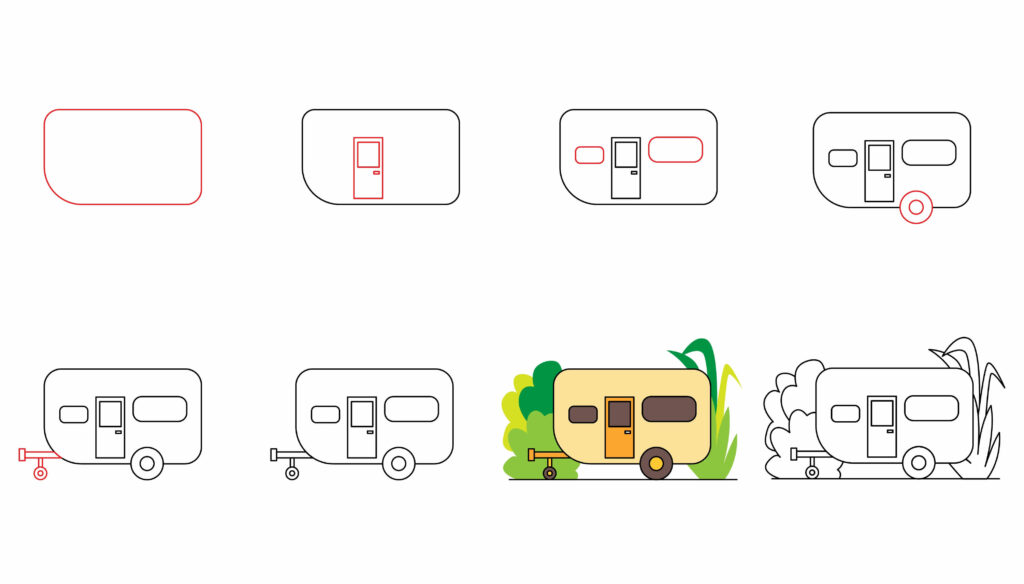
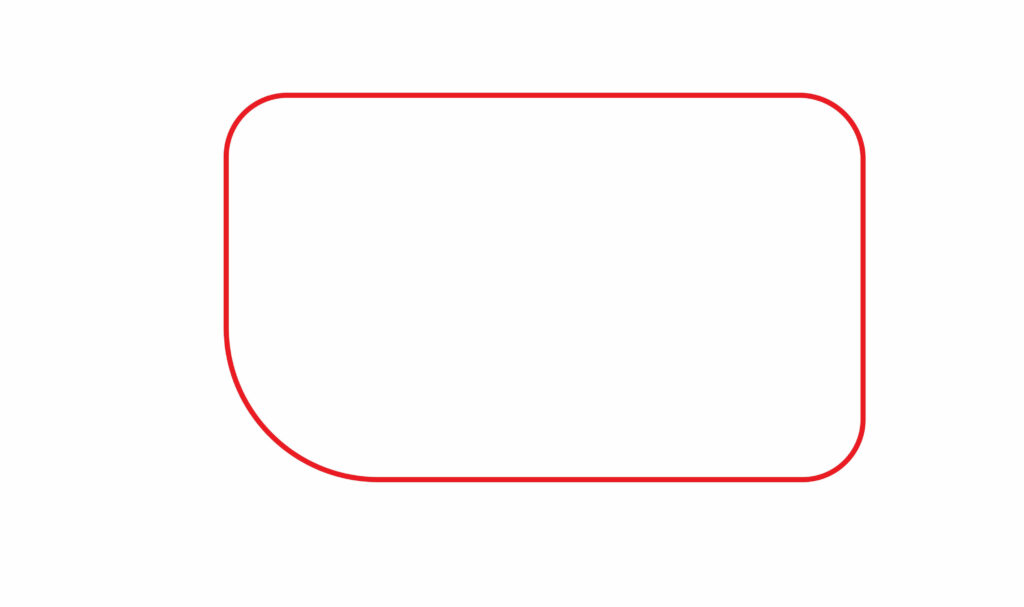
Step 1: Draw the Camper’s Body
The camper’s body (like a vintage camper) is where all the drama happens. The body contains all the items required for an adventure. The body must be spacious.
To draw the camper’s body, think of a big rectangular box. This box represents the camper’s body. Pick up your pencil and make a big rectangle in the middle of the paper.
Now, let’s give it an artistic touch. To do that, we’ll make the corners of the rectangle round. The bottom left corner should be more curved than the other cabins. The most fantastic part of our cabin is ready.
Young artists! This was an easy step, and the following steps are even easier. You’re doing a great job, and let’s just keep going.
Step 2: Draw the Door of the camper
The door of a camper is different from the doors of other vehicles like trucks. As a camper is like a mini-home, its door is more like a room door.
We’ll draw a vertical rectangle inside the camper’s body to draw the door. This is the main frame of our door. We’ll draw another rectangle inside the first rectangle to draw the see-through mirror on our door.
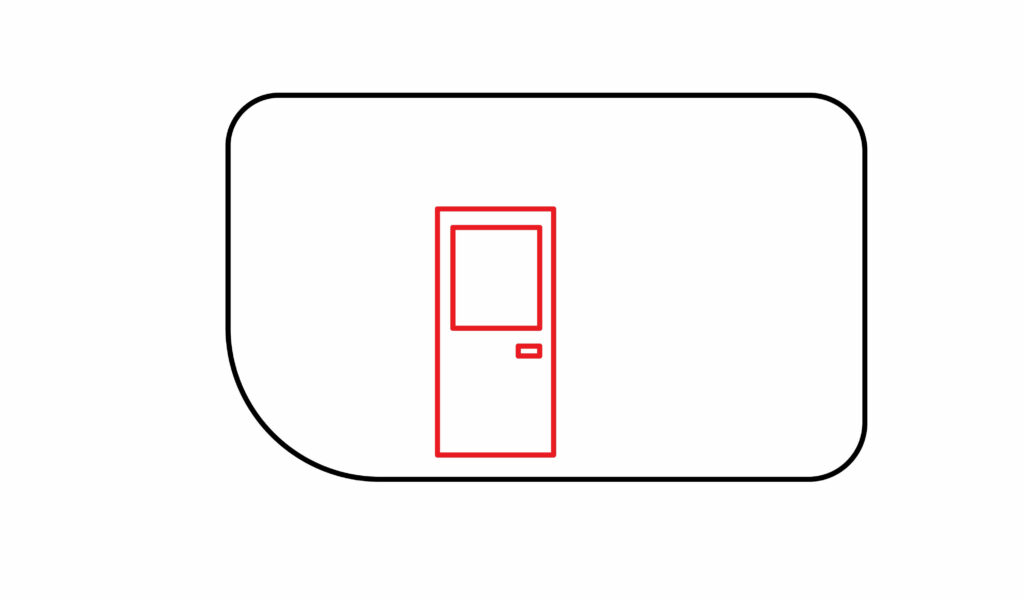
To draw the door knob, we will draw a tiny horizontal rectangle under the see-through mirror, as shown in the image. We can also draw a vertical rectangle for the door knob. How you want your door knob to be is up to you.
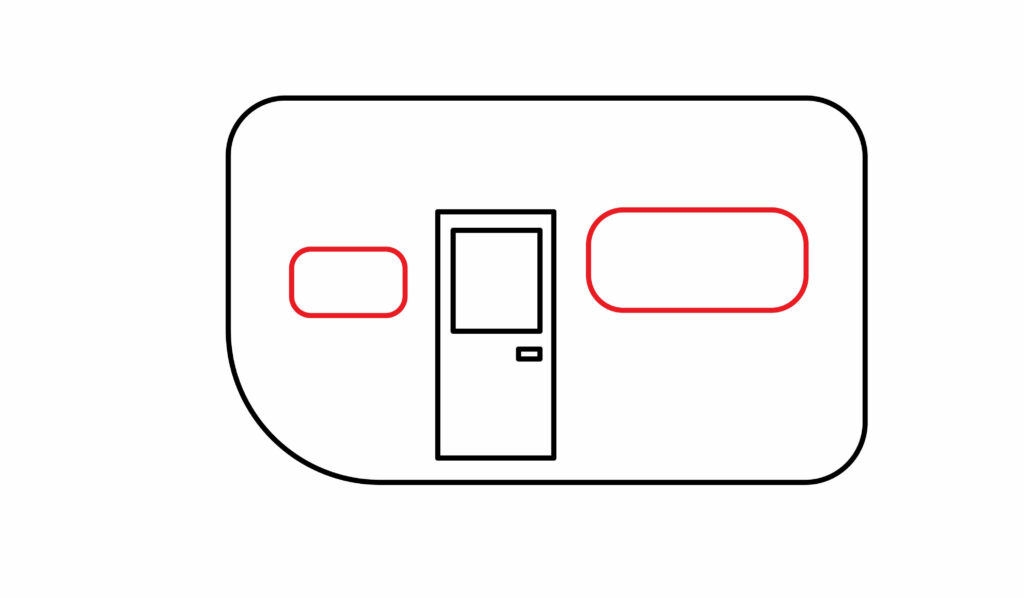
Step 3: Draw the Camper Windows
The camper has windows to experience the best views while you’re on an adventure. Imagine laying inside the camper at night and staring at the sparkling stars through the window.
We will draw two horizontal rectangles inside the camper’s body to draw the windows.
One rectangle will be on the left side of the body and the other on the right side of the body. The rectangle on the left side will be smaller than the right. We’ll make the corners of these rectangles slightly curved.
Step 4: Create the Wheels
For smooth mobility, we need to add wheels to our camper. Get a round lid to make the circle. If you don’t have the lid, no worries; you can use the freehand technique to make the circle. If you’re drawing a circle for the first time, it’ll take a few attempts to draw a nice and smooth circle. So don’t worry if your first attempt isn’t satisfactory.
Under the camper’s body, we will draw a circle. Within this circle, we’ll draw another circle. We’ll ensure that half the circle is above the baseline of the camper’s body and half is below the baseline.
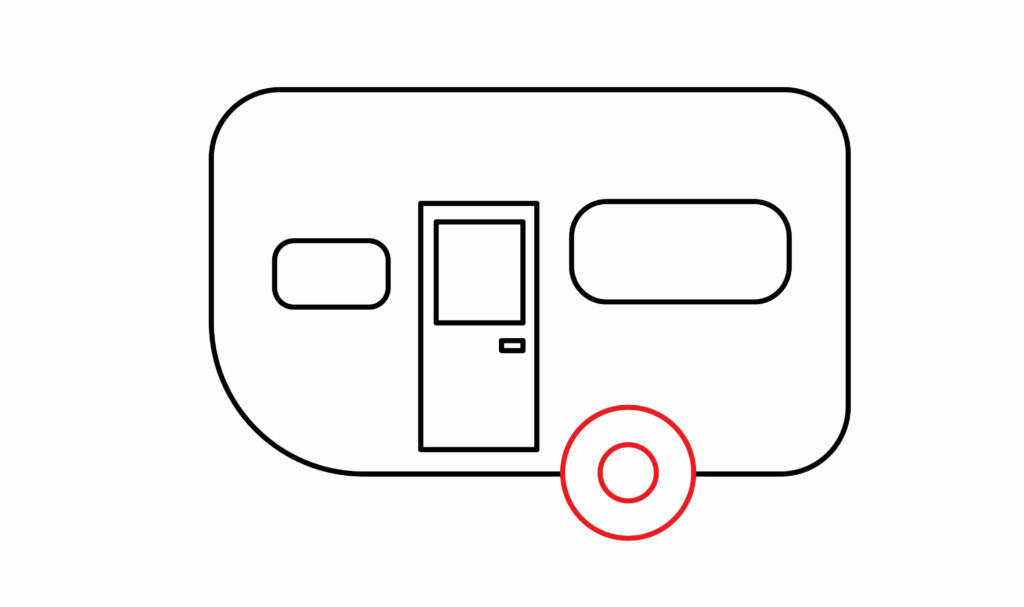
The back wheels are ready, and we’re near completion.
Step 5: Draw the front wheel
The front wheel is as important as the back wheel. In the first step, we drew the camper’s body and curved the bottom left corner more. From this corner, we will draw two parallel horizontal lines. At the end of these lines, we’ll draw a vertical rectangle.
Under the horizontal lines, we’ll draw a small rectangle. At the end of this rectangle, we will draw a small circle. Inside this circle, we’ll draw another circle. This circle represents the front wheel of the camper. The back wheel is bigger than the front wheel because it holds the weight of the camper’s body.

This completes our camper drawing.
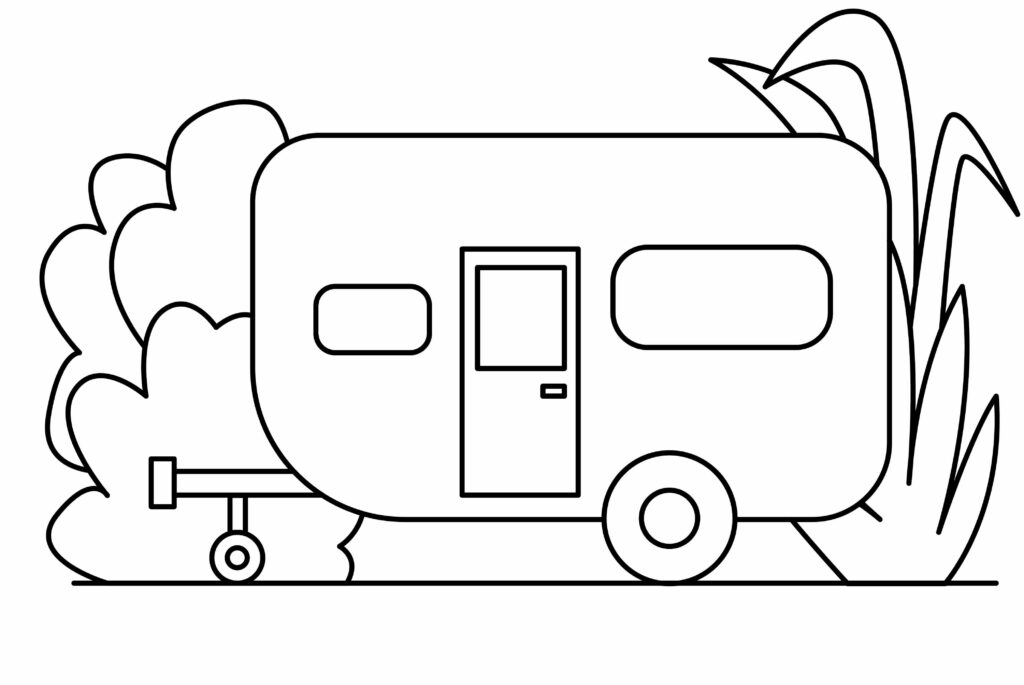
Step 6: The camper car is ready
Congratulations, talented artists! The camper car is all set to go on an adventure. You did a wonderful job. We’re certain you followed each step and made your camper car. To make the drawing more prominent, we’ll outline it using a marker. After outlining, we’ll erase the pencil marks for a better look.

Hey, wait! The real fun is about to begin. We are about to upgrade our drawing and make it look more realistic. Are you ready to unfold your imagination and creativity to make your drawing professional?
Taking your Camper drawing to the next level
There is no limit to your imagination. Once you use it effectively, you can achieve anything. Similarly, you can take your drawing to the next level using your creativity. Let your thoughts run and create something awesome for your drawing.
Doing this will make you feel more confident and willing to draw more things. This section is all about creativity and experiments. We’ll add different things to our drawing.
Adding background to your drawing
Everyone has a story to tell. It can be narrated through words or even pictures. You can narrate your story by adding a background to your drawing. Having a background gives a whole new look to a drawing. It enhances the details and gives a perspective.
We’ll add a relative background as a camper is used for adventures. We’ll add bushes and plants behind our camper for a scenic look. This is an idea about background; you can also add a background of your choice. Imagine the camper in a mountain area or a deserted land. It can be anything.
As we draw the background, we will ensure it doesn’t overlap our camper. If you notice any line overlapping our camper, erase it carefully.
Adding colors to your drawing
Colors bring your drawing to life. It creates more attractiveness and is pleasing to the eyes. Without colors, there is no charm in the drawing. It seems dead. Do you want your drawing to be unlively? Of course not.
Now splash some color on our camper and turn our black-and-white sketch into vibrant scenery.
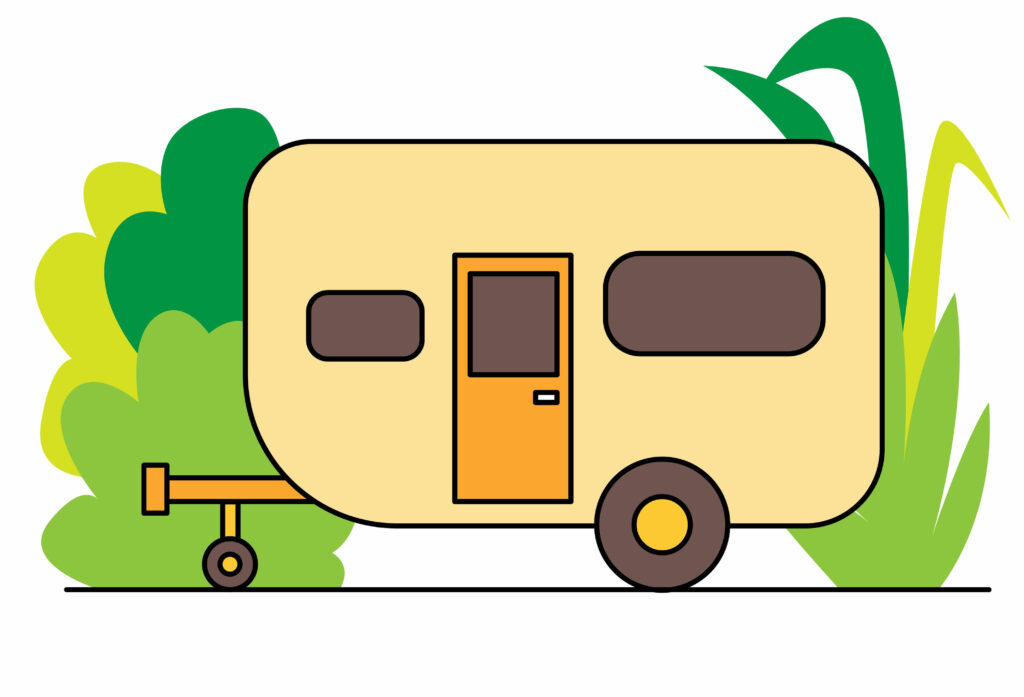
It is a fun way to explore your artistic nature. Every color adds a new layer of magic to your drawing. It’s a whole new world. So grab your crayons, marker colors, poster paints, or anything you choose, and let the colorful magic begin. You can add any color of your choice, but be realistic. Keep the bushes and plants green rather than coloring them with unrealistic colors.
P.S. Bonus Tips
Our drawing is completed, and we’re sure you enjoyed it as much as we did. As mentioned earlier, there’s no limit to one’s creativity. The drawing can be upgraded in any way. We added background and colors, but there’s more you can do.
You can write your name on the camper’s body to show the ownership. You can also attach a flag on top of the camper’s body and write your name on the flag as well.
You can add a sun behind the bushes to make the scenery more beautiful. Then add the sun rays coming through the bushes. It’ll be a spectacular scene!
Under the camper, you can add a road or an unpaved forest road. It’ll seem more adventurous that way.
Hey, young artists! These are just a few ideas. Don’t limit yourself to these ideas only. Use your creativity and give your drawing a new look. It is a hit-and-trial method. If you won’t get right on the first attempt, practice and try again.
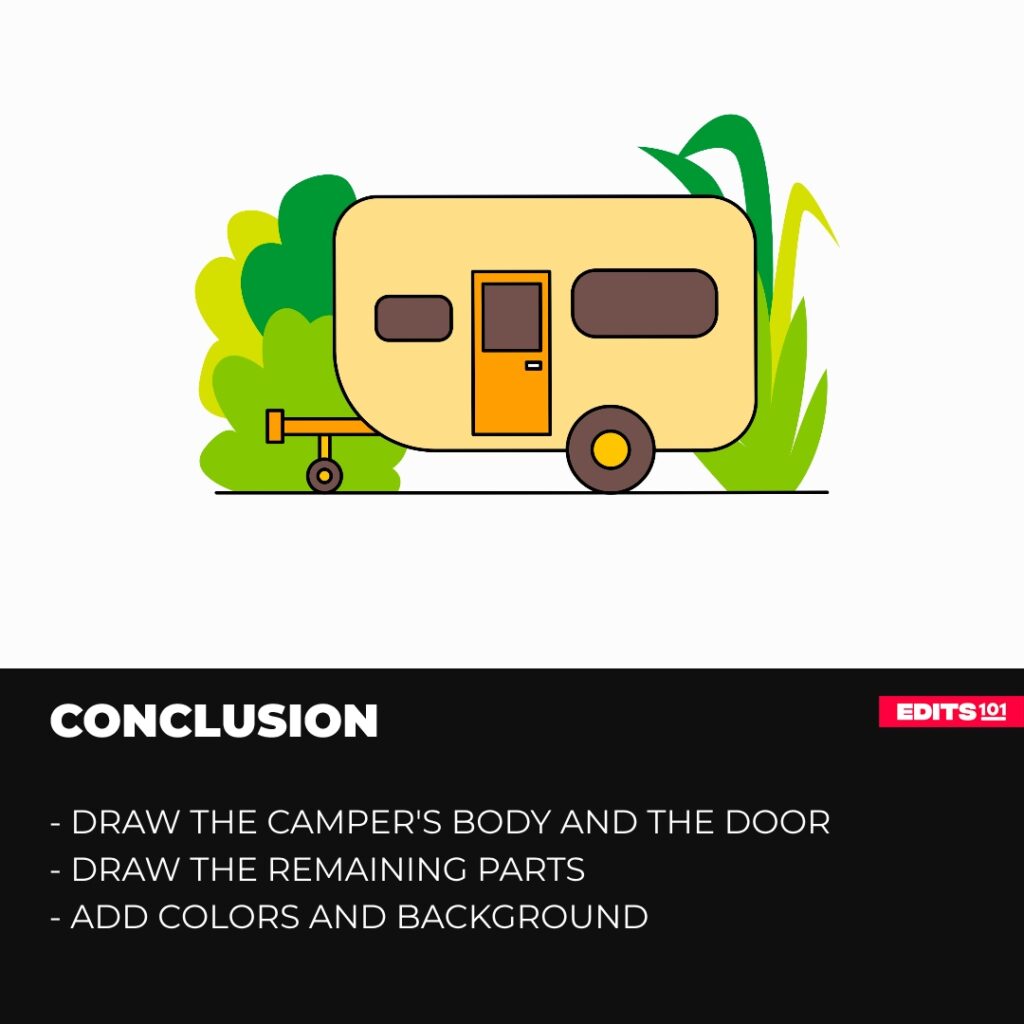
Conclusion
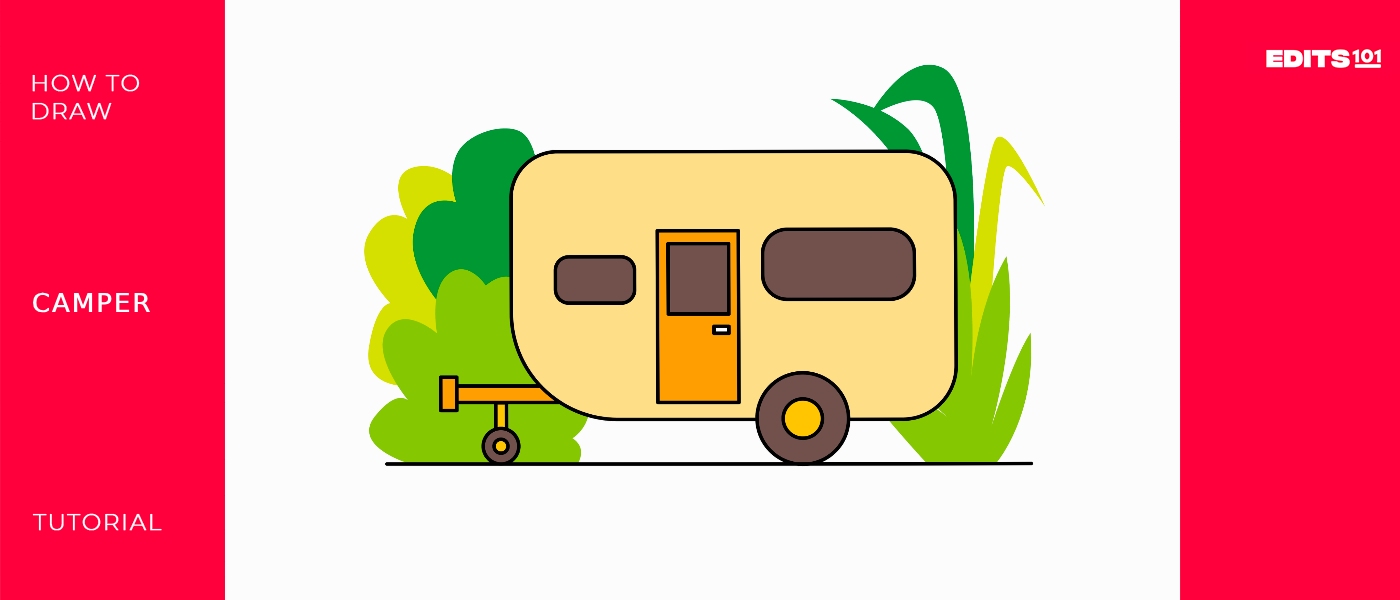
That’s it! Our drawing is completely ready now. It was a fun and easy process. We’re sure you followed each step without skipping and made an amazing drawing. This guide explained each step in the most easy way. We started by making the camper’s body. After that, we made a door with a see-through mirror. For the scenic views, we made windows in the camper’s body. Then we added front and back wheels. In the end, we upgraded our drawing using our creativity.
Remember, drawing is a fun way to unleash our potential. It should always be fun drawing different things. If you don’t get the desired results on the first attempt, no worries, go for it again.
Thanks for reading & feel free to check out more of our articles!
Author Rating
Overall Rating
Summary
this guide explains how to draw an RV camper. It also ex[lains some interesting facts about the vehicle and ways to upgrade your drawing.