How to Draw a Trolley Bus | A Step-By-Step Guide
Are you guys ready to go on another artistic journey? We will draw a unique type of bus known as a trolley bus.
Do you know that a trolley bus runs on electricity? That is why it is much cleaner and quieter than other normal buses. It does not have an engine that burns diesel or fossil fuels. The first ever trolley bus was made to use in 1901. Trolley buses are more common in Europe and Russia than in North America and Asia.
Following is a complete guide that will help you make an artistic drawing.
What you will need
- A pencil
- An eraser
- A sheet of paper
- Coloring kit
- Ruler
- 30 minutes
Draw a Trolley bus
Today, we will learn to make a trolley bus by following the simple steps provided in the document. Sharpen your pencils and get ready to make exquisite art!

Step 1: Draw the base
The first step in drawing a trolley bus is to make the base, or we can also call it the compartment of the bus.
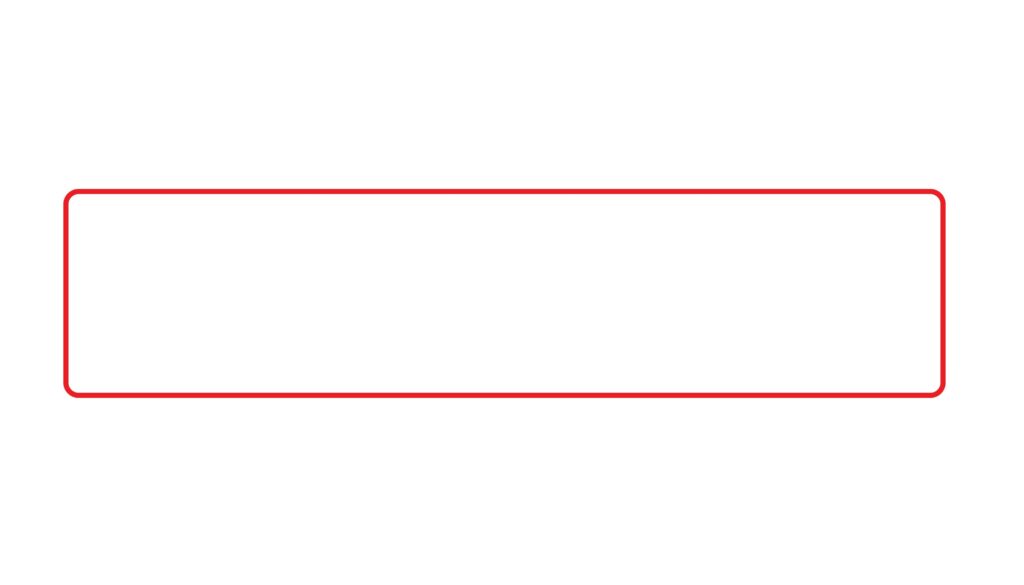
Draw a rectangle horizontally in the middle of the page, almost the length of your paper as in the picture. You can use a ruler to draw a neat rectangle.
Great job! The remaining steps are as easy as this.
Step 2: Draw the trolley poles
This is a trolley bus that runs on electricity. It requires trolley poles to connect it with the electricity wires. We know this sounds complicated, but drawing it is very easy.
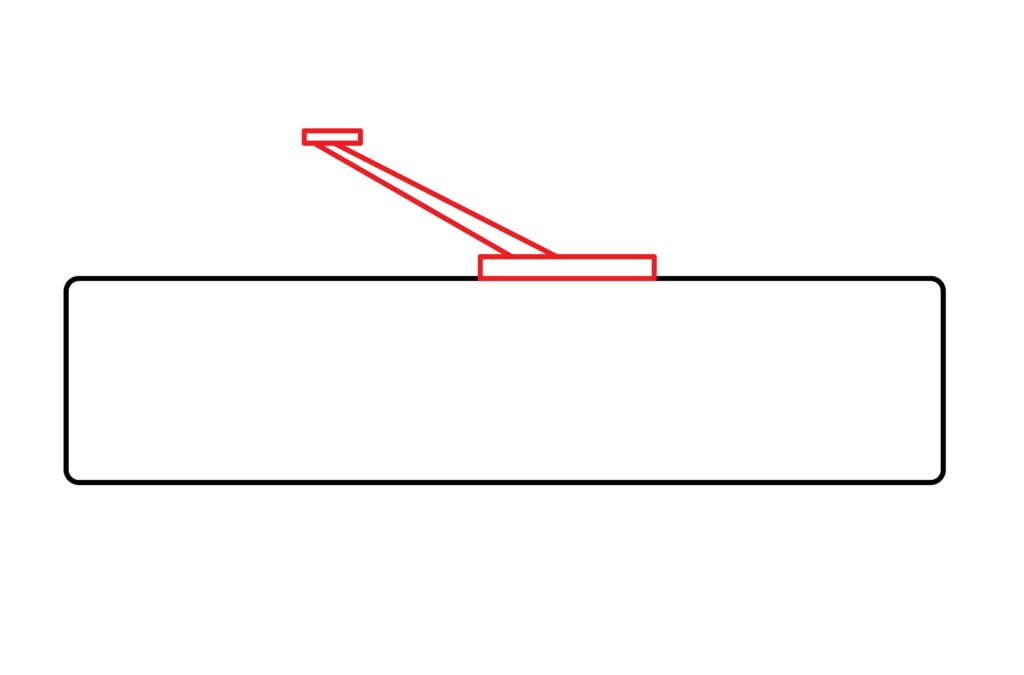
We need to make a storage compartment to draw the trolley poles first. For the compartment, draw a small rectangle in the horizontal direction on the large rectangle. It should be near the front part, as shown in the picture. Now draw two almost parallel oblique lines slanted towards the left that extend from the storage compartment. Draw another small horizontal rectangle at the top of these oblique lines. This is the most important part of our trolley bus.
Very good! Now your bus will have a very good electricity connection.
Step 3: Draw the wheels
Like other normal buses, this trolley bus also has wheels. In our third step, we will draw the bus’s wheels.
Draw two circles at a distance from the corners of the bus compartment. Wheels should be drawn on the baseline of the bus compartment. Draw the wheels in a way that half of it is outside the base and half is inside the base. To draw perfect circles, you can use a bottle cap or any circular-shaped object according to the size of the wheels suitable for our bus.
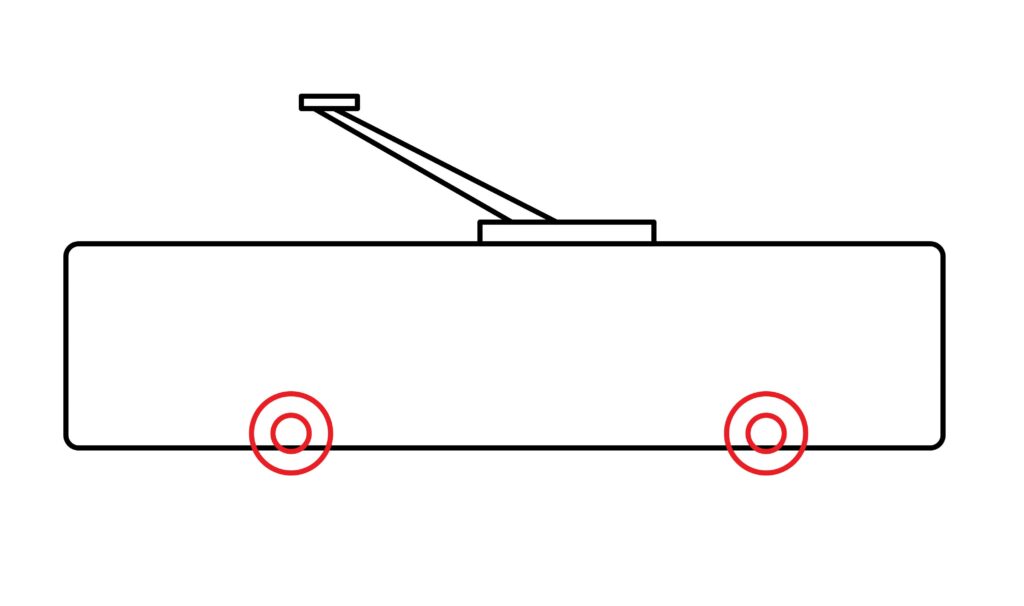
You can try the free-hand method to draw the wheels if either object is unavailable. Place a dot in the center where you want to draw your wheel, then place four more dots around that dot (top, bottom, left, right). If your circle is not perfect, do not panic. You can always try again. Now, draw small circles in each circle for the wheel.
Erase the overlapping lines of the base with the wheels for neatness.
Step 4: Draw the doors
The buses mostly have two doors, one to get on the bus and the other to get off the bus. So, just like other buses, our trolley bus will also have two doors.
To make the door, draw a vertical rectangle almost the height of the bus beside the front wheel.
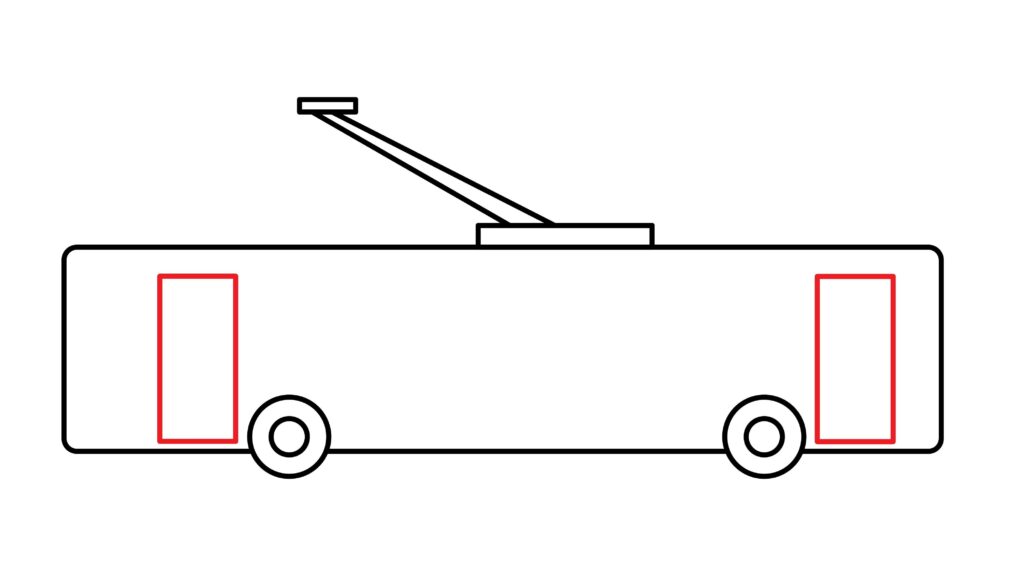
Repeat the same procedure to make the backdoor beside the rear wheel. The doors should be equally distant from the front and the back.
Well done! Just a few more steps, and we will have our trolley bus ready.
Step 5: Draw the windows
The trolley bus has a lot of windows as it carries a huge number of people. The bus windows are usually larger than the windows of any other vehicle, i.e., a car and train.

For windows, draw a series of small horizontal rectangles connected with each other on the upper part of the bus compartment along with the doors. All windows are of the same size except for the window drawn on the front side of the bus. This window is for the driver. It is also known as the windshield. For this, draw a small vertical rectangle on the front of the bus. This window is not connected to the other windows.
Step 6: Draw the lights
This is really a simple step. To draw the light, we will make a very small rectangle in a vertical direction attached to the boundary of the front side of the bus. This small rectangle should be drawn inside of the bus and on the right lower side.
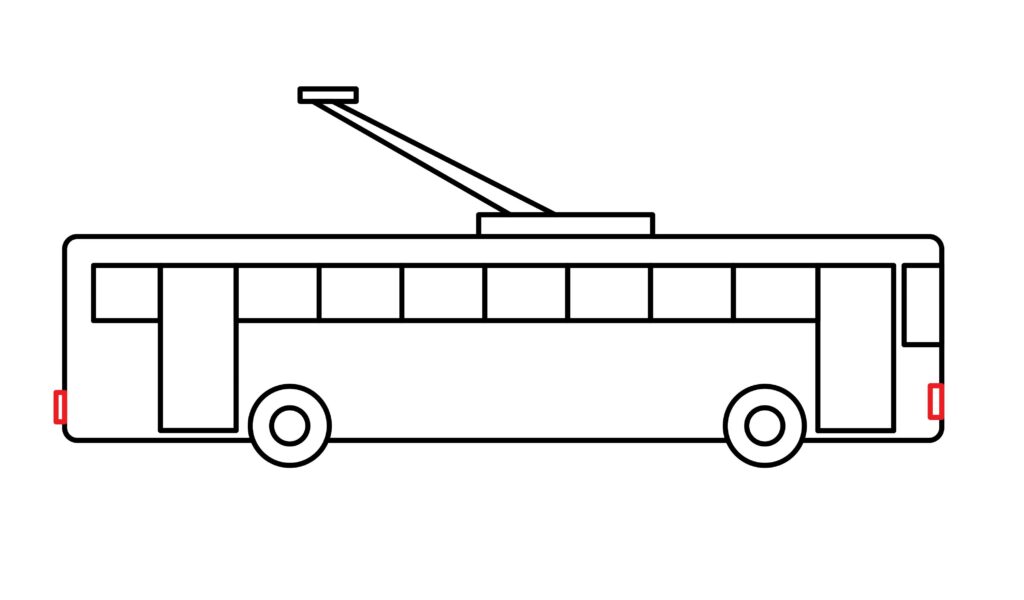
For the backlight, draw another small vertical rectangle on the left lower side of the bus, but it should be outside and attached to the boundary of the bus.
Well done! Our bus is ready to travel during the night.
Step 7: Trolley bus is ready
Congratulations! Our trolley bus is all done. It is ready to pick up people and take them to their destination.
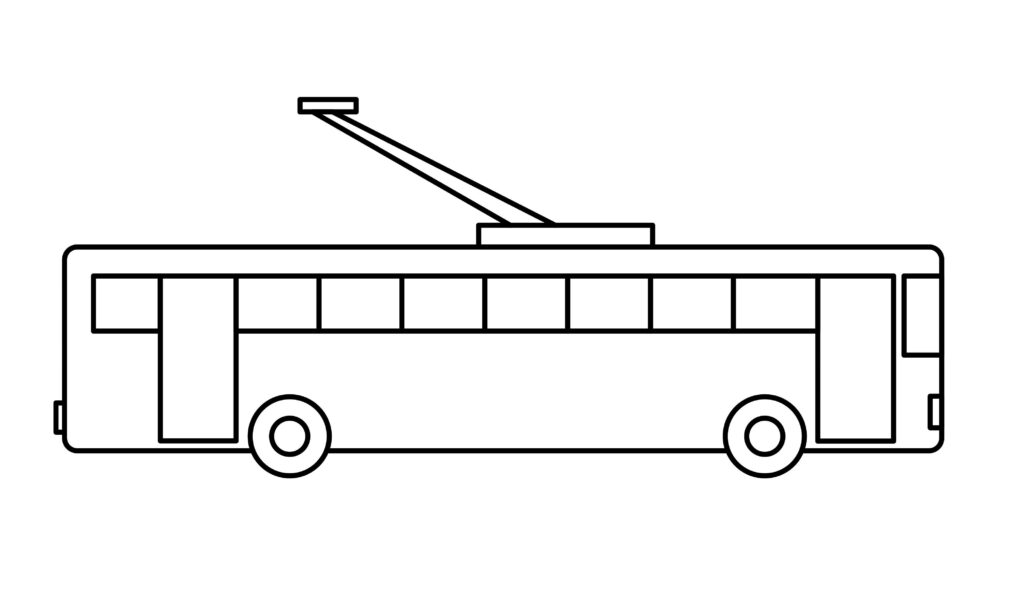
We are sure that you have followed every step and done a spectacular job. This required a lot of patience, but our trolley bus looks good.
Something’s missing in our drawing. What could it be? You have guessed it correctly. Grab your colors, and let’s go on a colorful journey.
Taking your Trolley bus drawing to the next level
For a beautiful artistic experience, go wild with your imagination and make a unique art piece. Art is all about playing with colors, having fun, and taking things from our imagination to reality. We should not be afraid to step out of our comfort zone and try various styles to develop our own unique pieces of art.
Do not worry. We will give you some ideas that will to helpful to make a drawing that will unleash our imagination and create a distinctive piece of art.
Adding background to your drawing
No drawing can be complete without a background. Adding a background will enhance the overall drawing and will give an environment that complements your imagination.
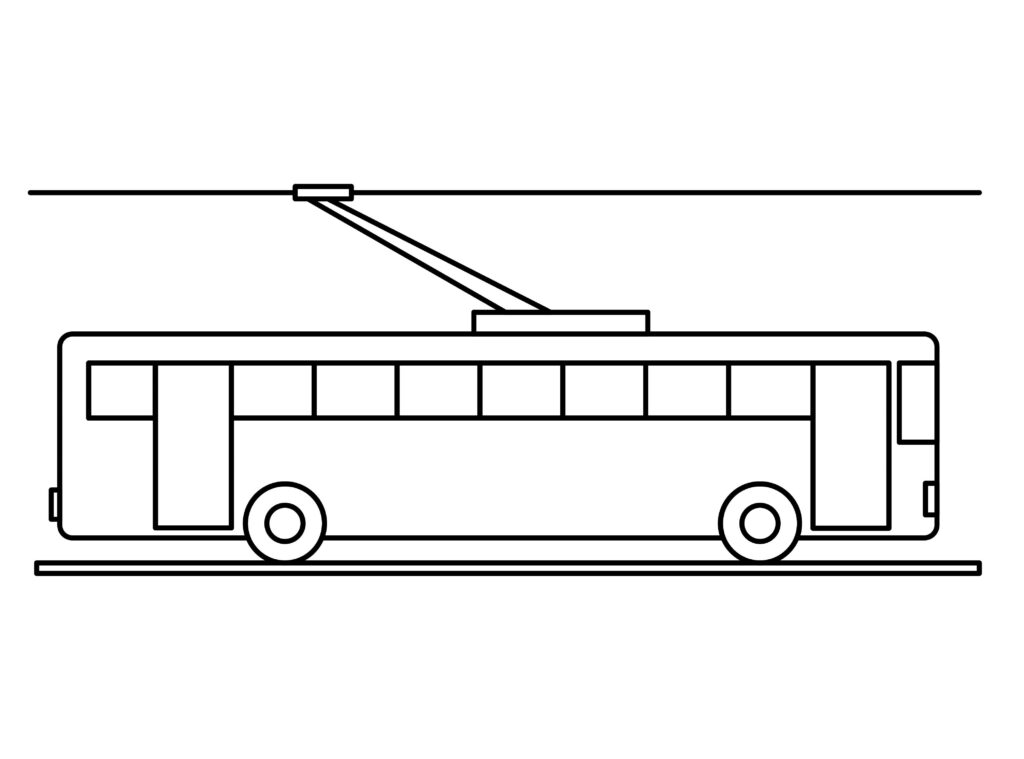
A trolley bus is connected with electricity wires for direct current. So why not draw some electricity wires on the top of the bus connected to the trolley poles? Remember, the trolley bus does not have a battery but depends on electricity. While you are on it, you can also draw a road under the bus. As we know, a trolley bus is a trackless trolley that runs on the road.
Adding colors to your drawing
Now begins the real fun. Grab your colors and start stroking on your piece. Colors will give life to your drawing, making it more charming and fascinating. The use of color is greatly influenced by one’s emotions and mood.

Play with different color combinations and proper shading to make your drawing more realistic. Don’t be shy to use bright and bold colors. If you’re using pencil colors, try to color in a direction. This method will make your drawing look tidy. For paints, dry them properly before using another paint on them. Make sure to color every bit and leave to space. Try to do it neatly.
P.S Bonus Tips
Here are some bonus tips that will take your drawing to a whole new level. Everyone has his own unique imagination. By implementing your imagination, you can create an exclusive piece of art. Of course, we will give you some ideas to personalize your drawing. But don’t forget to add your own creative ideas.
You can draw a blue sky in the background with birds. Or maybe be a sky with heavy rain clouds or a sky with a dazzling sun. How beautiful it would look.
You can also add some road signs on the road, like bus stops or no parking signs. You can make zebra crossing on the road or place some traffic signals. You can add passengers to the bus or people waiting for the trolley bus. Some plants near the road point out a clean environment.
These are just a few ideas listed above. You can explore your ideas and design for the drawing.
Conclusion
Congratulations! You are now able to make a special art of your own. With patience and precision, you have done a tidy job.
For making the trolley bus, we drew the base (bus compartment) and then drew the doors of the bus. Later, we made the windows, trolley poles, wheels, and lights.
Follow each step carefully and slowly. Enjoy the process and let your imagination do the work. Remember, perfection does not come in the first attempt. Drawing is a relaxing activity. It allows oneself to lay out his ideas on a piece of paper. It not only lightens the mood but also brings attention to details.

Thanks for reading & feel free to check out more of our articles!
Author Rating
Overall Rating
Summary
This guide explains how to draw a convincing trolley bus. You will also learn a few interesting facts about this vehicle.