How To Draw An F1 Car | 6 Easy Steps
Are you ready to go racing on the track? Today, we brought you another exciting drawing. We will draw an F1 car.
A Formula One car, or F1 car, is an open-cockpit, open-wheeled, and single-seater formula racing car with a prominent front and rear wing and an engine behind the driver, intended for use in competition at Formula One racing events. Formula 1 cars are the fastest in the world on race tracks, thanks to the high cornering speeds achieved by generating large amounts of downforce. Formula 1 cars are the fastest in the world on race tracks, thanks to the high cornering speeds achieved by generating large amounts of downforce.
what you will need
- A pencil
- An eraser
- A sheet of paper
- Coloring kit
- Ruler
- 30 minutes
How To Draw an F1 car
Grab your helmets and go racing on the tracks together. All you have to do is follow each step carefully. By doing that, you will have an amazing racing within a few minutes.
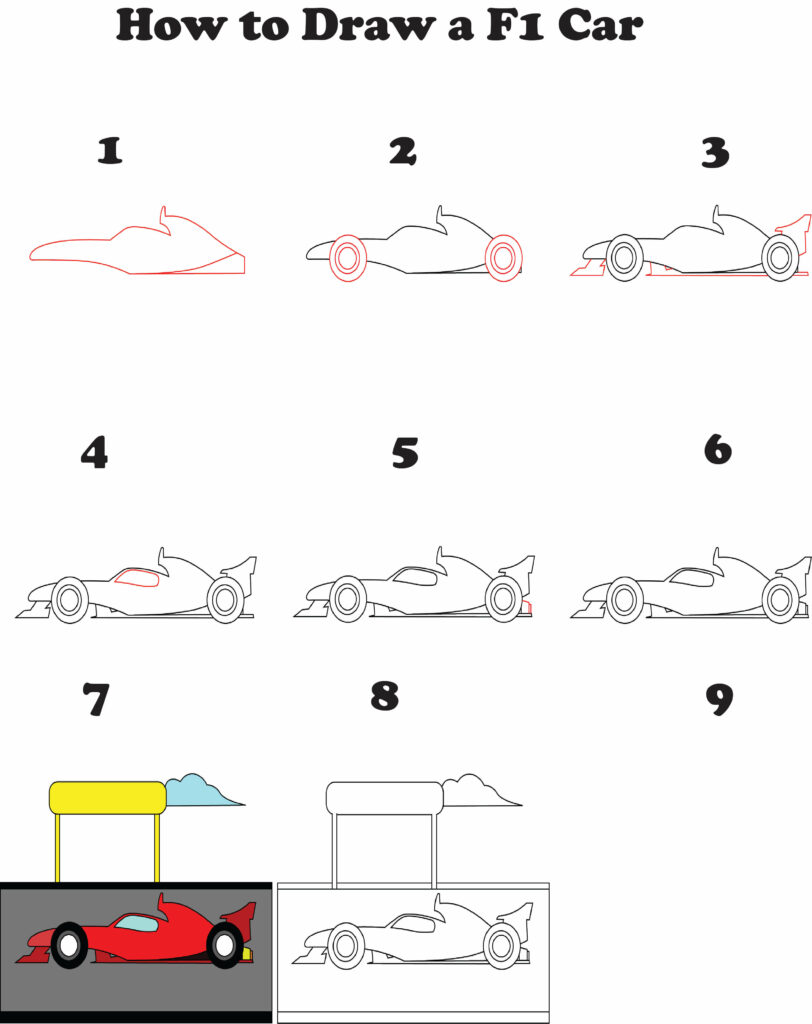
Step 1: Sketch the Cover of the F1 Car
Modern-day Formula One cars are constructed from carbon fiber composites and similar ultra-lightweight materials. The main body is the chassis.
To make the main body of our drawing, we will begin by drawing the body of the F1 car. Create a curved shape that represents the streamlined cover of the car. At the front, draw a longer curved shape for the nose.
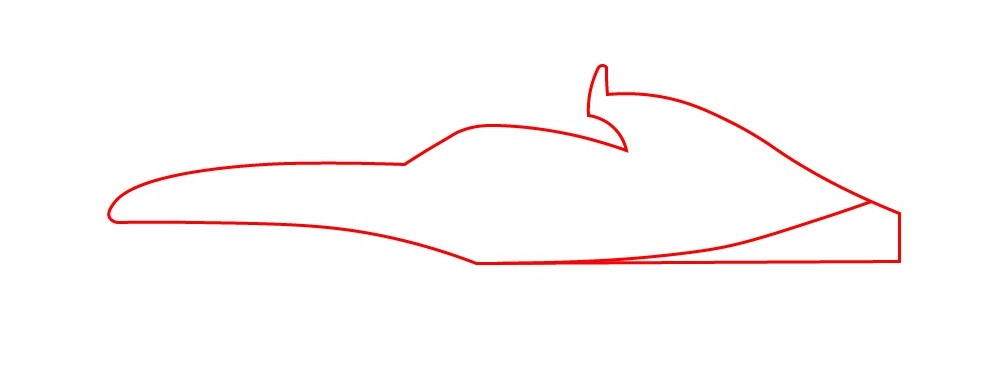
Young artists! This was an easy step, and the following steps are even easier. You’re doing a great job, and let’s complete it.
Step 2: Draw the Wheelers to the Car
The Formula 1 car we are drawing comes with four slick tires, so a person can race on that car without losing any grip. Do you guys know that on July 22, 1894, the Parisian magazine Le Petit Journal organized what is considered to be the world’s first motoring competition from Paris to Rouen? Tires must not be wider than 405 mm (15.9 in) at the rear front tire.
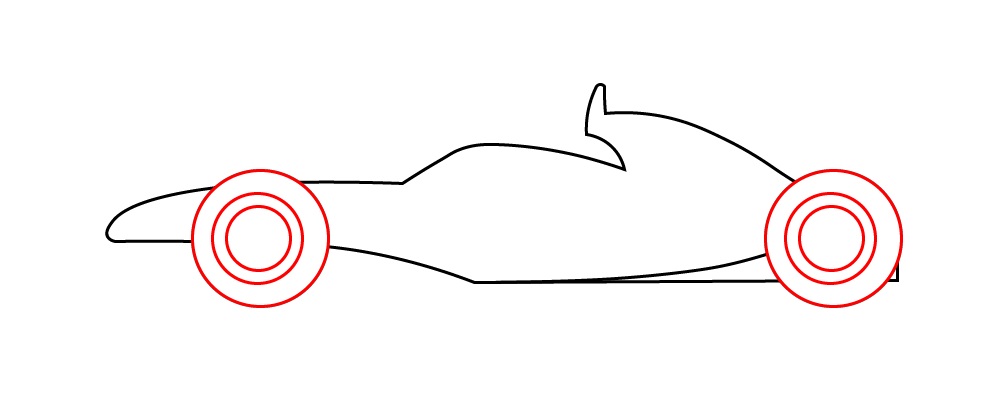
To draw the tires, add the wheels of the F1 car. Sketch six round shape circles to create the two wheels on each side.
Step 3: Add In front, under, and Back Bases
F1 car has front, under, and back bases that include a front splitter, side skirts, and rear wing to keep the car pushed on the road. Early designs connected the wings directly to the suspension, but several accidents led to rules stating that the wings must be rigidly attached to the chassis. The cars’ aerodynamics are designed to provide maximum downforce with minimum drag; every body part is designed with this goal in mind.
To make the car stable, draw the car’s bases. For the front, draw a horizontal line with vertical lines to represent the undercarriage. Repeat this for the under and backside of the car.

Step 4: Add a window to the car
Using aerodynamics to increase the cars’ grip was pioneered in Formula One in 1968 by Lotus, Ferrari, and Braham. The window is made at an angle where the wind doesn’t oppose its motion.
To create a window on the upper front part of the car. Draw a rectangular shape that gives the driver a view.

We are 50% done with our sketch, and the remaining steps are as easy as these.
Step 5: Add the back Side signal light
When turning, it is important to let the person behind you know it. Turn signals provide an effective means of communication to let other drivers know where you are going so they can act accordingly and not crash into you.
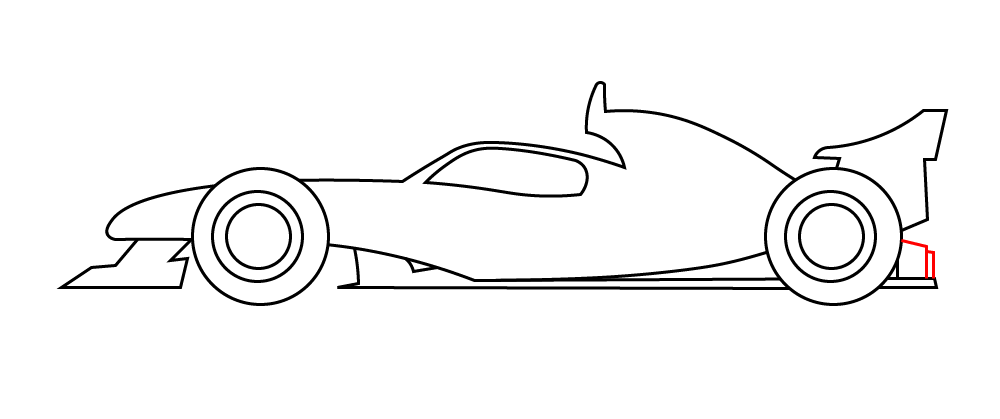
Draw a small square shape at the back of the car. This represents the signal light
Step 6: This F1 racing car is ready
Congratulations! The F1 car is ready to race on the tracks. You did a wonderful job. We are certain you followed each step and made your F1 car properly. To make the drawing more prominent, we will outline it using a marker. After outlining, we will erase the pencil for a neat look.
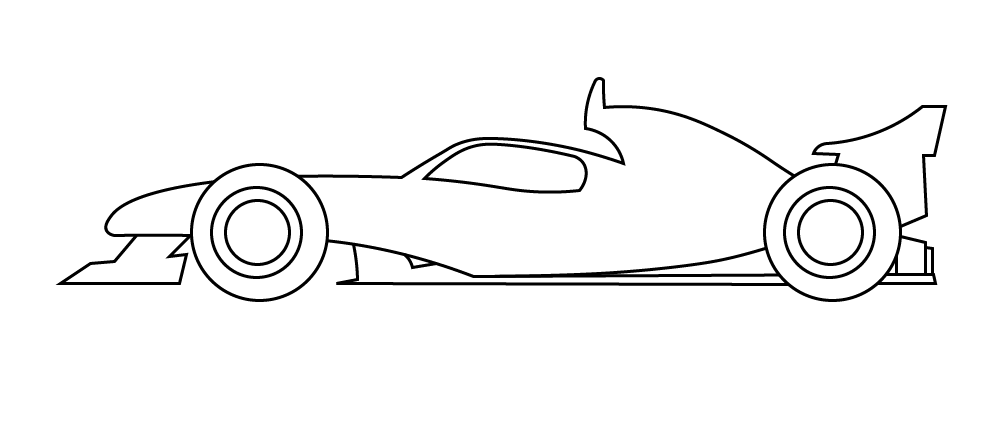
The real fun is about to begin. We are about to upgrade our drawing and make it look more realistic. Are you ready to unfold your imagination and creativity to make your drawing professional?
Taking your f1 car drawing to the next level
There is no limit to your imagination. Once you use it effectively, you can achieve anything. Similarly, by using your creativity, you can make your drawing advanced. Let your thoughts run wild and create something really awesome for your drawing.
Doing this will make you feel more confident and willing to draw more things. This section is all about creativity and experiments. We’ll add different things to our F1 car drawing.
Grab your stationary as the magic is about to begin.
Adding background to your drawing
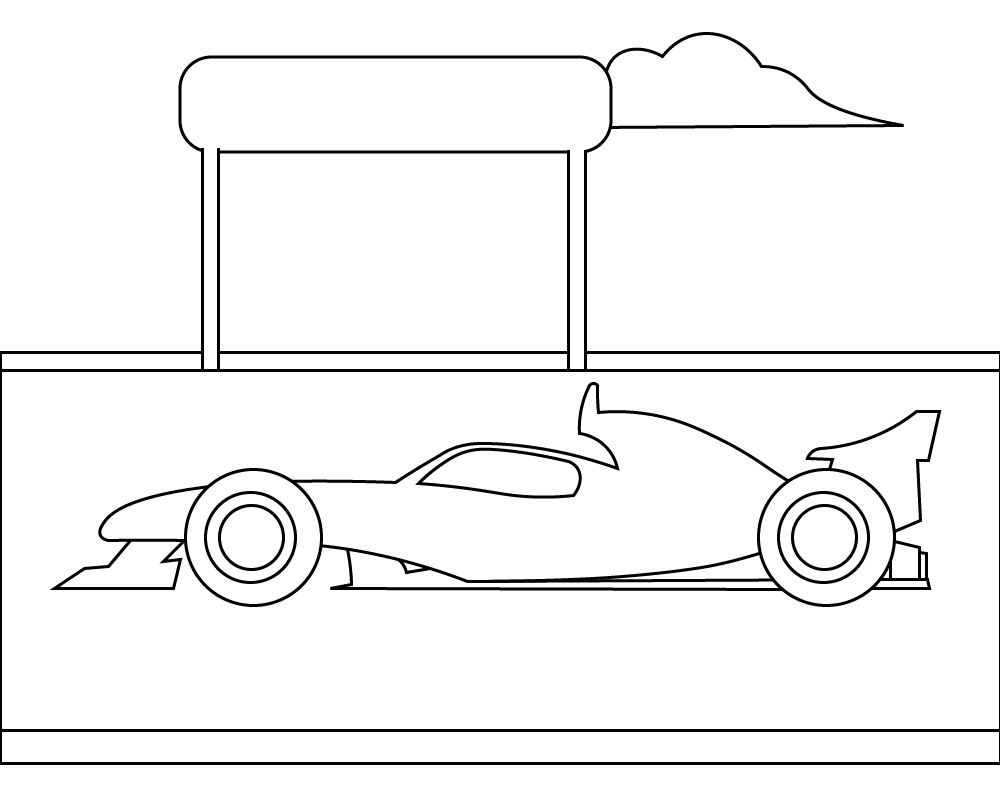
A drawing’s background is essential for creating context, depth, atmosphere, and narrative. It enhances the composition, supports the subject, and adds to the artwork’s impact and significance. Everyone has a story to tell. It can be narrated through words or even pictures. You can narrate your story by adding a background to your drawing. Having a background gives a whole new look to a drawing. It enhances the details and gives a perspective.
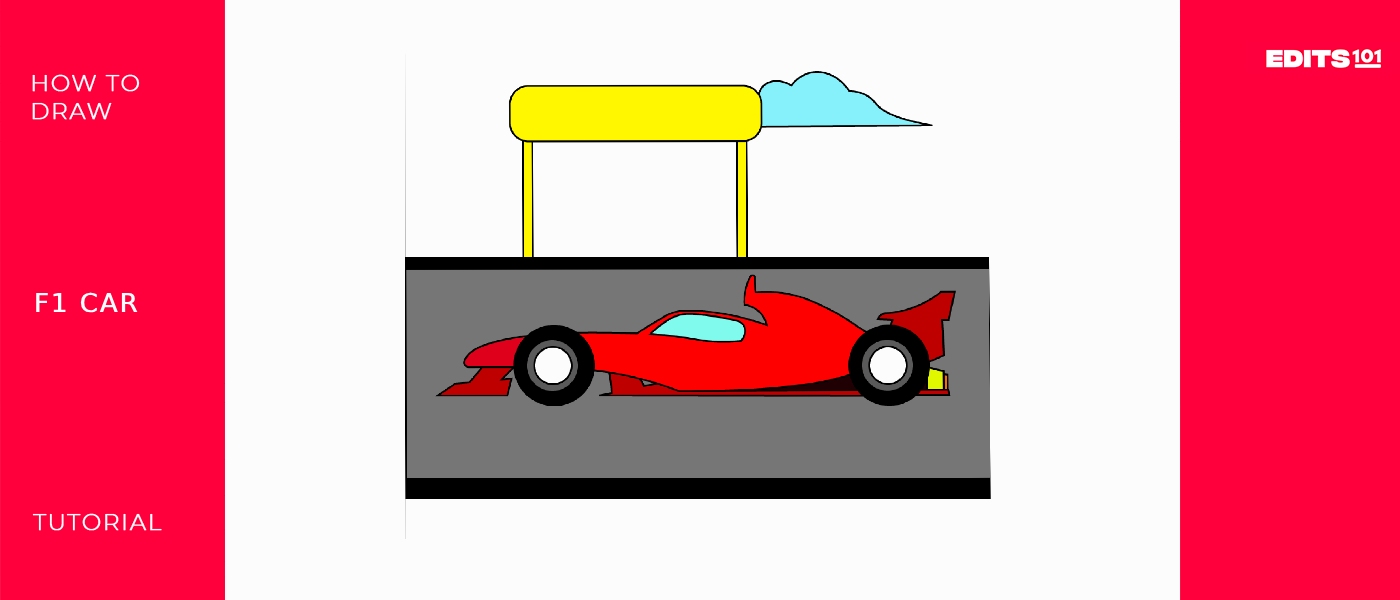
You can add the finish line. Draw the road, side barriers, and clouds to complete the picture. This is just an idea about background; you can also add a background of your choice.
Adding colors to your drawing
Color in images is very important because it can evoke emotions, convey meaning, and create atmosphere. It transforms flat lines into lively, dynamic compositions, giving the work of art new life. The color scheme you choose can affect your mood. Bright colors can give a relaxing vibe, while cool colors inspire relaxation or sadness. In addition, colors help determine the shape and depth so that the object can be prominently moved to the front or back. It creates a harmony or contrast that attracts the viewer’s eye and affects the overall visual effect.
Let’s add some life to the car and the background by playing with our creativity in colors. There is no hard and fast rule for coloring. You can add color to whatever suits your mood. But few things will be colored as they are in real life, like blue clouds and dark grey roads. You should use vibrant colors in your car to give it that sporty look. It is a fun way to explore your artistic nature. Every color adds a new layer of magic to your drawing. It’s a whole new world. So grab your crayons, marker colors, poster paints, or anything you choose, and let the colorful magic begin.
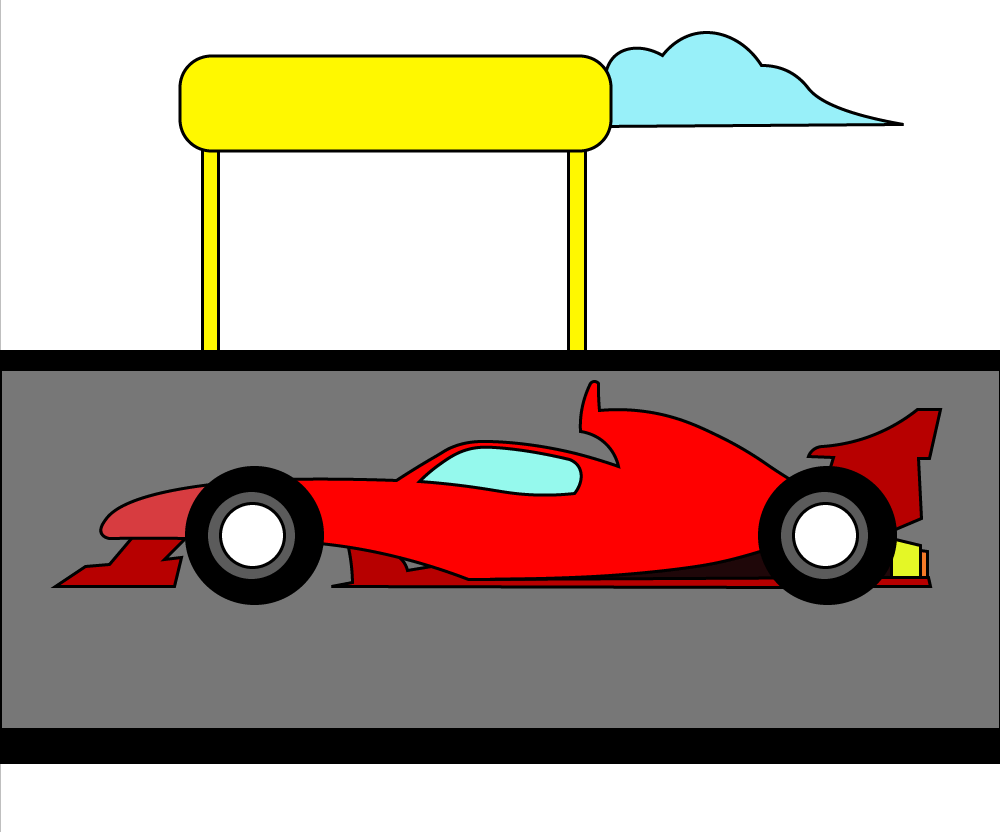
You can add any color of your choice, but be realistic.
P.S. Bonus Tips
Our drawing is completed, and we’re sure you enjoyed it as much as we did. As mentioned earlier, there’s no limit to one’s creativity. The drawing can be upgraded in any way. We added background and colors, but there’s more you can do.
You can put stickers on the car as some people do in real life. You can make a logo or draw the flag of your country. You can make a scene of racing other cars in the background, the wind blowing over the car, and the car’s shadow all summarize a great-looking picture.
Hey, champs! These are just a few ideas for ideas. Don’t limit yourself to these ideas only. Use your creativity and give your drawing a new look. You can use your imagination in this part to be creative.
Conclusion
Our drawing is completely ready now. The process is almost the same as we followed while drawing a racing car. We are sure you followed each step without skipping and made an amazing drawing. This guide explained each step in the easiest way. We started by making the cover of the car, then wheels, and all side basses with a window on the front and a back signal light.
Drawing should always be fun drawing different things. If you don’t get the desired results on the first attempt, no worries, go for it again.
Thanks for reading & feel free to check out more of our articles!
Author Rating
Overall Rating
Summary
Have a look at the process of drawing an F1 car. By reading this guide,

