How to Draw a Vintage Camper Van in 8 Simple Steps
Have you ever gone camping? Do you love camping? If you answered yes to any of these questions, you will be happy to know that today’s lesson focuses on drawing a vintage camper.
Today, you will learn something new, not just how to draw. A vintage camper van is a van that was built before 1990. This is basically a van that makes it possible to live comfortably in it when you go camping or on a road trip.
In this step-by-step guide, we’ll break it down into easy-to-follow steps so you can capture the spirit of the open road on your paper. So, grab your drawing gear, and let’s roll into the world of art and adventure as we draw our very own vintage camper van!
What You Will Need
- A pencil
- An eraser
- A drawing piece of paper
- A ruler
- Coloring supplies
- 30 minutes
How to Draw a Vintage Camper Van
Any trailer that is between 20 and 100 years old is considered to be vintage. By following our steps keenly, you will be able to end up with a beautiful vintage camper. You can use the knowledge you gain from today’s lesson to draw any van. First, look at the steps we will be following so that you are better prepared when we start.
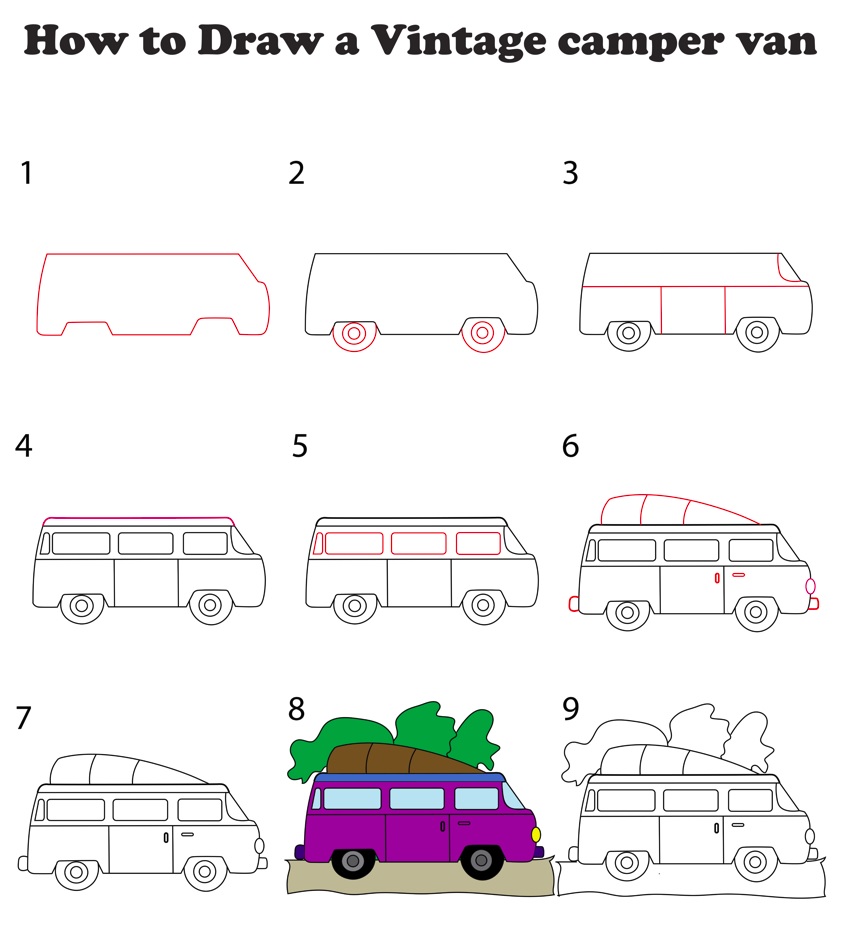
Step 1: Draw the Main Body of the Van
To be able to accommodate all your camping equipment and leave space for relaxation, a camper van needs a big body. The body should, however, not be as big as a bus. This is because we are drawing a van and not a trailer.
The first thing you should do is draw a horizontal rectangle. This should cover the length of your drawing paper. The rectangle will serve as our guide for the body of the camper.
Now that the rectangle is ready, we will start refining the van’s back side. We will draw a slightly curved line starting from the top left corner and connecting to the bottom left corner. Make the bottom left corner a bit rounded, then erase the part of the rectangle that is on the inside of the curved line.
Next, we will add the front part. Draw a diagonal line starting slightly to the left of the top right corner and extend it to connect with the right side of the rectangle near the middle.
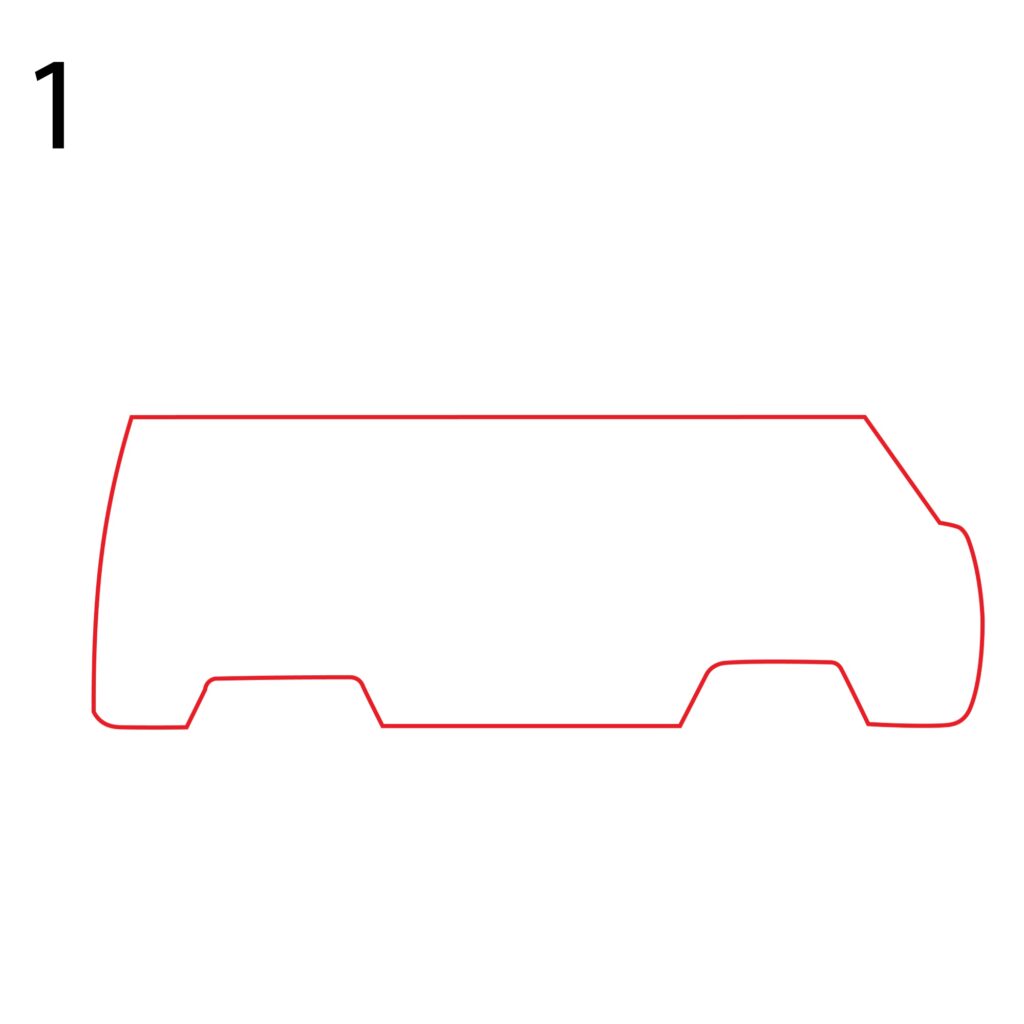
Next, from the point where the diagonal line connects to the right side, we will add a curved line that extends outwards and connects to the bottom right corner of the rectangle. We will then erase the sections of the rectangle that sit outside the diagonal line and inside the curved line we added for the front part.
For the last details, we will add grooves for the wheel. Keep in mind that vintage vehicles had somewhat sharp corners. The grooves you add should have sharp edges. Erase the section of the rectangle that cuts through the grooves. Your image should look like this.
Step 2: Add the Wheels
As aforementioned, vintage cars are unlike the modern cars you see around. For one, the upper section of the wheels of a vintage camper van tends to go inside the body. They are slightly covered. We will draw our wheels with that in mind.
Start by drawing two small circles inside the grooves we added for the wheels. Next, to indicate that the wheels are slightly hidden in the body of the van, we will add semicircles below the two circles we added earlier. Your drawing should now look like this.
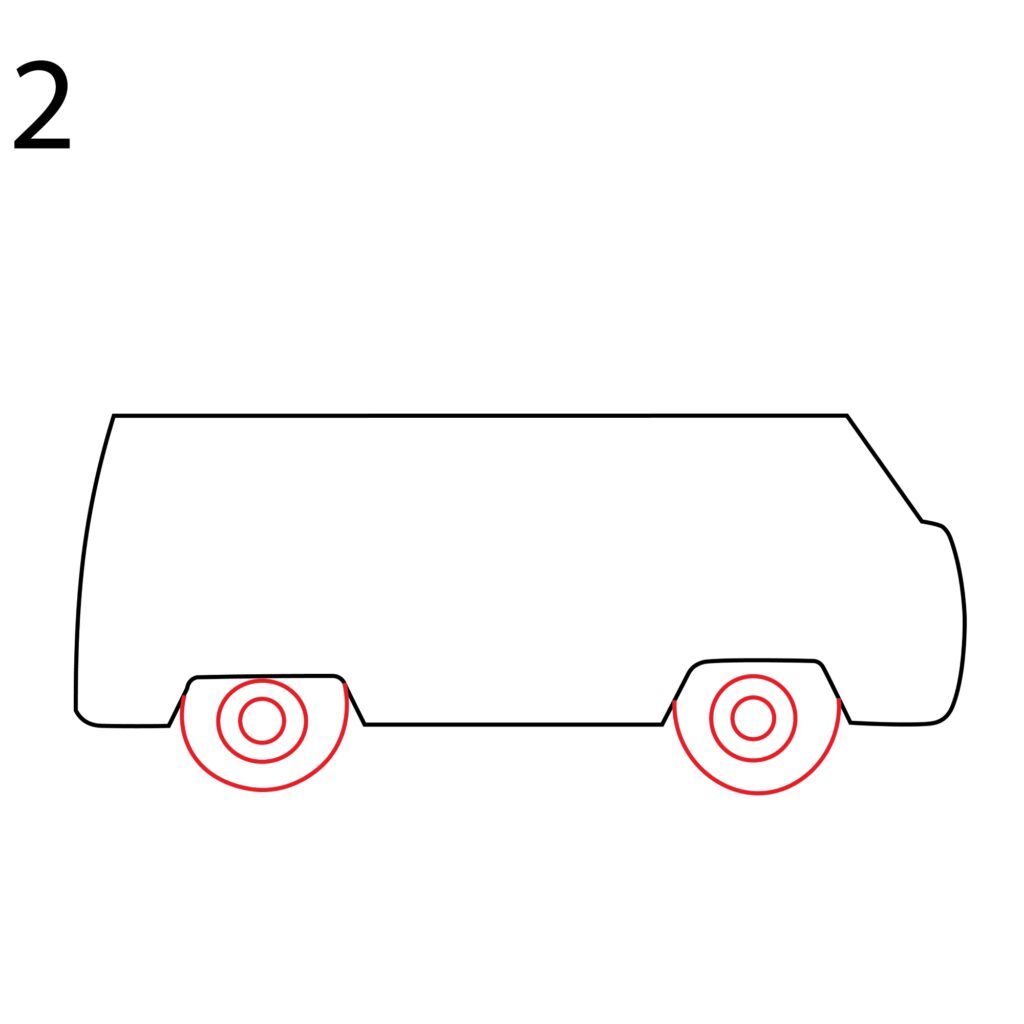
Try and make the wheels the same size. They should also touch the ground at the same level.
That was easy, right? Now to the fun part: turning our drawing into a realistic vintage camper van.
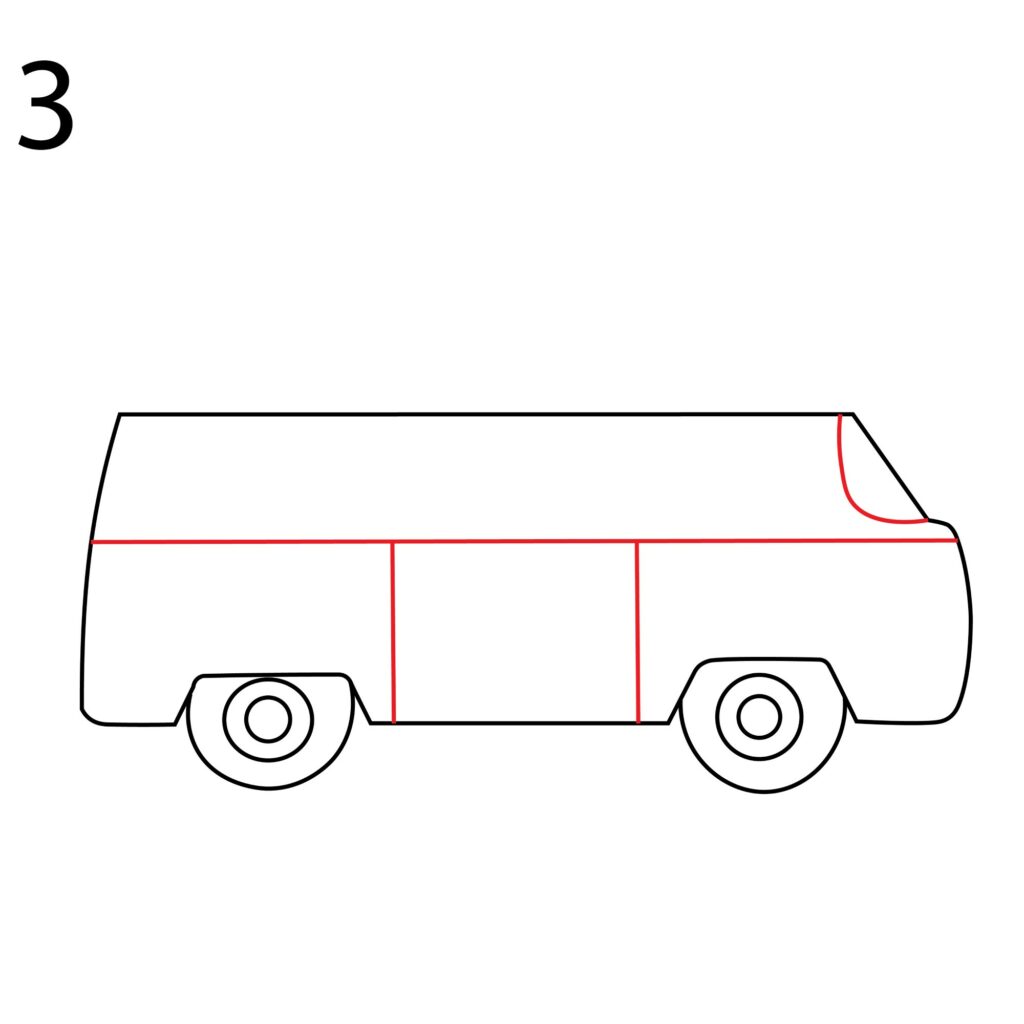
Step 3: Draw the Windscreen and Door
It is good to note that vintage camper vans have a sliding door on the side.
To add the sliding door and windscreen, we will start by using our ruler to draw a horizontal line from the back of the van and end slightly below the diagonal line we added for the front end of the van. Next, we will add a curved line on the left of the diagonal line to create the windscreen.
We will draw two vertical lines for the sliding door in the middle of the van. Your drawing should now look like this. We will add windows in the upper half of the van’s body.
Step 4: Draw the Upper Part of the Van
A camper van is designed to support heavy camping gear on the roof. For that reason, the upper part is reinforced to support the weight. Therefore, we will add a layer on top of the van to indicate that the roof is reinforced.
This will be very easy. Simply add a horizontal rectangle over the van. Make sure the rectangle is not too high. You should also make the corners rounded. Here is what it should look like.

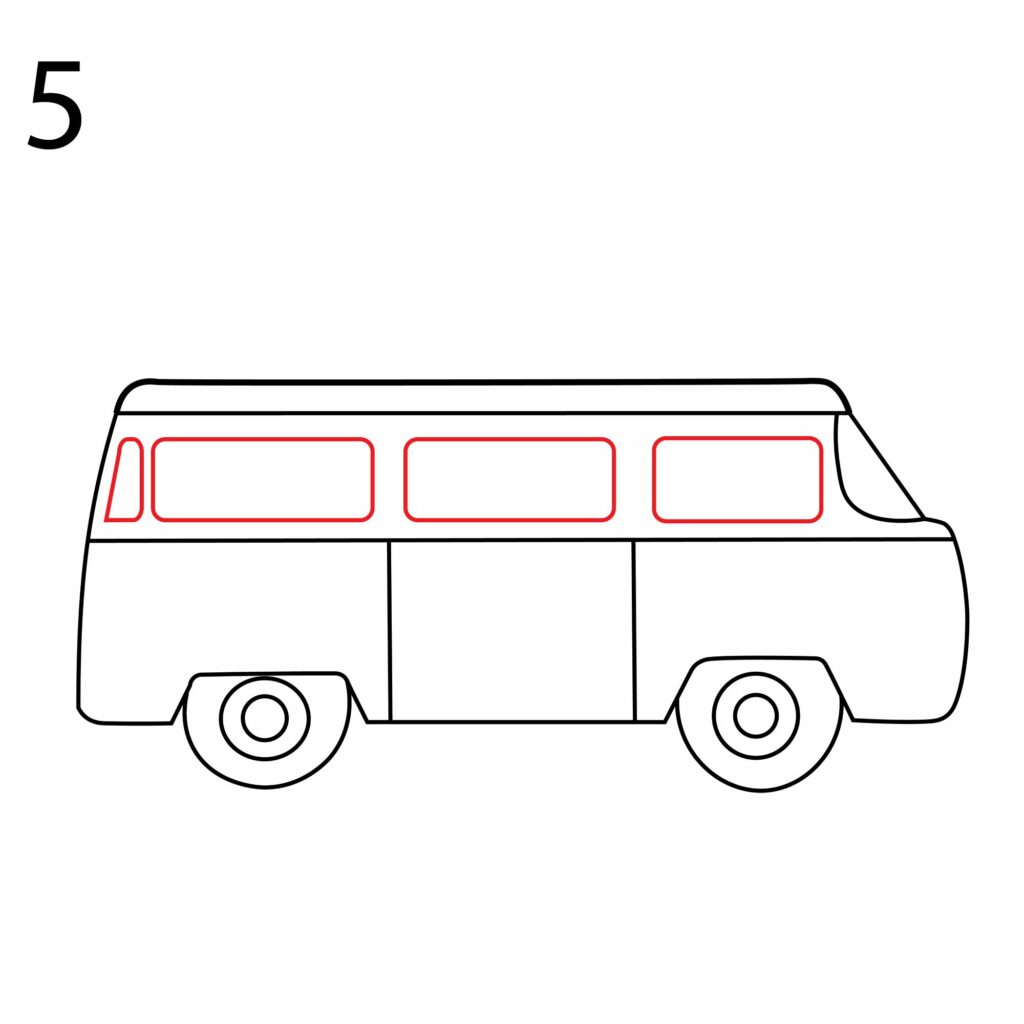
Step 5: Add the Windows
Our camper van needs windows to let light and air in. This is what we will be adding next.
To get proportional windows, draw two faint horizontal lines above the door. You should then add vertical lines along the line to add the windows. Don’t forget to leave some space between the windows. You should also make the corners of the windows a bit rounded.
The door of the camper van will have a window. Therefore, ensure a window above the square we drew for the sliding door. If space is left on the back end of the body, you can add a triangular shape for a tiny window.
Our camper van is now complete. All that is left is adding more details to it.
Take Your Drawing to the Next Level
While leaving your drawing as it appears above is perfectly okay, that is not the way to go. Your drawing needs to stand out. For that to happen, we need to add more details to it.
Add the Door Handles, Bumpers, and Camping Gear
Adding door handles is one of the best things you can do to take your drawing to the next level. We will start by adding a tiny, vertical rectangle on the top right corner of the sliding door. We will then add a horizontal rectangle right below the front window. These tiny details will really transform your vintage camper van. But don’t stop there. We need more details.
Next, we will add an oval shape below the horizontal line for the front part. That will serve as the headlights.
Considering vintage camper vans travel on rough terrain, we need to add some protection to the front and back end. For that, we will add bumpers. Bumpers are small protrusions on a vehicle’s front and back sides that absorb impact in low-speed collisions. We will start by drawing a small rectangular shape below the headlight to add a bumper. We will also add another rectangular shape on the bottom left corner of the van’s body for the rear bumper.
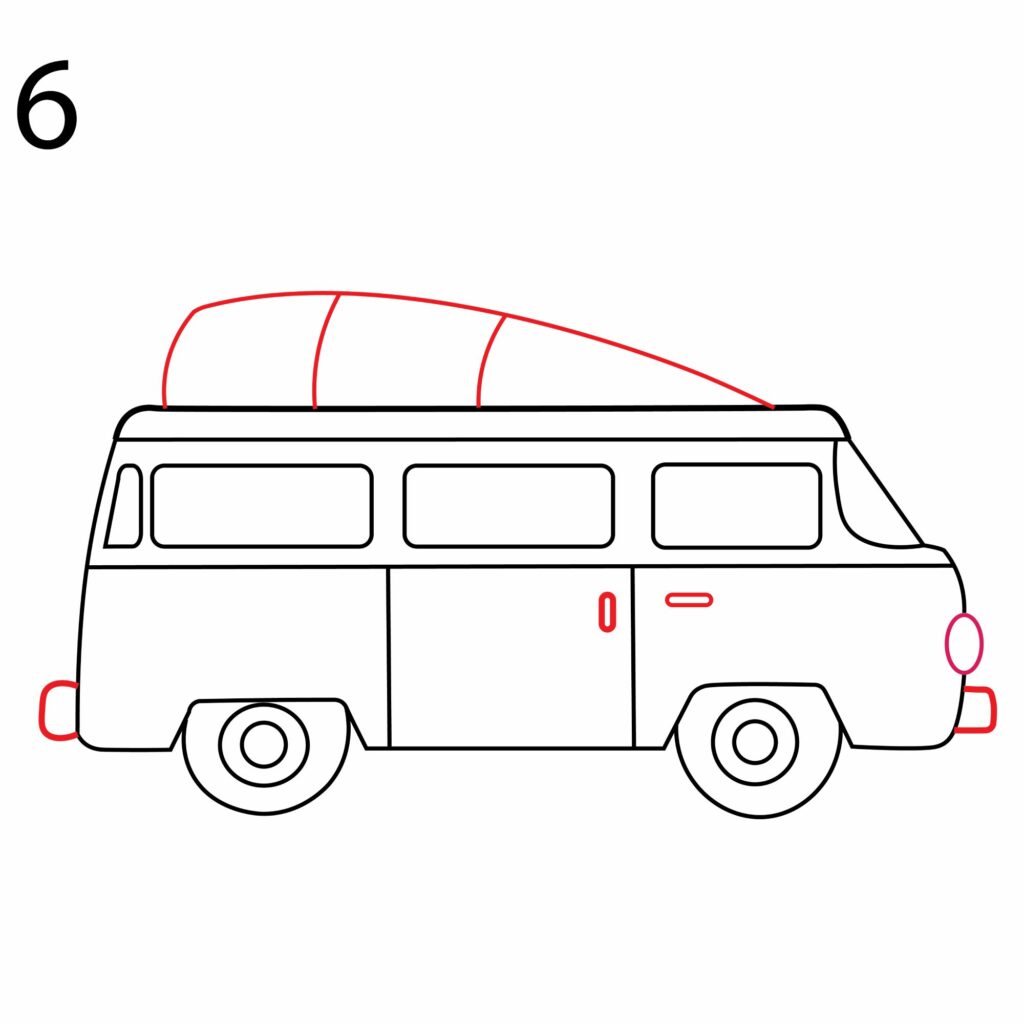
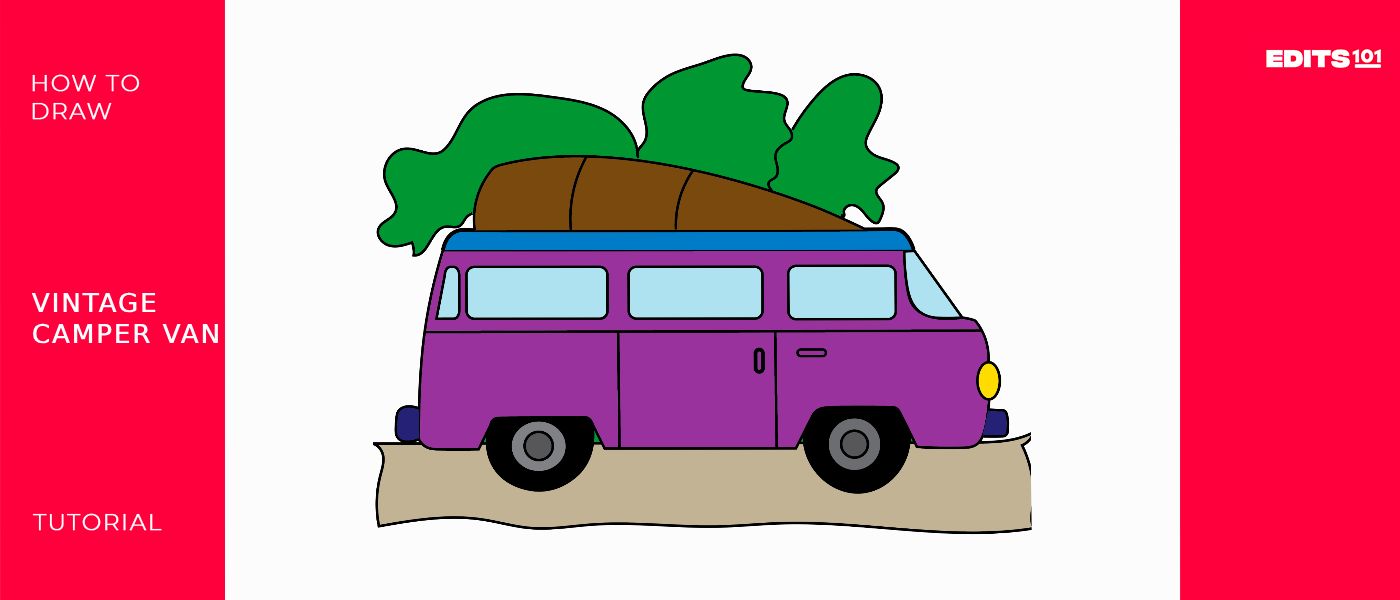
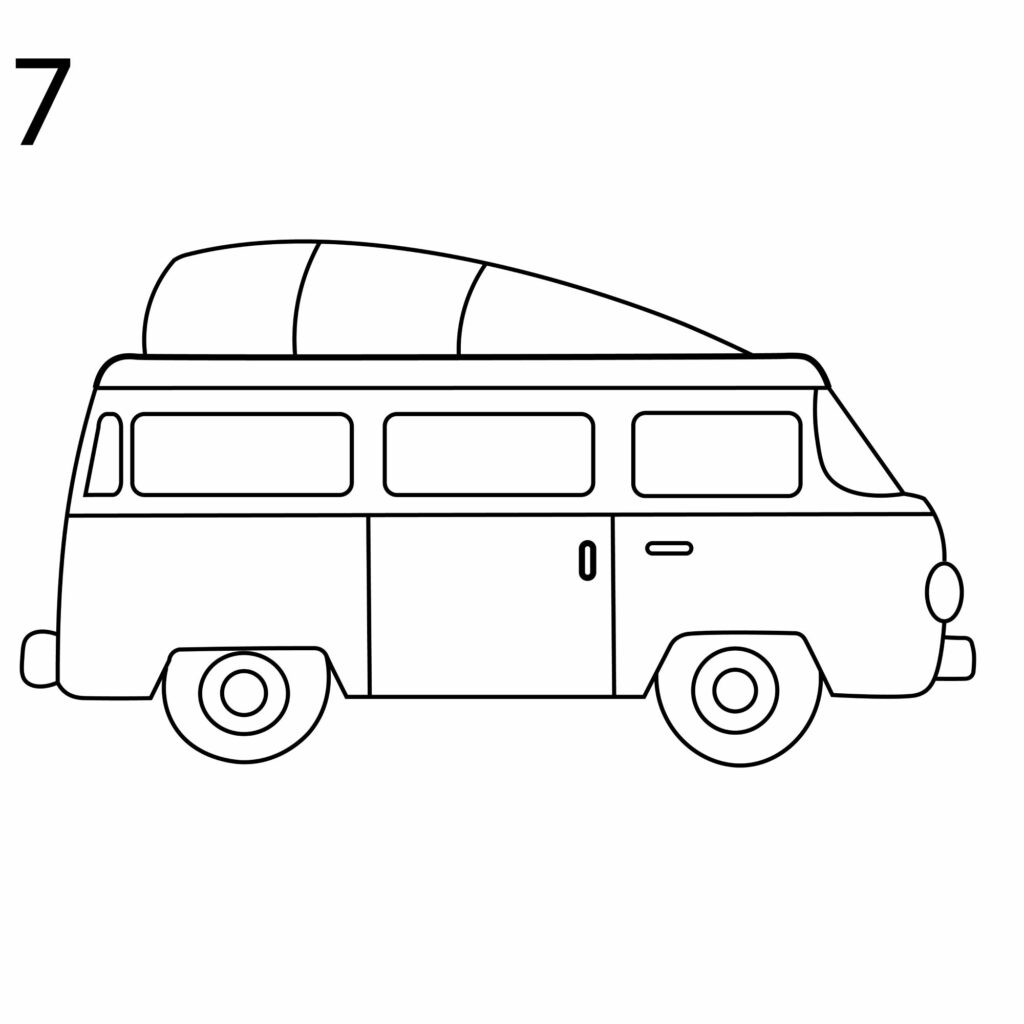
Our van is now complete. However, we will add a folded tent on the roof to transform it into a camping vintage van. For this, draw a curved line starting from the front of the van’s roof, raise it slightly, and then connect the curved line to the rear of the van’s roof. Add two curved lines in the middle of the new shape.
Your drawing is now complete. It is very easy to distinguish our vintage camper van from other types of vehicles. But we are still not done.
Add a Background
Adding a background to your vintage camper van will help your drawing stand out. We will start by adding a wavy line a short distance from the base of the wheels. This will represent a rough terrain. We will also add some shapes behind the van to represent treetops.
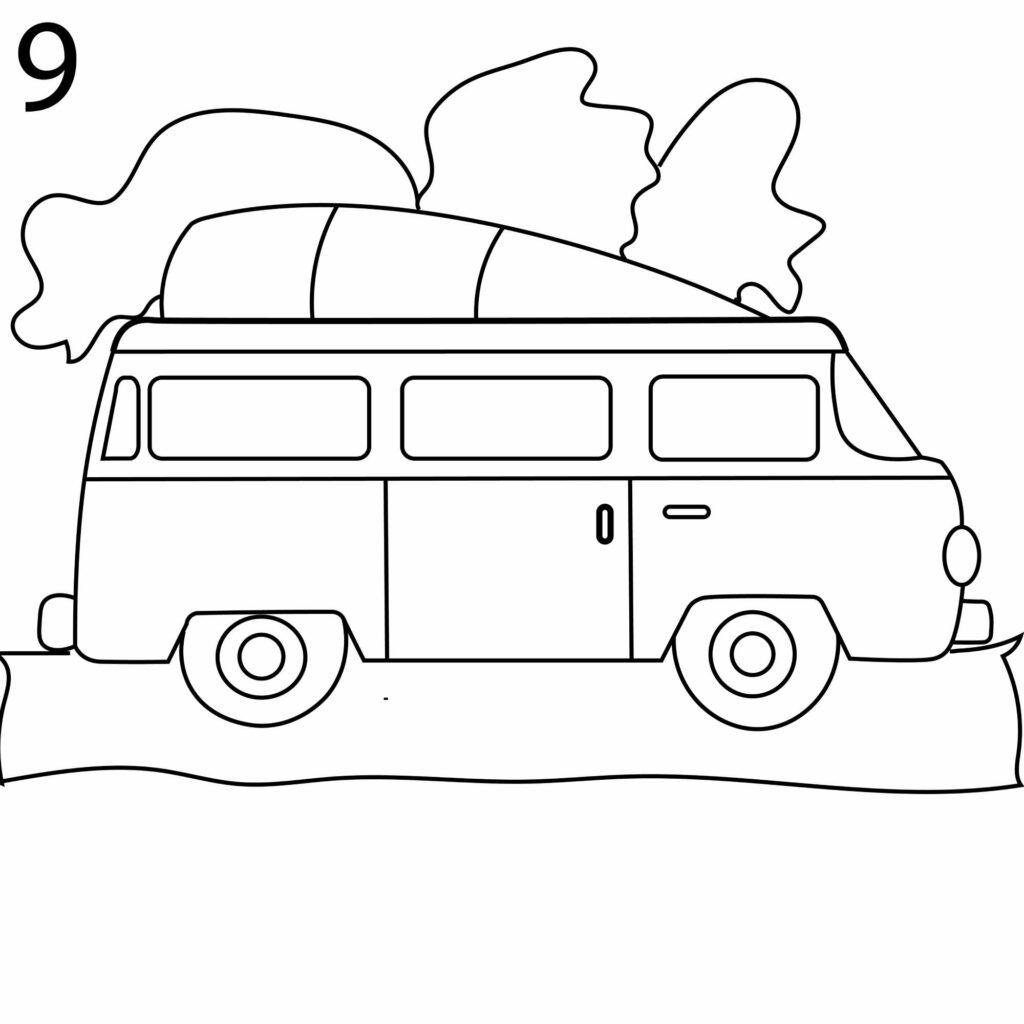
You can add as many details as you want. It is also perfectly okay to write a name on the side of your van. Showcase your creativity. However, you must ensure that any detail you add doesn’t cover the vintage camper van.
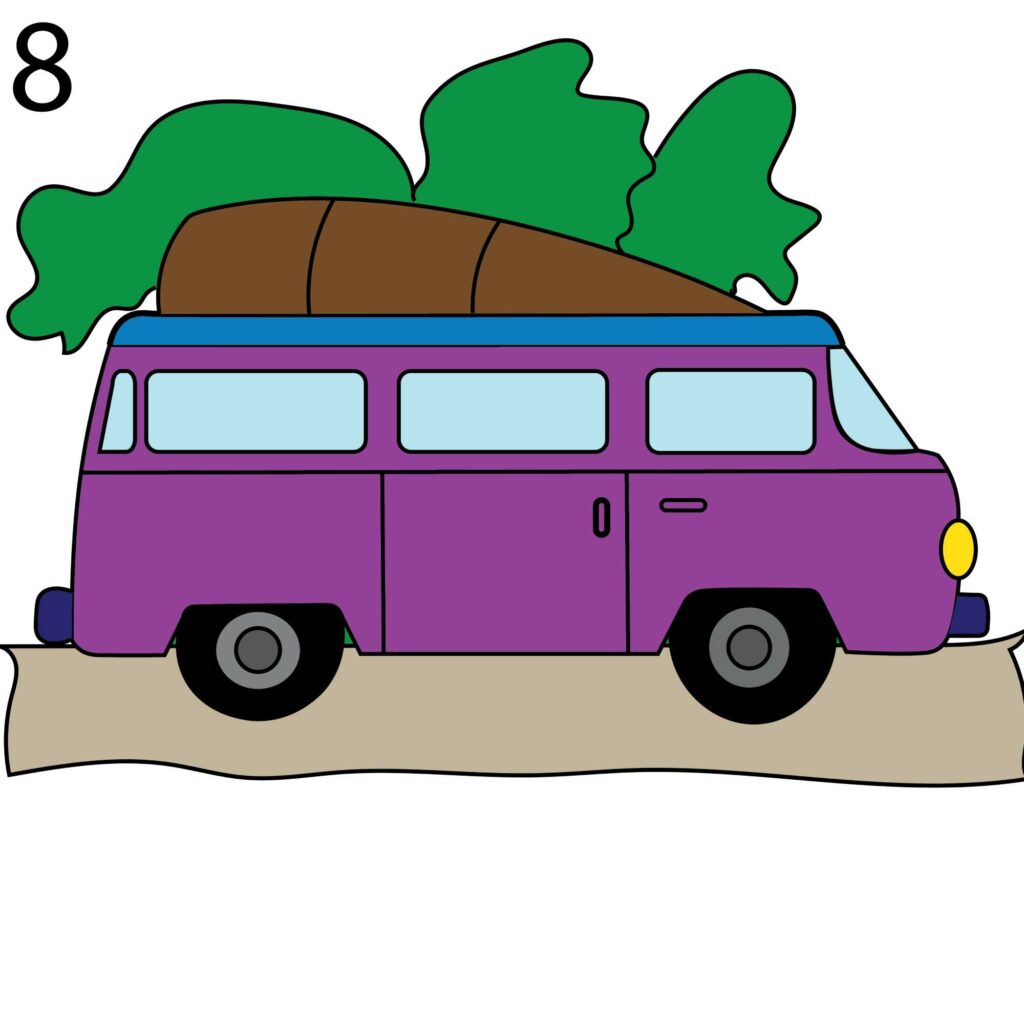
Color Your Drawing
We will add color to the vintage van for the final step that will bring your drawing to life. Take out your coloring supplies and color your drawing. There is no limit to the colors you can use, provided the colors don’t spill outside your coloring area.
Bravo! The vintage camper van is ready.
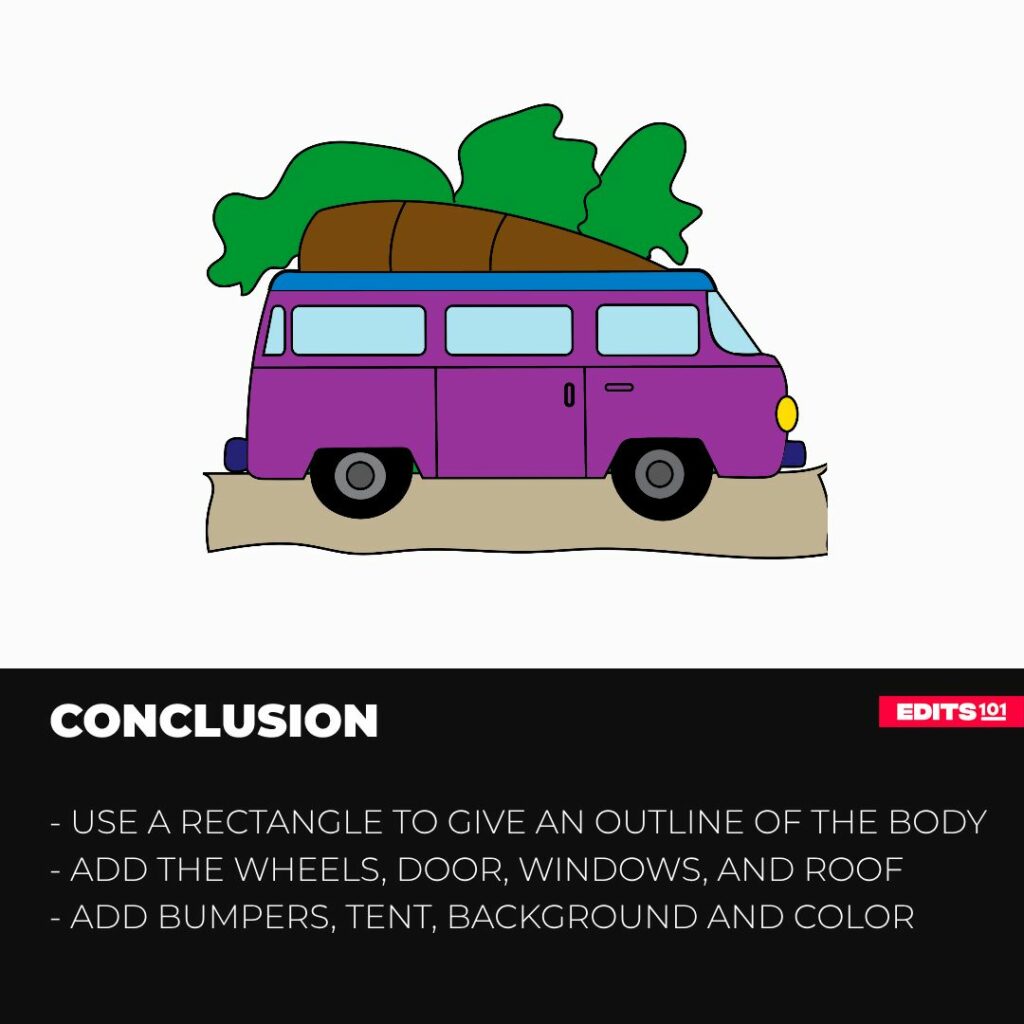
Conclusion
Remember that your drawing doesn’t have to be perfect the first or second time. It takes practice to become a great artist. The key is to always start by drawing the body of your vintage camper van, then add the wheels, sliding door, windows, reinforced roof, headlights, and bumpers.
You can use our steps to draw a van on your preferred sketching software. These steps can also help you draw a modern camper van from multiple perspectives.
Don’t forget to have fun! See you in our next lesson.
Thanks for reading & feel free to check out more of our articles!