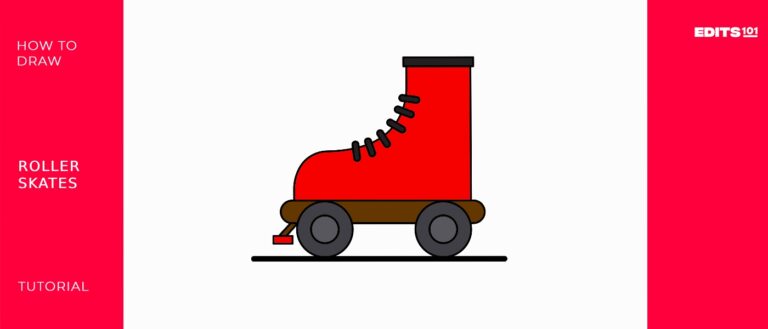
How To Draw A Bicycle With A Basket | A Fun And Easy Guide
Today, we will take a relaxing and peaceful ride while drawing a bicycle with a basket.
Currently, more than 1 billion bicycles are in use worldwide. The late 19th century saw the development of cycling as a popular leisure activity and competitive sport in England. Over 238 million gallons of petrol are saved annually by bicycles. The smallest bicycle ever produced has silver dollar-sized wheels.
We will draw a bicycle that can also be used to carry our stuff as it has a basket in front of it.
What you will need
- A pencil
- An eraser
- A sheet of paper
- Coloring kit
- Ruler
- 30 minutes
How to Draw a bicycle with a basket
Let’s get ready to take a soothing ride to the countryside road while we draw a bicycle. To make a perfect drawing, follow each step in this guide carefully. Let’s get started.
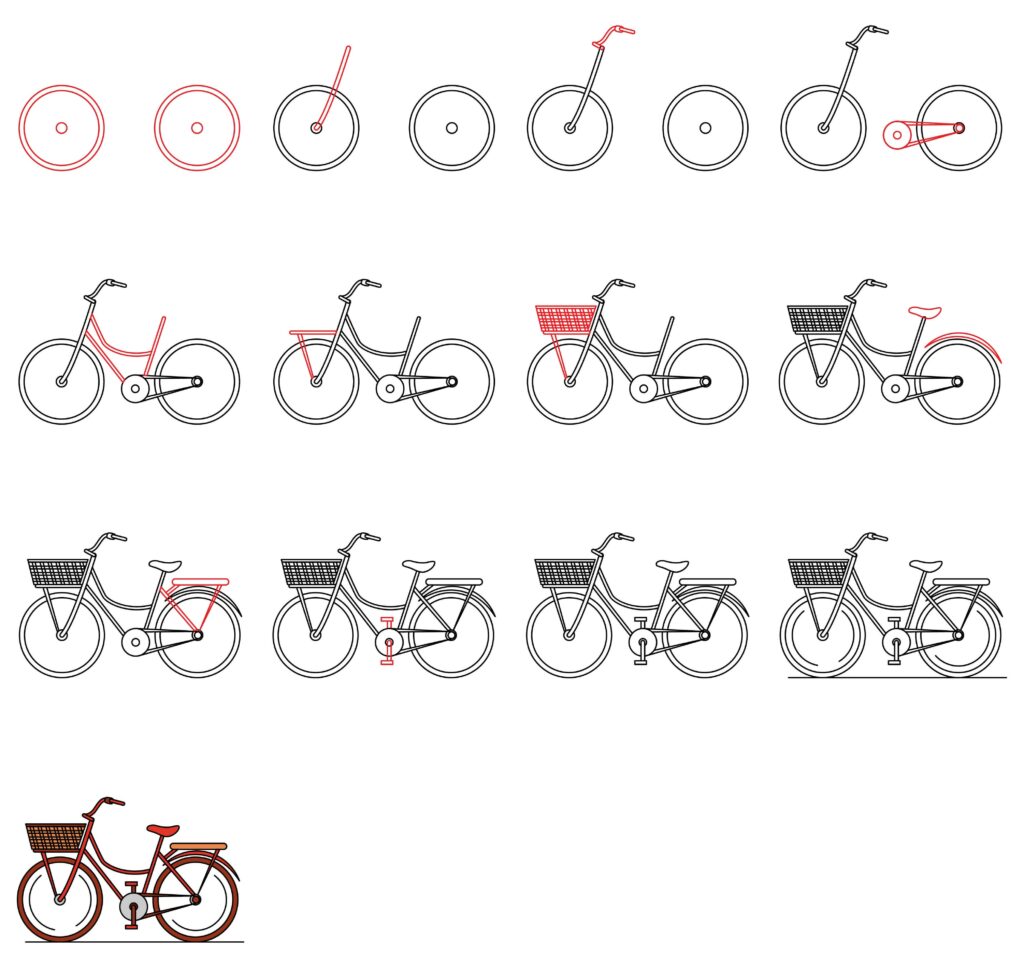
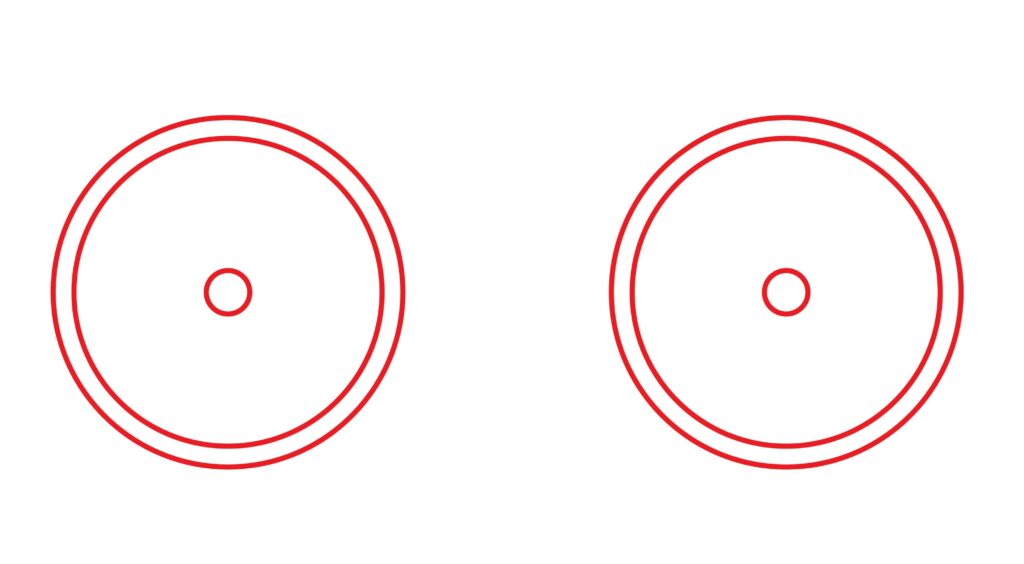
Step 1: Draw the wheels
In our first step, we will draw the wheels that act as a base for our bicycle drawing. Make two large concentric circles on the lateral sides of the bottom of our page to draw the wheels. Then, draw a small circle in the middle of these circles.
You can use a round object like a circular lid or glass to make perfect-looking circles. If these types of things are unavailable, you can draw them in your free hand by placing a dot in the center and four dots around it where you want to draw your circle. Then, connect these dots with curved lines.
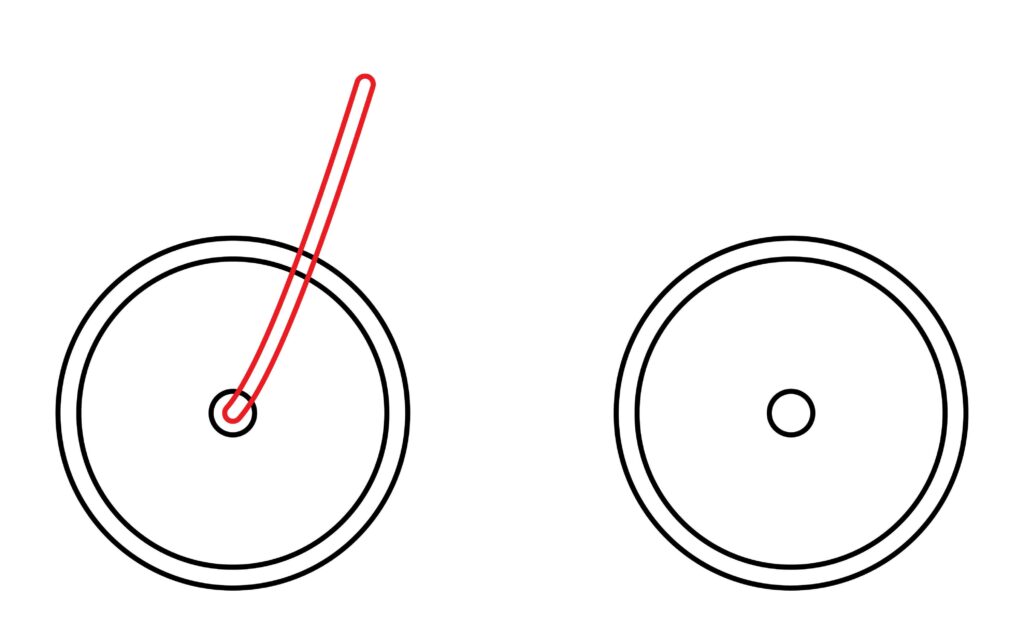
Step 2: Draw the handlebar
In our second step, we will draw the handlebar that attaches the wheels to other bicycle parts. Draw parallel oblique or angle lines bent towards the right to make the handlebar. These lines emerge from the small circle drawn in the center of the front wheel of our bicycle.
Keep up the excellent work. With a few more steps, we will be done with our drawing.
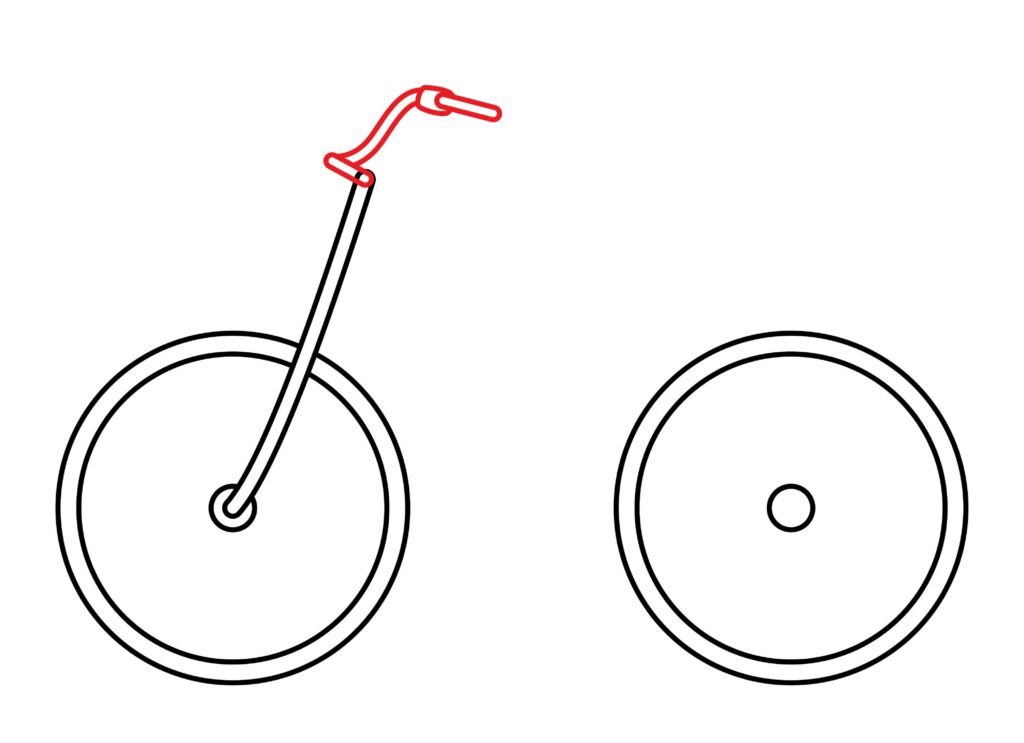
Step 3: Draw the handle
It is the part of our bicycle that we hold with our hand while riding it. It can also be used to change the direction of our bicycle.
To make the handle, draw a small narrow over the head of our angle lines. Then, draw some curved lines over that oval. As shown in the image, draw another small, narrow oval placed horizontally in front of these curved lines.
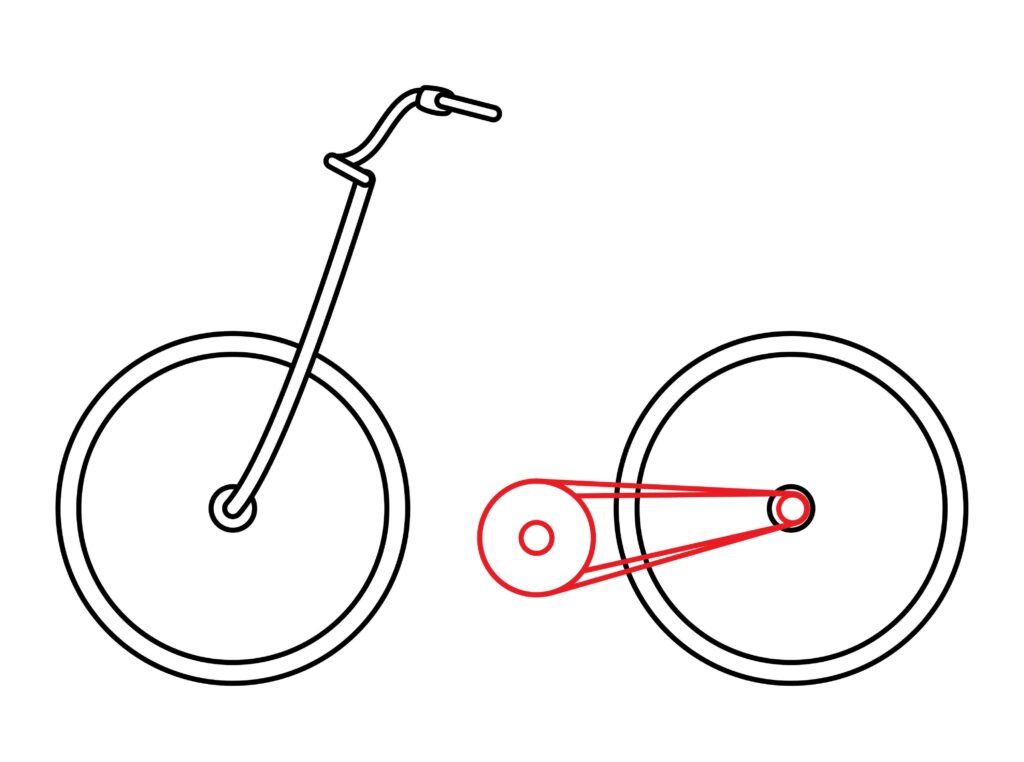
Step 4: Draw the chain wheel
We will draw the chain wheel, the most important part of the bicycle. Draw 2 small circles in the middle of the 2 wheels for the chain wheel and draw 2 lines like the image for the chain. Instruction to draw circles is given in the above steps. These small circles will be concentric. The pair of lines will emerge from the upper and lower part of the circles drawn.
Step 5: Draw the body
Now, we will draw the main body of the bicycle. To make the main body, draw parallel oblique lines bent towards the left emerging from the circle drawn for the chain wheel. Draw other parallel oblique lines bent toward the right, emerging from the same circle. As shown in the image, draw curved lines joining the handle and the bicycle’s body.
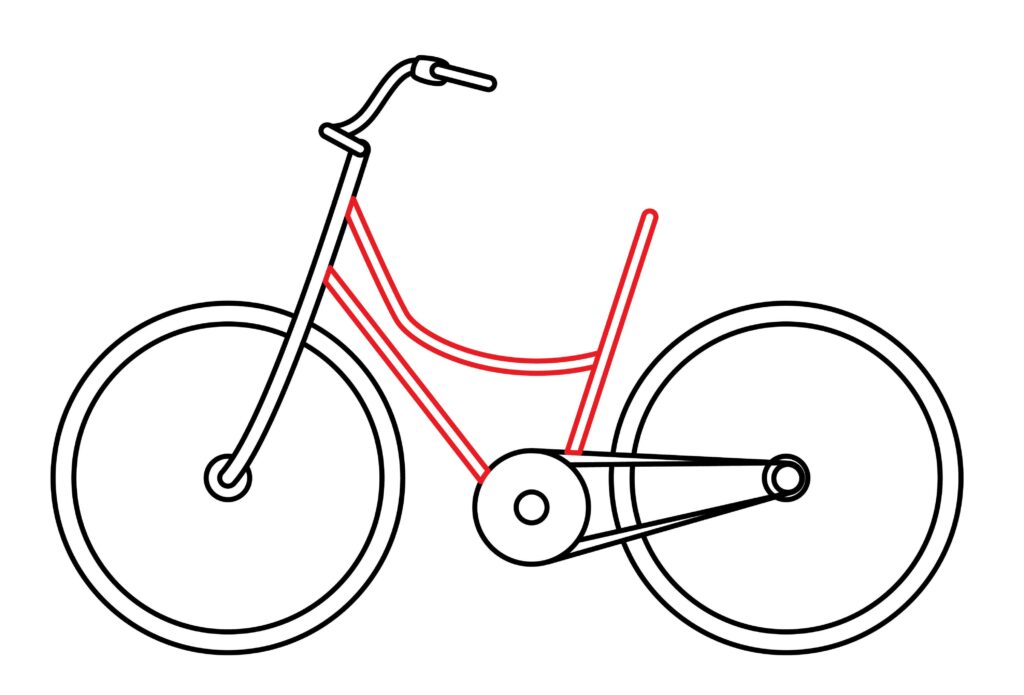
Step 6: Draw the basket carrier
We will draw the basket carrier that will keep our basket in place. To make the basket carrier, extend two horizontal lines from the handlebar on the top of the front wheel. Now, draw parallel vertical lines connecting the middle circle of the front wheel.
You are almost halfway to completing your drawing.
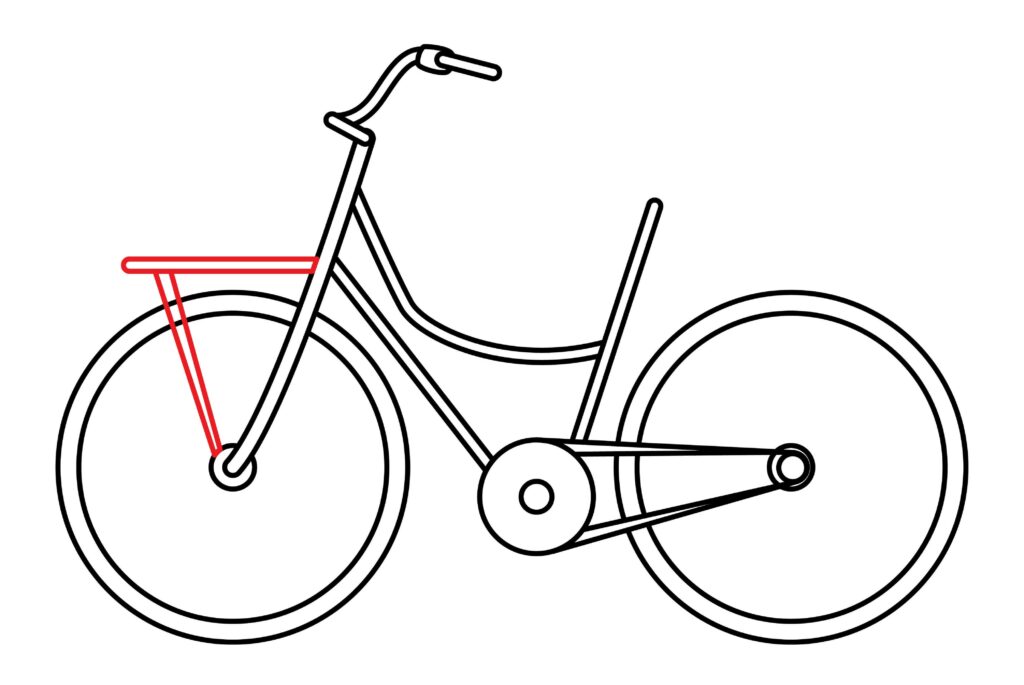
Step 7: Draw the basket
To make the basket, draw a trapezium on the top of the front wheel. To draw a trapezium, make parallel lines that are unequal in size and join them with slanted lines towards each other. Or you can draw a rectangle for the basket.
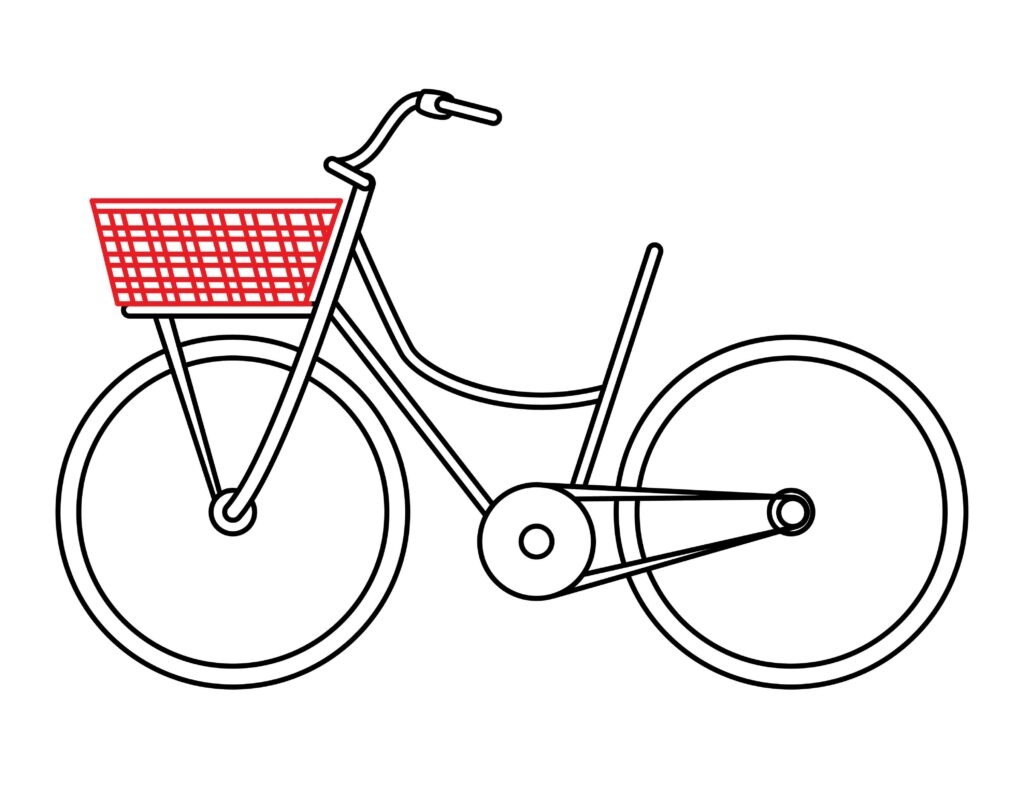
Add some crisscross lines to decorate your basket as in the image.
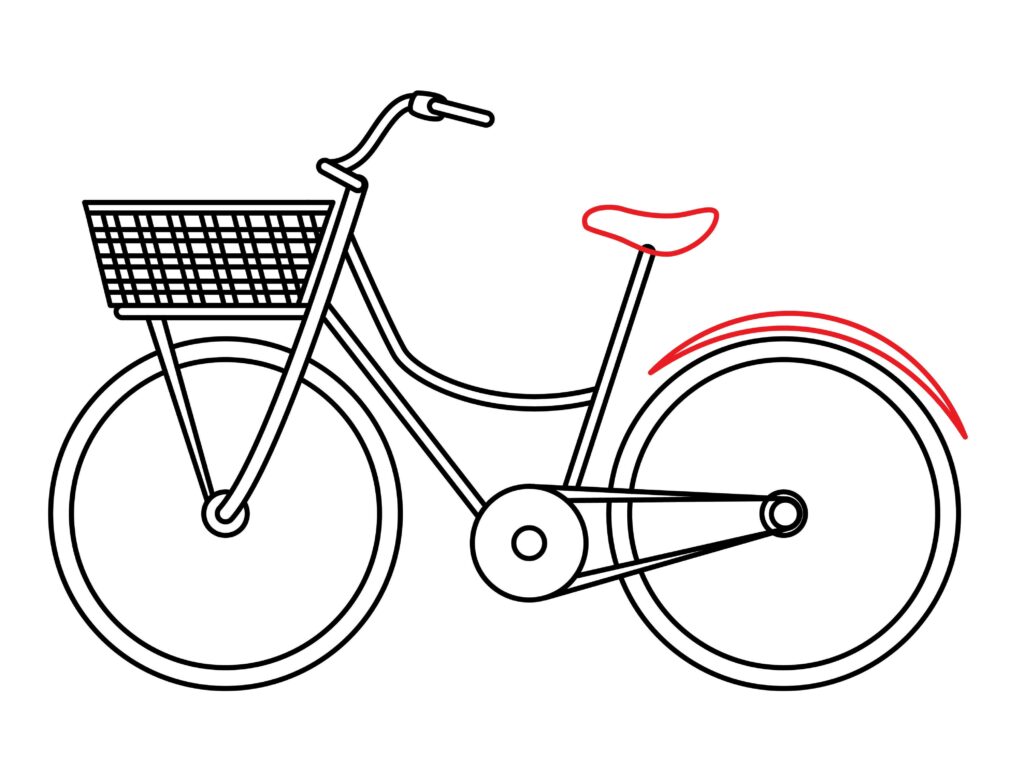
Step 8: Draw the seat and back fender
We will draw the seat using some lines, as in the image. A fender is a rain-protecting cover for your bike’s tires. When you have fenders on your bike, the rain won’t splatter muddy water up your back, all over your shoes, or your face.
To make the back fender, draw curved lines on the top of the rear wheel of the bicycle.
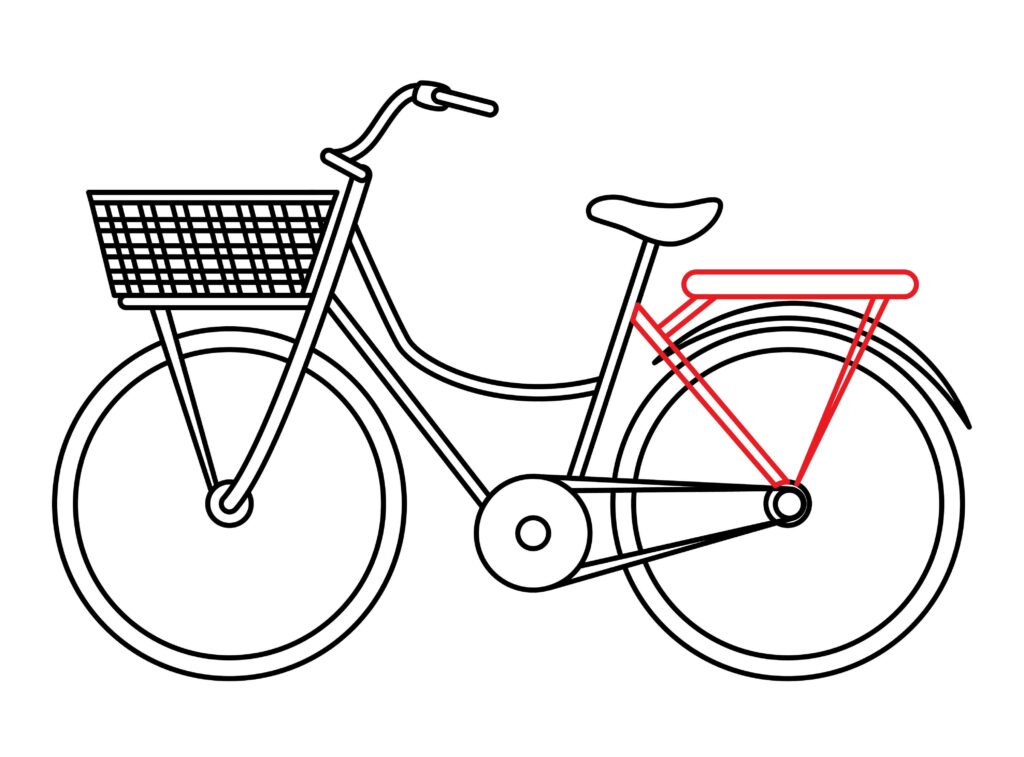
Step 9: Draw the carrier
The carrier, in the rear part of the bicycle, is on the top of the wheel. Draw a horizontal narrow rectangle on the top of the back wheel and connect it with 2 vertical angle lines with the back wheel to make the carrier. These angled lines will be extended from the small circle in the center of the back wheel. One angled line will be bent towards the right, and the other will be bent towards the left. Then, connect the carrier with the bicycle’s body by drawing oblique lines.
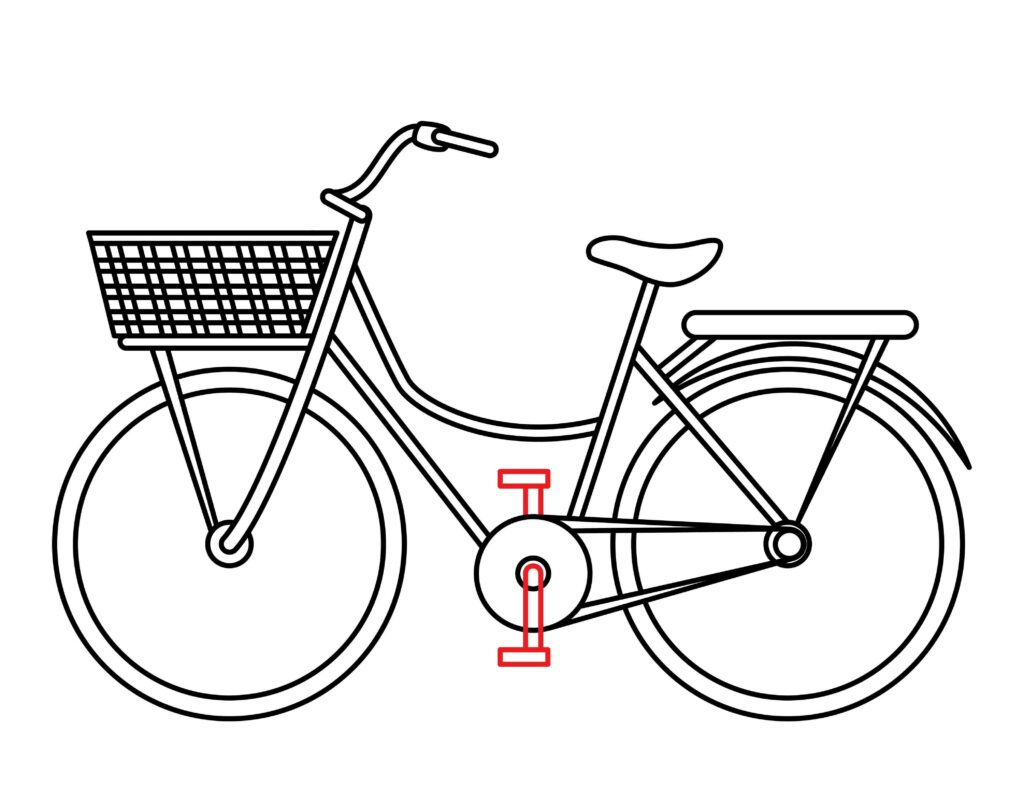
Step 10: Draw the paddles
This is the last step of our drawing. In this step, we will draw the paddles. Make two vertical rectangles on the upper and lower part of the chain wheel. Then, draw two more small horizontal rectangles above these vertical ones.
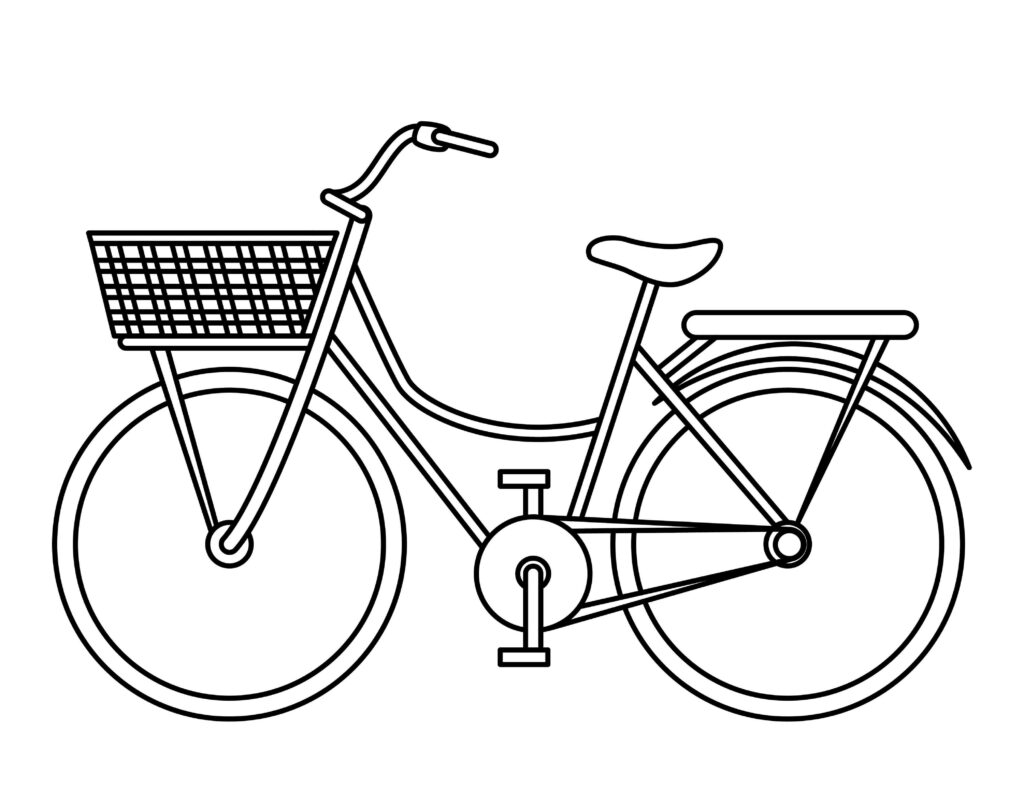
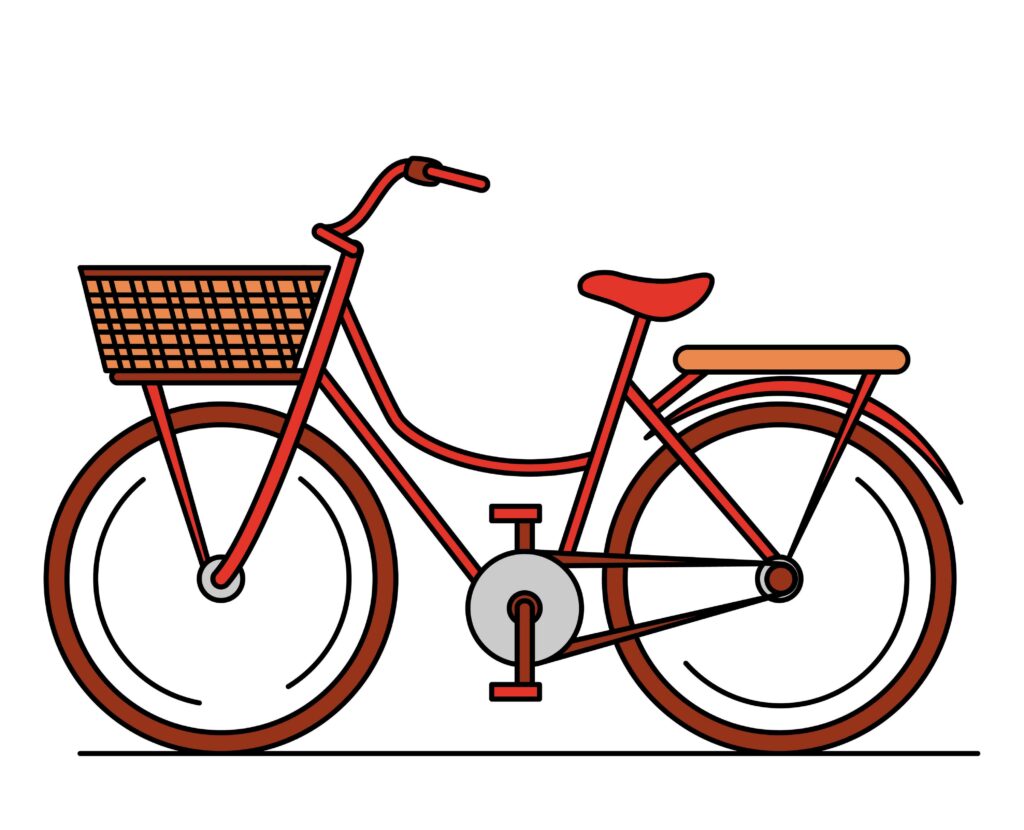
Step 11: The bicycle with a basket is ready
Excellent! You are done with your drawing. Your bicycle is ready to hit the road. You did a spectacular job. We’re sure you followed each step and made your bicycle with a basket. To make the drawing more prominent, we’ll outline it using a marker. After outlining, we’ll erase the pencil marks for a better look.
Hold on! The good is about to start. We’re about to improve and realistically render our drawing. Are you prepared to let your ideas and creativity run free to create a polished drawing?
Taking your bicycle with a basket drawing to the next level
There is no limit to your imagination. Once you know how to use it well, everything is possible. Similar to how you can improve your artwork by applying ingenuity. Give your imagination free rein to produce something truly amazing for your drawing.
You’ll gain self-assurance and increase your willingness to sketch more as a result of doing this. The focus of this part is experimentation and innovation. We’ll embellish our drawing with various elements.
Take out your stationery, and start working your magic.
Adding background to your drawing
The background of a drawing is crucial for developing context, depth, atmosphere, and narrative. It improves the composition, supports the theme, and increases the significance and overall impact of the artwork. Everyone can tell a story. It can be told in words or even through images. By giving your drawing a background, you can describe your story. A drawing takes on a completely new appearance with a background. It adds depth to the specifics and provides perspective.
For our bicycle, you can draw a road. A bright blue sky in the background with a dazzling sun. You can make some pretty flowers in the basket. While adding the background, make sure no lines overlap with our drawing.
Adding colors to your drawing
Color selection is important in drawings because it may elicit emotions, convey meaning, and establish a mood. They breathe fresh life into the piece, transforming flat lines into vibrant, dynamic compositions. Your choice of color scheme may have an impact on how you feel. Warm hues may exude coziness, but cool hues evoke peace or melancholy. Colors also aid in defining form and depth, allowing objects to advance or retreat visually.
You can use colored pencils or crayons for the drawing. You can use your favorite color for the bicycle. You can color the road black or brown. Color the sky with a light blue color to enhance our drawing. Try stroking the color in one direction, and do not cross the boundary for neat coloring.
P.S. Bonus Tips
Our drawing is completed, and we’re sure you enjoyed it as much as we did. As mentioned earlier, there’s no limit to one’s creativity. The drawing can be upgraded in any way. We added background and colors, but there’s more you can do.
You can draw a person riding the bike. You can add birds in the sky and fruit in the basket. You can customize the bicycle according to your liking by adding some gear parts or stickers. These are a few suggestions. You can add whatever you like to your drawing.
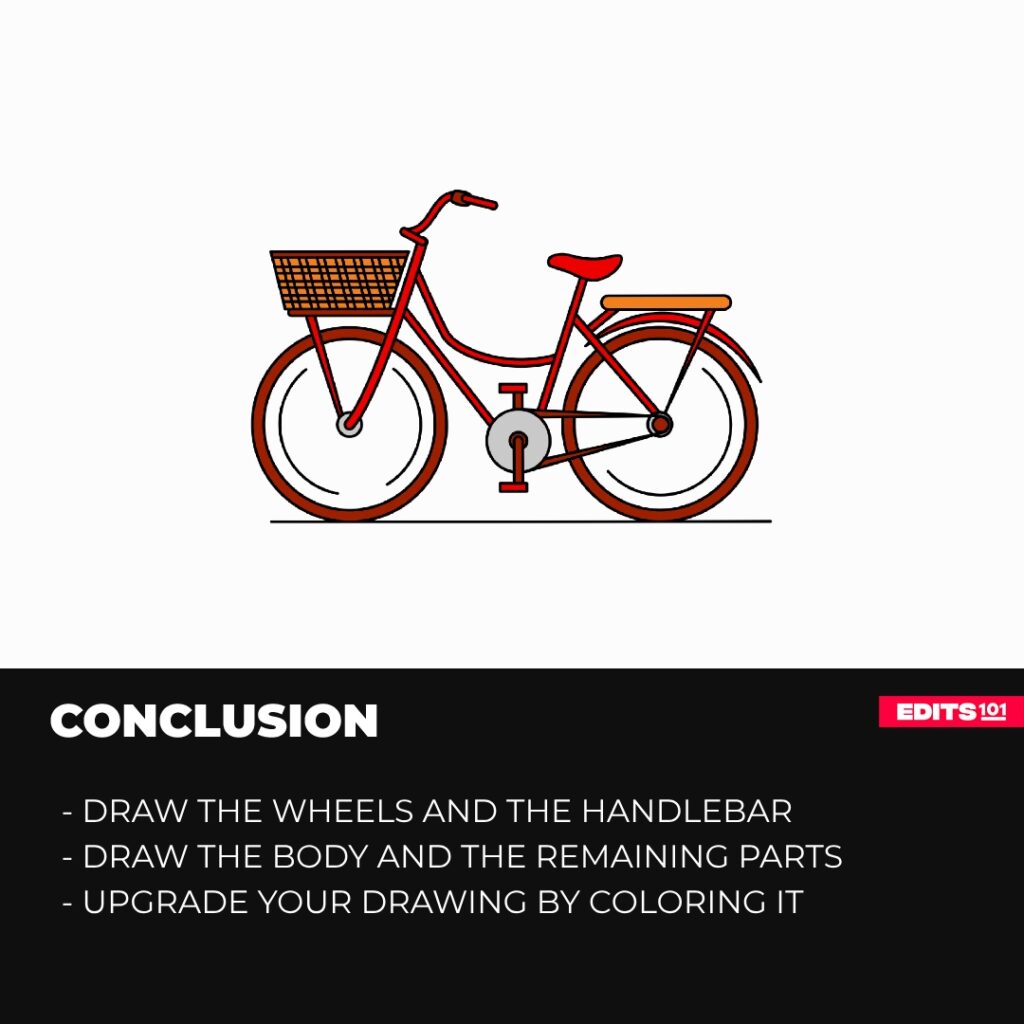
Conclusion
That’s it! Our drawing is done now. It was a fun and easy process. We’re sure you followed each step without skipping and made a fantastic drawing. This guide explained each step most easily. We started by making the bicycle wheels; then, we drew the handlebar, handle, the body of the cycle, chain wheel, basket, seat, fender, and paddles.
Remember that drawing is a pleasant approach to exploring our possibilities. It should always be enjoyable to sketch various objects.
Thanks for reading & feel free to check out more of our articles!
Author Rating
Overall Rating
Summary
This guide explains how to draw a bicycle with a basket in a simple and effective way. You will get an insight about some interesting facts about this vehicle by reading this guide.