How to Draw an Ice Hockey Puck | A Step-by-Step Guide
The ice hockey puck is a closed or open disk that is used in the game of ice hockey. Unlike a hockey ball which is round, the ice hockey puck is a disk. It is designed that way to move smoothly on an ice surface. In the lesson for today, we shall be looking at the steps you need to take to draw a realistic ice hockey puck.
A modern ice hockey puck is made using rubber that is vulcanized. This is a process that involves the heating and hardening of rubber in order to create a small disk. In size, a hockey puck is about 3 inches in diameter and 1 inch thick. These are the standard dimensions. The weight can, however, vary from 5.5 to 6 ounces. Now let us get back to our lesson.
| Steps | Complexity Level |
| Drawing the Top Part | 2 |
| Drawing the Bottom Part | 2 |
| Adding Details to the Top | 2 |
| Coloring | 1 |
What You Will Need
- A drawing paper or a sketchbook
- Pencils (HB and 2B)
- An eraser
- A ruler
- Color pencils or markers
- 10 Minutes
How to Draw an Ice Hockey Puck
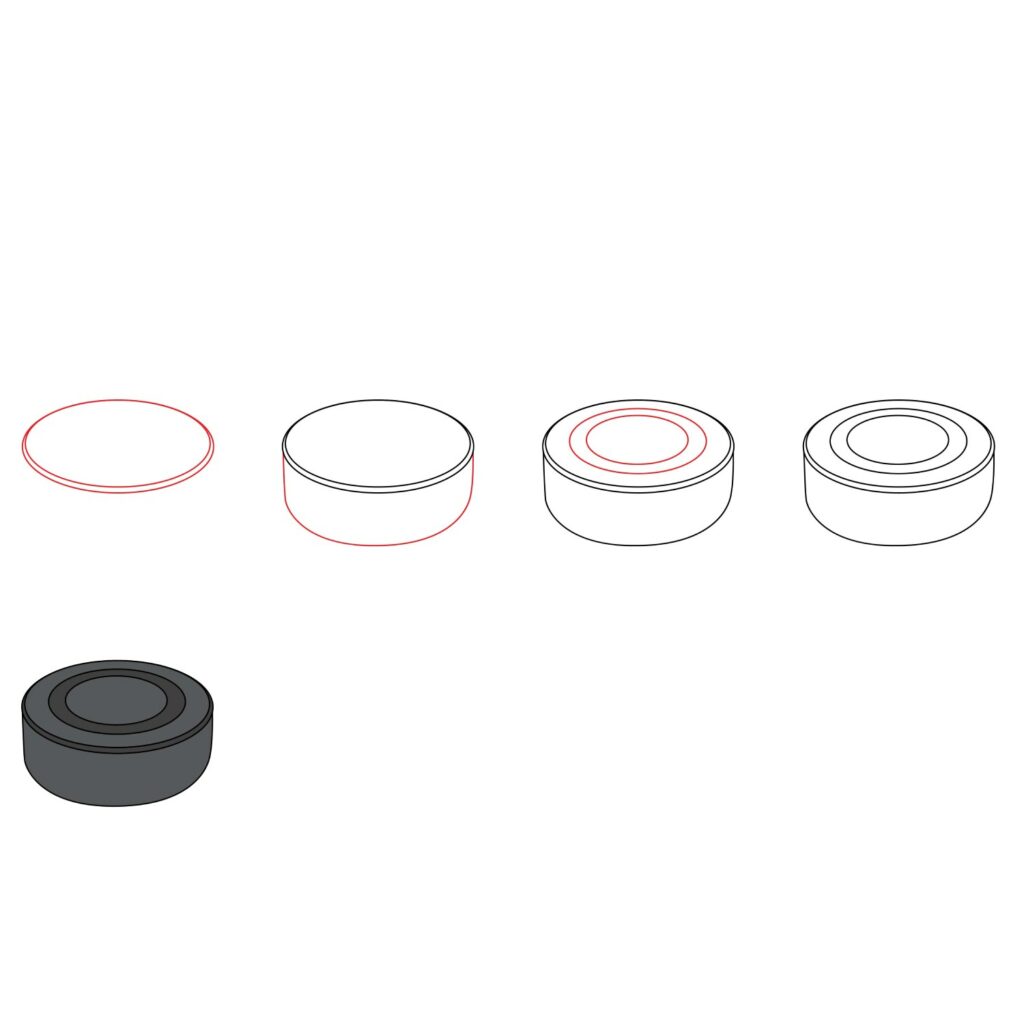
Learning how to draw an ice hockey puck is probably one of the simplest things you will get to do. The best thing is that seeing the puck take shape will really give you a lot of pride. To ensure you don’t get lost midway through the lesson, we have shared an image with the steps we will be taking. Study the below image so that you know what we will be doing in the five steps involved in the drawing of an ice hockey puck.
Step 1: Draw the Top Part of the Puck
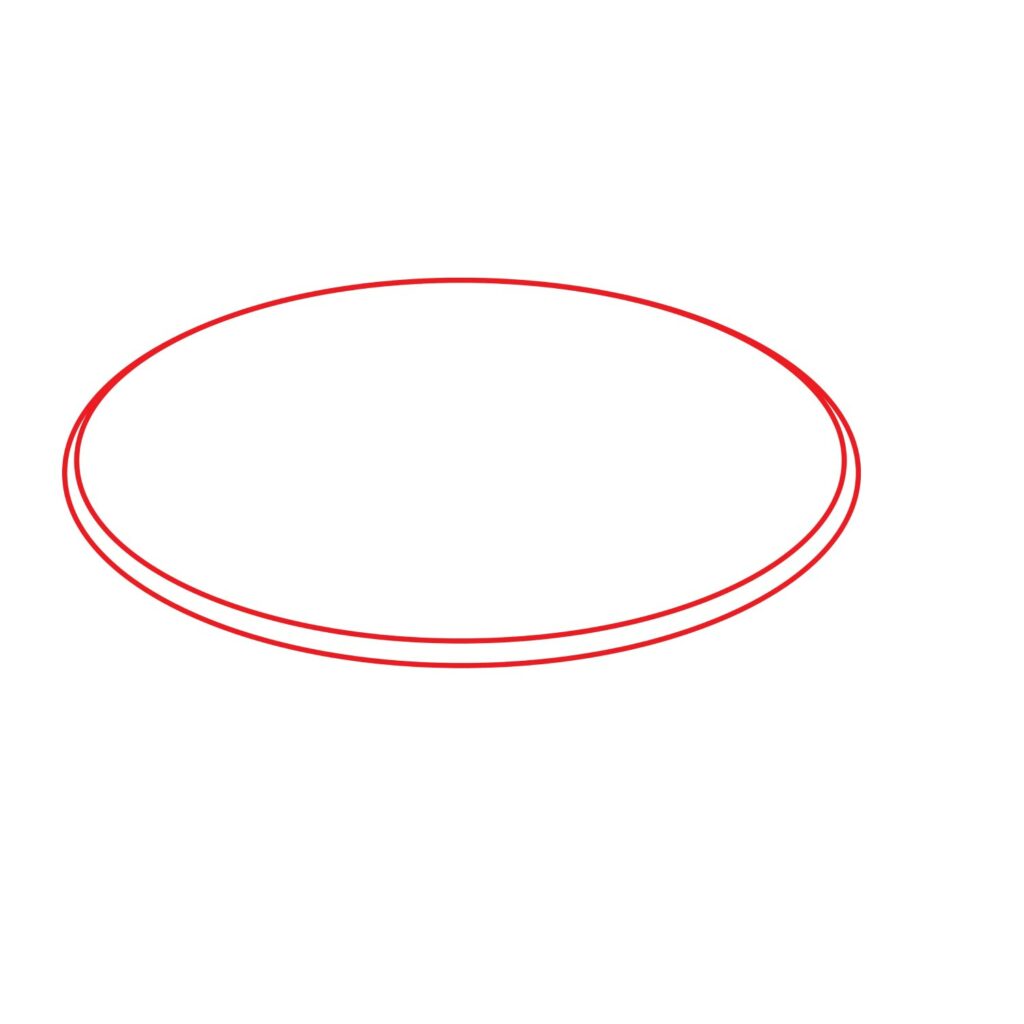
The first thing we are going to draw is the top part of the ice hockey puck. When viewed directly from the top, the top is usually a circle. However, when viewed at an angle, the top will look like an oval. This is due to the altered perspective.
You should start by drawing an oval shape in the middle of your drawing paper. The oval shape will represent the top part of the puck. For realism, we need to add some depth to the top. We will do so by drawing another oval shape right beneath the first one. Make sure the two oval shapes are connected to each other, creating a continuous shape as shown in the below illustration.
A pro-tip is to ensure the two ovals are slightly flattened. That will give the puck its distinctive appearance.
- Draw a large oval shape in the middle of your drawing paper
- Draw another oval inside the first one and attach it to the first one in the middle
Step 2: Draw the Bottom Part of the Puck
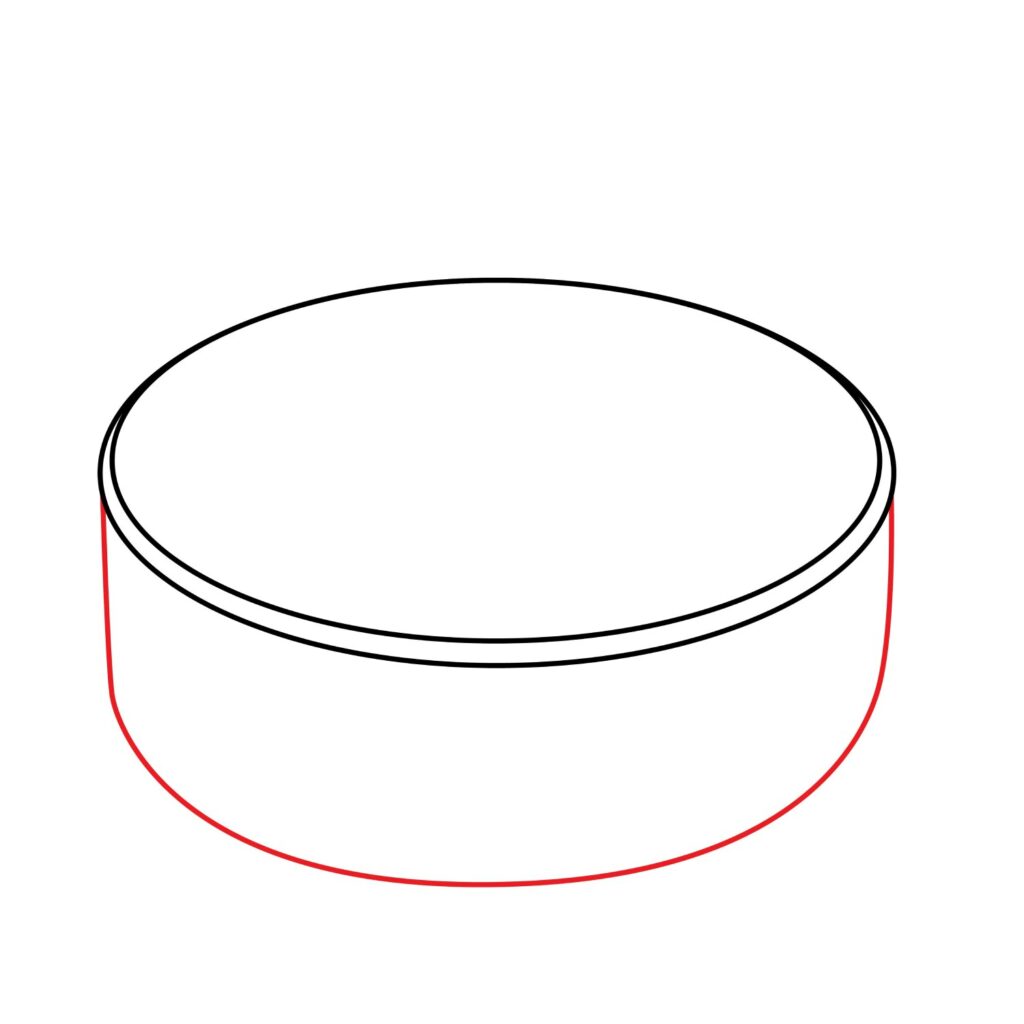
With the top part ready, we are now going to add the bottom part of the ice hockey puck. As we mentioned earlier, the standard thickness of the puck is 1 inch. This means the bottom part we add should not be too flattened nor too thick.
Use your ruler to draw two vertical lines starting from the sides of the top part. The lines should be parallel to each other and should not be too long. They will serve as the sides of the puck. Next, we need to connect the bottom part of the two vertical lines using a curved line. Try and make the curved line as parallel to the bottom part of the oval shapes as possible.
Adding the bottom part completes the basic outline of the ice hockey puck. As you can see, the bottom part gives the puck a three-dimensional look.
- Draw two vertical lines on the sides of the top part of the puck
- Connect the two lines with a curved line to complete the bottom part of the puck
Step 3: Add Details on the Top Part
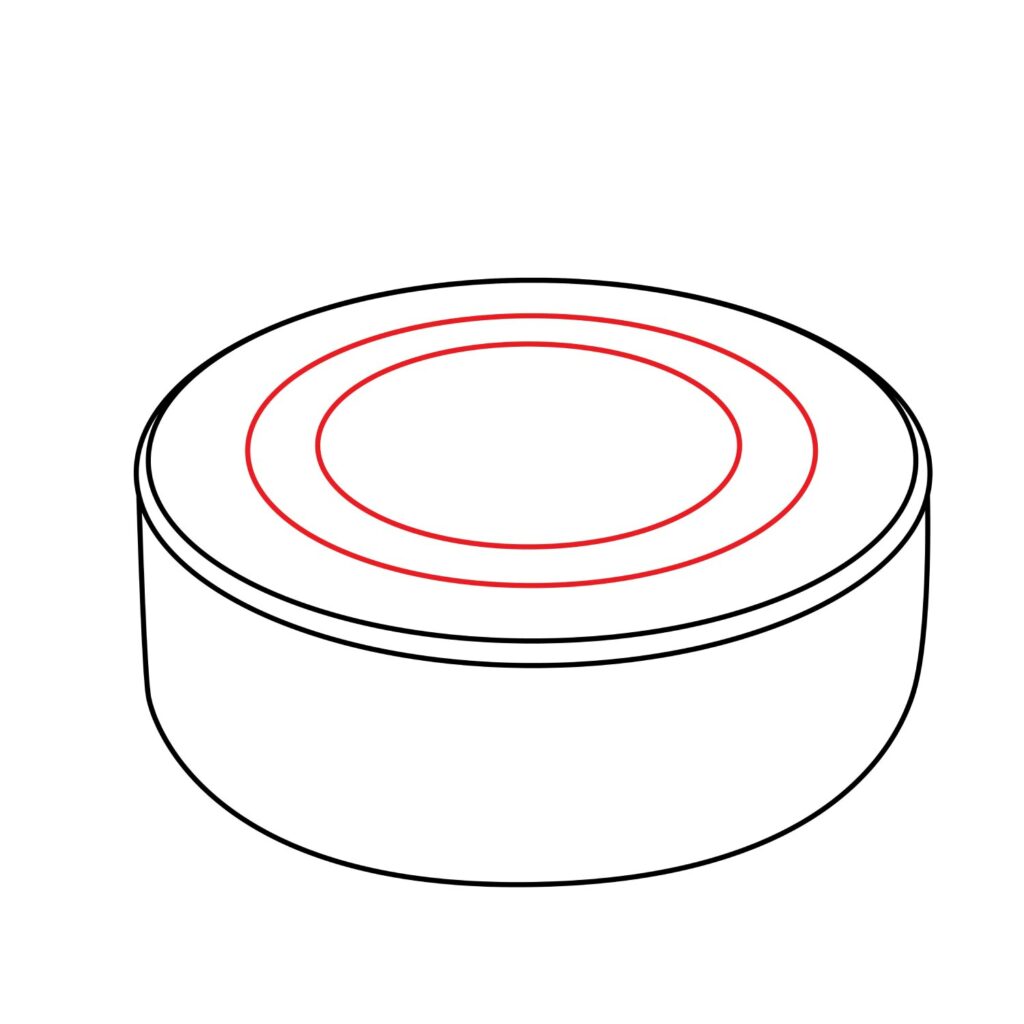
If you have seen an ice hockey puck up close, then you know that it has some textures. The texture of a puck is not just for decoration but also for reinforcing the structure.
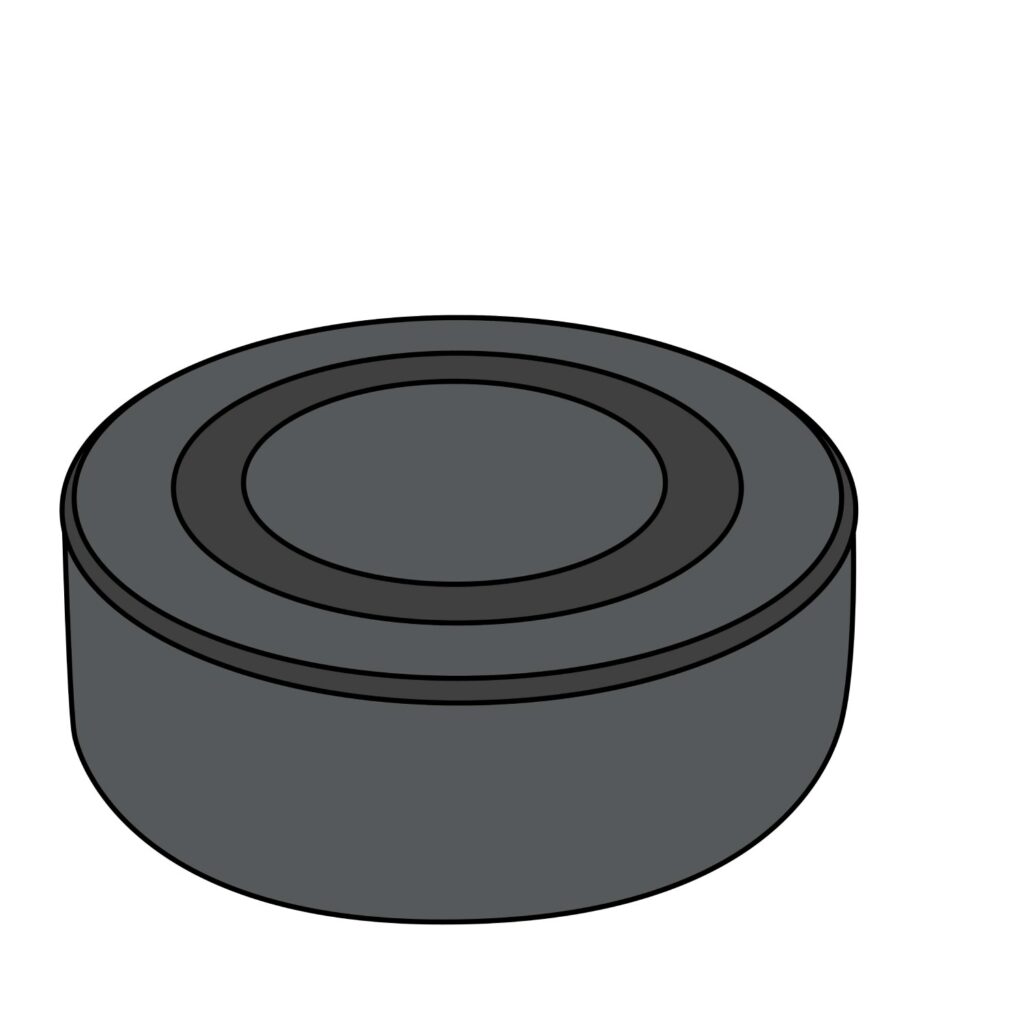
To make the ice hockey puck more authentic, we are going to start by drawing two small oval shapes in the middle of the upper part. This will add amazing depth to your drawing. The drawing will now look more like a real ice hockey puck.
- Add two oval shapes in the middle of the upper part of the puck
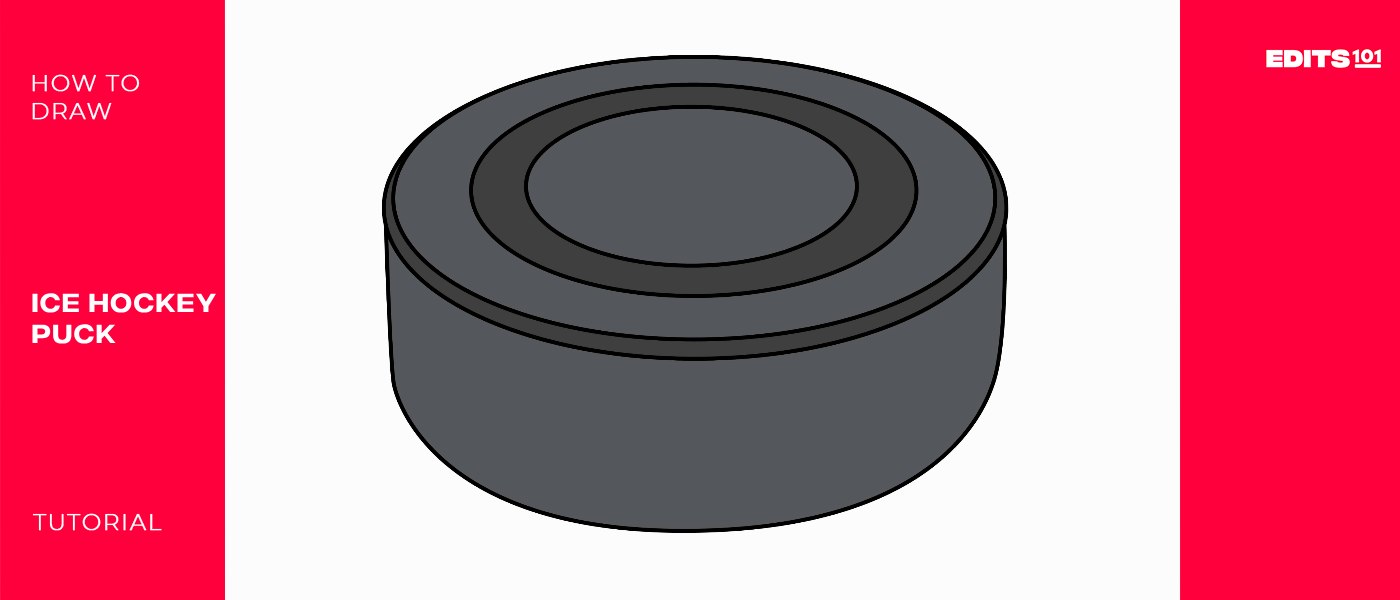
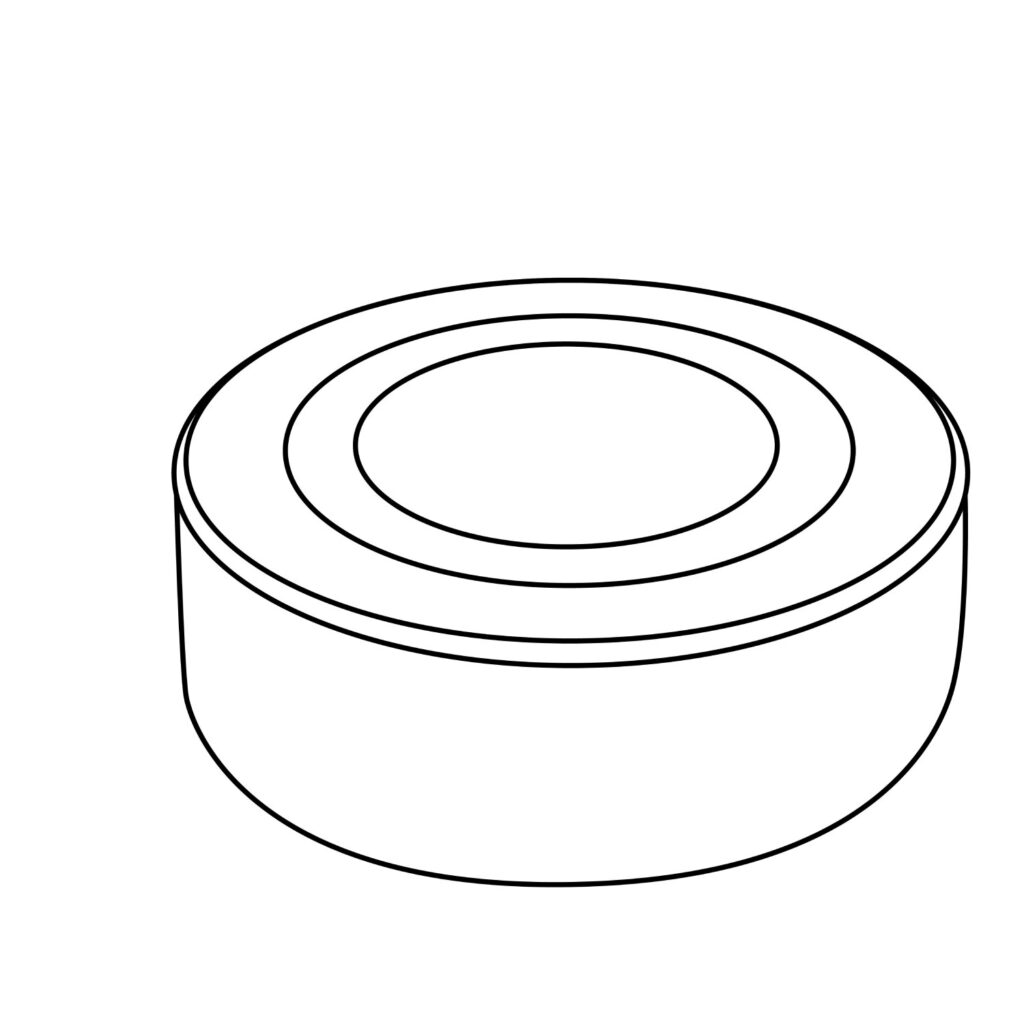
Step 4: Congratulations! Your Ice Hockey Puck is Complete
With these simple steps, your ice hockey puck will be complete. Take a second to admire your creation. If everything doesn’t look exactly like what we have in our image, don’t feel bad. Every artist has a unique touch and all our drawings cannot look the same. If the drawing is not as good looking, you will notice better results on your second attempt now that you understand what is involved.
Taking the Drawing to the Next Level
To enhance your ice hockey puck drawing further, consider adding a background. You can sketch in a simple hockey rink, complete with the ice, boards, and goalposts, to give your puck context. This will make your drawing more dynamic and engaging. You can also add your name on the side of the puck. Make sure you style the name in a manner that makes it curve along the curvature of the puck.
We want to keep our drawing simple so that you can follow along with ease. As a result, we will not add a background to our drawing. We are simply going to color it.
Step 5: Color
Using your coloring supplies, add color to the ice hockey puck. In our case, we will be using our colored pencils. You can be as creative as you want with the colors. While in most cases the puck is usually black, you don’t need to stick to the standard colors. This is your puck and you can use any color that you want.
However, when coloring your ice hockey puck, remember that the goal is to create contrast. Using the same shade of color will conceal the fine details we added on the top. You should also try to darken the bottom of the puck, to make it appear like it is in a shadow. Keep the top part lighter. This will make the puck appear more three-dimensional. You must also ensure that the colors don’t spill outside the areas you are coloring.
Conclusion
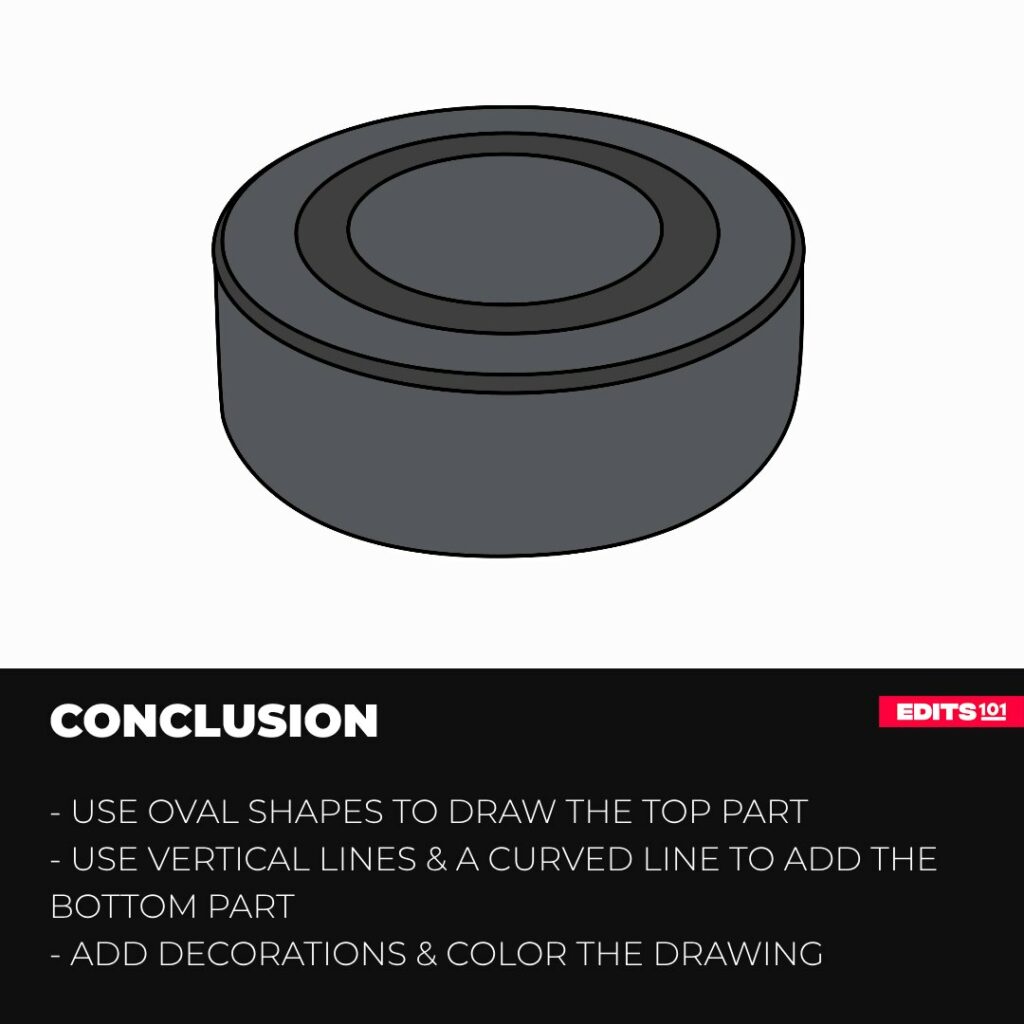
While it is very easy to draw an ice hockey puck, the whole experience can be a lot of fun and satisfying. This is more so when you see the puck take shape. In our easy guide on how to draw an ice hockey puck, we started by drawing the top part using oval shapes. We then added the bottom part using two vertical lines on the sides and then connecting them with a curved line that is parallel to the top.
We advanced our drawing by adding some details on top using two oval shapes then colored our drawing. You can take your drawing further by adding more details such as a background, and a name on the side, and using different shades of color to create depth.
That was easy, wasn’t it? You can use these steps to draw a puck from a different perspective or on your favorite sketching app. These steps can also be used when drawing a puck from a real image or a real-life ice hockey puck.
Thanks for reading & feel free to check out more of our articles!
Author Rating
Overall Rating
Summary
The guide will teach you how to draw an ice hockey puck in easy to follow steps. You will also learn a lot about hockey pucks.