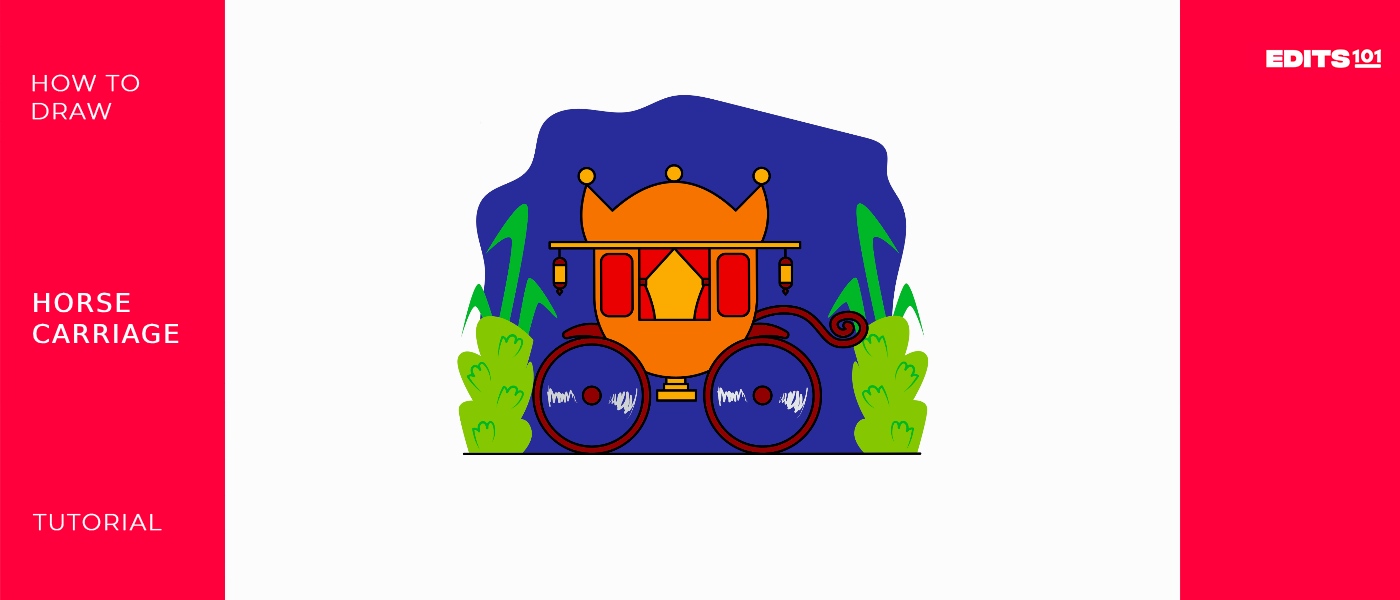
How To Draw A Horse Carriage | 9 Easy Steps
Get ready for an amazing experience in the old days. We’ll travel back in time while drawing a vintage horse carriage.
Do you know that horse carriage is also known as Buggy? Yeah, that’s right! The horse carriage was invented by the Mesopotamians in about 3000 B.C. It was a two-wheeled cart used at first in royal funeral processions. Then, four-wheeled carriages became common with time for traveling.
What you will need
- A pencil
- An eraser
- A sheet of paper
- Coloring kit
- Ruler
- 30 minutes
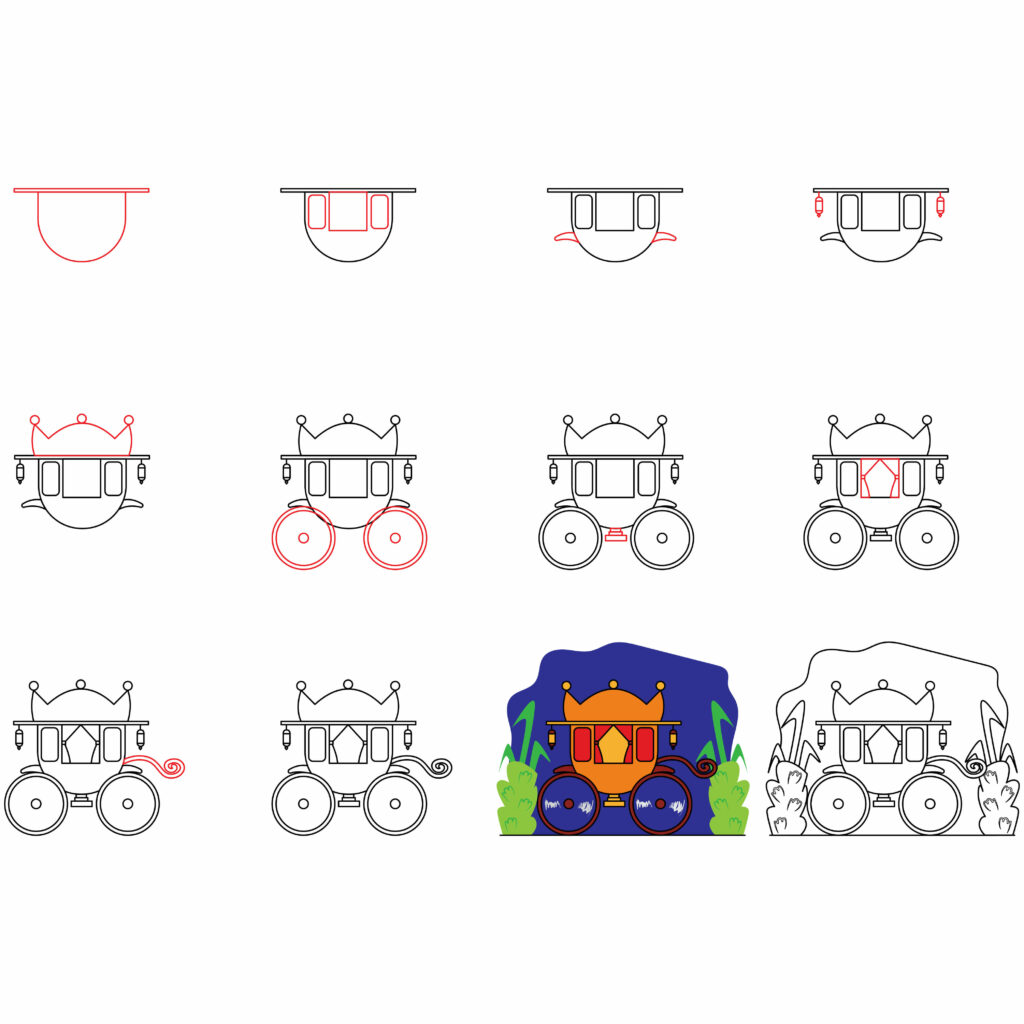
how to Draw a Horse Carriage
Today, we will learn to draw a horse carriage using the simple directions in this guide. The information in this document attempts to help you sketch.
Step 1: Draw the carrier
The first step in drawing a horse carriage is making its carrier. This sets up the foundation for the body of a carriage. We will draw an inverted semi-circle on the paper to draw the carrier. This semi-circle is a little elongated, as shown in the image. Above the semi-circle, we’ll draw a very narrow rectangle lying horizontally on the semi-circle.
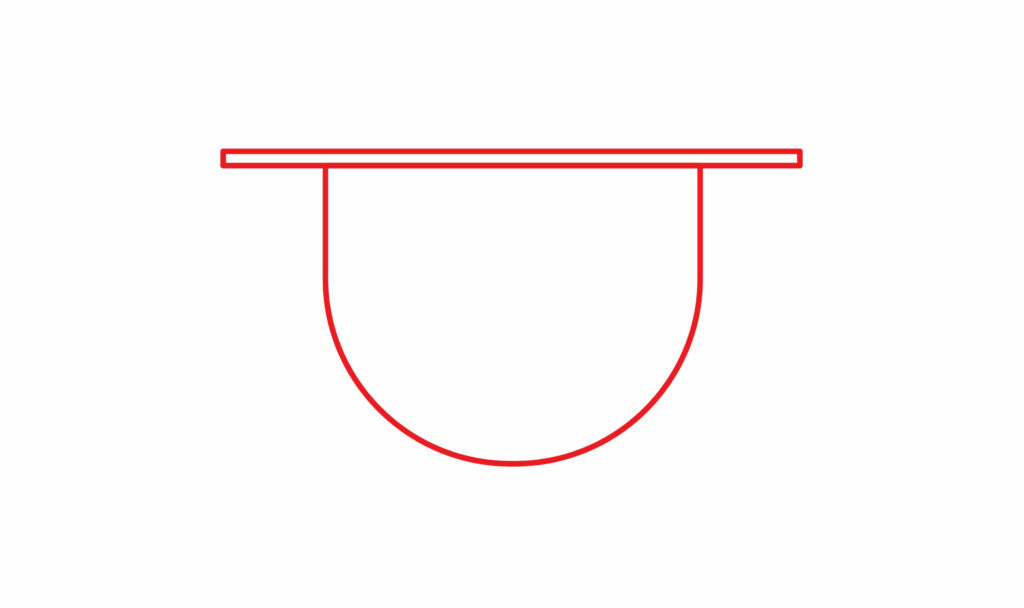
The first step is completed. The remaining steps are as easy as this step. You got this star!
Step 2: Draw the windows
As we have drawn the carrier, now we will draw the windows on the carrier of the horse carriage. The door will be on the other side of the carriage that we won’t be drawing.
To draw the windows, we will draw a square in the upper center of the semi-circle of the carriers. Then, we’ll draw two rectangular-shaped windows on either side of the square on the carrier.
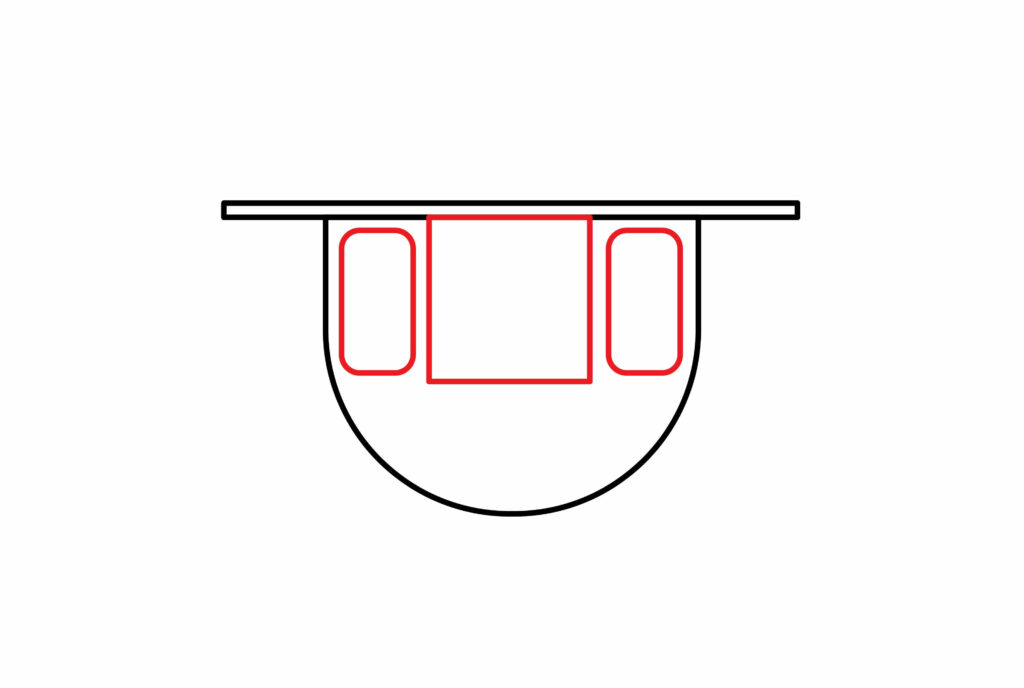
For artistic touch, curve the sides of rectangular windows.
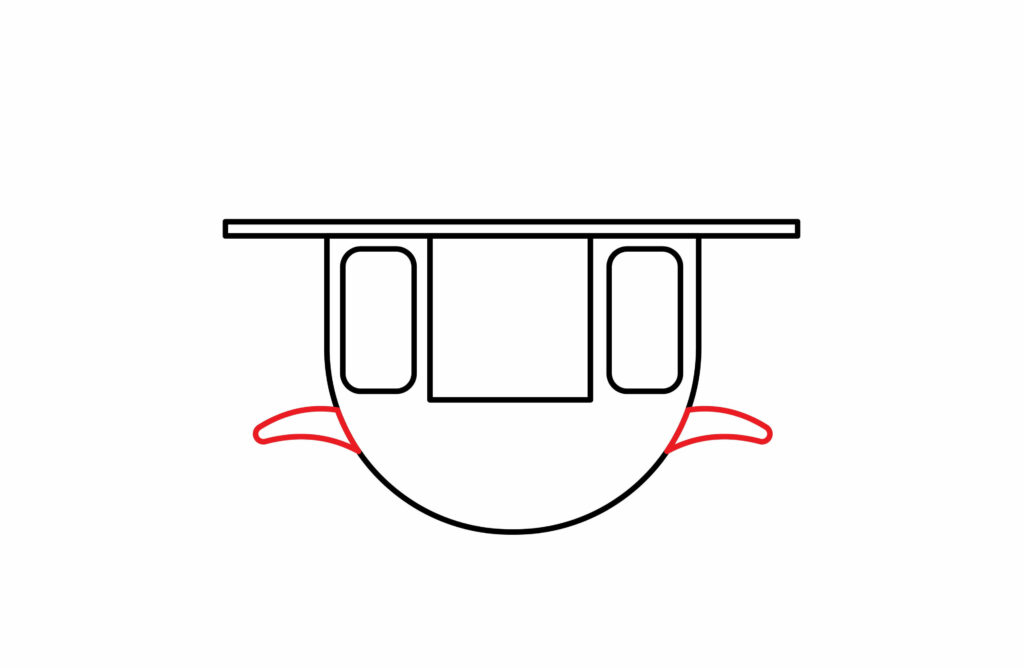
Step 3: Draw the rim
The carriage we are drawing has four wheels, but carriages with two wheels also existed back in the time.
For the wheels, we will need a rim or a cover. Draw a curved or crooked triangle on the front and rear sides of the carrier. The shapes will be drawn just below the windows and outside of the semi-circle, as drawn in the picture.
Step 4: Draw the lamps
While traveling at night, the lamps will help light the way. Having lamps is a must for horse carriages as they were used for traveling long distances. Remember the horse carriage of Cinderella, how bright it was.
First, we will draw a small, straight vertical line below the narrow horizontal rectangle on the front side to draw the lamp. Draw a small curved side rectangle or capsule shape for the lamp. Below the capsule, draw a little rhombus to give a realistic look.
On the rear part of the narrow rectangle, repeat the same steps to draw another lamp present at the back of the carrier.

The lamps are ready to light the way.
Step 5: Draw the crown
This carriage is used by the royal family. To distinguish it from other carriages, we will give it a crown. This crown can be used to store luggage or simply add beauty to our carriage.
To draw the crown, we will draw a shape, something like a cat’s head, on the top of the horizontal rectangle of the carrier.
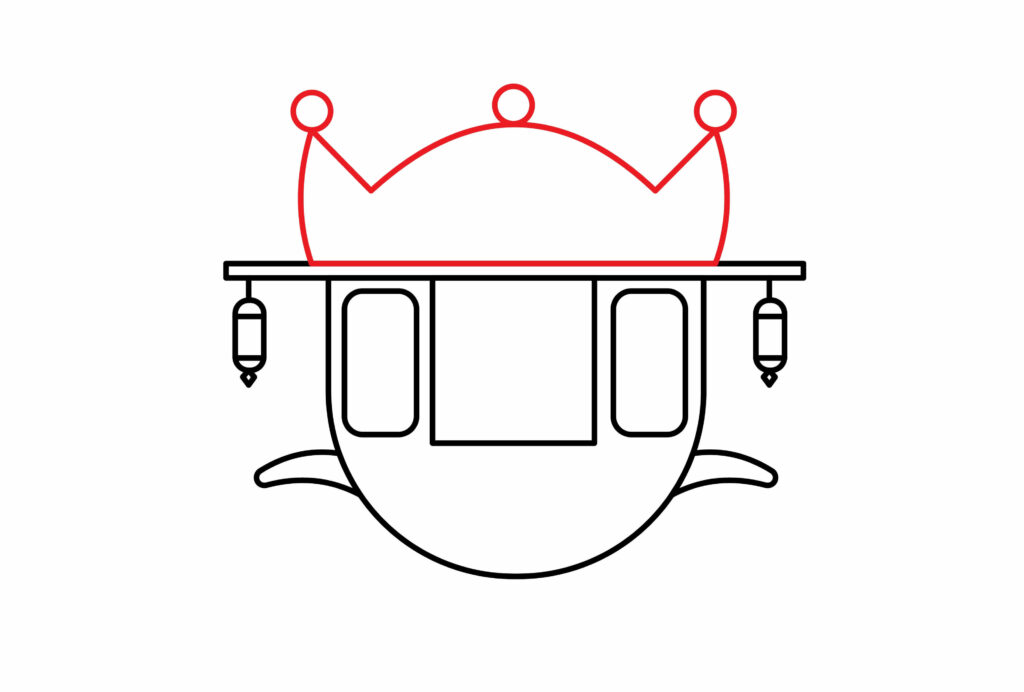
Now, we will draw three small circles on the top of the drawn shape. Two circles will be on each of the ear-shaped corners, and the last one will be on the center of the curved part of the shape.
Step 6: Draw the wheels
To draw the wheels, we will draw two circles on the base of the carrier.
For the best-looking circles, mark a dot on the page as the center of the circle. From this dot, mark four more dots (top, bottom, right, and left) around it at the same distance. Now, gently connect all these dots with curved lines. That’s how we will make an amazing circle.
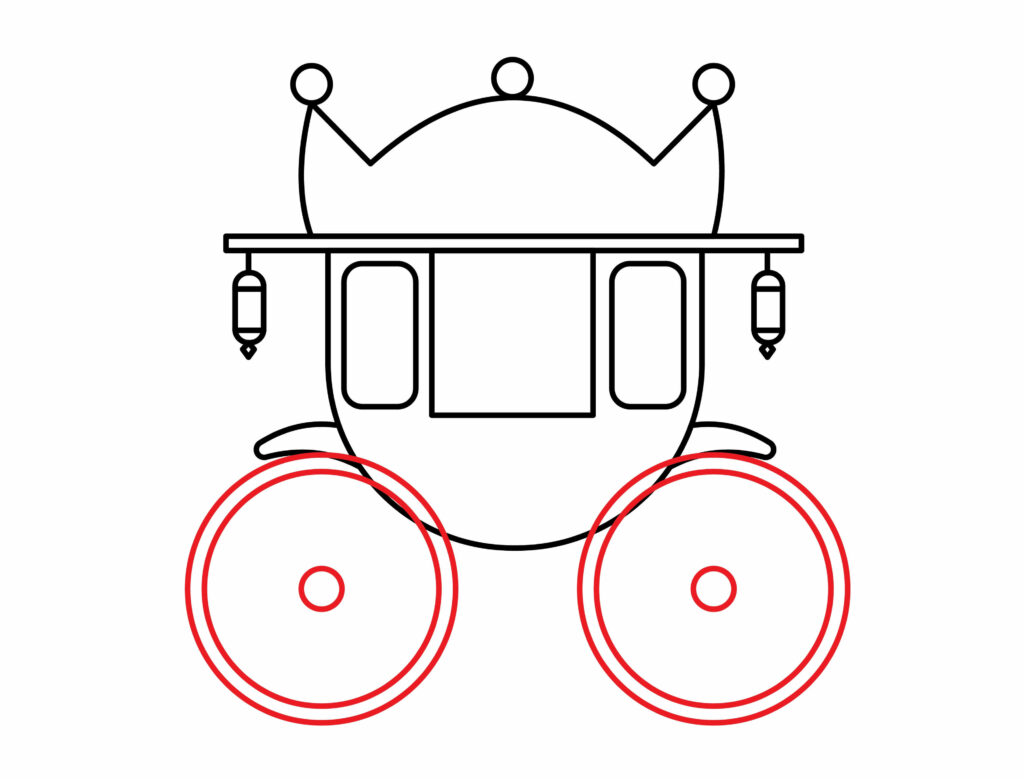
We can also use any round lid to make the circle. We’ll draw these circles at the bottom right and left. Inside the left circle, draw another circle. Repeat the same pattern for the right circle. After making the wheels, we will erase the lines of the base that overlap the wheels.
Step 7: Draw the steps
A horse carriage is high from the ground, requiring stair steps to climb the carriage.
For steps, draw a small rectangle horizontally below the base of the carrier between the wheels. Now, draw another horizontal rectangle slightly bigger than the first one. Add another horizontal rectangle significantly bigger than the other two. This will give a 3D effect to your carriage.
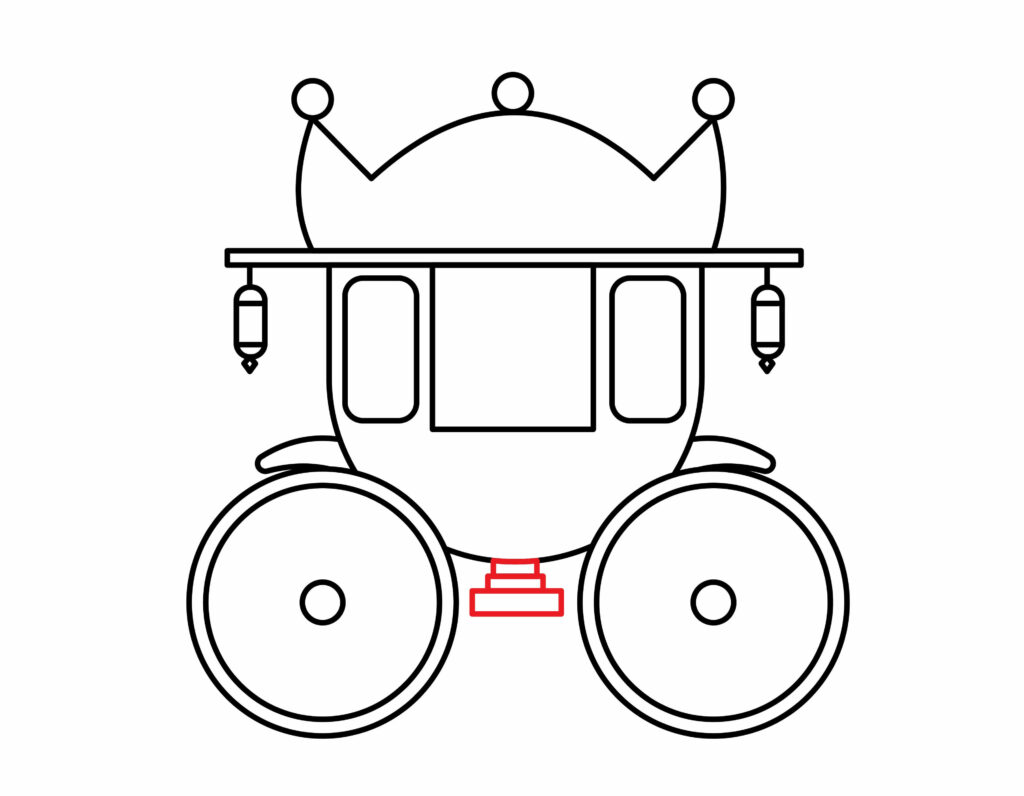
And done! You are ready to hop on the carriage.
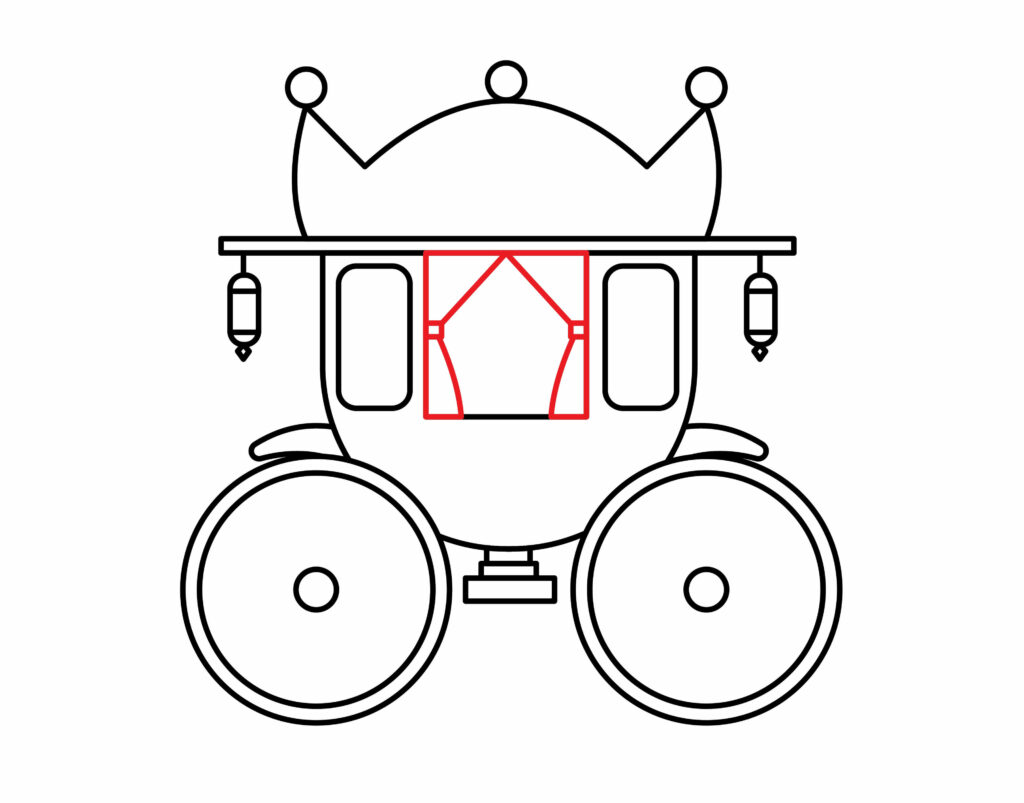
Step 8: Draw the curtains
The windows of the carriage are looking empty. To make your drawing artistic, draw curtains on the center window of a square shape.
To draw curtains, extend two slanted lines from the upper center of the square to either side center. Draw two curved lines from that point towards the lower part of the square. Add little squares on both curtains to make it look fancy.
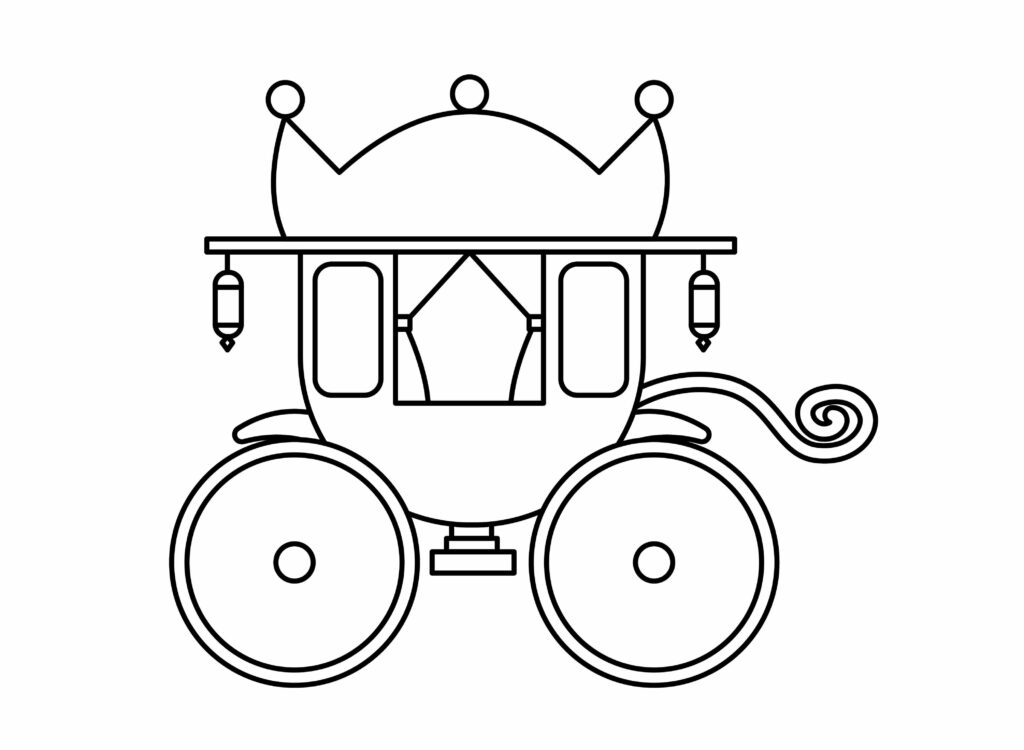
Step 9: Draw the carriage shaft
Shafts are also referred to as ‘staves’ designed for a single horse driving a four or two-wheeled carriage. This is to attach the horse to the carriage.
For the shaft, draw a double-lined tail above the rim on the front side of the carriage. Give the tail a twirl at the end to make it look like a carriage from Cinderella.

Step 10: The horse carriage is ready
Woohoo! Our horse carriage is ready to take Cinderella to the ball. We are sure that you followed every step and did an amazing job. Did you enjoy the procedure? But wait! We are not finished yet. Yes, exactly. We will play with colors to make this drawing magical.
Taking your Horse carriage drawing to the next level
It’s time to unleash our imagination and create a truly remarkable drawing. Art is enjoyable, as we all know. We must experiment with several techniques to make our drawing seem its best. Don’t stop at the fundamental drawing; give it a personality. But how do we go about doing this? Do not be concerned; we will help you. The actions listed below can help your drawing stand out.
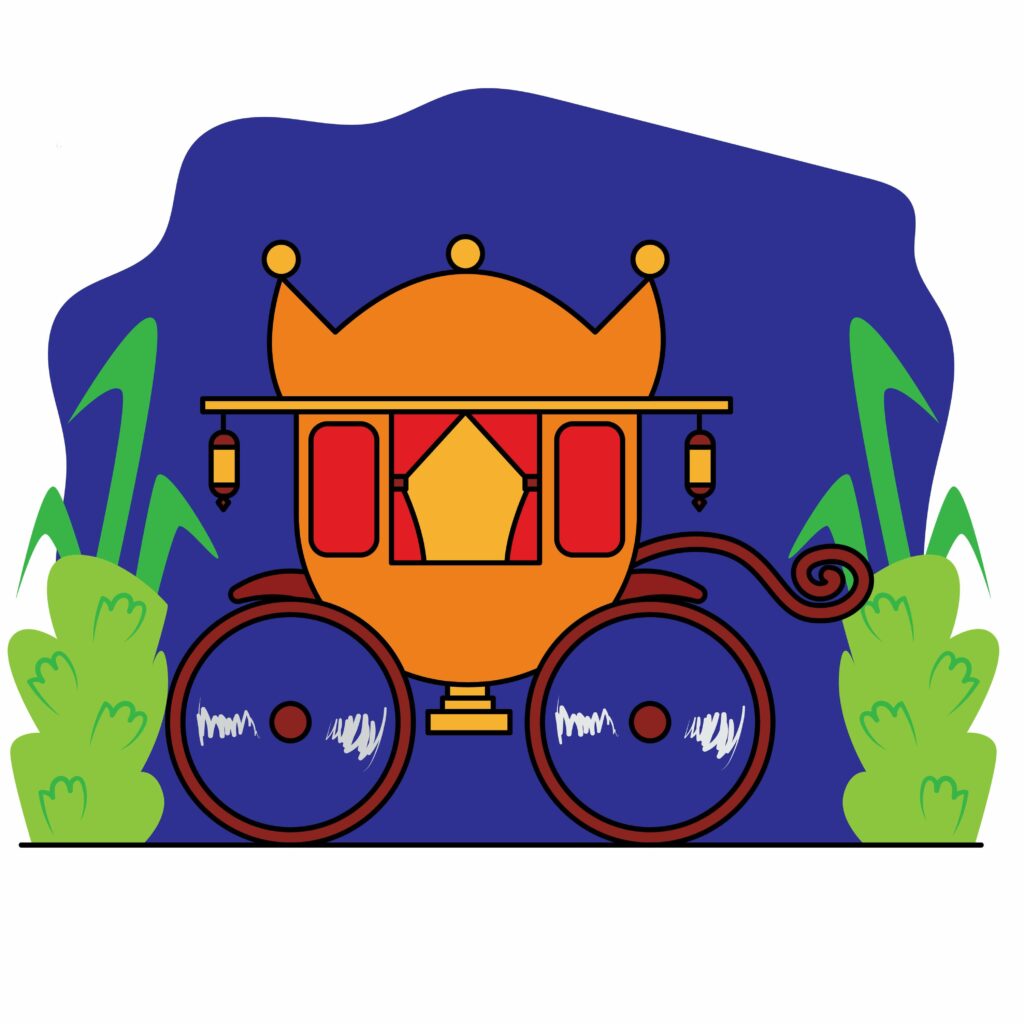
Adding background to your drawing
Our horse carriage is lacking something that will give a scenic beauty to it. We have no background to our drawing that gives the perspective. To have a complete story, our drawing must have a background.
Most likely, our horse carriage is on its way somewhere. So we’ll draw a night sky in the background and some bushes around the carriage.
We can also draw a princess ready to ride our beautiful carriage to go to a ball.

This is just an idea; you can add any background to your drawing that suits you. Just make sure that no line from the background overlaps our horse carriage.
Adding colors to your drawing
Hey, Young Picasso, grab a brush and work some magic on your creation. These spells will impart charisma and attractiveness to your drawing. The image will appear to be alive. The use of color in creativity is the focus of this section. The background and the horse carriage can both be colored, whichever you choose. The secret to an amazing drawing is to color it nicely and tidily. Try different colors in the different parts of the horse carriage. In the end, you’ll love your art.
P.S Bonus Tips
Imaginations are limitless. By using your imagination, you can customize your drawing in any possible way. We will give you some ideas that can help you customize your drawing.
Imagine having designs on the crown of the carriage, like some flowers or vines. How amazing that would be! You can draw flowers and color them.
You can also draw twinkling stars and a shining moon in the background of the night sky. Or it could be a day sky with a shining sun. A horse on the front of the carriage will serve as a cherry on top. It will be like a horse cart.
Boom! Our drawing looks stunning! These are just a few ideas. You must experiment with tons of ideas and see what goes best for your drawing.
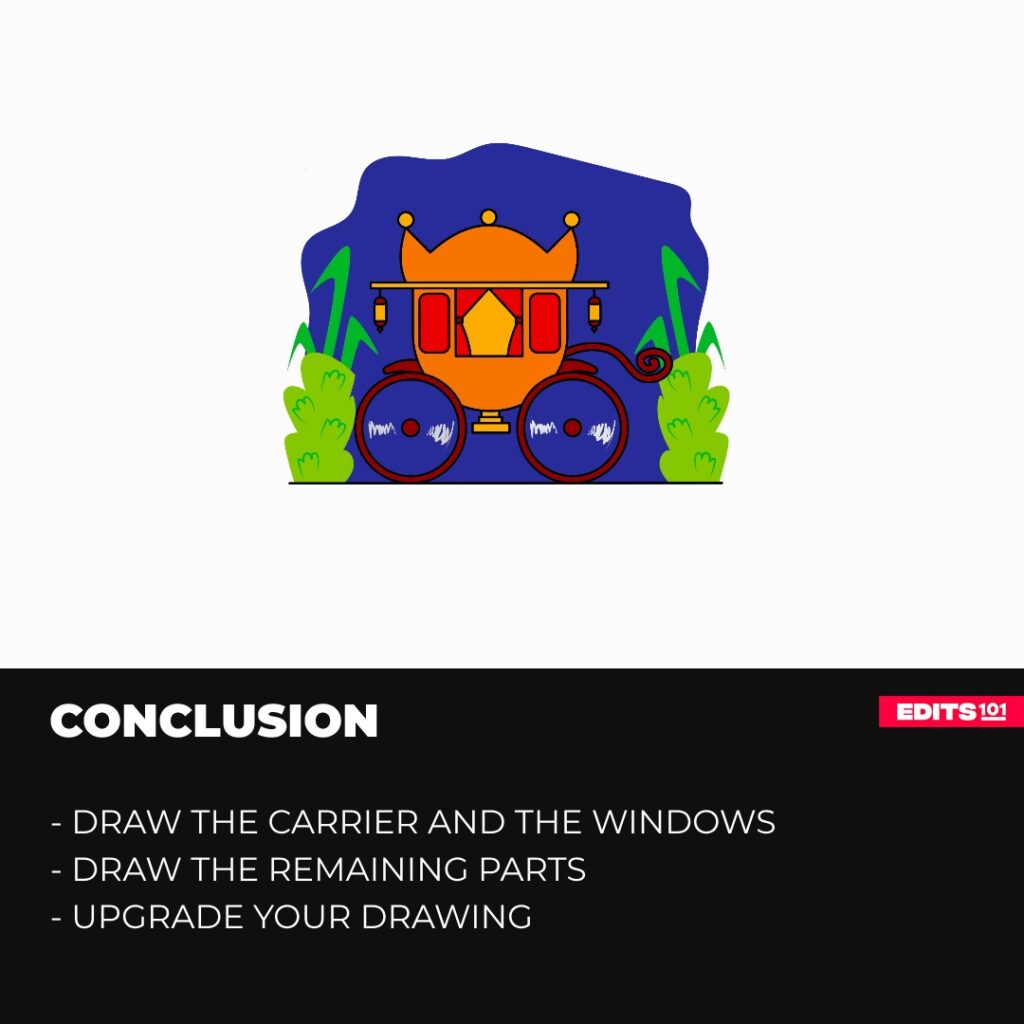
Conclusion
You’ve succeeded! You are now on a completely different level in the realm of drawings. You created an artistic work of art in a short period.
Drawing isn’t difficult if you follow the steps. For making the horse carriage, we drew the carrier and then drew the windows of the carriage. Later, we made the crown, wheels, lamps, and carriage shaft.
Take it slow and carefully follow each step as you draw. Keep in mind that perfection is not achieved on the first try. Continually improve your skills to become a perfectionist.
Thanks for reading & feel free to check out more of our articles!
Author Rating
Overall Rating
Summary
Follow these steps to draw a convincing horse carriage. You will also learn a few interesting facts about this vehicle.