How To Draw A Wrestling Shoe | A Straightforward Guide
Wrestling boots are specialized athletic footwear worn by professional wrestlers during matches and training sessions. These boots are designed to provide support, stability, and protection to the feet and ankles while allowing wrestlers to move freely and perform a variety of maneuvers in the ring.
Wrestling boots are essential to a wrestler’s attire, contributing to their performance, safety, and overall presentation in the ring. The specific design and features of wrestling boots are tailored to the sport’s unique demands, ensuring that wrestlers have the necessary support and flexibility to execute their moves effectively.
| Steps | Complexity table |
| Draw the sole | 2 |
| Draw the upper part | 2 |
| Draw the laces | 3 |
| Add details | 3 |
What You Will Need
- Paper
- Pencil
- Eraser
- Colored pencils or markers
- Patience and enthusiasm

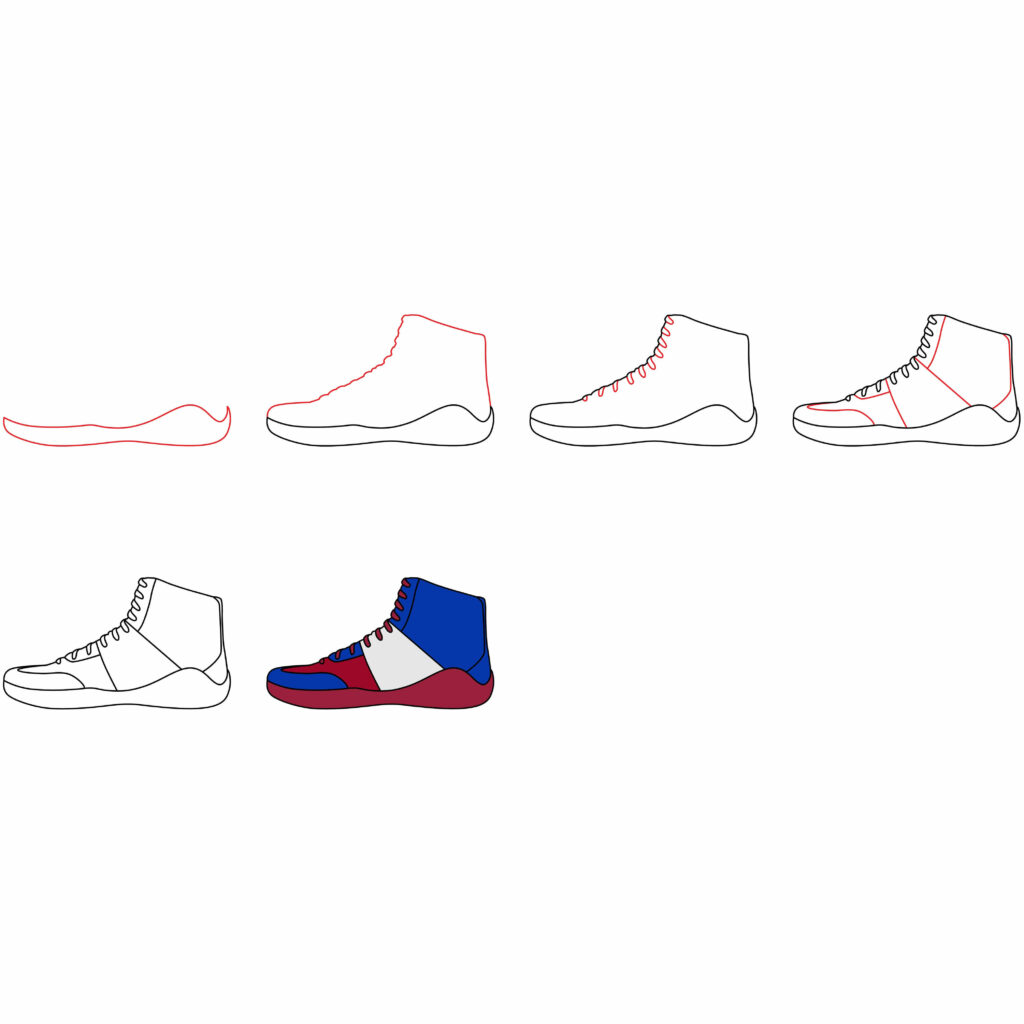
How to Draw a Wrestling shoes Step by Step
This guide explains how to draw wrestling shoes by following the simple steps.
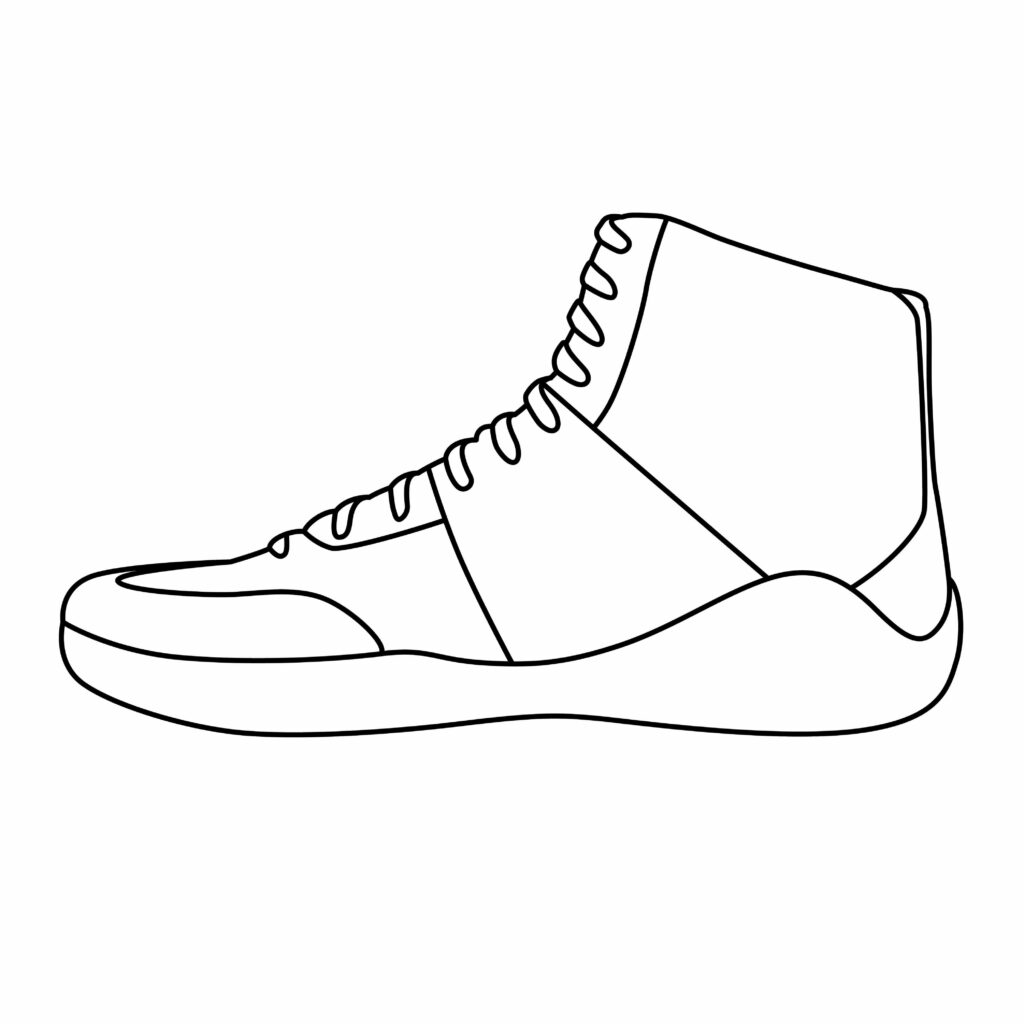
Step 1: Draw the Sole
The soles of wrestling boots are generally thin to ensure a better feel of the mat. This thinness allows for better grip and agility while performing various moves. The toe area of wrestling boots is often reinforced to protect the feet during kicks and impacts. This reinforcement helps prevent injuries and enhances the overall durability of the shoes. Wrestlers need to move quickly and perform acrobatic maneuvers in the ring, so wrestling boots are designed to be lightweight. This design allows for agility and ease of movement.
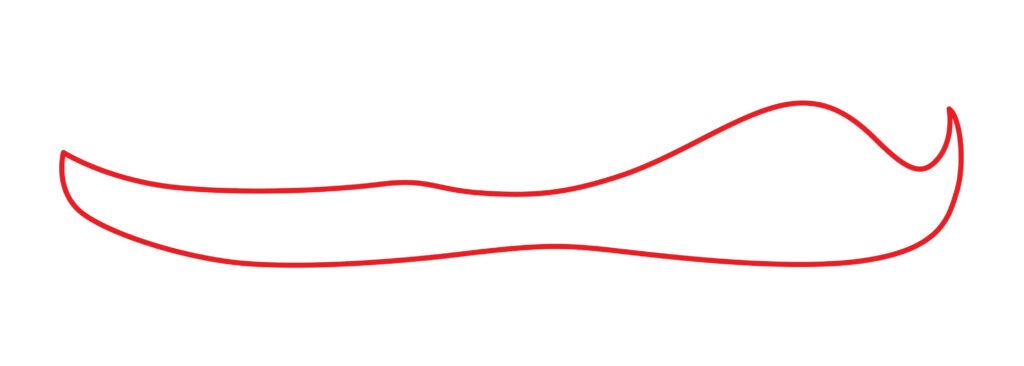
Start your wrestling shoe illustration by sketching the sole foundation using flowing, curved lines like we drew in bowling shoes. Create an elongated oval shape wider at one tapered end like a teardrop to reflect the natural foot form. Add short, jagged horizontal tread depth lines across the bottom for essential traction functionality. Consider tilting the oval slightly rather than straight flat for a more dynamic, poised stance ready for action.
Anchor the shoe sole firmly along the bottom edge of your paper so the entire composition feels grounded. Lightly indicate where the heel rises with a few short angled lines at the narrow tapered end. Fade incomplete lines at the sides and front toe area to leave open for completing upper attachments next.
- Sketch flowing elongated teardrop sole shape with subtle forward tilt
- Include short, jagged horizontal treads for essential traction
- Anchor along the bottom paper edge to the ground composition
Step 2: Draw the Upper Part
Wrestling boots typically have a high-top design, providing additional support to the ankle. This helps prevent injuries and provides stability during dynamic movements in the ring. Wrestling boots are constructed from durable and lightweight materials, often including leather or synthetic materials. The choice of material is essential for comfort, flexibility, and overall durability.
Once your base wrestling shoe sole is established, start constructing the upper section attachments. Use curved lines that protrude up and out from the sides, then bend back towards the ankle zone. Create an opening gap for the foot entry access point. The curves should feel stretched and elastic to capture the tight, flexible fit.
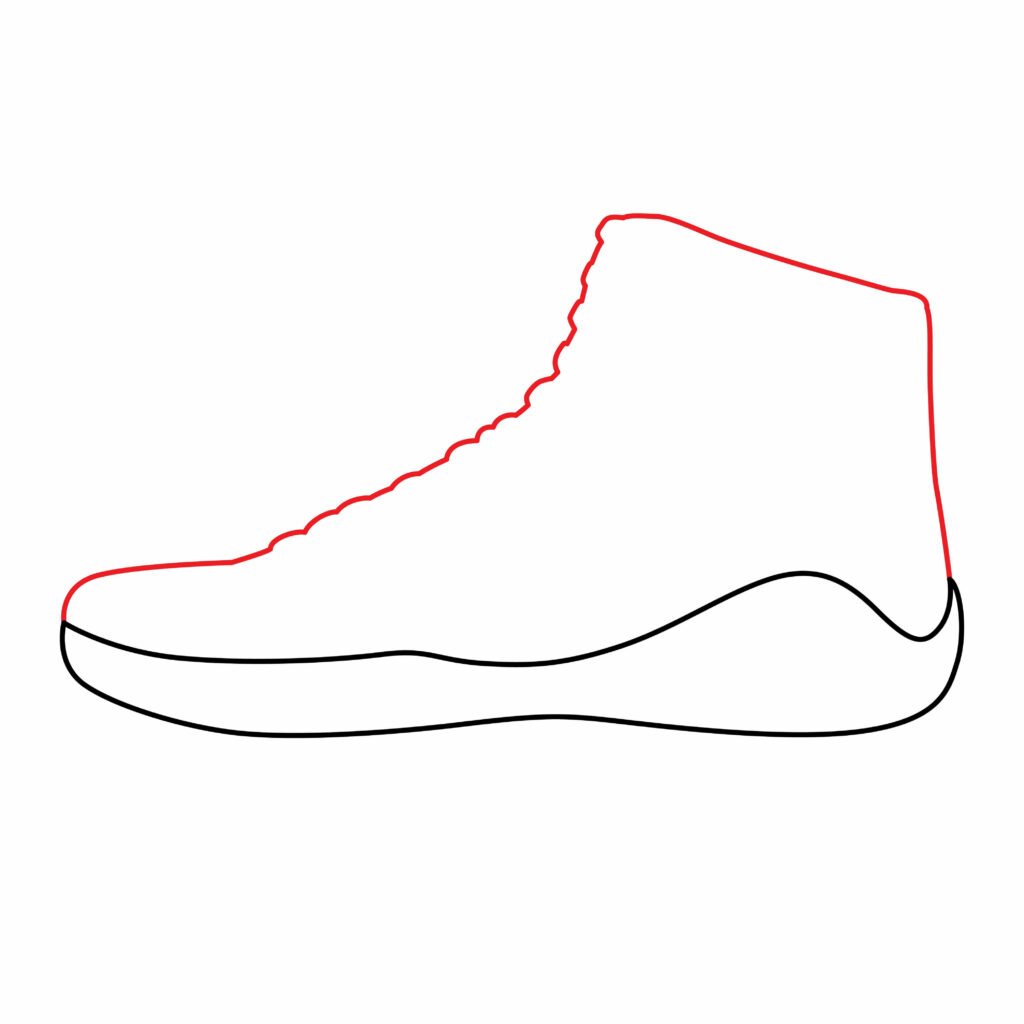
Sketch overlaying crisscrossing shapes across the shoe top like panels of material or flying shoelaces. Let some curved fraying lines wisp out behind for a sense of motion. Treat the front toe area more smoothly as one contoured surface. Fade all lines of the upper area lightly initially for refinement significant form visibility next.
- Flow lines up/out then down, hugging the sides of the sole to make a flexible upper
- Crisscross textural shapes/lines for panels and flying laces with motion
- Smooth contoured front toe surface
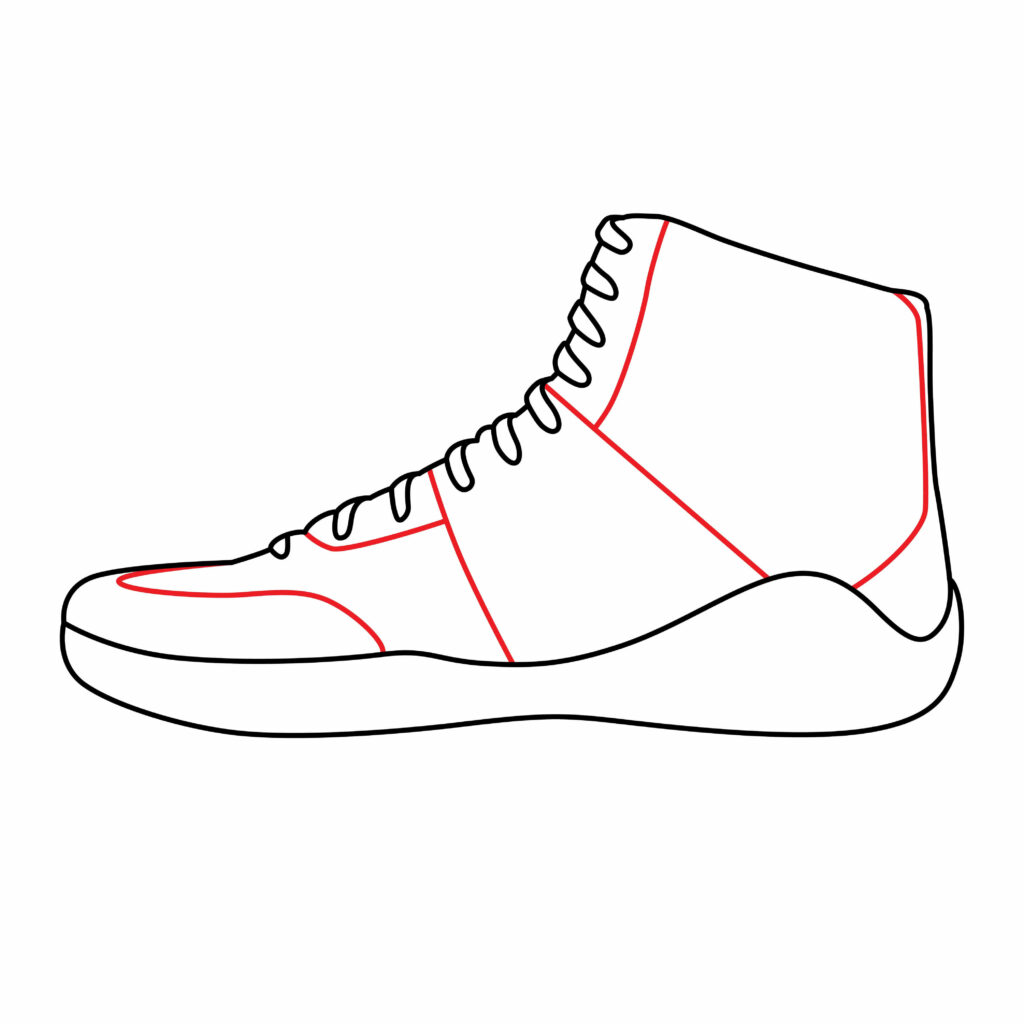
Step 3: Draw the Laces
Many wrestling boots feature a lace closure system that allows wrestlers to customize the fit according to their preferences. A secure and snug fit prevents injuries and maintains stability during matches. Enhance your wrestling shoe functionality by clearly adding secured lace details. Start from the ankle opening area across the upper top and sketch a woven zigzag lace pattern tying at the front center above the toes. Capture the laces tightly pulled snug in action readiness.

Consider varying line weights more emboldened up front and fading lighter moving back in space to increase three-dimensionality like we did in volleyball shoes. Ensure they lay atop the surrounding forms for proper depth. Add small knotted bow shapes and wrap excess lace tails dangling off the upper edges for added lifelike nuance. Shade under some lines to enhance lacy texture contrast.
- Draw a zigzag lace pattern across the upper tying at the front center
- Use bolder line weights up front, lighter farther back
- Include edge knot ties and dangling lace tails
Step 4: Add Details
Finally, boost dimensionality and visual intrigue in your firm but flexible fictional wrestling footwear by elaborating stylistic embellishments. For example, incorporate metallic textures like glitter, reflective accents, or chrome. Consider adding your insignia elements or graffiti-esque signatures identifying the heroic owner. Sketch electric accents, battle damage, or asymmetrical strap elaborations to inject personalized character storytelling!
Push and pull selected areas with detailed line texture variations – glossy, matte and translucent subtleties make the shoes feel worn and weathered. Most importantly, retain harmony with the established core structure so additions enhance rather than overwhelm your champion’s steadfast foot anchor!
- Embed metallic textures, custom insignia graphics, expressive damage effects
- Play with detailed line texturing like gloss, matte, and translucent
- Ensure harmony with the core structure
Step 5: The Wrestling shoe is ready
The shoe is ready. You did an excellent job. You created your wrestling shoe to be used by a wrestler, and we’re sure you followed every instruction. You can use a marker to outline the drawing to make it stand out. To improve the appearance, we will remove the pencil marks after tracing.
The actual fun is about to start. We are going to improve and add authenticity to our drawing. Can you produce a more refined picture with your creativity and imagination?
Taking your wrestling shoe to the next level
Like any other skill, sketching requires practice. Set aside time each day to sketch, even if it’s only for a little while. Be mindful of your surroundings. This enhances comprehension of details, dimensions, and forms. You can start with the basics and work up to more complex topics. Experiment with different drawing tools like charcoal, colored pencils, watercolors, markers, and pencils. Every medium has unique characteristics that could help you identify your preferences.
You can also play with basic hatching, blending, shading, and cross-hatching techniques. Understanding these techniques will greatly enhance the complexity and realism of your drawings. When you’re drawing, use your imagination and try out new concepts.
Adding Background
Contextualize your dramatic wrestling shoe focus against a dynamically blurred backdrop. For example, lightly sketch outlines of a textured mat flooring beneath to ground the steadfast footwear. Fade suggestions of athletic legs, other shoes, and gestural motion lines behind to imply action movement. Simple forms like grasping hands can accentuate depth illusion through partial overlapping of the central shoe. Keep figures and architecture minimal and non-distracting so the shoe subject pops. Allow generous negative space around the shoe composition for impact.
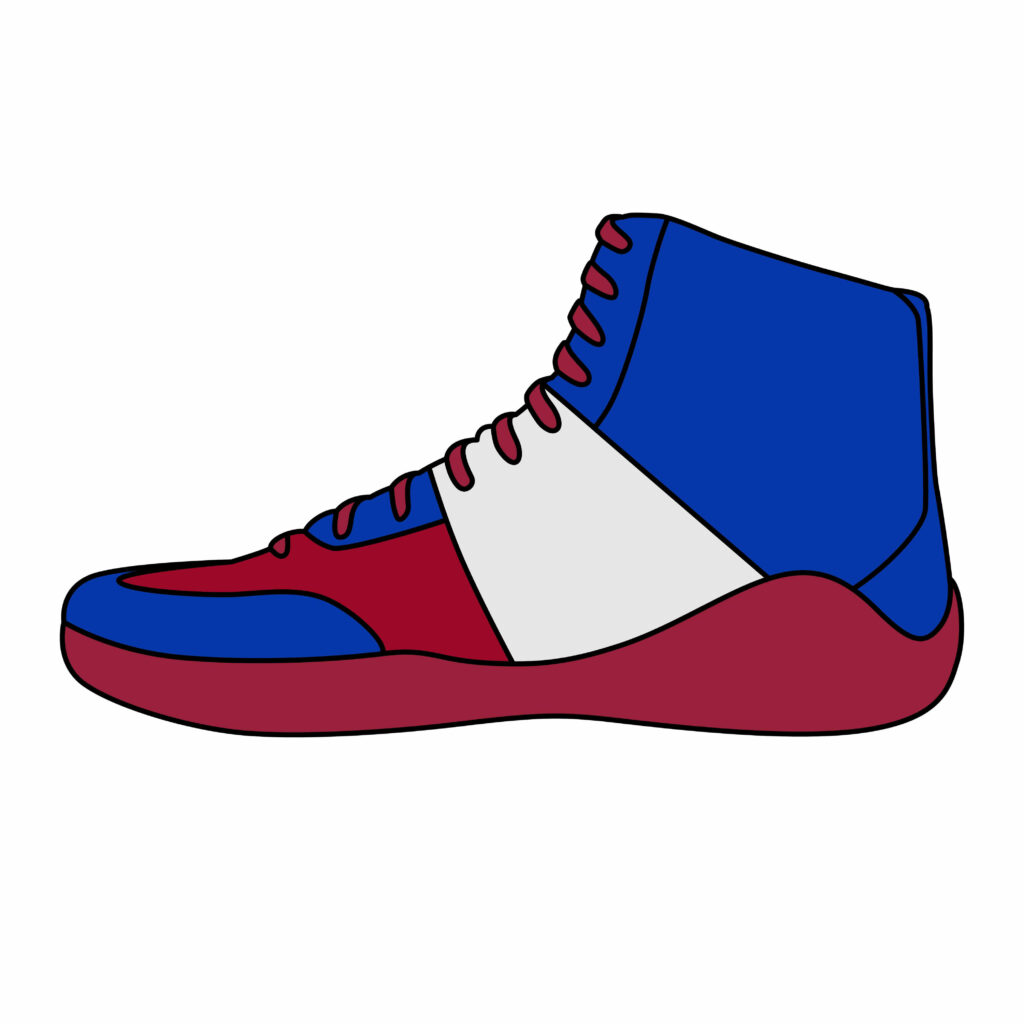
Adding Color
When painting your wrestling artwork, use bold color combinations to make those shoes eye-catching and prominent. For example, the color of the primary upper shoe forms bright championship gold against intense blood-red shoe soles and jet-black laces/textures. Vary the decorative insignia tones between neon blue and green for pops of recognition. Surround colors can be dull, desaturated mat textures to recede behind that striking foreground foot anchor declaring dominance!
Bonus Tips
Personalize your wrestling shoes further with custom elaborate graphical embellishments or specialty treatments that give them added personality. For example, add metallic lightning bolts and battle-scuffed texture effects like a heroic war veteran case. Sketch your own insignia symbols or tag-style graffiti with catchphrases identifying the owner. Consider drawing shoes at intense perspective side angles or macro closeup views for varied visual intrigue. Custom concept shoes showcase imagination!
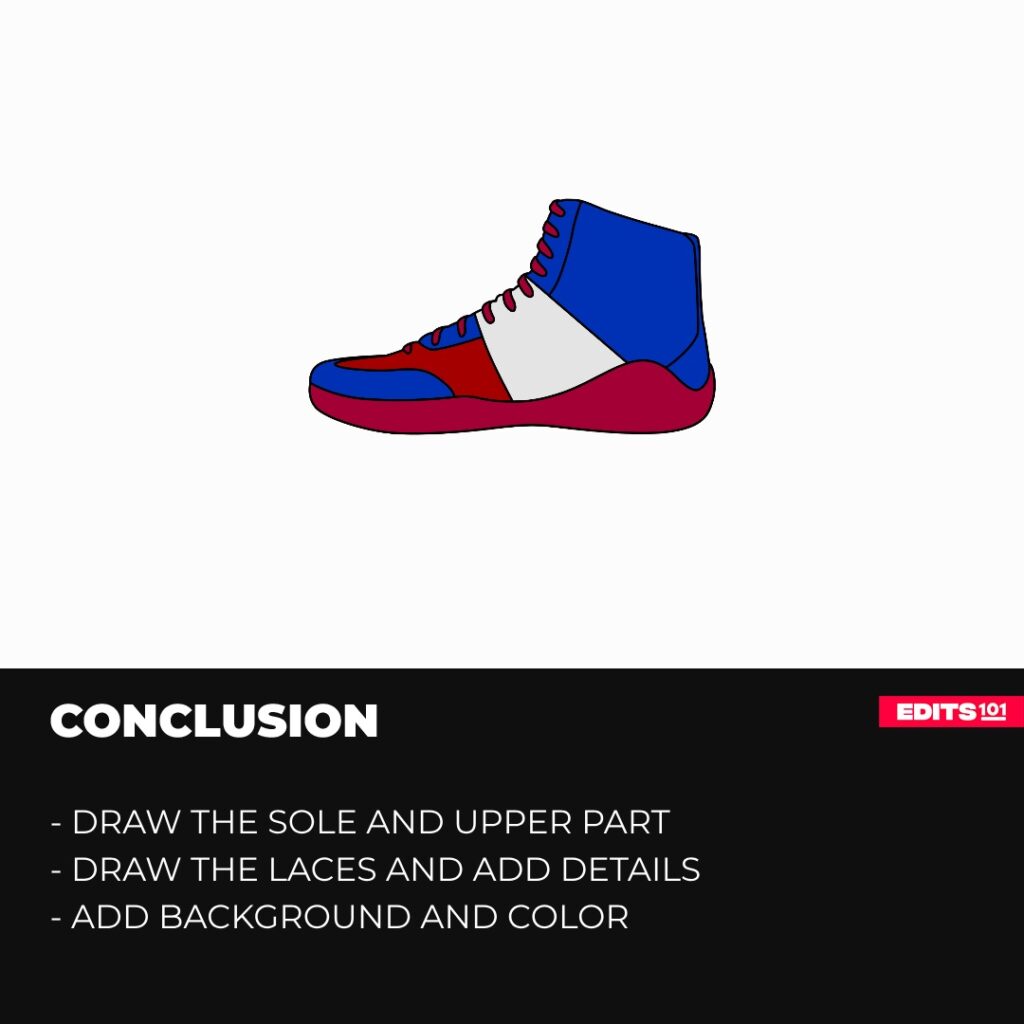
Conclusion
This demonstrates that thoughtfully constructing and elaborating on wrestler accessories allows sequential mastery of each core area, from anatomical underpinning to characteristic gear identity enrichment. Once fundamental techniques are understood, unlimited opportunities exist for incorporating personalized creativity, ornamentation, and conceptual narrative invention!
Thanks for reading & feel free to check out more of our articles!
Author Rating
Overall Rating
Summary
This guide explains how to draw a wrestling shoe.