How to Draw a Heatshield Cycling Top | in 7 Easy Steps
A heatshield cycling top is a specialized piece of clothing designed for cyclists to regulate body temperature and provide optimal comfort during rides. It’s made with moisture-wicking fabric that helps keep the body dry and cool, while also providing insulation against cold weather.
This particular cycling top is used to effectively manage body temperature, reduce sweat accumulation, and enhance performance during cycling activities.
Its lightweight and breathable design make it ideal for long rides in various weather conditions.
In today’s tutorial, you will learn how to effectively draw a heatshield cycling top in 5 steps! You will also be provided with 2 additional steps on how to improve the quality of your design. Ready to get started?
| Steps | Complexity Level |
| The Collar | 2 |
| The Torso Outline | 3 |
| The Sleeves | 2 |
| The Elongated Back | 2 |
| The Extra Details | 1 |
What You Will Need
- Sketchpad or drawing paper
- Pencils (2b, 3b or 5b)
- An eraser
- Color pencils or markers
- 20-25 minutes

How to Draw A Cycling Top
As aforementioned, you will need to sketch five components: the collar, an outline of the torso, the sleeves, the elongated back, and some extra details.
While it may seem complicated, completing this tutorial is achievable with practice, patience, and commitment.
Be sure to check out the outline provided below to visualize the upcoming process. Grab all the required drawing tools, and jump right in without any further ado!

Step 1: Draw the Collar
First, decide which way you would like to angle your drawing paper. A portrait landscape will make it easier to draw a big cycling top; however, a landscape orientation will provide more room to add a background once you’re finished.
Start by drawing a small oval with a rounder curve along the bottom in the middle of your page. Next, draw a horizontal line within the upper section of the oval, from one corner to the other.
Draw a small diagonal line starting from the outer edge of the oval’s side. Repeat the same on the opposite side of the shape (left and right).
Finally, starting from the open tip of the diagonal line, draw a wavy line with a dip in the middle that connects to the open tip of the diagonal line on the opposite side.
- Begin drawing on the middle of your paper
- Start by drawing a small oval with a sharper curve on the lower half
- Add a series of lines within and surrounding the oval to complete the collar

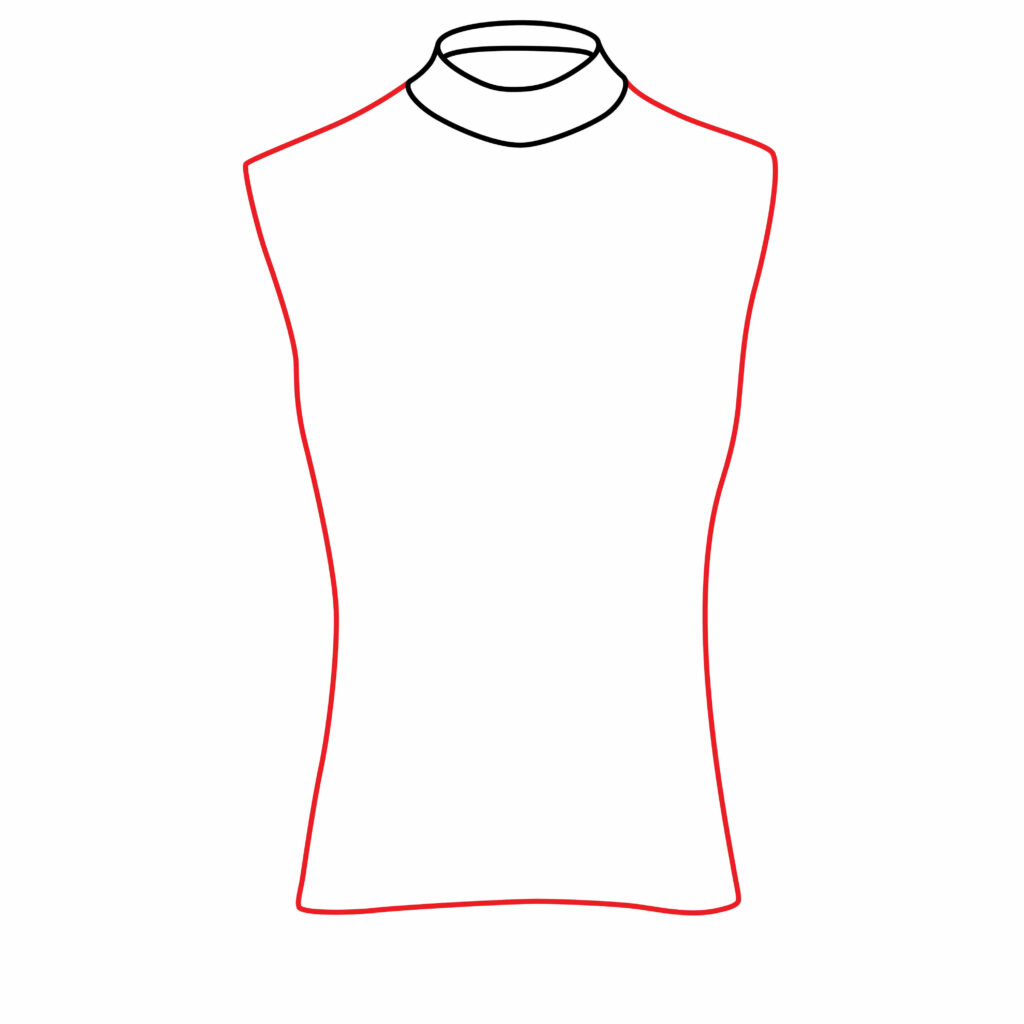
Step 2: Draw the Torso Outline
The torso region will take up most of the drawing. It encompasses the chest and stomach area of the top, so you will need to draw a series of wavy and lengthy lines.
Start by drawing diagonal lines that extend from each corner tip of the collar. Ensure that the lines are symmetrical, as this will balance out the frame.
Next, draw a line from the edge of both diagonal lines that starts diagonally, has a slight outward bump around the chest area, inches in closer to the waist, and then slightly flares out along the bottom. Again, symmetry is key throughout this step.
Follow the image provided for an idea of the desired length you should aim for.
Finally, connect the ends of the wavy vertical lines with a horizontal line.
- Draw diagonal lines from the collar to resemble the upper shoulders
- Draw wavy vertical lines on each side to resemble the chest and stomach area
- Connect the sides with a horizontal line
- Ensure that your drawing is symmetrical
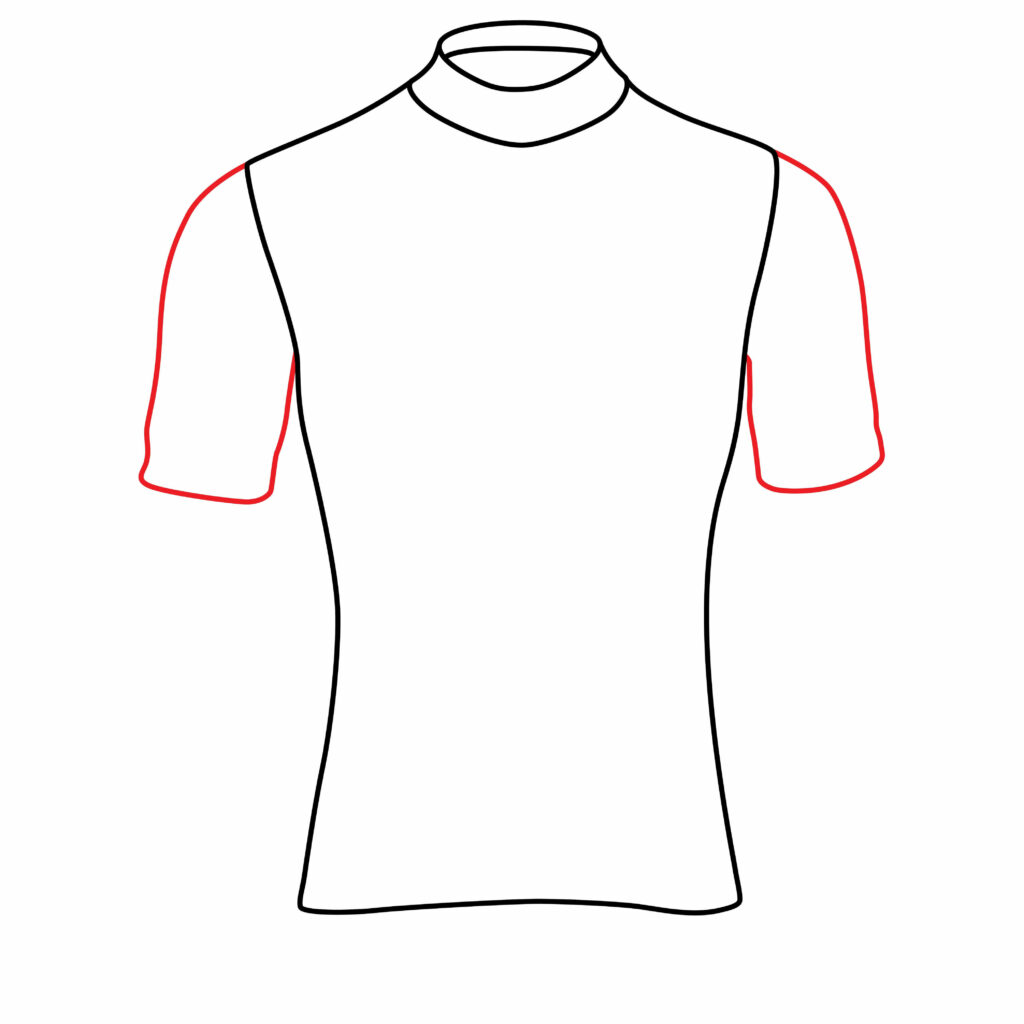
Step 3: Add the Sleeves
To add the sleeves, you first need to pick a side to start with. Either way, the process is the same.
Start by drawing a downward curve from the edge of the upper shoulder until it becomes a diagonal line. End the line once it reaches the point just below the bump of the torso.
Draw another diagonal line starting from the inward curve on the torso region that resembles the underarm and ending slightly lower than the first.
Ensure a nice space between both lines to resemble realistic upper arms. Connect the two lines with a somewhat wavy line.
Symmetrically complete the same process on the other side, and the sleeves are complete.
- Draw a curved line starting from the edge of the upper shoulder
- Draw a small diagonal line starting from the underarm
- Connect the two lines together using a diagonal line
- Follow the same process on the other side of the torso region
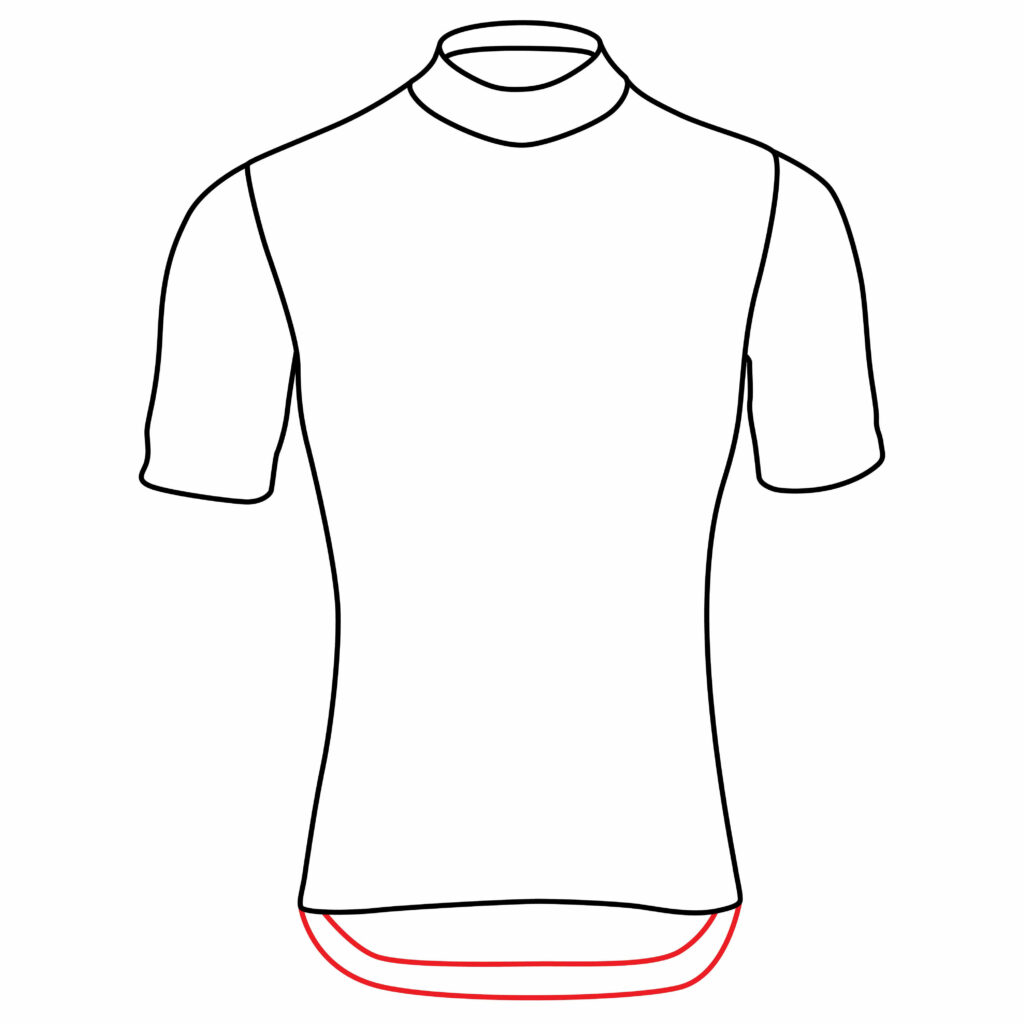
Step 4: Draw the Elongated Back
Cycling tops and jerseys are often longer on the back to ensure proper coverage when cyclists are bent over. For the sake of this tutorial, we’ll call this element the elongated back.
To complete this step, draw a broad curve from the bottom corner of one torso region and connect it to the other.
Then, add another wide curve within the outer one that follows the same pattern and has a small space in between.
- Draw a wide curve from the bottom corner of the torso connecting to the other
- Add a similar curve within the first that maintains a small amount of space in between
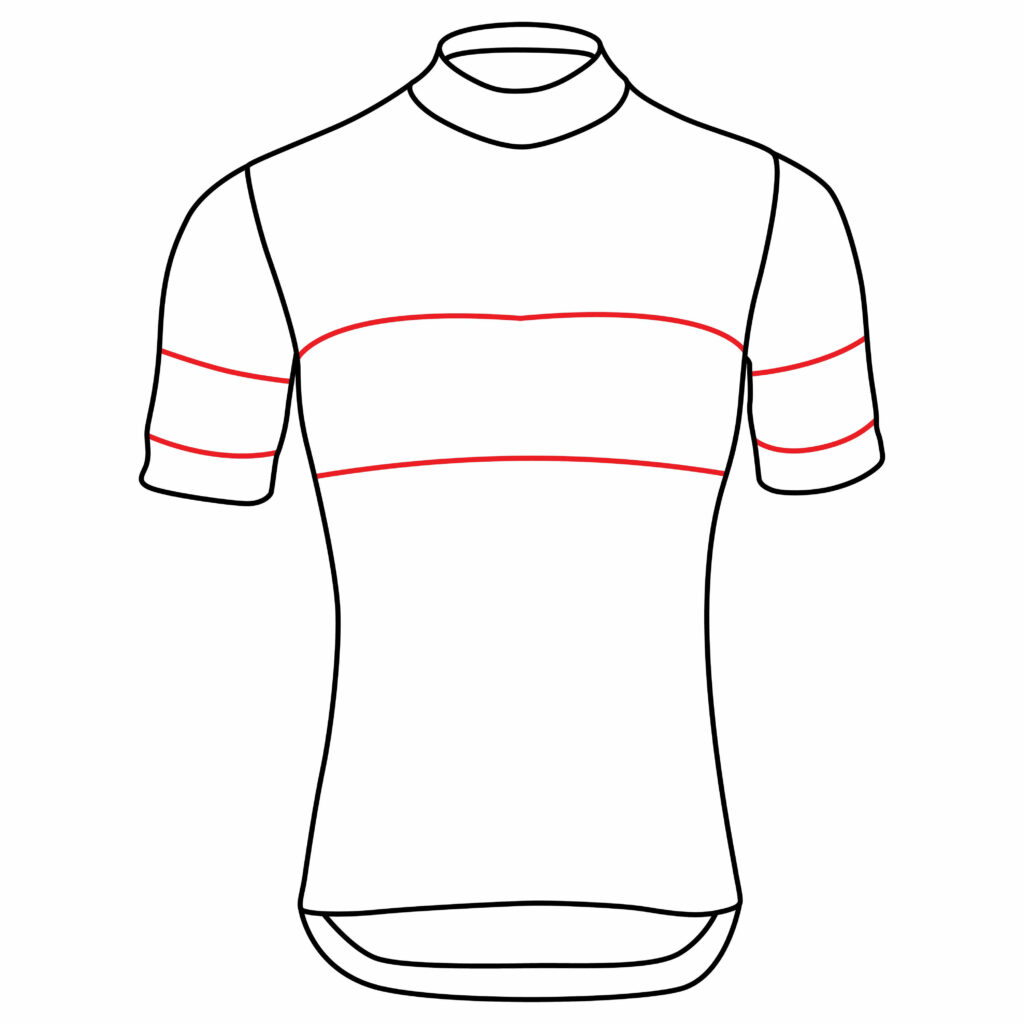
Step 5: Add Extra Details
As cycling tops often feature cool designs, adding a few extra details to your drawing will make it look more realistic.
For this step, you must draw a series of horizontal and diagonal lines.
Starting on the torso, draw one slightly wavy horizontal line from the inner side of the underarm to the other side.
Next, draw a horizontal line below the wavy one with ample space in between. Check out the image below for a sense of the width you should aim for.
Finally, draw two diagonal lines on each sleeve with a nice amount of space in between.
- Draw two wavy horizontal lines accross the upper part of the torso
- Draw two diagonal lines across each sleeve
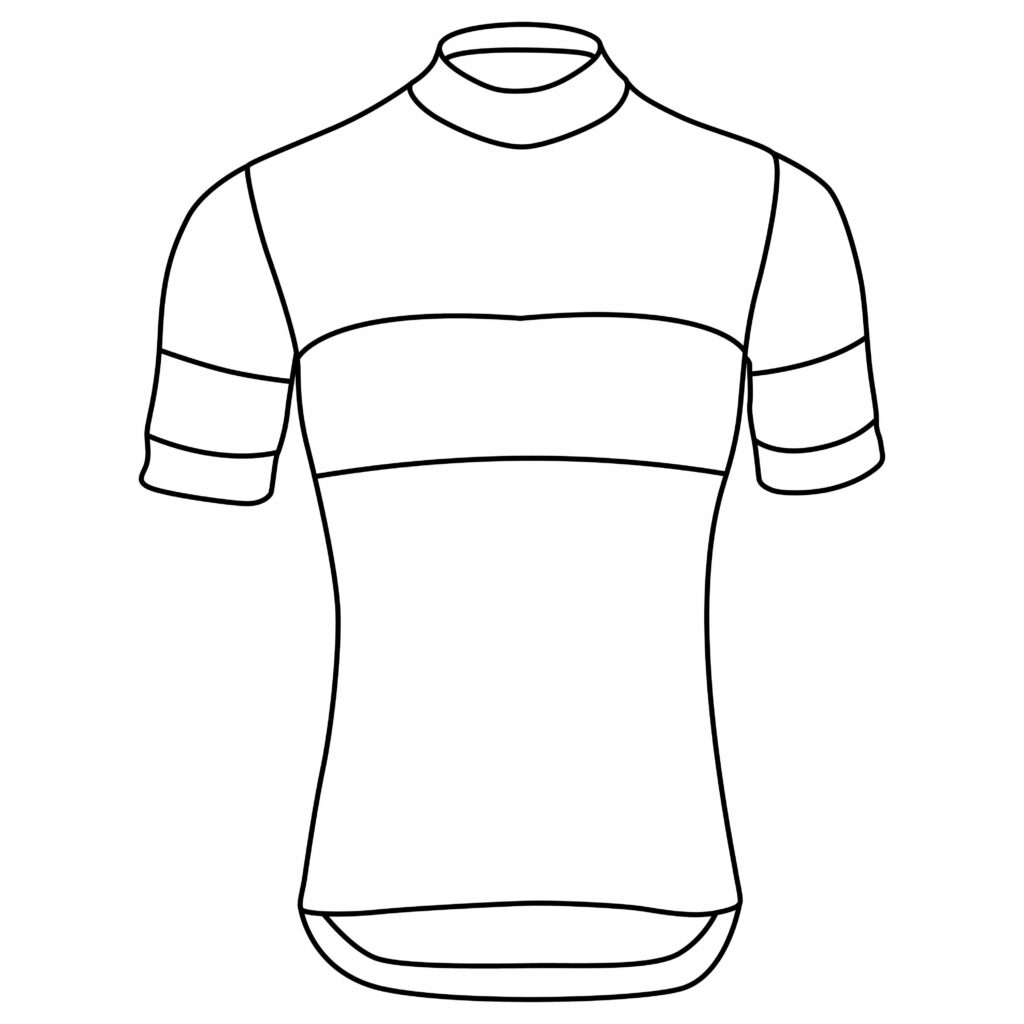
Congratulations! Your Heatshield Cycling top Drawing is Complete
Give your drawing hand a well deserved break by flexing your fingers. Additionally, take this time to assess the outcome of your sketch. You’re welcome to use the image provided below as a guide for comparison and possible adjustments.
Taking your Drawing to the Next Level
While you’ve accomplished a great deal by completing your cycling top drawing, we always encourage budding artists to take things a step further and strive to leave a lasting impression with their work.
Think the way Maya Angelou probably did when she said, “You can’t use up creativity. The more you use, the more you have.” Push yourself even further by completing the following steps.
step 6: adding a Background
Adding a background to a drawing is always encouraged as it provides context and depth to the image and enhances the overall visual impact.
A well-chosen background can complement the subject of the drawing by leaps and bounds.
There are various background ideas for a cycling top. Incorporating different cycling gear, like helmets, shoes, glasses, gloves, or a bike, on your drawing paper might increase the well-roundedness of the drawing.
Alternatively, you are also encouraged to think outside the box. For example, you could place your background in a field, inside a room, or on a person.
Allow your creativity and imagination to guide you as you pick the perfect background.
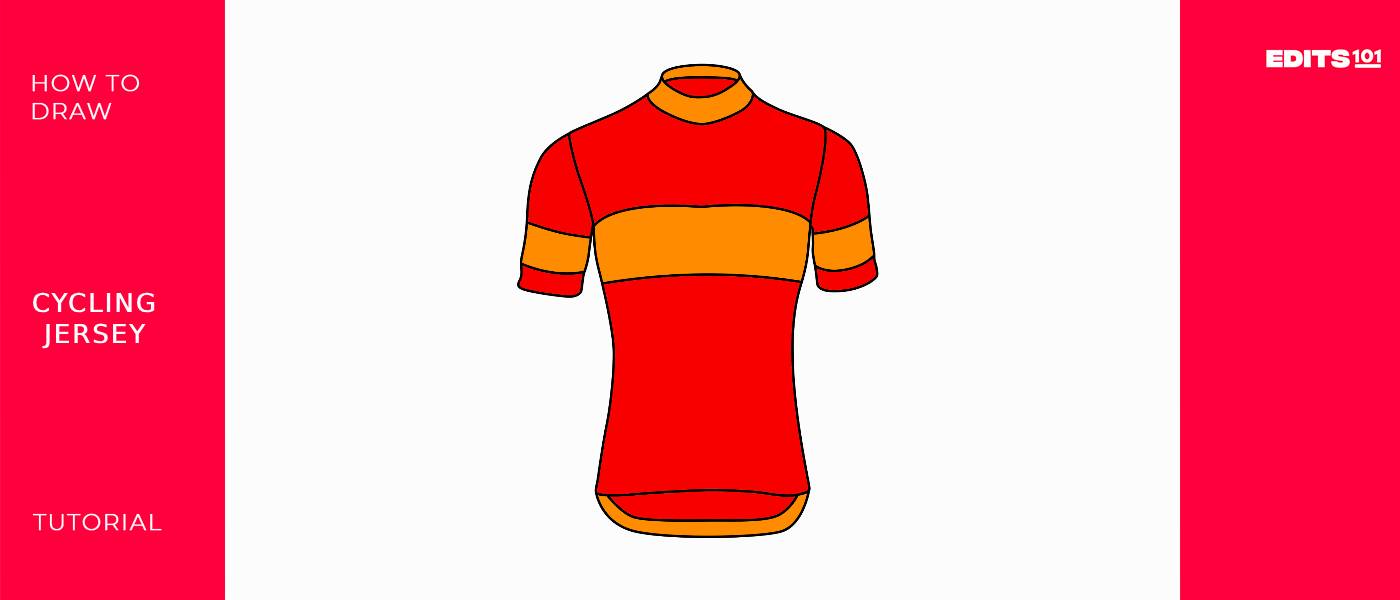
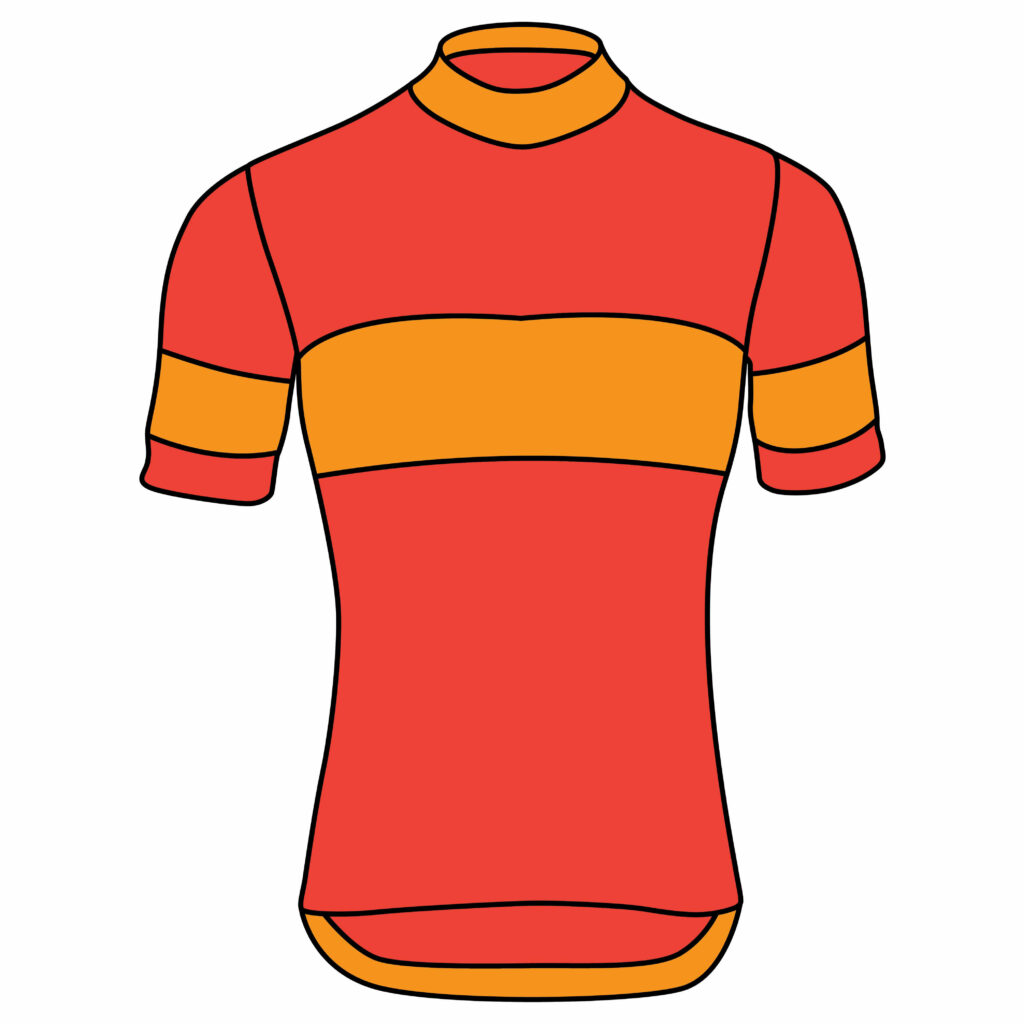
step 7: adding Color
Adding color takes a black-and-white sketch and instantly transforms it into something eye-catching.
Choose your favorite colors for your newly designed cycling top. Be sure to use different colors on different elements to make each part stand out.
Many cycling tops are brightly colored or have reflective elements to enhance visibility on the road and promote safety during rides.
So, if you’re going for realism with your drawing, be sure to add some bright colors to your design.
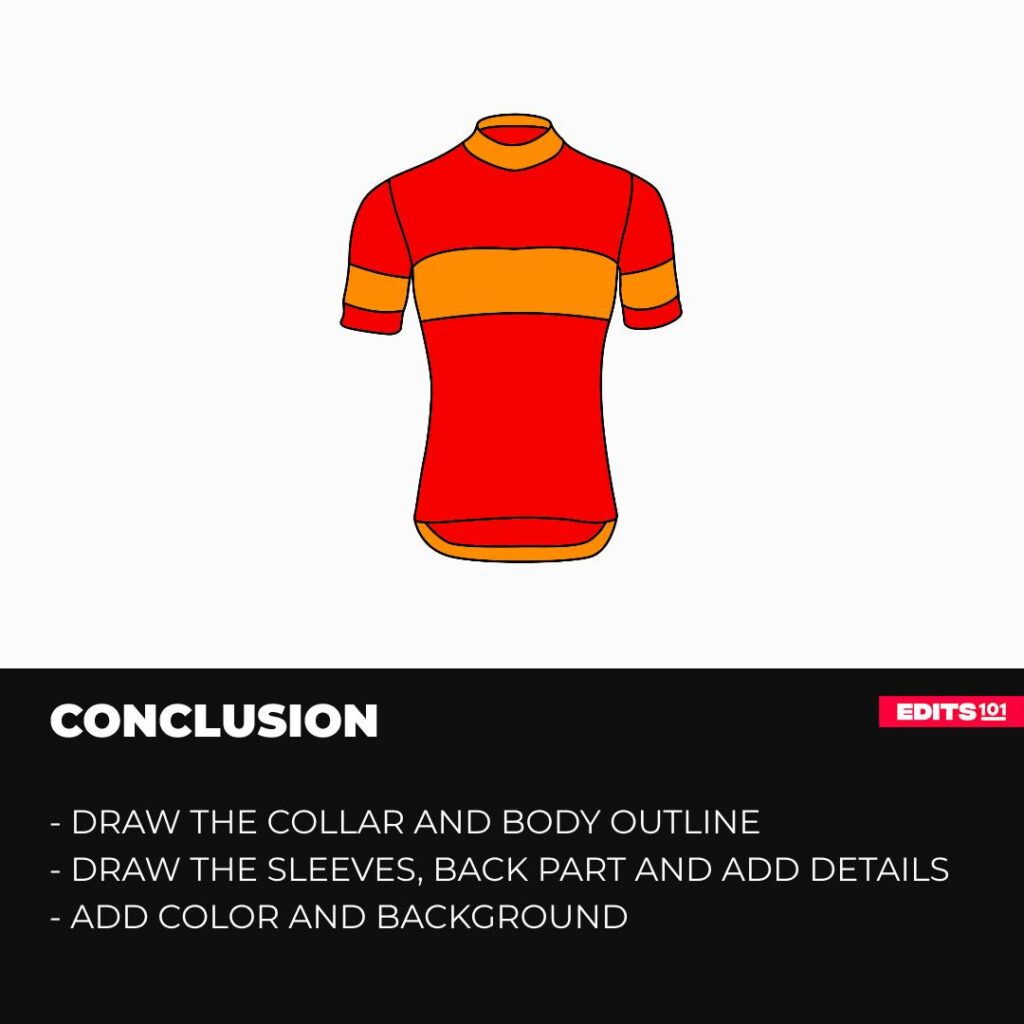
You’re welcome to use similar colors as we have with our cycling top. The orange and red complement each other well.
Bonus Tips
Look at photos of heatshield cycling tops to understand the design and details.
Ensure that the size and placement of elements like torso width and upper arm width are accurate.
Add shading to showcase the realistic material of a heatshield cycling top.
Experiment with thicker lines for outlines and lighter lines for subtle details.
Add your name, either on your cycling top or somewhere on your page, for a nice personalized touch.
Conclusion
If you have completed all of the steps, we would like to commend your hard work. Well done!
You have successfully transformed a blank page into a beautiful depiction of a cycling top.
By completing this tutorial, you have learned how to outline any top by drawing the collar, torso, and sleeves. You could apply these techniques to other drawings, as well.
Always remember that art is a perpetual work in progress. Many different drawing tutorials await you. See you next time!
Thanks for reading & feel free to check out more of our articles!
Author Rating
Overall Rating
Summary
This tutorial will walk you through sketching a fundamental heatshield cycling top and then elevating the design to attain a more authentic and intricate look.