How To Draw A Wrestler | A Detailed And Fun Tutorial
Today, we’re going to draw a super-strong wrestler together. Grab your paper and art supplies – it’s going to be easy and a whole lot of fun! Wrestling is an intense, visually dynamic sport that is exciting to watch and even more thrilling to try yourself. Capturing the power and drama of wrestling in an artwork starts with designing an anatomical wrestling figure as your drawing foundation.
Following basic step-by-step drawing instructions, you can learn how to draw wrestlers with realistic proportions and active poses, even with minimal drawing experience. You may also wish to learn how to draw a wrestling ring or a wrestling referee after this!
| Steps | Complexity level |
| Draw the head | 3 |
| Draw the arms | 3 |
| Draw the torso | 4 |
| Draw the boxer | 4 |
| Draw the legs and knee pads | 4 |
| Draw the boots | 3 |
What you will need
- Paper
- Pencil
- Eraser (optional)
- Colors
How to draw a wrestler
While drawing a wrestler, the most important thing is your excitement. All you need is your enthusiasm, and you’re all set for some fun wrestling drawing.
Step 1: Draw the Head
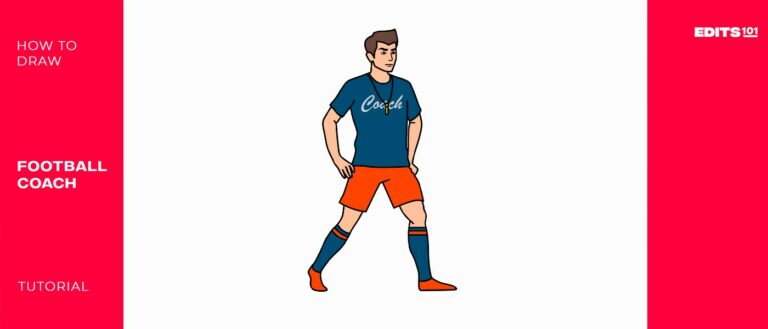
Sketch a shape that’s a bit round near the top of your paper for the wrestler’s head, just like we did in the american football coach drawing. Wrestlers usually have strong and determined facial expressions, so let’s capture that energy by drawing jagged lines for wild, dynamic hair. Next, add angled eyebrows and some shading under a bold brow to give your wrestler an intimidating look.
You’re off to an awesome start!

Let’s add some guidelines! Sketch a line down the middle to help you place key features symmetrically, like the eyes on either side. Make sure the eyes are looking straight ahead with a steely focus, not on the side. Indicate the bridge and shape of the nose with firm, straight lines. Now, roughly outline an aggressive square jawline that’s tightly set, showing readiness and resilience for battle. Keep your lines loose but purposeful for now. You’re doing great!
- Lightly draw a head circle, then add wild jagged hair shapes
- Suggest intense expression via shaded eyebrows, angled eyes, and a tightly drawn jaw
- Use guidelines to evenly position facial features looking ahead
Step 2: Draw the Arms
Let’s focus on the wrestler’s arms, which are crucial for those powerful grappling holds! Sketch one arm raised overhead vertically, with the hand clenched in a fist of power. Now, counterpose the other arm down diagonally, with the palm splayed open, as if signaling for a response from the imaginary crowd.
Think about using varied line weights to make the lines heavier in the front of each part and lighter behind to show that they’re coming forward and have dimension, the same way we did in the rugby coach drawing.
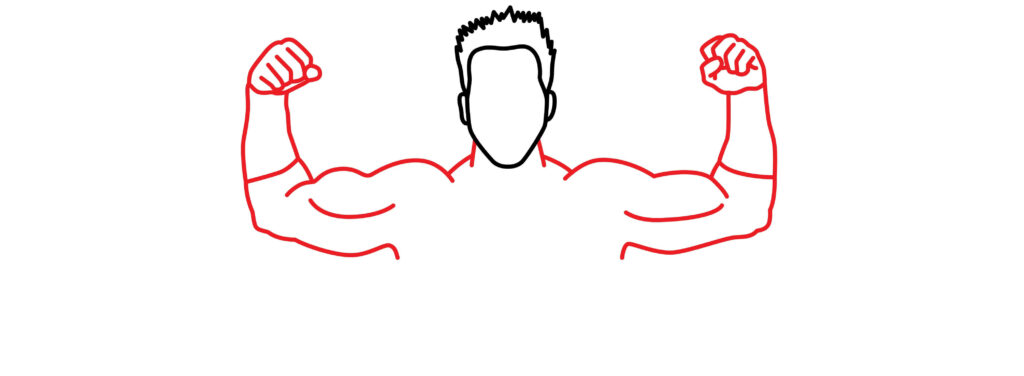
Draw rough tension lines across the muscular forearms and highlight the tendons on the back of those powerful arms. This gives a hint of the wrestler’s athletic strength and skill, which is super important in this intense contact sport. Carefully attach each limb just outside the head’s perimeter.
- Draw one clenched fist arm raised overhead, the other lowered in a gesture to the crowd
- Use thicker lines visually nearer to the viewer to show foreshortening
- Start adding muscular tension lines on forearms and prominent hands
Step 3: Draw the Torso
To make sure your wrestler’s head and arms look connected, start by drawing the torso. Lightly sketch lines that curve down from beneath the head to create broad shoulders, and then extend them past the chest, waist, and hips to establish the general flow of the body. Add floating lines to divide the torso into sections, helping you outline the chest and muscles of the abdomen.
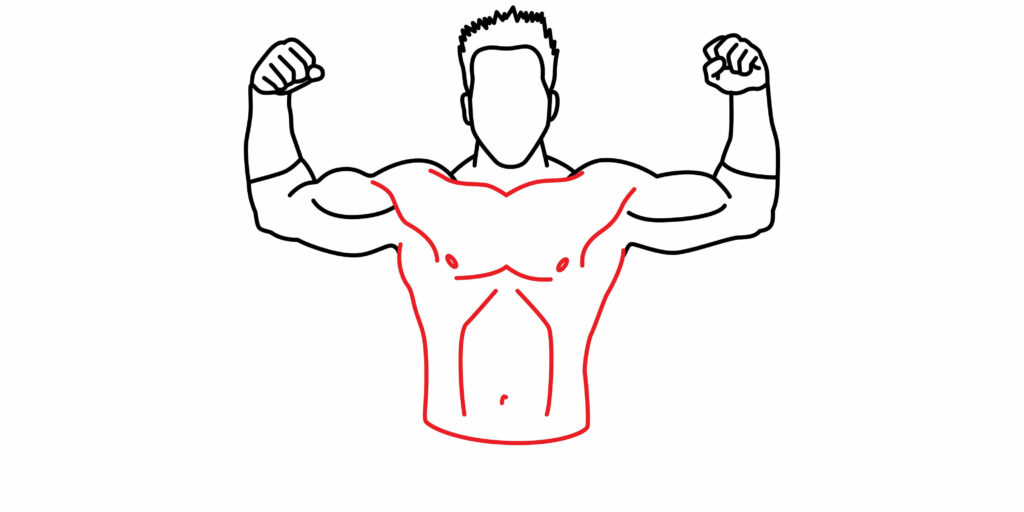
Draw muscular shapes using jagged lines and add shaded areas for depth, but keep it simple for now. Outline the arch of the spine and tilt the ribcage, placing one foot a bit forward. Capture the feeling of anticipation and tension in your wrestler’s posture as you complete the drawing!
- Draw a flowing line from the developed shoulders down to the squared hips to create the core torso.
- Divide this area into the chest and abdominals, and start sketching muscular shapes.
- Add dimension by using jagged shading lines over the tensed ribcage and the foot planted forward.
Step 4: Draw the Tights
For the wrestler’s attire, keep it simple and practical. Start by sketching athletic tights over the hips, using four lines as shown below.
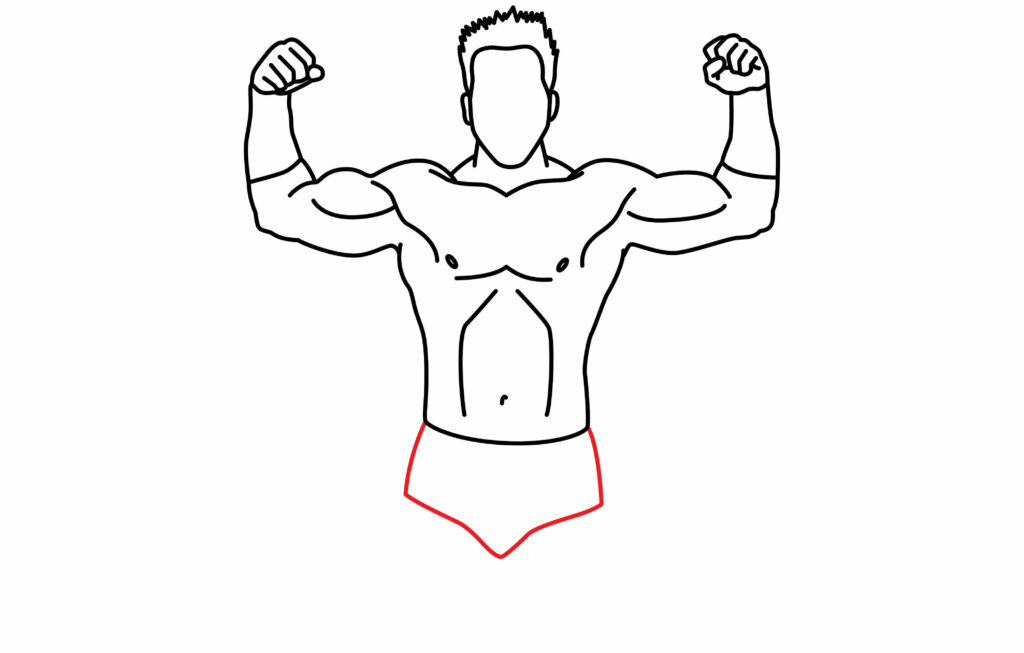
You can also choose to draw trunks that fit loosely against the thighs and then slightly billow out as they extend past the knees. Use curved lines to indicate the direction of the fabric. Add a noticeable waistband to keep them secure during active combat. You can add rough textures later to give the shorts a durable, non-slip quality suitable for wrestling gear.
- Sketch the functional shape of tights using four lines over the hips and the top of the thighs.
- Represent the separation between the front and side legs with slightly thicker lines in the foreground.
Step 5: Draw the Legs and Pads
Because a wrestler’s legs endure a lot of strain and impact, it’s essential to protect them with knee pads! First, clearly outline the main shapes of the legs before adding blocky geometric pads to cover the vulnerable knee joints. Extend the existing leg lines, widening and tapering the angles to create curves for the shin and calf. We have also explained how to draw legs in the football coach drawing guide, you can check that out as well if you haven’t already.
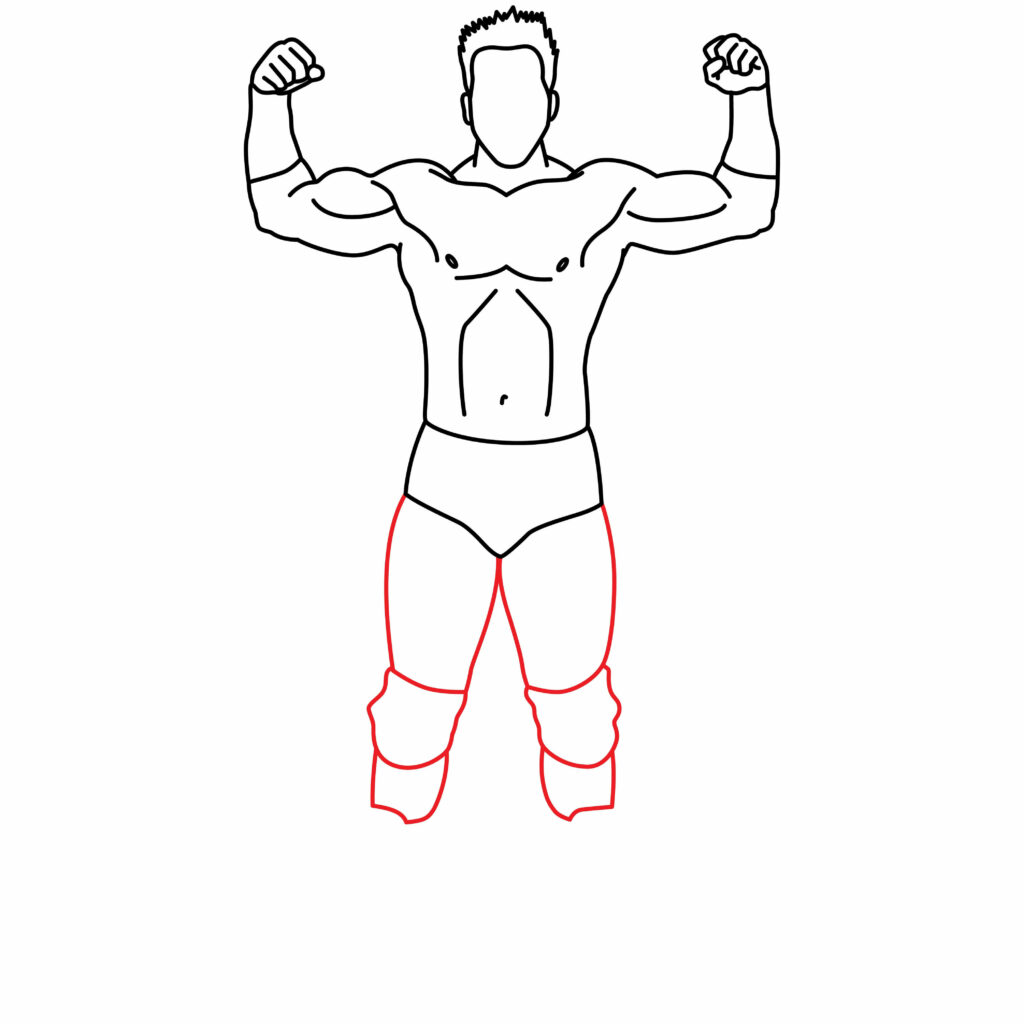
When sketching the pads, use varied line weights to make the lines heavier in the front and lighter as they layer behind to bring this foreground surface forward. Add jagged textural details on the pad faces and velcro-like strapping around the joint edges. Give it a look of a well-used, strong wrestling accessory, ready for action!
- Extend the leg lines down, crossing over the established knee joints and widening to form the shins and calves.
- Overlay the blocky pad shapes with heavier foreground line weights to indicate overlap.
- Don’t forget to include jagged textural details on the pad faces and draw functional strapping edges to complete the look!
Step 6: Draw the Boots
Complete your wrestling drawing by giving them durable footwear, crucial for traction and powerful kicks!
Anchor the foot shapes firmly at the bottom of the defined leg lines, using inverted teardrops or rounded triangles, we have already done this in hockey coach drawing. Add bulky folds in the ankle collar and include small cast shadows for a three-dimensional look.
Sketch the boot tread with circles and jagged shapes, making it look partially worn down for an all-terrain rugged look, ready for intense grappling anywhere!
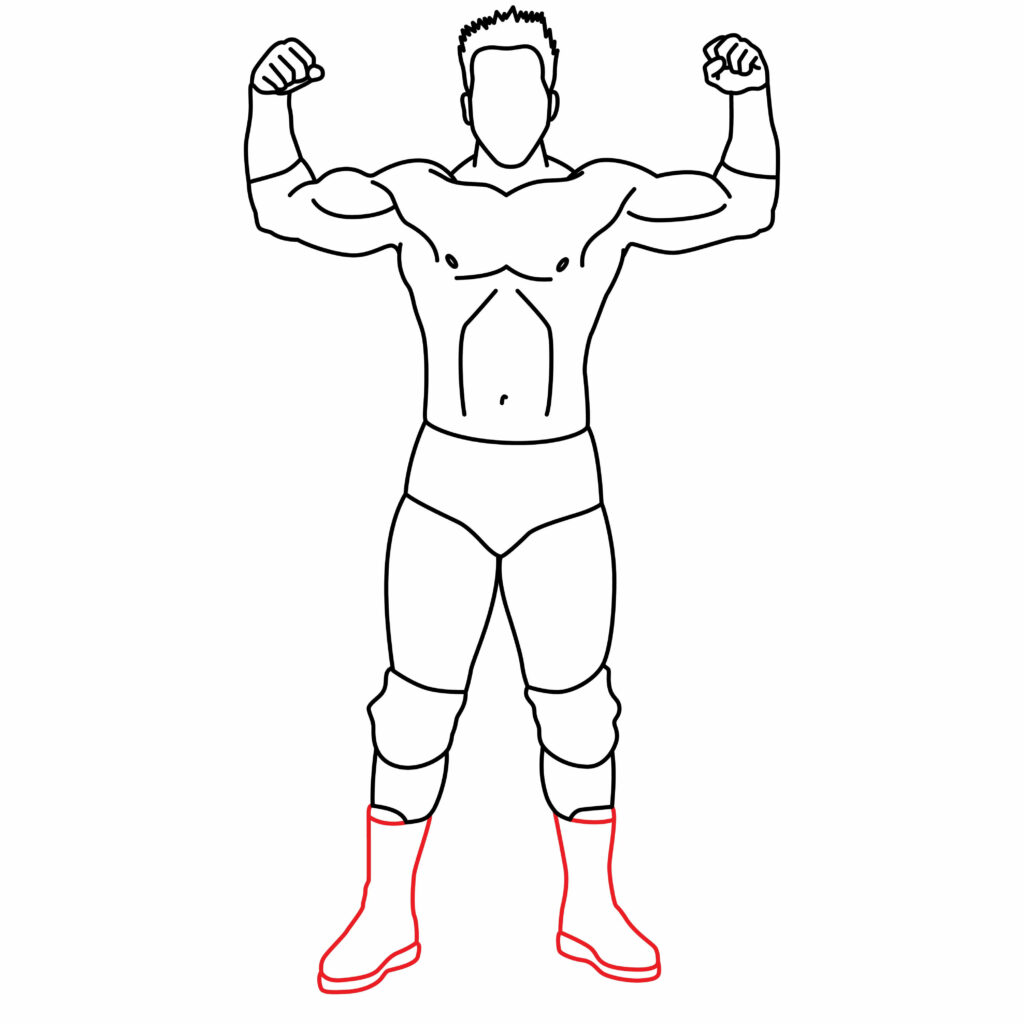
- Form anchor-shaped feet with tapered leg ends for strength
- Illustrate ankle collar bulk and add shadows for a realistic look
- draw a partially worn-down tread texture for a rugged wrestling look
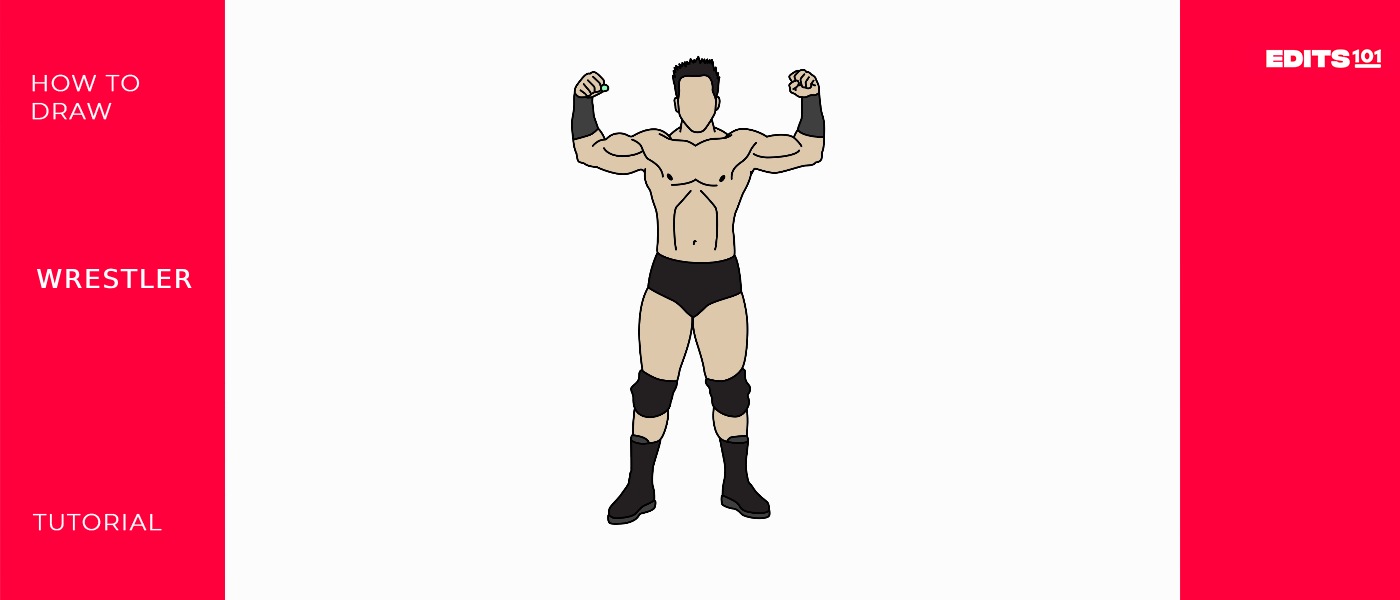
Step 7: The wrestler is ready
Fantastic work. Your wrestler is all set for an exciting match. Consider using a marker to outline the drawing for a bold look. After tracing, you can enhance the appearance by removing the pencil marks.
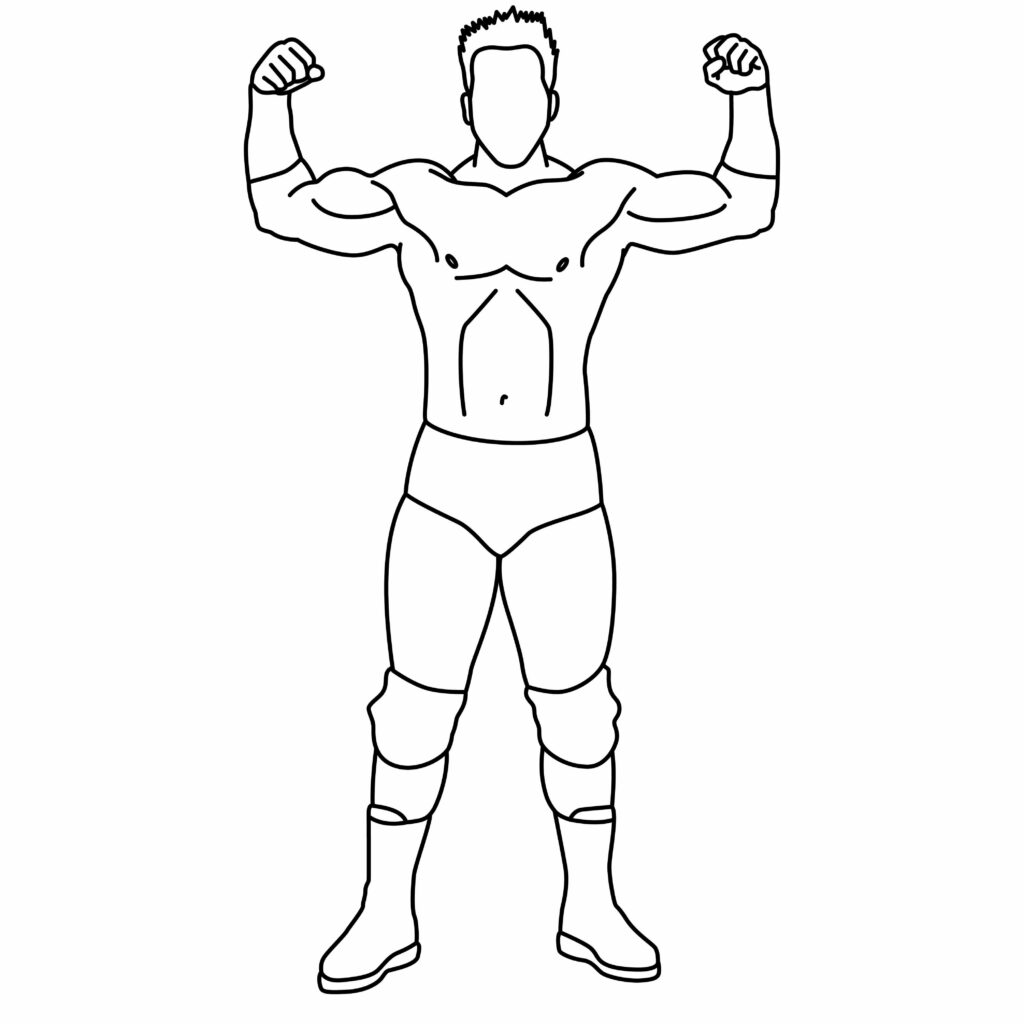
Get ready for even more fun! We’re going to make our drawing look even cooler and more real. Imagine using your creativity to add awesome details.
Taking your wrestler to the next level
Let’s take your drawing to the next level by adding a background. Imagine your wrestler in an exciting place, like a wrestling ring or with fans cheering around.
Have fun with colors to make it look even more awesome, adding shadows and making things pop out. It’s like creating a whole world for your wrestler to be a superstar!
You can also have fun trying out different ways to shade and color your drawings. It’s like playing with shadows and lights to make things look more real.
Learning these cool techniques will make your drawings look even better. Try new ideas and see what happens, it’s like creating your magical world on paper!
Adding Background
To make your wrestler stand out in an exciting environment, imagine him stepping onto a special stage. You can sketch outlines of wrestling ring ropes, spotlights, and a blurry crowd in the background. This will make him look powerful and ready for his next big match under the bright lights.
Add rope lines that partially cross over the wrestler’s arms and torso. This makes it look like he’s really inside the wrestling ring, creating the illusion of overlapping space.
Keep the outlines of the figures and the surroundings simple and not too detailed. This way, the wrestler becomes the main focus and stands out as the star of the show.
Adding Color
Let’s make our wrestler drawing super exciting with lots of colors! Choose bright and strong colors like red, orange, and blue for the wrestler’s body and clothes. Make these colors pop out against a not-so-bright background.
You can use dull grey for the wrestling ring, and give the audience a green color. This way, our wrestler will look super powerful and cool!
Make the wrestler look awesome with bright lights on his skin, like a golden spotlight. In the shadows, use darker earthy colors. The background should be less colorful to make the wrestler stand out and look super cool!

Bonus Tips
Let’s make our wrestler drawing even cooler by adding special details that show off his personality. Think about giving him unique designs, like wild face paint or cool war stripes on his face. These little touches will make your wrestler stand out and look even more awesome.
Let’s make his boots really pop with fiery patterns. And how about giving him an amazing entrance costume? Picture him wearing a cool cape and helmet. Imagine the excitement as he runs to climb the turnbuckle with speedy lines behind him, doing awesome acrobatic moves.
To add even more fun, consider putting signs with words that tell a story about our wrestler. It will make the drawing super interesting and full of action.
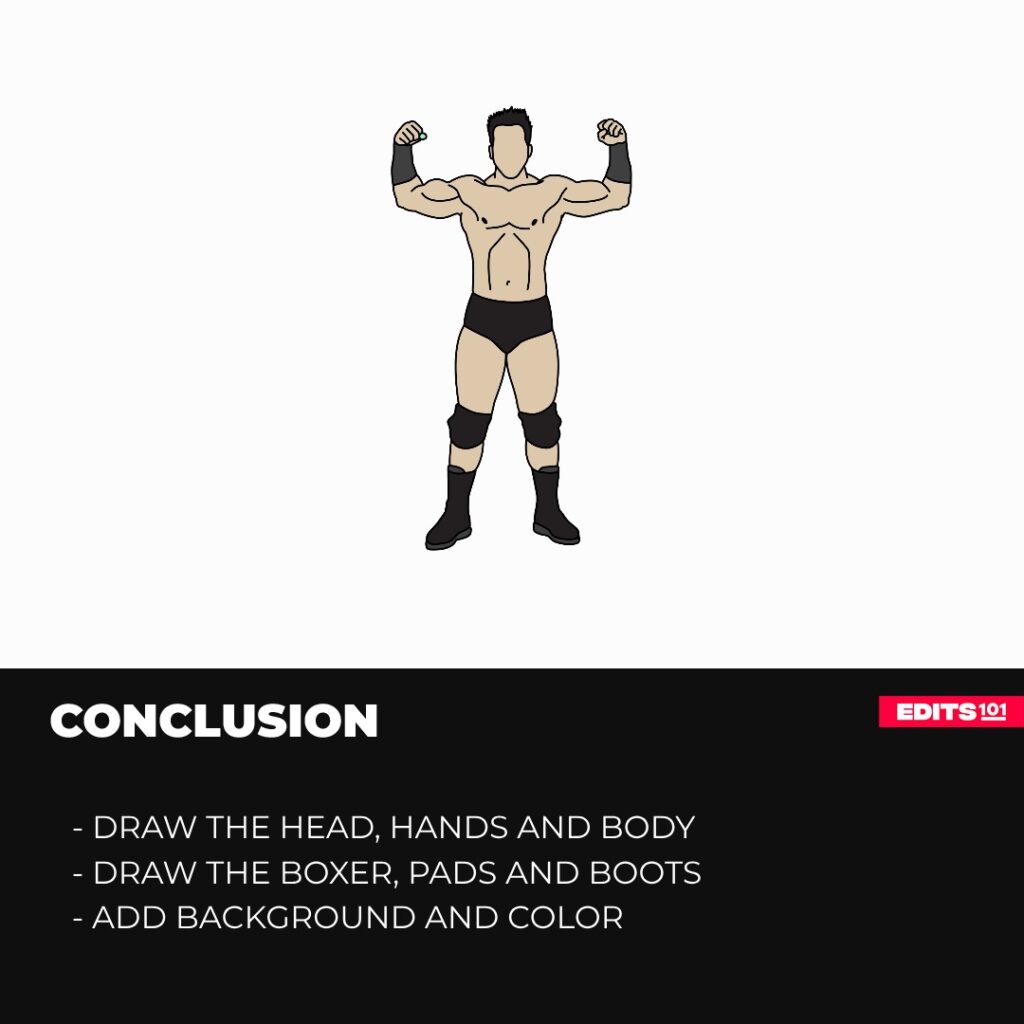
Conclusion
Creating a wrestling drawing is like building it step by step, starting with the basics and adding more details as you go. First, get the body proportions right and draw the wrestler’s gear. Then, focus on the arena atmosphere, like the surroundings.
Once you’ve got the basics down, you can let your imagination run wild! Add your own creative ideas, like special signs to show your wrestler strong and fearsome. Learn the basics first, and then you can make your very own wrestling superstar drawings.
Thanks for reading & feel free to check out more of our articles!
Author Rating
Overall Rating
Summary
This guide explains how to draw a wrestler.