How To Draw A Rugby Coach | A Creative Journey
A rugby coach plays a pivotal role in developing and guiding a rugby team, providing leadership, strategic planning, and skill development to enhance the team’s performance. The responsibilities of a rugby coach are multifaceted, encompassing both technical and interpersonal aspects. They are often involved in designing training sessions that focus on improving players’ skills, fitness, and overall game understanding.
| Steps | Complexity level |
| Draw the head | 3 |
| Draw the jersey | 3 |
| Draw the hands | 3 |
| Draw the ball | 2 |
| Draw the shorts | 4 |
| Draw the legs | 3 |
| Draw the shoes | 2 |
What you will need
- Paper
- Pencil
- Eraser
- Colors
how to Draw a rugby coach
Before we start, ensure you have gathered some basic drawing supplies – paper, a pencil, and an eraser. It can help beginners with larger paper, such as a standard printer or construction paper. This gives you plenty of room. You’ll also want to use a soft pencil (such as a No. 2 pencil), which is easy to erase and won’t damage the paper. Once you have your supplies, you can start this easy drawing tutorial!

Step 1: Draw the head
Start by drawing a large circle in the center of the page. This will be the basic shape of the rugby coach’s head. Make sure to leave room at the bottom for the neck and body. Lightly sketch the circle so it is easy to erase. Draw a vertical line down the circle’s center and a horizontal line across the center. This will help you add the facial features in the proper proportions.
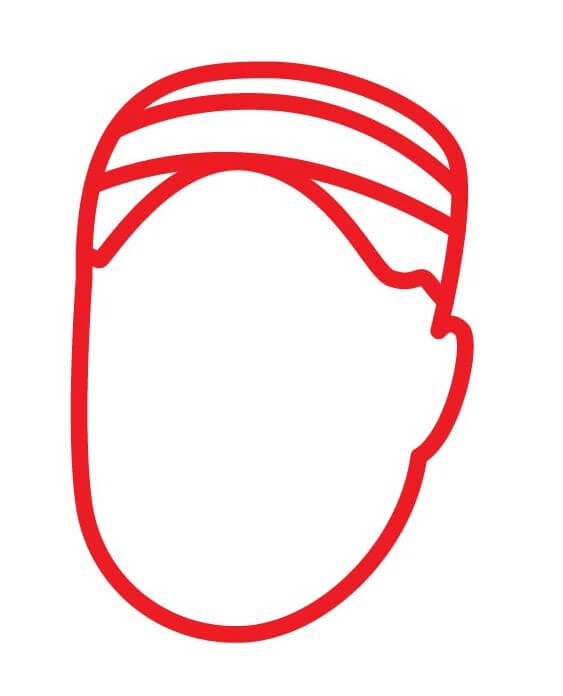
- Draw a large circle for the head
- Add vertical and horizontal guidelines
- Leave room at the bottom for the neck and body
Step 2: Draw the jersey
For this step, we will draw the rugby coach’s jersey below the head we sketched earlier. Start by drawing two vertical lines extending from the bottom of the head circle, leaving a small gap in between them for the neck. These lines will be the sides of the jersey. Then, draw a horizontal line across them about halfway down for the bottom of the jersey.
Next, make the collar by drawing a “V” shape connected to the neck area. Draw the sleeves by making a curved line on each side extending out from the jersey. Add a few short curved lines on the jersey for folds in the fabric. Finally, you can add details like lines for stripes, a team logo, or a number if you’d like. Try to make the jersey loose-fitting as rugby coaches wear loose athletic apparel.
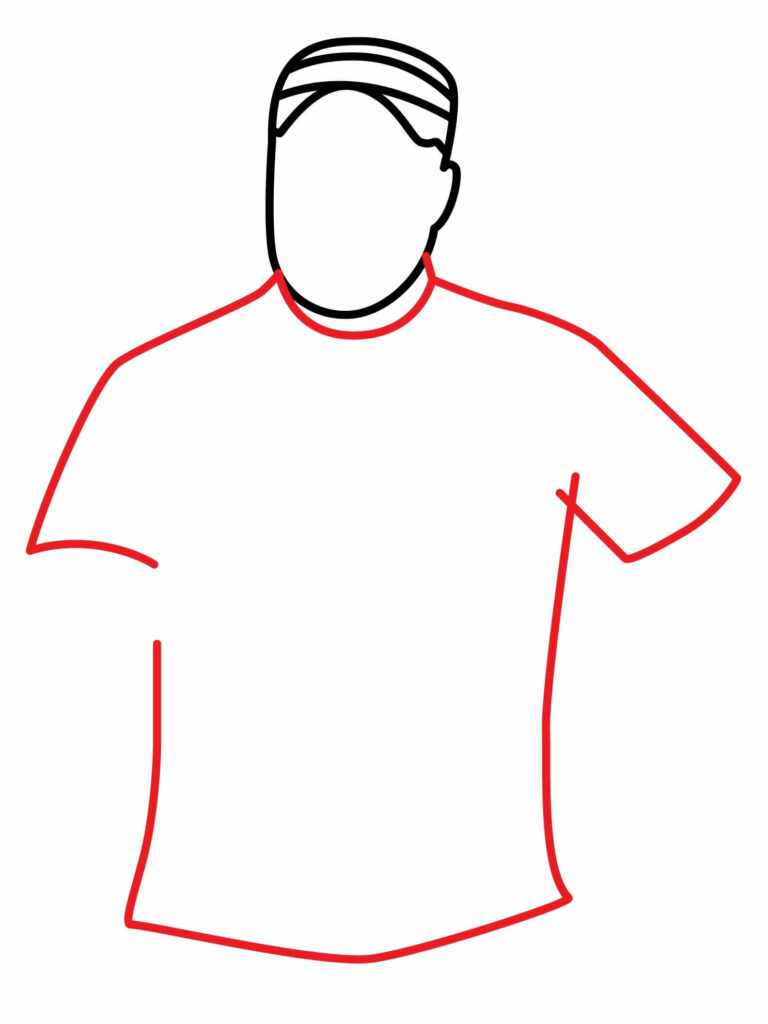
- Draw vertical lines down from the head to the sides of the jersey
- Add a horizontal line for the bottom of the jersey
- Draw collar, sleeves, and folds/details on the jersey
Step 3: Draw the hands
For this step, we will add the rugby coach’s hands on both sides of the jersey. Start by drawing an upside-down teardrop shape on each side of the jersey, overlapping the sleeves slightly. These will be the hands.
Then, draw a short horizontal line across each teardrop shape to separate the hands into fingers. Add vertical lines down from the horizontal lines to define each finger. Draw the thumb separate from the fingers as a shorter, wider shape. You can bend or curve the fingers to show motion like the coach gesturing or holding a playbook. Add details like lines on the palms or shapes for wrists/cuffs. Ensure both hands are roughly the same size and have the same number of fingers.
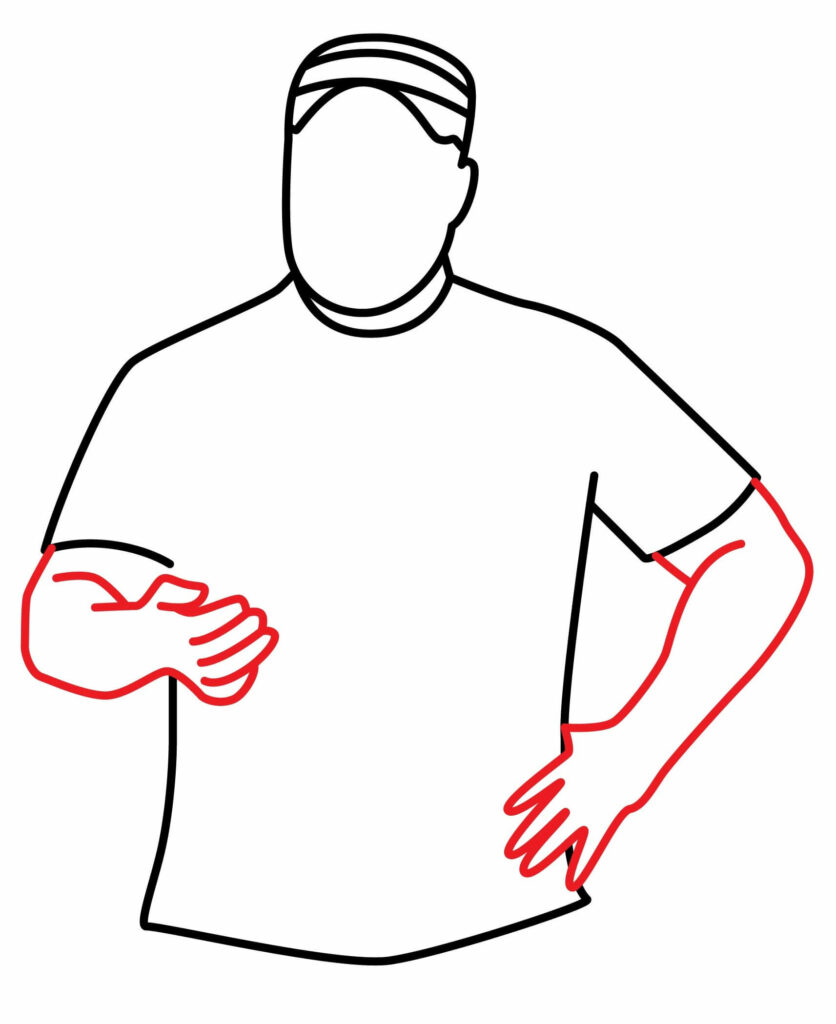
- Draw teardrop shapes for hands on both sides
- Separate into fingers with horizontal and vertical lines
- Add details like bent fingers, palm lines, wrist cuffs, etc.
Step 4: Draw the ball
Sketch an oval shape in the coach’s right hand to draw the rugby ball. Position it so it overlaps the fingers slightly as if the coach is holding the ball. Ensure the oval is oblong vertically, wider at the top and bottom than in the middle. This gives it a distinctive rugby ball shape. Add curved lines across the oval to indicate the panels and laces on the ball. You can shade the oval darker if you want it to stand out from the hand. Make sure it is large enough to look proportional.

- Sketch a sizeable vertical oval for the rugby ball in right hand
- Overlap with fingers to show the coach holding it
- Add curved lines for ball panels and laces
- A shade darker if desired so it stands out
Step 5: Draw the shorts
To draw the rugby coach’s shorts, sketch two vertical lines down from the bottom of the jersey. Leave a small gap between the thighs. The lines should be slightly wider apart than the jersey sides. Connect the lines at the bottom with a horizontal line for the bottom of the shorts. On each side, draw a curved line from the waist to the base for the outer leg. Add some curved lines on the shorts for folds in the fabric. You can also add details like stripes, logos, or textures. Draw the inner legs with vertical lines. The shorts should be loose and baggy.
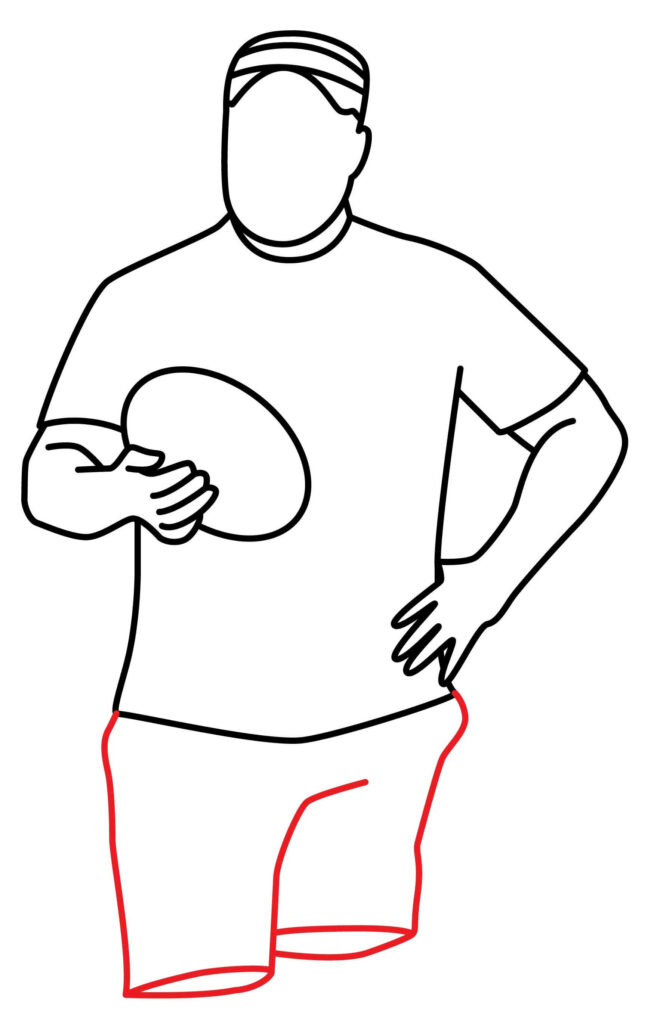
- Sketch vertical lines down from the jersey for the sides of the shorts
- Connect with a horizontal line for the shorts’ bottom
- Draw curved lines for outer legs and folds
- Add inner leg lines and other details
Step 6: Draw the legs
To draw the rugby coach’s legs, extend the vertical inner leg lines down past the bottom of the shorts. Make these lines wider apart for the thighs, then taper in for the calves. Draw a horizontal line across the base for the feet, leaving a small gap. On each side, sketch an inverted teardrop shape for the sneakers, overlapping the feet. Add details like shoe laces, sole lines, and fabric folds on the ankles. You can bend one leg slightly at the knee for a more active pose.
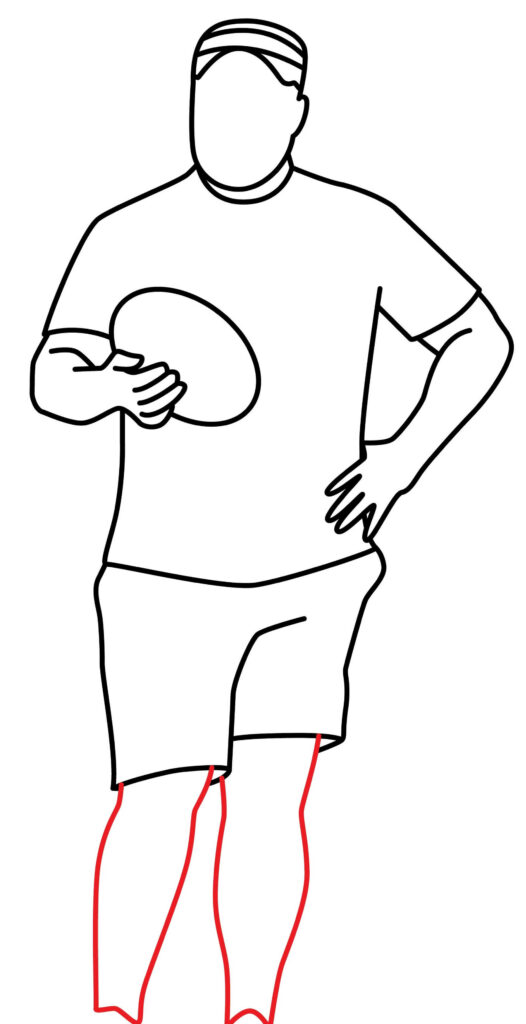
- Extend inner leg lines down, tapered for calves
- Add horizontal line for feet and inverted teardrops for sneakers
- Include shoe details and bend the knee for an active pose
Step 7: Draw the shoes
Building off the inverted teardrop shapes for the sneakers, add more details to make them look more realistic. On the outer edge of each sneaker, sketch a curved line that slopes down from the ankle to the toe. Add a short horizontal line at the toe to indicate the sole. Draw a few curved lines for each sneaker’s laces and fabric panels. You can include patterns, logos, etc. Add a curved line under the laces for the tongue of the shoe. Draw the sole with horizontal lines across the bottom of each sneaker. Shade under the boots to give them dimension. Make sure both shoes have similar shapes and details.
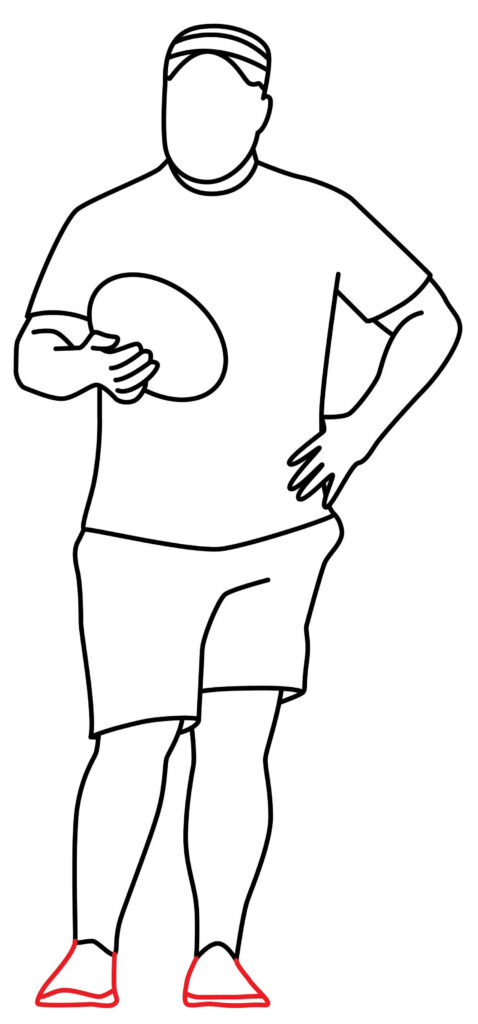
- Add curved lines for sides, laces, panels, and tongues of sneakers
- Include horizontal lines for sole and shading under shoes
- Draw similar shapes and details on both shoes
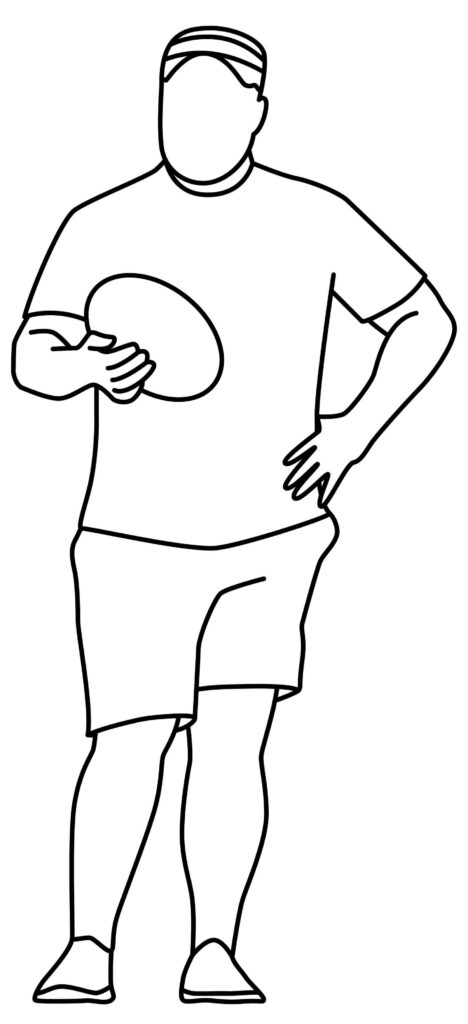
Step 8: The rugby coach is ready
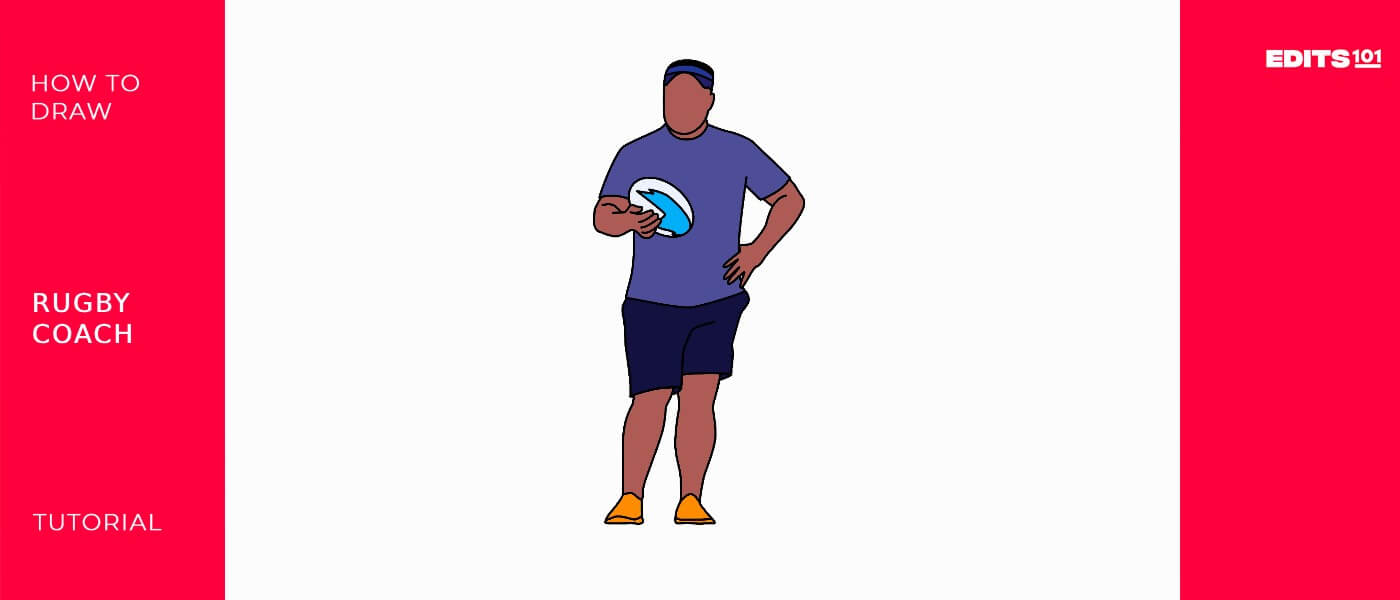
Our rugby coach drawing is complete, and we will move on to the next part of the guide.
Taking your rugby coach drawing to the next level
We will add background and color to our drawing to make it unique and creative.
Adding a background
Keep your background simple. Avoid cluttering the background too much so the main subject stands out. Stick to basic shapes and lines. Show the coach on a rugby field by drawing the field lines, posts, and grass texture. Or place him on the sidelines with benches and water bottles. Lightly sketch some small rugby players running drills or other coaches in the background to reinforce the context. Make elements like grass, fallen flags, or equipment slightly overlap the coach’s legs/feet to show depth. Use light shading in the background to make the coach pop forward. Keep the background lighter than the main subject. Leave more space around the main coach figure so he is emphasized. Put other elements to the sides/edges. Ensure added objects are sized appropriately, especially ones overlapping or near the coach.
Adding color to your drawing
Stick to simple colors like tans, browns, greens, and blues rather than complex shades. Add shadows and highlights to make the drawing look more three-dimensional. The light should come from a consistent direction. Note how colors change in value from light to dark. The coach’s front should be lighter than his shadowed back. Use richer, brighter colors on the coach to make him stand out as the focus.
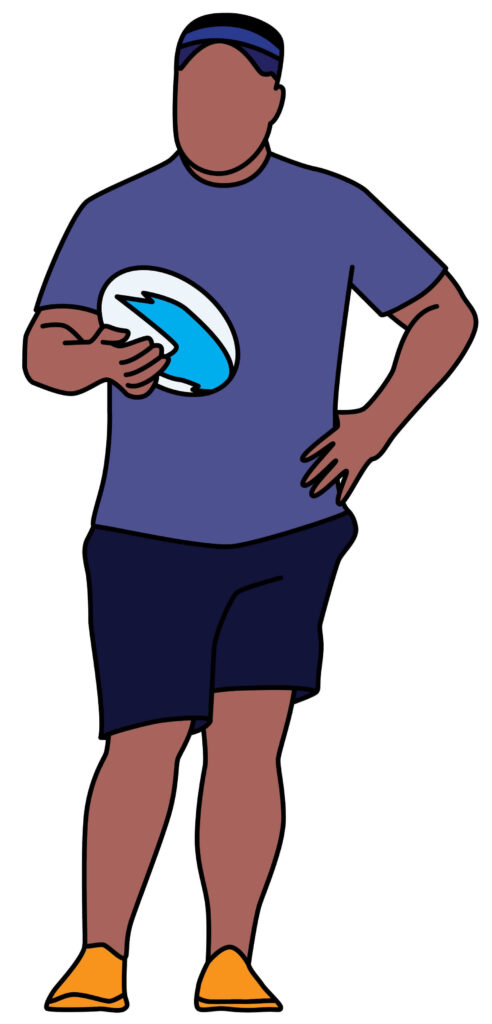
Mute the background colors. Choose colors that fit the setting, like green grass, brownfield, or blue sky. Use appropriate shades. Lightly fill in the whole background with color rather than leaving the white paper. Outline the coach’s shape and key lines with black to define forms after coloring. Stay inside the lines and avoid unintended color overlap. Take your time coloring evenly.
Bonus Tips
You can vary the pose by showing the coach standing, gesturing, and holding a clipboard for more interest. You can also draw basic eyes, nose, and mouth to make the coach more recognizable. You can add equipment like the whistle, stopwatch, vest, and cap to identify the coach’s role. You can also draw blowing hair and clothes fluttering movements, showing motion and energy. Use shading to show form and add dimension. Lightly shade first. For a challenge, draw the coach from the front, side, or 3/4 view. Add your coach’s unique features, outfit, or context to make it special.
Conclusion
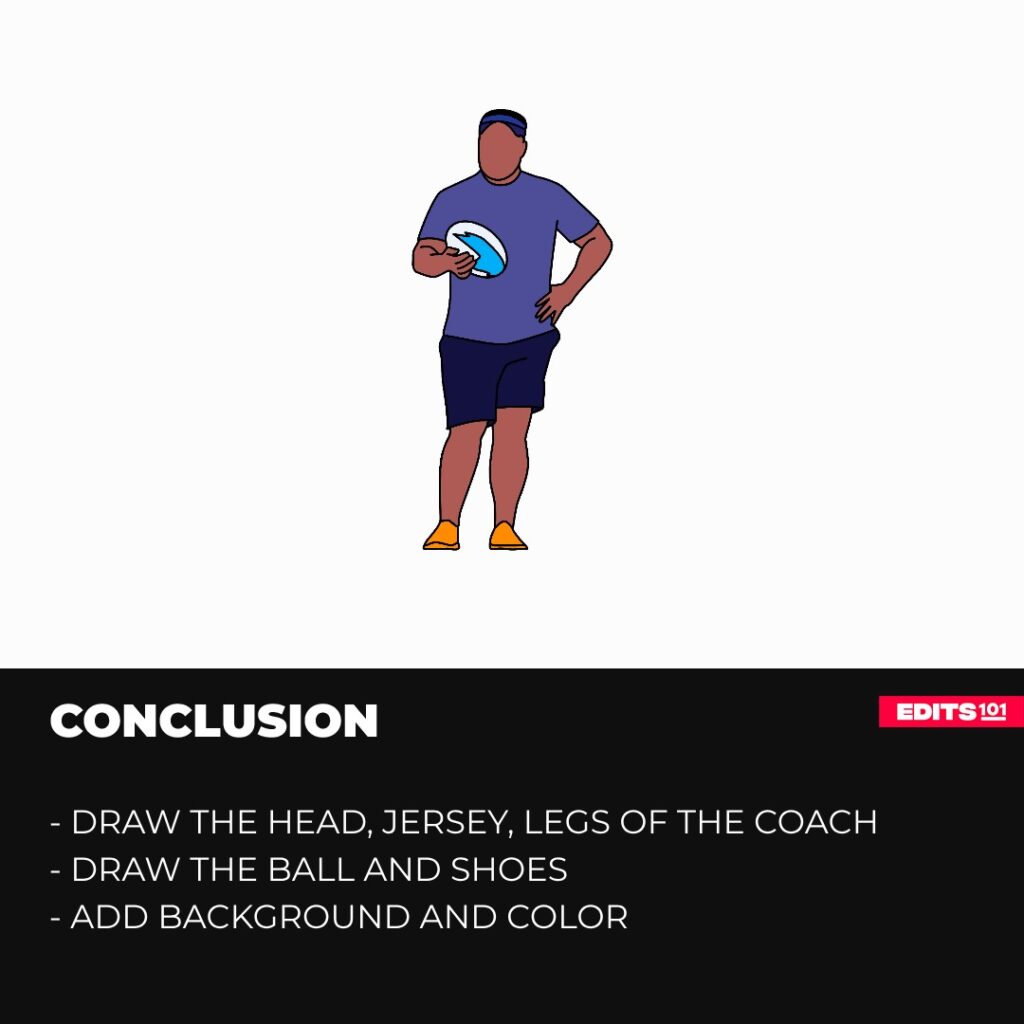
Drawing a rugby coach is a great way to practice sketching people while creating a piece related to your interests. By following the simple steps of drawing the significant shapes of the body and adding basic details like clothing, equipment, and context, you can make an engaging rugby coach drawing. Don’t be afraid to experiment and find your style. With regular practice and observation, your drawing abilities will continue to improve. The important thing is to have fun with it!
Thanks for reading & feel free to check out more of our articles!
Author Rating
Overall Rating
Summary
This guide explains how to draw a rugby coach in detail. You will also learn a few interesting facts about the rugby coach.

