How To Draw A Bowling Ball | A Tutorial For All Ages
A bowling ball is the primary equipment bowlers use in the sport of bowling. Typically made from various materials such as polyester, urethane, reactive resin, or a combination, bowling balls come in different weights and designs to cater to bowlers’ preferences and skill levels. The standard number of finger holes in a bowling ball is three, allowing the bowler to grip the ball securely. The ball’s surface may have various patterns, textures, or finishes to influence its interaction with the lane.
Bowling balls have a very iconic and recognizable spherical shape. Learning to draw one is a great way to capture this fun sport’s energy and provides useful practice sketching 3D forms. By breaking the process down into simple steps, anyone can master creating vibrant bowling ball artwork even without advanced artistic skills. This tutorial teaches beginner illustration techniques for bringing bowling gear to life using basic shapes and lines. Let’s grab a pencil and start rolling some artistic strikes!
| Steps | Complexity table |
| Draw the bowling ball | 1 |
| Add the finger holes | 2 |
What you will need
- Paper
- Pencil
- Eraser (optional)
- Colors
How to draw a bowling ball
Just some paper and a pencil are all the required supplies. Printer paper, construction paper, and sketchbooks all work fine. Mechanical pencils provide sharp lines, but regular #2 pencils do the job. An eraser can help tidy mistakes, but it isn’t mandatory. Once your materials are gathered, you’re all set to follow the drawing instructions. Feel free to ask for clarification on any step details as we proceed. First, we’ll start by constructing the foundational bowling ball shape.
Step 1: Draw the Bowling Ball
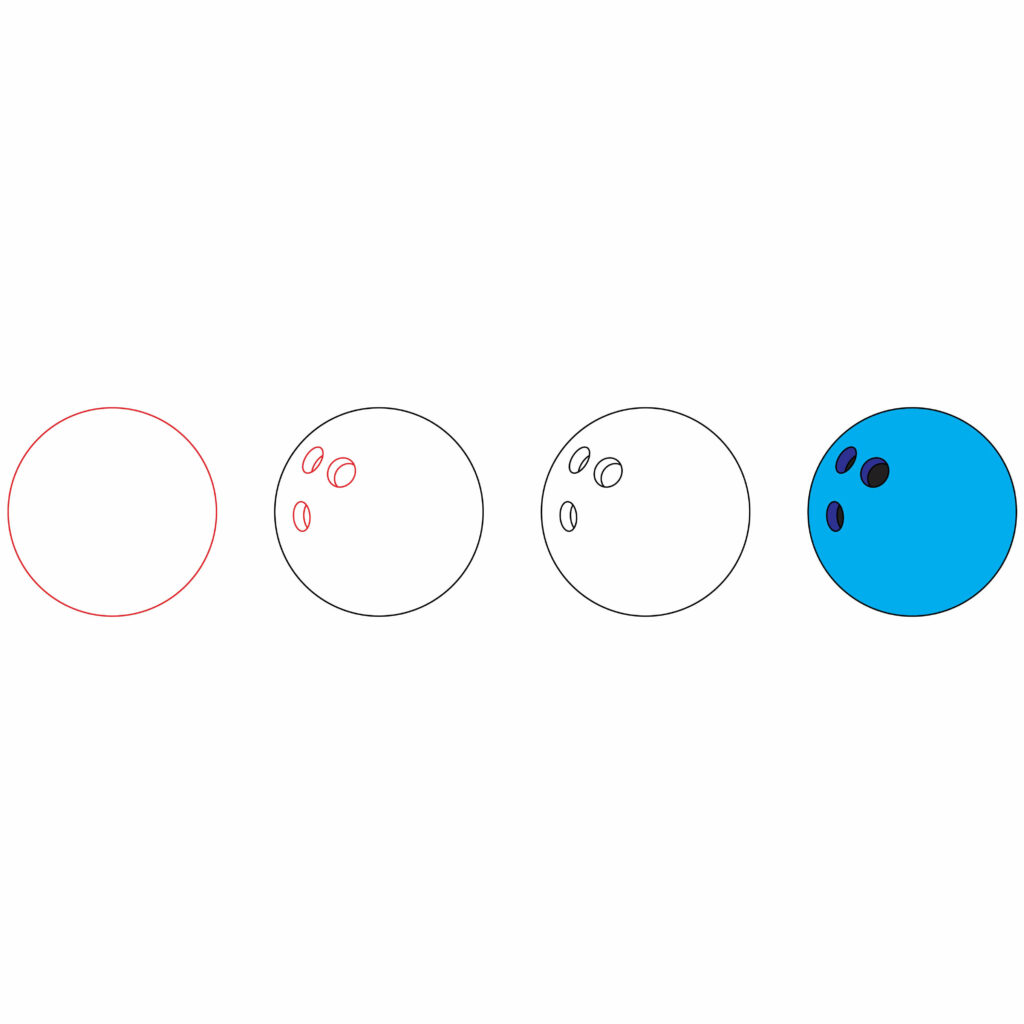
To start your bowling ball drawing, lightly sketch a circle shape somewhere near the middle of your paper like we drew for a softball. This will become the main spherical form, so make it nice and large to fill most of the available space. Use an entire sheet of 8.5 x 11 paper turned vertically to give yourself enough room. Very lightly draw the circle outline shape using a pencil and erase/redraw if it doesn’t come out perfectly round.
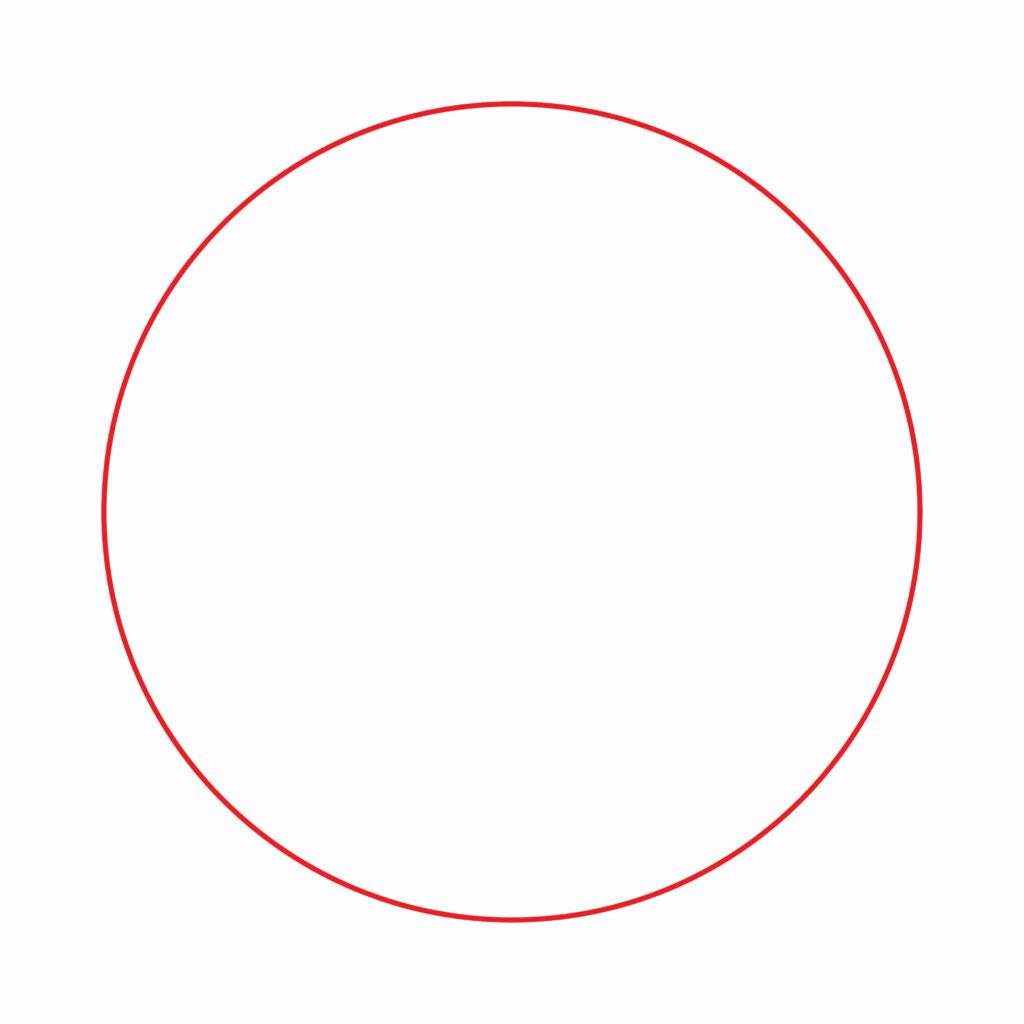
Once you have a rough circular outline, refine it into a more precise ball shape. Carefully redraw over the contours, visualizing a smooth bowling ball sphere. Clean up any wobbly lines as you trace over the outline. Anchor the ball firmly with a sideways “C” shape at the base to indicate its grounded position on a flat surface. Outline the entire spherical form clearly in
- Lightly sketch a sizeable circle centered on the page
- Refine into precise bowling ball sphere shape
- Anchor with a sideways C shape at the base for the grounded position
Step 2: Add the Finger Hole
Bowling balls feature three strategically placed finger holes—two for the middle and ring fingers and one for the thumb—which play a crucial role in a bowler’s grip and control. Customized to fit the bowler’s hand size and preferences, the finger holes are drilled with a specific pitch, aligning with the natural angle and rotation of the bowler’s hand for a comfortable hold. Additionally, bowlers may incorporate balance holes to fine-tune the weight distribution of the ball based on their style. Using thumb slugs, removable inserts for the thumb hole provides consistency and texture for the thumb. Compliance with regulations set by governing bodies ensures fairness and consistency in the sport. The design and drilling of finger holes are integral to optimizing a bowler’s performance, requiring attention to individual preferences and collaboration with professionals for a tailored and effective grip.
On your bowling ball sphere near the top area, gently sketch the outline shape of a finger hole opening. Lightly draw two partially overlapping circles side by side. Connect them with softly curving lines to form a tunnel-like hole shape. Leave enough space between the holes so a hand can realistically fit inside.
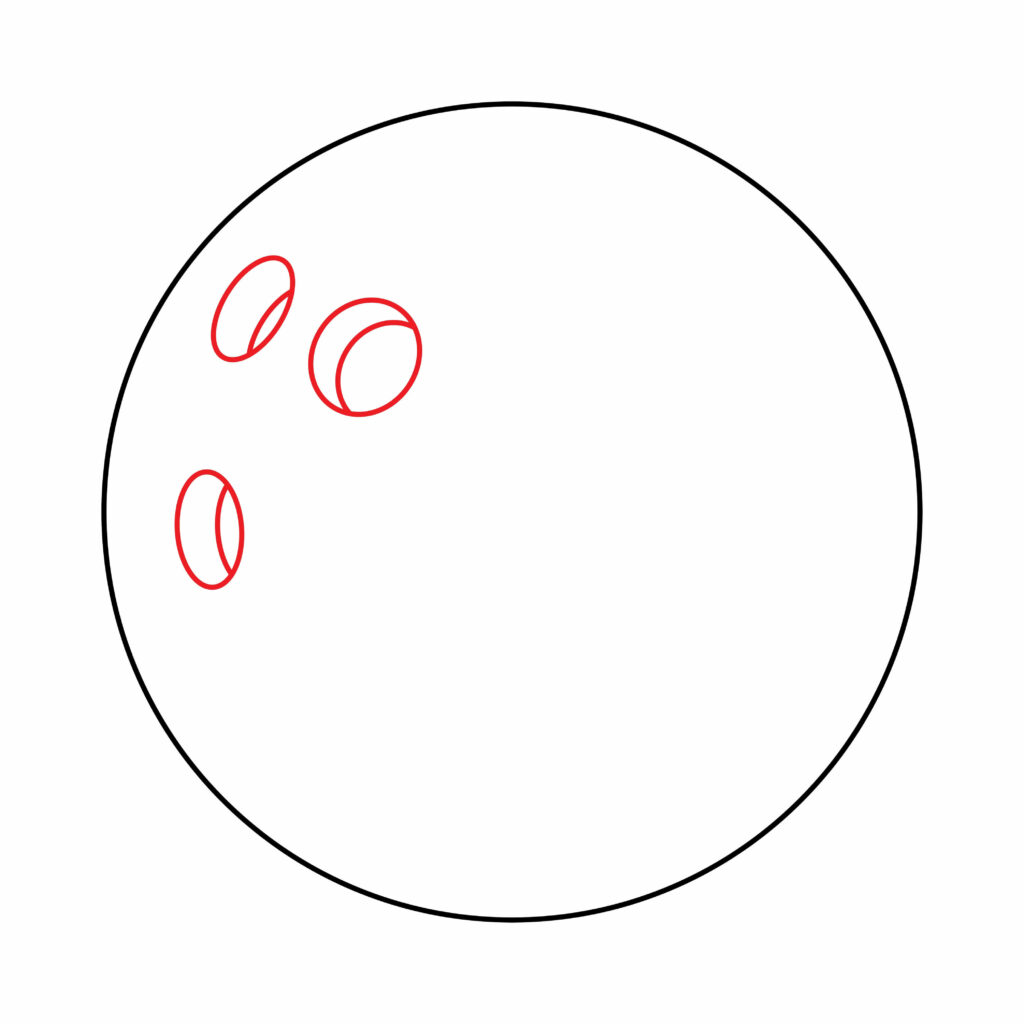
Depending on the ball design, some include one round hole, while others have interconnected oval openings. Construct yours accurately based on the ball types you want to replicate. Make sure the hole width matches the sphere proportions. Keep the outline very faint at first for easy tweaking. Once the basic hole form is roughed out, reinforce the lines so they stand out boldly against the main ball shape.
- Sketch two lightly overlapping circles near ball’s top
- Connect with curved lines to form finger-hole space
- Refine the hole outline to contrast against the main sphere
Step 3: The bowling ball is ready
The bowling ball is ready to be in a bowling area. You did an excellent job. You created your bowling ball to be used by a bowler, and we’re sure you followed every instruction. You can use a marker to outline the drawing to make it stand out. To improve the appearance, we will remove the pencil marks after tracing.
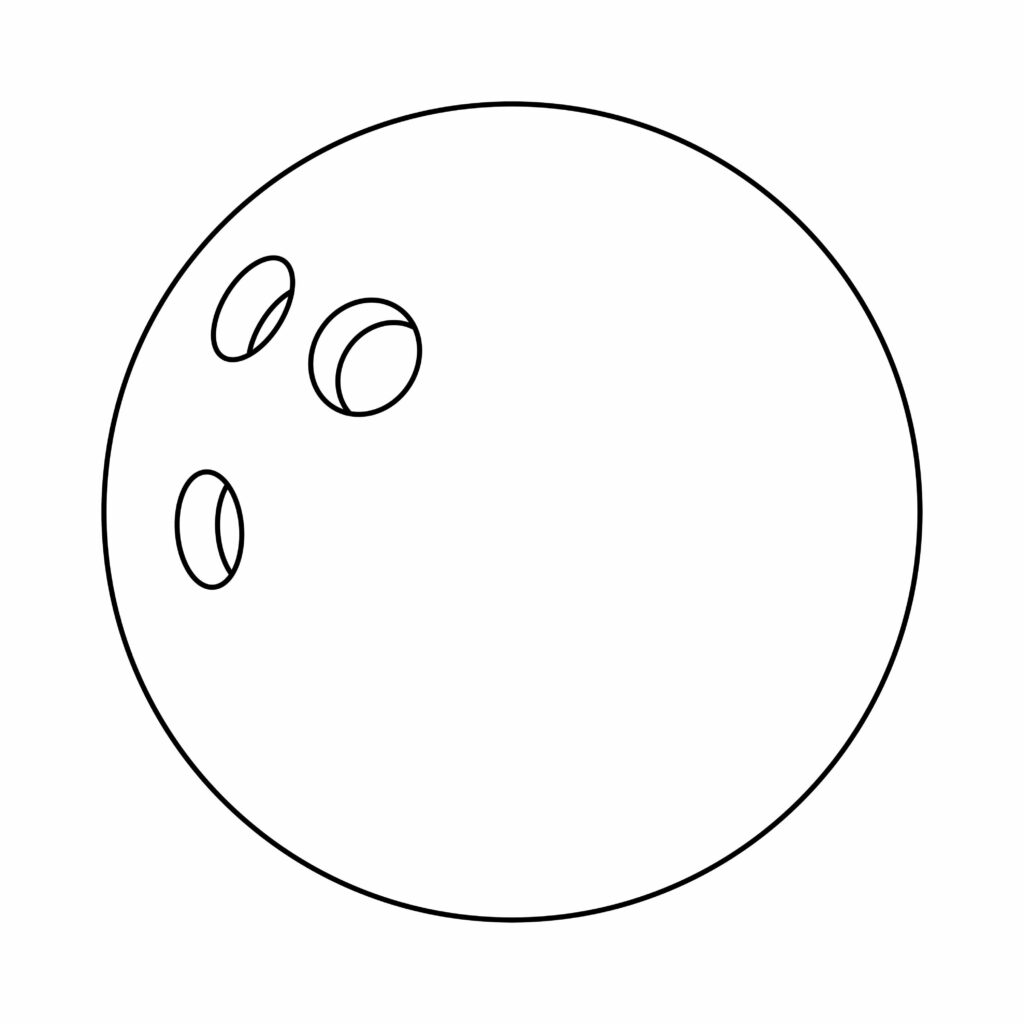
The actual fun is about to start. We are going to improve and add authenticity to our drawing. Can you produce a more refined picture with your creativity and imagination?
Taking your bowling ball to the next level
Like any other skill, sketching requires practice. Set aside time each day to sketch, even if it’s only for a little while. Be mindful of your surroundings. This enhances comprehension of details, dimensions, and forms. You can start with the basics and work up to more complex topics. Experiment with different drawing tools like charcoal, colored pencils, watercolors, markers, and pencils. Every medium has unique characteristics that could help you identify your preferences.
You can also play with basic hatching, blending, shading, and cross-hatching techniques. Understanding these techniques will greatly enhance the complexity and realism of your drawings. When you’re drawing, use your imagination and try out new concepts.
Adding a Background
Once you have completed the main bowling ball shape, consider adding minimal background elements and details to finish framing the composition. For instance, you could indicate a hard floor or alley surface using straight perspective lines receding toward a shared vanishing point. Lightly sketch intersecting tiles or wooden planks to imply the setting.
Don’t over-clutter this foundation plane—just suggest the scene context subtly. You may also delicately render the ball’s subtle shadow on the ground, keeping the shaded area small and faint compared to the ball so it stays as the clear focal point. Leaving plenty of blank negative space around the central sphere keeps emphasis there.
Adding Color
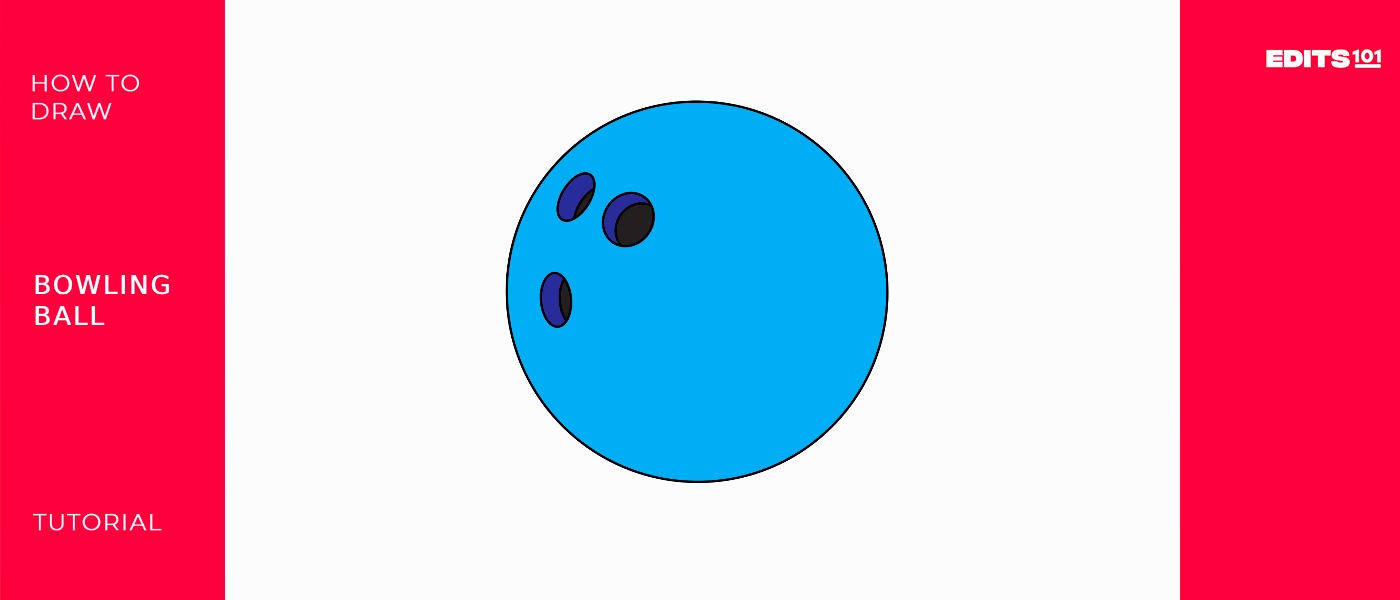
When painting your bowling illustration, apply at least 3-4 colors in graduated tones ranging from light to dark. For example, make the main ball an ombre blend that transitions from eggshell white at the top to a deeper aqua blue-green toward the base, with soft purple and indigo shades in between. This flowing color gradient realistically mimics the swirled pearlized hues on actual bowling balls.
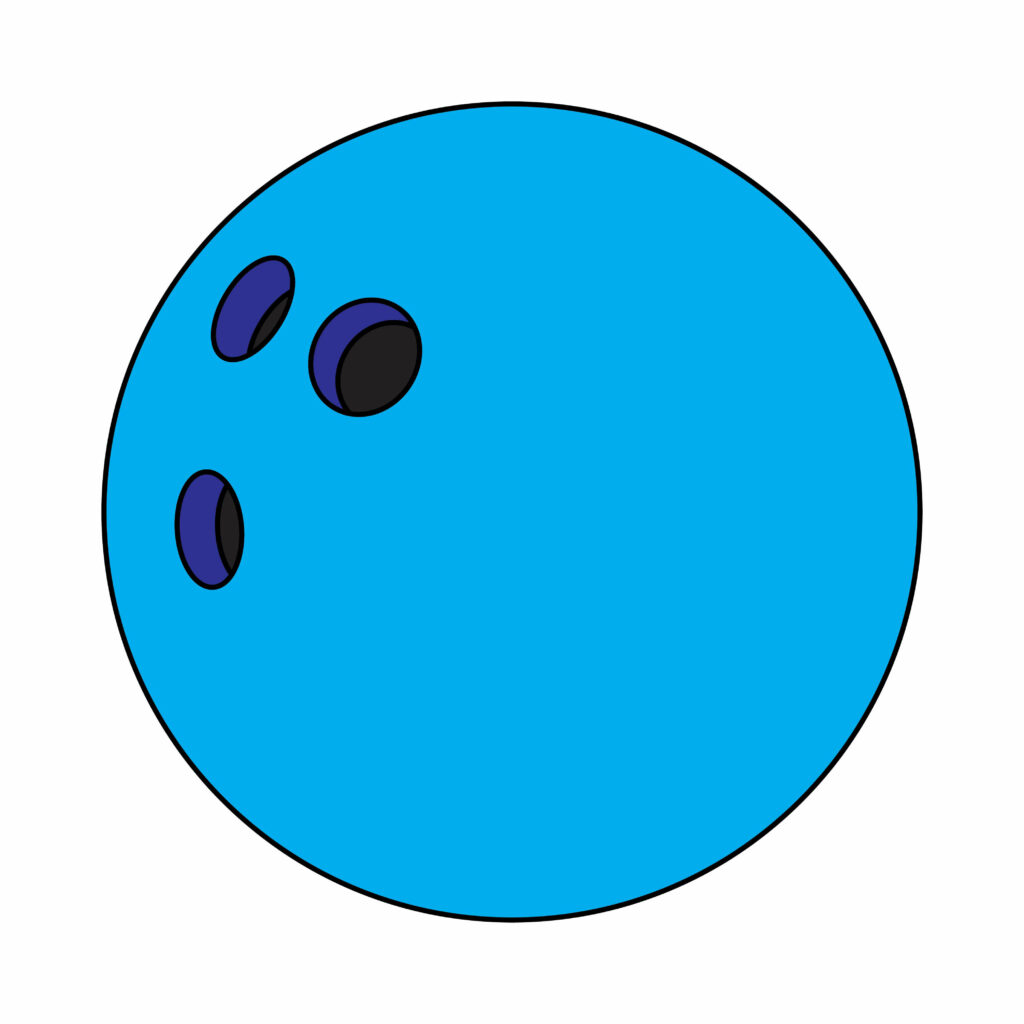
To make the ball sphere appear three-dimensional, imagine a light source overhead creating structural shadows. Use slightly duller versions of the base colors to render dimmer areas in the shadows. For example, mute the vibrant blue-green into an olive green for the shaded zones. Finally, add neat white outlines separating each shade to define the ball’s spherical form.
Bonus Tips
Consider embellishing your basic bowling ball with some extra decorative artistic details. For example, you could depict engraved custom text along the midline, like a name or fun quote. Other elaboration ideas include things like metallic glitter paints for a sparkling disco ball effect, airbrushed splatter textures, decorative finger hole inserts, small embedded decal designs, faux cracks or chips to show worn use, or even anthropomorphic facial features like eyes and a smile to give your ball some character. Get creative with making it your own creation!
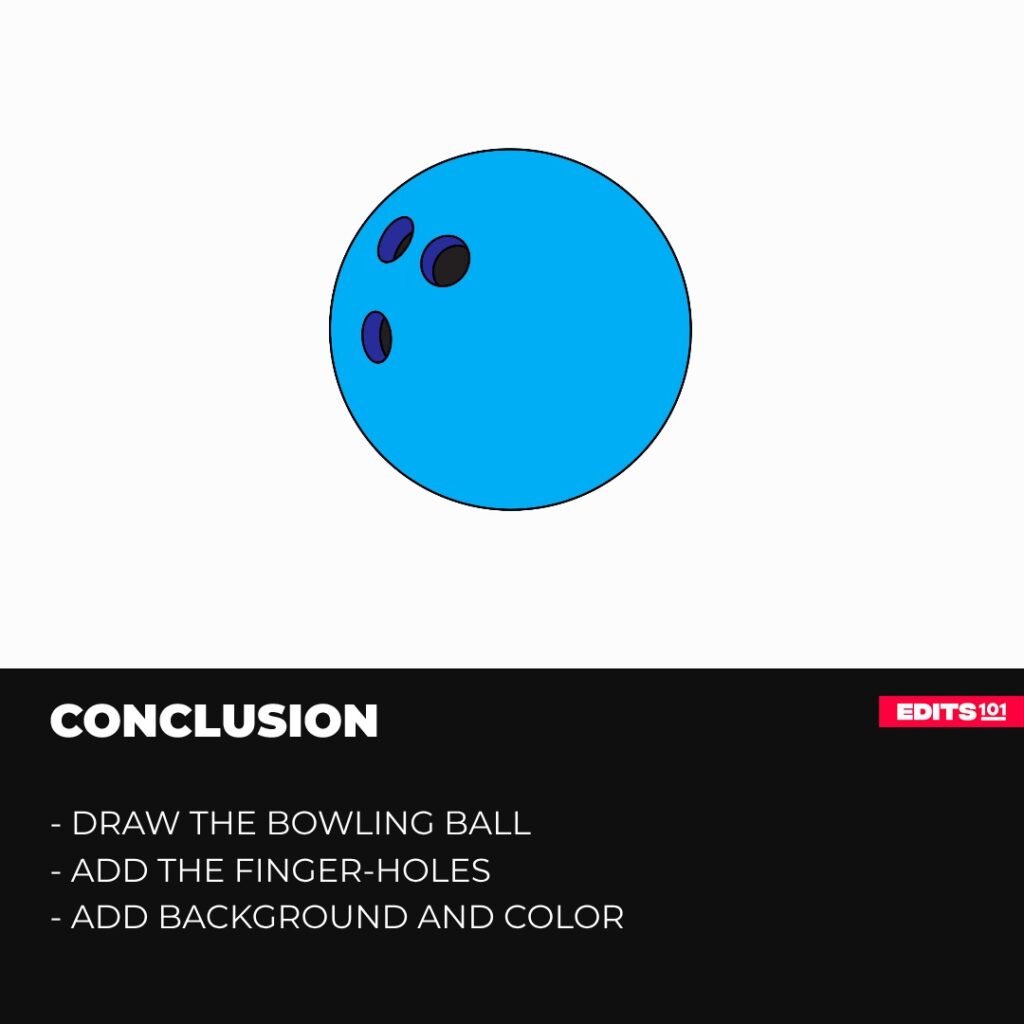
Conclusion
As you can see, rendering a realistic bowling ball only requires fundamental shapes and graduated color blending. Following basic illustrative principles of form, lighting, detailing, and scene integration, you can quickly produce vibrant artistic compositions worthy of any bowling alley wall display! This sport-themed subject makes wonderfully playful drawing practice.
Thanks for reading & feel free to check out more of our articles!
Author Rating
Overall Rating
Summary
This guide explains how to draw a bowling ball used in bowling.